Jump to content


Photo
- - - - -

Torzienjim's Mini, Rolling Resto


  • Please log in to reply
18 replies to this topic

#1 cradley-heathen

cradley-heathen

    Metro-Man

  • Traders
  • PipPipPipPipPipPipPipPipPip
  • 2,481 posts
  • Location: have a guess?
  • Local Club: spearmint rhino

Posted 01 July 2013 - 07:09 PM

on his behalf (as i have taken the pictures of certain parts of the build) here is some of the work recently carried out to jimbos mini. im sure he has plenty of pics he has taken himself to add, but he asked me to start this off for him with my pics so here it is......


previously, i took his car in to fit a complete new front end, however for the life of me i cant find the pictures i took of his car whilst i was doing that, however, he dropped the car off to me a week or so ago for me to look at some rust he found in the rear companion bins. after a quick look it was evident a "patch up" wasnt going to do it, so the rear subframe came out, very easily!

DSC_2774_zpsf7150370.jpg


as you can see the rot around the rear subframe mounts on the heelboard was pretty bad, i only had to undo the rear mounts and then it all came out! it was pretty much the same story on the other side too!


as you can see here, by the time i had cut out the rot, i was left with this (ok i know its the other side, but i didnt take pics of everything) it has already had some repairs done in the past so i had to remove some of the other patches to be left with a nice neat hole.

DSC_2767_zps7a25b1cf.jpg


[/URL]


and then the outer skins added on....

DSC_2772_zpsb8c987d3.jpg


its worth pointing out that although i consider this to be a good solid job, and a proper lasting repair, it is not to my highest standard. this is because, as poor jim bought his car in thinking it may be a days work, only to find it was a pretty big job, im having to do my best to keep his bill down! therefore this is repair work, not restoration work (if you know what i mean)


Edited by cradley-heathen, 01 July 2013 - 07:19 PM.


#2 cradley-heathen

cradley-heathen

    Metro-Man

  • Traders
  • PipPipPipPipPipPipPipPipPip
  • 2,481 posts
  • Location: have a guess?
  • Local Club: spearmint rhino

Posted 01 July 2013 - 07:26 PM

following on from that, here is underneath now its solid again, and painted.....

DSC_2777_zpsdf93673d.jpg


i have also stripped and painted the subframe (black) and tomorrow, it can go back in the car again. however, before packing up today i decided to give the arms and otehr bits a quick clean down, and noticed the one radius arms is errrrr, less than perfect. i dont know how i didnt notice when i removed it, but the shaft has obviously siezed solid and the only way it could still travel up and down was by the shaft rotating in the holes in the frame! hence this.....

DSC_2784_zps240a0754.jpg

the shaft is now really worn, and obviously scrap, i havnt yet attempted to free it from the arm, but i bet its not going to be very willing to come out! so sorry jim, but add at least the price of a readius arm repair kit to the bill lol!


#3 TORZIEnJIM

TORZIEnJIM

    Super Mini Mad

  • Members
  • PipPipPipPipPipPip
  • 683 posts
  • Location: COSTA DEL BILSTON

Posted 01 July 2013 - 07:58 PM

Thanks cradley-heathen. You are a legend. Maybe we should change the title to hobbling resto? Just a thought. Anyways, C-H has done an excellent job and I am really pleased with his appreciation of my budget. Will definately recommend yoh dude and will add to this thread once shes back together and resprayed....luckily, tbe brother in law is a sprayer at syntners bmw....

Better go chat to the bank manager. Lol!

#4 cradley-heathen

cradley-heathen

    Metro-Man

  • Traders
  • PipPipPipPipPipPipPipPipPip
  • 2,481 posts
  • Location: have a guess?
  • Local Club: spearmint rhino

Posted 01 July 2013 - 08:00 PM

i am doing my best to keep the bill down mate, but its fighhting me every step of the way lol!


#5 TORZIEnJIM

TORZIEnJIM

    Super Mini Mad

  • Members
  • PipPipPipPipPipPip
  • 683 posts
  • Location: COSTA DEL BILSTON

Posted 01 July 2013 - 08:06 PM

Yeah shes a lively one....wonder how long till the engine gives in....thatll be my next issue. Grrr. Love hate relationship I have with my min....and with u too C-H, LMAO

#6 TORZIEnJIM

TORZIEnJIM

    Super Mini Mad

  • Members
  • PipPipPipPipPipPip
  • 683 posts
  • Location: COSTA DEL BILSTON

Posted 01 July 2013 - 09:22 PM

Some more pics for your viewing pleasure. ..

Attached Files


#7 TORZIEnJIM

TORZIEnJIM

    Super Mini Mad

  • Members
  • PipPipPipPipPipPip
  • 683 posts
  • Location: COSTA DEL BILSTON

Posted 02 July 2013 - 04:28 PM

Subby and all bits and bobs back in

Attached Files


#8 TORZIEnJIM

TORZIEnJIM

    Super Mini Mad

  • Members
  • PipPipPipPipPipPip
  • 683 posts
  • Location: COSTA DEL BILSTON

Posted 02 September 2013 - 07:17 PM

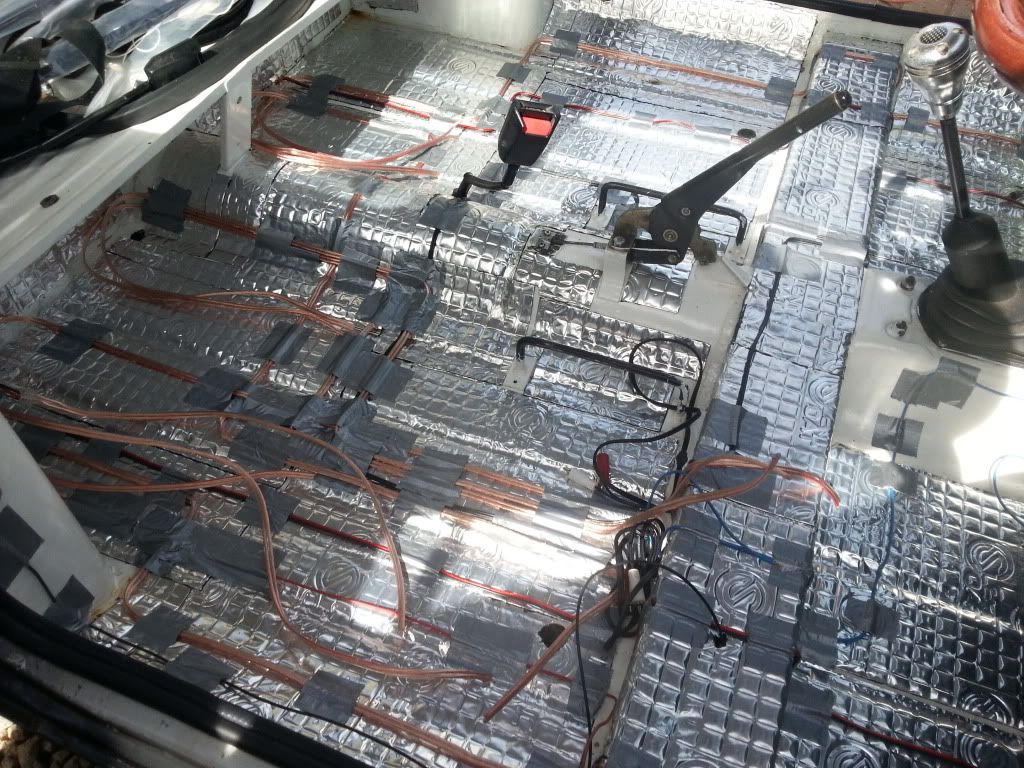
soooo, started to put the interior back together,


silent coat and audio wires down (yes i realise there is an overusage of silent coat but this was put down before I was told)


20130901_133734_zps73935da5.jpg


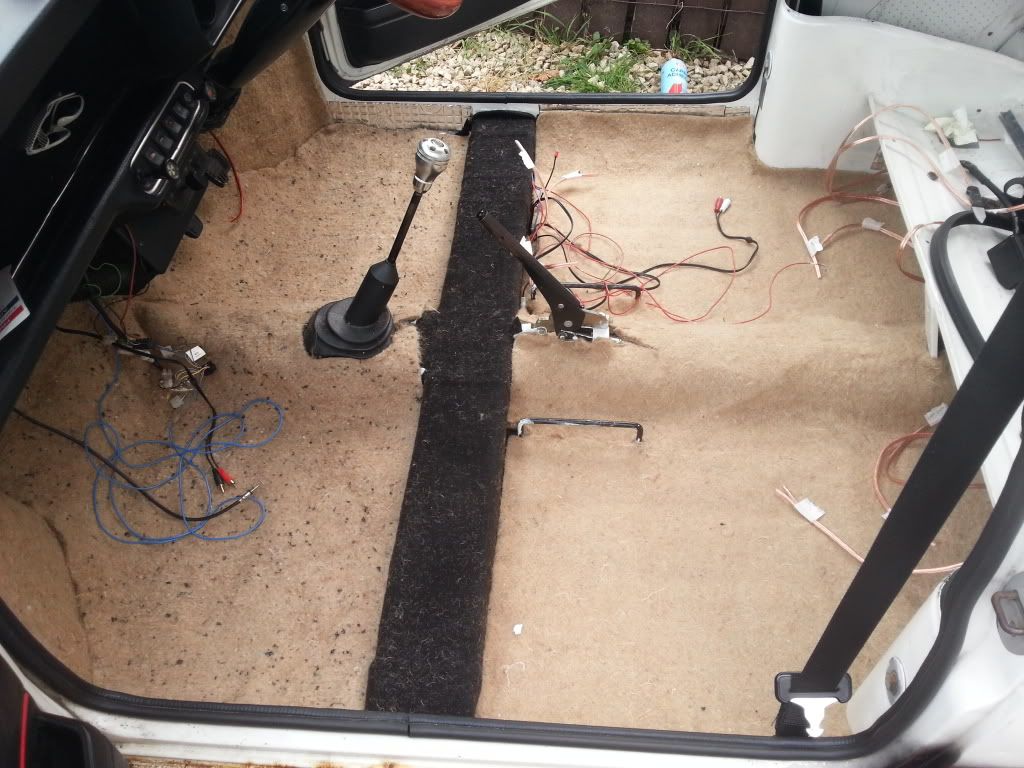
next sound deadening and some carpet over the crossmember as I brushed it with hammerite and wanted better audio quality, so the less bare metal the better


20130901_163805_zpsf5c72dc3.jpg


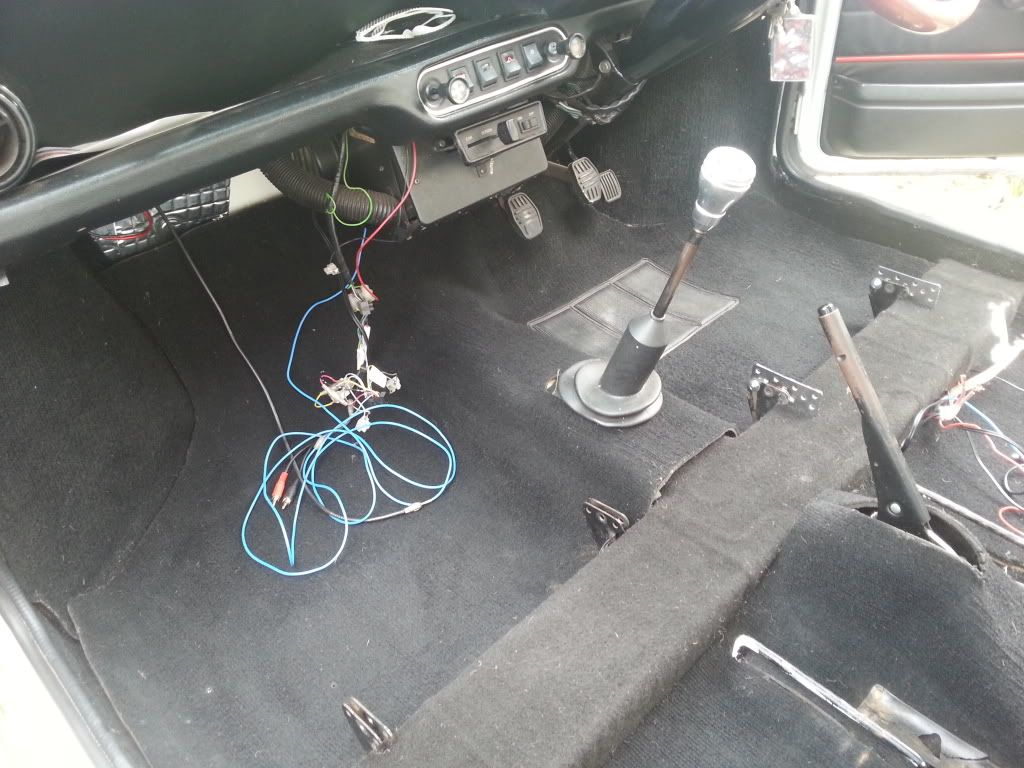
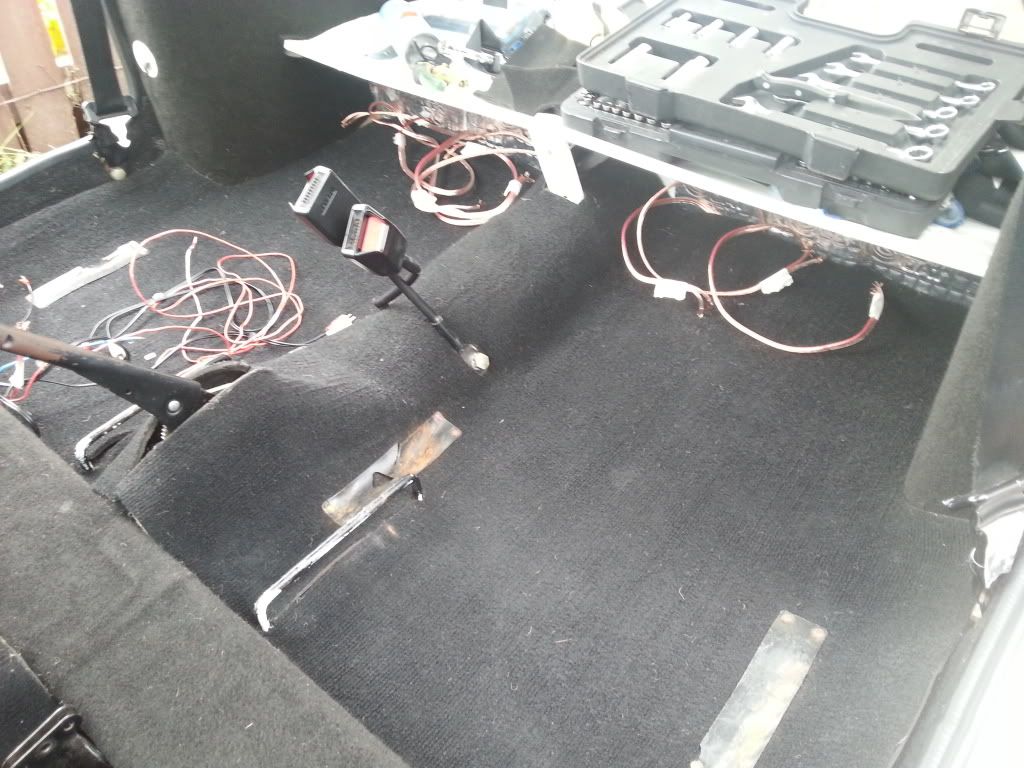
carpets down and starting to take shape...

20130902_155148_zps5125de0e.jpg

20130902_155155_zps041fb957.jpg


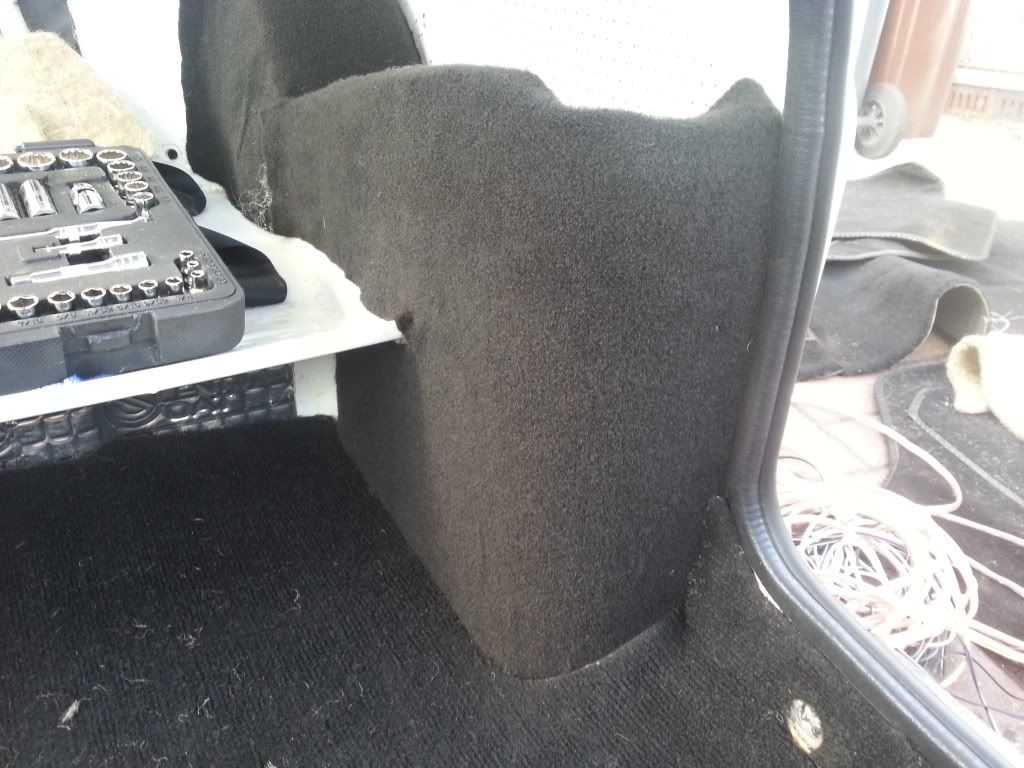
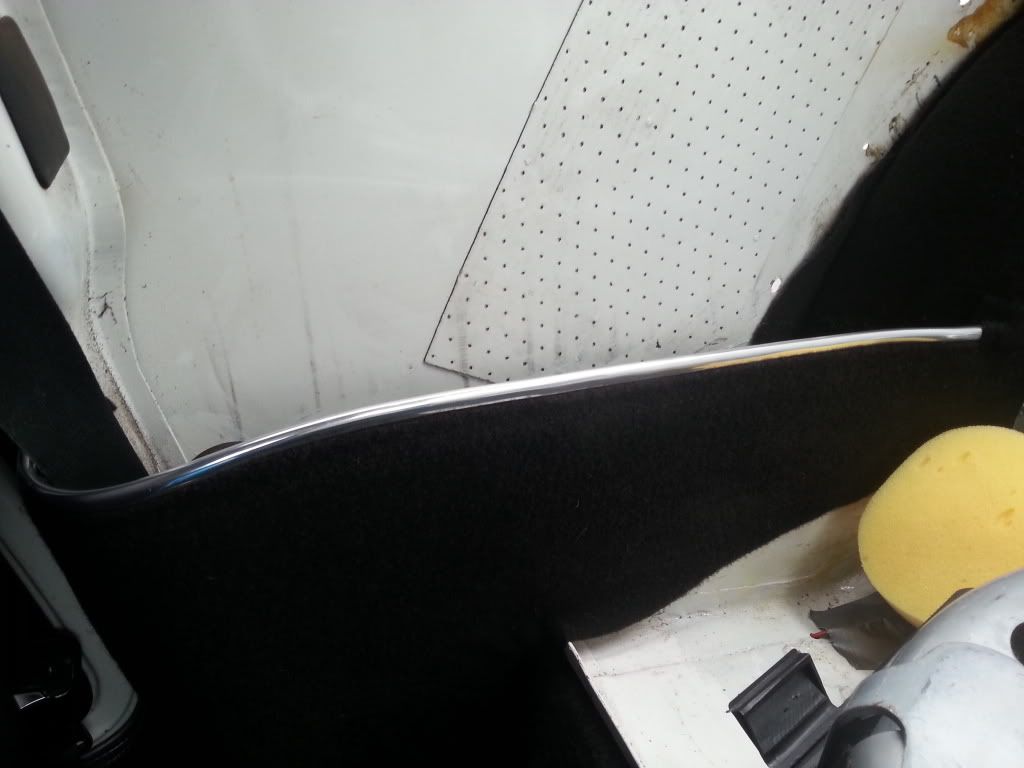
alo carpeted rear storage bins, need to get a chrome finishing strip for the top, but really pleased with these. again, less metal less sound bouncing around


20130902_152452_zps3a844a45.jpg


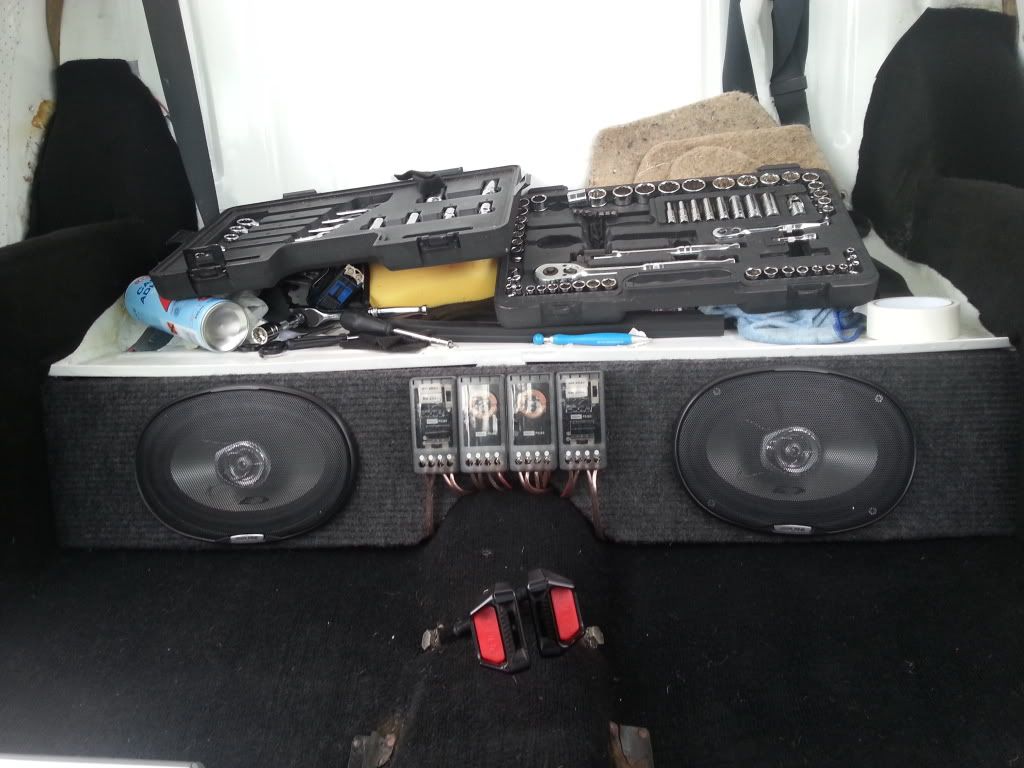
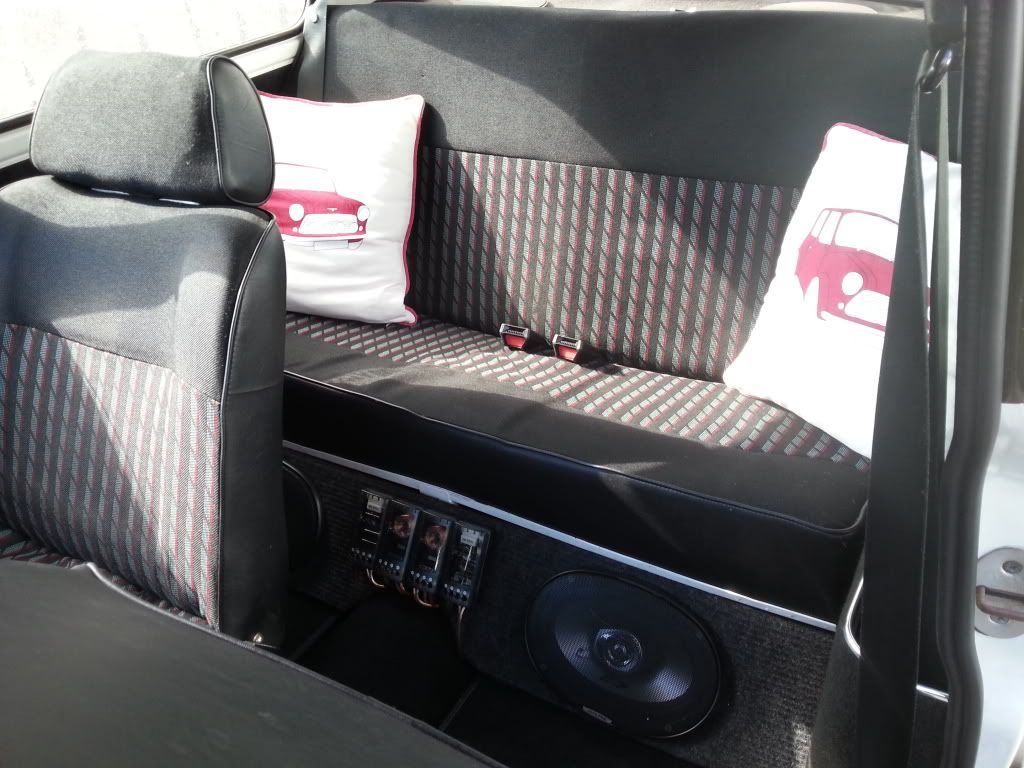
wired in all the x-overs and the 6x9s under the rear seat. (again I realise that 6x9s and under the seat will be hated by the haters, but it's practical and it works for me.


20130902_164931_zpse3166e67.jpg


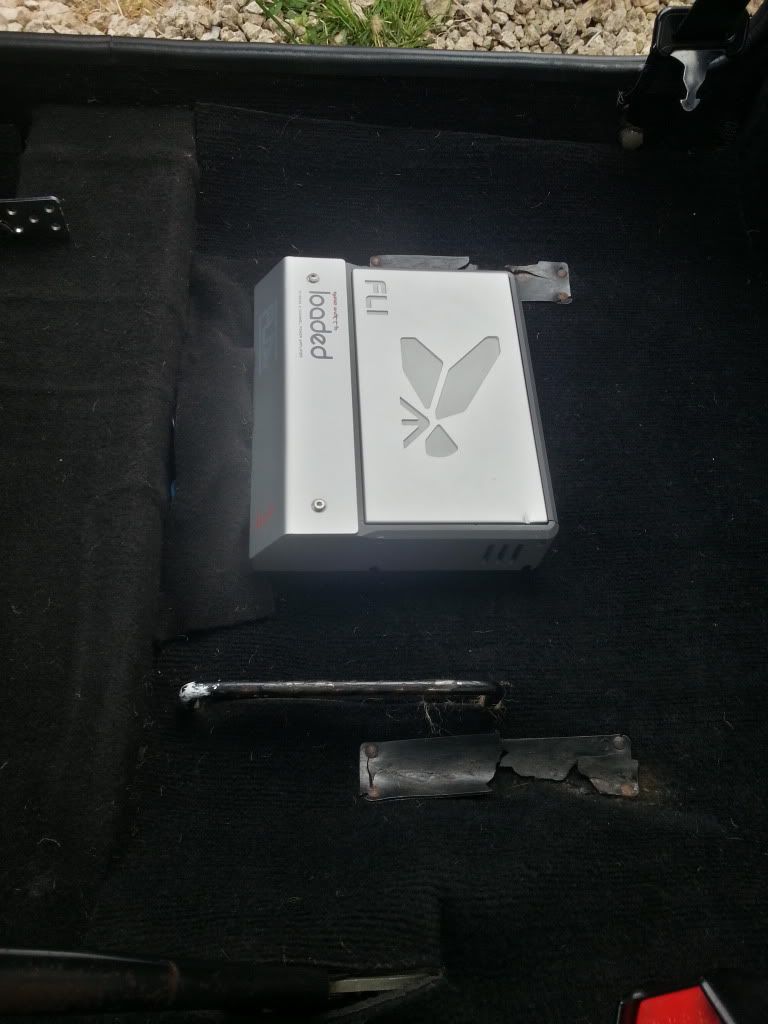
amp hidden under seat..


20130902_165122_HDR_zps05cee068.jpg


#9 TORZIEnJIM

TORZIEnJIM

    Super Mini Mad

  • Members
  • PipPipPipPipPipPip
  • 683 posts
  • Location: COSTA DEL BILSTON

Posted 27 September 2013 - 09:33 PM

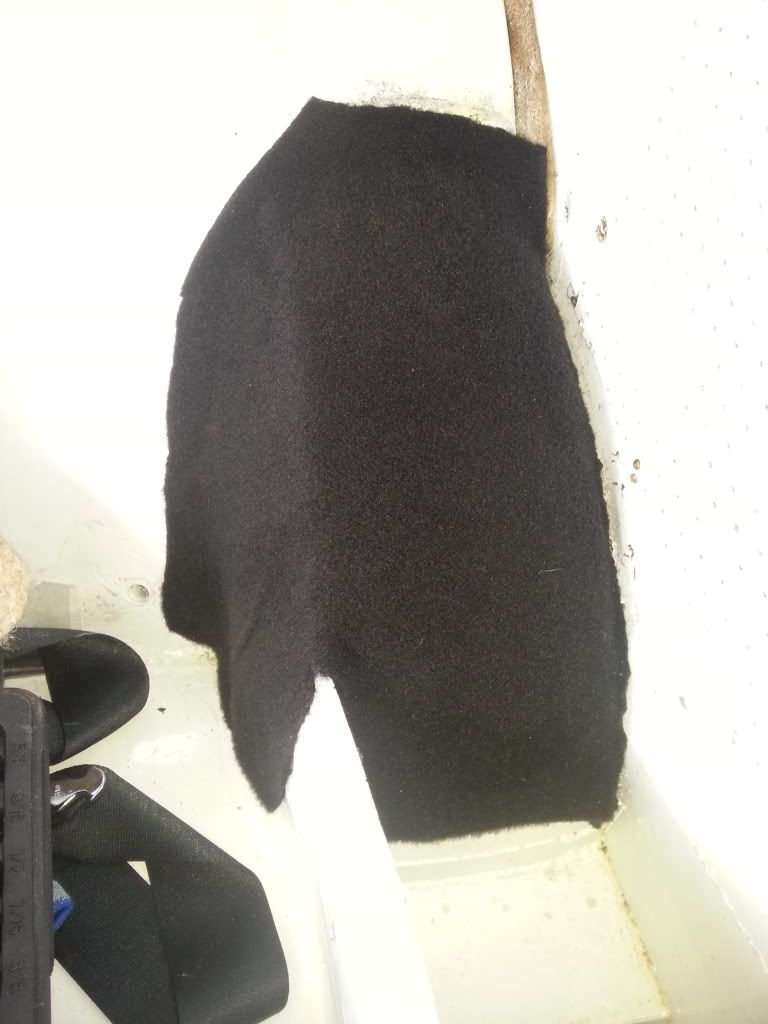
Home made arch covers
20130902_150105_zps3eba3084.jpg
20130918_133004_zps251e05b2.jpg

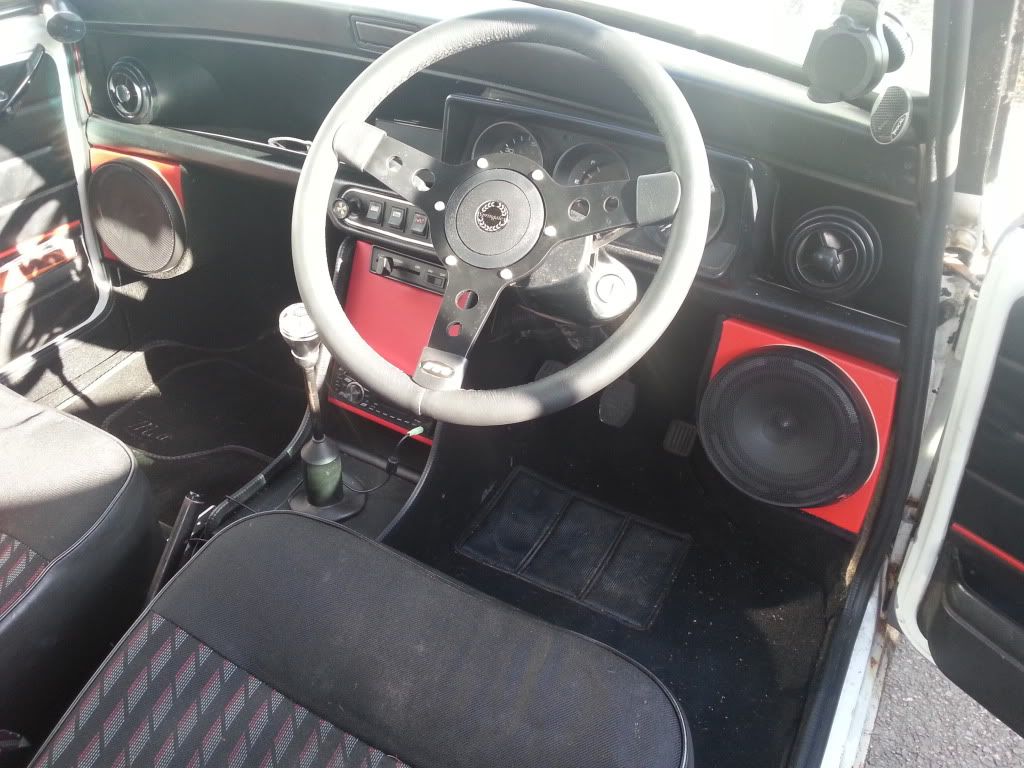
Console and pods in
20130919_163643_zps802b1be9.jpg

Rear seats back in
20130922_130510_zps65c9a0f3.jpg

#10 TORZIEnJIM

TORZIEnJIM

    Super Mini Mad

  • Members
  • PipPipPipPipPipPip
  • 683 posts
  • Location: COSTA DEL BILSTON

Posted 08 October 2013 - 07:34 PM

Getting prepped, by a cat apparently...


Attached Files


#11 TORZIEnJIM

TORZIEnJIM

    Super Mini Mad

  • Members
  • PipPipPipPipPipPip
  • 683 posts
  • Location: COSTA DEL BILSTON

Posted 11 October 2013 - 08:55 PM

getting ready for paint, and new sill on!


once again, cheers cradley-heathen!!!!

Attached Files


#12 cradley-heathen

cradley-heathen

    Metro-Man

  • Traders
  • PipPipPipPipPipPipPipPipPip
  • 2,481 posts
  • Location: have a guess?
  • Local Club: spearmint rhino

Posted 16 October 2013 - 03:35 PM

DSC_2880_zpscdcac192.jpg


DSC_2884_zps37db31fb.jpg


DSC_2881_zpsfeba7157.jpg


there you go, i didnt paint it orange in the end, although it would have been funny! hope Jimbo likes it now!


#13 TORZIEnJIM

TORZIEnJIM

    Super Mini Mad

  • Members
  • PipPipPipPipPipPip
  • 683 posts
  • Location: COSTA DEL BILSTON

Posted 16 October 2013 - 03:37 PM

Awesome dude! Im chuffed! Cant wait to get her bumpers and stuff on!!

#14 megamini_jb

megamini_jb

    Crazy About Mini's

  • Members
  • PipPipPipPipPipPipPipPipPipPip
  • 5,491 posts
  • Name: Jamie
  • Location: -

Posted 16 October 2013 - 03:39 PM

Very nice

#15 cradley-heathen

cradley-heathen

    Metro-Man

  • Traders
  • PipPipPipPipPipPipPipPipPip
  • 2,481 posts
  • Location: have a guess?
  • Local Club: spearmint rhino

Posted 16 October 2013 - 03:41 PM

i cant wait to get paid! lol


1 user(s) are reading this topic

0 members, 1 guests, 0 anonymous users