Jump to content


Photo
- - - - -

How To Remove Radius Arms From Subframe


  • Please log in to reply
3 replies to this topic

#1 JonnyAlpha

JonnyAlpha

    Up Into Fourth

  • Members
  • PipPipPipPipPipPipPipPipPip
  • 2,748 posts
  • Location: North Devon
  • Local Club: Exmoor Minis

Posted 17 February 2014 - 11:27 PM

Hi;


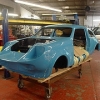
As the title states I am in the process of removing the Radius Arms in an attempt to see what I can salvage from my Subframe.

So far I have been lucky with removing bolts and nuts having follow advice and pre soaked with WD40 and 3 in 1 Oil (Just found out about Plus Gas).


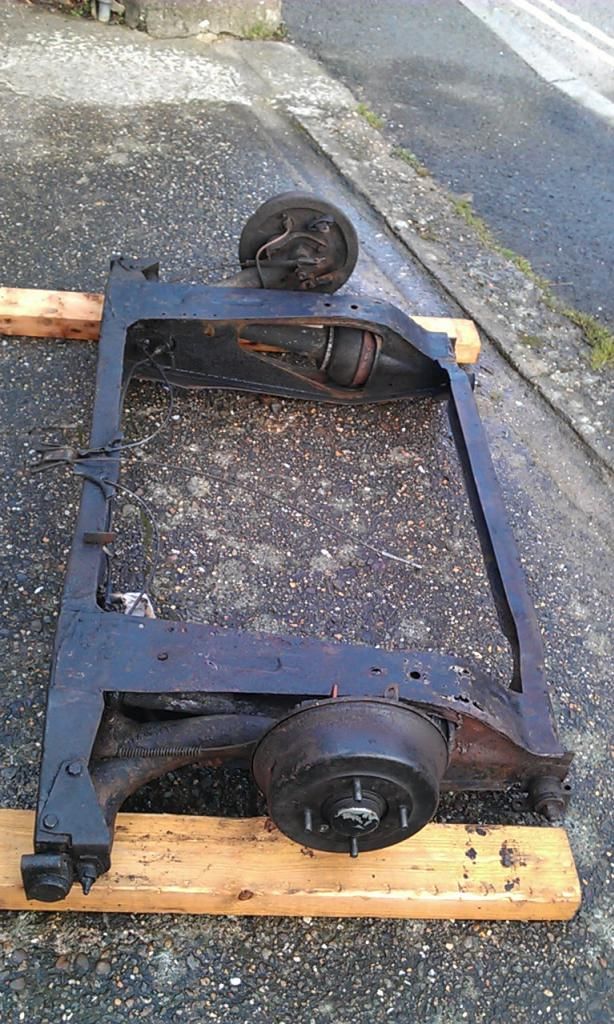
It looks like the Radius Arm is held in place in two locations, at the outer edge of the subframe by a plate secured by 4 x bolts holding and by 1 x Nut inside the Subframe.


Firstly these two bolts (shown in the bottom LH of the pic) are easily accessible and OK:


IMAG4116_zps80af59be.jpg


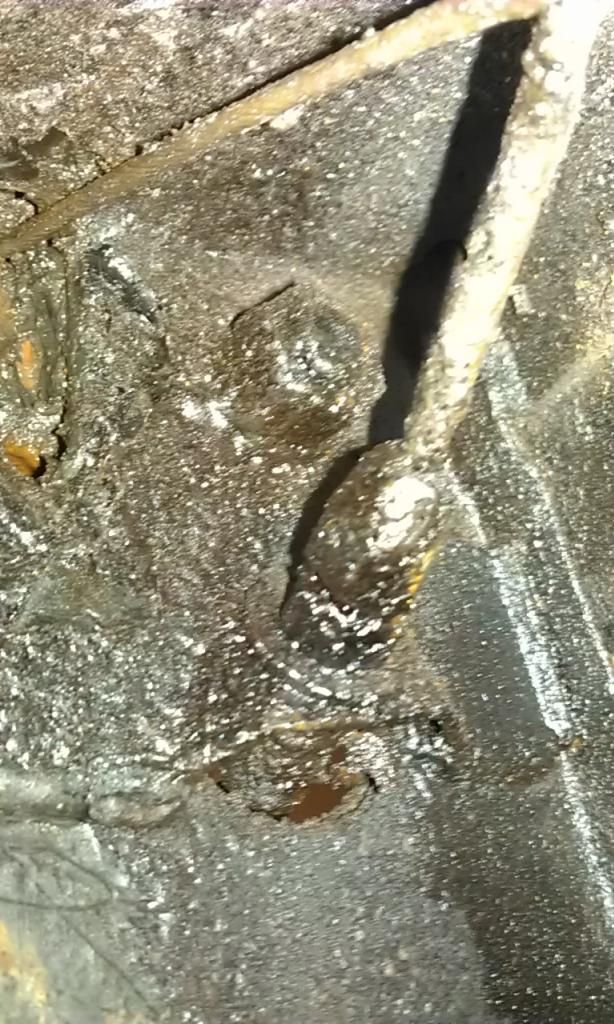
However due to the location of these 2 x Bolts and the close proximity to the Radiius Arm I cannot get a socket, standard spanner or ring spanner onto it? What tool is required to undo these two bad boys:


IMAG4140_zps6128d94c.jpg


Can someone give me some pointer on removing these troublesome bolts.


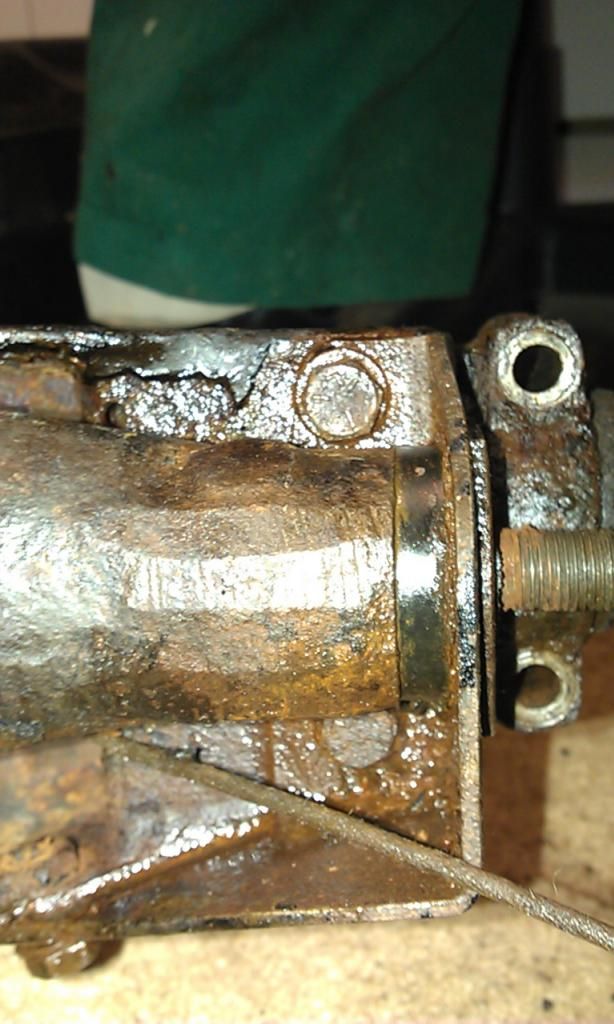
This is, I guess, the nut securing the inner side of the Radius Arm, the one located just above the brake pipe union, this looks trouble some in this pick but once the undersell and other gunge was wiped off it came off easily.


IMAG4128_zps28edbe8c.jpg


I have soaked the Flexile Brake Hose connectors because these also have to be removed in order to remove the Radius Arm from the Subframe however, they look and probably are pretty solid so I may end up having to cut them off - any tips to get them off without damaging the mounting on the Radius Arm?


The rubber at the joint on one of them is split so I'll definitely be renewing them anyway:


IMAG4136_zps117d63de.jpg


I take it you have to undo the nut on the opposite side of the bracket on the Flexi Hose?


Believe it or not the bullet shaped nut on the copper brake pipe actually turns? But on one side the copper brake pipe is stuck inside the nut, a replacement set of copper pipes is only £7 on Ebay from Richmond Classics and a full set with flexes is £38.


Any advice on the above would be great.


Thanks


#2 cradley-heathen

cradley-heathen

    Metro-Man

  • Traders
  • PipPipPipPipPipPipPipPipPip
  • 2,481 posts
  • Location: have a guess?
  • Local Club: spearmint rhino

Posted 17 February 2014 - 11:39 PM

those two bolts your having difficulty getting to are more easily accessed with a socket if you lift the radius arm up slightly. you will find that as you move the arm up and down it is slightly thinner at one point and the socket will JUST reach down to it.


i know they are not very manly and wont take tons of abuse, but i have a really good 1/4" socket set that i use to get to those bolts, the sockets have slim sides which i find helps me get down there past the arm more easily.


#3 tiger99

tiger99

    Crazy About Mini's

  • Members
  • PipPipPipPipPipPipPipPipPipPip
  • 8,584 posts
  • Location: Hemel Hempstead

Posted 17 February 2014 - 11:56 PM

Or, possibly a good old-fashioned tubular box spanner. I must have used one of these on my first Mini, because at that time I could not afford a socket set.


As for your brake pipe, grind or file through the nut on the left side of the bracket, or hacksaw into it horizontally, stopping just short of the bracket, by which time it will be loose. Throw away any brake pipes where you have used penetrating oil, as you must not get the slightest trace of mineral oil in the system, or seal failure is inevitable.


And please do not even think about using copper. It has extremely poor fatigue properties, and is downright dangerous in brake systems. The proper material is Kunifer, sometimes called Cunifer or cupro-nickel, and is approved to various BS and other specifications, while there is no specification covering copper pipe in brake systems, because it is not suitable. If a supplier quotes a BS spec for copper, it is NOT a spec for BRAKE pipe, it is a spec for genaral purpose pipe including microbore central heating etc, which runs at a far lower pressure than a car brake system, and without fatigue-inducing cyclic pressure applications. See http://www.copperinf...rake-tubing.pdf


Edited by tiger99, 17 February 2014 - 11:57 PM.


#4 zerobelow

zerobelow

    Mini Mad

  • Noobies
  • PipPipPipPip
  • 136 posts
  • Location: San Mateo, California

Posted 18 February 2014 - 02:06 AM

As was mentioned a few posts above, try altering the position of the arm, to get some more room. I also had some success using a 1/4" drive shallow socket, with extension -- the wall was smaller, and let me get the socket by.


When I put mine back together, I use allen cap screws, instead -- I was able to get a 3/8" drive allen socket in there much more easily.


Also, when putting it together, try to use a bolt that is _just_ long enough to clear -- those are prone to getting rust, and according to others on the forum, if that one is too long, the exposed part inside will rust, and become prone to shearing off. A pain since you can't get easily at the backs of those captive nuts. Also, I used antiseize grease. on the way back together. 


1 user(s) are reading this topic

0 members, 1 guests, 0 anonymous users