Jump to content


Photo
- - - - -

Leyland Clubman Resto


  • Please log in to reply
308 replies to this topic

#1 colinf1

colinf1

    One Carb Or Two?

  • Members
  • PipPipPipPipPipPipPip
  • 891 posts
  • Location: Dundalk

Posted 01 June 2014 - 09:15 AM

Hi everybody.


New to here and the world of Minis.


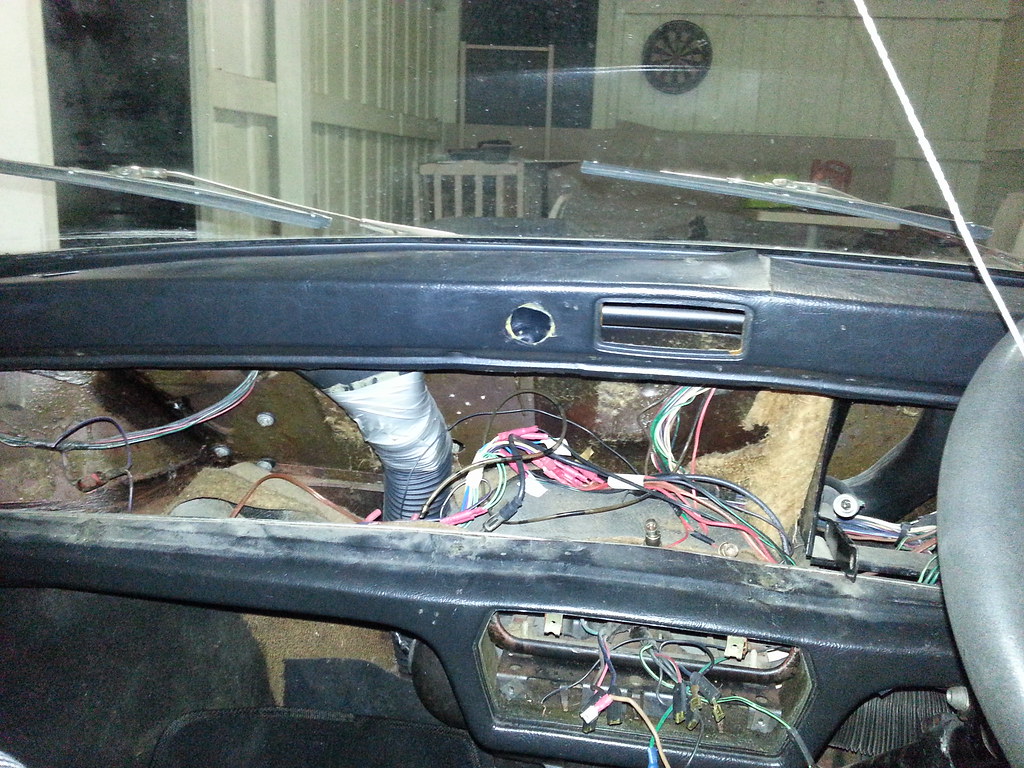
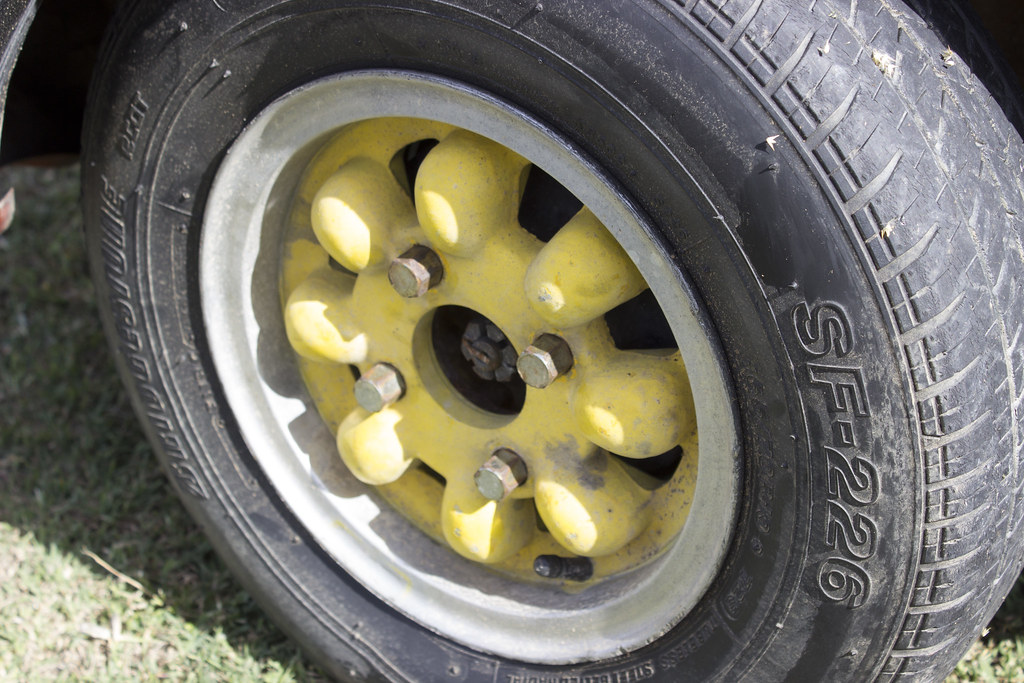
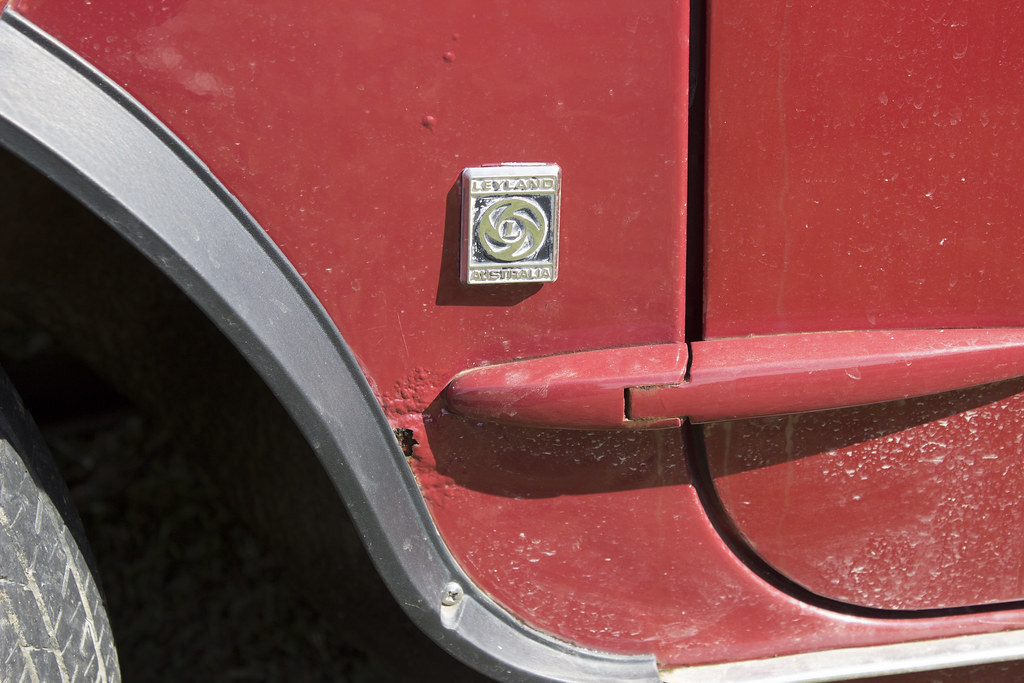
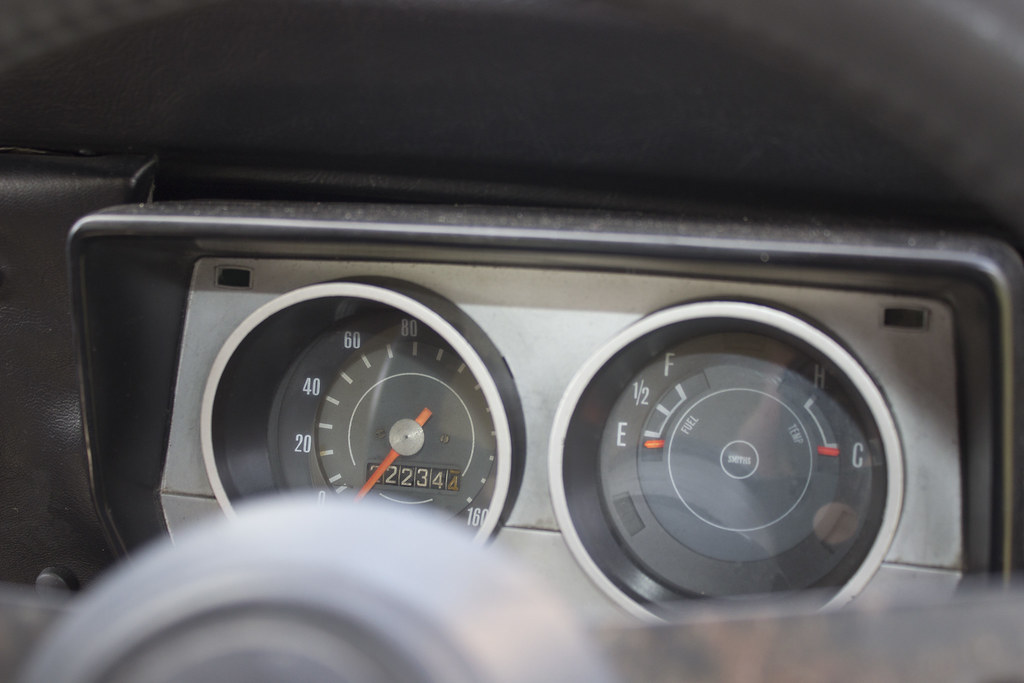
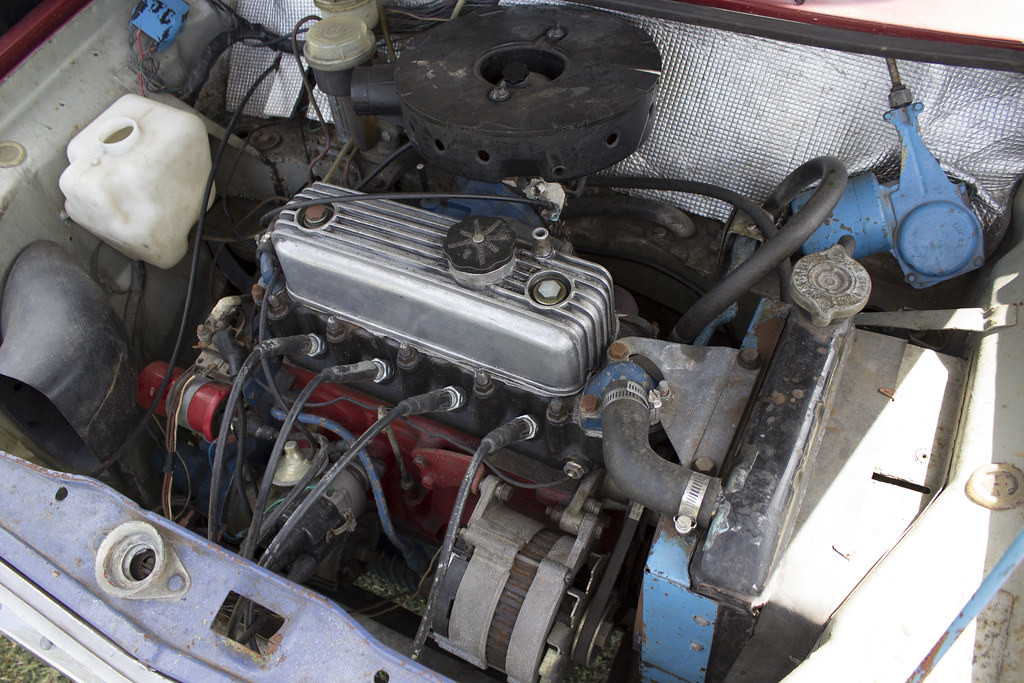
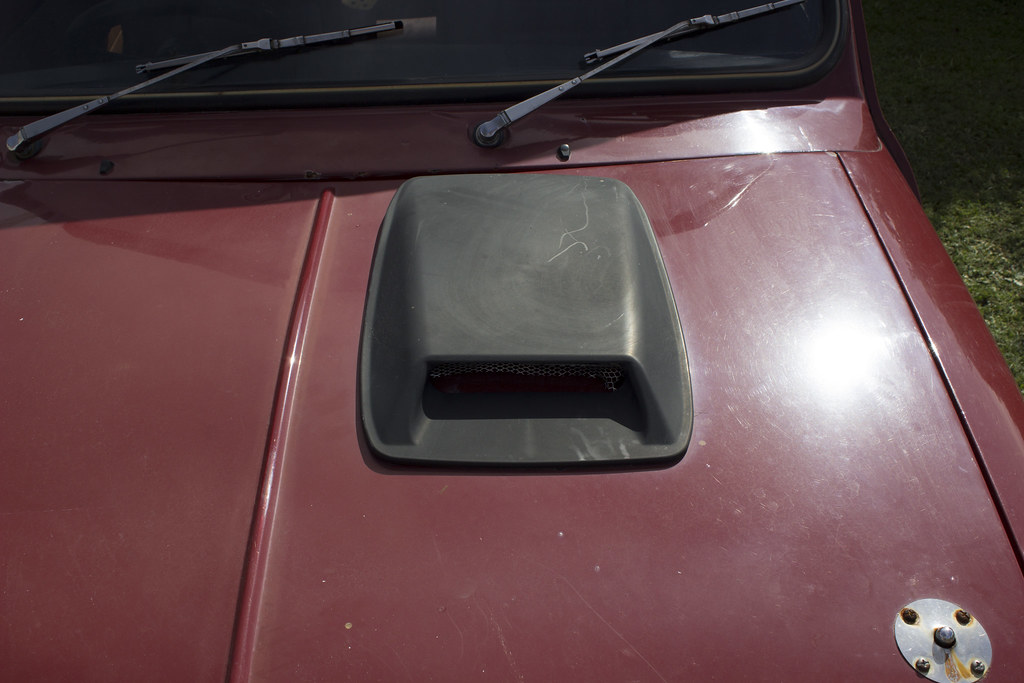
Here is my new project car, a 1974 Leyland Clubman with a 1.0l engine.


Bought for a very good price. Have set myself a shoe string budget, so will be interesting to see how much I actually need to spend to get in a decent condition again.


14318553225_6155aea527_b.jpgIMG_4068


14131894218_94f7cae6a6_b.jpgIMG_4065


14315209641_22ae2e8261_b.jpgIMG_4070


14131897469_f2cefe94d5_b.jpgIMG_4069


14131925420_bff6d6292f_b.jpgIMG_4075


14318541265_d1c94c6d42_b.jpgIMG_4078


14131989447_82b61355c6_b.jpgIMG_4088


14131992327_3f309475f3_b.jpgIMG_4087


14131854898_6ceae1a1fd_b.jpgIMG_4091


14317876254_115ba5140f_b.jpgIMG_4097


14316698652_7eb6edb74a_b.jpgIMG_4104


14131846638_df4674d8c0_b.jpgIMG_4107


14295358976_a1428125c7_b.jpgIMG_4108


14317866104_5a0350bec6_b.jpgIMG_4109


14131937490_9bbcf333bd_b.jpgIMG_4066


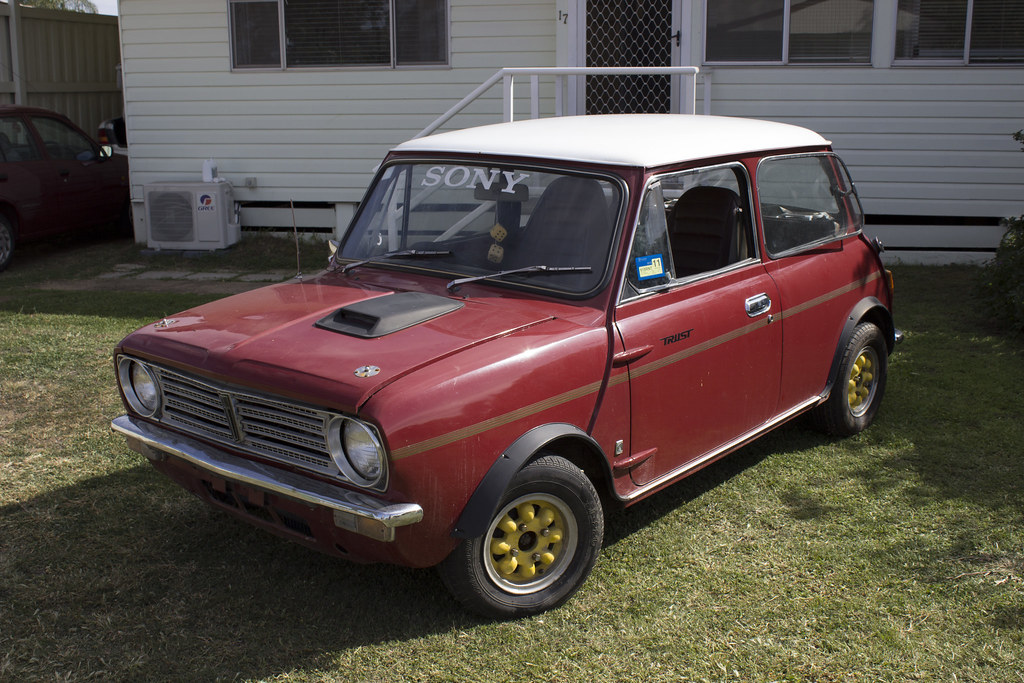
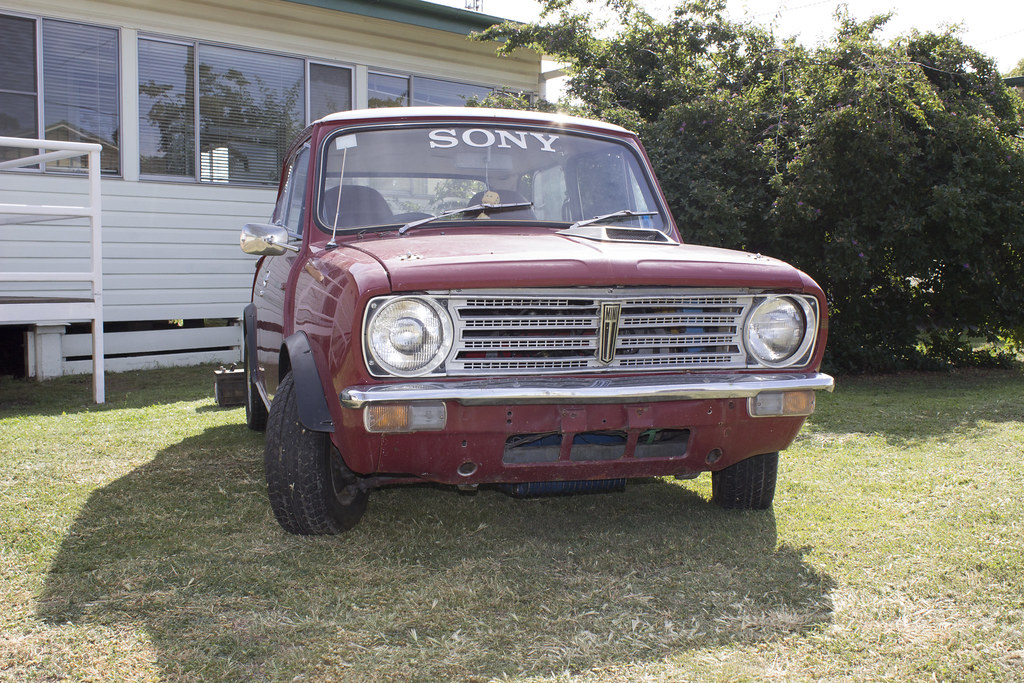
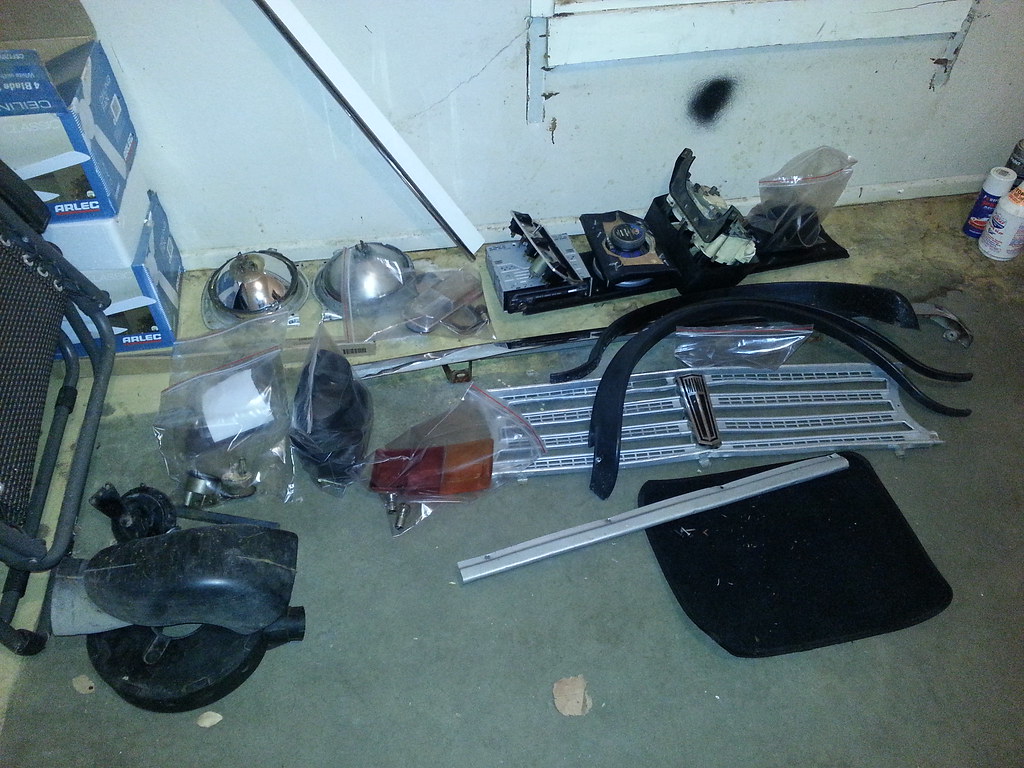
Have stripped off some parts, grille, headlights and bumper and started to clean them up.


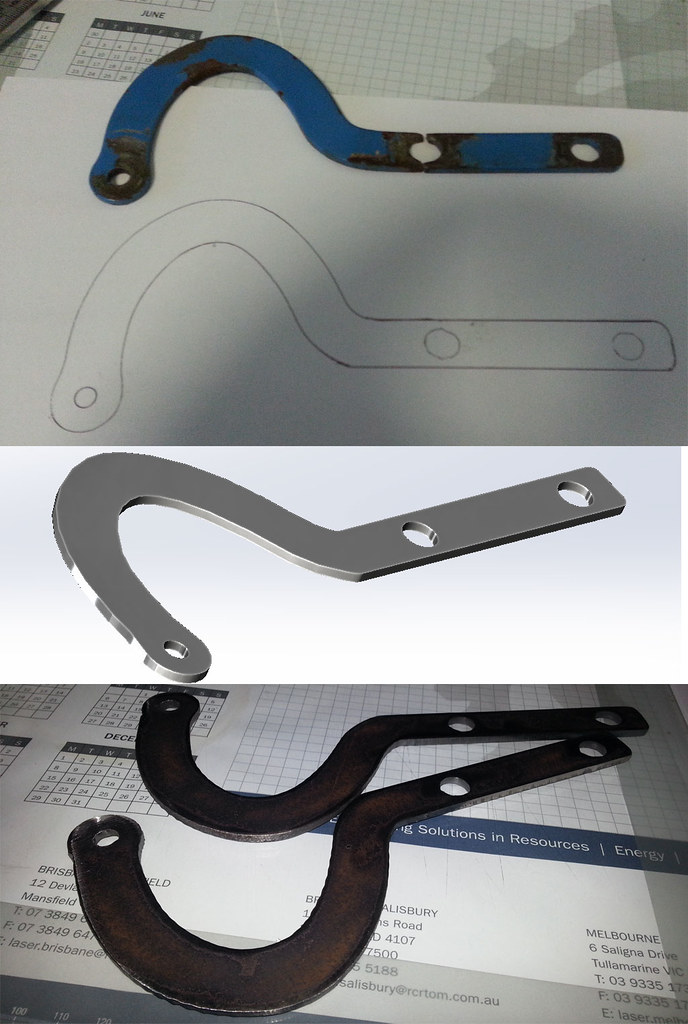
Have also removed bonnet, need to make 2 new bonnet hinge hook/arms things as both have broken in half on the middle bolt.

I have access to a cnc plasma cutter at work, so will be able to make them myself.


I need to make myself a to-do list, as I keep starting on one thing, then drift off to do another thing. I also need to invest in a haynes manual.


#2 cal844

cal844

    Crazy About Mini's

  • Members
  • PipPipPipPipPipPipPipPipPipPip
  • 9,482 posts
  • Location: Ballingry, Fife
  • Local Club: TFMOC

Posted 01 June 2014 - 10:43 AM

Haynes


Used but great condition!


http://www.ebay.co.u...=item58afa38259


Or new from amazon


http://www.amazon.co...al classic mini


Edited by cal844, 01 June 2014 - 10:47 AM.


#3 Devo

Devo

    Mini Mad

  • Noobies
  • PipPipPipPip
  • 116 posts
  • Location: Chatham, Kent
  • Local Club: TMF

Posted 01 June 2014 - 11:20 AM

Hi Colin welcome to the forum, I'm a huge fan of Aussie minis  :thumbsup:


I'll be following on the progress  :-)


#4 Dr.Wylde

Dr.Wylde

    Learner Driver

  • Noobies
  • PipPip
  • 23 posts
  • Location: North Otago

Posted 01 June 2014 - 07:29 PM

I love aussie minis as well. so well specc'd!


#5 colinf1

colinf1

    One Carb Or Two?

  • Members
  • PipPipPipPipPipPipPip
  • 891 posts
  • Location: Dundalk

Posted 02 June 2014 - 09:06 AM

Not much progress today. Drew up the bonnet hinges in Solidworks to get them plasma cut.


Been doing too much dreaming today, running through all the things I'd like to do vs All the things I need to do.


Letting the oil drain out of the car at the minute, then give it a full service.


Debating wheter or not to strip the car fully, get it blasted and respray it fully.???


#6 colinf1

colinf1

    One Carb Or Two?

  • Members
  • PipPipPipPipPipPipPip
  • 891 posts
  • Location: Dundalk

Posted 03 June 2014 - 04:42 AM

hey guys, I make be showing my noob'ness here, put I cant find an answer from google.


Looking at this picture, can someone tell me what the On/off switch is for?


14131989447_82b61355c6_b.jpgIMG_4088


I am looking at replacing all these switches, if I can source toggle switches that are suitable for the lights and a momentary switch for the washer jet. Am I right in saying the light switch is OFF, SIDE LIGHTS ON, DIPPED BEAM ON?

I have limited time during the week for working on the car, and it has a flat battery.


Thanks for any help guys!


#7 Jared Mk3

Jared Mk3

    Has a small thing but it does make a difference

  • Members
  • PipPipPipPipPipPipPipPip
  • 1,974 posts
  • Location: Kokstad, South Africa
  • Local Club: MOCKZN

Posted 03 June 2014 - 06:11 AM

Just love the Aussie Minis, really are unique cars, just like ours across the pond in SA - looks like a good project. 


#8 colinf1

colinf1

    One Carb Or Two?

  • Members
  • PipPipPipPipPipPipPip
  • 891 posts
  • Location: Dundalk

Posted 03 June 2014 - 11:25 AM

Got about an hour of work done on the car this evening. Started taking off interior items and bagging them up to keep some kind of order.


Door cards are a bit flimsy, seems like they may have got wet at some stage, so planning on replacing the backing board and hopefully I can salvage the leather covers, as they are in really good condition.


Also started to disassemble the dash. Some interesting methods went into the creation of this by the previous owner, I'll let the pictures do the talking.


14150020179_973b308aef_b.jpg20140603_172212


14356872733_863052d462_b.jpg20140603_172218


14333345491_11f016ca1d_b.jpg20140603_172223


14334995222_7c28c85c77_b.jpg20140603_175617


14334997712_01afc83790_b.jpg20140603_175642


The plan is to hopefully have the interior stripped out come the end of the week, and hopefully have a design drawn up for the new dash.


#9 LosLandenos

LosLandenos

    Stage One Kit Fitted

  • Noobies
  • PipPipPip
  • 75 posts
  • Location: Gothenburg

Posted 03 June 2014 - 11:32 AM

Just tare it all out.. Gut it. ;) Or as we say in sweden "no one remembers a coward"


#10 colinf1

colinf1

    One Carb Or Two?

  • Members
  • PipPipPipPipPipPipPip
  • 891 posts
  • Location: Dundalk

Posted 04 June 2014 - 01:06 AM

Been tossing up some ideas for my dash. I'm thinking brushed aluminium.


14341473005_3f7fb35db8_b.jpgkey4503.462


#11 colinf1

colinf1

    One Carb Or Two?

  • Members
  • PipPipPipPipPipPipPip
  • 891 posts
  • Location: Dundalk

Posted 05 June 2014 - 01:18 AM

14162281880_b6c20c16cf_b.jpgdashmockup


Photoshop mock up of my initial design.


#12 colinf1

colinf1

    One Carb Or Two?

  • Members
  • PipPipPipPipPipPipPip
  • 891 posts
  • Location: Dundalk

Posted 05 June 2014 - 04:15 AM

14162942969_c6fbf3e7bb_b.jpg


Got my bonnet hinge arms cut out today. Will test fit them later, then prime them.


Unsure about my Leyland logo now, and undecided on to go Aluminium or Stainless Steel. But I'm a long way from being at a stage where I'd be fitting a dash. Rest of the interior is coming out tonight (hopefully) then see what condition the floor pan is in. Seats are in good condition, small rip in drivers seat and rear bench, but hoping I can get them patched or re-glued.


Have removed the instrument switch panel, the on/off switch wasn't wired up, no wires there for it.


I have my list of matching toggle switches to replace the originals. Couldn't find an Off-On-On switch, but found an On-On-On switch that should work instead. Also found a momentary switch for the window washer that matches.

I also want to wire in a hazard light switch as it doesn't seem to have one?


#13 colinf1

colinf1

    One Carb Or Two?

  • Members
  • PipPipPipPipPipPipPip
  • 891 posts
  • Location: Dundalk

Posted 05 June 2014 - 11:44 AM

Got another hour at the car this evening. Managed to get the front seats out, seatbelts and also lifted the carpet.


Rear footwells look perfect, no sign of any rust. Front carpet on the passenger side was damp, so when I lifted it, there was a bit of water underneath. Im not sure if its been there long, although there is a small gap in the front quater window seal, and there was quiet a downpour when I picked the car up last weekend, maybe that could be where it came from.


There is a bit of surface rust, but all seems to be pretty solid. The floor looks a bit bumpy compared to the back, as if it could have been jacked up on the wrong spot.

Next up is the rear seat and side lining. Trying to salvage as much as possible rather than replacing.


Carpet was beyond saving, rear was made up of several pieces, glued together, held in place with a few dabs of silicone. Bagging and noting all pieces as I take them off to save confusion when reassembling comes along.


Seats in pretty good condition, Leather, Foam and Frame


14328039806_4331f699a0_b.jpg


Bagging and Labling


14347834601_9698416338_b.jpg


Rear Floor Pan


14349602992_e17ee6a7de_b.jpg

14371358583_dd4fe6b766_b.jpg


Front floor pan

14164579360_f45c1fe78d_b.jpg

14164588540_b1b11b0c50_b.jpg


Door card removed

14164690267_aaa4d8fd3d_b.jpg


Looking forward to getting the rear seat out tomorrow and showing some pictures. From what I can see from the boot, the panel has been removed and replaced with 3/4" chipboard, with two 12" holes for subwoofers.


#14 Amoc_chrisj

Amoc_chrisj

    Learner Driver

  • Noobies
  • PipPip
  • 22 posts
  • Location: Aberdeen
  • Local Club: Aberdeen Mini Owners club

Posted 05 June 2014 - 04:39 PM

Nice clubby you have there, I've got a 1978 S here in the UK..

On my panel there's a rocker switch for the rear heated windscreen where your mystery on/off switch was. No hazard switch either.

#15 Dr.Wylde

Dr.Wylde

    Learner Driver

  • Noobies
  • PipPip
  • 23 posts
  • Location: North Otago

Posted 05 June 2014 - 07:39 PM

hey are those aussie spec front seats reclinable?


1 user(s) are reading this topic

0 members, 1 guests, 0 anonymous users