Where abouts do u use for your aquablasting.
Looking really nice. A lot of time and effort spent. Brill job on the motor.
Fancy doing mine lol


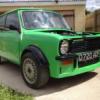
1976 British Leyland Mini Restoration "tiny"
Started by
Covert
, Jun 02 2014 07:42 PM
148 replies to this topic
#91

MINIMADrt
-
- Members
-

- 465 posts
Speeding Along Now
- Location: oxford
- Local Club: none at mo
Posted 28 March 2015 - 02:40 PM
#92
wingnut
-
- Members
-
- 464 posts
Speeding Along Now
- Location: bury st edmunds
Posted 28 March 2015 - 05:47 PM
Those wheels look fab.What colour is tiny gonna be?
#93
slidehammer
-

- Members
-
- 1,197 posts
One Carb Or Two?
- Location: Surrey
- Local Club: LSMOC
Posted 28 March 2015 - 07:42 PM
This looking really good, love the finish you got on the black parts
#94
Covert
-
- Members
-
- 526 posts
Super Mini Mad
- Location: Northampton
Posted 28 March 2015 - 08:02 PM
Where abouts do u use for your aquablasting.
Looking really nice. A lot of time and effort spent. Brill job on the motor.
Fancy doing mine lol
Thanks matey, i use this place
http://www.automotiv.../bead-blasting/ they are meant to be good at A series engines too.
Wiper motor has taken the most amount of time but i think it was worth it
#95
Covert
-
- Members
-
- 526 posts
Super Mini Mad
- Location: Northampton
Posted 28 March 2015 - 08:03 PM
Thanks wingnut!Those wheels look fab.What colour is tiny gonna be?
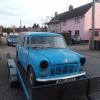
Started off in my head as old english white (so cream lol) with a white roof , but thinking more old english white all over now, im sure it will change again before he is finished !
#96
Covert
-
- Members
-
- 526 posts
Super Mini Mad
- Location: Northampton
Posted 28 March 2015 - 08:06 PM
This looking really good, love the finish you got on the black parts
Thanks dude, im a bit of a perfectionist .
#97
JewSkii
-

- Members
-
- 218 posts
Mini Mad
- Location: Melbourne
- Local Club: Looking For One
Posted 01 April 2015 - 01:42 AM
Amazing work i love the rocker cover looks amazing. i think that you should get the lettering on the top the same colour as your body / eng block just an idea 
#98
Covert
-
- Members
-
- 526 posts
Super Mini Mad
- Location: Northampton
Posted 01 April 2015 - 05:09 AM
Good plan !
#99
Shifty
-

- Admin
-
- 13,147 posts
Sponsored by Fosters (tm)
- Name: Sean
- Location: Shropshire(sunny)
- Local Club: TMF
Posted 09 April 2015 - 06:37 PM
12 months tomorrow is when I dropped him off to you!!!
#100
Covert
-
- Members
-
- 526 posts
Super Mini Mad
- Location: Northampton
Posted 09 April 2015 - 07:12 PM
Blimey time flies !
Better crack on with the body , another update on its way soon !
Cheers !
Better crack on with the body , another update on its way soon !
Cheers !
#101
Covert
-
- Members
-
- 526 posts
Super Mini Mad
- Location: Northampton
Posted 26 April 2015 - 01:07 PM
so over the last month or so i have been building a frame to sit under the mini, i bolted the subframes back onto the body and lowered it on the frame , made sure it was all completely level and bolted the subframes to the frame, removed the body and now have the perfect platform to start the body build.
cant completely "start" yet as im waiting for some new front subframe mounts but its getting there.


drivers side inner wing fits a treat but the passenger side will need looking at as its catching on a few bits that need fettling.
found a reverse rim to act as my spare so thats a bonus as i now have x5!
and had it powdercoated gloss black like the rest.

sandblasted and rebuilt my radius arms and then painted.

all hubs/arms have been blasted and painted.need new bearings for these ....

managed to source a Genuine quarter panel from evil bay


thats all for now folks , excited to finally start the body, my plan is all genuine panels but we will see how far the budget stretches .
#102
Covert
-
- Members
-
- 526 posts
Super Mini Mad
- Location: Northampton
Posted 26 April 2015 - 01:48 PM
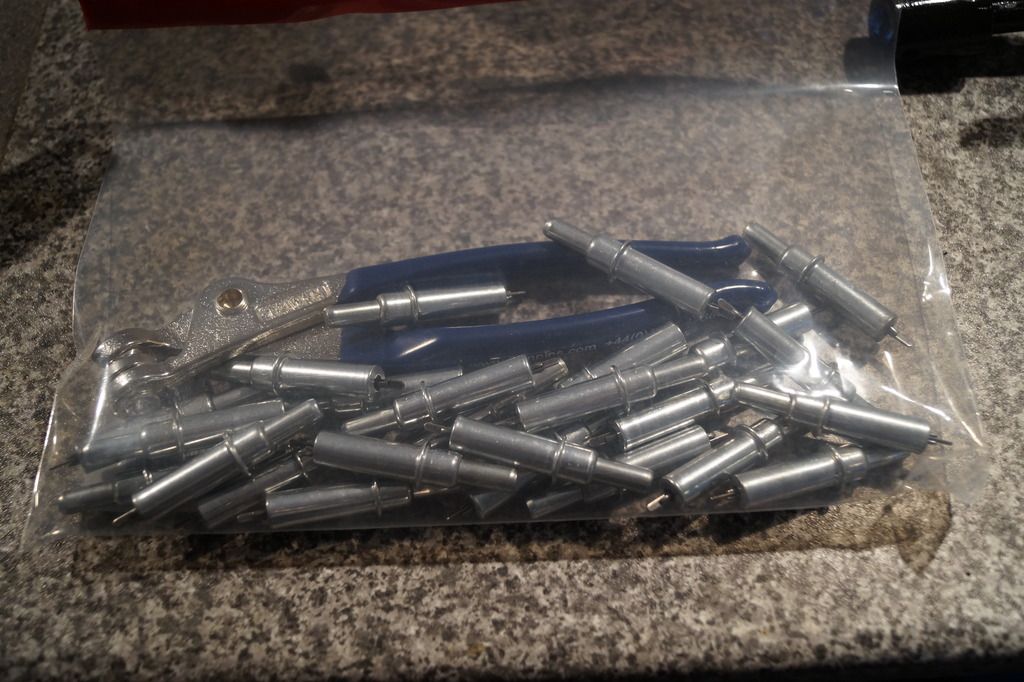
Oh forgot my new clecos !

#103
Covert
-
- Members
-
- 526 posts
Super Mini Mad
- Location: Northampton
Posted 16 May 2015 - 01:28 PM
still collecting panels folks!
new companion bin !


and O/S heritage quarter panel, waist rail , and arch closing panel.

FINALLY STARTED WELDING!
May not be much but the healboard is fully welded to the back of the floor!


next job is to bolt the rear subframe back on the jig and bolt it to the healboard , then start with the floor to bulkhead join.

all comments welcome........
#104
Ben_O
-

- Paint Doctor
-
- 9,794 posts
Mill Road Garage
- Location: Isle of Wight
Posted 16 May 2015 - 02:58 PM
That's a good start.
It's a great feeling when a pile of metal panels come together and start resembling a car.
Exciting stuff!
Ben
#105
Covert
-
- Members
-
- 526 posts
Super Mini Mad
- Location: Northampton
Posted 24 May 2015 - 08:47 AM
so i started off by cleaning the panel coat off the lip of the bulkhead and coating in zinc primer..

drilled quite a few holes in the end of the floor panel!

turned the floor over and ground off the sharp bits and panel coat and covered in zinc.

i have been welding it together the last week or so , just got over the tunnel to do, more pics when its finished.....
and bought some more panels!
top dash rail.

and rear panel, it had been partly welded to a shell, but was very cheap considering the price of a new one , also the parcel shelf is better condition than mine , needs some work but will be fine i think.......


started on it by removing what was left of the top of the rear seat.


all comments welcome folks!


0 user(s) are reading this topic
0 members, 0 guests, 0 anonymous users


