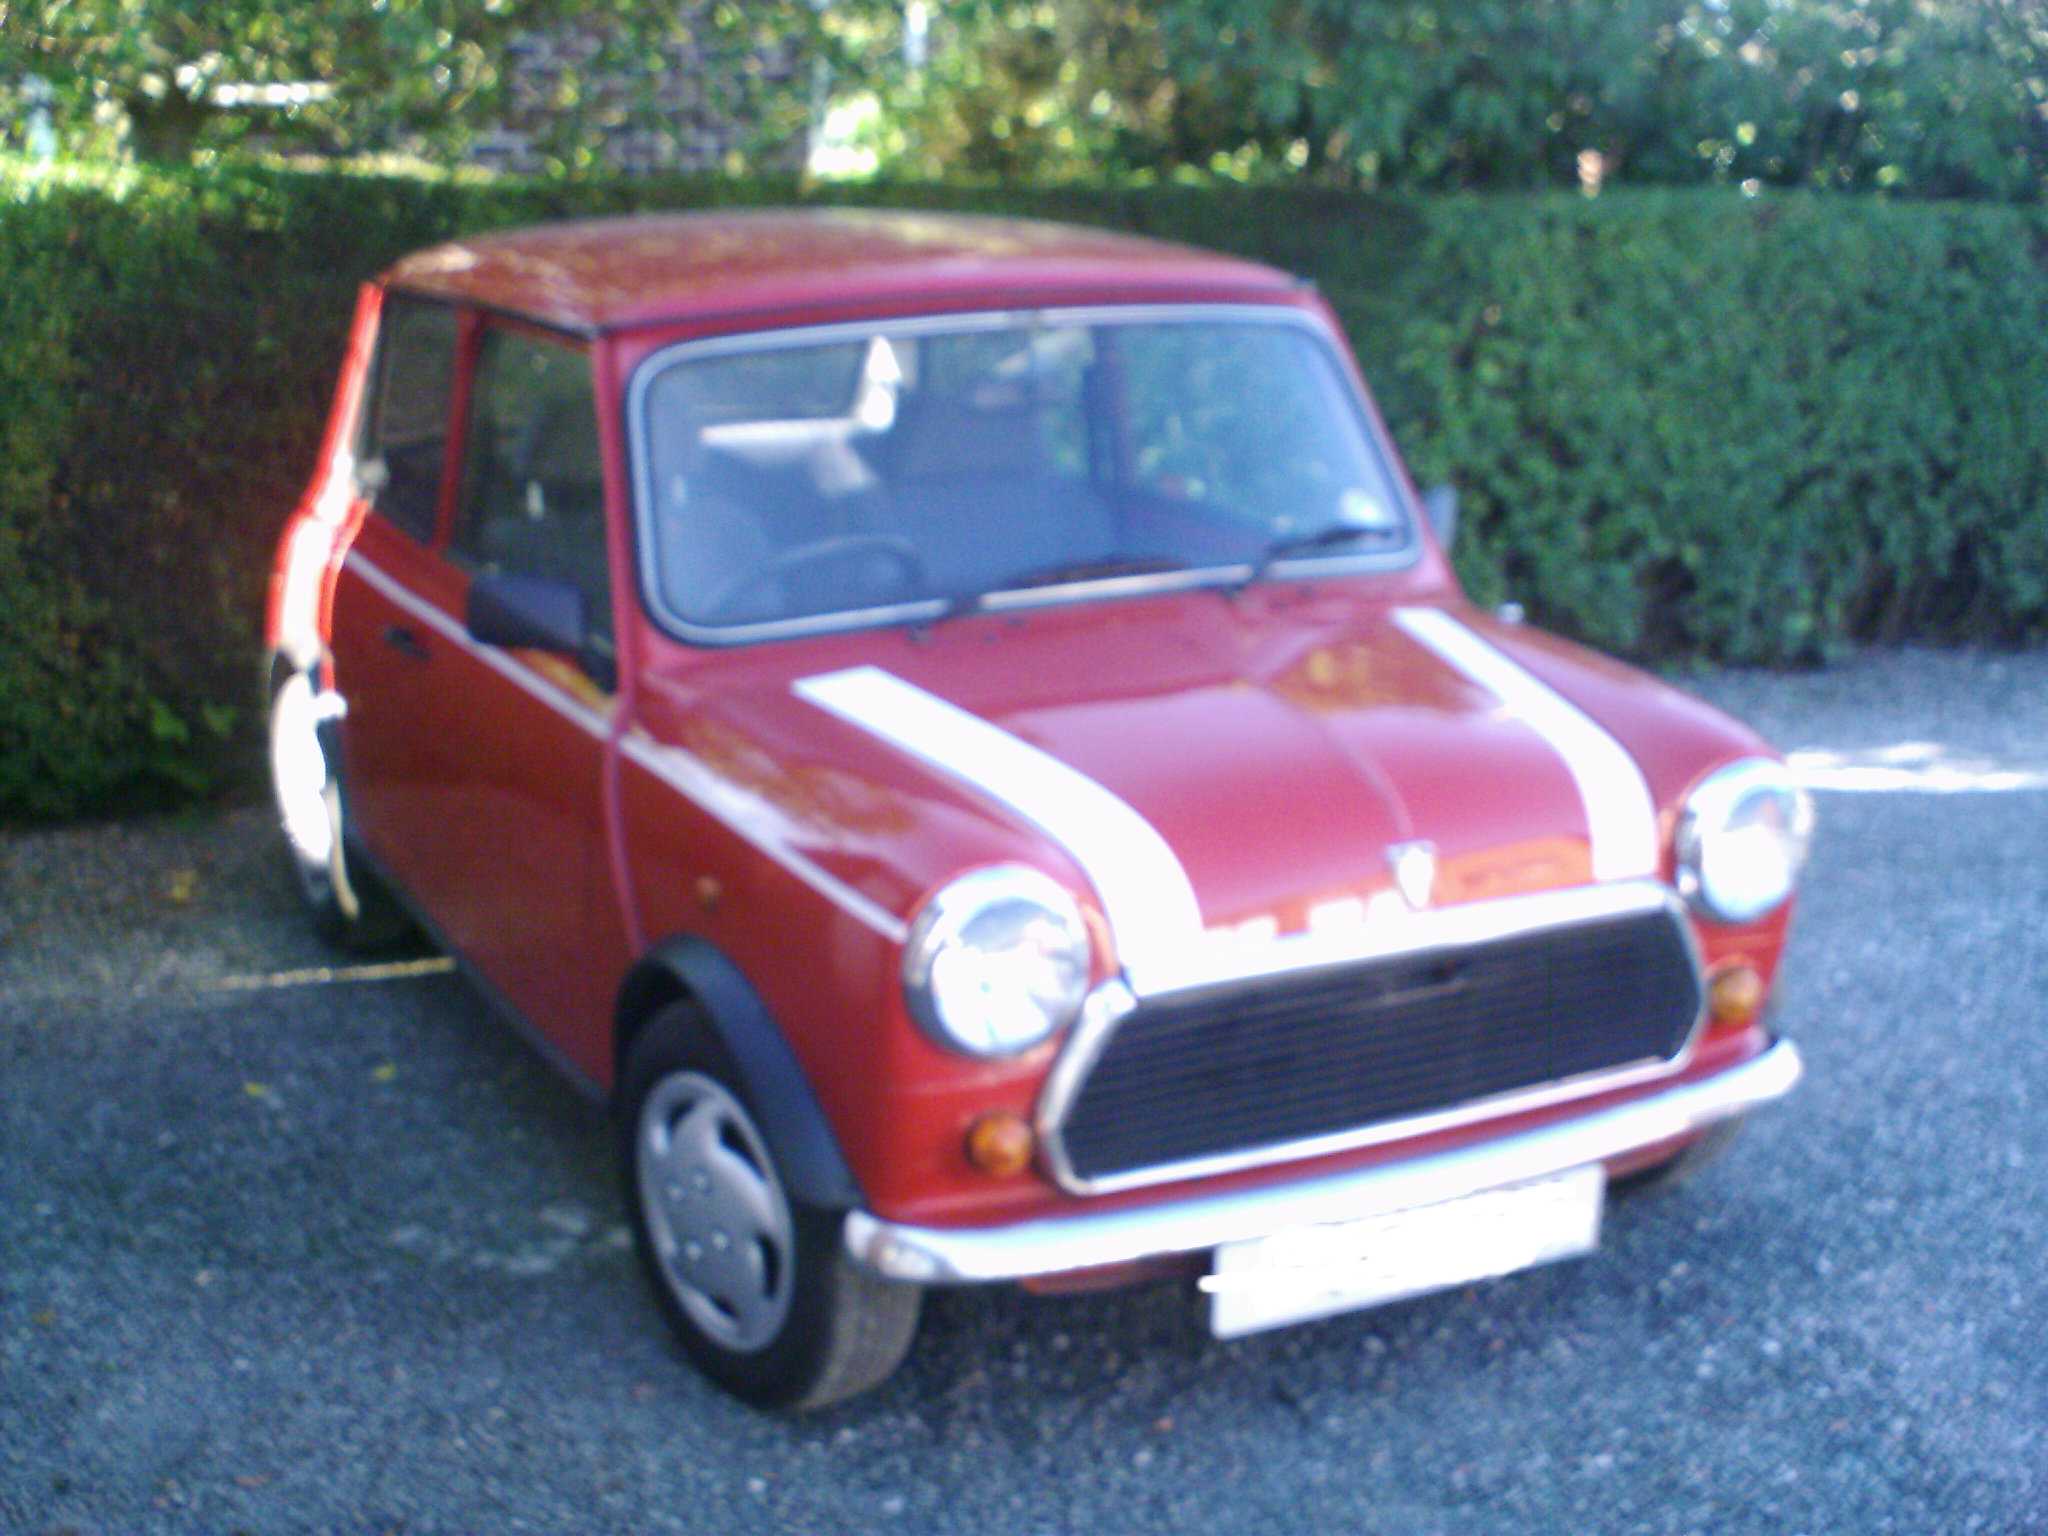
chrome trim problem...
#1

Posted 16 July 2004 - 05:19 PM
many thanks to anyone who can help!
#2

Posted 16 July 2004 - 09:09 PM
#3

Posted 16 July 2004 - 09:38 PM
how does the soapy water part work?Wet it, put it on on a hot sunny day with lots of soary water like fairey liquid.
#4

Posted 16 July 2004 - 10:28 PM
#5

Posted 17 July 2004 - 07:04 AM
#6

Posted 17 July 2004 - 09:03 AM
#7

Posted 17 July 2004 - 01:06 PM
#8

Posted 17 July 2004 - 05:26 PM
to fit this you need to get it warm and plyable , in the garage we use an infared heat lamp , it takes about 20 mins to warm up , then you start at one end pressing the trim over the edge , it is easier to go around the arch against the curve of the trim as the curve at the bottom where it meets the sill is a tighter curve , we use a pop rivet at each end to stop the peeling off of the trim (a small self tapping screw would do ), you might be able to use a bucket of hot water to warm the trim , put it in whilst it is still wound up as you need the whole trim heated to the same amount , the job only takes 1-2 mins per side .
P.S. dont use soapy water as this will make it slippery and slip off easier , you need it to grip !
#9

Posted 17 July 2004 - 09:28 PM
Just put gloves on, takes 5 min tops with hot water.
#10

Posted 18 July 2004 - 08:04 AM
Dont think youve read it corectly :grin:You wont know about soapy water, as it is a trade secret! also it cleans the car up nice too, cleans off grubby glovemarks in the process, wont affect paint like heat might if used carelessly. The soap acts as a lubricant, slides on well quick no hassle.
Just put gloves on, takes 5 min tops with hot water.
(or i havent explaned well) :sad:
the heat (in the form of a bodyshop infared paint drying lamp) goes only on the plastic trim , not the car !
as most people dont have one of these lamps , a bucket of hot (not boiling) water may do , leave the trim in untill it is plyable (soap here may be benificial i have not tried it with soap , never needed to) .
I first fitted a chrome side trim to a mini in my first week as an apprentice at the age of 15 , that was 27 years ago .
trade secrets .. Ive heard them all
but i am still willing to learn :smartass: , next time i try it with soap :grin: .
#11

Posted 18 July 2004 - 05:53 PM
#12

Posted 19 July 2004 - 03:21 PM
In think a few people might find doing this difficult.
#13

Posted 19 July 2004 - 07:15 PM
#14

Posted 19 July 2004 - 09:47 PM
Partial success this evening - I couldn't get it on in one strip, because there is paint build-up from where the car was respayed many years ago on the turns at the bottom of the wheelarches, which made the sill edge just a bit too thick. Consequently the trim kind of buckled when I forced it on. So I've had to settle for 2 bits per side over the wheel arches and one bit along the bottom of the sill thus leaving gaps of a few inches on the sharp turns of the bottom of the wheelarches. This was how the original trim was fitted, so me thinks previous owner had same problem.
However, it looks much better than no trim at all, and I went for a spirited drive afterwards and none of them fell off, which is 100% improvement over the old trim. Also after driving the mini I felt much better generally...
The hot soapy water worked really well (thanks guys) and made it much easier to bend the trim to the right shape. My only complaint is that I have two sore thumbs from pressing it all on!
Given that I only live half a mile from Minispeed in Byfleet, when I get fed up of looking at the gaps, I'll probably take it down there and get a professional job done on it....
When reading this, please bear in mind I'm a complete novice, this is my first mini, and I've only had it a week.
#15

Posted 20 July 2004 - 10:13 PM
1 user(s) are reading this topic
0 members, 1 guests, 0 anonymous users


