Jump to content


Photo

Inner Sills Replacement - Overlap Or Butt Weld?


  • Please log in to reply
7 replies to this topic

#1 ozz1

ozz1

    Mini Mad

  • Noobies
  • PipPipPipPip
  • 141 posts
  • Location: Guildford

Posted 24 February 2016 - 02:15 PM

inner sill panels arriving soon, wondering whether to try and butt weld them or overlap them slightly - was thinking I could put the new inner sill panel beneath the old floor that way if the floor is a bit thin in places I have the over lap from the new sill underneath to stop any holes blowing through...would also then weld the overlap underneath the car for more strength? 


Guessing I've just got to make sure the overlap from the inner sills is lower than the bottom of outer sills so I'm not welding on weld..


any advice appreciated


Oscar


#2 sonikk4

sonikk4

    Twisted Paint Polisher!!!

  • Admin
  • PipPipPipPipPipPipPipPipPipPipPip
  • 16,036 posts
  • Name: Neil
  • Location: Oxfordshire

Posted 24 February 2016 - 03:23 PM

Personally I butt weld my inner sills. However on a friends car I gave him the choice of how he wanted them doing and he opted to have the floor joggled then seam welded. So on the underside of the car it was seam welded then ground flush so the the underside looked standard.

On the inside I did a series of seam welds which were dressed back and seam sealed.

It really does depend on how good you are at welding.

#3 pete l

pete l

    One Carb Or Two?

  • Members
  • PipPipPipPipPipPipPip
  • 1,369 posts
  • Location: East of France

Posted 24 February 2016 - 05:39 PM

Which method would be stronger ?

#4 sonikk4

sonikk4

    Twisted Paint Polisher!!!

  • Admin
  • PipPipPipPipPipPipPipPipPipPipPip
  • 16,036 posts
  • Name: Neil
  • Location: Oxfordshire

Posted 24 February 2016 - 09:15 PM

Over lapping with seam welding on both side will be stronger but if you have proper penetration of the welds then butt welding will be as strong

#5 pete l

pete l

    One Carb Or Two?

  • Members
  • PipPipPipPipPipPipPip
  • 1,369 posts
  • Location: East of France

Posted 25 February 2016 - 08:56 AM

OK, i'm new to welding, how do I know if I have correct penetration when welding ?


Pete.


#6 dyshipfakta

dyshipfakta

    Camshaft & Stage Two Head

  • Members
  • PipPipPipPipPipPipPipPip
  • 1,696 posts

Posted 25 February 2016 - 09:18 AM

Look at the reverse off the weld. You want the weld to melt both sides of the metal. If you new practice on scrap first for a while to get everything tied down. There are plenty of vids n stuff on the Internet.

#7 tiger99

tiger99

    Crazy About Mini's

  • Members
  • PipPipPipPipPipPipPipPipPipPip
  • 8,584 posts
  • Location: Hemel Hempstead

Posted 25 February 2016 - 09:57 PM

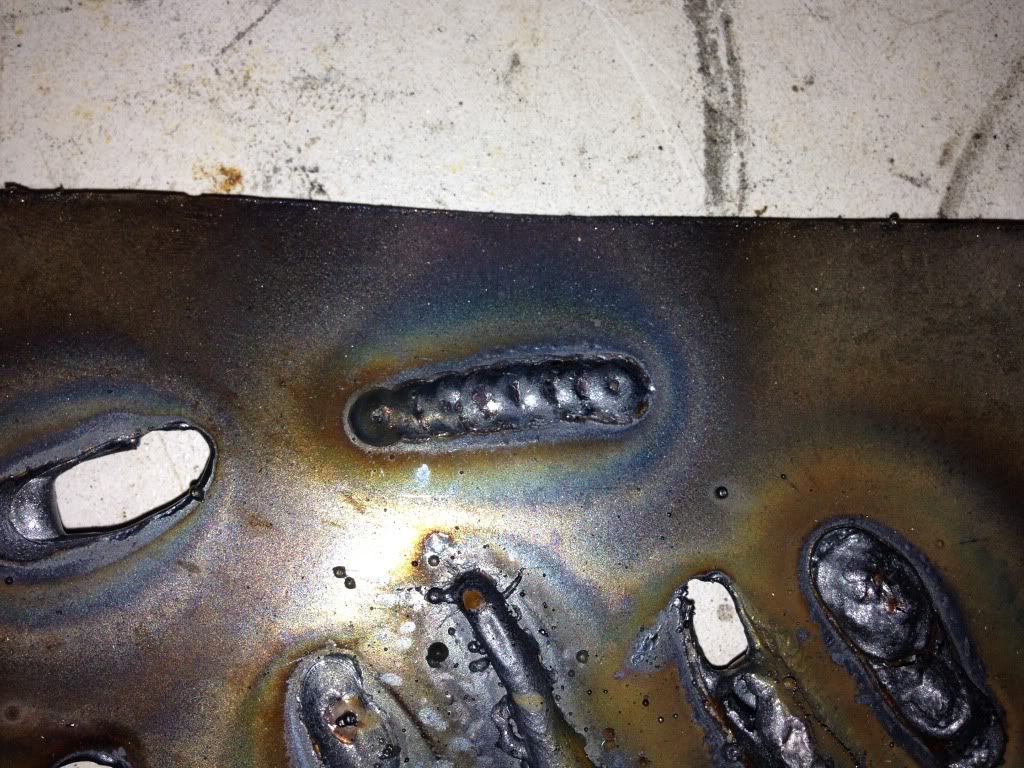
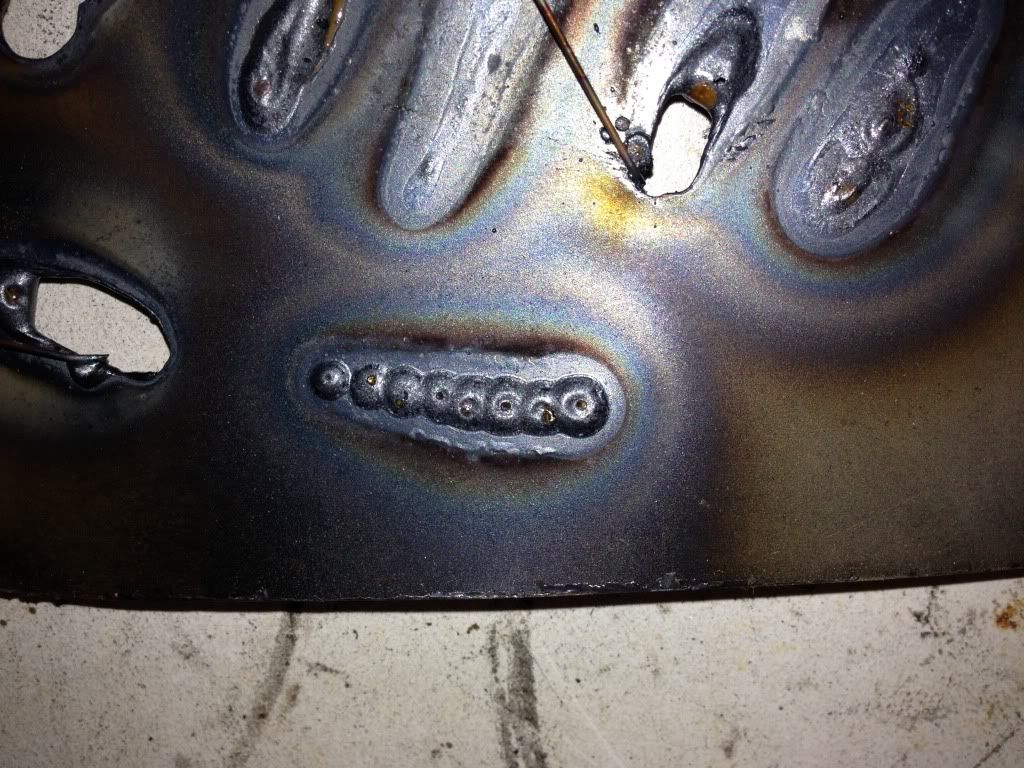
If you are having any difficulty with butt welds, try a copper backing bar. Don't try any other metal, except silver, as bad things of various different kinds will happen and ruin the weld, or you, or both.


Some use a flat bar, and when the weld penetrates properly, the back side will be left flat, almost. Others use a grooved bar, and allow a small bead to form on the back, which is good. For serious production line welding a water-cooled backing bar is used. If you use say 6 inches of 6x30mm copper, or better, 8x30, and do a 6 inch run at a time, just dunk the hot bar in a bucket of cold water and dry it off after each run.


Molten steel does not stick to copper. The high thermal conductivity of copper (or silver, if you dare to sacrifice the family silver!) conducts most of the heat away from the joint, allowing plenty of heat to be applied to get good penetration without burnthrough or having it all collapse in a heap. It eliminates the need for the "thin metal technique" of basically laying down multiple separate blobs instead of a continuous bead. Because the heat is localised right on the joint line, so is the thermal expansion and subsequent contraction. You may still have to hammer and dolly the joint line after welding to stretch it as much as it shrinks on cooling, but it will be a lot less work than the usual case.


#8 sonikk4

sonikk4

    Twisted Paint Polisher!!!

  • Admin
  • PipPipPipPipPipPipPipPipPipPipPip
  • 16,036 posts
  • Name: Neil
  • Location: Oxfordshire

Posted 25 February 2016 - 10:49 PM

An ideal weld is this

IMG_1118.jpg

The one at the top is the pulse weld method and this is on 0.9mm thick steel, the lower picture shows the penetration on the other side.

IMG_1120.jpg


The other welds were used to show what happens if you try and seam weld on thin metal, holding the torch on too long etc


1 user(s) are reading this topic

0 members, 1 guests, 0 anonymous users