Sorry to the OP for going OT.
I bought a replacement sender from minisport (correct one for my clubman) but I still had to spend an hour or so fitting, checking what the gauge said, removing sender and bending the float arm, refitting, checking gauge, removing sender, bending sender arm, etc etc etc. Kinda got there in the end, probably could do with another tweek, the boot and myself stank of fuel at the end and spent an age cleaning everything but can still smell a faint whiff!
Good work for going to that kind of trouble, but there is actually an adjustment on the sender itself for this.
There's also bottom end and top end adjustments on the factory fuel (and temp) gauges too, but first thing is to get the sender right.
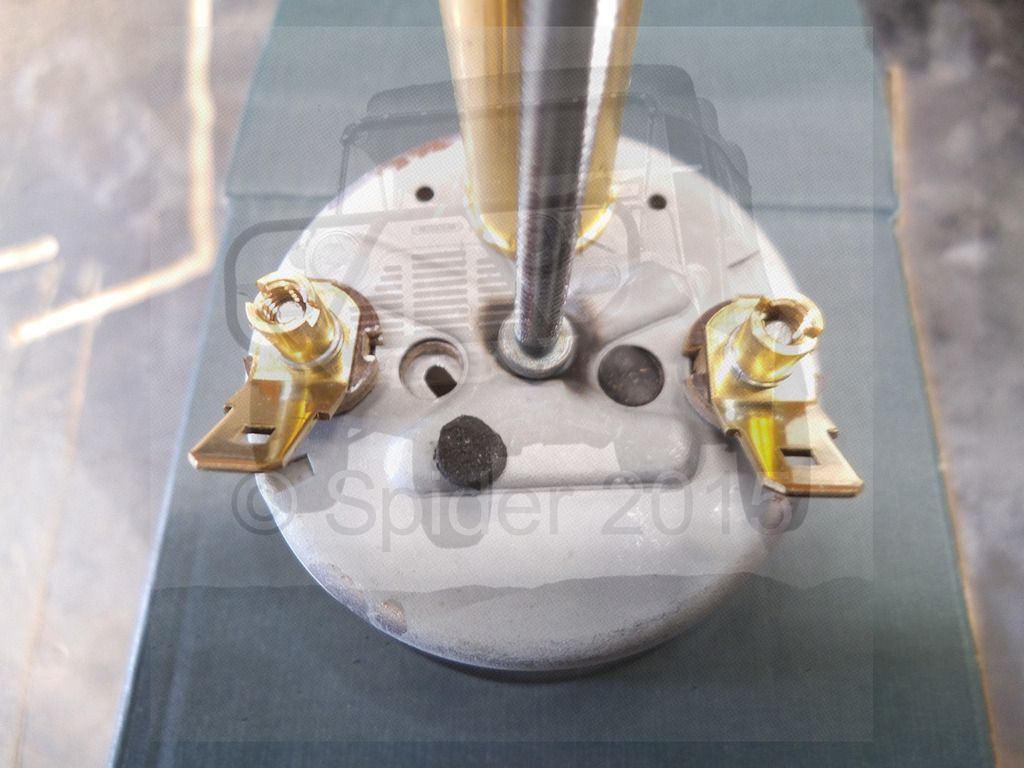
If you look on the other side of the body from where the float wire comes out, there's slot head screw, they used to be brass, but now nylon, that's it. It's a friction device to set the relationship between the angle of the arm and the wiper of the resistor internally. You can see it poking out on the can on this sender

Here's a couple of pics of a conventional (loose) gauge showing the adjusters, the Central Gauge and Tripple Clock Set are the same (though I can't recall with the later Nippon sets)
and inside
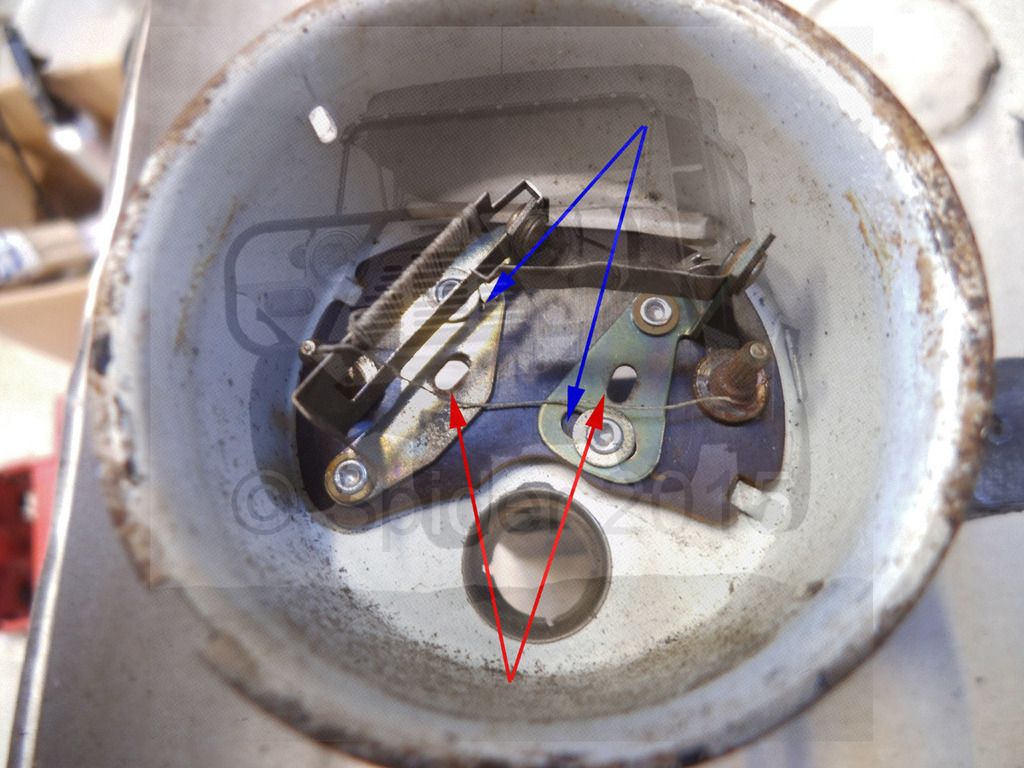
the red arrows showing there the screw driver would be inserted and the blue ones the slides that move to allow for the adjustment, though, it's all done from the back.