On my 1994 Mayfair the 3 clocks are fixed in place with the usual bracketry that is bolted to the bulkhead. They are not fastened to the wooden dash.
When you install the wooden dash the clocks line up with the three holes in the dash.
It is installed as one piece.
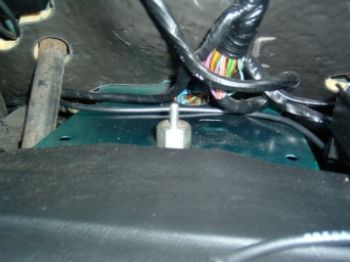
There should be a strip of foam about 25mm thick , you can see the remains it on the black centre bracket. This supports the radio when it is installed.
I currently have the dash out.
If you're not desperate to do the job I could get some pictures of the dash and car the next time I'm in the garage.
These bits of ventilation pipe (as an example):
http://www.ebay.co.u...dkAAOSw6DtYT-bT
fit between the bulkhead ventilation holes and the holes on the wooden dash, the eyeball ventilators the fit onto the dash.
Edited by MikeRotherham, 14 March 2017 - 08:27 AM.