**Mods, if this is in the wrong place, feel free to move it!**
Hi Guys and Girls!
So today I made myself a leather fuel filler bib and posted it in the ‘Things you did to your mini today’ thread. I asked for people to let me know if they interested in how I made it and would like a guide on how to do it themselves but I decided to do one anyway as I have nothing better to do whilst waiting for my takeaway on a Saturday night  .
.
These apparently seem pretty hard to find without going to Japan so why not give it a go yourself?! All the tools can be picked up very cheap on amazon/ ebay and it would be nice to see some more weirdos like myself doing a bit of sewing in their spare time!
Note; I was making 2 bibs as I have a mock right hand filler cap.
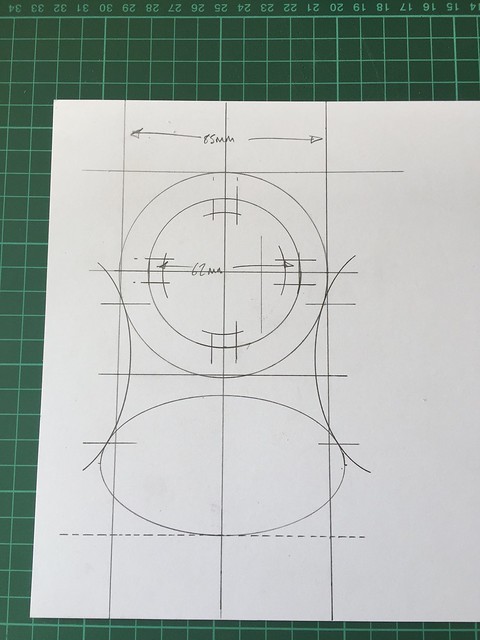
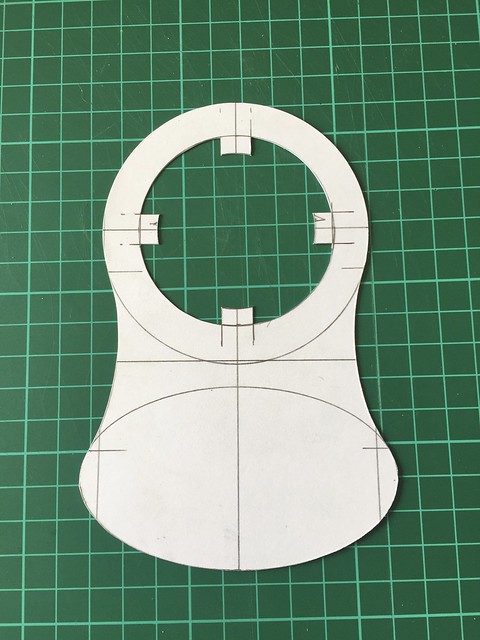
Make a template on thick cardstock:
Cut out said template with a craft knife:
Transfer template onto veg tan leather (reasonably thick) using an awl (or anything with a sharpish point):
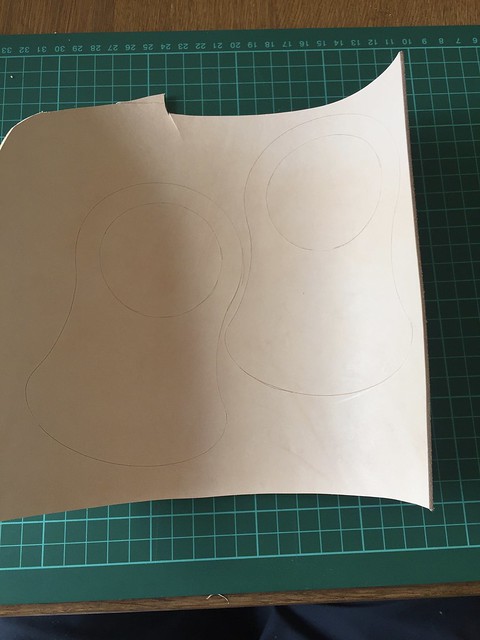
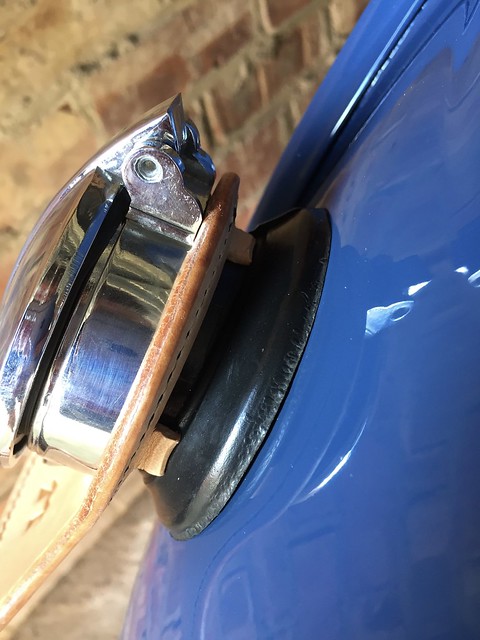
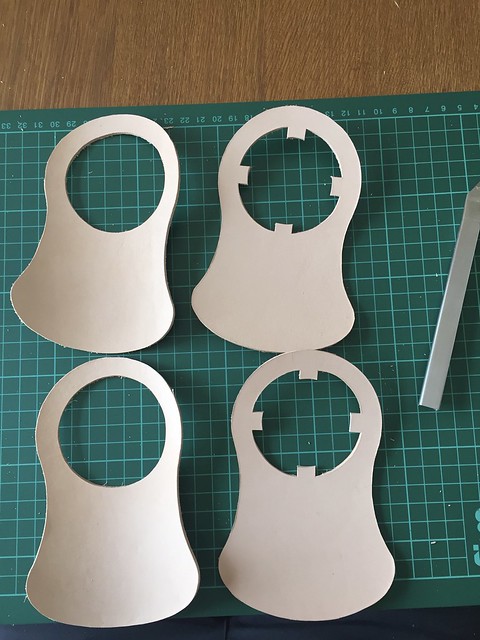
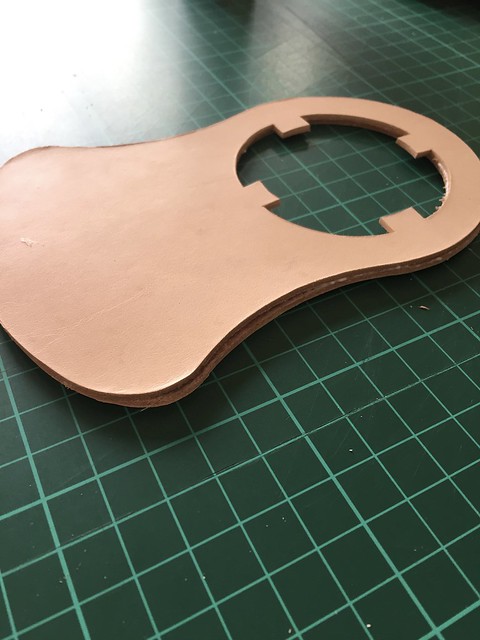
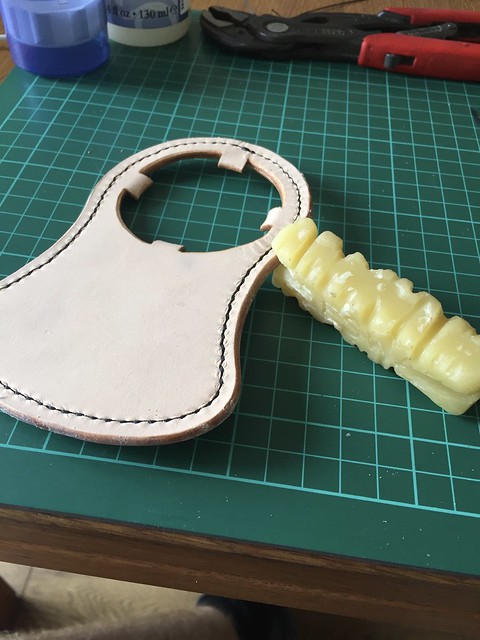
Cut out shapes from leather (note that one side has the tabs to grip the filler neck and the other doesn’t):
Coat the rear (furry side) of the back piece with glue (fabric/ leather glue OR any other glue that will stick two things together) being careful not to get any on the sides that will be on show and stick it to the furry side of the front piece:
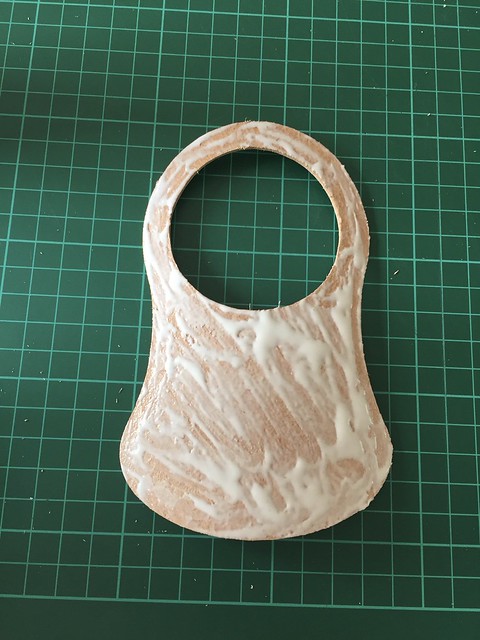
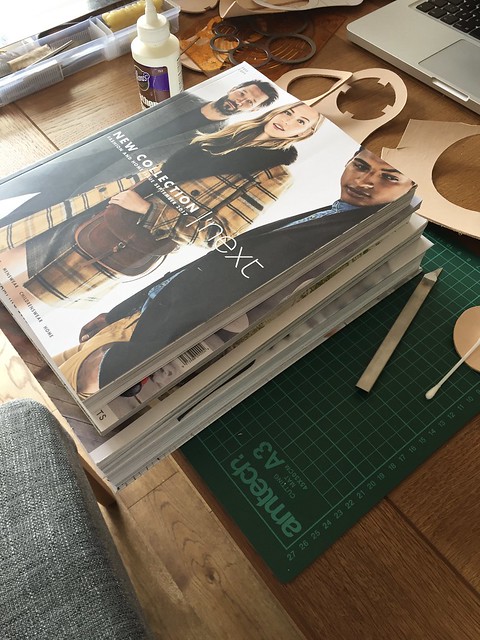
Weight it down and wait for glue to dry:
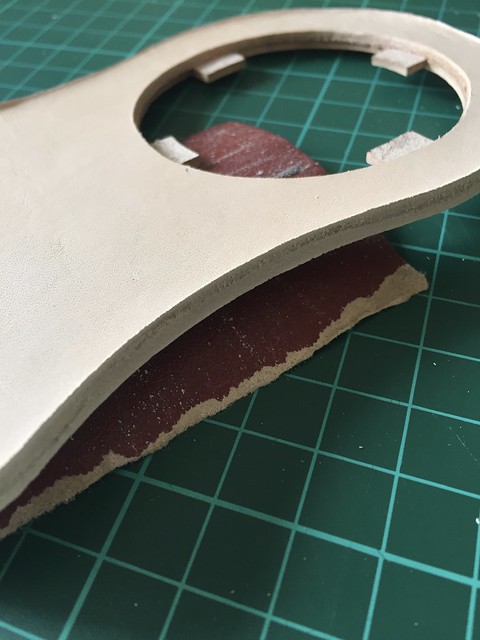
Sand the edges with sandpaper so they are flush:
Mark using a wing divider where your stitches will run:
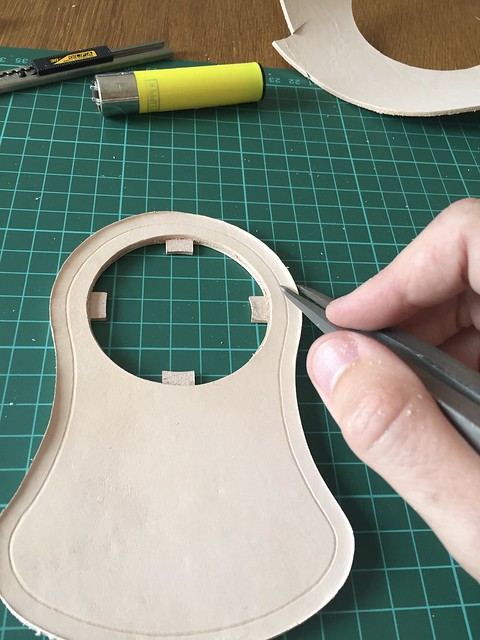
Mark out where your holes will go using a 2 prong ‘stitching chisel’ but do not punch through yet:
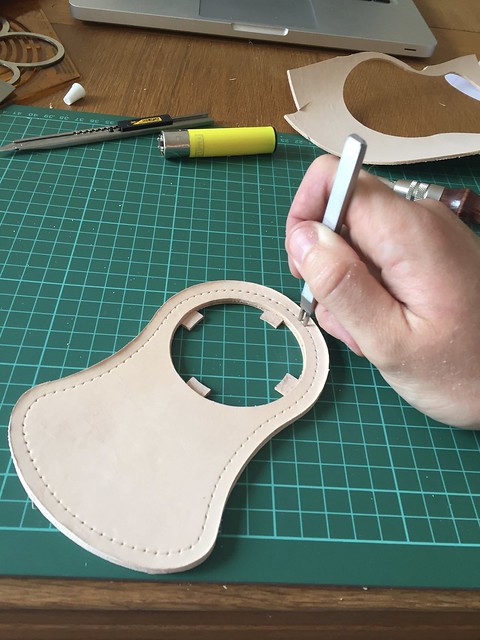
Bevel all of the edges with an ‘edge beveller’:
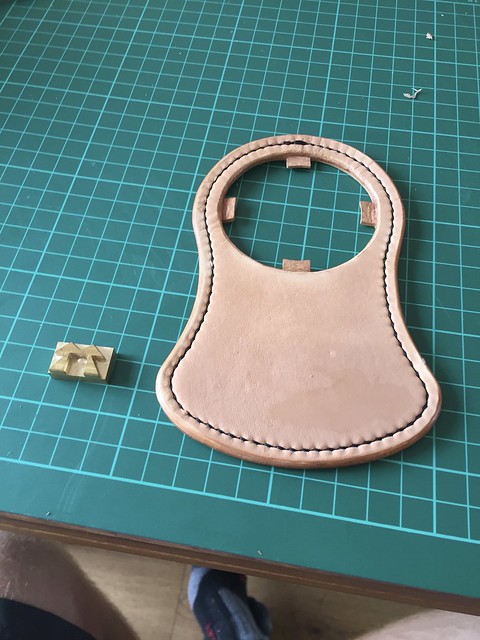
Now punch your holes with your 2 prong stitching chisel and a hammer always placing one prong in the last hole you punched to keep your gaps consistent:
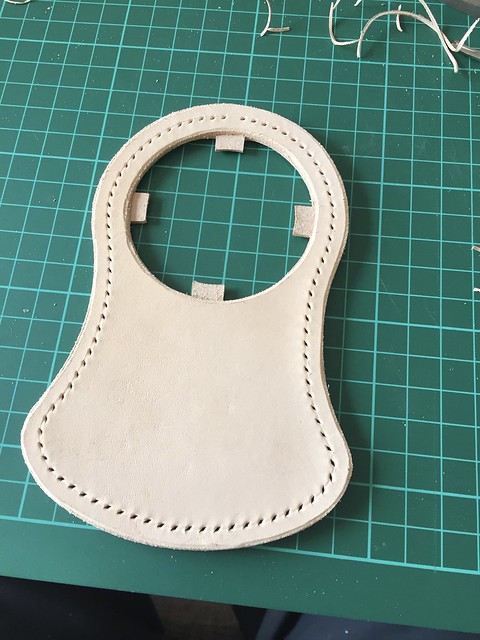
Now it looks like this:
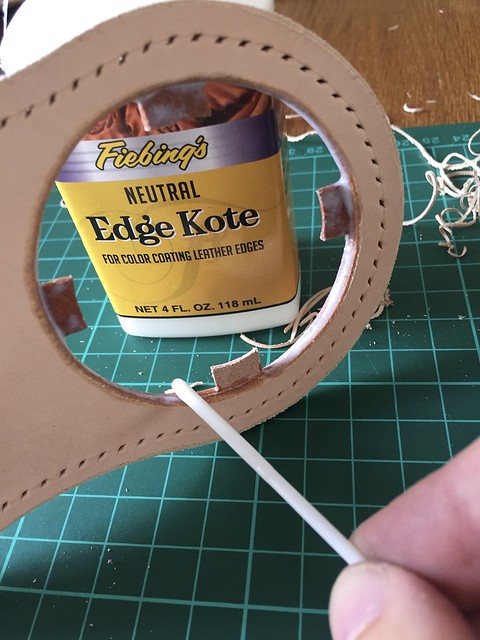
I used ‘edge kote on the inside edges as they would be pretty hard to burnish (you’ll see what I mean later):
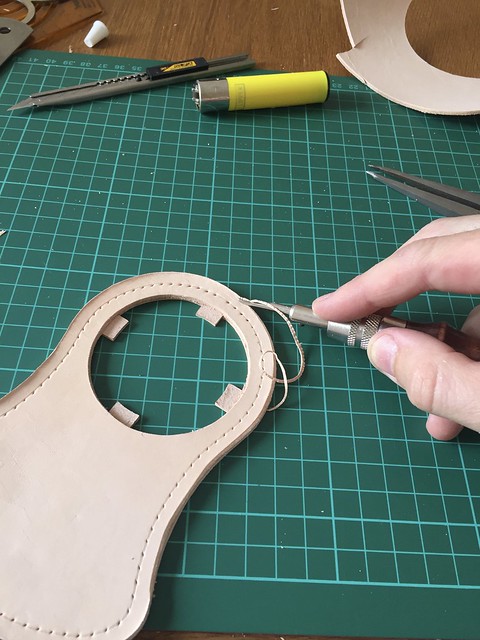
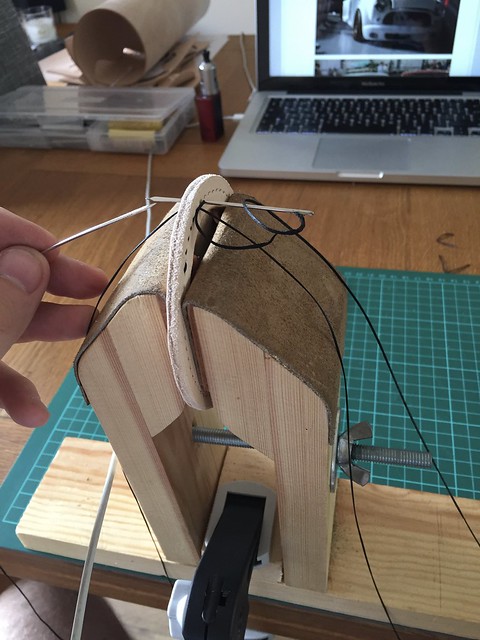
Time to start stitching with your ‘waxed linen thread’. Have a look on youtube on how to ‘saddle stitch as it would be nearly impossible to explain using text. You will also require two very strong needles and something sturdy to hold your workpiece (possibly even a very clean vice with something to protect the leather?):
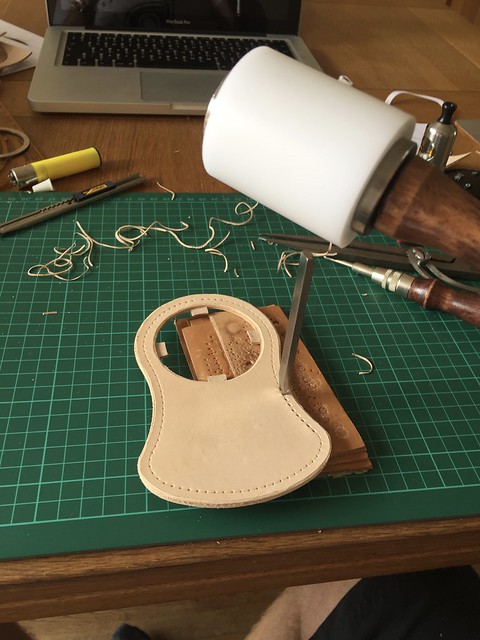
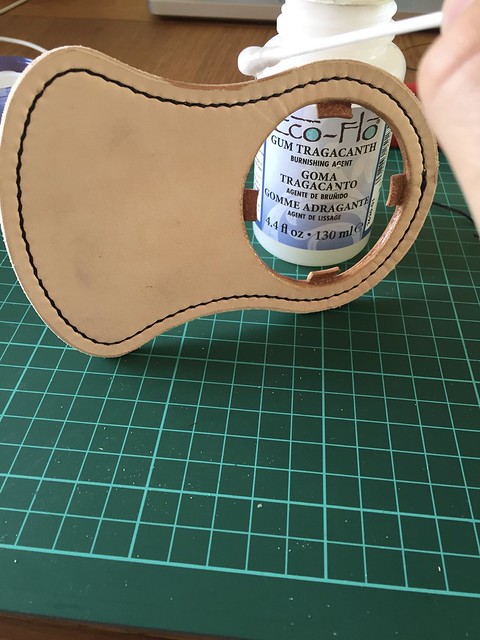
Coat the outside edges in ‘gum tragacanth’ in preparation for ‘burnishing’. I have also been led to believe that saliva does the trick just aswell!:
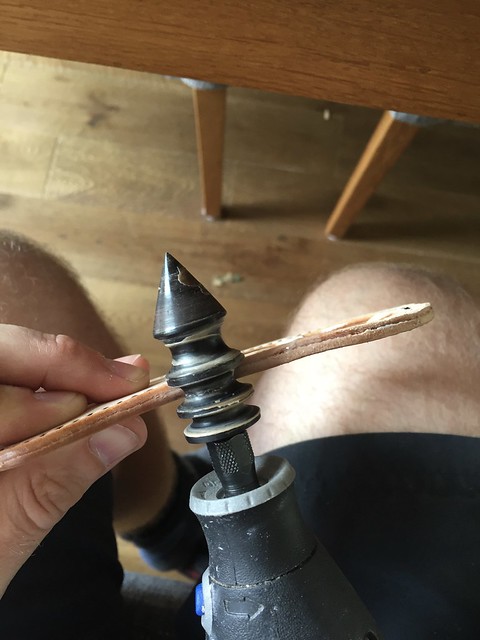
Using your ‘edge slicker’ (or dremmel mounted slicker in my case) rub backwards and forwards on the edge until it smoothens nicely:
Rub the edge with a beeswax block (you can pick these up for pennies) and rub with your ‘edge slicker’ again using the same technique and then give the edges a final buff with a piece of canvass:
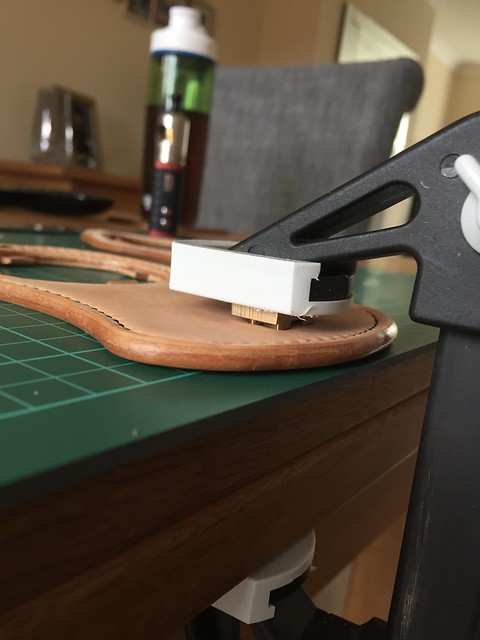
Optional step… If you want to stamp something into your leather, make it very MOIST (not dripping wet) and either use a clamp to press it into the leather or give it ONE hard whack with a heavy mallet and then wait for it to dry fully before the next step: (bonus points if you can guess what my stamp picture is of)
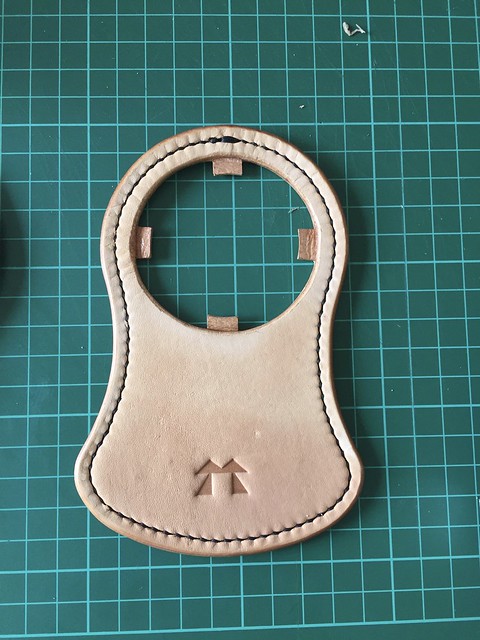
Give it a coat of oil to protect it (extra virgin olive oil works just fine) and you’re done!
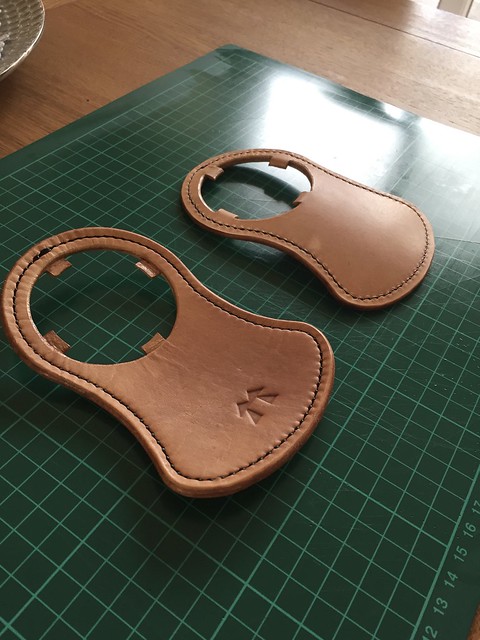
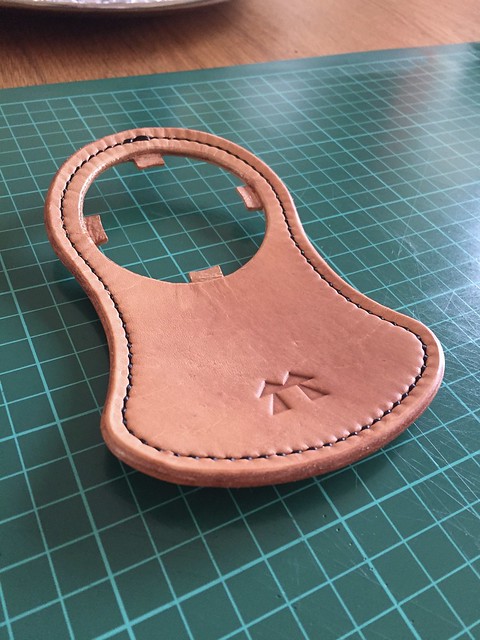
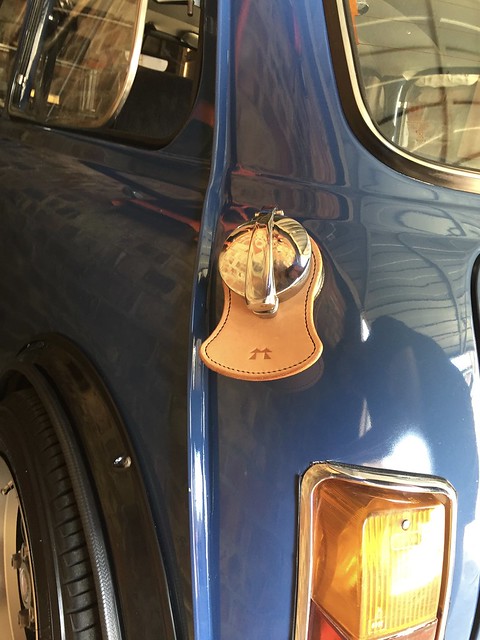
Now you have a lovely hand made leather fuel tank bib!