

Around september last year, i started helping/watching my uncle restore a mk1 cooper he had bought...
Around the end of january this year i decided i loved the mini, and thought id buy my own to have as a project...

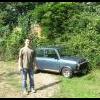
as you can see it was a reasonable car, mot and tax (bit left)
i then proceded to take it apart (i had very little mechanical knowedge at this time)
had some holes in the floor pans
had a cover sill on nearside
medium sized dent in the boot
mucky engine bay, mucky everywhere, as would be expected from a daily used mini that had not been fiddled with..
i used mainly my 16piece kit(or something) socket set from woolworths i got wen i was younger to take most of the interior and external bits off

so, i decided to buy a decent socket set
i also bought 3 angle grinders
a welder - sealey supermig 150
and lots of other things...
i set about removing the cover sill..
spent next few days welding the new proper one on.
i then repaired the footwells. i also resprayed the footwells.
then repaired holes in the boot, i also resprayed the boot.
i decided the front was too rusty, so cut that off.
repaired a massive hole around the drivers side air vent.
repaired behind top shock absorber mounts (totally rotton.)
painted inner wings.
then i had a trip to mini spares (first of many) and spent a grand on parts. bought a new front, including a panels and o/s door (all steel)
Welded front panel to wings and started the removable front process.
i then decided i wanted the car to be black, so a discusion with my uncle, and he agreed to spray the car for me...........(several weeks later, the car was at his house, and painted)
he sorted out the fastenings for the removable front, as i didnt want something as important as that to be done by a novice
i did all the rubbing down, and flattening of the paint
 took forever, but im happy with the results bearing in mind its the first time ive flatted a whole car before!
so once the paint was sorted, the car was towed back to my house, for me to resume work on fitting all the suspension and brakes.
(in this time, i had built and put up a lean to type cover thing, down the side of our house, for my mini to go under, and so i can work in the dry
and dont have ponse about with a stupid cover that leaks, and make my roof rusty  )
)i had decided to leave the inside of the car blue (original colour) (sprayed the car black by the way
) i also left inside the boot blue as i had previsouly sprayed that! so i thought it made sense to leave the bulkhead blue.howver once the car was home, i removed the subframe (opps forgot to mention, we took the engine out at my uncles house, as i have a new engine going in
 ) i then cleaned the bulkhead up, and it was clear it needed repainting.
so after many hours of thought, i decided to paint the bulkhead black, as blue would clash with engine colour
then painted the subframe...
took hubs and discs apart....
painted hubs...
rebuilt hubs with new ball joints and re greased bearings...
fit top and bottom bushes to steering colour... and lowered it..
fit a new steering rack...
brake wise, we decided to go for a nonservoed system, so fit a mk1 stylee brake master cylinder, im going to run the brake pipe trhough the interior and have an adjustable rear brake bias valve.
i bought some 10x6 black revolutions, so got some 7.5" s discs and flanges, minispares alloy 4 pot calipers.
Adjustable bottom arms, adjustable tie rods.
rebuilt top arms..
this is the current stage im at, this weekend hopefully ill be able to fit the whole steering/sus/brake assembely.
i also have to paint the drive shafts, and sort out the pot joints and cv's.
interior wise, i have black vinyle dash rails, with an alloy brushed 3 clock dash face.
forza bucket seats in vinyle.
recovered door cars and rear parcel shelf card in black vinly...
alllll the chrome ******* door handles interior exteroir ect.......
i have the cross member and centre tunnel showing (repsrayed blue) with custom carpet covering the footwels and around the bottom half of the bulkhead.
rear seat lip and bins cut out.
new front windscreen.
i have removed the heater for the time being, to free up space (6ft 1) and clean up the interoir...
right im not sure what ive missed, ive abreviated lots of this, as 1. i cant be bothered to type it all out in detail, and 2. im sure you all dont care

i shall now spend the next 4 hours trying to upload as many pics as i can be bothered to lol
bear inmind, when i started this, i really did have next to nothing knowledge wise, ive learnt as ive gone along, and done most of it all on my own. with various trips to my uncles to get verbal help, but then left to work it out.
this was my first EVER attempt at welding, looking back i really should have practised lol

more reapairs n/s -----painted

looking sorry for itself :'(

boot when as i got the car (thats red paint) i did remove it

boot painted

i had a go at painting the boot lid my self with rattle cans, and rubbing it down. the whole right hand side of the lid, is covered in filler due to the dent (doesnt look TOO rippely)

.......

spot the patches..... (the holes in the bottom of the inner wing / sill are some of the last bits of welding i did, im more pleased with them, bear in mind, i had to cut the shape of the hole out of a piece of metal, then butt weld it inplace, so the joins werent perfect, so as a novice i was trying to bridge the gap between thin corroded metal..... (solid metal tho)

bonnet not attatched....

bye bye

back again

from this....

to this...

pleased with these


thats all the pics your getting for now
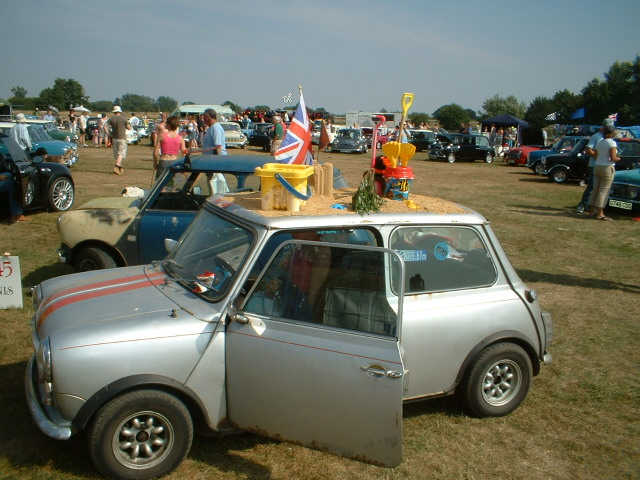
Its have white grp 5 arches by the way!
wow, hour and a half later ..... :\
Byyeeeeeee
(be nice
)Dave

Edited by Mini-Dave, 09 November 2006 - 09:38 PM.