I agree with the seam welding in the fact that the wing dont distort much as there is a fold in the steel so will make it a bit more rigid. However I personally wouldn't seam weld a wing on as it will make it difficult to replace should it need to be done in the near future.
If you've got the money and plan on doing a fair bit of mini bodywork then it might be worth investing in a spot welder!

Welding Wings
Started by
Scott.Tamson
, Jan 20 2008 01:25 PM
22 replies to this topic
#16

liam_italian
-

- Members
-

- 1,417 posts
One Carb Or Two?
- Local Club: TMF
Posted 21 January 2008 - 07:13 PM
#17
panelbeaterpeter
-

- Members
-
- 5,606 posts
Crazy About Mini's
- Location: Scotland
- Local Club: n/a
Posted 21 January 2008 - 08:51 PM
I would always spot or plug weld if possible, mainly to retain an original look, plus it's alot easier to remove if neccesary, than if it's been seam welded.
If your spot/plug welds are strong and in the appropriate place, it'll be no problem with the MOT man.
If you've not done any welding before, get a book on it, (the Haynes bodywork book is good) get a half decent welder, some bits of metal, and just play about with the setting and techniques until you're confident to tackle welding a car! it's really quite easy, once you learn. If you're not sure how strong your welds are, do a destruction test. Basically weld two pieces of metal together, and try to break them apart! If they come apart easily, then you know you're not doing it right.
The key to a good weld, is good penetration phnar phnar, etc.
If your spot/plug welds are strong and in the appropriate place, it'll be no problem with the MOT man.
If you've not done any welding before, get a book on it, (the Haynes bodywork book is good) get a half decent welder, some bits of metal, and just play about with the setting and techniques until you're confident to tackle welding a car! it's really quite easy, once you learn. If you're not sure how strong your welds are, do a destruction test. Basically weld two pieces of metal together, and try to break them apart! If they come apart easily, then you know you're not doing it right.
The key to a good weld, is good penetration
phnar phnar, etc.
Edited by panelbeaterpeter, 21 January 2008 - 08:52 PM.
#18
jcws_mini
-

- Noobies
-
- 10 posts
Learner Driver
- Local Club: Unknown
Posted 25 January 2008 - 05:06 PM
thanks for the tips and info panelbeater and liam. I think I am still going to brave it so will prob try and put photos of progress on here or a relevant section. do you think it would be a problem doing this work outside on a good day then covering it up say when the old wing is cutoff? then second stage would be cleaning areas to be welded (maybe patching over a hole on rear inner arch panel the one next to a panel) and finally weld!
the front brakes need a lot of work so when the wing is off mite b a good time to do this (new hub is needed as far as I know because the brakes always used to vibrate ever since I first had the car and replaced the discs at least twice and it still vibrated, I think the wheel bearing is not sitting right but my knowledge on this is also limited) any ideas/experiences on this problem? it was quite scary especially braking at around 60mph and I used to use the mini on the motorway regularly!
I have read a little bit about weld through zinc primer? any views on this or is it worth using?
thanks for all the help very much appreciated!
#19
mini_turbo_pete
-

- Members
-
- 1,101 posts
One Carb Or Two?
Posted 25 January 2008 - 05:57 PM
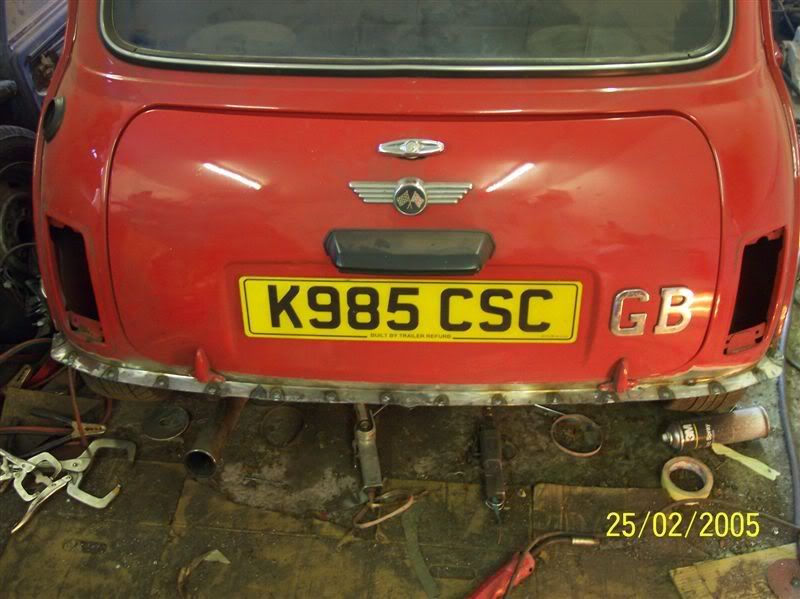
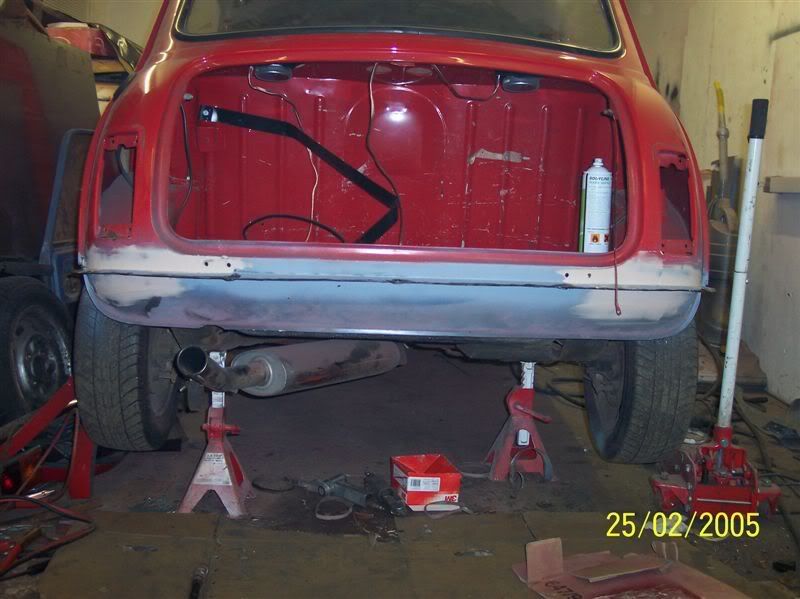
Just thought i'd add a couple of pics to help with plug welding, although it's rear end, still it may help with the process.
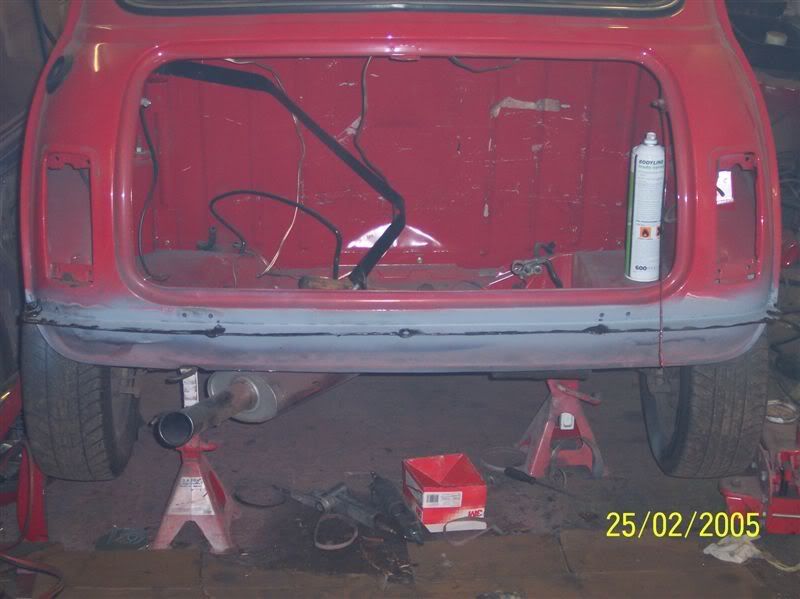
The dreded tin worm, on this car the whole rear section of the boot floor had disintergrated along with the rear valence and rear bumper seam.
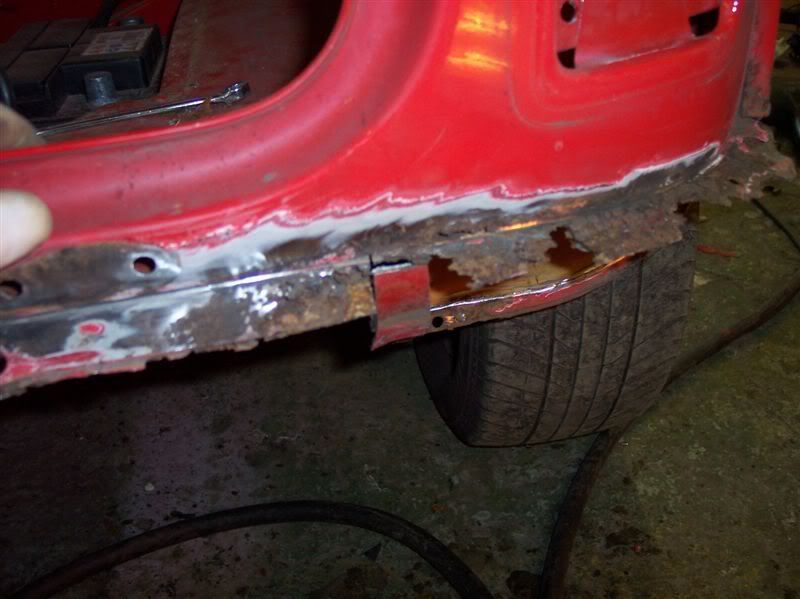
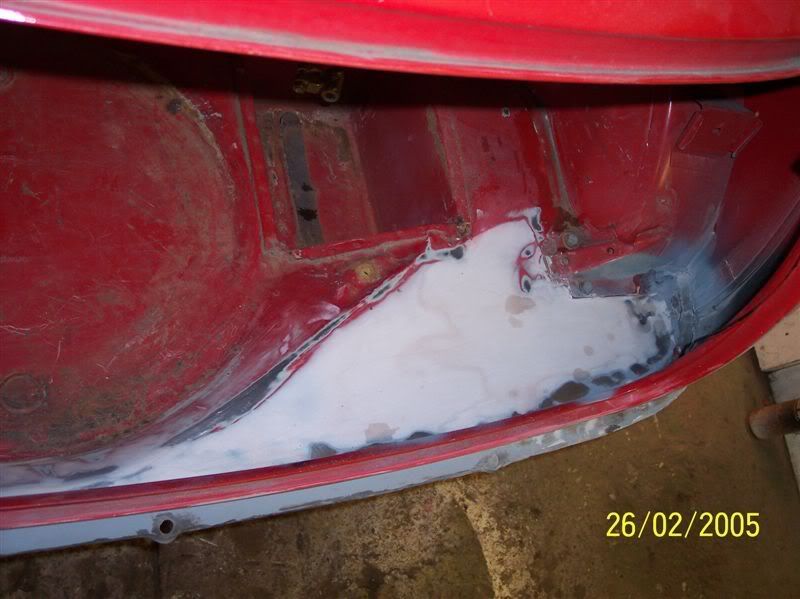
first things first cut away the metal untill you get to good metal
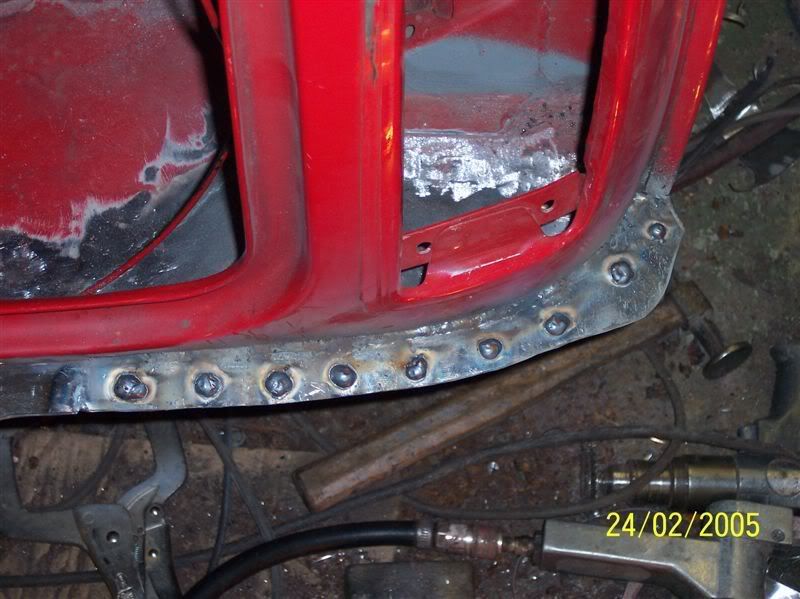
I then made a new rear panel lip and seam welded this onto the rear panel
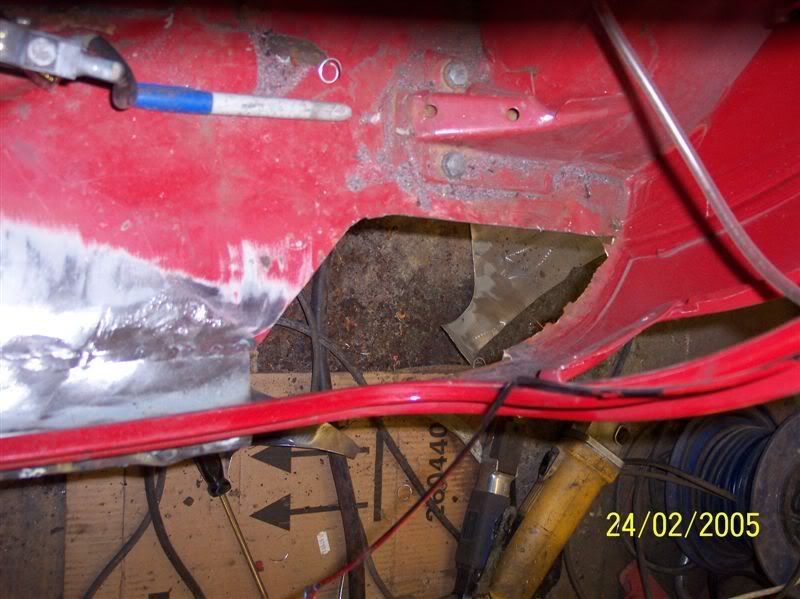
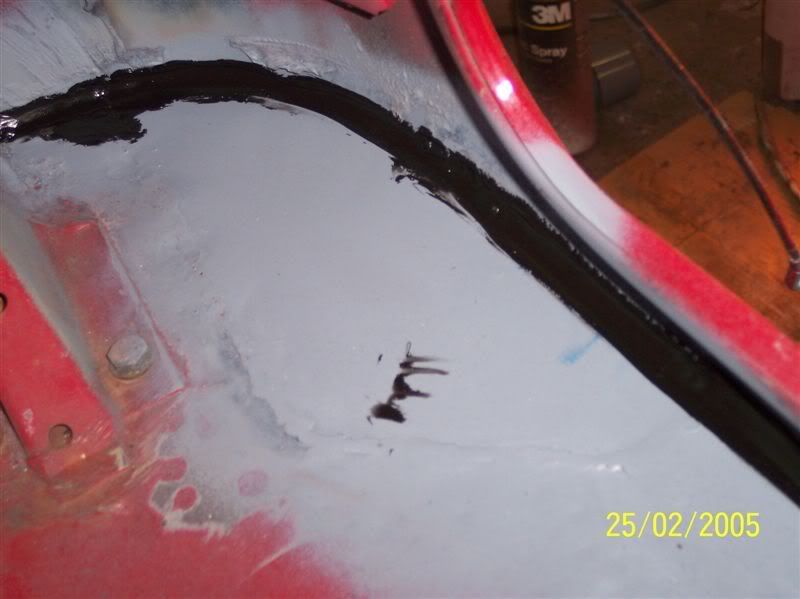
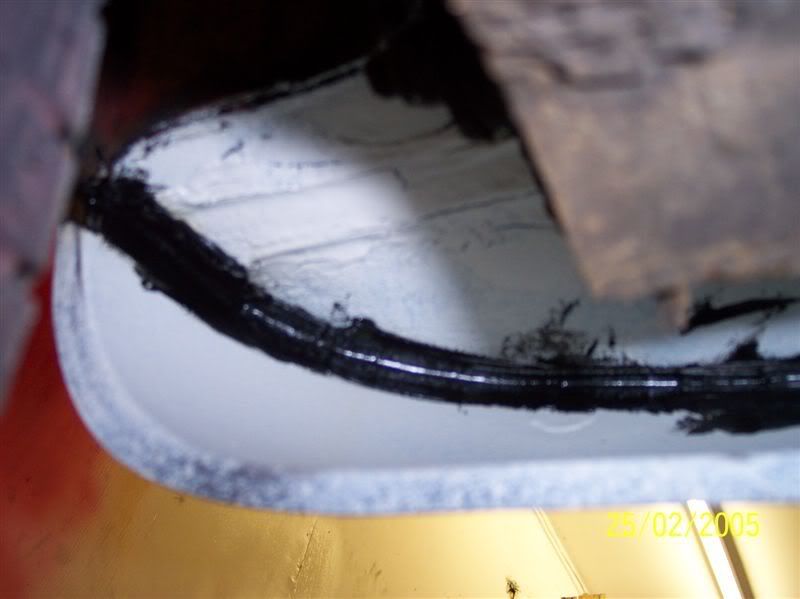
Then make the new piece to go in the hole in the boot floor, instead of just welding a plate in the corner on the inside i made it come out to the edge of the rear panel seam (as it would be from manufacture) this it then tacked in all the way around.
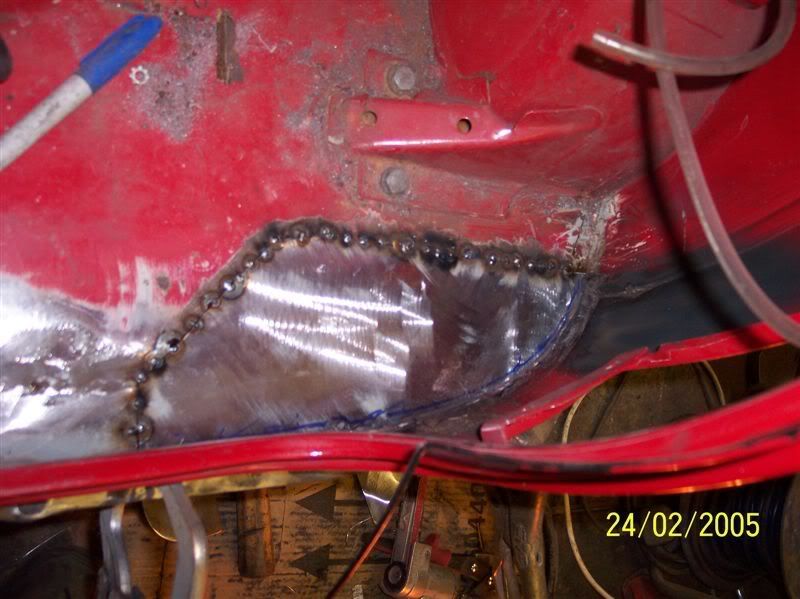
The plate is then seam welded to the boot floor but not the rear panel

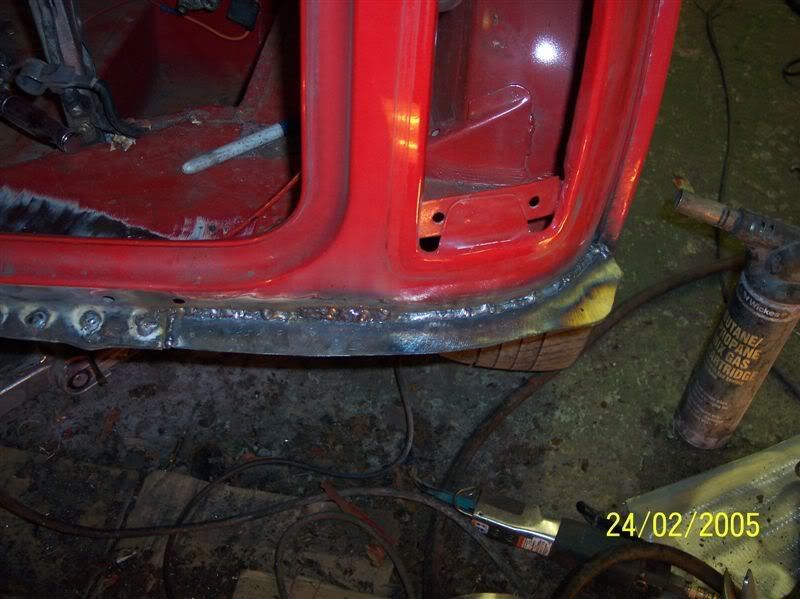
Next the plate is plug welded to the rear panel, I always use 8mm drill for plug welding, if you use anything smaller the chances are you won't get the penertration you need.
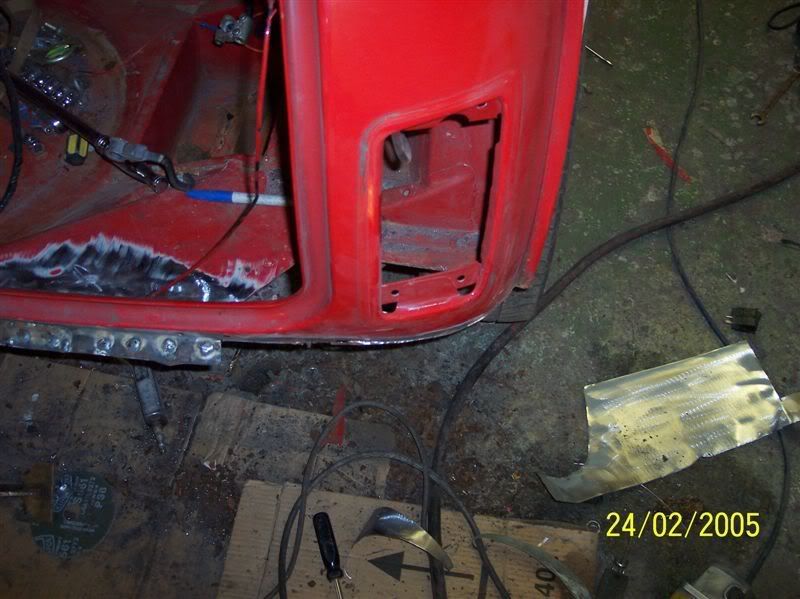
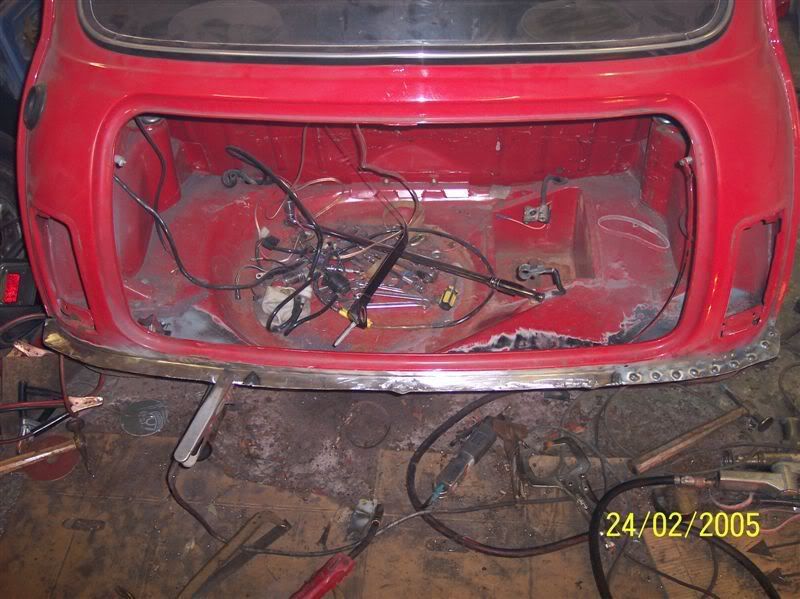
this is a general shot of the rear of the car, you can see where i have renewed and repaired the rear panel seam all the way accross the rear.
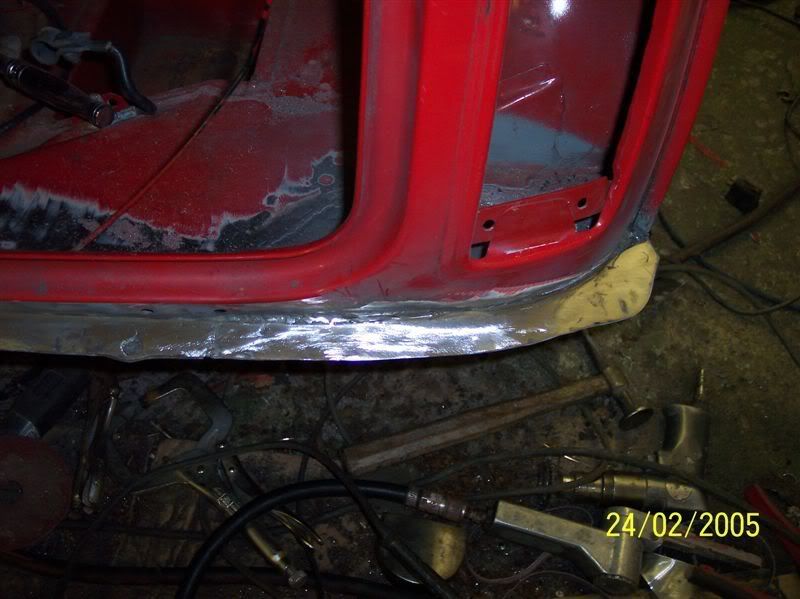
Next attack it with a grinder, for this use a soft pad as a grinding disk can be dug in so easy, you will use a fair few soft pads but the overall finish is alot better than a hard disc.
Next the rear valence is welded on, again by plug welding and the holes are redrilled for the rear bumper
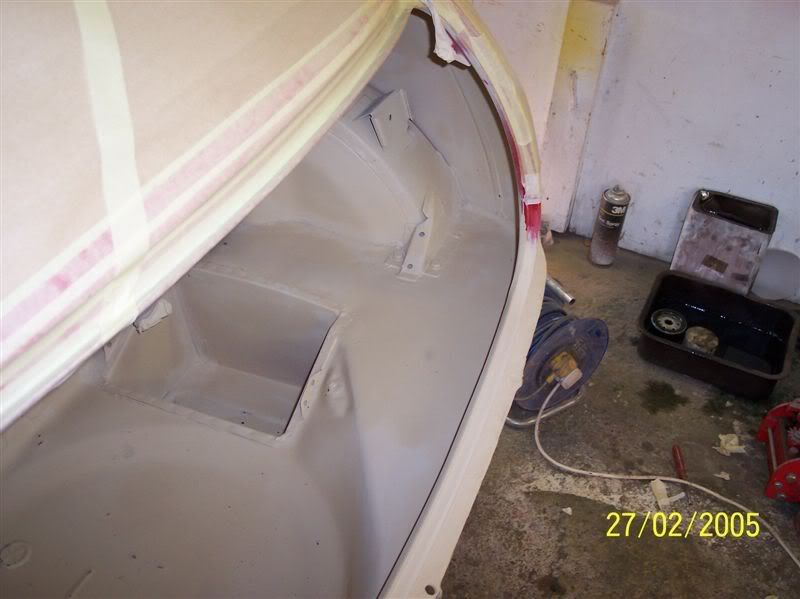
the areas are then sprayed with primer, i had only used aerosol primer at this point. then the outside is sealed with seam sealer. Seam sealers will not adhere to bare metal properly so you need to prime first.
then the inside is sealed up, again it's primed first.
Then it's sealered underneath, i had already sprayed the boot floor and inside the rear valence with stone guard
I had welded the holes up in the rear valence for the fog lamp, i used some filler to finish off the rear valence and rear panels around where they have been repaired.
Again with the boot floor, filler is used to smooth it off from where the repairs have been done.
Then it's primed
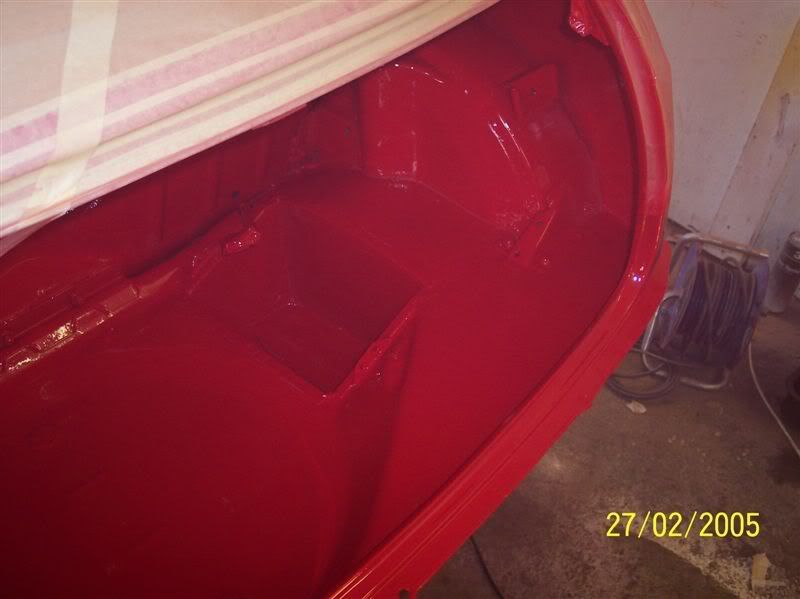
Then painted
The dreded tin worm, on this car the whole rear section of the boot floor had disintergrated along with the rear valence and rear bumper seam.
first things first cut away the metal untill you get to good metal
I then made a new rear panel lip and seam welded this onto the rear panel
Then make the new piece to go in the hole in the boot floor, instead of just welding a plate in the corner on the inside i made it come out to the edge of the rear panel seam (as it would be from manufacture) this it then tacked in all the way around.
The plate is then seam welded to the boot floor but not the rear panel
Next the plate is plug welded to the rear panel, I always use 8mm drill for plug welding, if you use anything smaller the chances are you won't get the penertration you need.
this is a general shot of the rear of the car, you can see where i have renewed and repaired the rear panel seam all the way accross the rear.
Next attack it with a grinder, for this use a soft pad as a grinding disk can be dug in so easy, you will use a fair few soft pads but the overall finish is alot better than a hard disc.
Next the rear valence is welded on, again by plug welding and the holes are redrilled for the rear bumper
the areas are then sprayed with primer, i had only used aerosol primer at this point. then the outside is sealed with seam sealer. Seam sealers will not adhere to bare metal properly so you need to prime first.
then the inside is sealed up, again it's primed first.
Then it's sealered underneath, i had already sprayed the boot floor and inside the rear valence with stone guard
I had welded the holes up in the rear valence for the fog lamp, i used some filler to finish off the rear valence and rear panels around where they have been repaired.
Again with the boot floor, filler is used to smooth it off from where the repairs have been done.
Then it's primed
Then painted
#20
panelbeaterpeter
-
- Members
-
- 5,606 posts
Crazy About Mini's
- Location: Scotland
- Local Club: n/a
Posted 25 January 2008 - 09:13 PM
Nice to see it's not just me who gets the floor in such a mess with all the tools in the garage scattered about while doing a job like that! 
#21
mini_turbo_pete
-
- Members
-
- 1,101 posts
One Carb Or Two?
Posted 25 January 2008 - 09:32 PM
Nice to see it's not just me who gets the floor in such a mess with all the tools in the garage scattered about while doing a job like that!
I used to be a panel beater restoring porsches, thats where i learnt how the floor should be kept whilst working.. haha..
#22
jcws_mini
-
- Noobies
-
- 10 posts
Learner Driver
- Local Club: Unknown
Posted 14 February 2008 - 01:43 PM
thanks for posting those photos mini turbo pete, they really show the process well and i very nice job done too!
a lot of the panels on the front are gone and i am contemplating not just doing the wing but doing the whole front end because i know the front valance failed MOT due to corrosion around the front mount area (if thats correct term and I can remember right). although I would also need to repair/replace the scuttle panel because it is a mess (but another good reason to get the front end replaced and try to do it all properly).
I dont really know whether this is just way too much work for me (a guy that has done basically about 1-2 hours worth of welding in his entire life), and I do not really know other than the wing and scuttle panel how to replace the rest of the front end (front panel/valance...)?
What do you guys reckon?
#23
jack_marshall
-

- Members
-
- 2,540 posts
Up Into Fourth
Posted 16 February 2008 - 08:05 PM
All the minis I've worked on with original wings dont have any sealer in the front or around the scuttle joint.
Although I always put it back in.
Although I always put it back in.


1 user(s) are reading this topic
0 members, 1 guests, 0 anonymous users


