![=]](https://www.theminiforum.co.uk/forums/public/style_emoticons/default/smile.png)

Anyongot Any Instructions On
Started by
frankiebateman
, Jan 30 2008 10:08 PM
8 replies to this topic
#1

frankiebateman
-
- Members
-

- 3,288 posts
Up Into Fourth
- Local Club: NWMC
Posted 30 January 2008 - 10:08 PM
Hi people soon ill be getting all my panels and lending my mates welder, just need some instructions on how to weld the panles on, what you have to do befor drilling / bending stuff like that thanksss
#2
jayare
-

- TMF+ Member
-
- 2,093 posts
Up Into Fourth
Posted 30 January 2008 - 10:13 PM
This site http://www.mig-welding.co.uk/ explains the basics, but most of it is practise (use spare scrap metal before before attacking the car!).
JR
JR
#3
Broomer
-

- Members
-
- 1,771 posts
Camshaft & Stage Two Head
Posted 30 January 2008 - 10:14 PM
just practice practice and more practice, thats what i found the best way to get that hang of it.
#4
frankiebateman
-
- Members
-
- 3,288 posts
Up Into Fourth
- Local Club: NWMC
Posted 30 January 2008 - 10:18 PM
Cheers jay, dont worry im not going to kill my mini  and broomer i think im going to be doing days on end of practicing
![=]](https://www.theminiforum.co.uk/forums/public/style_emoticons/default/grinwink.gif) thanks guys
thanks guys
and broomer i think im going to be doing days on end of practicing thanks guys
#5
duncancallum
-

- Members
-
- 533 posts
Super Mini Mad
- Local Club: South Lancs Mini Owners Club
Posted 01 February 2008 - 08:32 AM
get an auto darkening mask theyre a life saver
makes the job 10x easier
makes the job 10x easier
#6
mini_turbo_pete
-

- Members
-
- 1,101 posts
One Carb Or Two?
Posted 01 February 2008 - 10:22 AM
Before welding any panels on make sure they all fit together first, either by using panel clamps or self tapper screws.
one of the keys to a good weld is clean metal, make sure that it is clean on both sides e.g. if you are welding a plate on the floor inside the car and there is underseal on the outside of where you are welding you will get a bad weld.
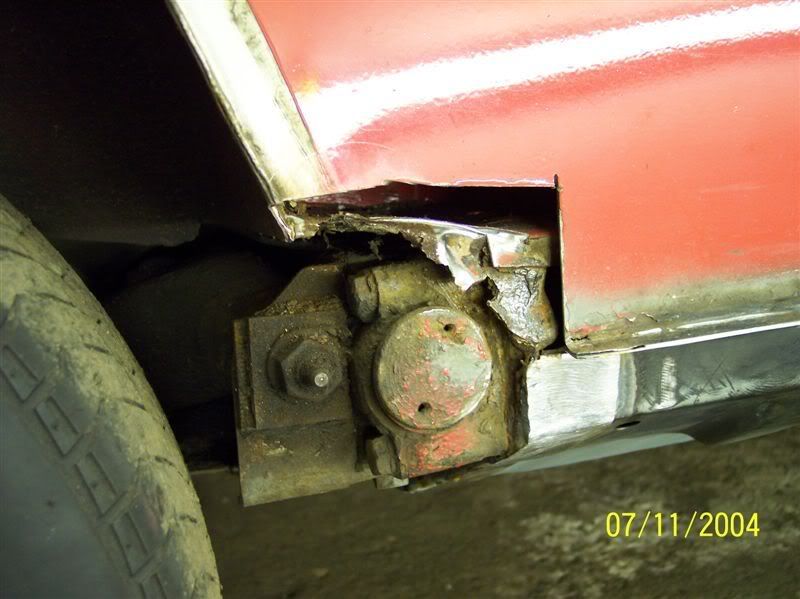
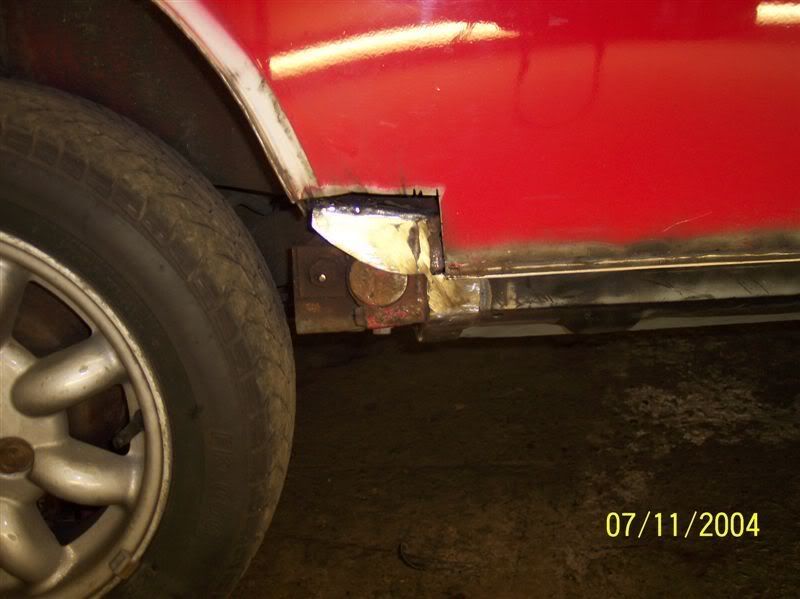
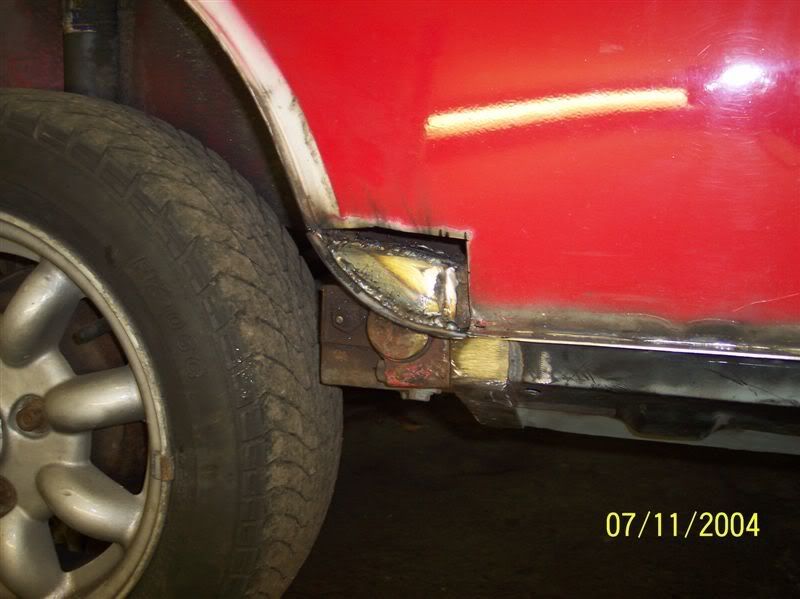
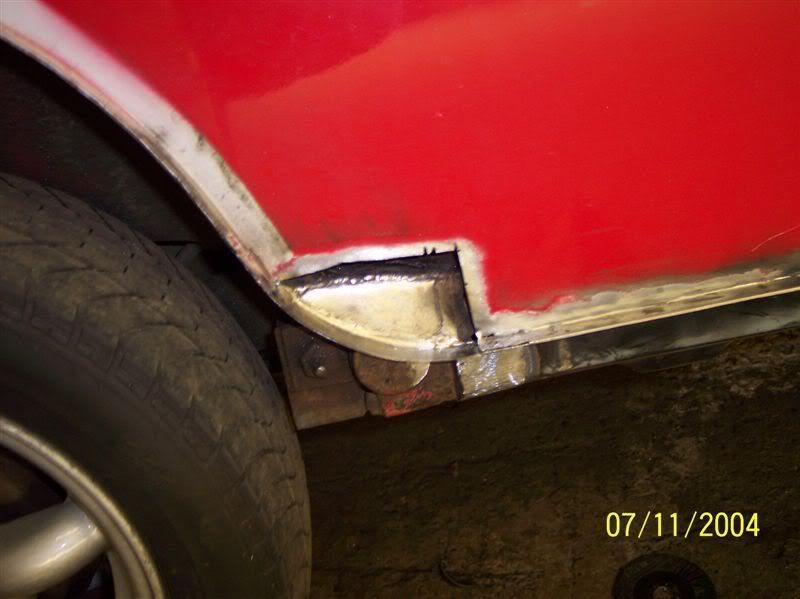
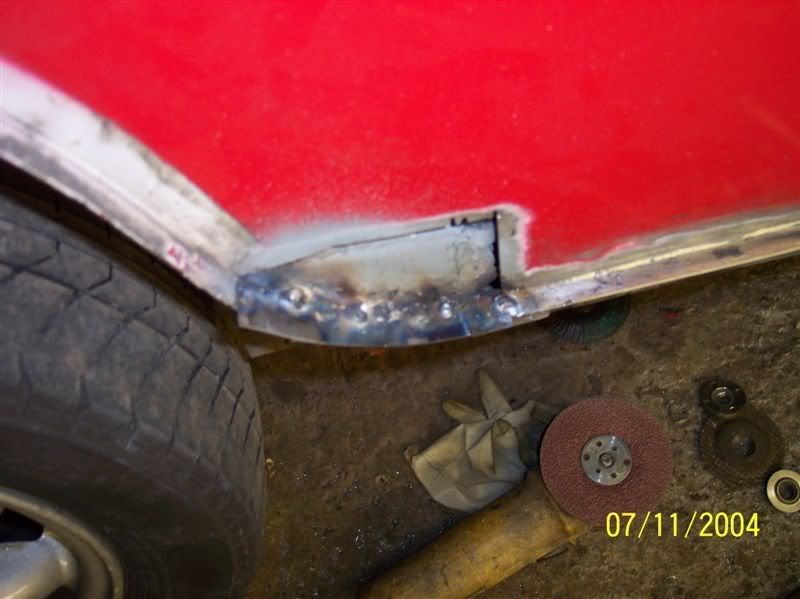
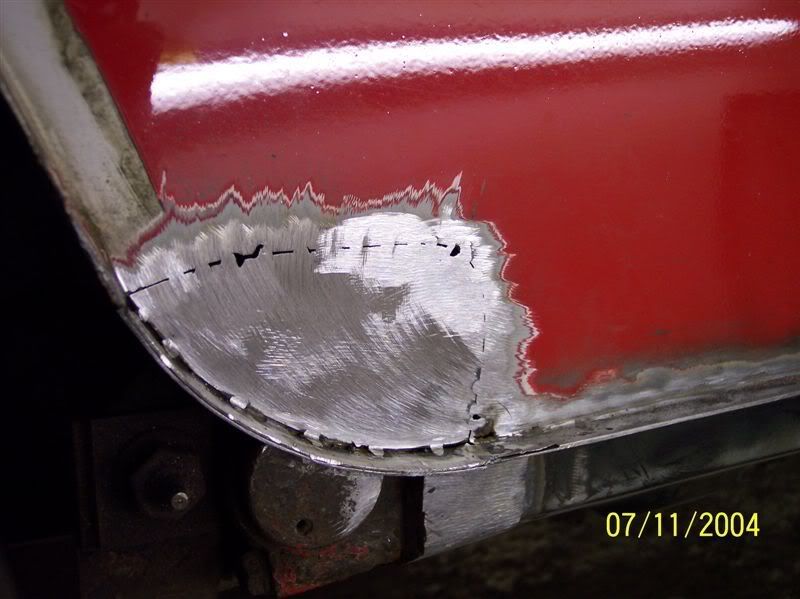
If you are doing repair patches best to try and butt weld a plate in as oppose to overlapping a plate as this will always create an area for rust to accumulate.
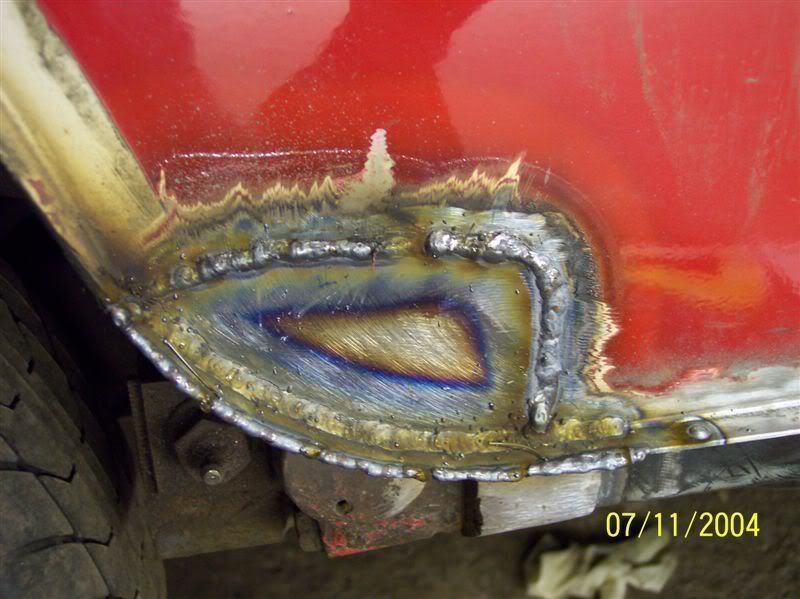
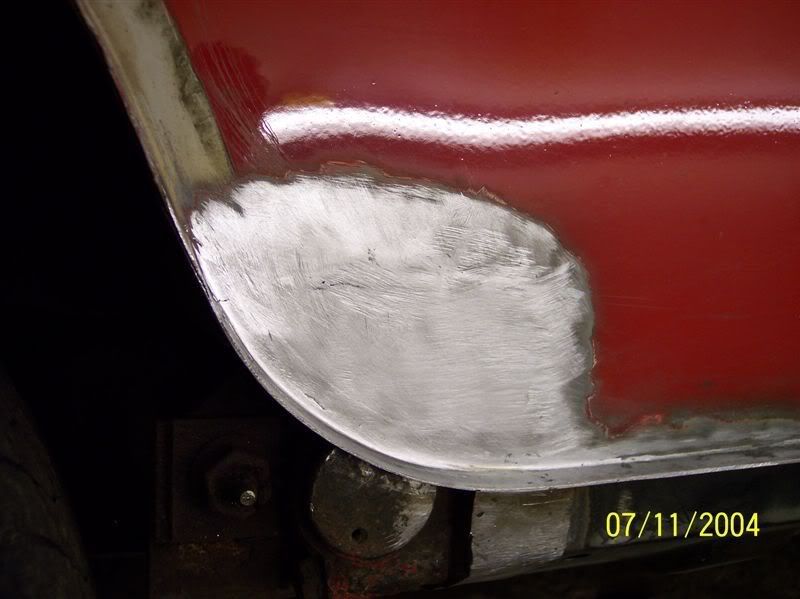
If youe butt welding a piece in use loads of lacks grind the heads of the tacks down then you can give it a beat about before the final welding. also using a lot of tacks stops the metal from moving as much and you'll get less distortion.
Always use a weldable paint between the panels on seams e.g. on the seam between the apanel and wing, spray both the a panel and the wing.
The paint i use is Wurth Alu Spray, it's expensive but i find it alot nice to weld through than zinc spray.
These are a few pic's of repairing the lower quarter panel i did on my friends car.

one of the keys to a good weld is clean metal, make sure that it is clean on both sides e.g. if you are welding a plate on the floor inside the car and there is underseal on the outside of where you are welding you will get a bad weld.
If you are doing repair patches best to try and butt weld a plate in as oppose to overlapping a plate as this will always create an area for rust to accumulate.
If youe butt welding a piece in use loads of lacks grind the heads of the tacks down then you can give it a beat about before the final welding. also using a lot of tacks stops the metal from moving as much and you'll get less distortion.
Always use a weldable paint between the panels on seams e.g. on the seam between the apanel and wing, spray both the a panel and the wing.
The paint i use is Wurth Alu Spray, it's expensive but i find it alot nice to weld through than zinc spray.
These are a few pic's of repairing the lower quarter panel i did on my friends car.
#7
frankiebateman
-
- Members
-
- 3,288 posts
Up Into Fourth
- Local Club: NWMC
Posted 01 February 2008 - 10:34 AM
Thanks pete what did you use to repair the rear lower ? i need to do mine
what did you use to repair the rear lower ? i need to do mine
Edited by frankiebateman, 01 February 2008 - 10:35 AM.
#8
mini_turbo_pete
-
- Members
-
- 1,101 posts
One Carb Or Two?
Posted 01 February 2008 - 11:05 AM
Thanks pete
I just buy a big sheet of steel, make up cardboard templates cut the metal out i need and weld it in...
If you know anyone that has got an old scrap mini shell that they are going to chuck away, cut the roof off and use the metal from that as they are 20 guage steel which is the same thickness as most of the panels on a mini.
Any panels i replace i always use heritage or genuine, i'll never use pattern panels as these can cause so much agro with trying to get them to fit properly and stuff like oversills cause so many problems down the line..
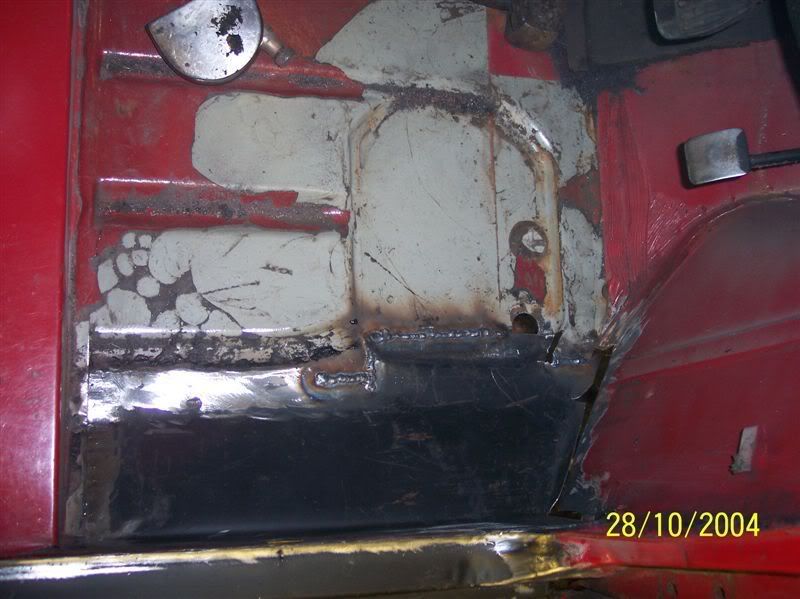
This is my friends mini he bought it with oversills on it, the rot that they had caused
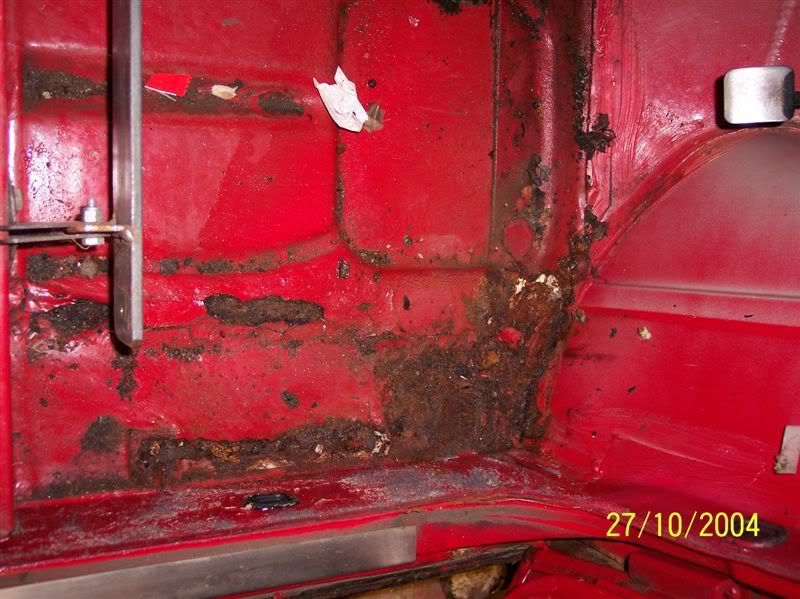
once i had removed the sill, the original sill was still underneath as well
 .
.
That was what i ended cutting out to get to some decent metal.
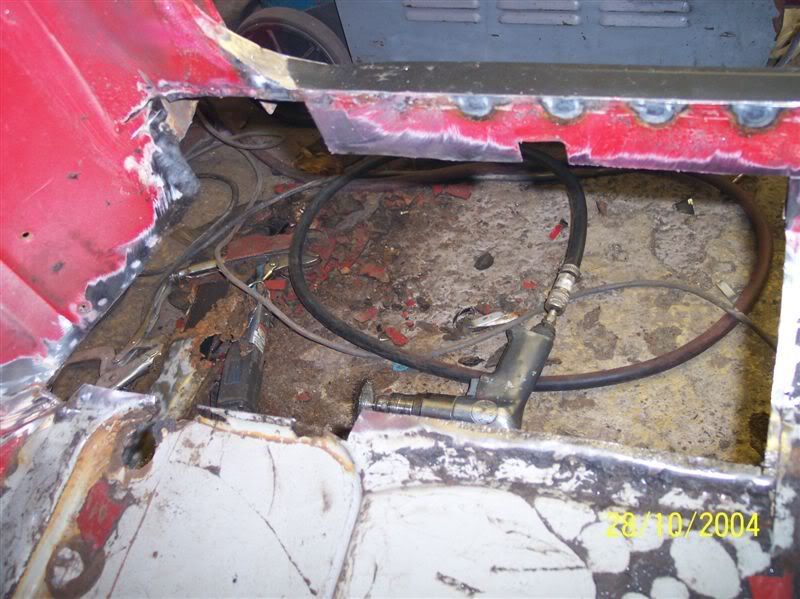
New piece of floor welded in
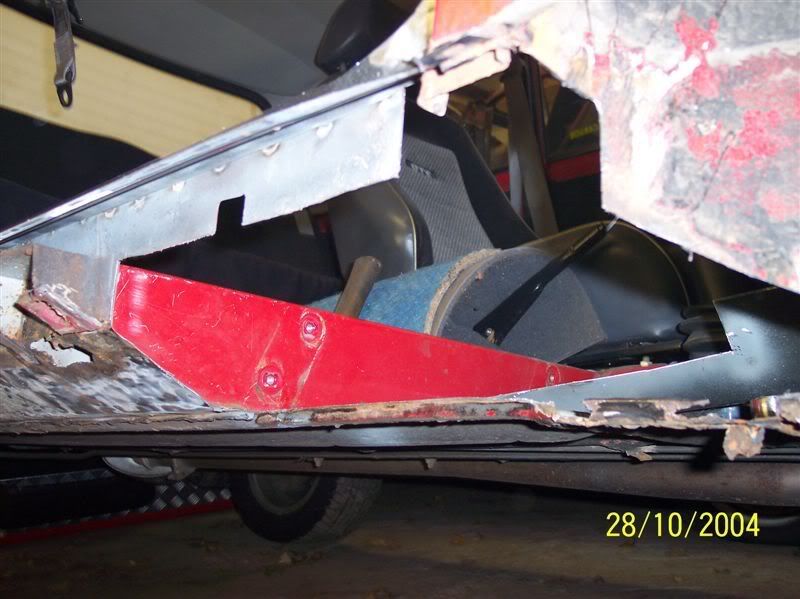
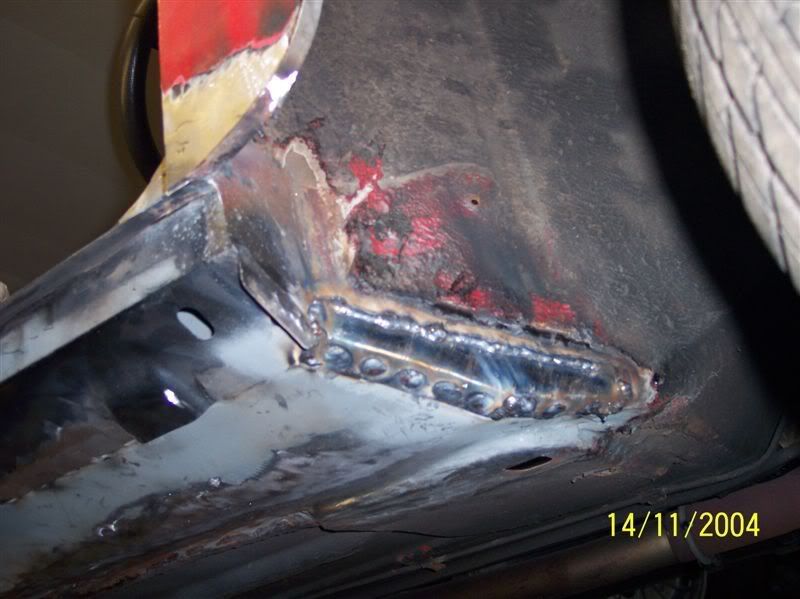
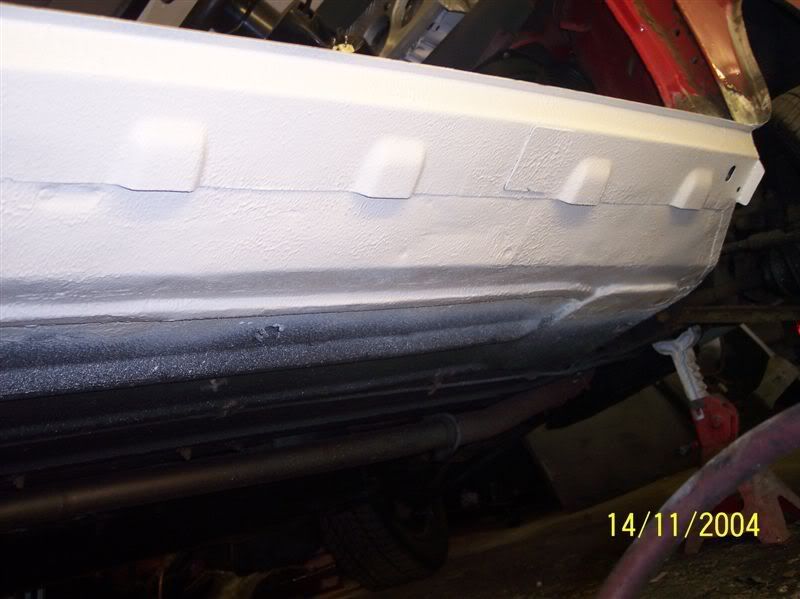
then the new sill was put on
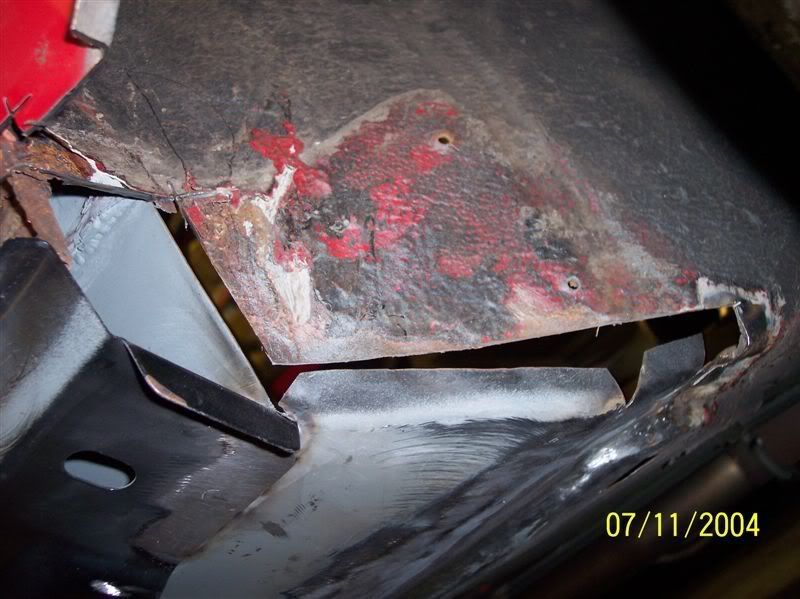
then i finished off the front piece of the floor and wheel arch
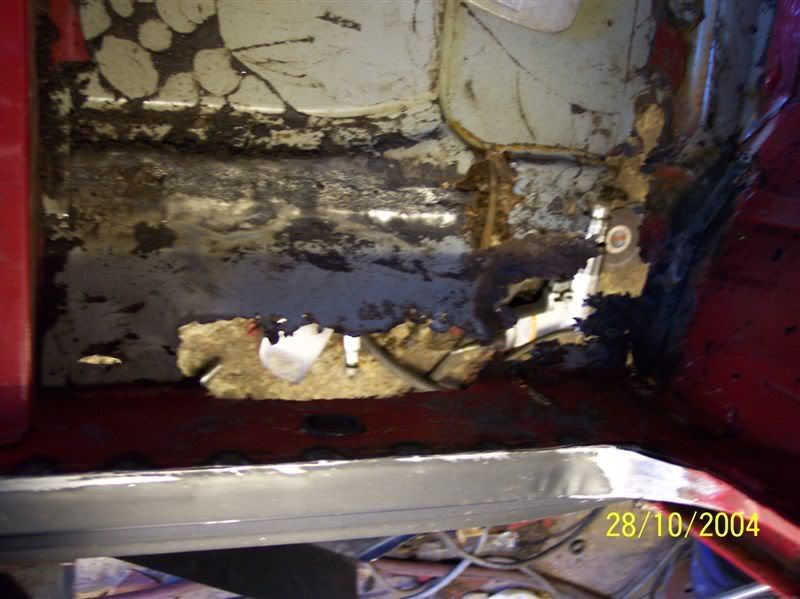
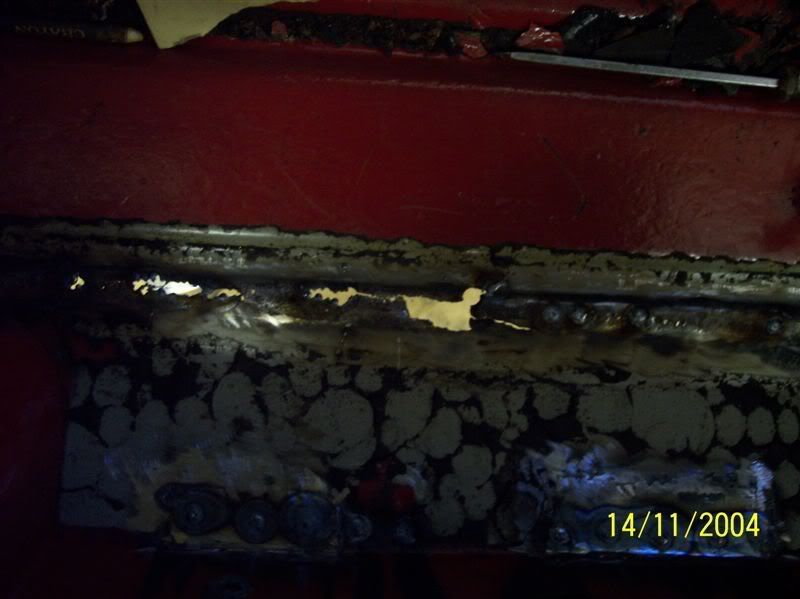
that was further along the rear floor where the oversill had been welded on it had rotted through the floor
with the new sill on and stoneguarded before painting
#9
frankiebateman
-
- Members
-
- 3,288 posts
Up Into Fourth
- Local Club: NWMC
Posted 01 February 2008 - 11:18 AM
heers pete f**kin hell that looks bad  ill take a trip to my local scrappy tommorow
f**kin hell that looks bad ill take a trip to my local scrappy tommorow


1 user(s) are reading this topic
0 members, 1 guests, 0 anonymous users


