progress? 
Working on the clubby for a while their should be progress by next week 
Well more progress on this mini hasnt really happened for the last 2 and a bit years due to having to keep moving the car around in different garages while we built a new garage in my back garden
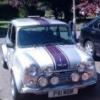
Then in that time i bought a hillman imp put that in the new garage and restored that and then sold that on but before i sold it on i got a picture of them side by side

When i eventually got the mini back i really had no enthusiasm to work on it so a few weeks of scouring the forums and look around i eventually came accross a zcars front subframe for the mini now not 100% sure where this subframe originates from its definately a z cars jobby but wether it was ment or wasnt ment for the a series engine im unsure.

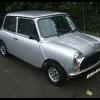
So this was the state of the project once i got it back to the garage after 2 years of it being pushed and towed round to other garages in the local area
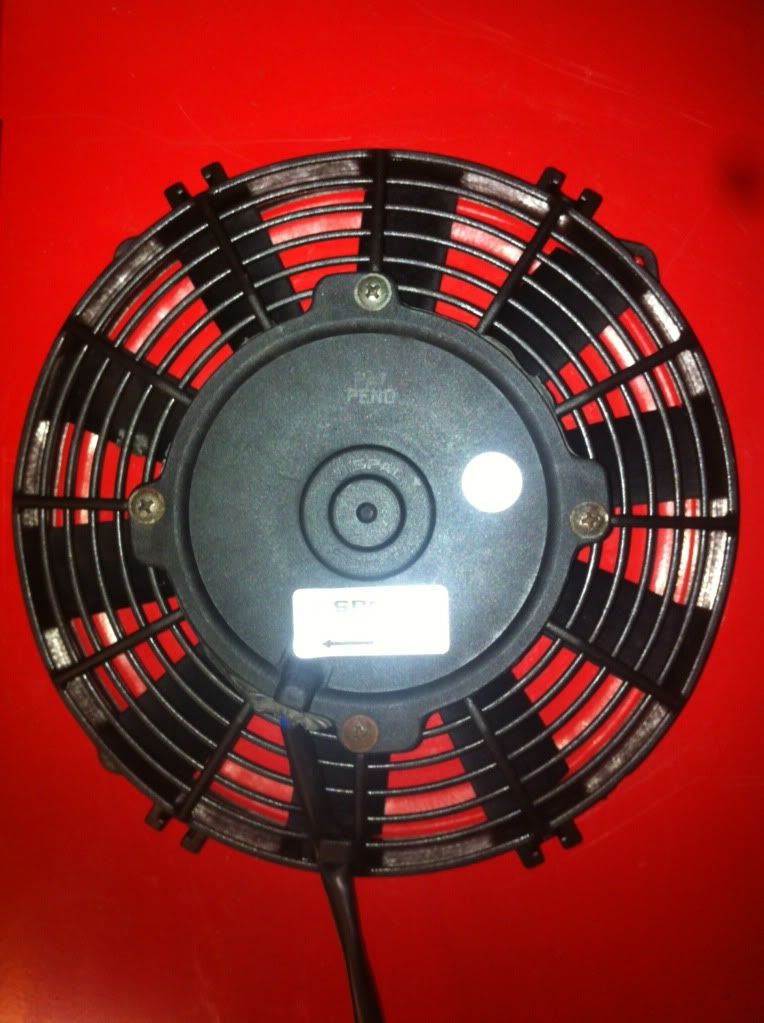
To find enthusiasm i bought this

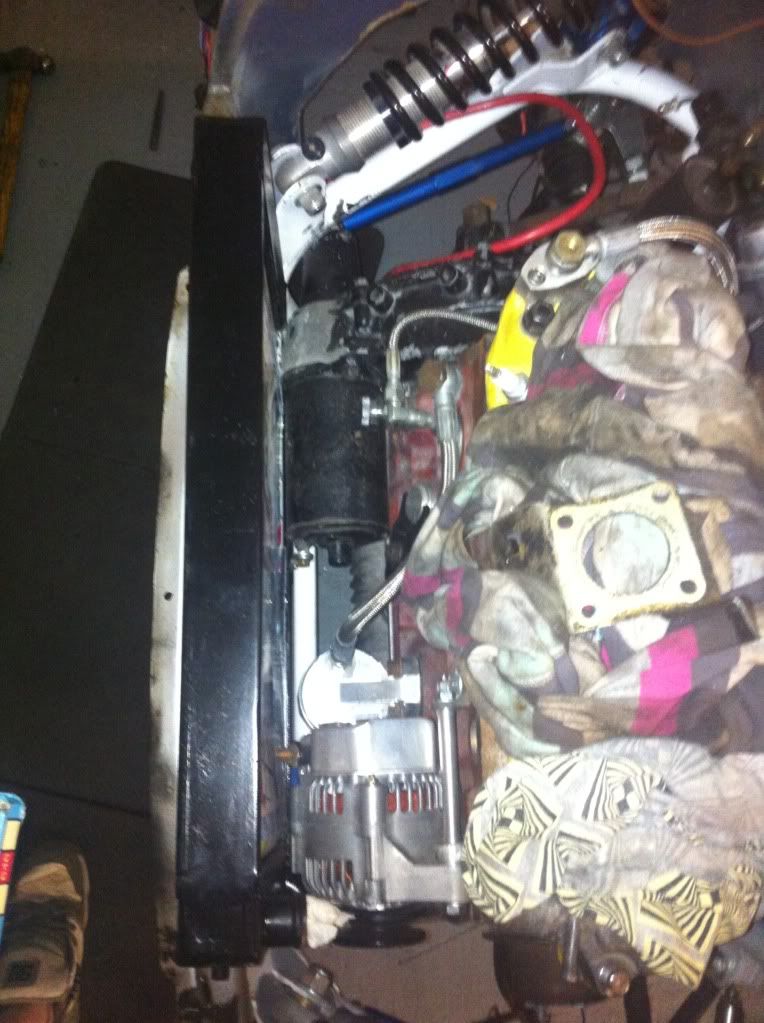
And this is where the problems started now every single picture on the internet numerous threads i have read know one as far as i know has fitted one of these to a standard steel front theyve all cut the front end off and put a fibre glass one back on or carbon fibre now as you can see from the pictures there are some bits missing and so on and so forth i.e a couple of bolts spacers and the all important engine mounts so the first thing you do when you get these nice n shiny bits of kit you destroy the last 3 years worth of work you put into the front end of your car to get it looking pretty

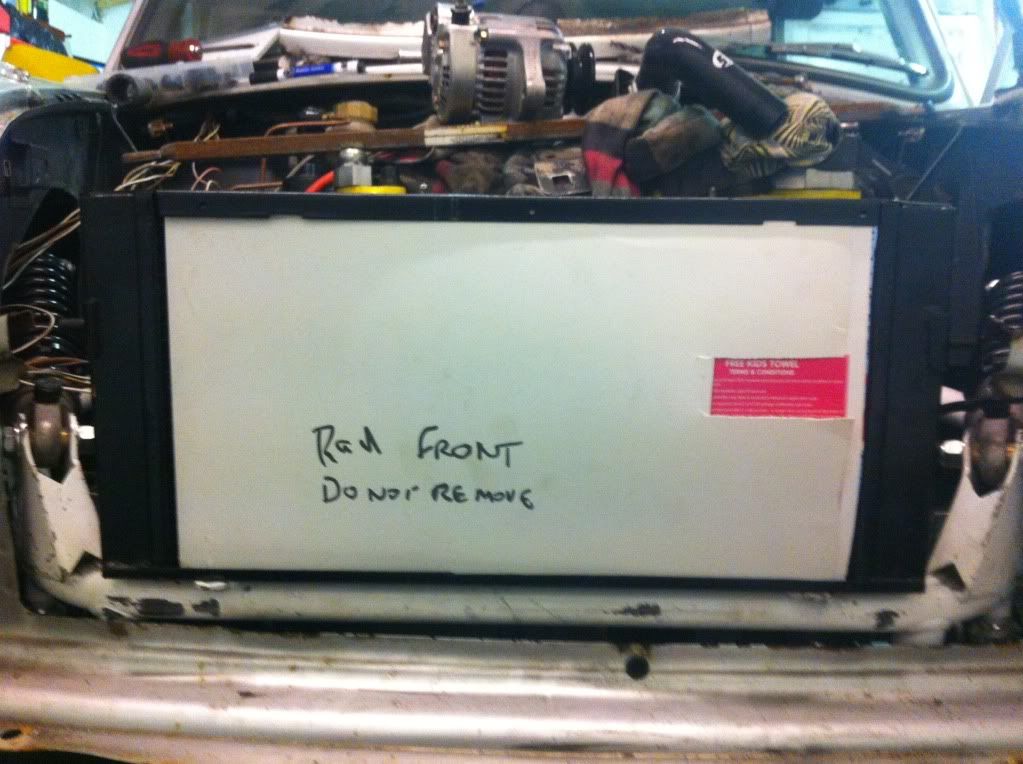
all it took was 2 hours to end up with it like this

Already knowing this was no simple conversion i had to cut the innerwings something i never really wanted to do as i was going to keep this car as standard as possible everything you see from now on is "getting the car together to get the engine running so i can drive it and take it off the road in the winter to get it all painted and sort the bodyshell"
So half an hour later i get to this

Now for the first trial fitment of the subframe and it didnt fit because i had to remove this bit .....

Now pretty much anyone that knows minis you cant buy that part as a restore panel so ive now just lept into the world of the unknown and pretty much destoyed a shell if someone ever wanted to get it back to standard unless you find another rotting mini and cut out that exact part to put back on
now lets just say this subframe has been in and out of this car more times than i can remember due to alot of fitment issues im not going to highlight the issues as i dont see it necessary
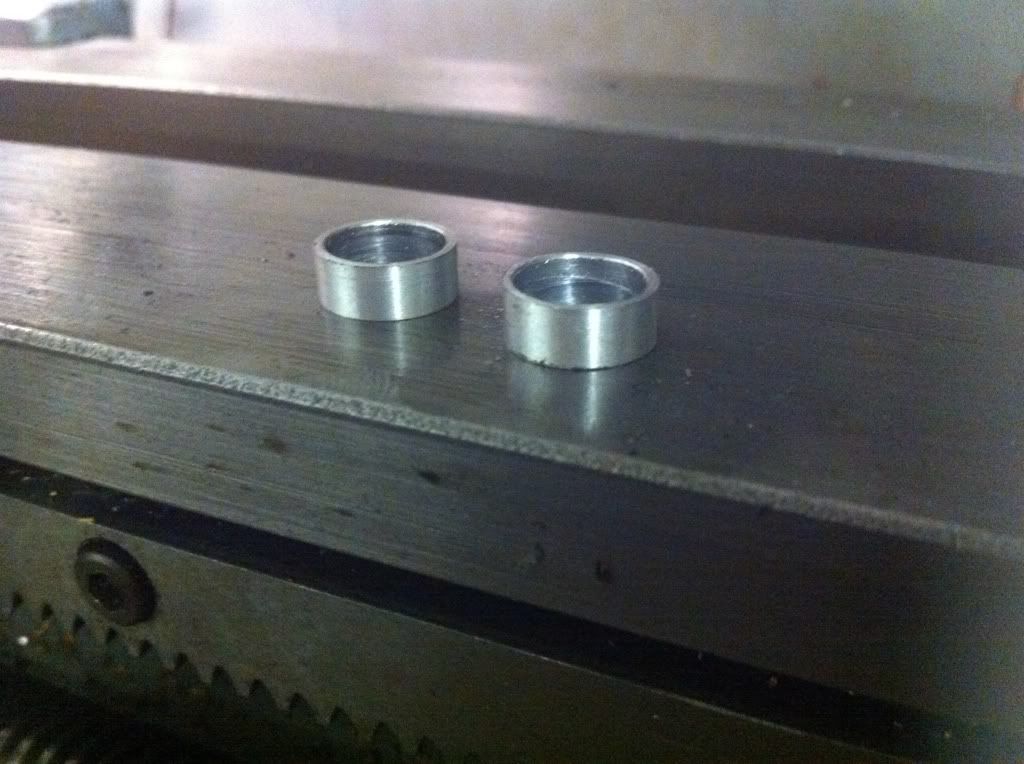
Well ill start off with the small bits first one side the top arm for the suspension linkup was missing the bolt and the spacers to hold the rosejoint so on to the lathe to fabricate some new ones
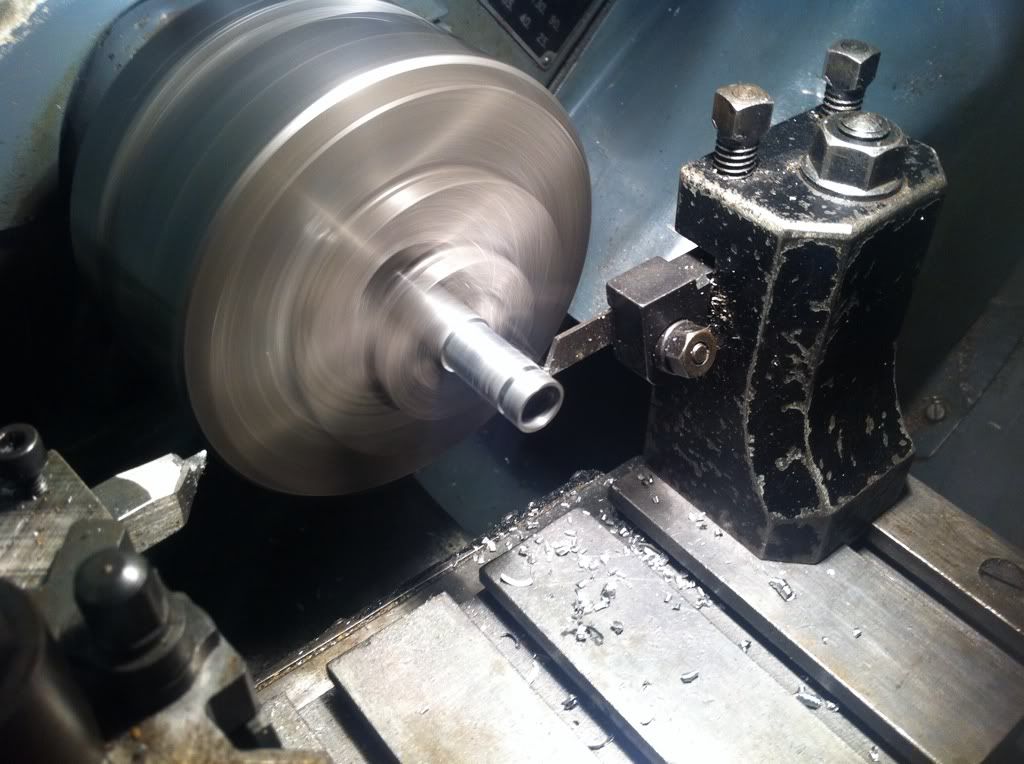
Once fabricated test fit
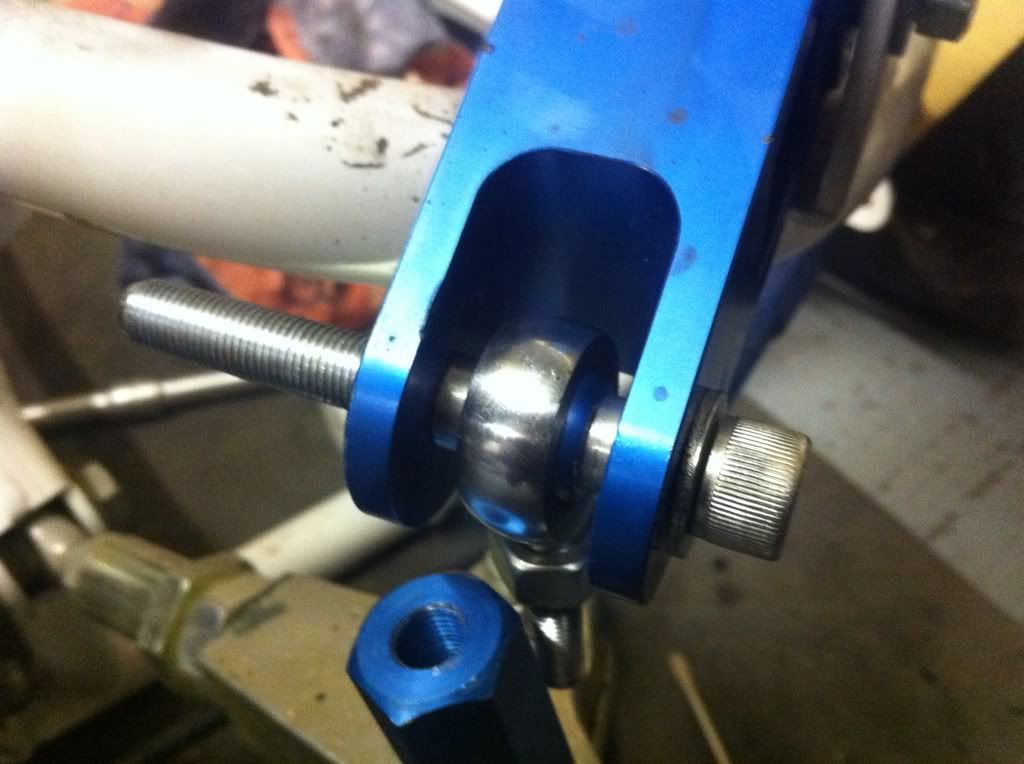
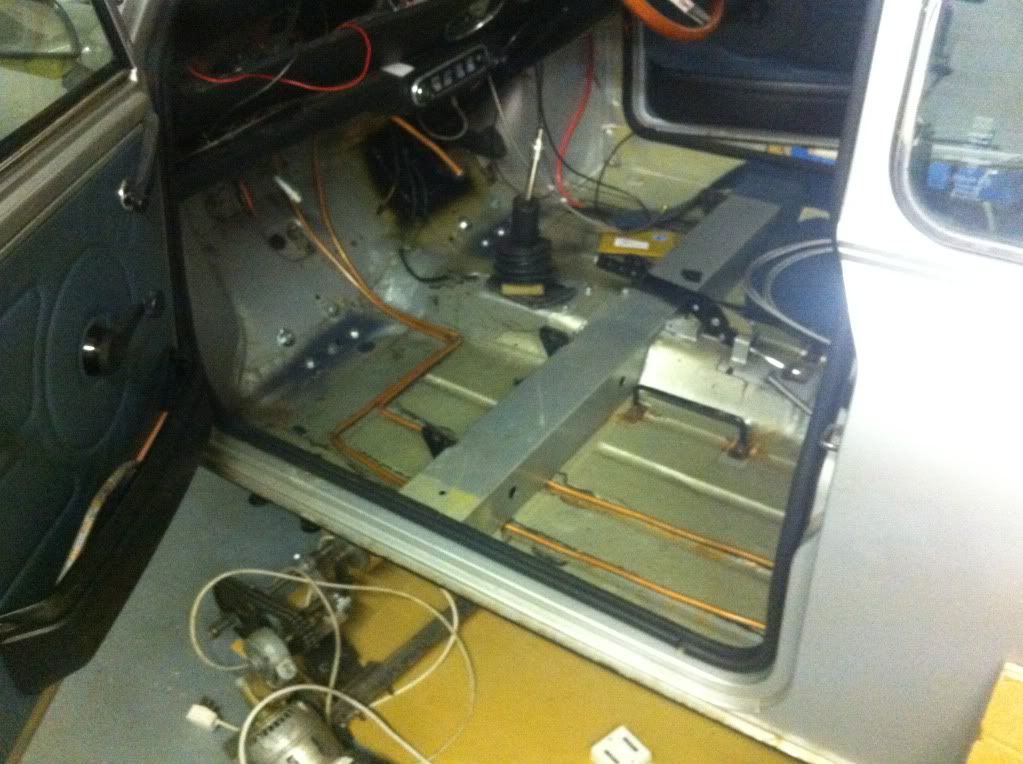
I know i need to cut the bolt down but thats the least of my worrys at the moment so i dropped the subframe back out of the car to get the steering rack to fit as i had a few problems trying to fit it due to z cars mounting the steering rack to the subframe one can only presume they had raised it to stop the bumpsteer and to make it more of a solid mount so i ended up with a big hole in my floor and a new box welded in to get the steering rack to rotate as making the original hole in the floor didnt suffice now i am missing some pictures of this as i never actually took any
Now for the engine mount making so remove the subframe for possibly the 5/6th time
Subframe on the table with engine placed in it
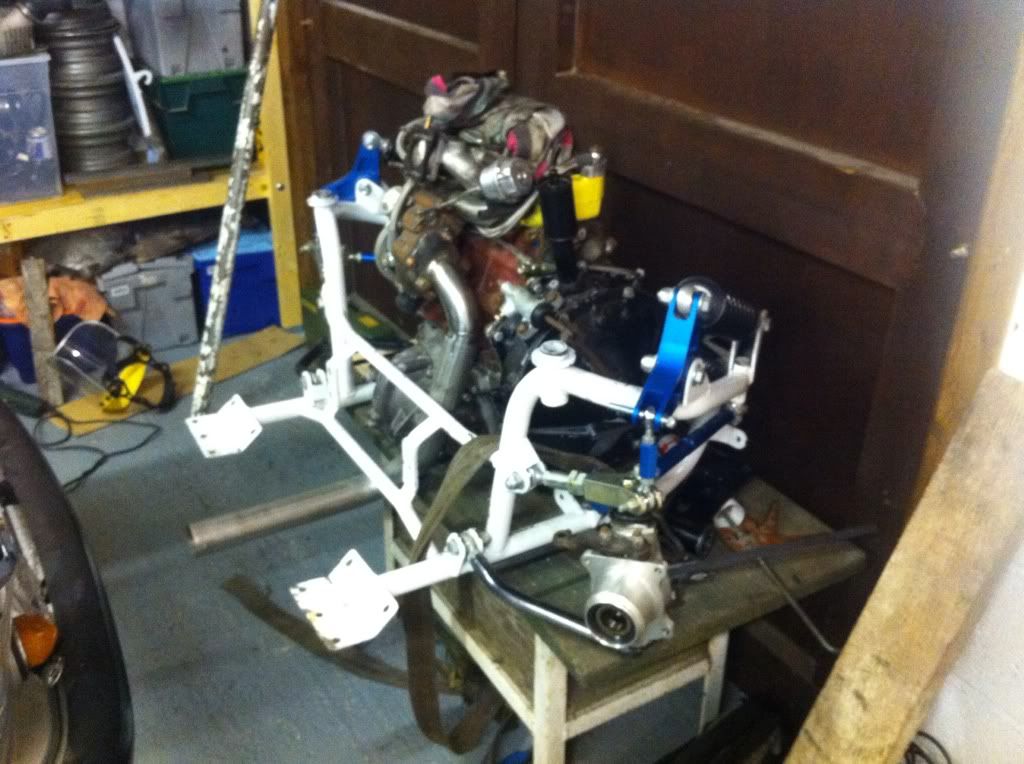
Now scouring the internet for days on end i had a rough idea of what i need to make to get it fitted so off i went

With one side mounted i had to come accross the issue of the other side

The tube i had was 38mm and the diameter of the bushes i had were 37mm so once i cut the tube one long seem weld later i produced an internal diameter tube measuring in at 36.6 this was tight enough for the bushes to be pressed in, so thats one part done now i need to get from there to the wok casing

I used the spanner to get the subframe level on either side seems a bit cowboy but its the width i needed to get the subframe as close to the gearbox the other side the two plates at the top is to space the big long plate out from the wok so it does not come into contact down the bottom

Seam welded on one side and then removed so i could finish the mount

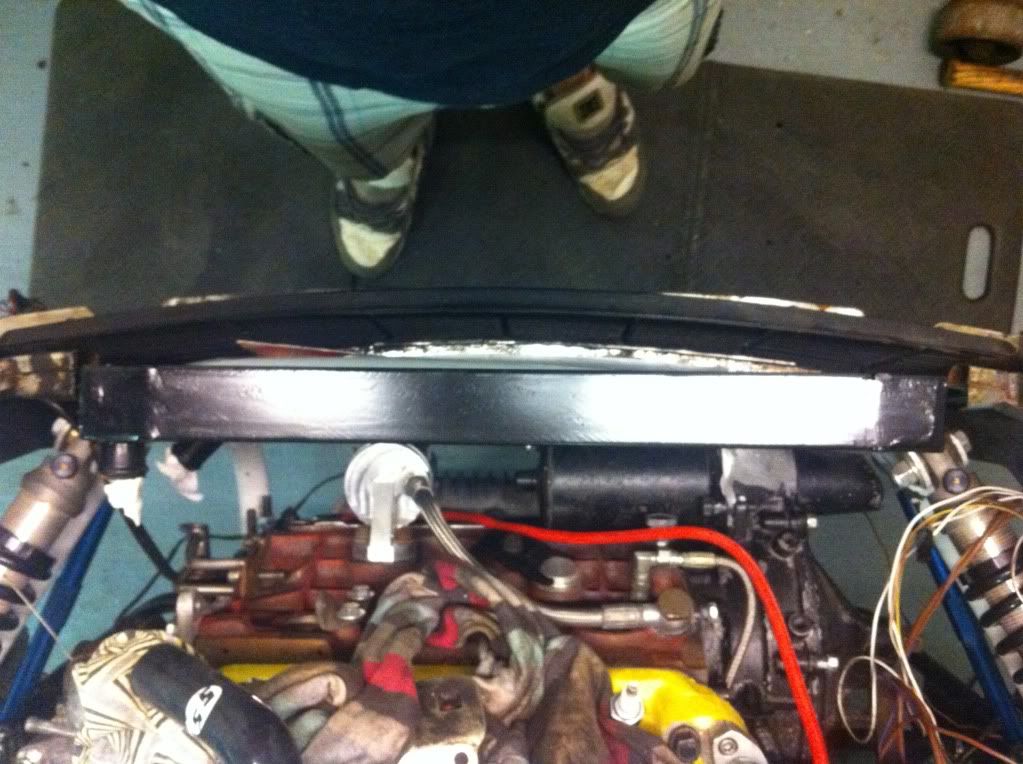
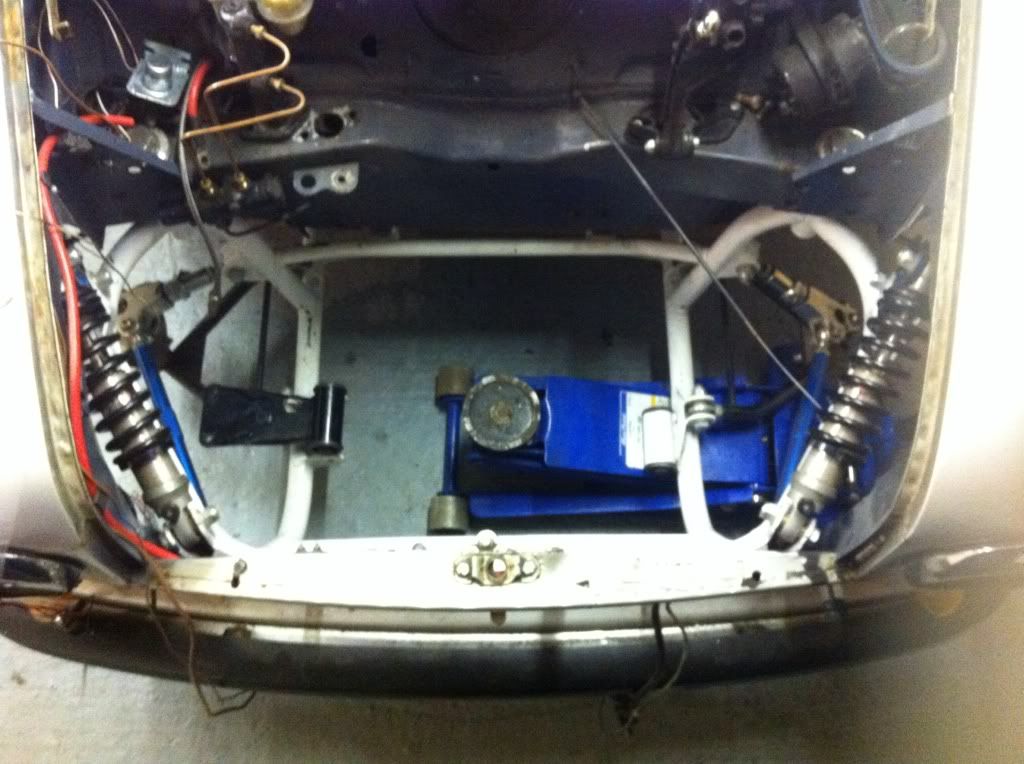
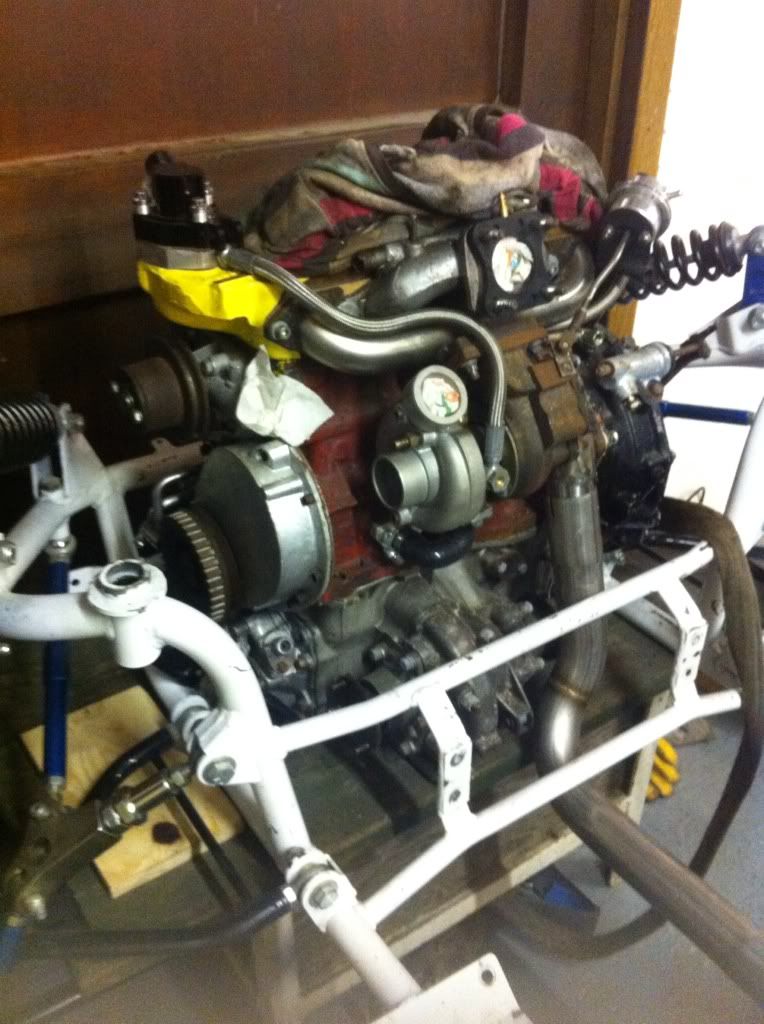
Then the subframe back in the car for hopefully what will be the final time until the winter
Then mounted the engine in

and this is pretty much at the stage im in now with the engine bolted in the car and a few more issues to come accross before i can get the wheels back on the car and it rolling again


 oh well ill keep pondering on!