Jump to content


Photo
- - - - -

My Mini City E 1989 998cc.


  • Please log in to reply
43 replies to this topic

#1 Marroon

Marroon

    Speeding Along Now

  • Members
  • PipPipPipPipPip
  • 369 posts

Posted 29 August 2008 - 10:37 PM

Just thought id make a thread about my project, so i can join in with the fun :dontgetit:

Ive always liked minis as there a very british car however i never thought my first car would be a mini, because they were far too dear, and i heard they wernt as cheap to insure as people made out, So i was quite suprised when dad's mate was selling one. So after a few inspections of it, i decided to buy it as my first car, i cant remeber how much was paid, but i knwo we swapped it for an oil painting and a few ton in cash.

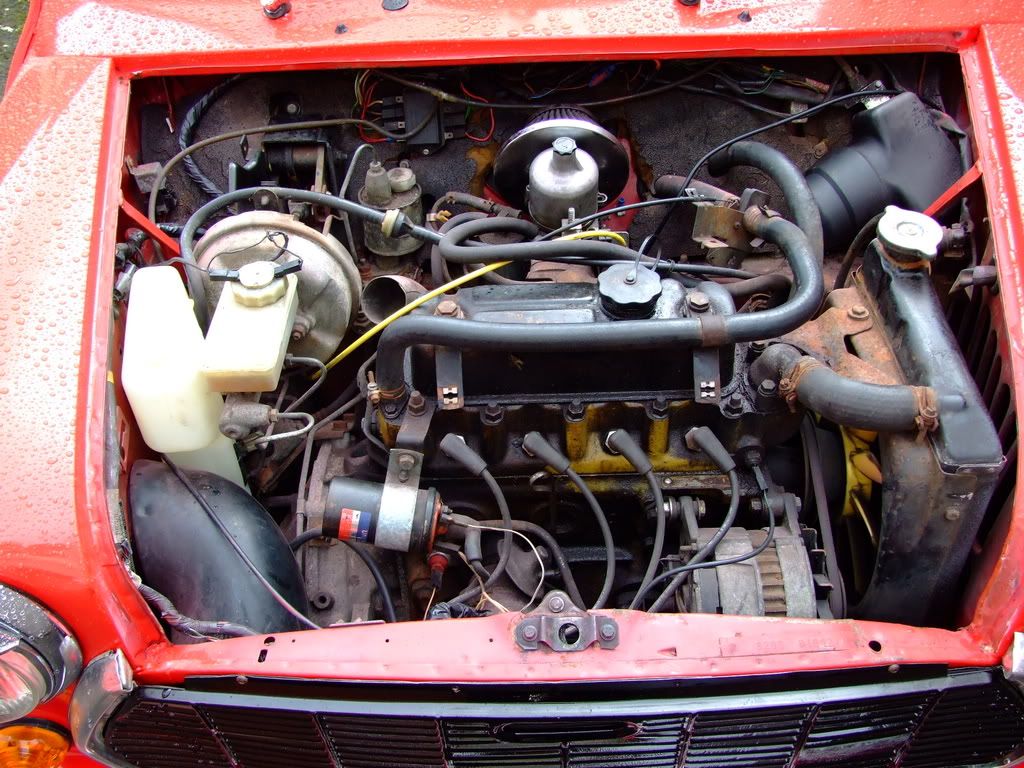
the mini is a 1989 mini city E with a 998cc engine. The previous owner had clearly looked after it very well as the shell is amazingly sound in all the usally rust areas. The when i got the car it had also been modified with an upgraded air filter, Black and chrome 12" superlights and some 6x9's uner the rear seats on some makeshift speakerboard, and bullet mirrors.

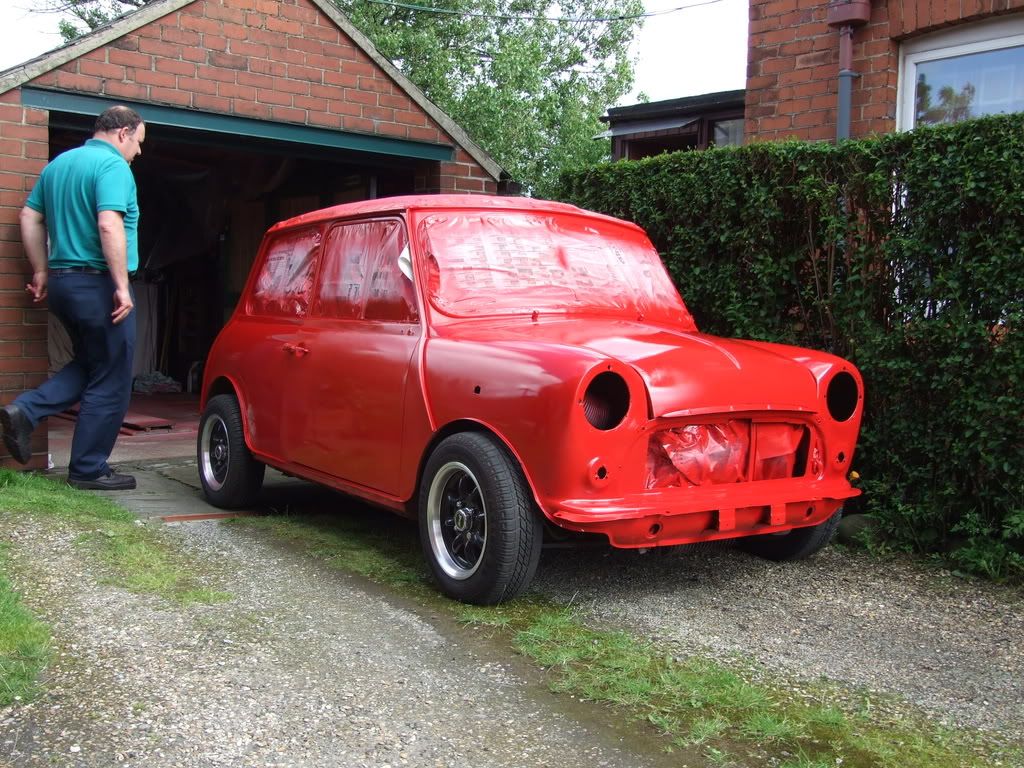
However the car had also been crashed (only affecting the headlight area of the wing panel), it had had all the work done however it jsut needed tidying up and spraying all one colour. as well as this, the previous owner had burnt alot of the electrics in the dash (probably when fitting a fibreglass one) and some of the wiring needed to be gone through and re done.

I also found out when i was cleaning the car that its had a fibreglass dashboard in it, and has had bucket seats and a C.D player in it at one time, but they were no longer on the car.

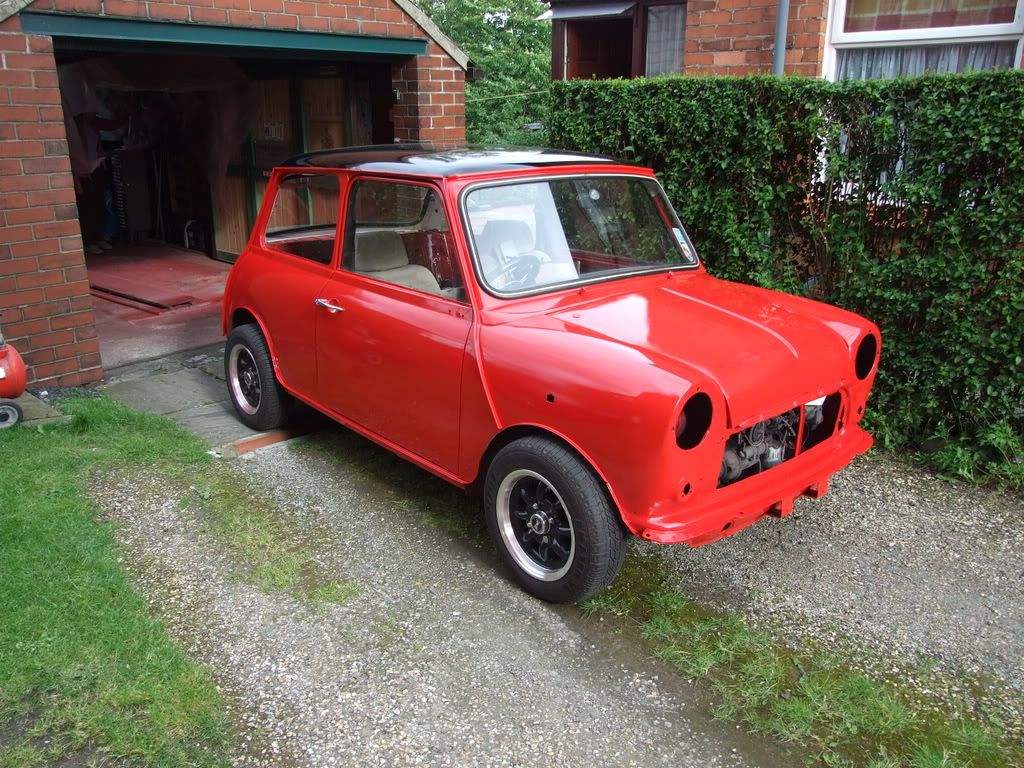
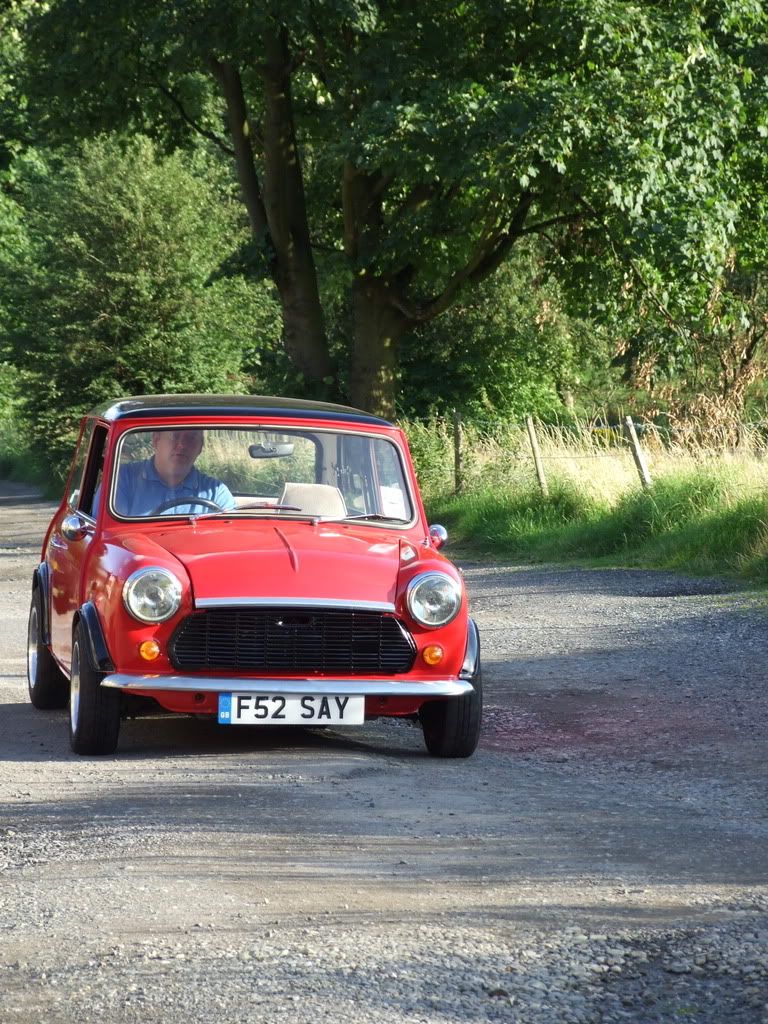
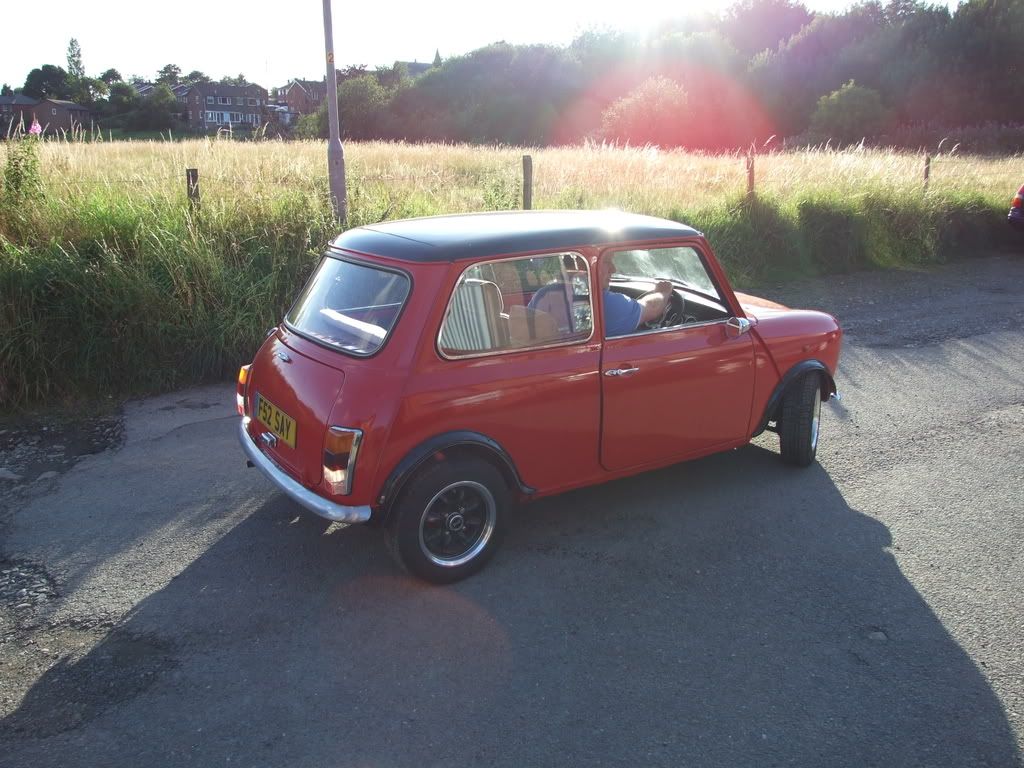
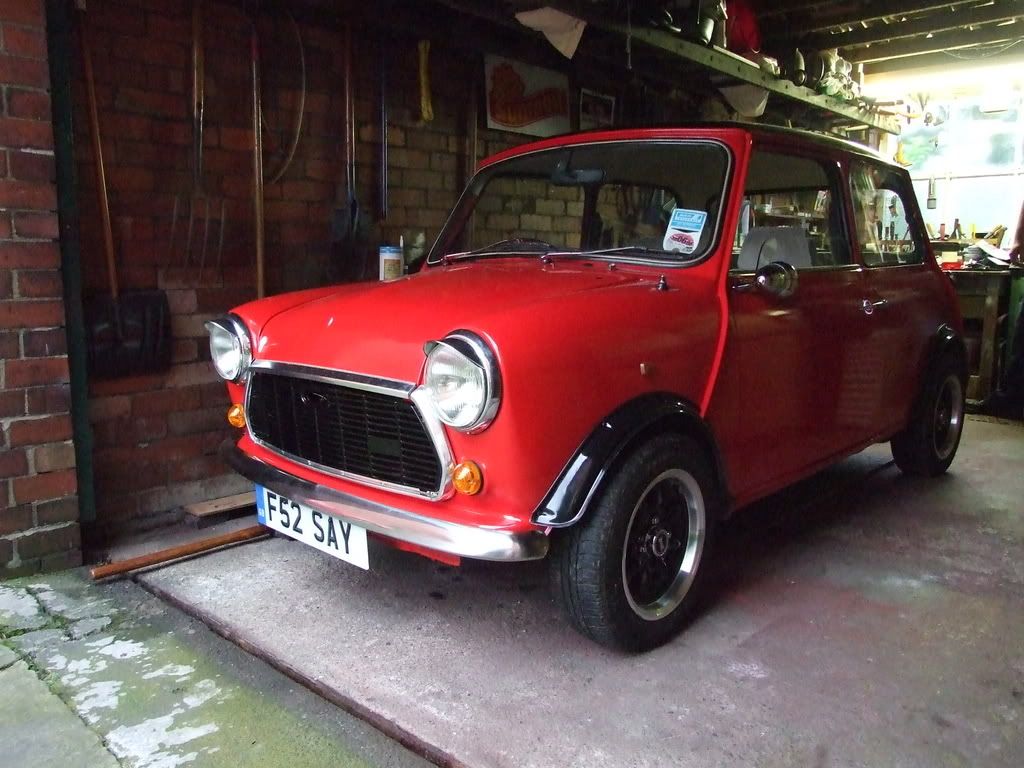
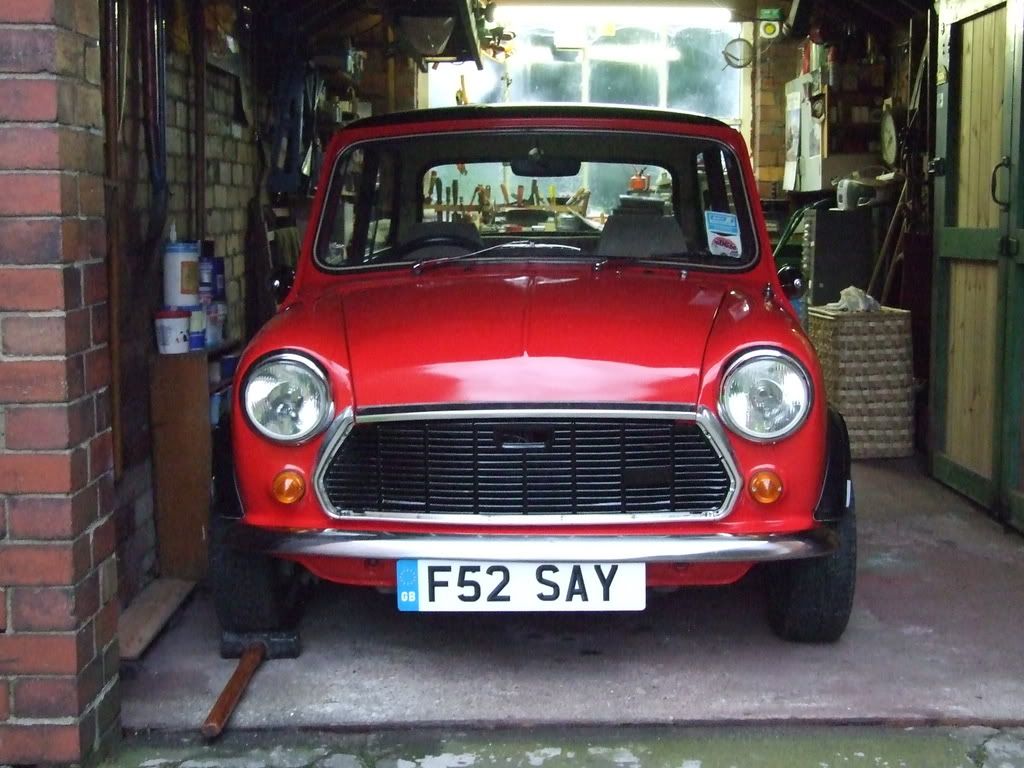
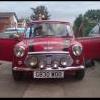
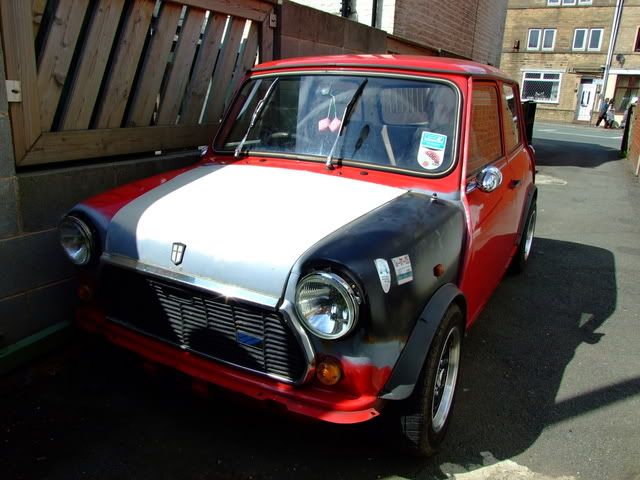
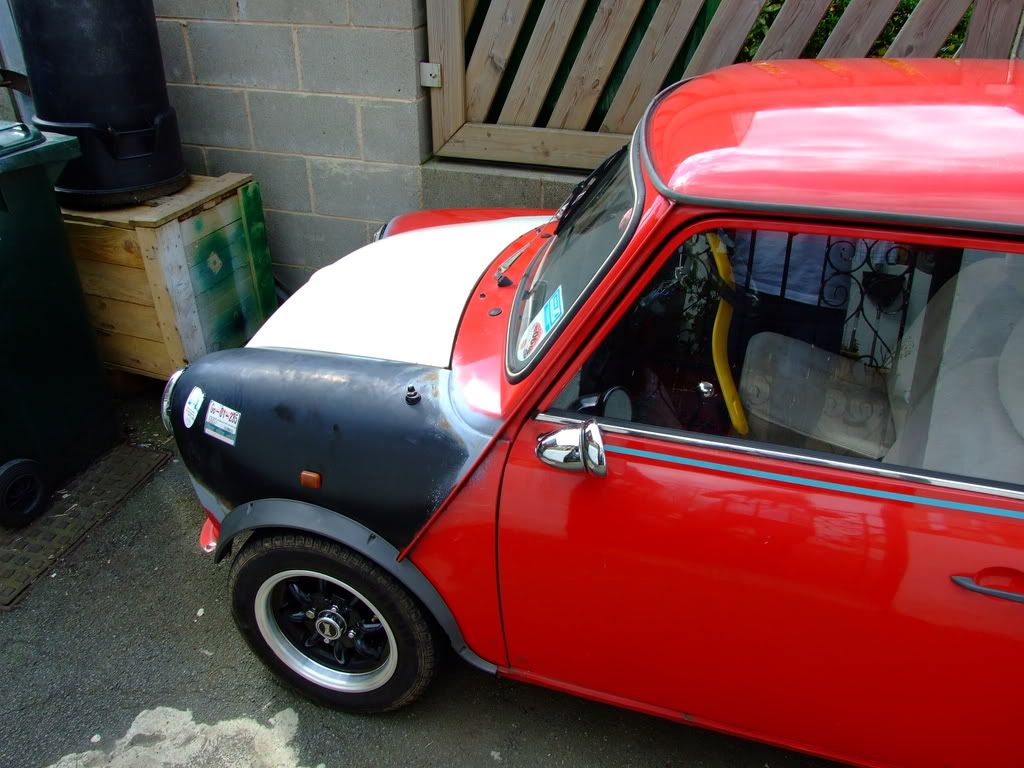
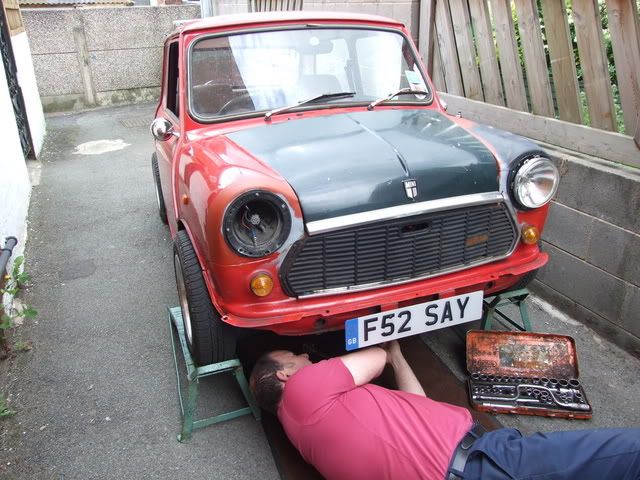
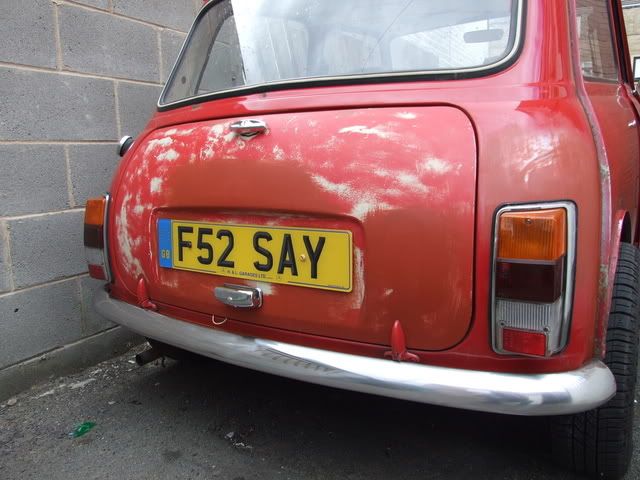
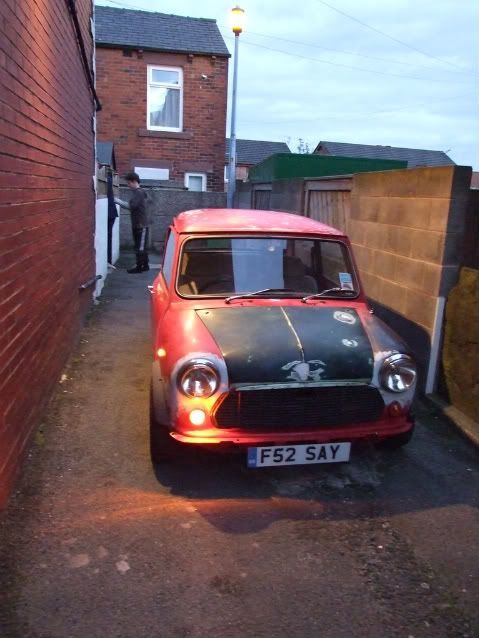
heres some pics when we first got the car.

Posted Image

Posted Image

Posted Image

Then i found a few faults with the car:
needed a new boot, the old one was rotten,
need a suspension donout on one side,
needed new indicator + foglight lense,
front repair needed tidying up to my standard,
new grill,
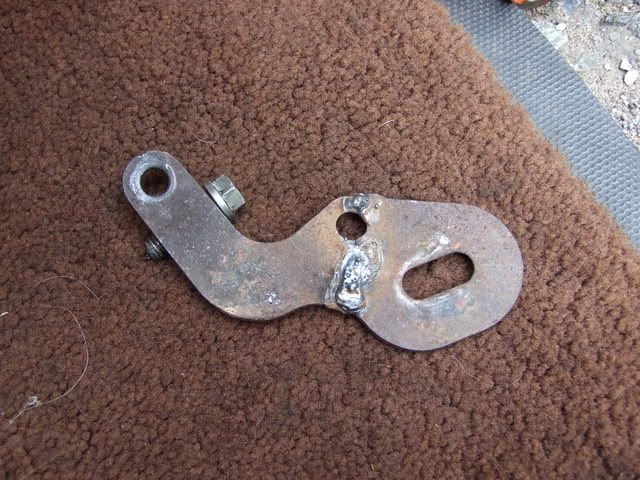
engine bracket needed welding,
electrics needed sorting.
window wiper motor resting button needed sorting.
indicator relay needed replacing.

After a few weeks wed sorted most of the electrics, sorted the wiper motor, so the car was electronicaly perfect.

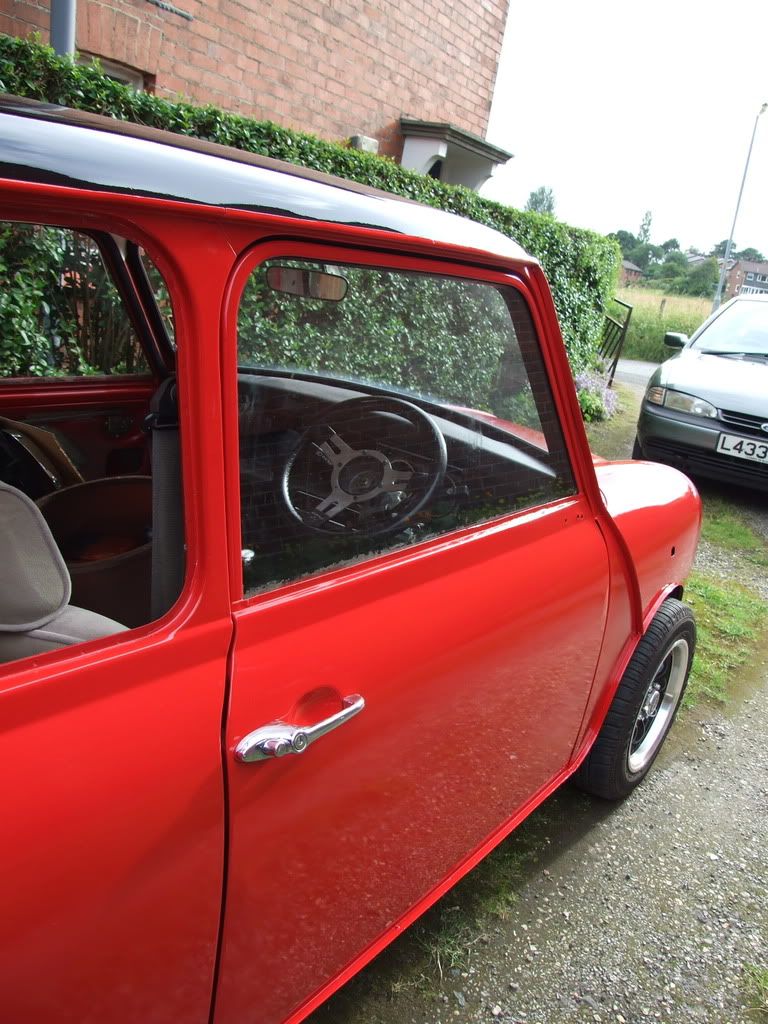
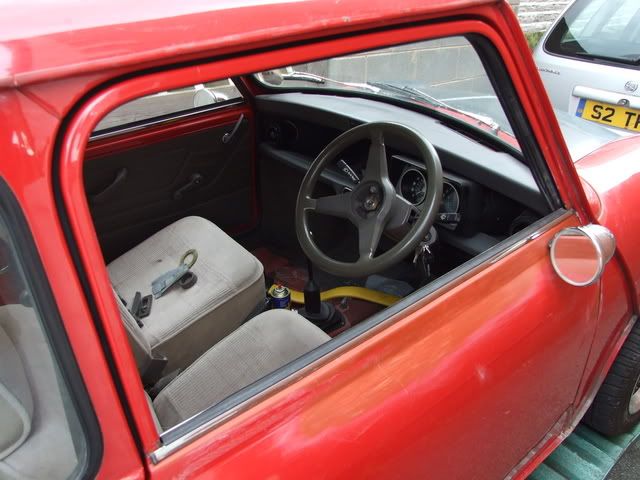
Then we got the engine bracket welded and replaced that, and tackled some rust along the top of the doors (origionally wed planned to buy new ones, but they were too dear, and after abit of fibreglass filler and thin metal, we fixed the old ones.
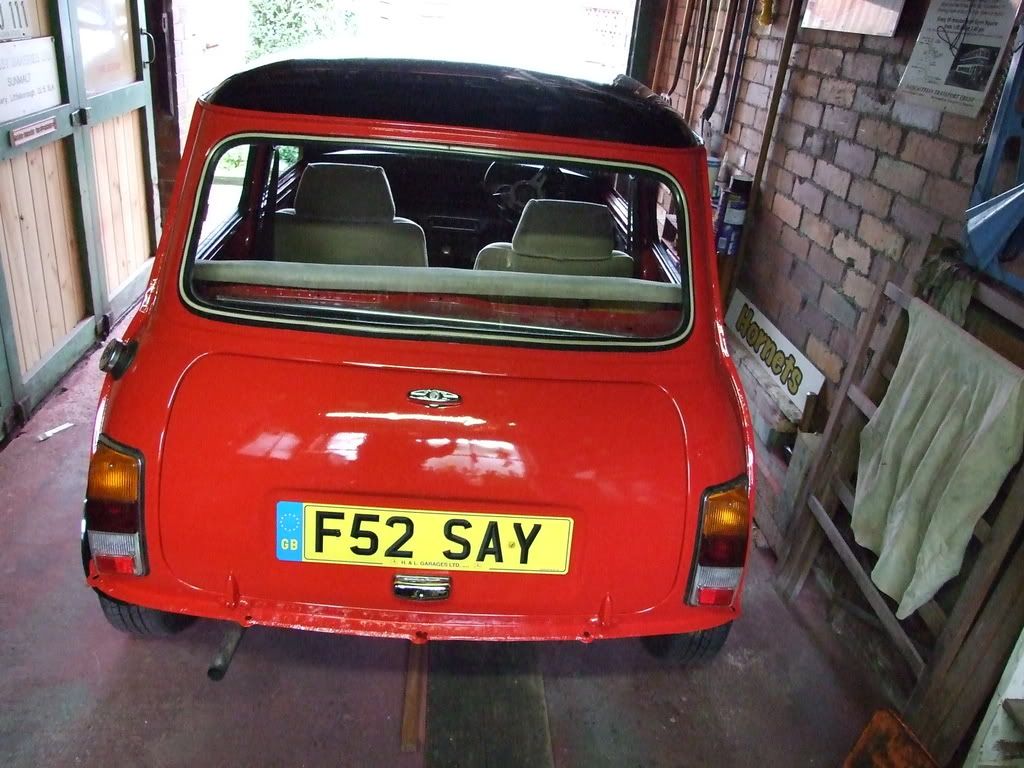
heres a pic showing the new boot lid (after smoothing it for a mk1 style number plate light.. instead of that big dopey thing which makes it look like a taxi) you cna also see the top of the door abit where its been fixed. by this point id put a stainless steel bumper on the back too.

Posted Image

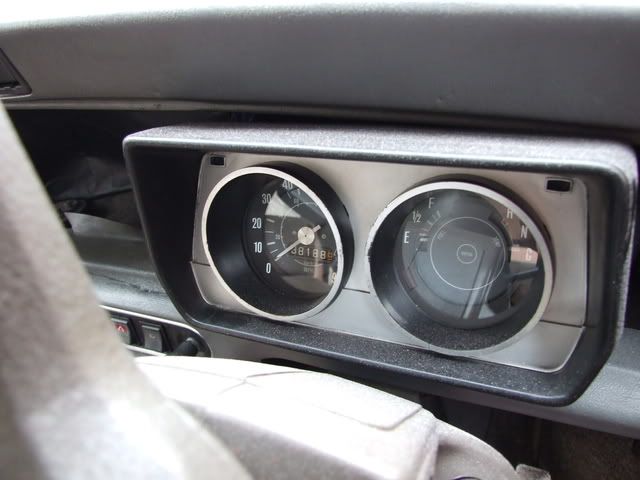
heres some pics of the welded engine mount going on and a pic of the new speedo set which i decided to use, as the circuit on the back of the origional had been soldered to and burnt it out. Plus the black and silver smiths one is far more retro (but i think its off a clubby with 10" wheels, so speed could be abit out.) :o
also the top of the door can be seen on one of the pictures.

Posted Image

Posted Image

Posted Image

Posted Image

Next i fitted the MK1 number plate light to make it look older, which is the look i wanted to get with car, a retro old kinda look .

Posted Image


After this, we sorted out all the various other little things with the car (me and dad are perfectionist's :ermm: )
then got wet and drying the car down, which was aweful because the lacquer had started peeling on the roof, so i sepnt hours in the rain trying to remove all the flakey laquer.
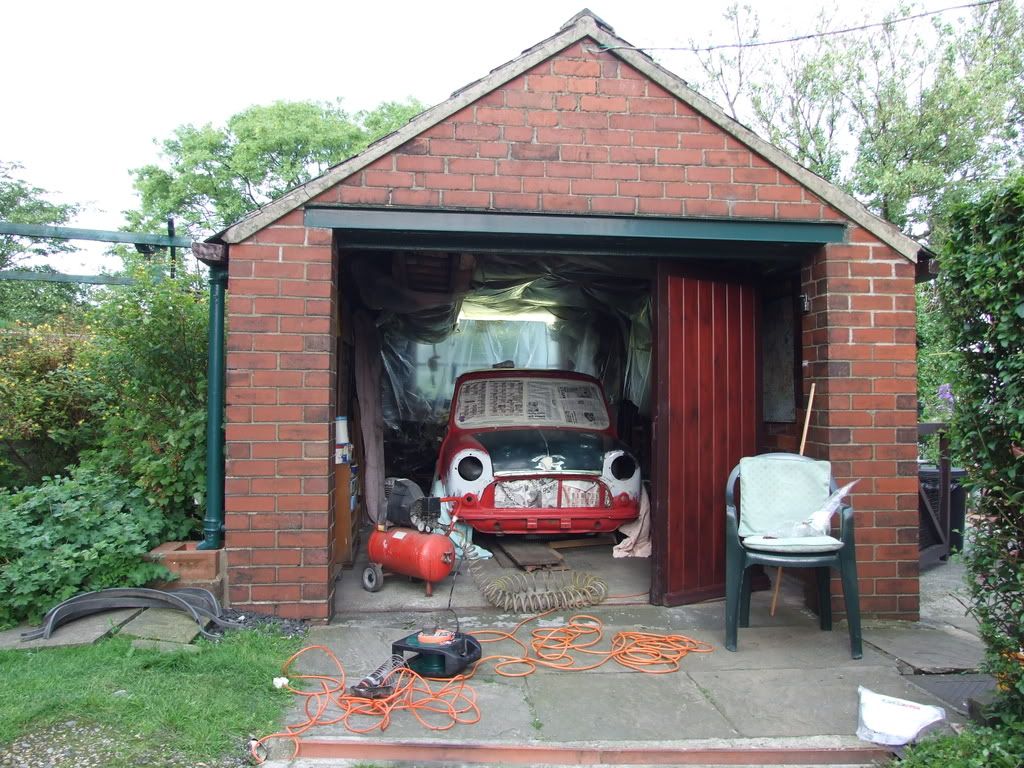
Then we got the car back road legal, and drove it down to the grandparents garage where they were letting us spray the car.
When we got it there, we spent a day stripping it down masking we also did the undercoat first layer.

Posted Image

Posted Image

Posted Image

Posted Image

Posted Image

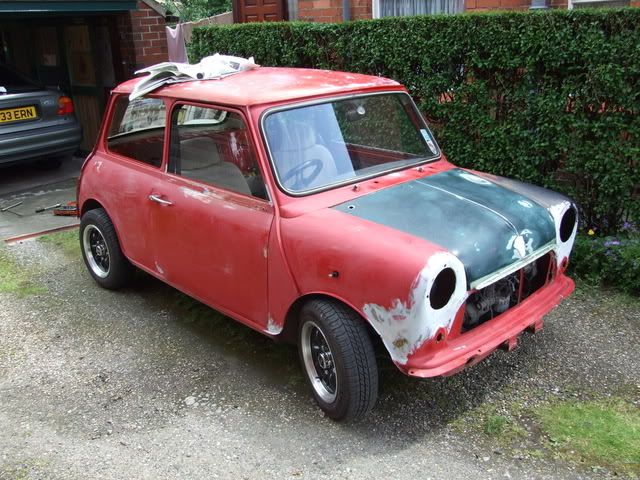
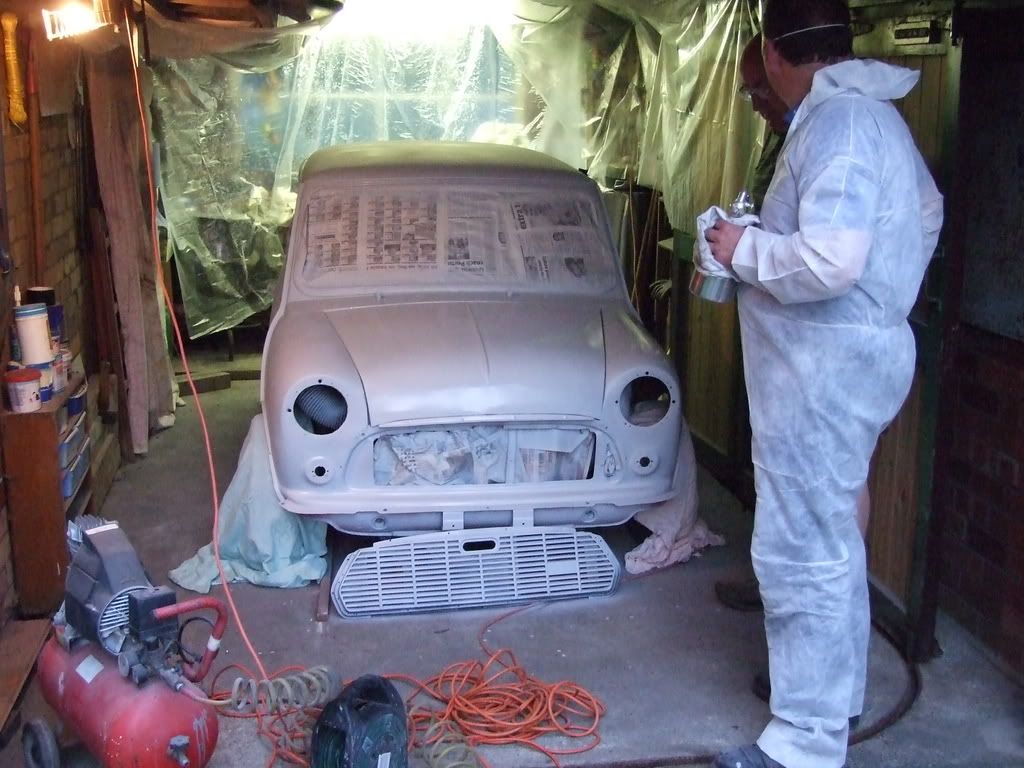
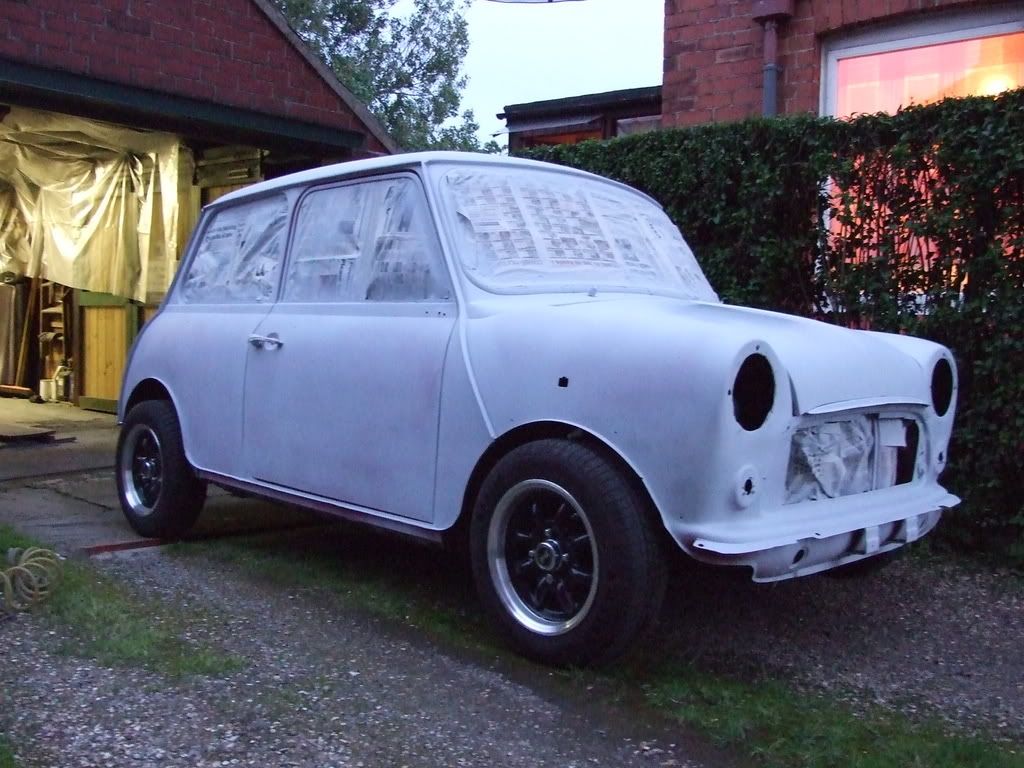
I think on the last picture, it looks dodgy where ive filled the lines from the front valance to the wings, but it looked well in the end.

thats all for now, ill continue the story later ...

Edited by Marroon, 30 August 2008 - 10:33 AM.


#2 AndrewJ530

AndrewJ530

    Camshaft & Stage Two Head

  • Members
  • PipPipPipPipPipPipPipPip
  • 1,628 posts
  • Location: Middlesbrough

Posted 29 August 2008 - 11:01 PM

Looks like a kool project bud. Keep up the good work. :dontgetit:

#3 analogue_radio

analogue_radio

    Up Into Fourth

  • TMF+ Member
  • PipPipPipPipPipPipPipPipPip
  • 4,897 posts
  • Location: Melton Mowbray, UK.

Posted 30 August 2008 - 08:36 AM

Nice work so far, where abouts are you from mate?

#4 Marroon

Marroon

    Speeding Along Now

  • Members
  • PipPipPipPipPip
  • 369 posts

Posted 30 August 2008 - 09:48 AM

Thanks, the cars nearly finished now, just thought id make a project page showing the things iive already done..

and im from lancashire

Edited by Marroon, 01 September 2008 - 10:20 PM.


#5 Marroon

Marroon

    Speeding Along Now

  • Members
  • PipPipPipPipPip
  • 369 posts

Posted 30 August 2008 - 07:17 PM

Just some more info about waht ive done to it while ive owned it...

heres some pics of the final paint job, including the black roof.

Posted Image

Posted Image

Posted Image

then after that, i bought some group 2's as the wheels stuck out of the standdard arches abit.
i also sorted the rubber cone out on one side as it had been put in wrong (without usaing a compression tool i think as it was slanted) and i also put the rest of the car back together (with the help of my dad.. who can be seen working in all the pics here, well i was messing around taking photographs) Oh, i also added headlight peaks aswell. and i changed all the handles to chrome!.

Posted Image

Posted Image

Posted Image

Posted Image

Posted Image

Now, all it needs is a C.D player fitting, a rear underseat speakerboard and rear seatbelts, and a wooden floor to cover the spare wheel in the boot. + got some speaker pods, a rev counter and an ammeter to fit.

The engine could also do with abit of paint and a good clean.

More to come on my mini as it happens :)

#6 wpm_720

wpm_720

    On The Road

  • Noobies
  • PipPip
  • 41 posts

Posted 30 August 2008 - 07:24 PM

I got a Mini City, same year, probably the same colour (Flame Red, code COF). Same mirrors too! (But looking at the picture, those mirrors are wing mirrors, not door mirrors, if you want bullet style door mirrors, they need to be mounted on a plinth). Really loving the black roof and matching wheels, and really digging the chrome furniture, especially the Mk1 number plate light!

Keep it up :)

#7 Marroon

Marroon

    Speeding Along Now

  • Members
  • PipPipPipPipPip
  • 369 posts

Posted 30 August 2008 - 07:38 PM

I got a Mini City, same year, probably the same colour (Flame Red, code COF). Same mirrors too! (But looking at the picture, those mirrors are wing mirrors, not door mirrors, if you want bullet style door mirrors, they need to be mounted on a plinth). Really loving the black roof and matching wheels, and really digging the chrome furniture, especially the Mk1 number plate light!

Keep it up :thumbsup:


cheers :) yeah its COF.
Are them type mirrors illegal for door use then? admittedly they give rubbish view but mehh.

i got some locking bonnet pins which need fitting too :)

heres some more pics :thumbsup: .. im guna take some more tomrrow, ill probs do some more work to it tomrrow aswell.

Posted Image

Posted Image

#8 Marroon

Marroon

    Speeding Along Now

  • Members
  • PipPipPipPipPip
  • 369 posts

Posted 01 September 2008 - 09:15 PM

Just thort id add a picture of the engine bay, and a picture of the speaker pods i bought (couple of quid each!!) i guess they look abit too "80's boom box" for the mini, but they angle the sound upwards which is what i want.

Posted Image

Posted Image

Im thinking of 2 close together yellow spotlamps on the front too, what you think?
and maybe a roof rack too.

tell us what you think, all commments much appreciated (Y)

#9 Down&Out

Down&Out

    The King Of Retro Cool

  • Traders
  • PipPipPipPipPipPipPipPipPip
  • 4,853 posts
  • Location: -

Posted 03 September 2008 - 04:54 PM

good a great mini, good work :-

#10 Loopylou157

Loopylou157

    Just On Tickover

  • Noobies
  • Pip
  • 8 posts

Posted 03 September 2008 - 05:06 PM

your mini looks brilliant! love the colour. I have a 1989 mini city E too...... looking for some inspiration!

#11 1987_ParkLane

1987_ParkLane

    Up Into Fourth

  • Members
  • PipPipPipPipPipPipPipPipPip
  • 2,671 posts
  • Location: N/A
  • Local Club: The Mini Forum

Posted 07 September 2008 - 11:00 AM

How lng did it take you to spray it?

#12 Joloke08

Joloke08

    Not banned but still weird

  • Members
  • PipPipPipPipPipPipPip
  • 828 posts

Posted 07 September 2008 - 11:58 AM

Just some more info about waht ive done to it while ive owned it...

heres some pics of the final paint job, including the black roof.

Posted Image

Posted Image

Posted Image

then after that, i bought some group 2's as the wheels stuck out of the standdard arches abit.
i also sorted the rubber cone out on one side as it had been put in wrong (without usaing a compression tool i think as it was slanted) and i also put the rest of the car back together (with the help of my dad.. who can be seen working in all the pics here, well i was messing around taking photographs) Oh, i also added headlight peaks aswell. and i changed all the handles to chrome!.

Posted Image

Posted Image

Posted Image

Posted Image

Posted Image

Now, all it needs is a C.D player fitting, a rear underseat speakerboard and rear seatbelts, and a wooden floor to cover the spare wheel in the boot. + got some speaker pods, a rev counter and an ammeter to fit.

The engine could also do with abit of paint and a good clean.

More to come on my mini as it happens :thumbsup:


Hiya
your city looks soo sweet >_<
Boris our sprite is exactly the same colour but unfotunately we couldnt spray it with a gun and a compresser so weve been using rattle cans custom mixed :)

It proves though if you have the extra control of a gun and compresser and a garage to do it in how well COF "Flame red" can come out :)

Ours hasnt come out too bad all things considered,we were only been trying to treat the rough spots to keep the rust at bay ;)
Weve only done some panels eventually we may do the whole car with rattle cans for continuity of colour ;)

If we can ever get a garage to paint it though it will be done again with a gun an compressor,if it comes out anything likes yours we will be happy :thumbsup:

To Check out our project "Boris" just click on the banner ;)

Huggz
Jodie :)

#13 Mini_Woo

Mini_Woo

    Mini Mad

  • Members
  • PipPipPipPip
  • 273 posts
  • Local Club: Crewes Missiles

Posted 07 September 2008 - 02:19 PM

hey, am well jelous now! haha, iv got a Mini City too but on a G reg. you've done pretty much what am planning do to mine(when i get the money) how much did it roughly cost to spray your car? thats the main problem iv got, because i sprayed mine after doing touch up jobs, but it isnt that good.

#14 analogue_radio

analogue_radio

    Up Into Fourth

  • TMF+ Member
  • PipPipPipPipPipPipPipPipPip
  • 4,897 posts
  • Location: Melton Mowbray, UK.

Posted 07 September 2008 - 04:33 PM

What equipment do you use to spray your car? & how hard or even how easy is it?

#15 Marroon

Marroon

    Speeding Along Now

  • Members
  • PipPipPipPipPip
  • 369 posts

Posted 09 September 2008 - 07:50 AM

i used a small compressor, and a £28 spray guna at frist which is supposed to be top of the rang, but the coverage was terrible, so in the end dad got his old one and he used that, which covered it much better, jsut shows how things arent made as good anymore,

Thanks for all your comments its really made me smile, i cant wait to get to some mini shows and show it off, i must give alto fo credit to my dad though, whos done the spraying and shown me whats what about the car.

It took me 4 days maximum to spray the car, no more than four including putting it back together.

Its cost me around £56 for the paint i think, as COF is a fairly common colour and the roof is just plain black, its all synthetic paint.

how hard and how easy.. well it depends on your equiptment i guess.. we were doing it in a small garage, wiht a small compressor and short airline, so ti was abit of a struggle as i had to move the compressorand hold the airlines, as dad moved around and sprayed the car, also there was only an inspection lamp for lighting some some bits have abit of a duller look, but hopefully with time itll polish out.

Also, my dads been doing it for years so hes had quite alot of practise, but the main thing is jsut getting the paint consistency right.. and warming the paint up so it sticks better, it made a great difference when we warmed the paint up before spraying, but unrofutnatly on the bonnet the paint went cold as we were doing the outline so its resulted in a look that looks like when you move skin off paint abit? but it wouldnt be hard to re-do.

so yeah in a way it was esy to spray, but because of the small garage (and the cramped head room) it made it alot worse, but still i have to say a big thanks to grandad for letting us borrow his garage, turns out the sheets didnt stop the over spray like wed thort and he had red tints on his glasses whihc were on hi bench.. but they cleaned up :(

and i think thats about it :D

thanks so much for all your comments, ive got the motivation to do some more now :P


1 user(s) are reading this topic

0 members, 1 guests, 0 anonymous users