Jump to content


Photo
- - - - -

Lightweight Z18Xe


  • Please log in to reply
1943 replies to this topic

#16 mini_mad69

mini_mad69

    Let future you worry about it

  • Traders
  • PipPipPipPipPipPipPipPipPipPip
  • 5,417 posts
  • Local Club: urrrr no

Posted 08 November 2008 - 10:28 PM

Posted Image


Have you actually been to the Nurburgring?

As the sticker you have on the boot is upside down...


No I have not been to the nurburgring. and yes the sticker WAS upside down.
A friend gave me the sticker and I put it on as an insentive to go, because I realy want to have the experience.
Ive taken it off now, it was only on there for around 2 weeks.

#17 mini_mad69

mini_mad69

    Let future you worry about it

  • Traders
  • PipPipPipPipPipPipPipPipPipPip
  • 5,417 posts
  • Local Club: urrrr no

Posted 17 November 2008 - 02:57 PM

Posted Image
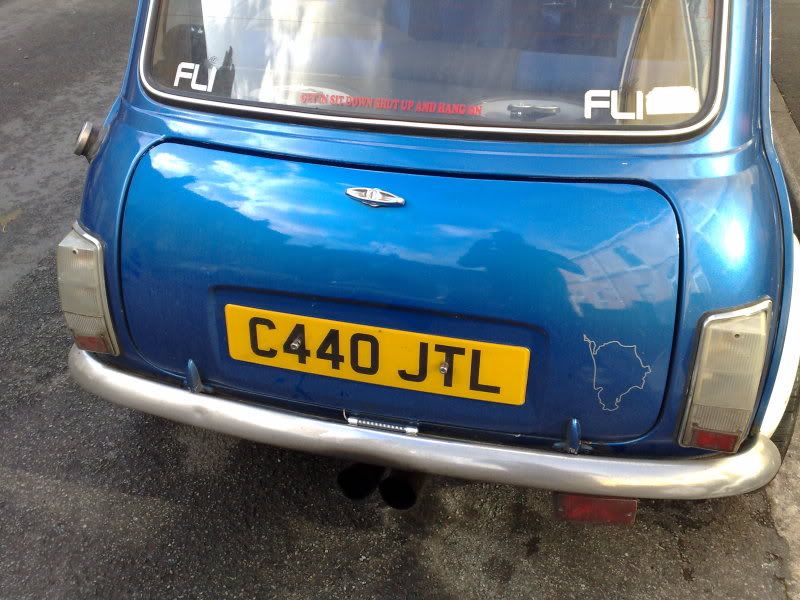
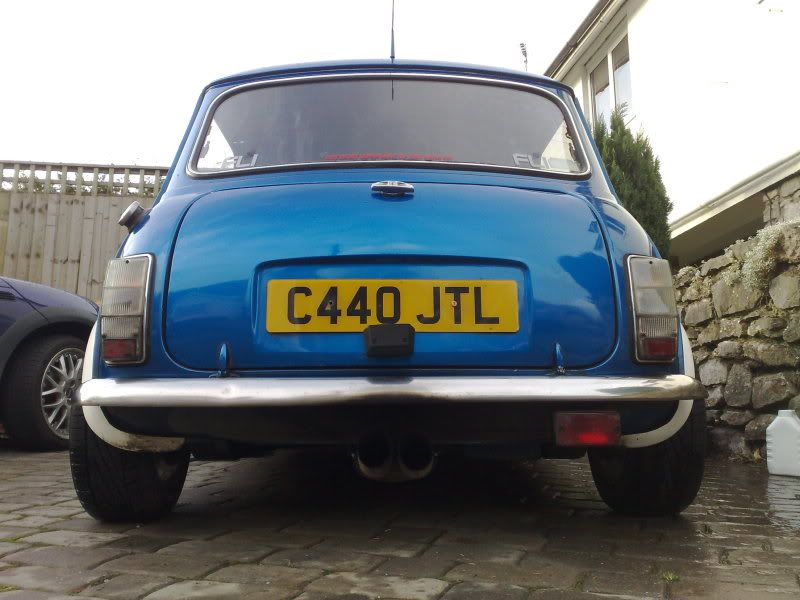
Ive added a temporary number plate lamp for purposes of MOT, its attatched using thick number plate sticky pads, and the wires o up under the number plates through a hole thats not visible.
Then I cleaned it, then waxed it, but upon waxing it I got a bit worried when I found rust.
Posted Image


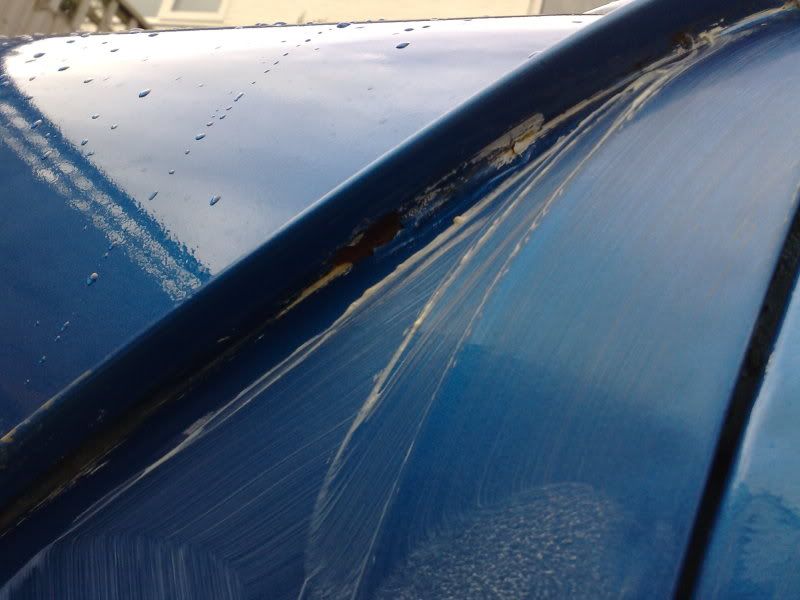
So thats something Im going to have to sort out.

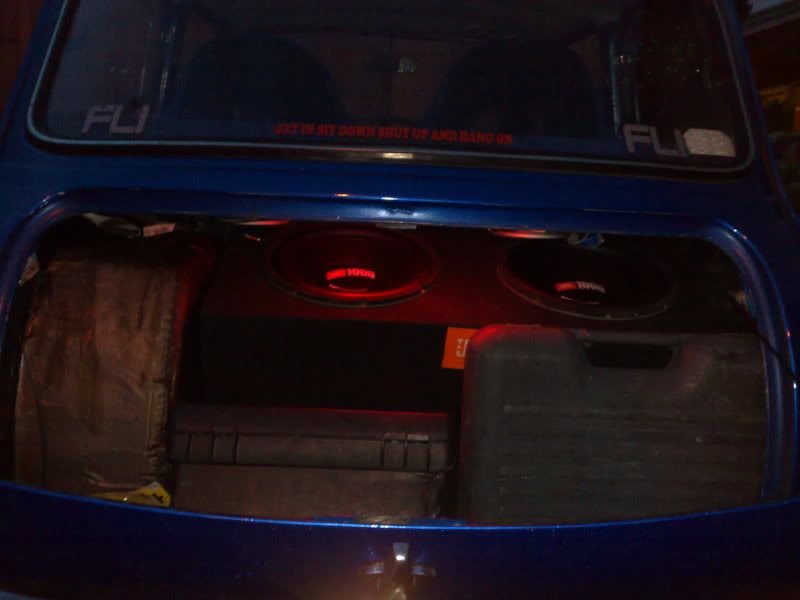
I also got bored and decided to use one of the LED bars I had lying around.

Posted Image


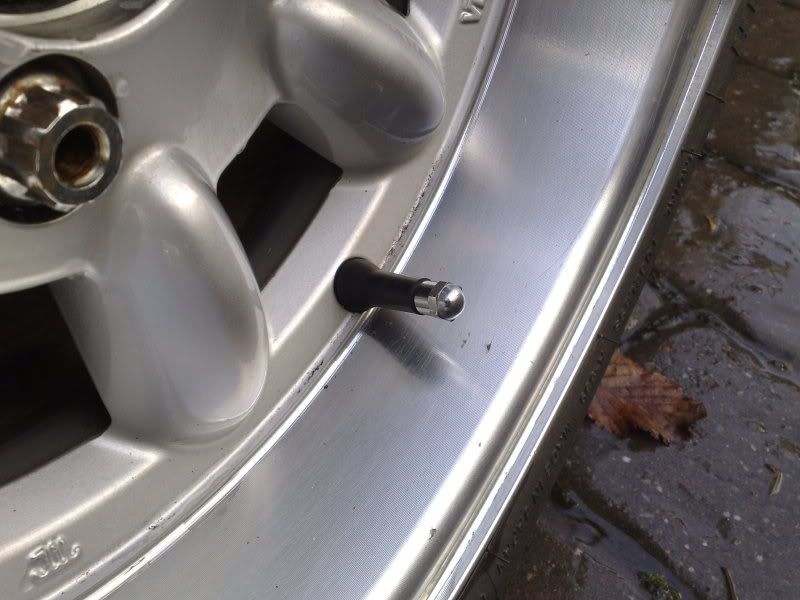
Then while polishing my wheels I found that some little s**t had taken one of my dust caps and the chrome sleeve for the valve itself. >:D
So I had to replace it with a boring one.
Posted Image

This is what they should look like:
Posted Image


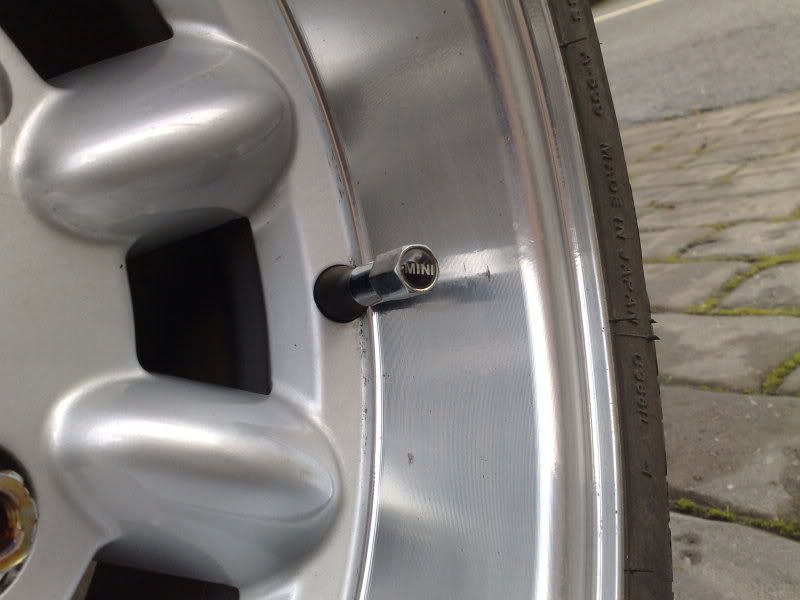
Its not much but its the little details that add up to the whole car's apperance.


Posted Image

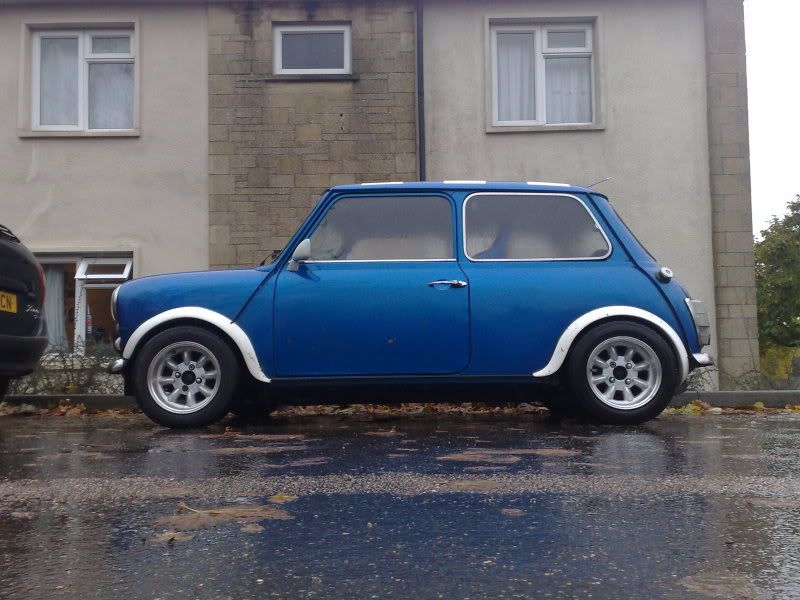
Loved the way it looked that low, but had to raise it up due to it rubbing too much and has seriously gouged out a line in the nearside rear tyre.
So now its as low as it can go without rubbing. Which isnt that low to be honest.
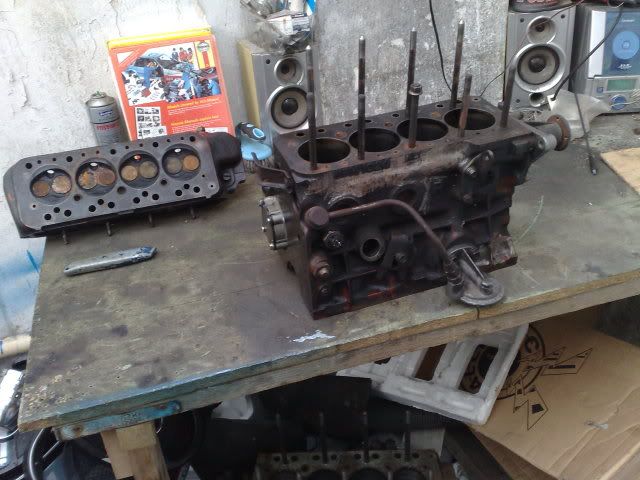
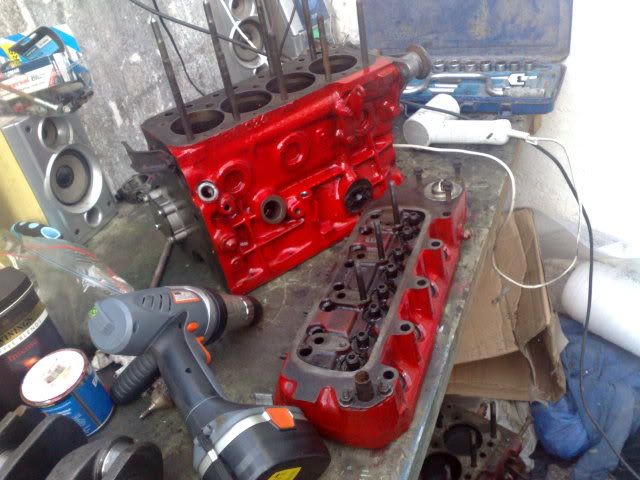
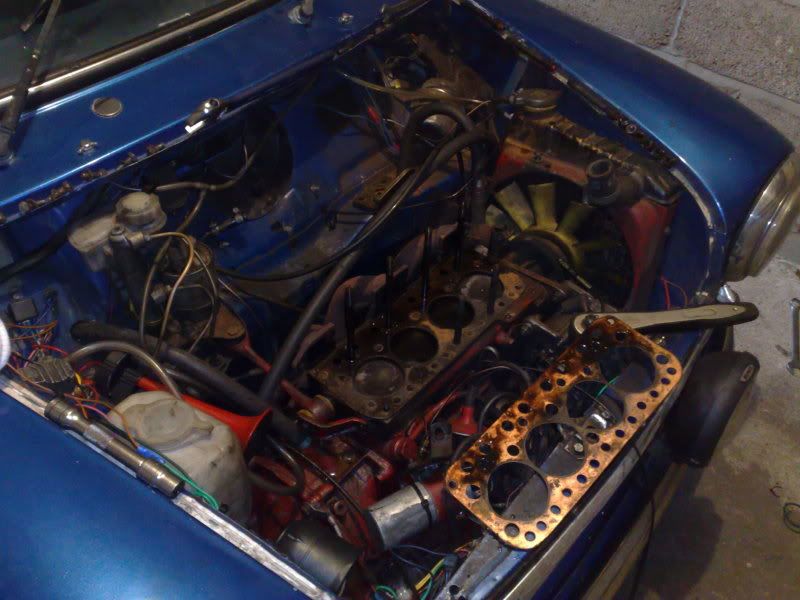
Well I got bored of having to start it and waiting 2 minutes for the worst of the smoke to clear.
So yesterday I drove it home to wales and parked it up in my parents garage.
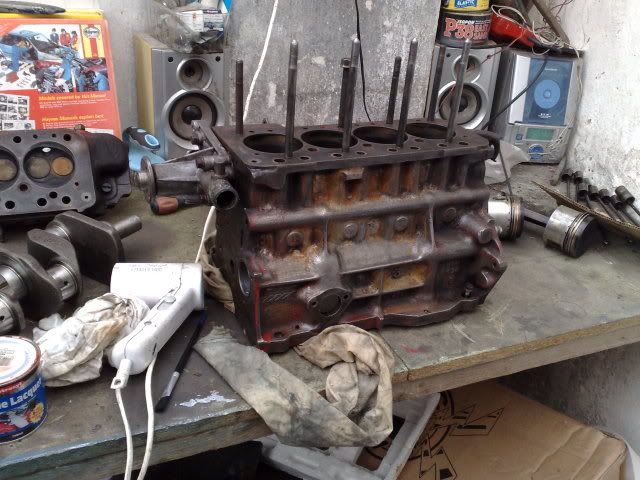
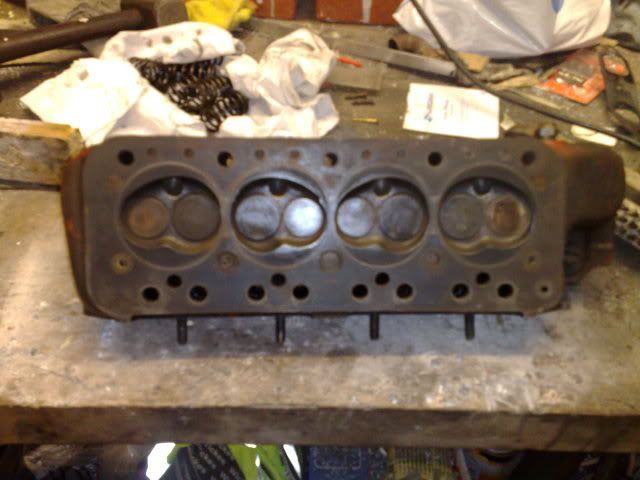
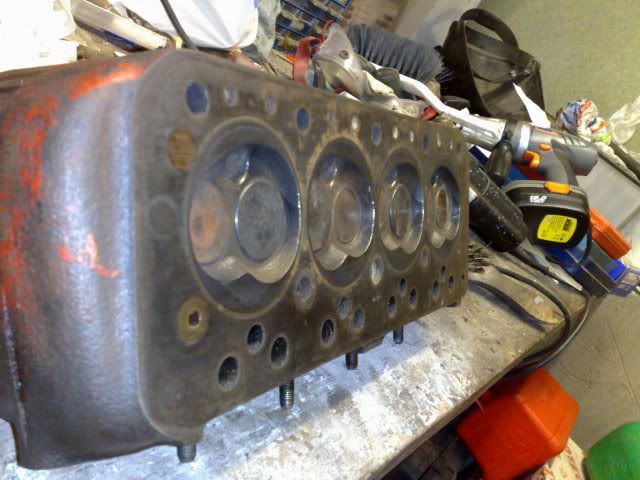
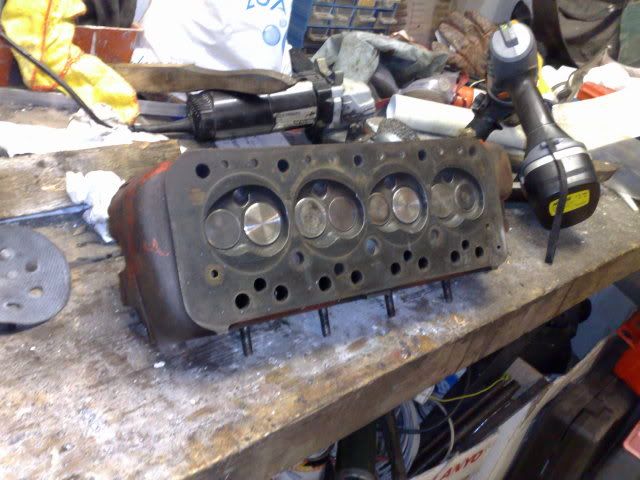
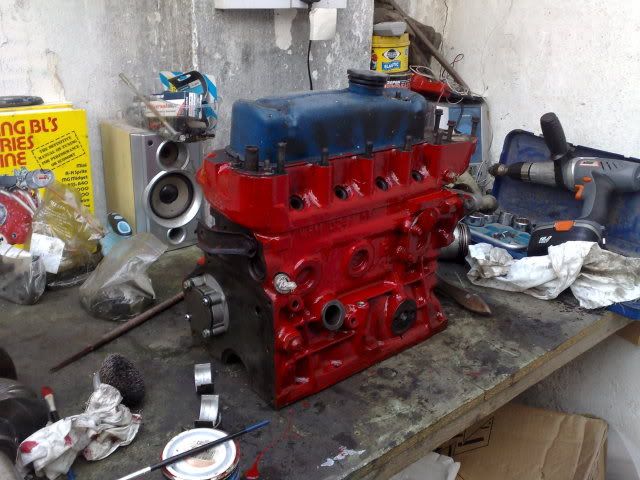
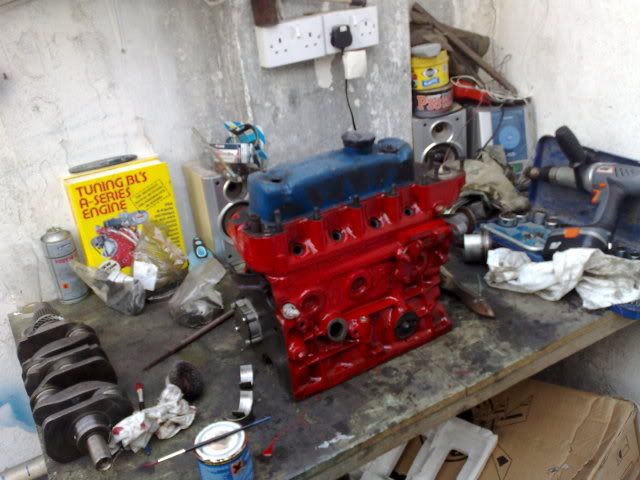
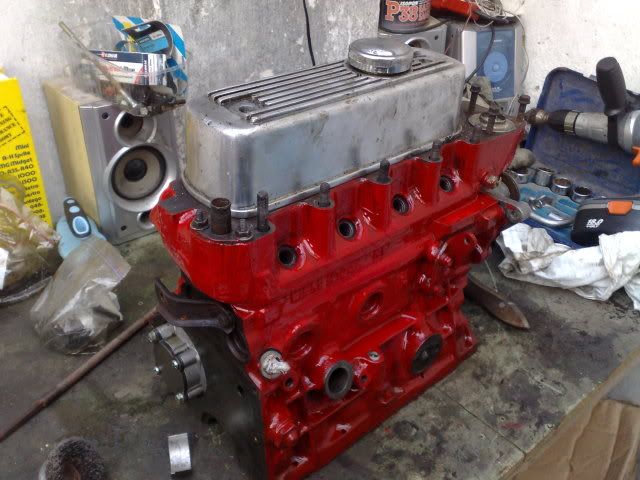
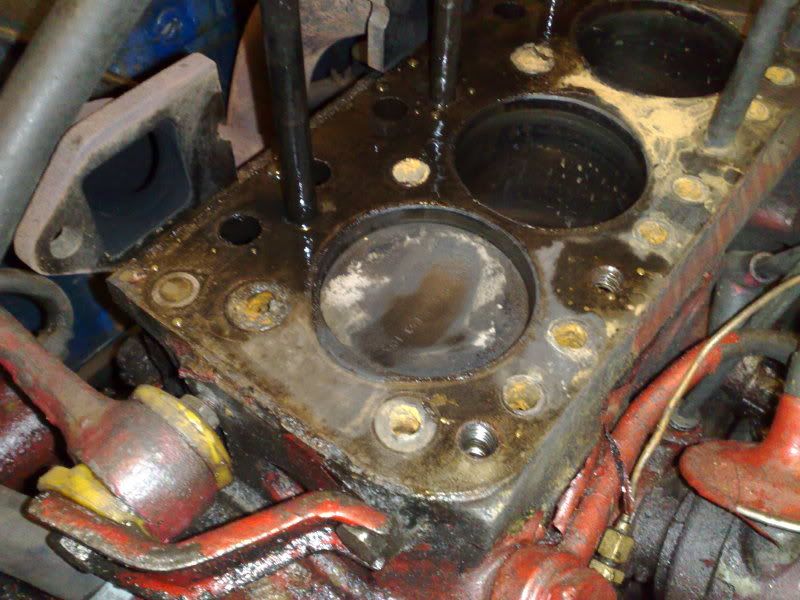
Took the head off, still trying to work out what engine is in the bloody thing.
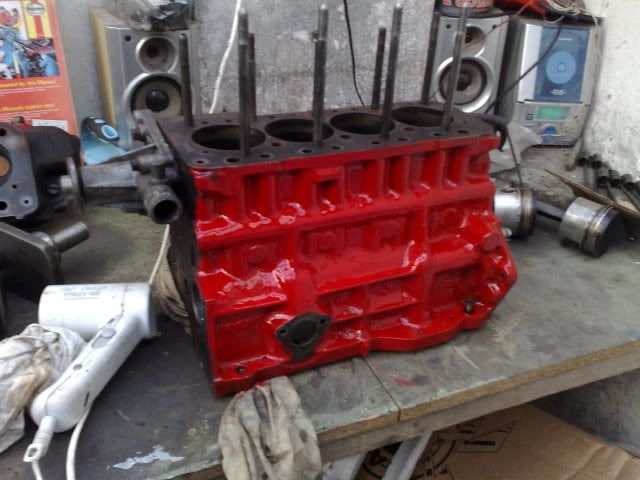
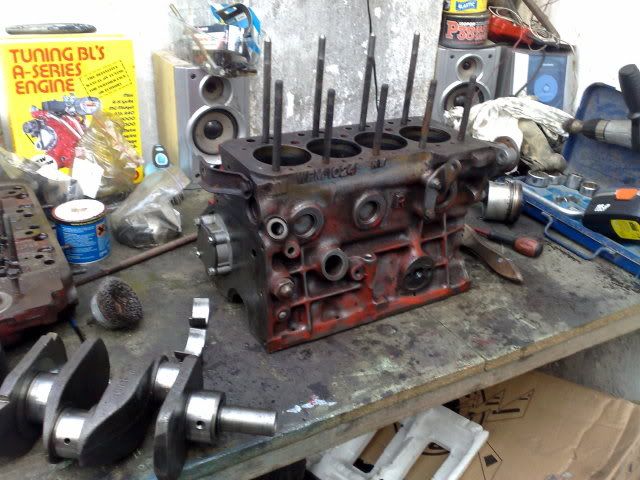
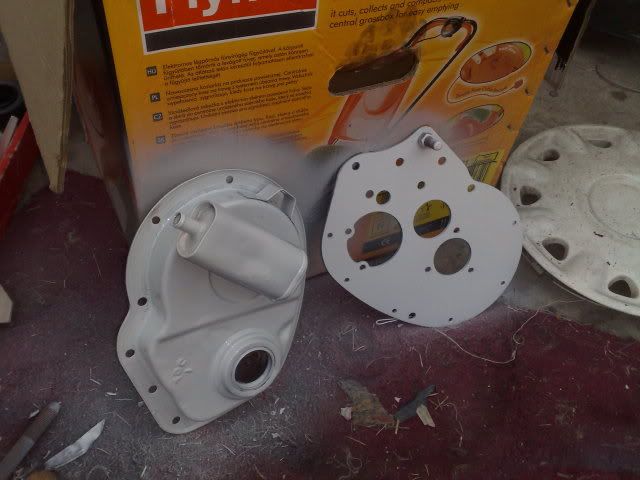
 view my weird engine.

So now its sitting in the garage all on its own in the dark with the head missing. Im going to refurb the heads and do a bit of tuning on it, as I realy realy can't afford to put my 1380 in right now, im going to build it up ready to put it in and leave it in the garage.

Posted Image
Posted Image

Probably wont be another update until mid december now until uni xmas hols.

Edited by mini_mad69, 17 November 2008 - 03:16 PM.


#18 MiniMonty

MiniMonty

    Camshaft & Stage Two Head

  • Traders
  • PipPipPipPipPipPipPipPip
  • 1,802 posts
  • Location: The Dress Circle
  • Local Club: Bodge Speed Racing

Posted 17 November 2008 - 03:25 PM

Hi,

nice project - where did you get it sprayed for £250 ???

(I'll be down there like a rocket) !

Best wishes
Monty

#19 mini_mad69

mini_mad69

    Let future you worry about it

  • Traders
  • PipPipPipPipPipPipPipPipPipPip
  • 5,417 posts
  • Local Club: urrrr no

Posted 17 November 2008 - 03:35 PM

In my shed lol

I did all of the prep work, I rubbed it all down filled it all etc etc
Then I primed it myself.
I had a friend of a friend of my dad's to come down and spray on the blue,
I then rubbed it down and he came back the next day and sprayed on the laquer.
Then I cut it back a little and polished it up.
He charged 100 quid labour for the 2 days which was pretty much 9-5
and the rest was materials.

Edited by mini_mad69, 17 November 2008 - 03:41 PM.


#20 mini_mad69

mini_mad69

    Let future you worry about it

  • Traders
  • PipPipPipPipPipPipPipPipPipPip
  • 5,417 posts
  • Local Club: urrrr no

Posted 13 December 2008 - 11:03 PM

Ok got home from uni yesterday, and did a tiny bit of work on the 1380 today.

Cleaned my bench up and put the main parts of the engine on it.

Posted Image

Cleaned up the block using wire brushed and a jet wash(does absolutly nothing accept making everything wet)

Posted Image

Then added the first coat of paint, I used red bacause from what I understand it will make it go faster......... and i had some on my shelf.

Posted Image

De coked the cylinder head. Sorry for bad pics phone couldnt take proper pics.

Posted Image
Posted Image


Then I took out the valves put the stems in my cordless drill chuck(wraped in cardboard) and cleaned them up as much as possible. There good enough for now. Im just going to put it back together with new stem seals and lap the valves in a bit but there pretty much perfect now.


Posted Image


Ive ordered new main bearingshells, big end shell bearings all +10 thou because the crank has been re ground.

Going to order a new gasket kit for top and bottom and a set of thrust washers because one of them was slightly scorn can't remember what ones to get so ill wait until tomorrow before I order them. Ive also recieved an electronic ignition kit for the dizzy. Ive also got an ultimate engine steady thermostat bracket coming to put onto my current one as its different to the 998 one I bought just over a month ago annoyingly.


Hopefully tomorrow I would have ordered everything I need to complete the engine. And it should all be cleaned up everything painted red. With gearbox bellhousing clutch housing etc being painted silver. Its a bmw colour unfortunatly but its what ive got on my shelf as my dads car is a silver bmw. So wont be able to put one of those 100%bmw free stickers on my window. Oh well will have to do without.


I was also considering taking my subs out of my boot. Maybe going for a single 10" again or some smaller subs under my back seat. The main reasoning for this is to add an electronic fuel pump and mount it in the boot. Im not sure on that yet, ill have to see how much of my student loan I use up.

Edited by mini_mad69, 13 December 2008 - 11:19 PM.


#21 buddylove

buddylove

    Camshaft & Stage Two Head

  • TMF+ Member
  • PipPipPipPipPipPipPipPip
  • 1,639 posts
  • Location: North America
  • Local Club: SAMOA

Posted 13 December 2008 - 11:55 PM

Nice progress, the red and silver will go nicely together. Even though you can't put 100% free of BMW parts on it. ;D

#22 mini_mad69

mini_mad69

    Let future you worry about it

  • Traders
  • PipPipPipPipPipPipPipPipPipPip
  • 5,417 posts
  • Local Club: urrrr no

Posted 14 December 2008 - 04:03 PM

Ive done some more work on it this morning, still nothing major but progress is preogress.

Posted Image
Cleaned the other side of the engine block using wire brush and a wire brush in my drill.

Posted Image
Popped the head on and put on an old rocker cover i had knocking about on, and added the first coat to the front of the engine and head.
Posted Image
Posted Image


Put on the nice rocker cover to see what it is going to look like.

Posted Image


Started cleaining up and painting other bits of the engine. I couldn't find the silver paint so im being brave and have used white. Just going to have to make sure I clean the engine every now and again.

Posted Image


Then added a little bit of clear engine laquer of the top of the red.

Posted Image


Now im just waiting for all of the paint to dry. Then im going to lap in my newly shined valves.
Then its just going to be a matter of waiting for parts to arrive, gaskets, thrusts, shells etc etc.

Ill update later tonight if I get anything worthwhile done.

#23 ashton

ashton

    Stage One Kit Fitted

  • Noobies
  • PipPipPip
  • 98 posts
  • Local Club: Kings Lynn Mini Club

Posted 14 December 2008 - 05:48 PM

hi mate nice project! What colour is the paint? its gorgeous! cheers

#24 dezshearer

dezshearer

    Speeding Along Now

  • Members
  • PipPipPipPipPip
  • 441 posts
  • Location: Belfast
  • Local Club: mini-chat.co.uk

Posted 14 December 2008 - 05:53 PM

Hope the rebuild goes well! Keep it as clean as possible!!

#25 mini_mad69

mini_mad69

    Let future you worry about it

  • Traders
  • PipPipPipPipPipPipPipPipPipPip
  • 5,417 posts
  • Local Club: urrrr no

Posted 14 December 2008 - 06:22 PM

hi mate nice project! What colour is the paint? its gorgeous! cheers


Its honda vivid blue.

It is a nice colour, its nicest in direct light because it has alot of metalic flake in it which realy stands out.
It looks even better in the flesh. I see it all the time on civics and jazz's.


Anyway paint on the engine has dried, Ive given a quick second coat of laquer and lapped in all of the valves. ive cleaned up the gearbox and bell housing I think im just going to leave them as they are just polish them up with a wire brush.

#26 buddylove

buddylove

    Camshaft & Stage Two Head

  • TMF+ Member
  • PipPipPipPipPipPipPipPip
  • 1,639 posts
  • Location: North America
  • Local Club: SAMOA

Posted 14 December 2008 - 08:10 PM

The engine is looking good. Is the lacquer going to be able to stand up to the heat?

#27 mini_mad69

mini_mad69

    Let future you worry about it

  • Traders
  • PipPipPipPipPipPipPipPipPipPip
  • 5,417 posts
  • Local Club: urrrr no

Posted 14 December 2008 - 08:51 PM

The engine is looking good. Is the lacquer going to be able to stand up to the heat?


Yeah it should be fine, its engine laquer im using anyway. Although ive used standard car bodywork paints on engines in the past with no problems whatsoever. When using it on the exhaust manifold and other such parts it will not work and ive seen overspray get burnt off.


Hope the rebuild goes well! Keep it as clean as possible!!


I usualy keep my car spotless, with it being washed a minimum of once a week and a nice coat of wax every 2 or 3 weeks. It just got dirty while I was at uni because I didn't have any of the stuff i needed there. It's all ok now and im stocked up for hopefully when the car is back there in january.
Thats my deadline to have it back on the road. Term starts 5th January 2009. So its got to be MOT'd before then. Im going to see if I can have it running around christmas time.

Edited by mini_mad69, 14 December 2008 - 08:57 PM.


#28 mini_mad69

mini_mad69

    Let future you worry about it

  • Traders
  • PipPipPipPipPipPipPipPipPipPip
  • 5,417 posts
  • Local Club: urrrr no

Posted 15 December 2008 - 06:28 PM

Ok I want a hardened diff pin.
But as I was given the engine already modified there very well may be one in there already. How can you tell the difference between them?
I don't want to buy one if there's already one in there.

#29 jimbobobcatfish

jimbobobcatfish

    On The Road

  • Noobies
  • PipPip
  • 38 posts

Posted 15 December 2008 - 07:17 PM

hey man what arches have you got on her?
Cheers jim

#30 mini_mad69

mini_mad69

    Let future you worry about it

  • Traders
  • PipPipPipPipPipPipPipPipPipPip
  • 5,417 posts
  • Local Club: urrrr no

Posted 15 December 2008 - 07:34 PM

Ive got Midland wheels wood and picket deluxe copies on it.
Anyone got any help with the diff pin?


0 user(s) are reading this topic

0 members, 0 guests, 0 anonymous users