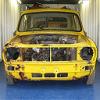
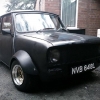
All of the glass is in! Also got new weather strips and wing mirrors on. :)
I also had a go at recolouring the brown door cards to black. Left is before, right is after. Quite pleased with the result after one coat.


Speeding Along Now

Posted 22 January 2017 - 09:54 PM
All of the glass is in! Also got new weather strips and wing mirrors on. :)
I also had a go at recolouring the brown door cards to black. Left is before, right is after. Quite pleased with the result after one coat.
Twisted Paint Polisher!!!

Posted 22 January 2017 - 11:37 PM
One Carb Or Two?

Posted 24 January 2017 - 02:15 PM
Mini Mad

Posted 29 January 2017 - 10:54 PM
Congratulations for your restoration!
Starting My Mini Up

Posted 09 February 2017 - 03:57 PM
Just read through this over the last couple of evenings, fantastic work! My Clubman has sat for well over a year now with half the floor missing, as I lost enthusiasm (and have a new born baby!) but this has got me back in the garage again. So thank you for that! I've just purchased a rollover spit from Mk2Mania, is that the same as you used? If so, was it just a standard scaffold pole you used with it? They don't state any dimensions for the size needed.
Any help much appreciated, look forward to the next update!
Up Into Fourth
Posted 09 February 2017 - 11:41 PM
I put some bits on the car!
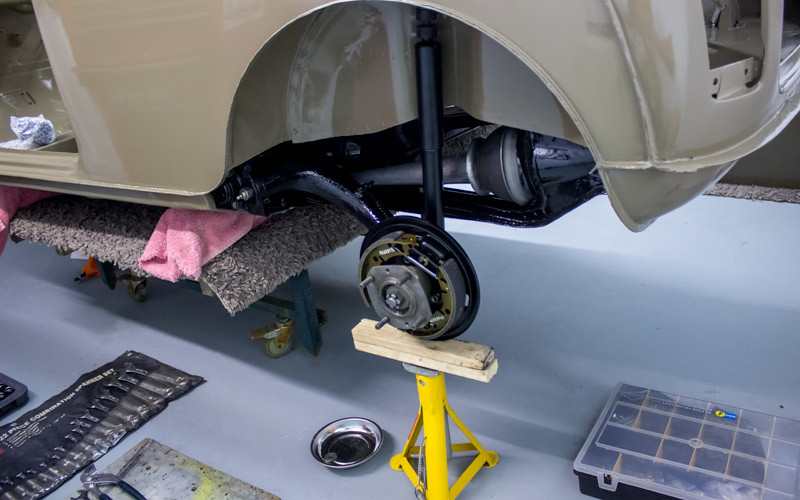
The original fuel pipe and battery cable turned out to be unusable so new ones were sourced and fitted. Salvaged the original brake pipe though! Then the rear subframe went on...
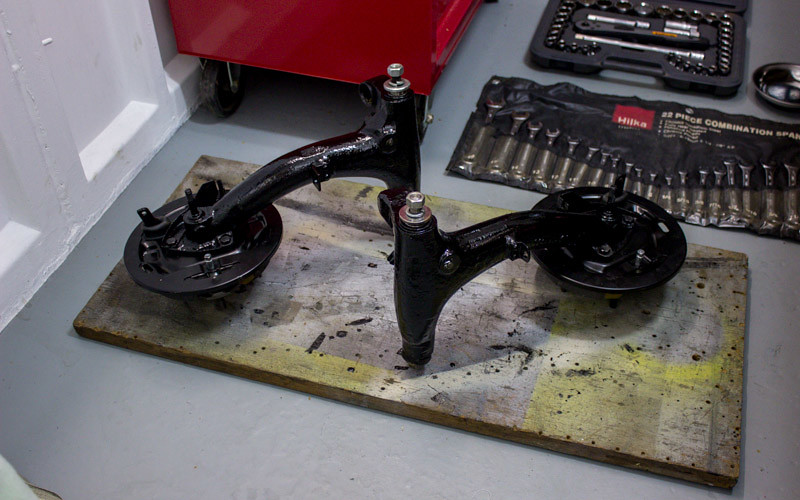
The recon radius arms I bought a couple of years ago were starting to show rust through the paint (AARRGH!) so I repainted them again just in hammerite straight-to-rust because its easy and basically OK in my opinion for bits like this.
Feels like progress! At this photo the top of the damper is nowhere near mounted in the rear arch because rubber cone is so stiff it win't reach any higher. I guess when the weight of the car is on it, it will compress down a bit more easily?
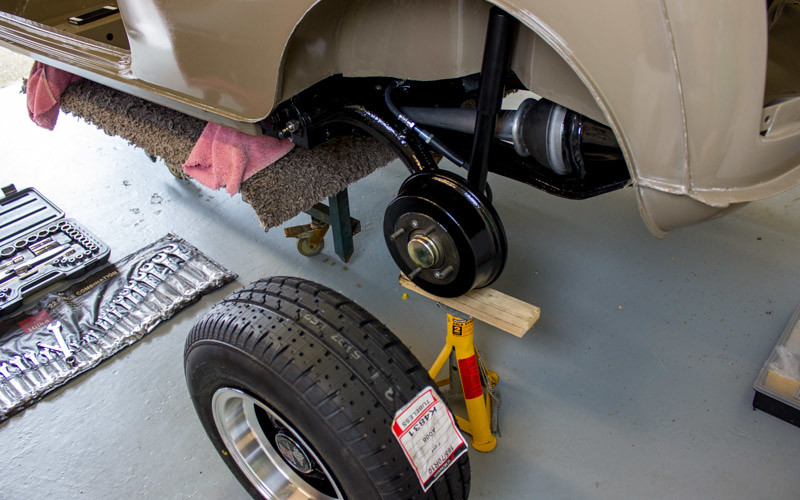
Drums painted, hub cap fitted, ready to actually put a wheel on my mini...
...*hyperventilation*...
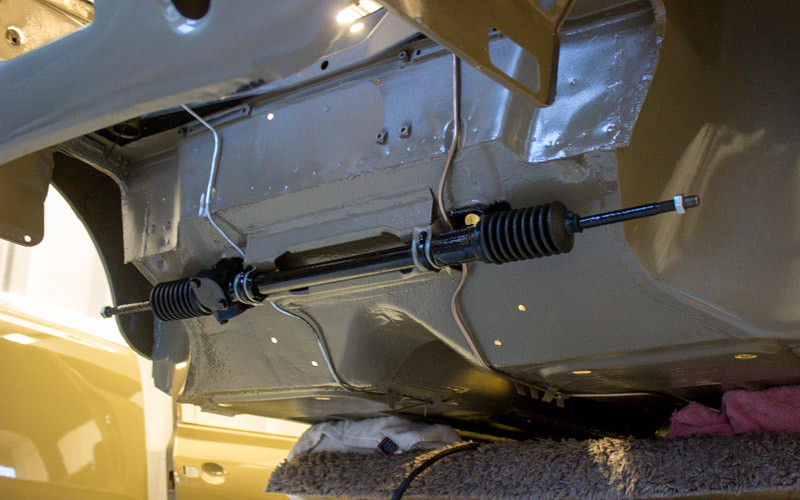
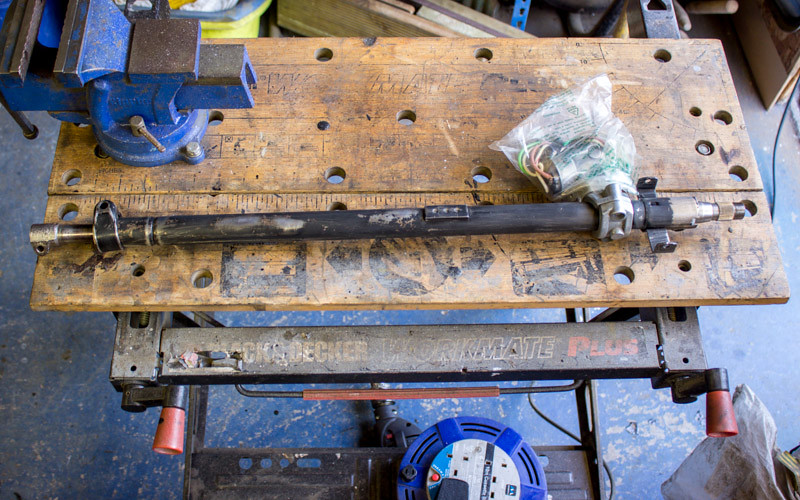
At the same time as sorting out the rear end, I have also been getting ready to mount the front subframe. The steering rack has been cleaned, repainted and refitted with new boots added.
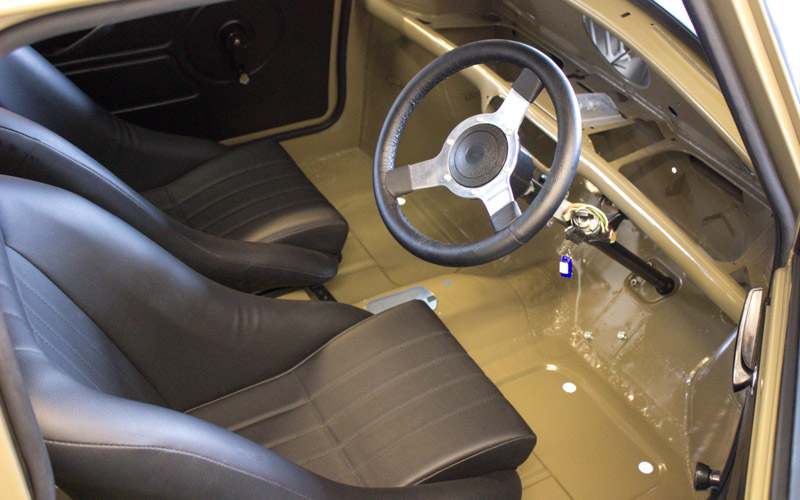
I also tidied up the original steering column. Here it is after a rub down ready for repainting.
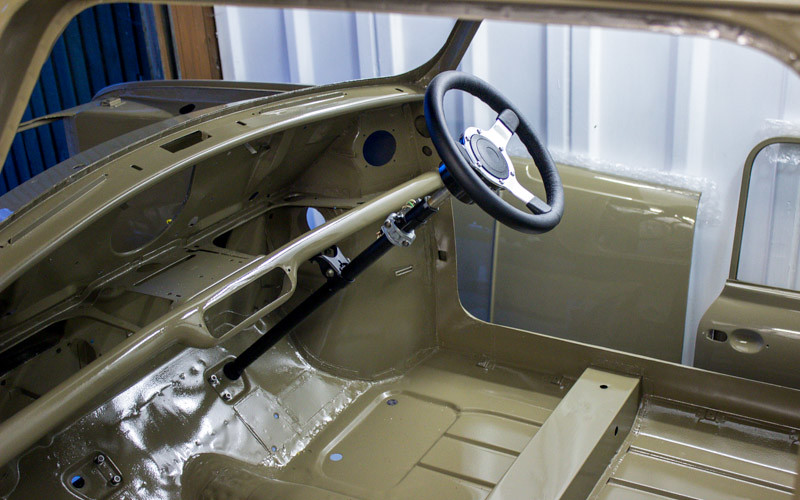
And here it is looking a bit nicer fitted in the car with the new steering wheel. I bought a minispares drop bracket, but my tiny mind cannot work out how to fit it. Suspect it may be for a later model...
Really eager to get the front subframe on next because its taking up precious space in the garage! Also cannot wait to get the doors on, but I'm currently in-progress rebuilding the hinges for the bazillionth time because of stripped thread on the bolts. Baby steps!
i can't quite make out the fitment of the steering column to the bottom rail, as fitting the drop brackets are straight forward enough. can you get a better picture?
Speeding Along Now
Posted 13 February 2017 - 01:12 PM
Orange72Clubman: Glad to be of service! Yes I got a standard scaffolding pole from a scaffolders. Can't remember the exact length I cut it to, but I cut quite a lot off the end to fit it in my garage. Yes my roll over jig was from mk2mania :)
Hegnirst: Yeah - I'm going to have another go at fitting that thing soon. Can't remember what the actual problem was now, but I'll get some pics when I get back to it.
Speeding Along Now
Posted 26 February 2017 - 04:48 PM
Hi!
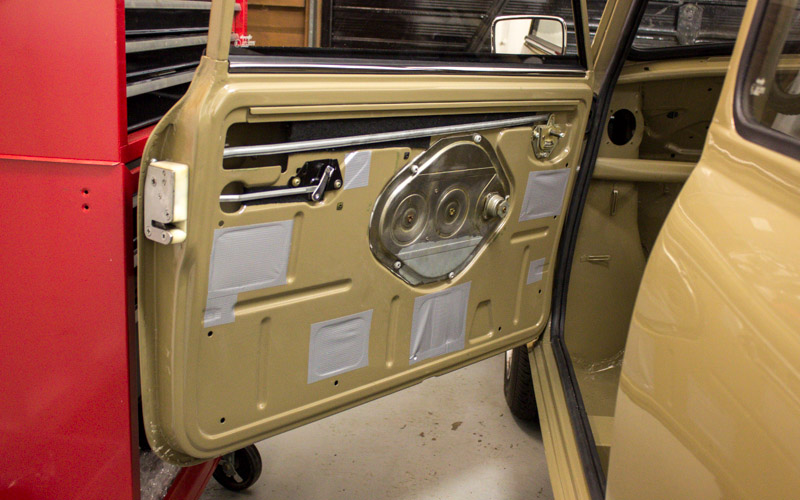
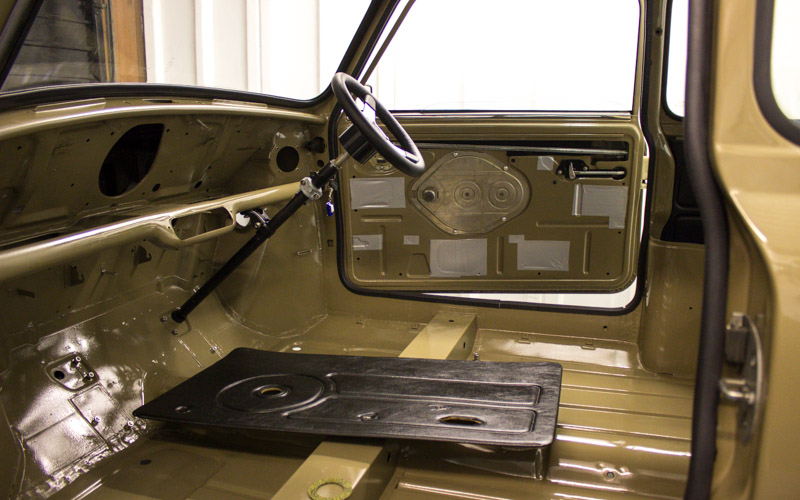
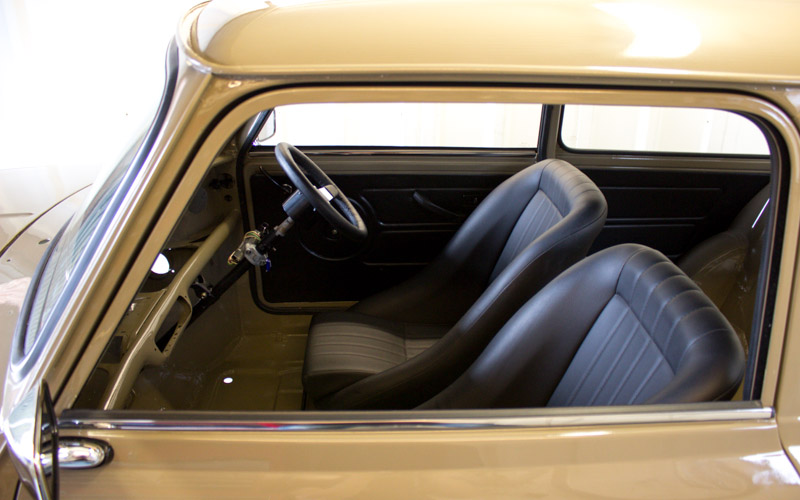
Finally finished fitting up the doors. Phew! Taped up the extra holes on the door chassis. Also fitted the check straps and new rubbers.
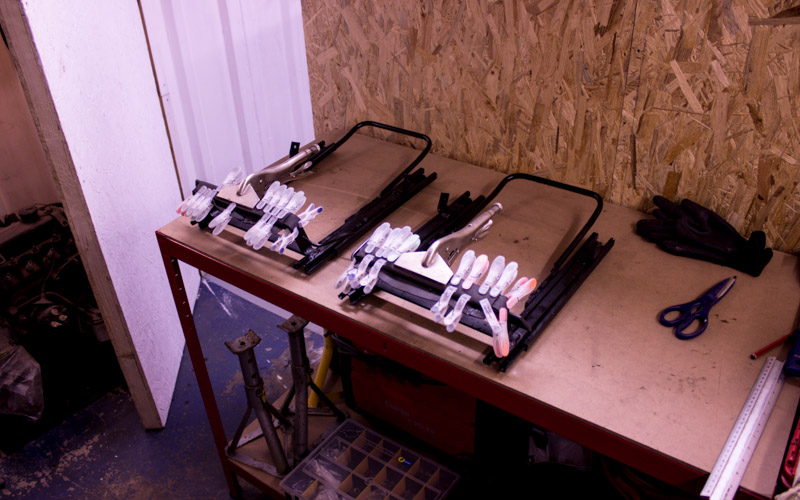
Had a super lucky bargain find on ebay this week - a pair of nearly new cobra classic buckets with double locking subframes. I had put the money aside to buy this exact set up new, so I'm really happy to have a couple of nice seats for cheap, and some left over cash to help towards the engine. 
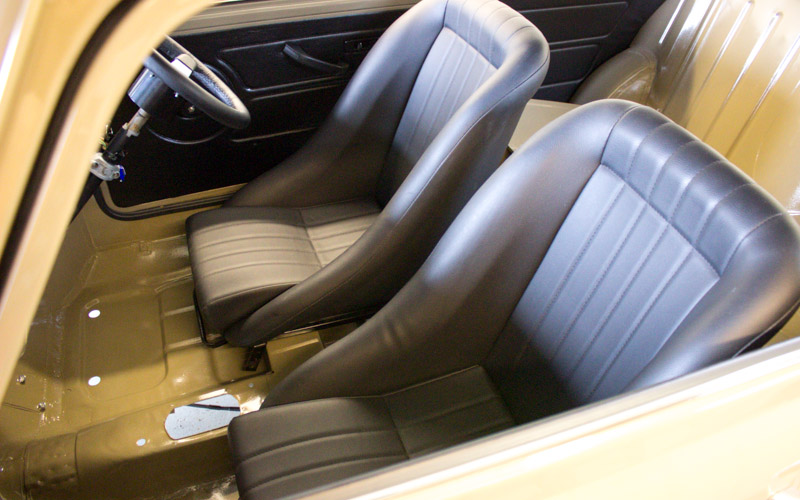
The seats are not fitted yet as I need to order some longer brackets, and maybe chop a bit off the front legs of the subframes. I'm 6' 4", so longer brackets are a must. Will set the steering column angle at the same time to get a nice driving position.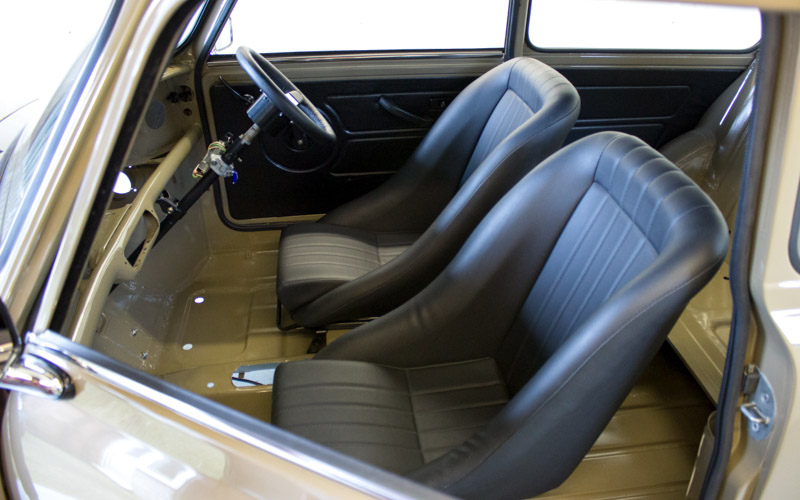
Current status: edging closer although still loads to do. After fitting the seats, the next job will be the boot lid seal and handle, then on to renovating the grille and putting in some lights.
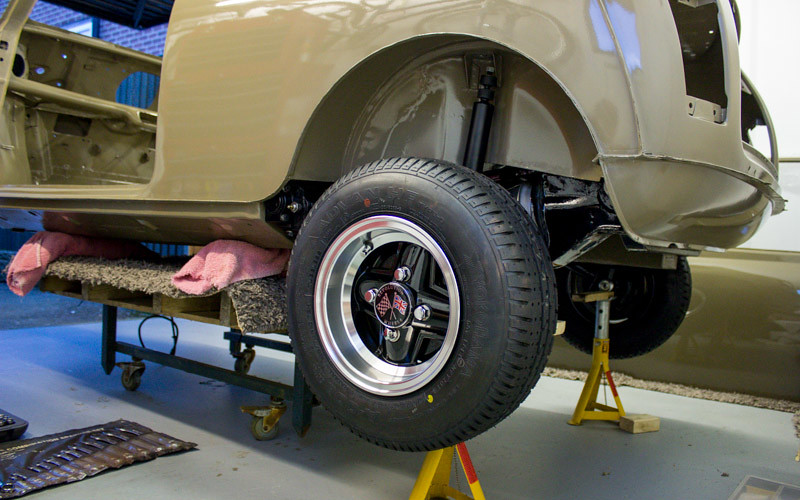
The car is still sitting offensively high!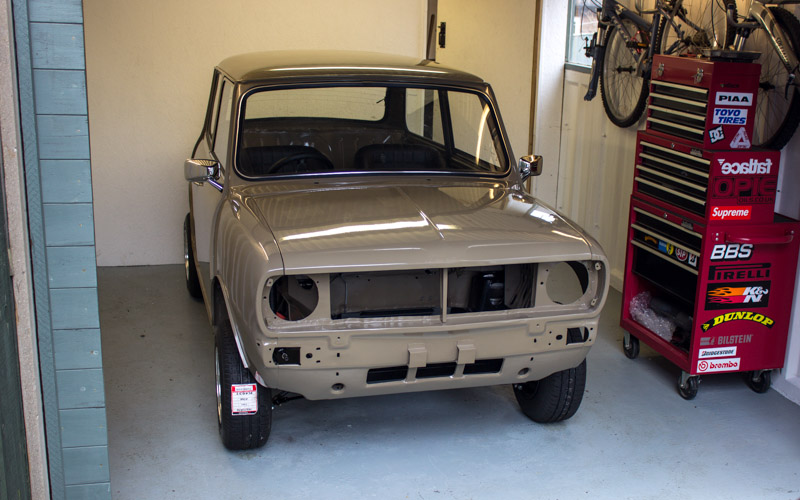
Up Into Fourth

Posted 28 February 2017 - 08:04 PM
Looking absolutely fantastic 
What did you use to cover the holes on the inside of the door. Is it grey Duck tape?
Up Into Fourth

Posted 28 February 2017 - 09:19 PM
Speeding Along Now
Posted 28 February 2017 - 09:29 PM
JonnyAlpha: Yes just bog standard tape. I had a look around for the 'official' product for the job, but I could only find this at 24 quid a roll:
http://www.somerford...roducts_id=2445
For that price, I could (and still might) invest in some newton commercial waterproof door card liners instead.
Mini Mad
Posted 01 March 2017 - 09:24 PM
You could have tidied the garage up a bit!
Speeding Along Now
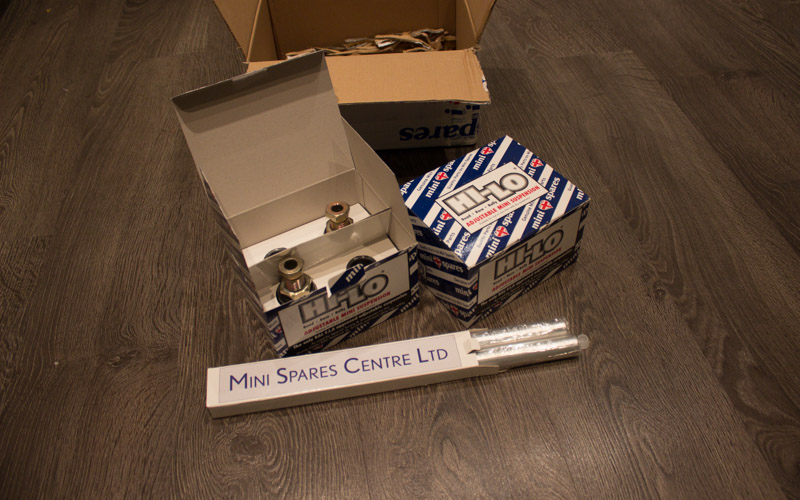
Posted 02 March 2017 - 01:40 AM
Treat yourself to a set of Hi-Lo's to set the standing height, you will have to adjust it anyway as the cones collapse. It just makes it so easy! Oh and by the way you have done a magnificent job so far! As a professional restorer I've seen a whole lot worse supposedly done by my fellow professionals!!!
Oh and I really hate to see those bikes up on the wall Disaster and waiting come to mind...................
Speeding Along Now
Posted 10 March 2017 - 09:43 PM
minimans: your wish is my command!
Speeding Along Now
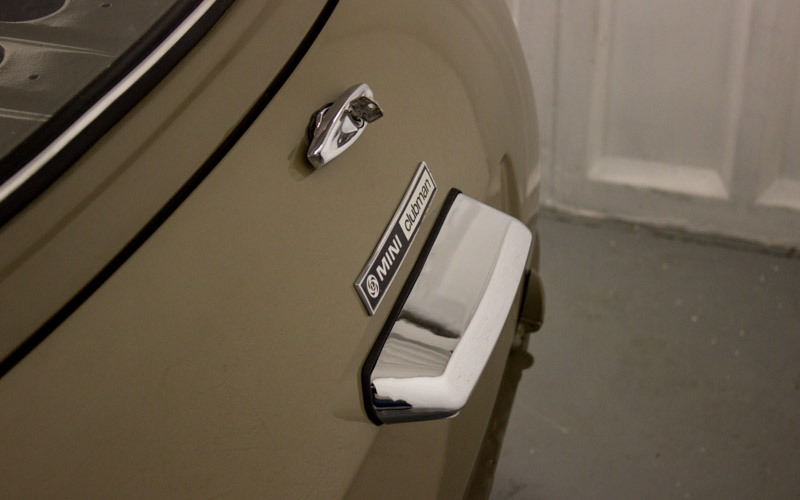
Posted 11 March 2017 - 08:42 AM
Also got some bits fitted on the boot - including bargain chrome handle with key from bingley autojumble for 2 quid!
I struggled to find any info online about fitting the seal. Eventually worked it out, so if anyone is about to do this job, it goes on like this: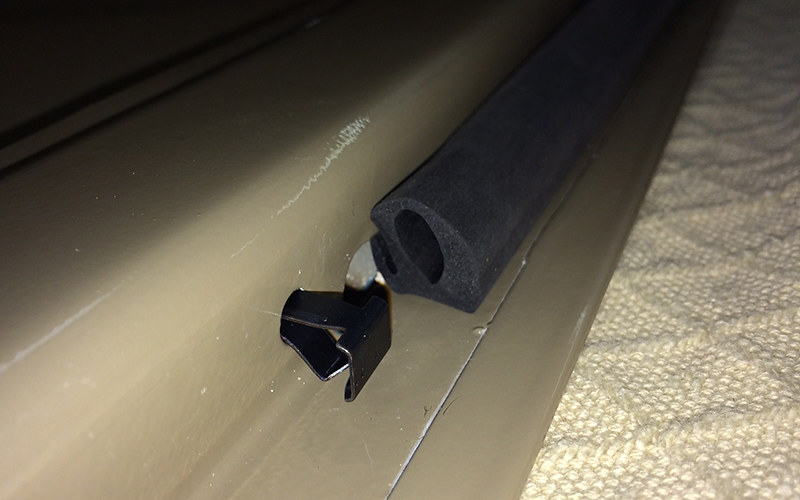
Also glued a thin layer of foam around the back bar of the seat subframes so that the metal doesn't damage the paint on the floor.


0 members, 1 guests, 0 anonymous users