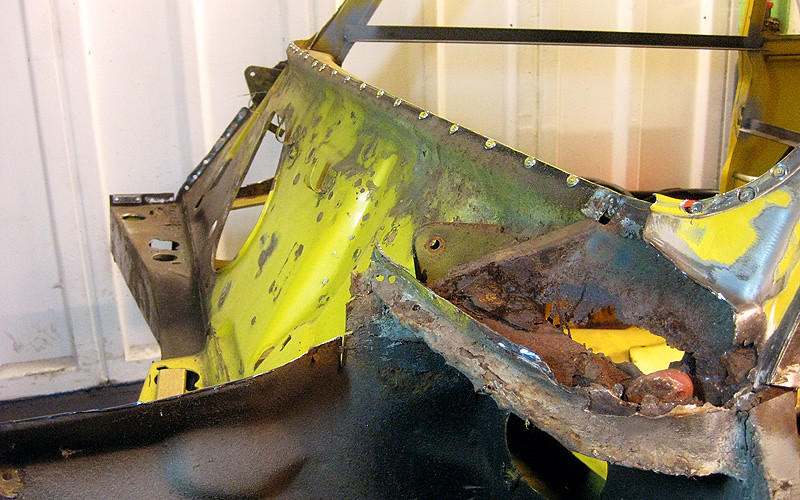
definately a good move replacing the whole scuttle ,i did the same on my pickup the heritage panel fitted a treat..OS wing off! Steering rack bracket off! Other little rust traps OFF! (santa brought me a spot weld drill bit for christmas)
mmmm. crusty. I plan to clean bits like this up, kurust and paint, then stick them back on.
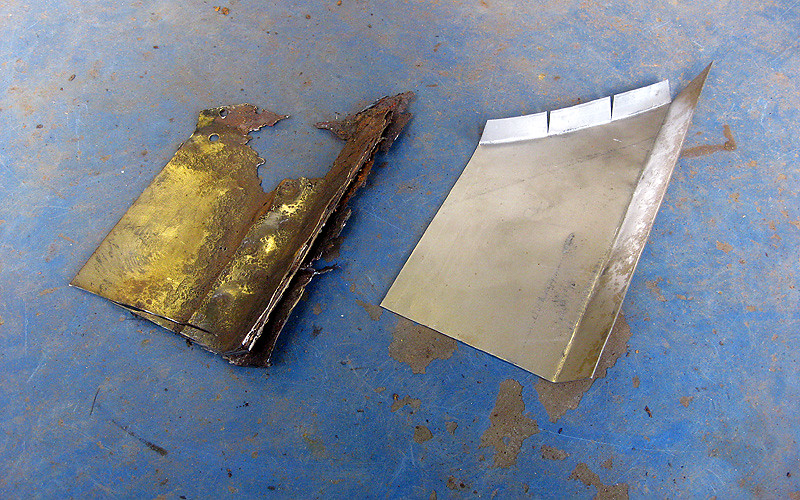
This is my first piece of sheet metal fabrication. I think it went quite well for a total amateur!
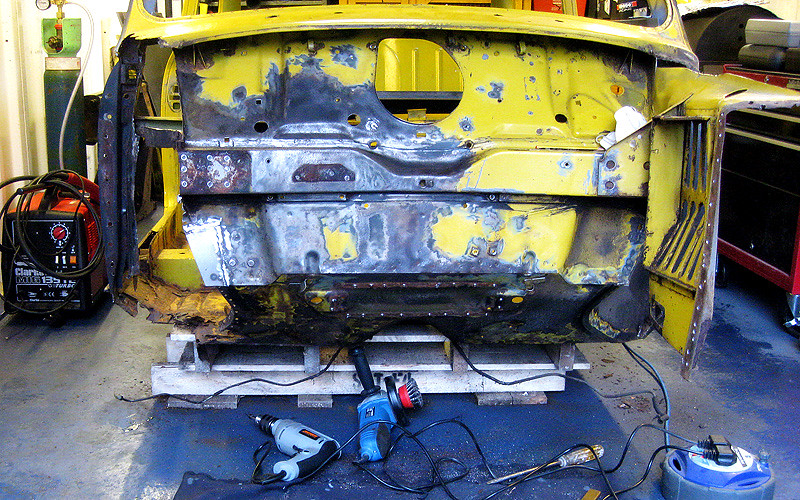
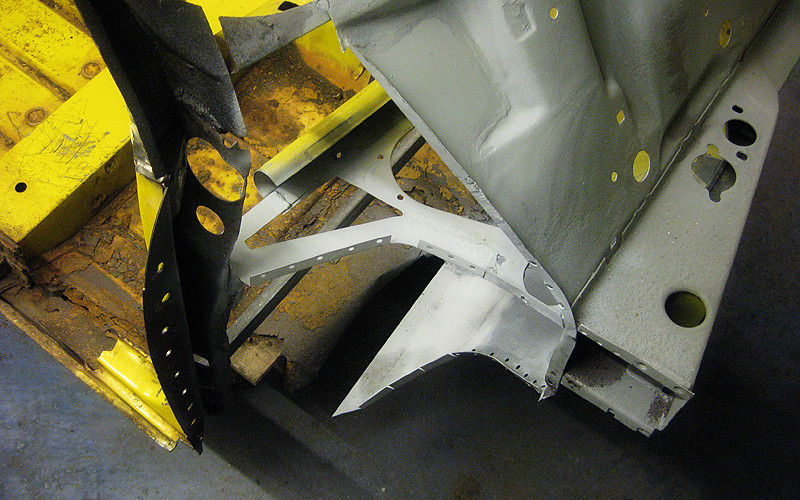
It was becoming clear that the scuttle had to come off to fit the inner wing. I'd been umming and arring about just getting repair panels for the corners, but in the end I splurged the extra cash on a full heritage scuttle so that I wouldn't have to risk any welds in the middle not being perfect. At this stage, I've got absolutely not idea how I'm going to treat the rust in the windscreen pillar! eek.
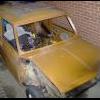
This is where I left it today. Hopefully this will be the last major chunk to come off before I can start rebuilding the near side.


1979 Rust Heap Clubman Rebuild
#46

-

- Noobies
-

- 11 posts
Learner Driver
Posted 31 December 2010 - 12:23 PM

#47
-
- Members
-
- 351 posts
Speeding Along Now
Posted 16 January 2011 - 07:06 PM
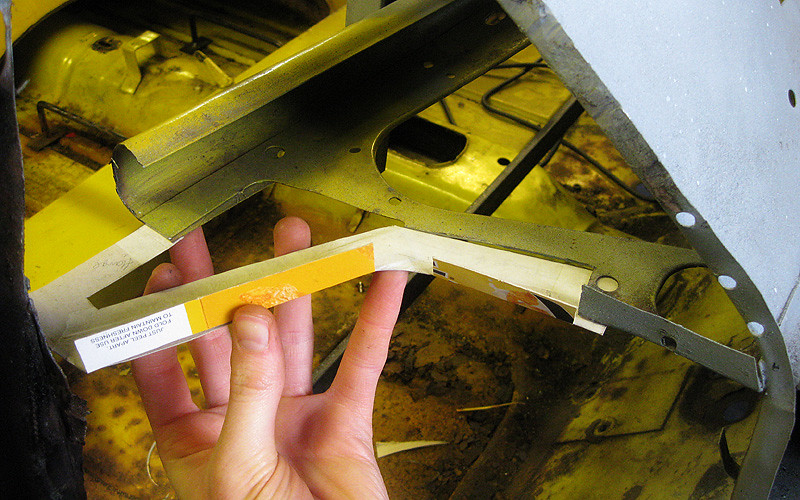
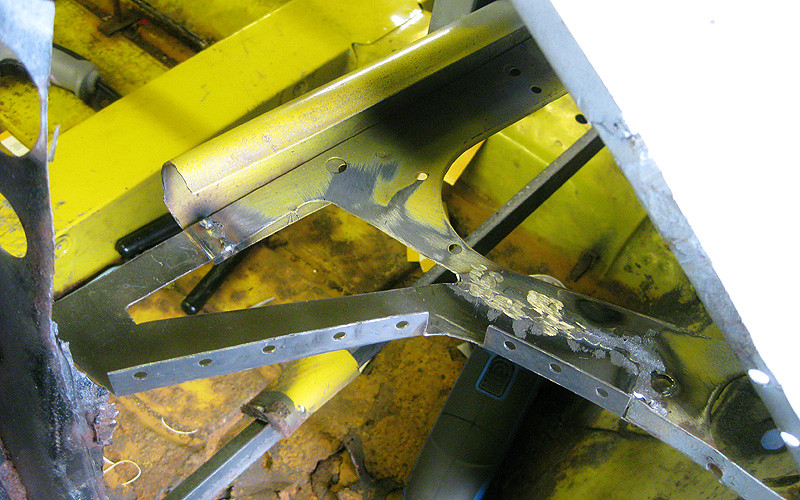
After much trimming and bending and swearing, I had fabricated the required piece.
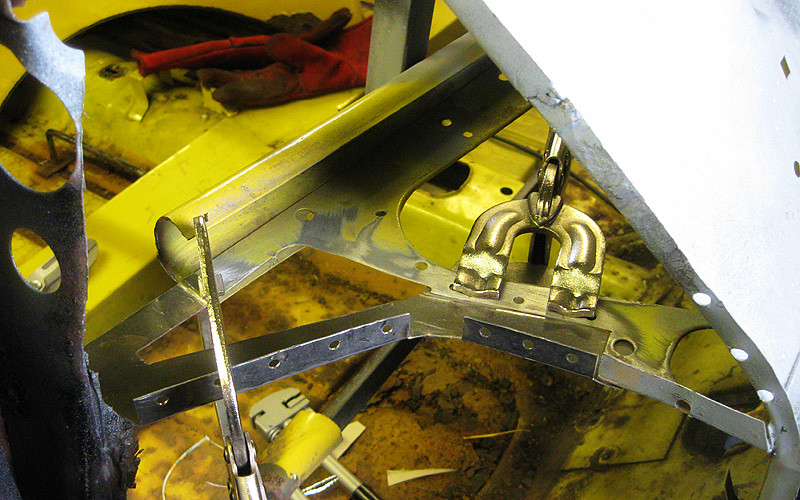
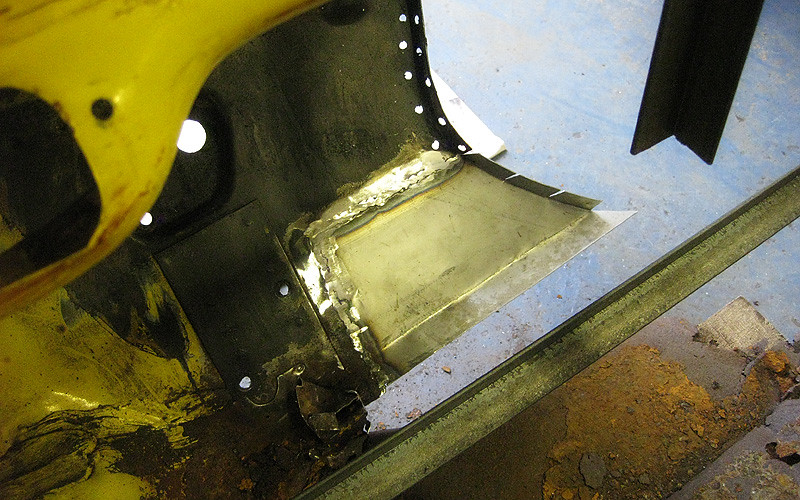
Welded in and dressed down. Its difficult holding a grinder in that tight space without severing one's fingers.
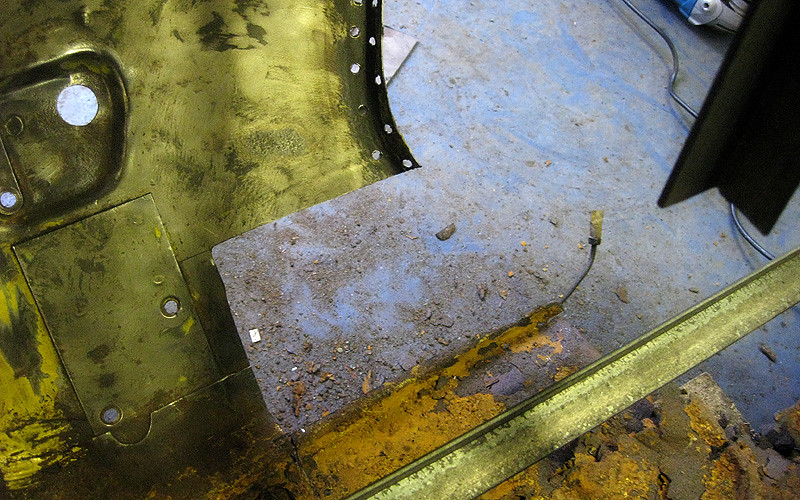
Then on to the lower firewall disaster zone...
Chop the rot!
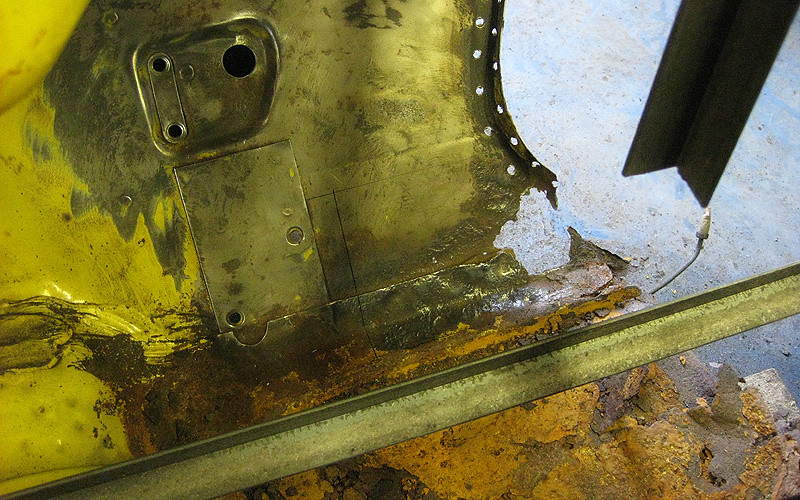
New piece made up to size. I measured it as accurately as I could against the new inner wing. Since the new inner wing doesn't fit very perfectly (yet), I'm pretty sure the curved edge will need whacking with a hammer at a later date.
Welded in and ground down. I also kurusted the surrounding area in the meantime, which is why the metal looks black.
A dusting of etch primer over everything.
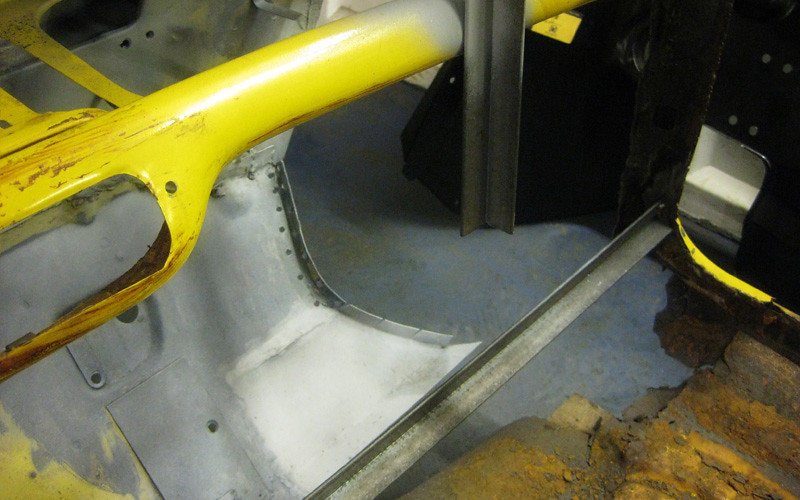
Here is a little before and after of this area to show the dramatic improvements! The first pic is from a couple of weeks ago.
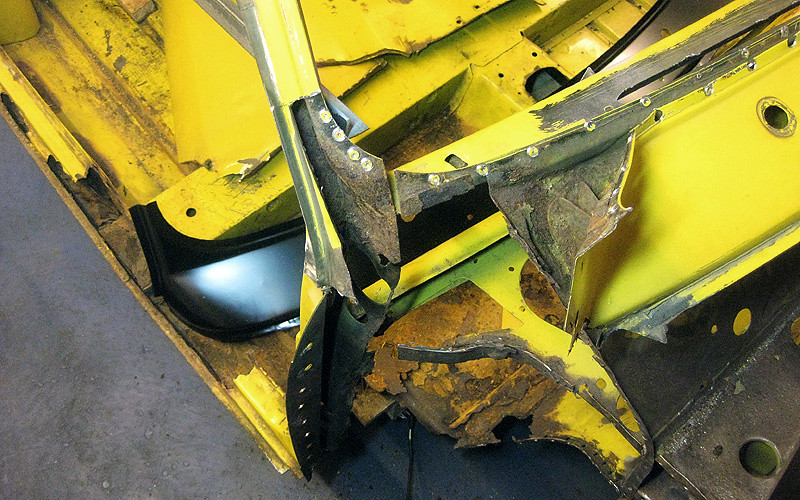
So progress is definitely happening, but it is sloooooooow. I'm doing a lot of this stuff for the first time and its taking me a while to work it all out. I've also fabricated new brackets for the bonnet hinge on this side as the old ones were NBG. The next thing to worry about is what the hell I am going to do with the door post. It looks like its going to be a nightmare. I don't even want to think about it at the moment!
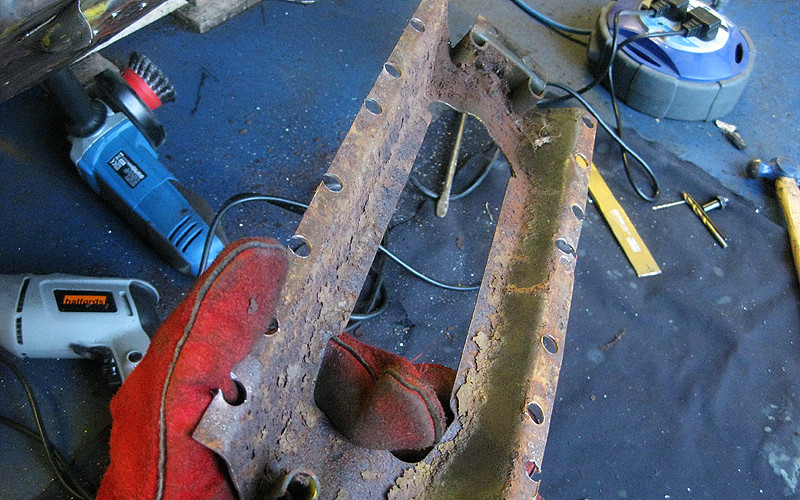
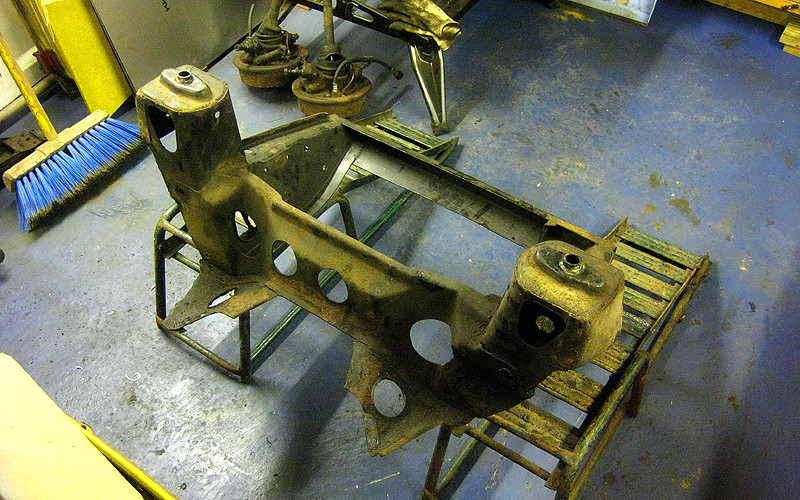
After all that mucking around with bits of steel, I felt like doing something mechanical; so I stripped the front subframe. Satisfying! I didn't even have to destroy anything in the process!
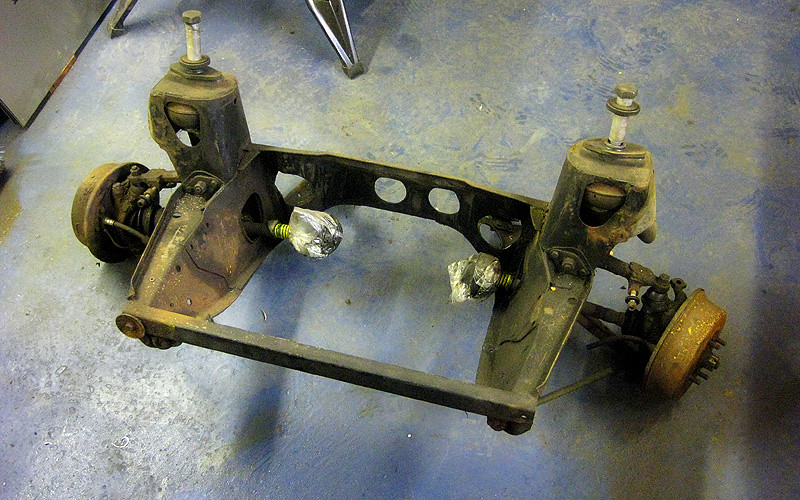
BITS:
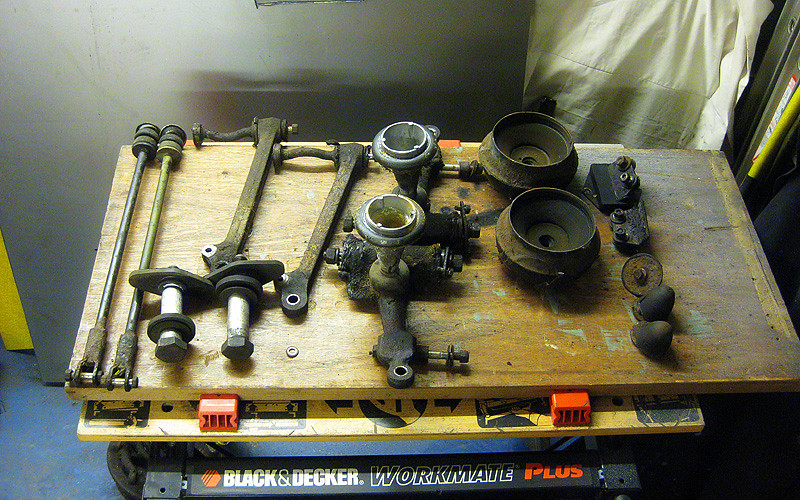
That is all! If I'm doing anything wrong/stupid, please tell me!

#48
-

- Members
-
- 1,978 posts
Camshaft & Stage Two Head
- Location: Kent/ East Sussex border
Posted 17 January 2011 - 09:53 AM
#49
-
- TMF+ Member
-
- 3,620 posts
Up Into Fourth
- Location: UK
- Local Club: Antisocial club (members = 1)
Posted 17 January 2011 - 10:24 AM
I like this thread. Clean, highly skilled & innovative.

#50
-

- Noobies
-
- 136 posts
Mini Mad
- Local Club: AMOC
Posted 17 January 2011 - 02:02 PM
#51
-

- Just Joined
-
- 161 posts
Mini Mad
- Location: Maidstone, Kent
- Local Club: Medway Mini Club
Posted 17 January 2011 - 10:53 PM
http://www.theminifo...howtopic=178485
Keep an eye on this, and when it makes it to the garage and I make the first start on it you may see a simlar sort of thing happening to mine
Howard
#52
-
- Members
-
- 351 posts
Speeding Along Now
Posted 18 January 2011 - 10:01 AM
Howard: I plan to line the new OS inner wing up with the old one which I have left on for reference. I'm going to buy a new front panel complete, clamp it all up, offer up the front subframe, make sure its all level and cleco the inner wing in place. Then when the new inner wing is welded in, I'll start of the other side. At least that is my plan at the moment!
The clarke 135te is pretty good I think, but its the only welder I have used so I don't have anything to compare it to. From a complete beginner a few months ago, I'm now able to make solid welds with it, and it hasn't let me down yet. I'm using BOC argoshield light which I believe is 5% CO2, 2% O2, and 93% Argon.
Good luck with your project! You've got a nice collection of panels there. If I'd seen this for sale, I might have gone for it myself!
#53
-
- Members
-
- 1,233 posts
One Carb Or Two?
Posted 18 January 2011 - 01:56 PM
 i've got to repair my inner and outer wings on my estate, so will be watching your build every update that is made
 How hard is it to remove the inner wings as a whole? is there many spot welds holding it on?
Cheers
Nick
#54
-

- Members
-
- 1,172 posts
One Carb Or Two?
- Location: bangor
- Local Club: south down mini owners club
Posted 18 January 2011 - 03:38 PM
#55
-
- Members
-
- 351 posts
Speeding Along Now
Posted 18 January 2011 - 05:09 PM
How hard is it to remove the inner wings as a whole? is there many spot welds holding it on?
On my car there was a large patch repair in the footwell which was seam welded to the door post, so there was nothing to do but cut with the grinder. The front end is quite easy to drill out the spot welds, but the lower bit which joins to the firewall is double spot welded (on two flanges). Not really easy to get out in one piece. I think it took me a good few hours.
#56
-

- TMF+ Member
-
- 6,221 posts
Crazy About Mini's
- Location: Braintree
Posted 22 January 2011 - 11:12 PM
#57
-

- Admin
-
- 15,899 posts
Twisted Paint Polisher!!!
- Name: Neil
- Location: Oxfordshire
Posted 22 January 2011 - 11:22 PM
I'm still finding little bits here and there (found a bit i had over looked a year ago but sorted that out) but Erm is nearly ready for his shiny new coat.
#58
-

- Noobies
-
- 50 posts
Stage One Kit Fitted
Posted 23 January 2011 - 12:25 PM
#59
-
- Members
-
- 351 posts
Speeding Along Now
Posted 24 January 2011 - 04:10 PM
Rich I have 2 Brand new brake drums that I did not use on mine. Free if you want them,@ Kimberley Nottingham.Let me know
Glenn: that would be most awesome! PM'd
#60
-

- Members
-
- 4,435 posts
" I AM THE SPECIAL ONE"
- Local Club: aint no body got time fo dat
Posted 24 January 2011 - 09:03 PM
what are your plans for it when its time to style???


0 user(s) are reading this topic
0 members, 0 guests, 0 anonymous users


