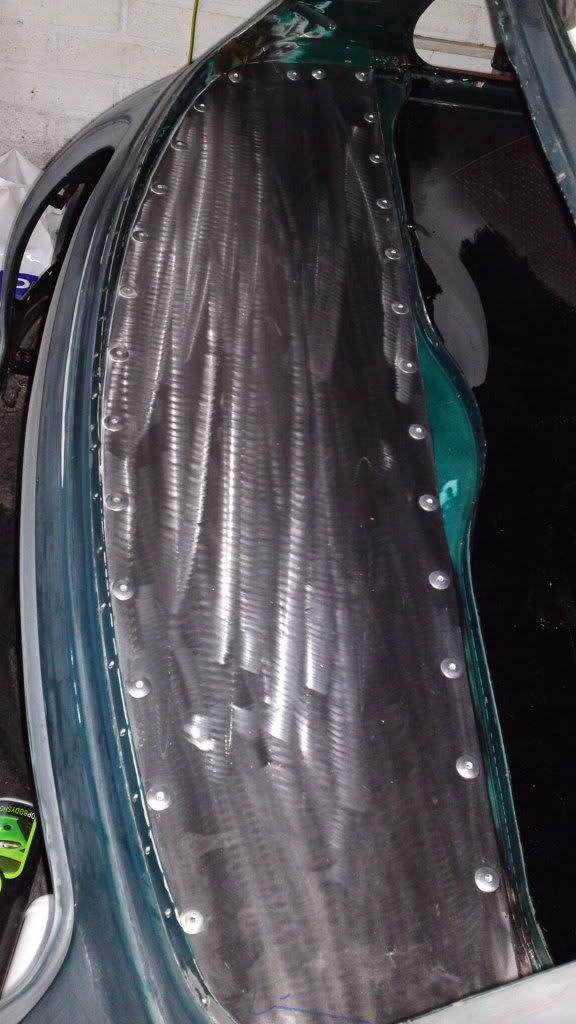
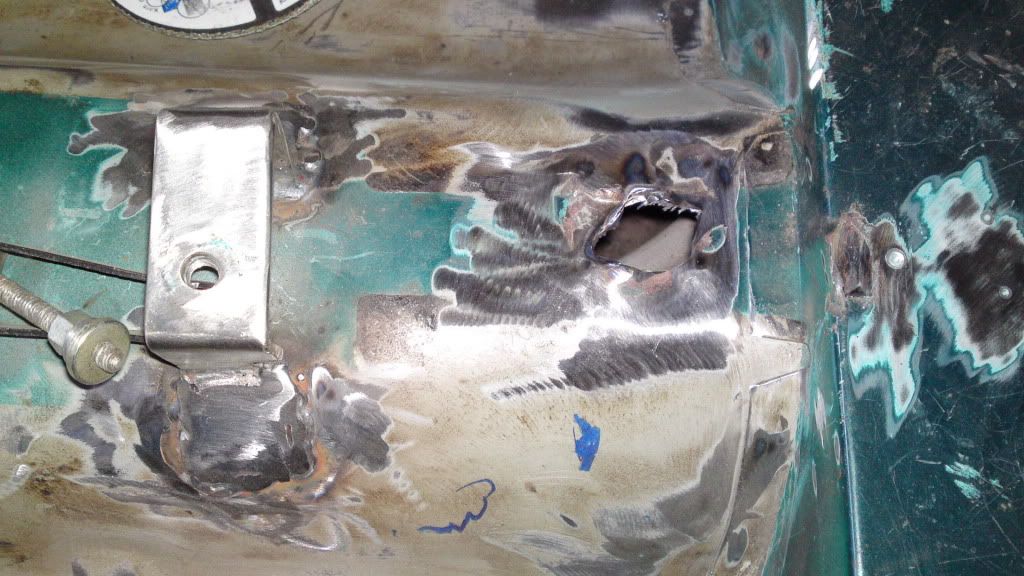
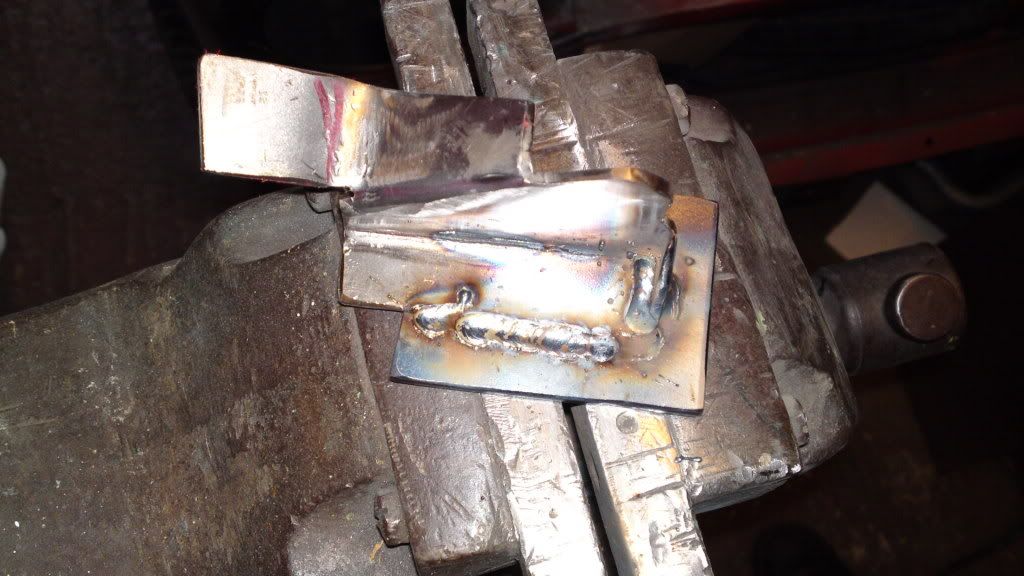
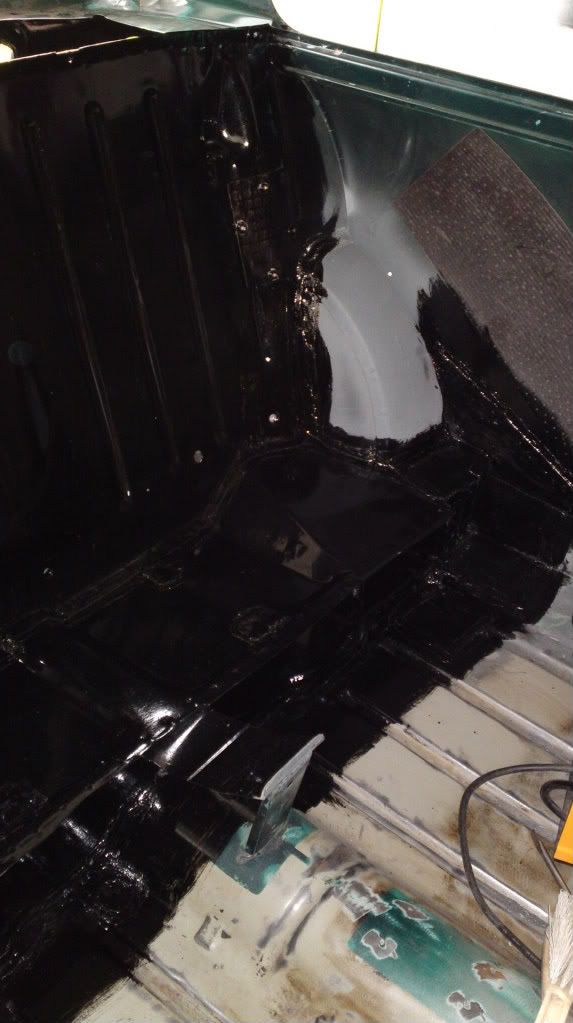
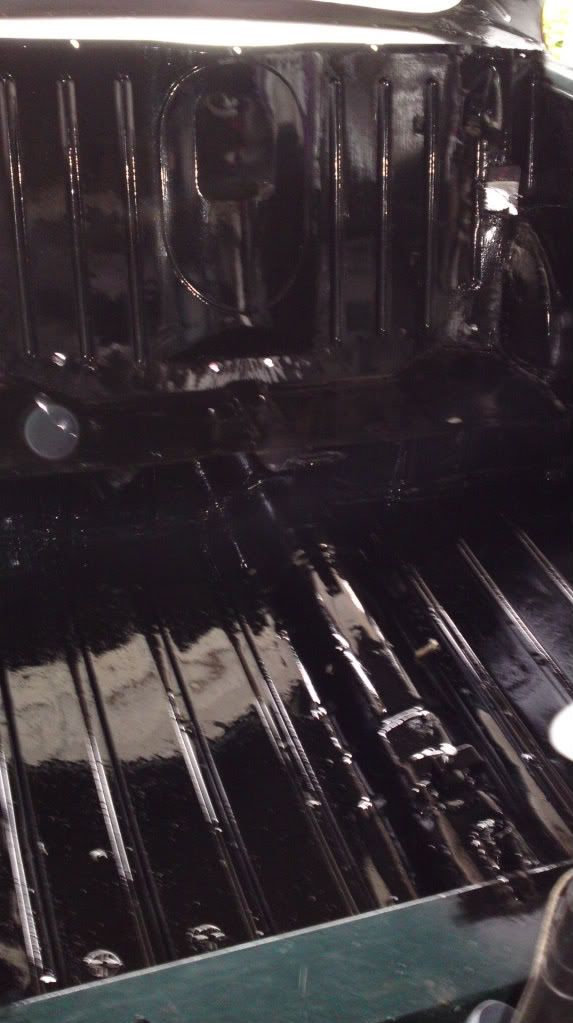
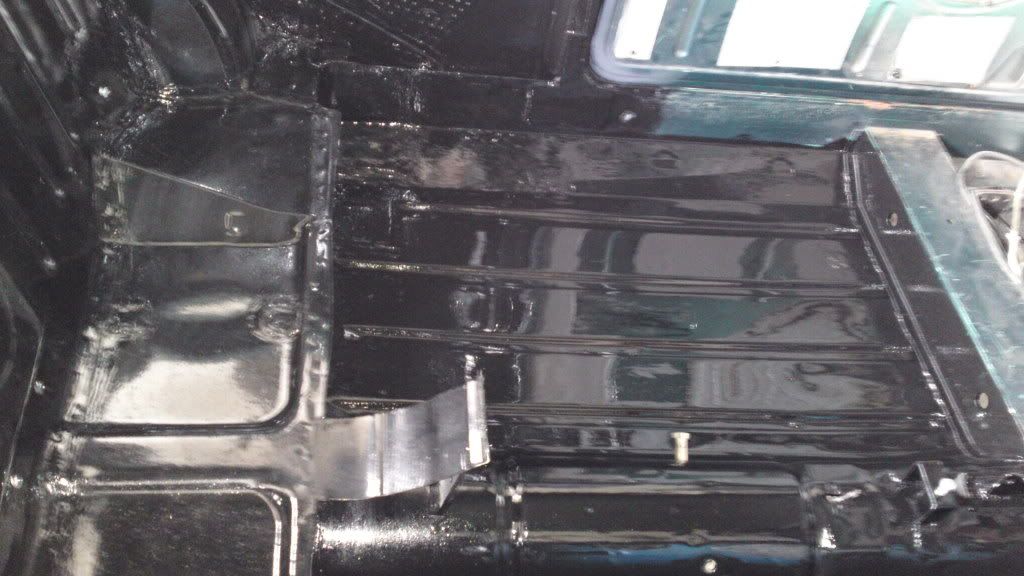
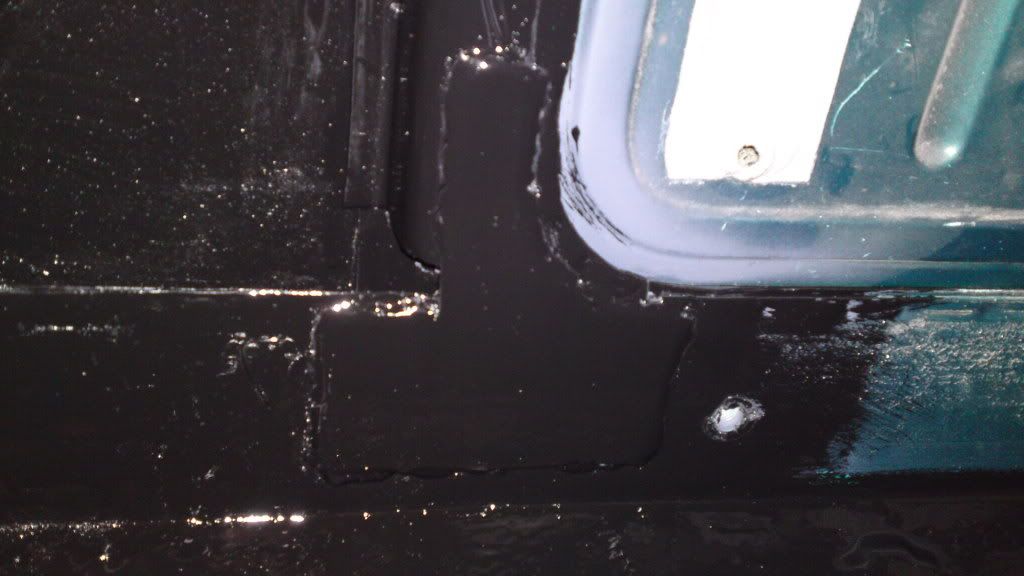
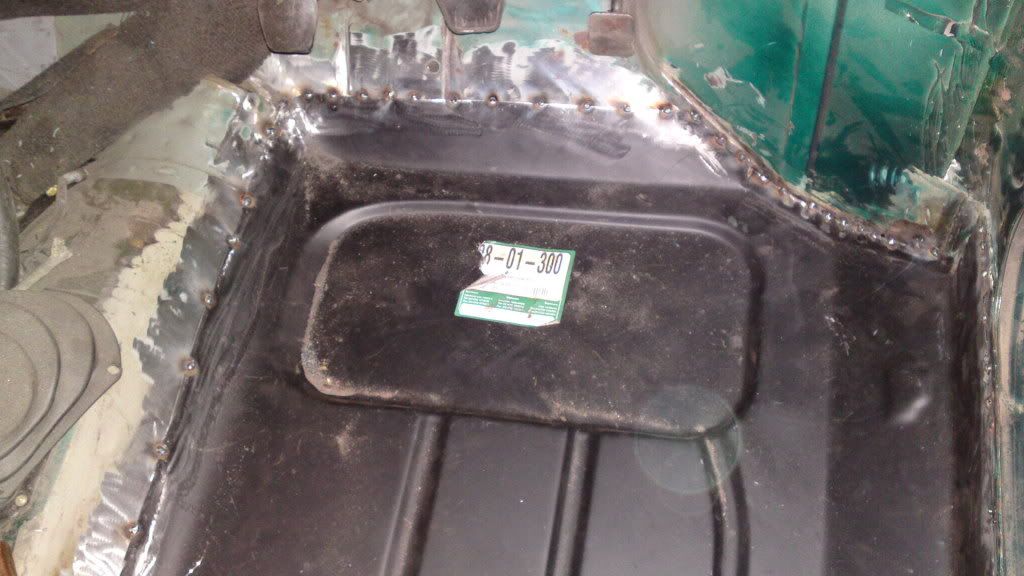
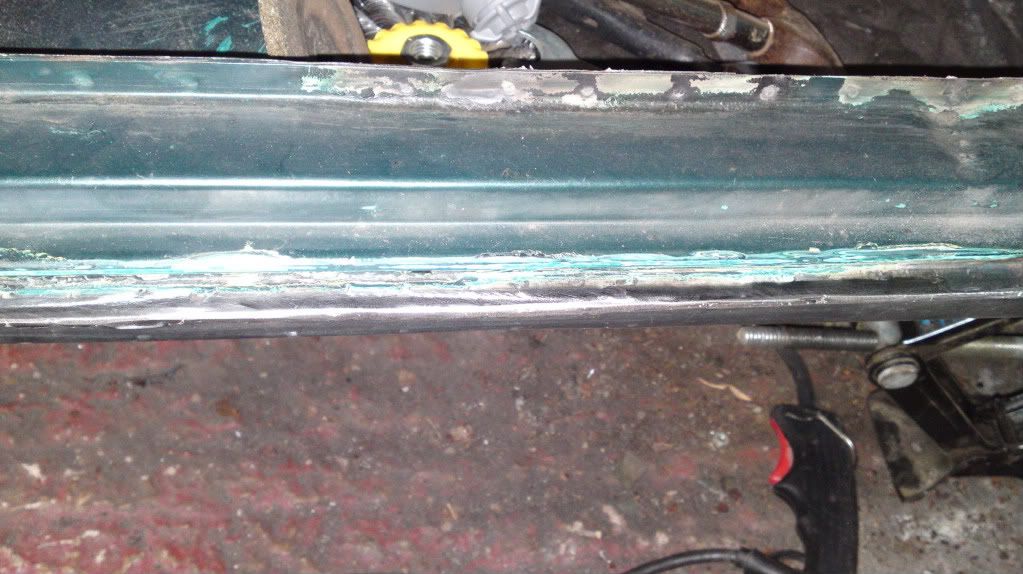
decided to make the rear parcel shelf a neater sealed version
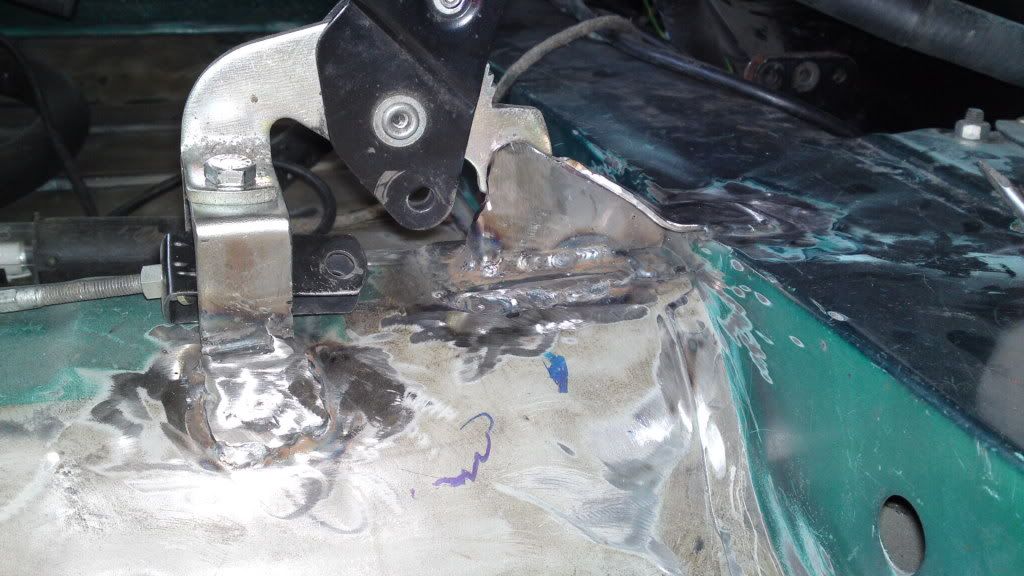
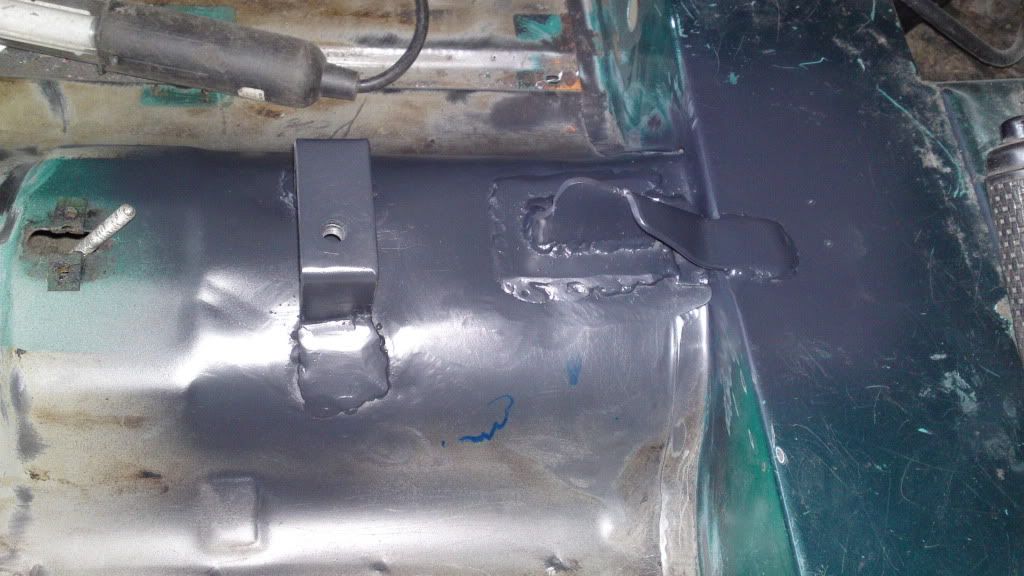
im happier with that, got the boot sealed off now


One Carb Or Two?

Posted 21 June 2011 - 04:13 PM
One Carb Or Two?
Posted 22 June 2011 - 04:28 PM
" I AM THE SPECIAL ONE"

Posted 22 June 2011 - 04:51 PM
One Carb Or Two?
Posted 23 June 2011 - 03:21 PM
One Carb Or Two?
Posted 24 June 2011 - 04:18 PM

One Carb Or Two?
Posted 27 June 2011 - 01:54 PM
One Carb Or Two?
Posted 28 June 2011 - 10:51 AM
One Carb Or Two?
Posted 29 June 2011 - 08:48 AM
One Carb Or Two?
Posted 02 July 2011 - 12:14 PM
Mini Mad

Posted 02 July 2011 - 06:10 PM

One Carb Or Two?
Posted 04 July 2011 - 03:13 PM
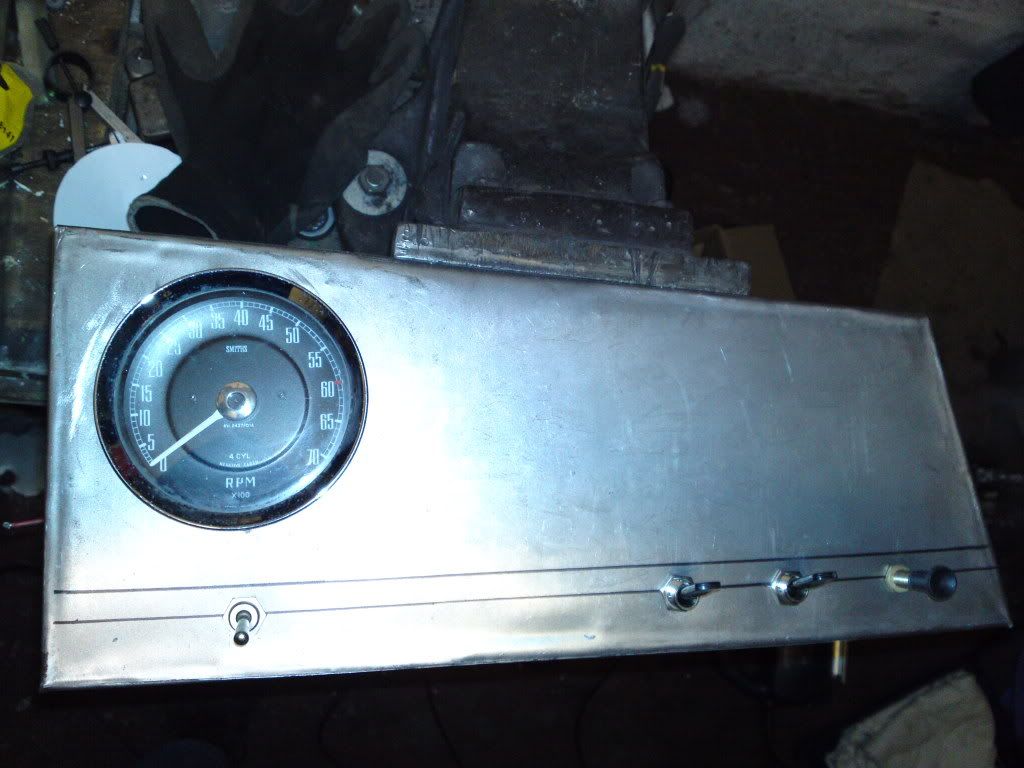
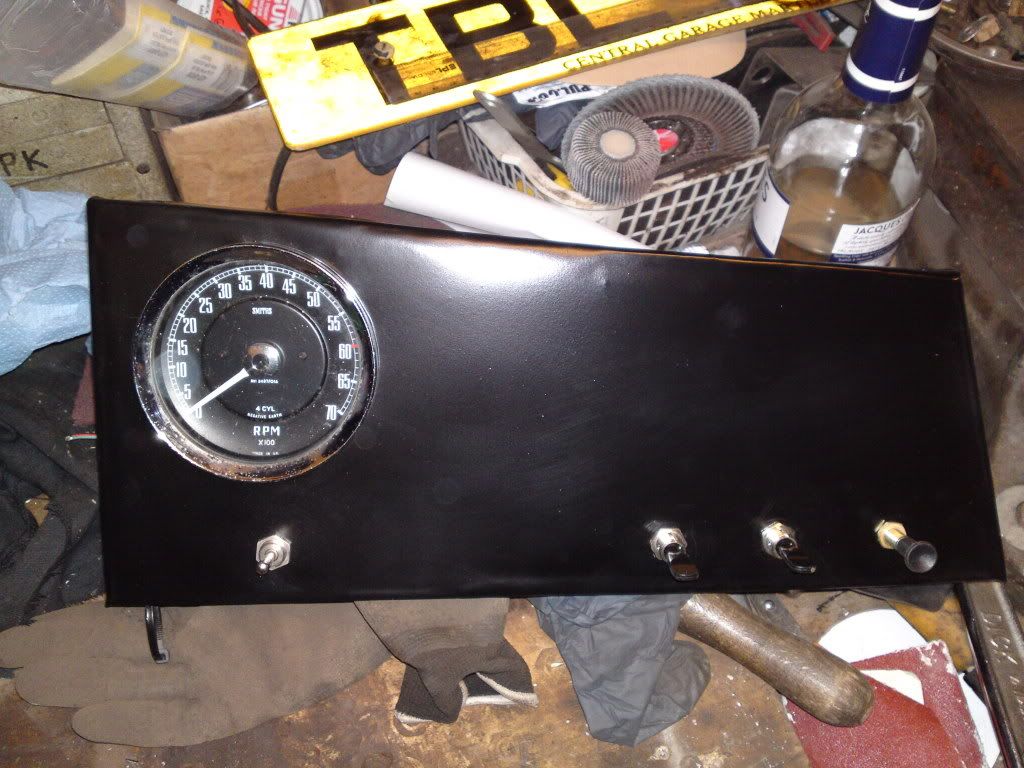
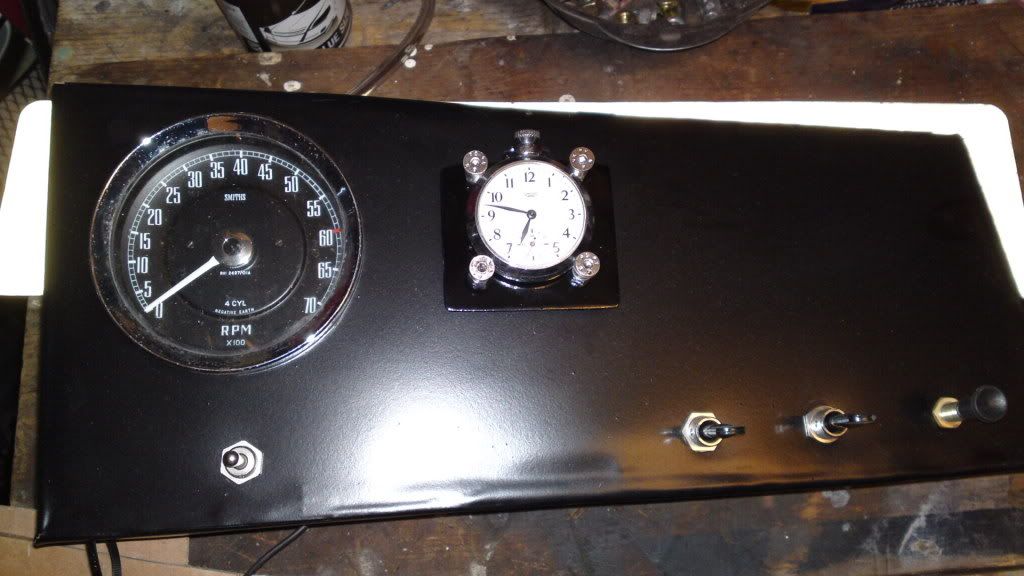
Really top job! I love the dashboard, you don't happen to have a copy of those blueprints do you? They'd be a huge help for my project!
One Carb Or Two?
Posted 08 July 2011 - 04:07 PM

One Carb Or Two?
Posted 13 July 2011 - 03:19 PM
One Carb Or Two?
Posted 18 July 2011 - 04:16 PM
One Carb Or Two?
Posted 23 July 2011 - 03:06 PM


0 members, 0 guests, 0 anonymous users


