Jump to content


Photo
- - - - -

2000 Cooper Sportspack Turbo


  • Please log in to reply
837 replies to this topic

#136 Steve220

Steve220

    Up Into Fourth

  • Members
  • PipPipPipPipPipPipPipPipPip
  • 4,895 posts
  • Location: Shropshire
  • Local Club: BMC

Posted 22 June 2016 - 08:25 AM

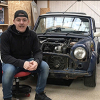
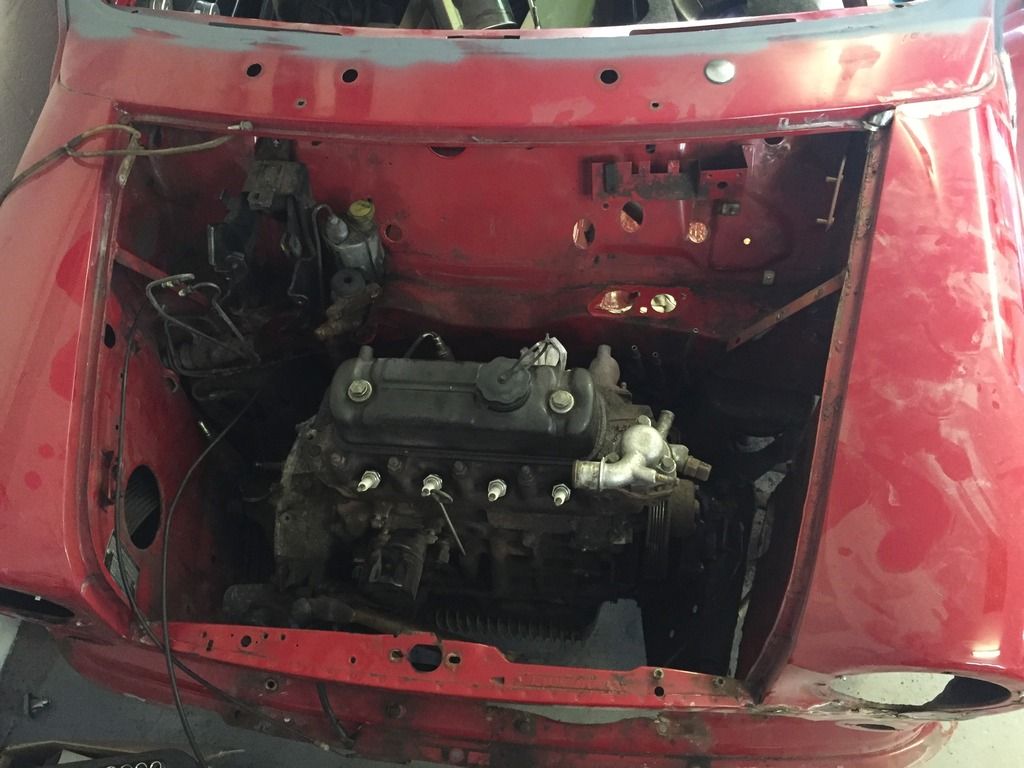
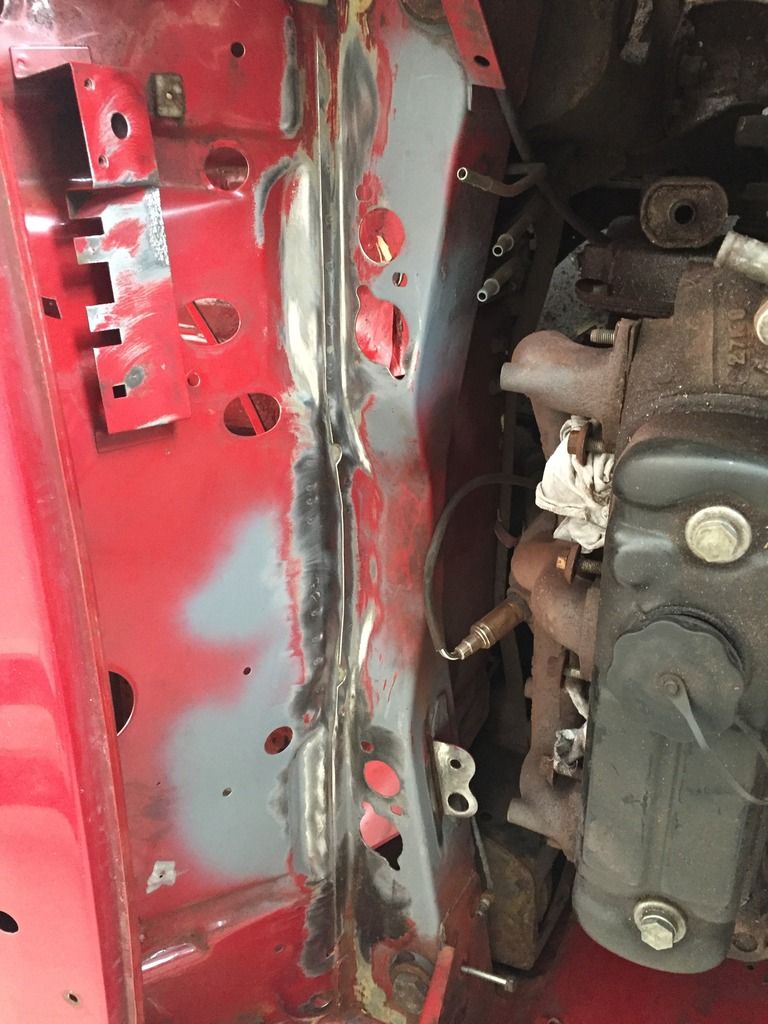
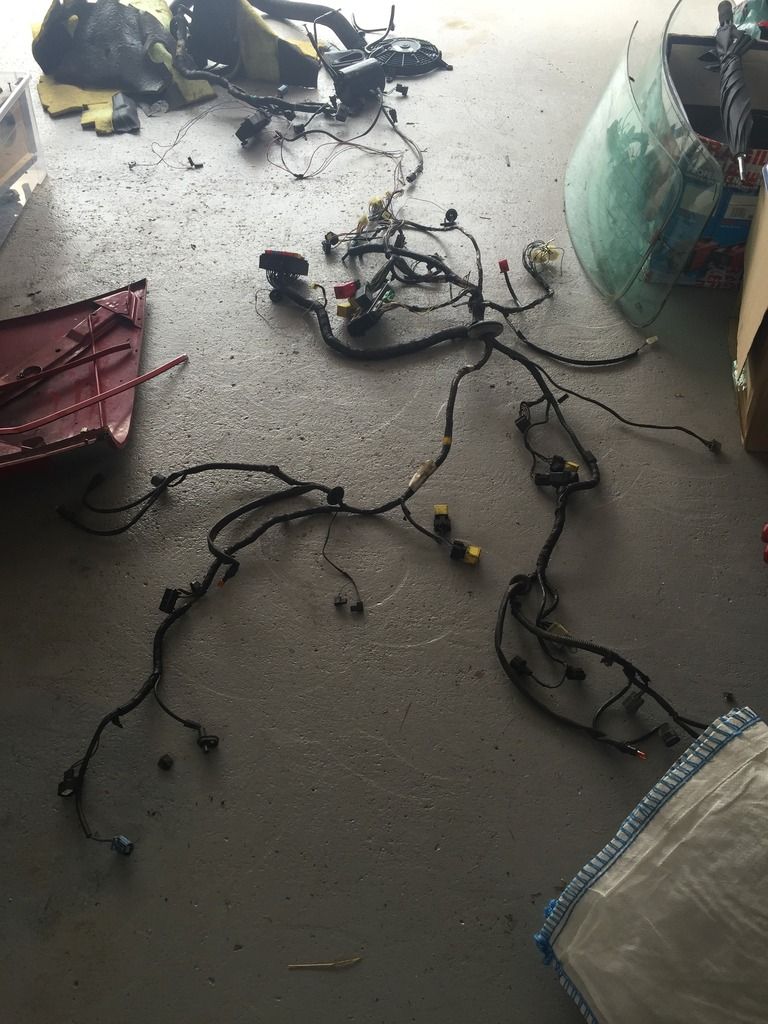
I was supposed to have a day of rest yesterday, but somehow ended up back in the garage! Main goals from today were to strip the engine bay right down and assess as much of the bubbling paintwork as possible.


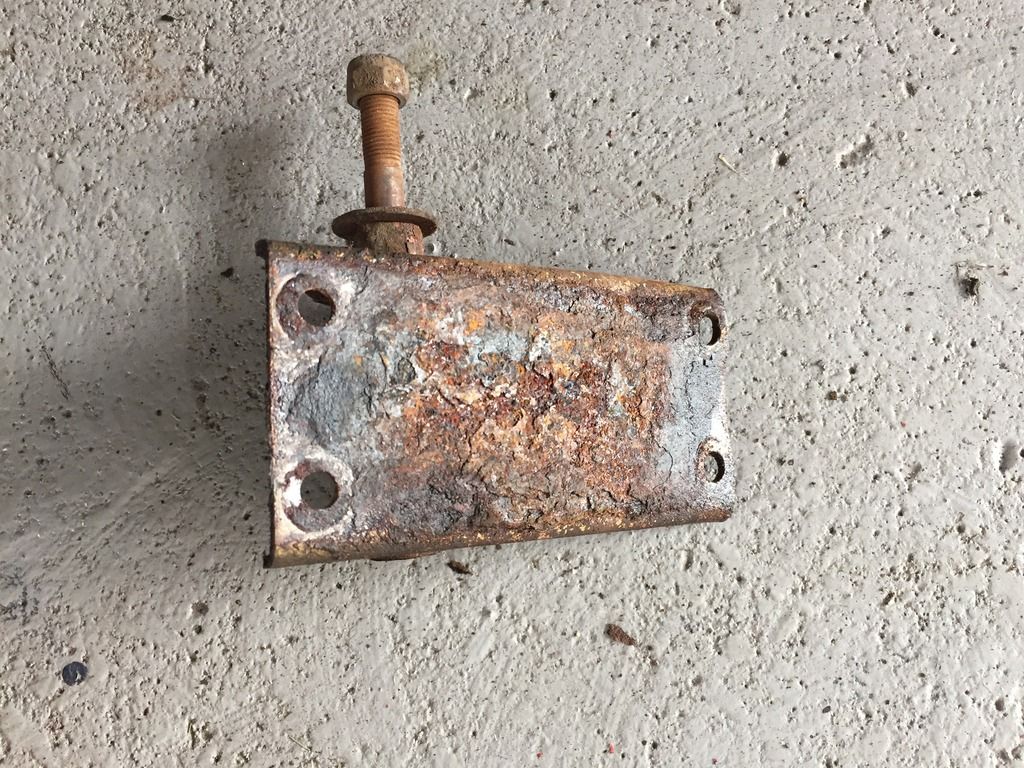
For me, the first job was to drain the coolant and get the expansion tank mount off. As you can see, after much deliberation, sweating, shouting and an angle grinder, I got it to this stage


7EC75D5B-BF3A-4E13-A015-DC72EB5B3174.jpg


BA6FECB6-D073-46D9-A2E9-D4C56F39F967.jpg


I'm still going to sell it on ebay as "uber rare y0 mini cooper MPi/SPi expansion tank in excellent condition" in true clueless seller style.


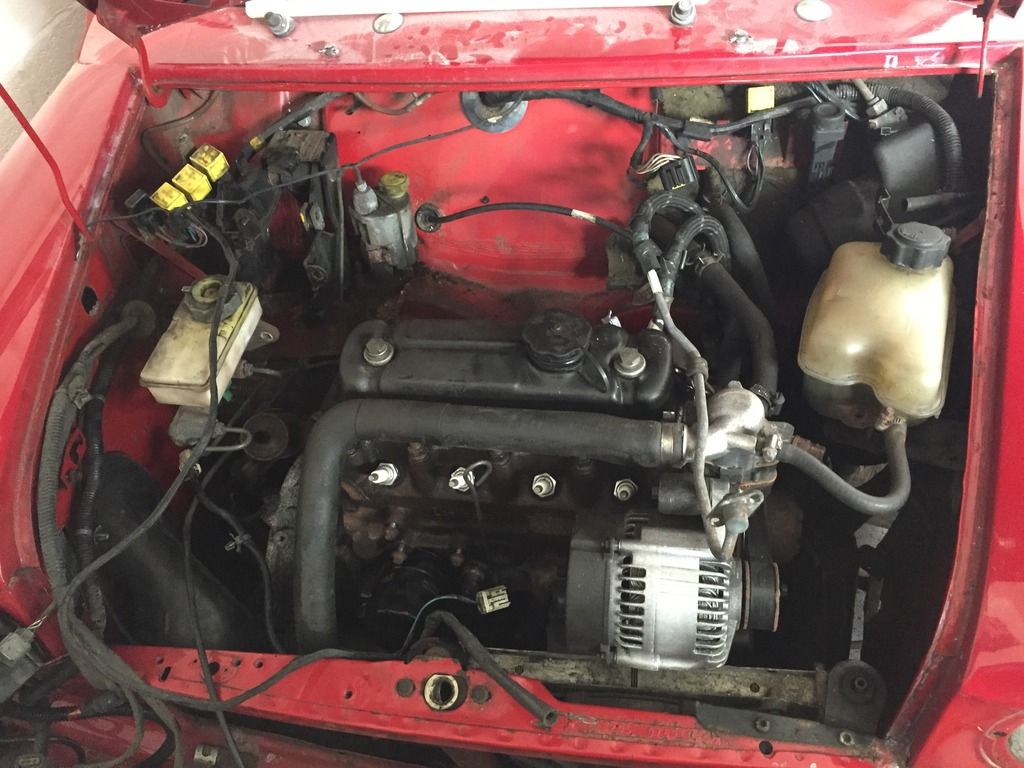
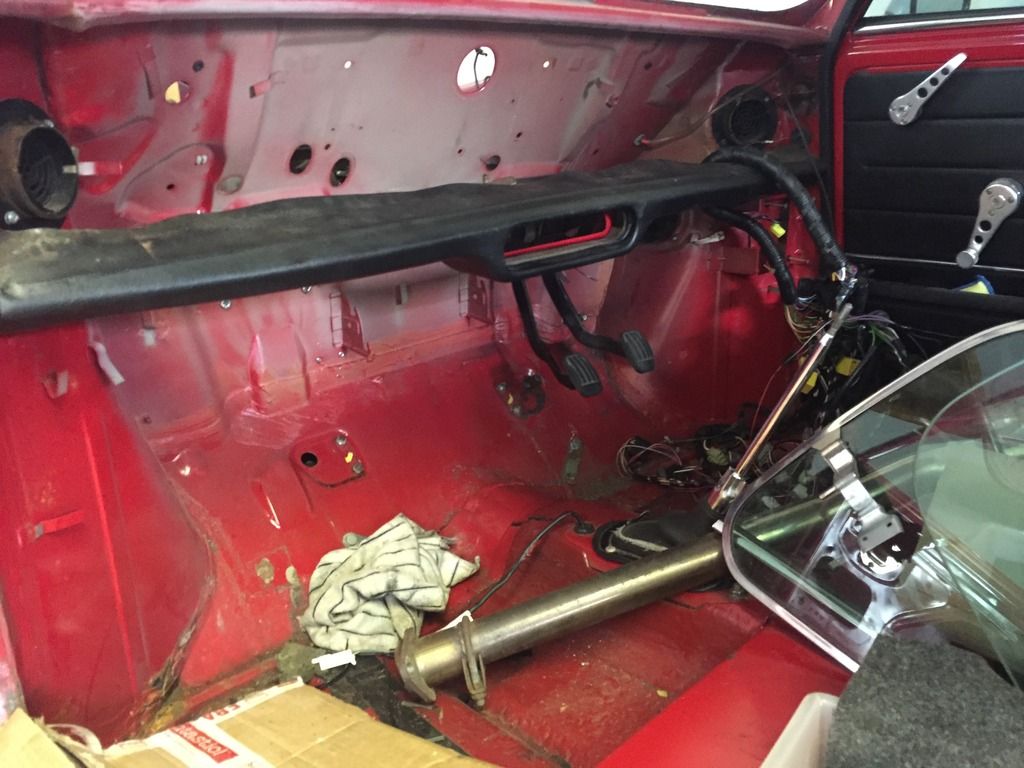
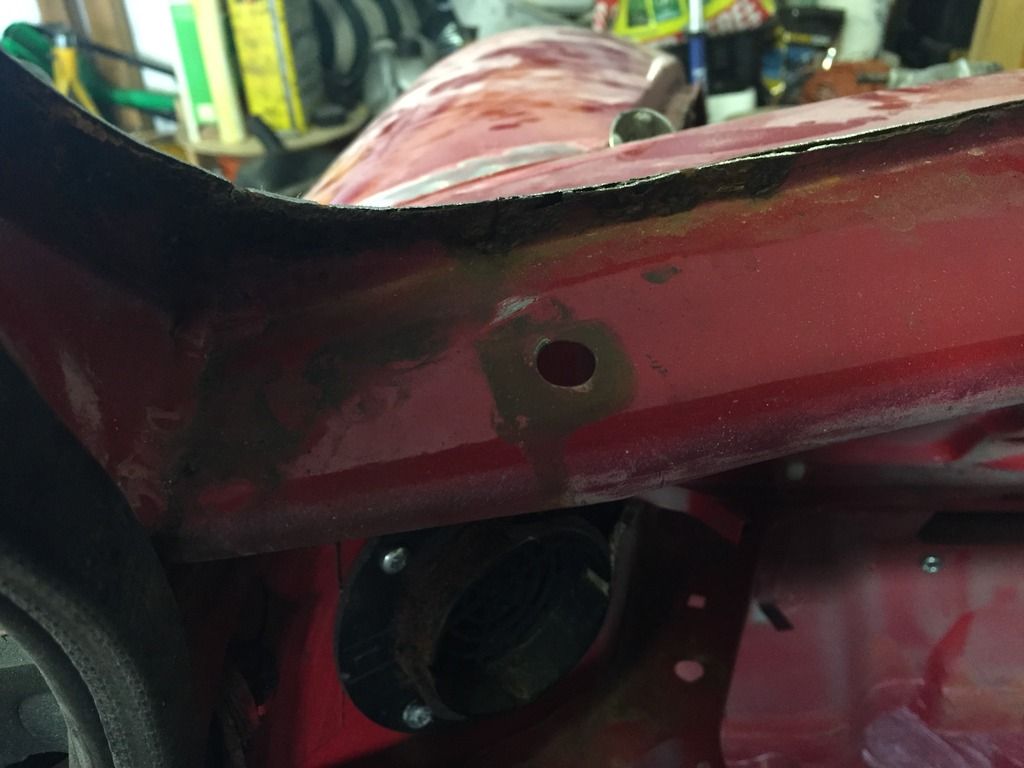
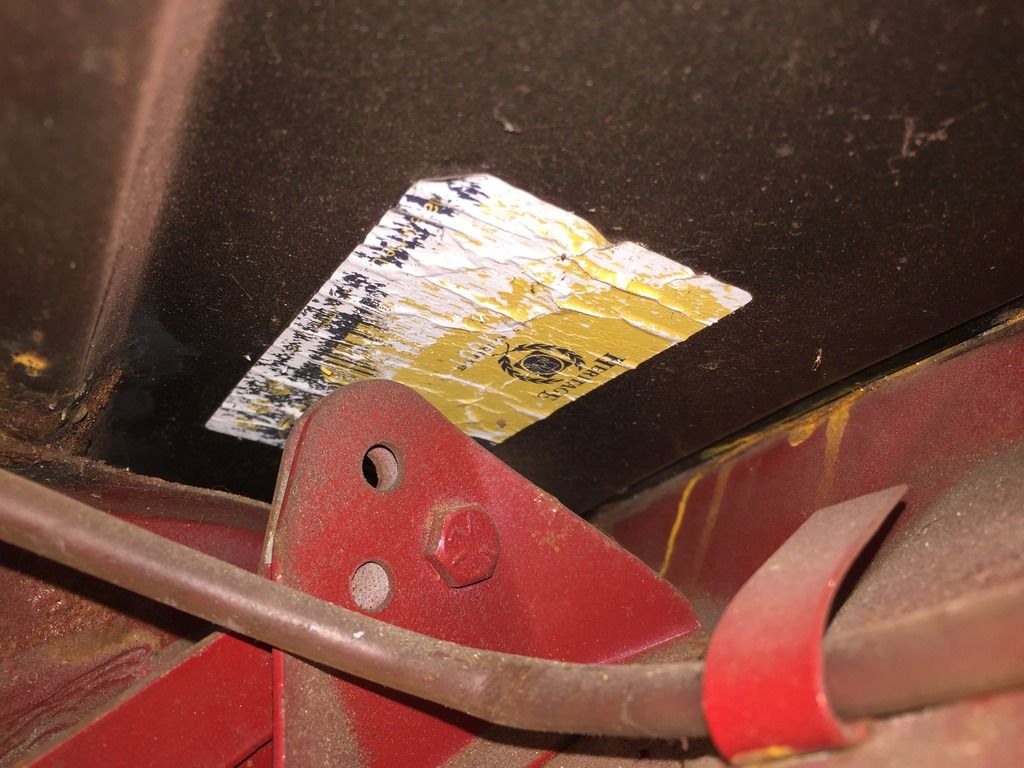
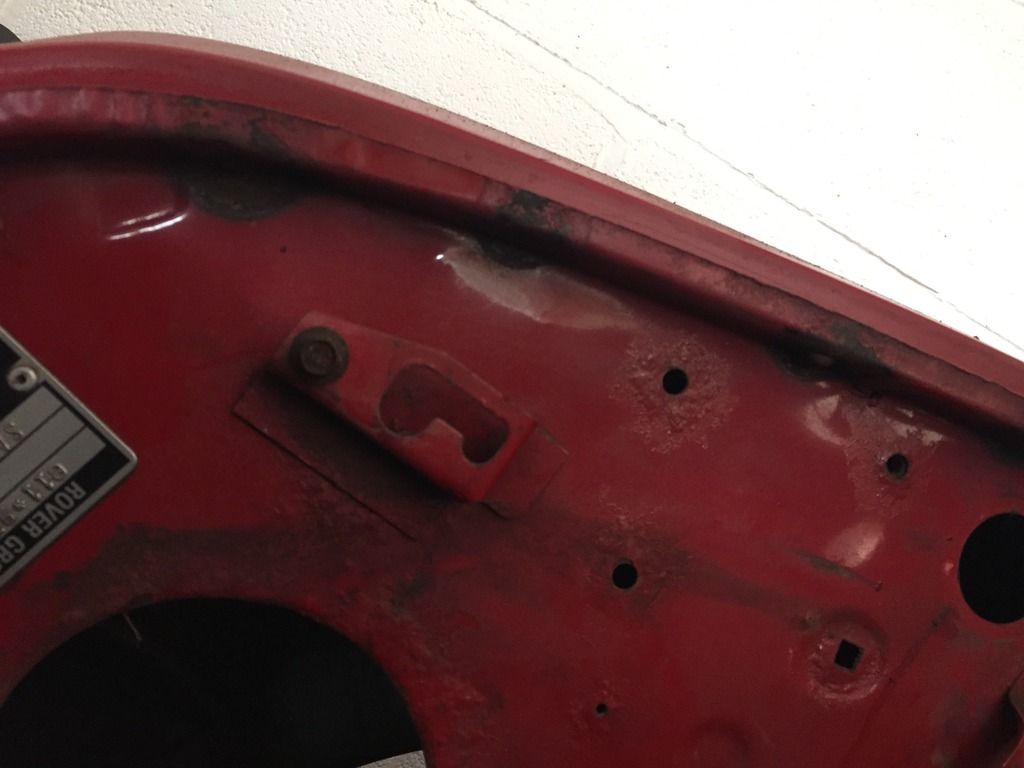
Next was both screens out. The front one has seen better days, its laminated and gone cloudy in the corners. The rear I need to clean up as I think its actually ok! Rusty in the usual places, but not as bad as i first thought! Then I found out why...


21577EA3-D6B1-4004-8456-A353F841F2E5.jpg


CF79513D-380D-4134-9C2A-AB34E113E4AE.jpg


FB066EFD-6877-4181-9F10-854FFAFD76BD.jpg


I would appear the scuttle has been replaced at some point. From what I can see, there's a skim of filler to flatten the area out, but overall it doesn't seem that bad a join!


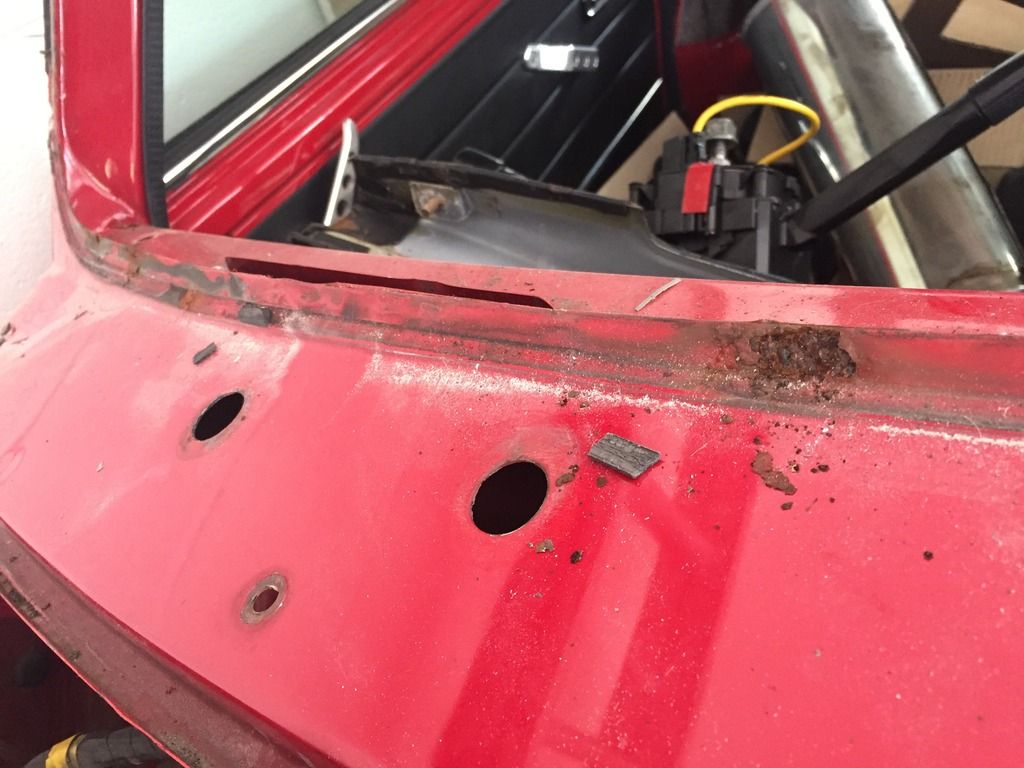
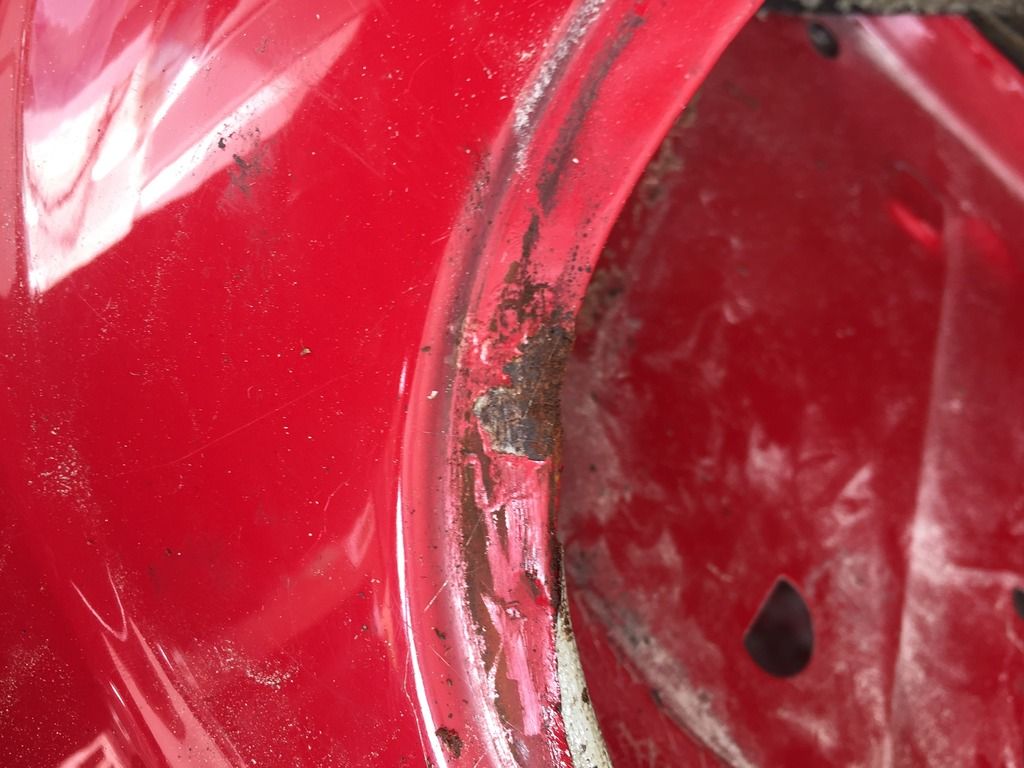
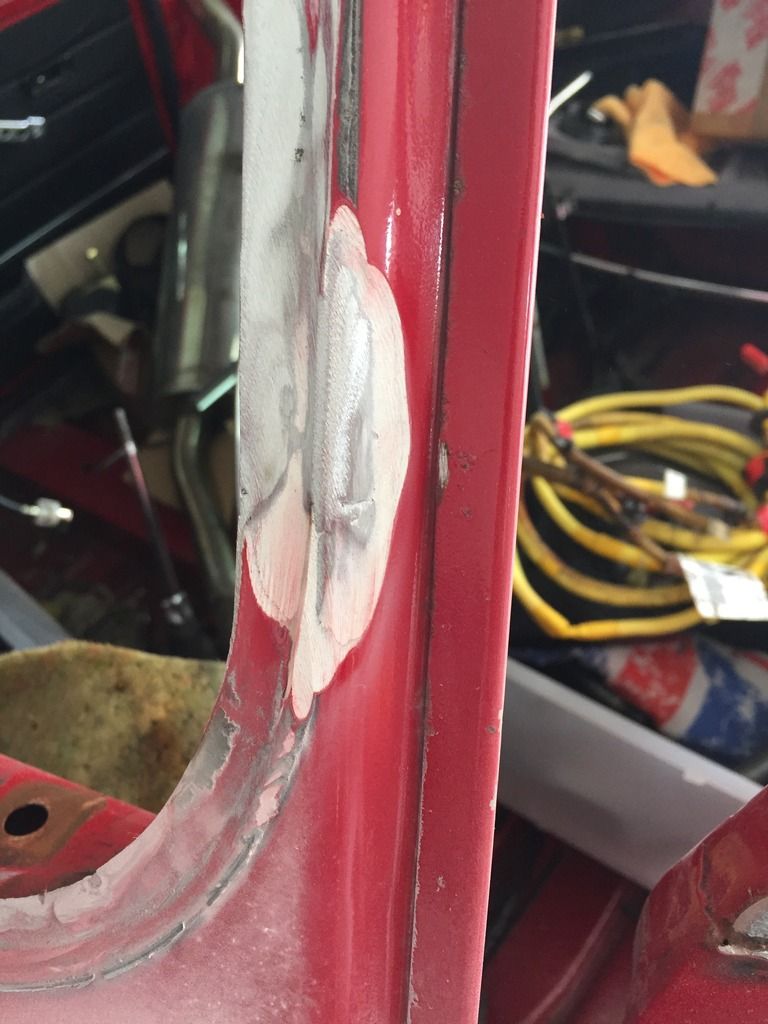
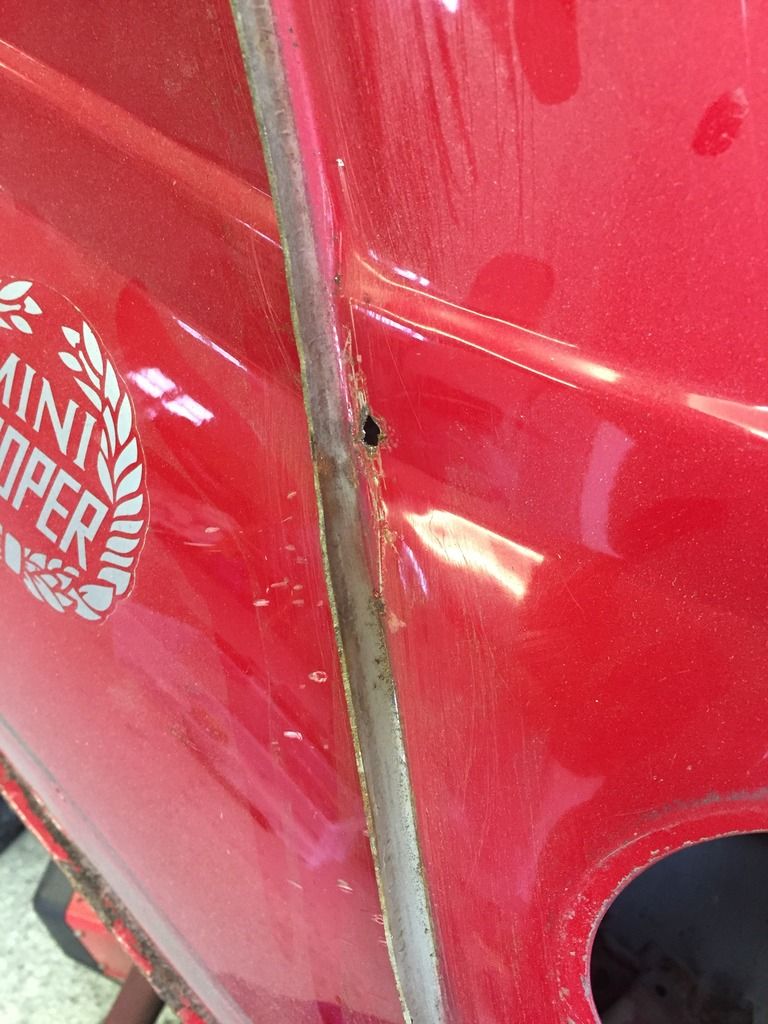
I already knew I was going to be replacing both front wings and the front panel, so out of morbid curiosity I had a look at how bad they are. Enjoy!


C57AE972-4B12-4F1E-A3A1-C54D97EF7C29.jpg


A3F17A37-66A8-4730-8A1E-CE1755B1431A.jpg


#137 Ben_O

Ben_O

    Mill Road Garage

  • Paint Doctor
  • PipPipPipPipPipPipPipPipPipPip
  • 9,781 posts
  • Location: Isle of Wight

Posted 22 June 2016 - 07:12 PM

Keep up the good work!


#138 Steve220

Steve220

    Up Into Fourth

  • Members
  • PipPipPipPipPipPipPipPipPip
  • 4,895 posts
  • Location: Shropshire
  • Local Club: BMC

Posted 22 June 2016 - 08:33 PM

Cheers Ben, learning as i'm going along!


A bit of work today on the engine bay and removing the looms. Radiator and fan out!


D65D308C-BE69-42BA-83CA-70DB95AF7E87.jpg


Separated, cleaned, new screws and into storage. New alloy radiator for the rebuild!


F4A62C1E-49FE-4430-9CD8-67BE5D5A175C.jpg


Engine bay almost at the point ready to remove the front subframe!


48159EE0-ADF0-47E5-B85D-3EE3A89CB4CE.jpg


Bits for blasting.


7A129B0F-EC78-46B6-AF8E-F0AC30A42AC1.jpg


Parts for storage from the interior


1A1B4EF1-2DF3-43C5-9FF8-DDFF57743441.jpg


Interior almost fully stripped. Need to get this into boxes as i'm just using the car as storage at the moment.


264AE5EE-2F45-4E45-B2EF-5A5DE3752948.jpg


And more rust! Nothing that can't be sorted!


B8B300F4-18B0-43A9-9D97-57BD34AECF59.jpg


1E327829-C573-4E06-B3EE-1382F19D5C3B.jpg


So that's where I am! All my (dad's) drill bits are blunt so couldn't get some of the crappy screws out from the bulkhead vents.


#139 Rocket.

Rocket.

    One Carb Or Two?

  • Members
  • PipPipPipPipPipPipPip
  • 1,441 posts
  • Location: UK

Posted 22 June 2016 - 10:06 PM

Nice project !


Doesn't look as bad as some of the later cars I've seen


Did the later cars not come with the bulkhead blanking plate hole like the earlier ones ? (I don't know a lot about them)


#140 Petrol

Petrol

    One Carb Or Two?

  • Members
  • PipPipPipPipPipPipPip
  • 967 posts

Posted 22 June 2016 - 10:30 PM

Looking good. Have you pulled the servo apart for blasting? It's not something I did on mine as they can be difficult to re seal. Also be careful when the breather is blasted - you don't want grit in that. Just to add, the breather is filled with a metal gauze which can corrode. Might be worth checking before you have it blasted.


Keep up the good work


Pete


#141 Steve220

Steve220

    Up Into Fourth

  • Members
  • PipPipPipPipPipPipPipPipPip
  • 4,895 posts
  • Location: Shropshire
  • Local Club: BMC

Posted 23 June 2016 - 09:05 AM

Looking good. Have you pulled the servo apart for blasting? It's not something I did on mine as they can be difficult to re seal. Also be careful when the breather is blasted - you don't want grit in that. Just to add, the breather is filled with a metal gauze which can corrode. Might be worth checking before you have it blasted.


Keep up the good work


Pete


Hi Pete,


In 2 minds about the servo. It wasn't hard to pull apart and i've had a go re-sealing and it goes together with a crow bar and a vice. Thing is, the car has done 72k miles and for some reason I'm stuck between sorting this one out and buying a new one as the corrosion was pretty heavy. The breather - not sure how that got in there as i'm replacing them for unions and a catch tank.


#142 jamesquintin

jamesquintin

    One Carb Or Two?

  • TMF+ Member
  • PipPipPipPipPipPipPip
  • 1,017 posts
  • Location: Harlow

Posted 23 June 2016 - 09:13 AM

How did you clean the fan...?


#143 Steve220

Steve220

    Up Into Fourth

  • Members
  • PipPipPipPipPipPipPipPipPip
  • 4,895 posts
  • Location: Shropshire
  • Local Club: BMC

Posted 23 June 2016 - 09:30 AM

How did you clean the fan...?


Took it apart, cleaned the plastics with APC and a detailing brush. Once dried fully, reassembled with new painted stainless screws and dressed with AG rubber and vinyl care.


#144 Steve220

Steve220

    Up Into Fourth

  • Members
  • PipPipPipPipPipPipPipPipPip
  • 4,895 posts
  • Location: Shropshire
  • Local Club: BMC

Posted 23 June 2016 - 06:05 PM

Right, new brake servo purchased! Cheapest by far was £120 delivered, but at least i know it will be a fresh start, and you can't skimp on brakes!


Today has been mostly sorting out the wiring looms and grinding back more paintwork to see what the full damage is. Brake servo and framework out.


B89828D1-4DD0-4545-9F99-99F12A37D9CB.jpg


Ground back


5BB72D7E-83CB-4AC6-83C8-A0141E2714D5.jpg


9D9AC337-4666-4E49-B580-71FF841B404C.jpg


Then sprayed with etch primer. I'm happy there's not a lot of corrosion here. Meanwhile, in the wheel arch!


E0E4F0B1-148A-4293-A3AE-A8B14124F0B2.jpg


F438D64C-8AFA-4CE5-B1C7-6A68FCB61513.jpg


Usual spot by the look, made severe due to the MPi goodness. In further news, my scuttle is a genuine part.


744E222D-2613-43C5-AD92-185A76D0CCF0.jpg


Next job is to remove the wings... i think.


02E431B8-0AC1-4739-B095-E9BC218293D2.jpg


90685FF2-6A24-4B5F-A322-E7F2A417CF96.jpg


And the wiring looms spread out so check condition, clean then store


38329631-A82C-4906-8FE8-1CD14397E860.jpg


#145 spraybeater

spraybeater

    Speeding Along Now

  • Members
  • PipPipPipPipPip
  • 468 posts
  • Location: west yorkshire
  • Local Club: Mcr

Posted 23 June 2016 - 09:52 PM

Reminds me of a year ago! stripping and filling boxes with parts, now emptying them again 

What a pity the previous restorer hadn't done a bit of rust prevention on some of the new

panels looks a bit of a bodge . 


Keep at it best of luck! 


#146 Petrol

Petrol

    One Carb Or Two?

  • Members
  • PipPipPipPipPipPipPip
  • 967 posts

Posted 23 June 2016 - 10:00 PM

:thumbsup: 
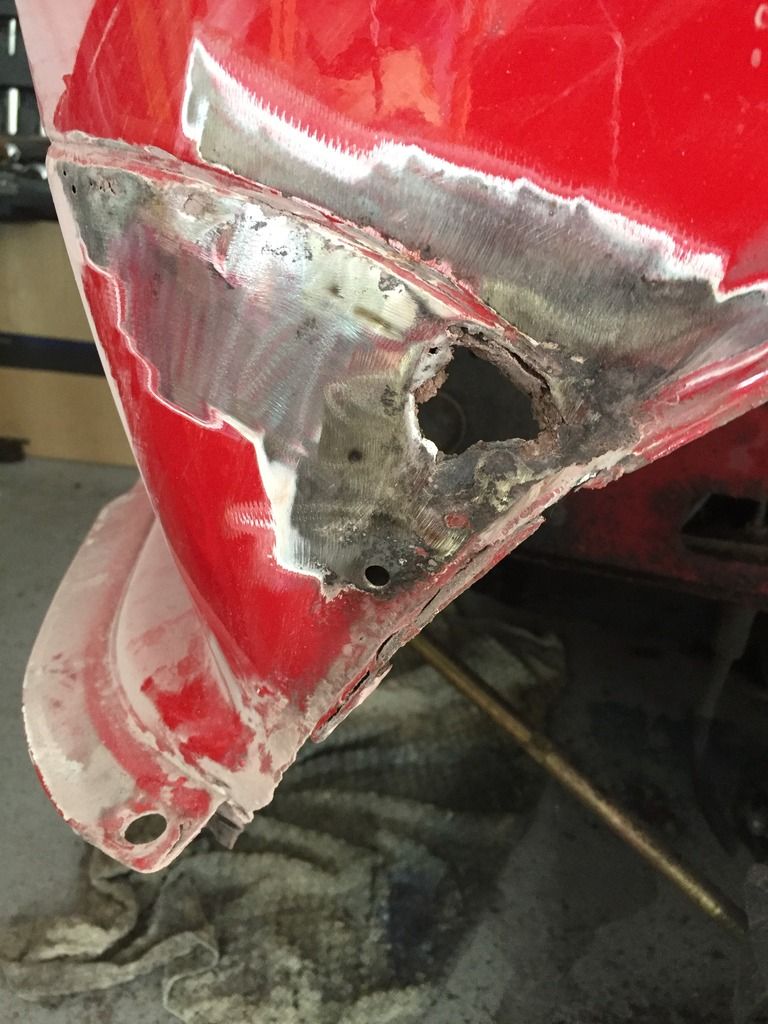
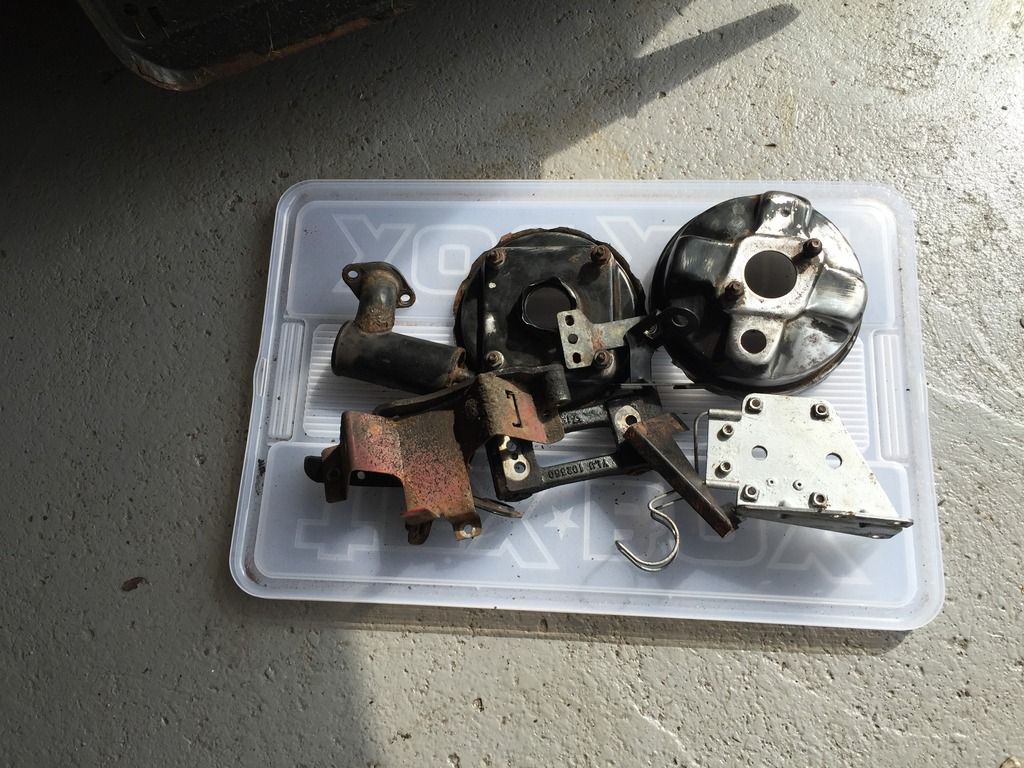
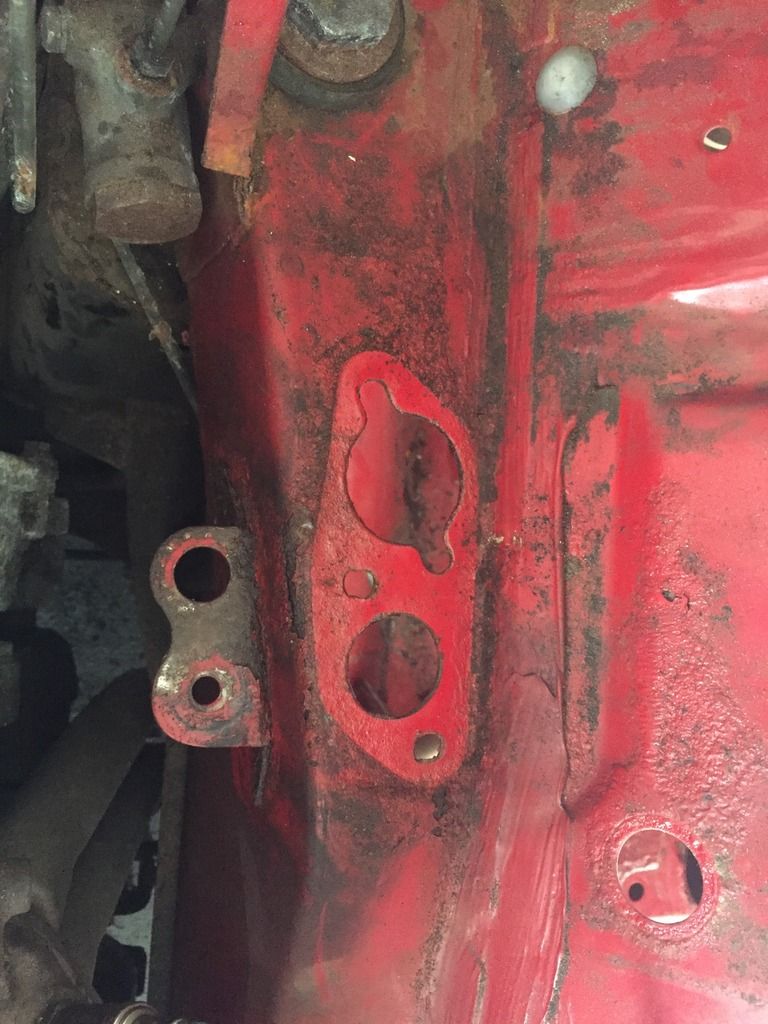
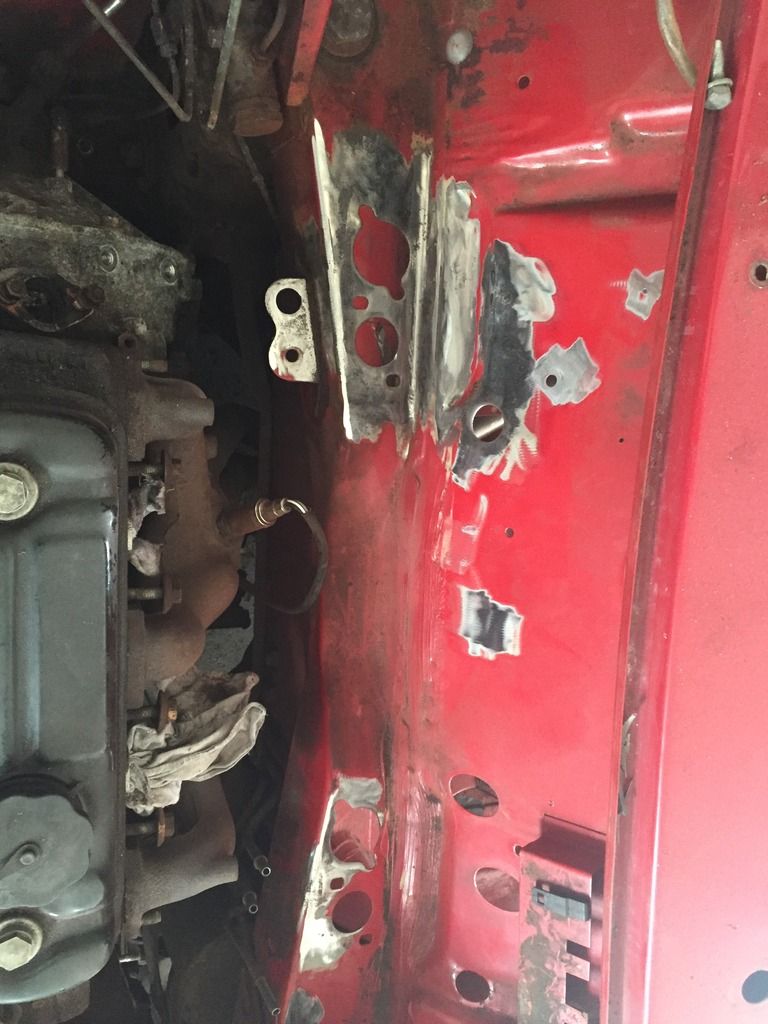
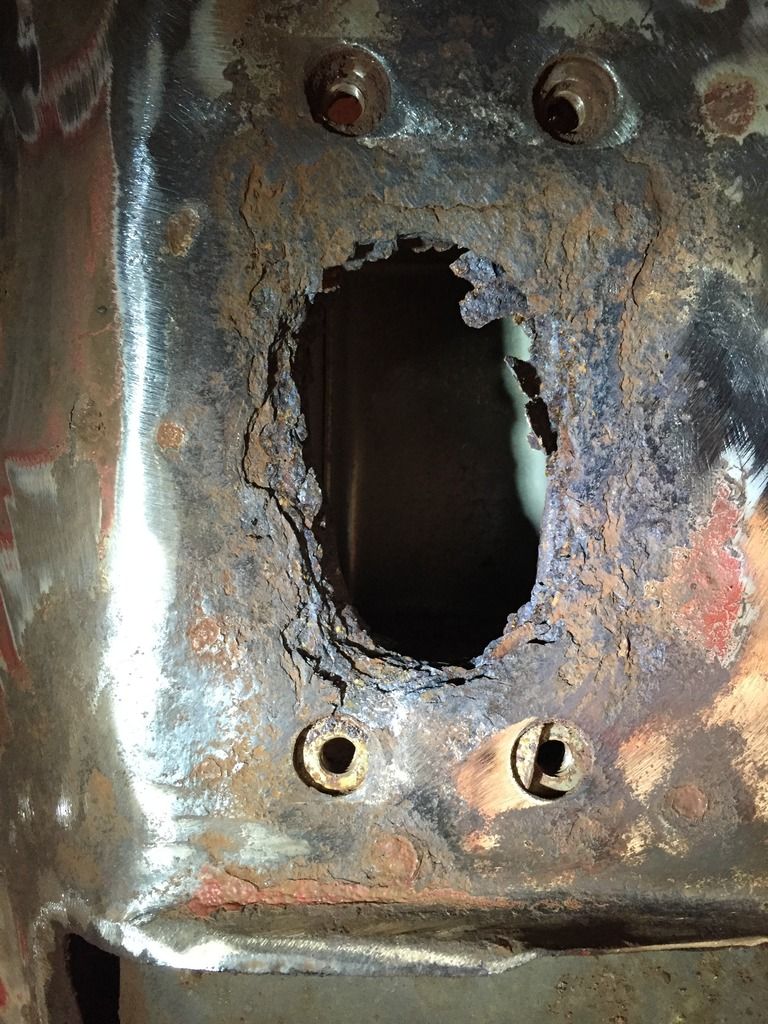
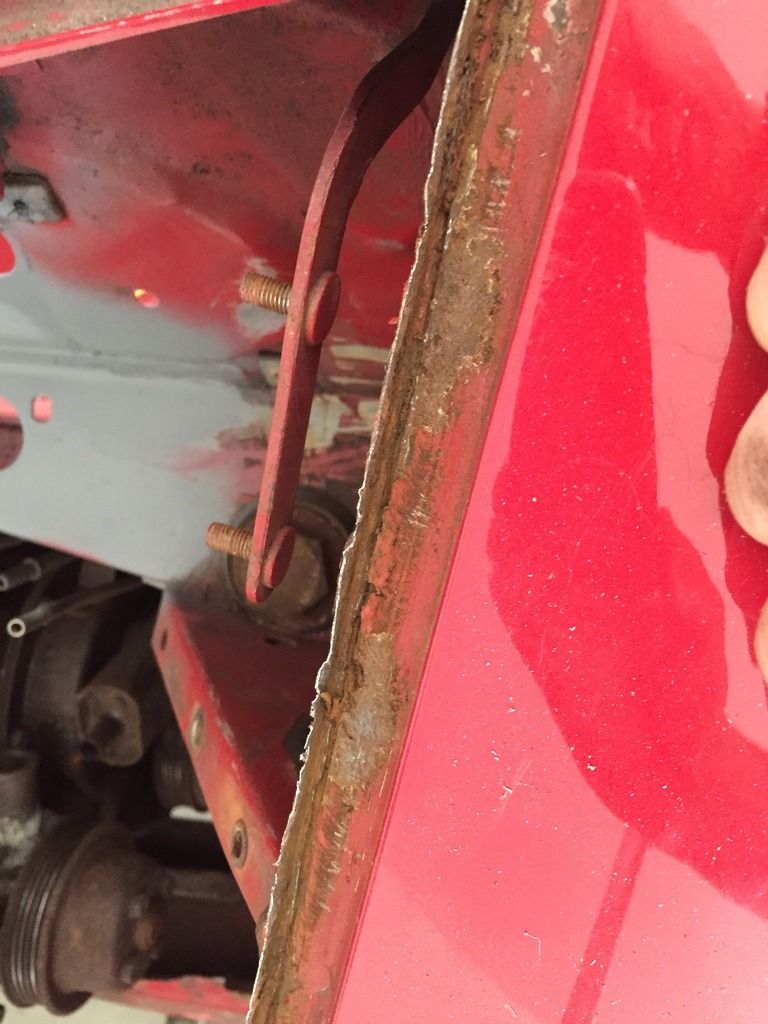
on the servo and breather. Like you say, you can't skimp on brakes. That area behind the front shock mounts is a right pain. It's treble skinned IIRC. One of my inner wings was also cracked so I beefed em up with some bigger plates.

It's looking good. YHPM


Pete


#147 Steve220

Steve220

    Up Into Fourth

  • Members
  • PipPipPipPipPipPipPipPipPip
  • 4,895 posts
  • Location: Shropshire
  • Local Club: BMC

Posted 24 June 2016 - 09:19 AM

As soon as I took the mount off, I instantly thought of your thread. I'm glad people like yourselves have gone through this too and have solved it! It's why I love forums like this!


#148 Kevinmini

Kevinmini

    Mini Mad

  • Noobies
  • PipPipPipPip
  • 143 posts
  • Location: Cambridgeshire

Posted 22 July 2016 - 08:32 PM

All I did was remake the sides and recover the whole lot. Its very straight forward to do however I wouldn't have the time to do it for others. But thank you for the compliment :)

hi what thickness in my mdf did you use for the sides? Mine is all mouldy and needs a full refurb cheers

#149 Steve220

Steve220

    Up Into Fourth

  • Members
  • PipPipPipPipPipPipPipPipPip
  • 4,895 posts
  • Location: Shropshire
  • Local Club: BMC

Posted 22 July 2016 - 08:37 PM

5mm

#150 Carvell

Carvell

    Speeding Along Now

  • Members
  • PipPipPipPipPip
  • 316 posts
  • Location: North West

Posted 23 July 2016 - 11:28 AM

Just read the thread, very interesting and excited to see the interior


2 user(s) are reading this topic

0 members, 2 guests, 0 anonymous users