Edited by Steve220, 20 March 2016 - 10:28 PM.


2000 Cooper Sportspack Turbo
Started by
Steve220
, Jan 15 2015 10:32 AM
864 replies to this topic
#106

Steve220
-
- TMF+ Member
-

- 5,066 posts
Crazy About Mini's
- Location: Shropshire
- Local Club: BMC
Posted 20 March 2016 - 10:24 PM
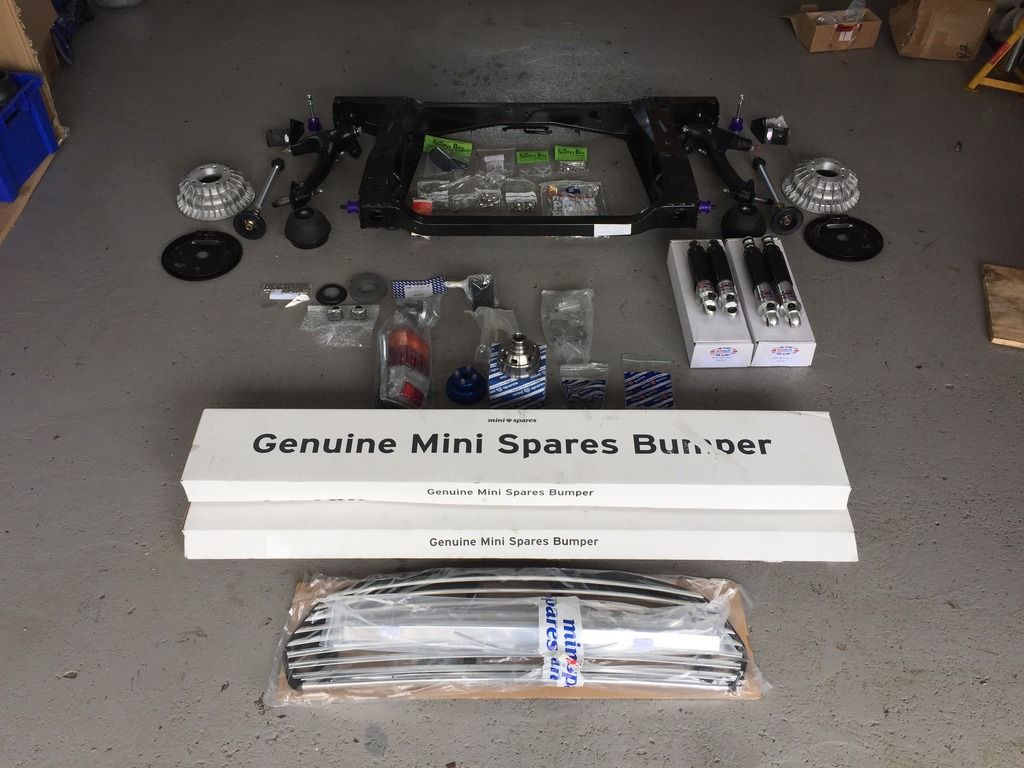
I think my frame has a bit of damage, it's being soda blasted for £40 and will assess if it needs welding etc. I've got a good deal on a new MPi frame which keeps things OE and new.
#107
blueovalcraig
-

- Members
-
- 193 posts
Mini Mad
- Location: Rothesay, Isle of Bute
Posted 20 March 2016 - 10:30 PM
Love your mini. Hope mine looks half as good when I eventually finish it
#108
Steve220
-
- TMF+ Member
-
- 5,066 posts
Crazy About Mini's
- Location: Shropshire
- Local Club: BMC
Posted 21 March 2016 - 10:29 AM
Many thanks! I'm making a list of all the body repairs that will need addressing come next year when the car gets stripped... And it's slowly getting bigger!
#109
blueovalcraig
-
- Members
-
- 193 posts
Mini Mad
- Location: Rothesay, Isle of Bute
Posted 21 March 2016 - 12:50 PM
I'm planning to just get mine fit for MOT then use it for a while then one day carry out a complete rebuild. I bought this mini without even seeing it or hearing it run..................
#110
ukcooper
-

- Members
-
- 1,625 posts
Camshaft & Stage Two Head
- Location: Stoke on Trent
Posted 21 March 2016 - 06:59 PM
Enjoyed reading that :)
#111
Steve220
-
- TMF+ Member
-
- 5,066 posts
Crazy About Mini's
- Location: Shropshire
- Local Club: BMC
Posted 22 March 2016 - 10:22 AM
Thanks coops! Still want that cylinder head of yours lol!Enjoyed reading that :)
A few updates from yesterday, mainly as I was cleaning up.
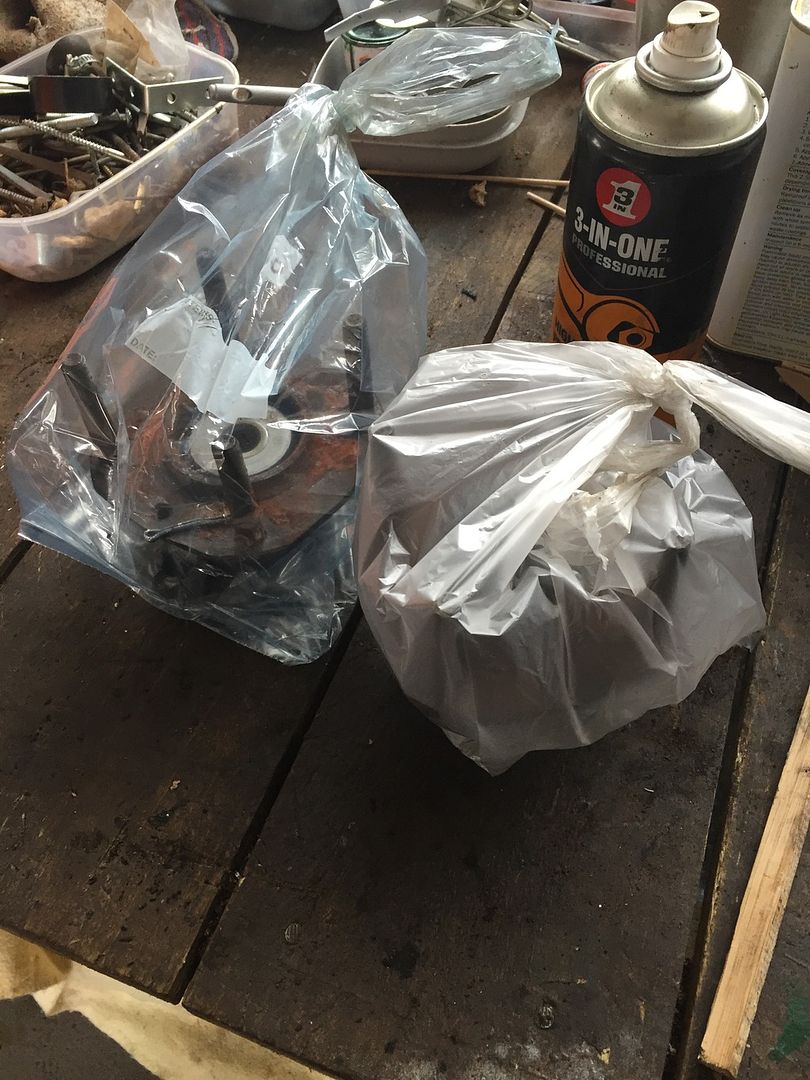
As I was taking parts off, I saw both hubs had new bearings in. Checking the cars history it would appear they were replaced about 3 months before I bought it. Rather than waste someone else's efforts, I bagged the hubs up for the rebuild.
Probably not an uncommon sight for mini owners, but this was after a prod on the old rear subframe.
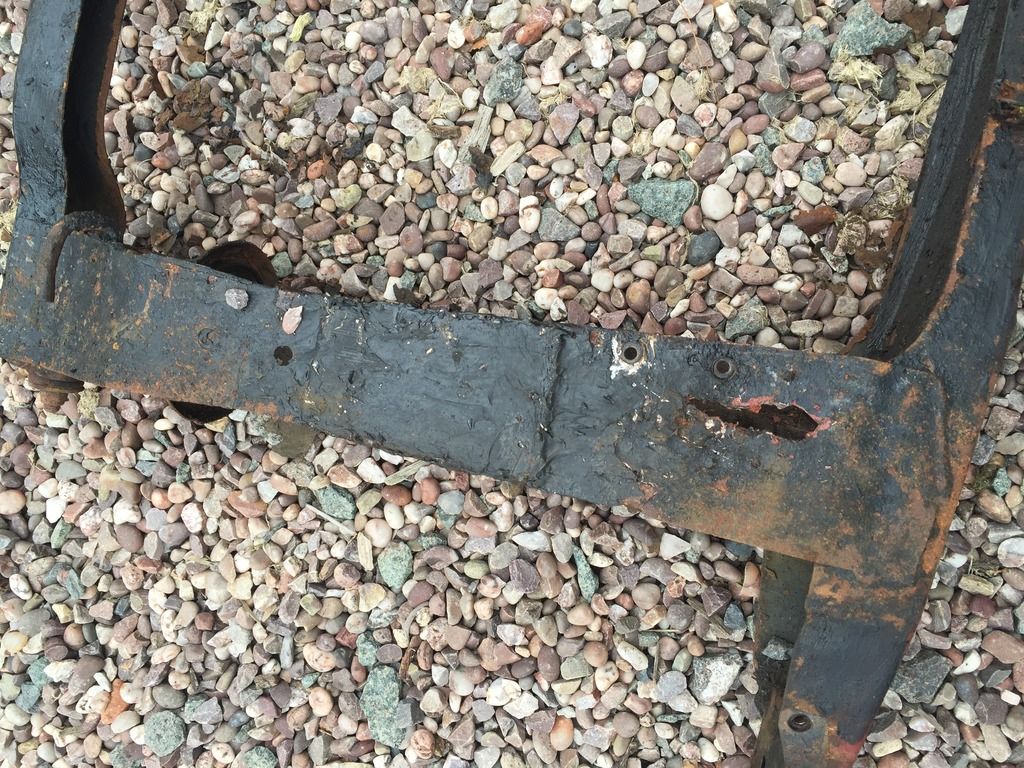
Parts for the tip
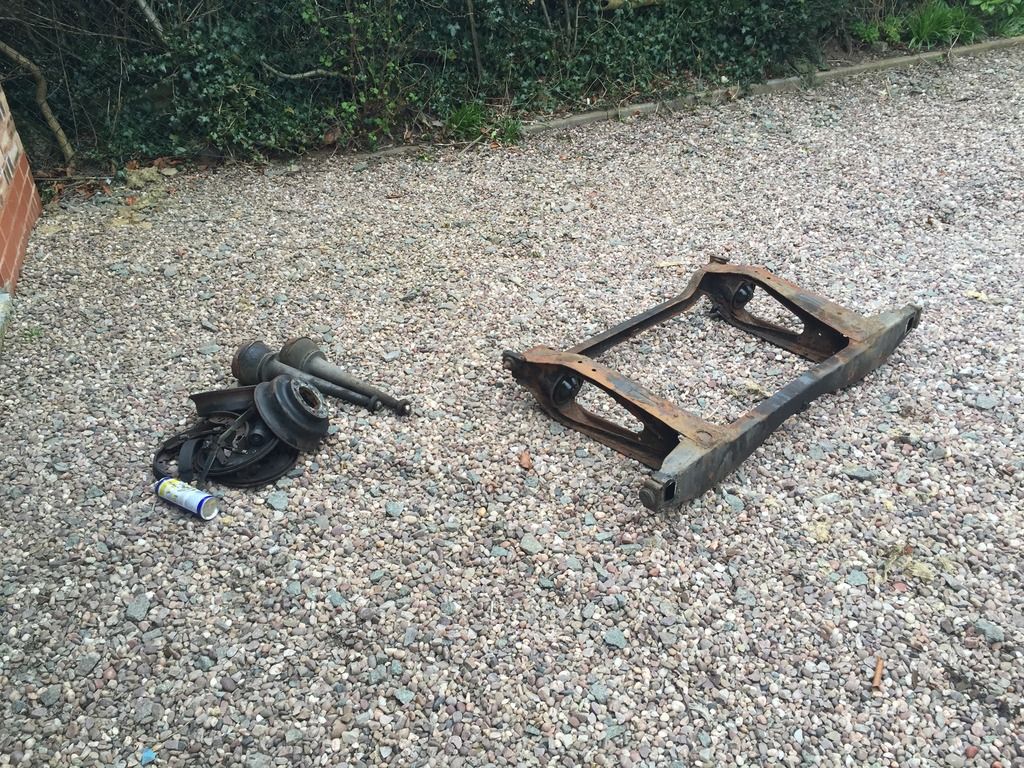
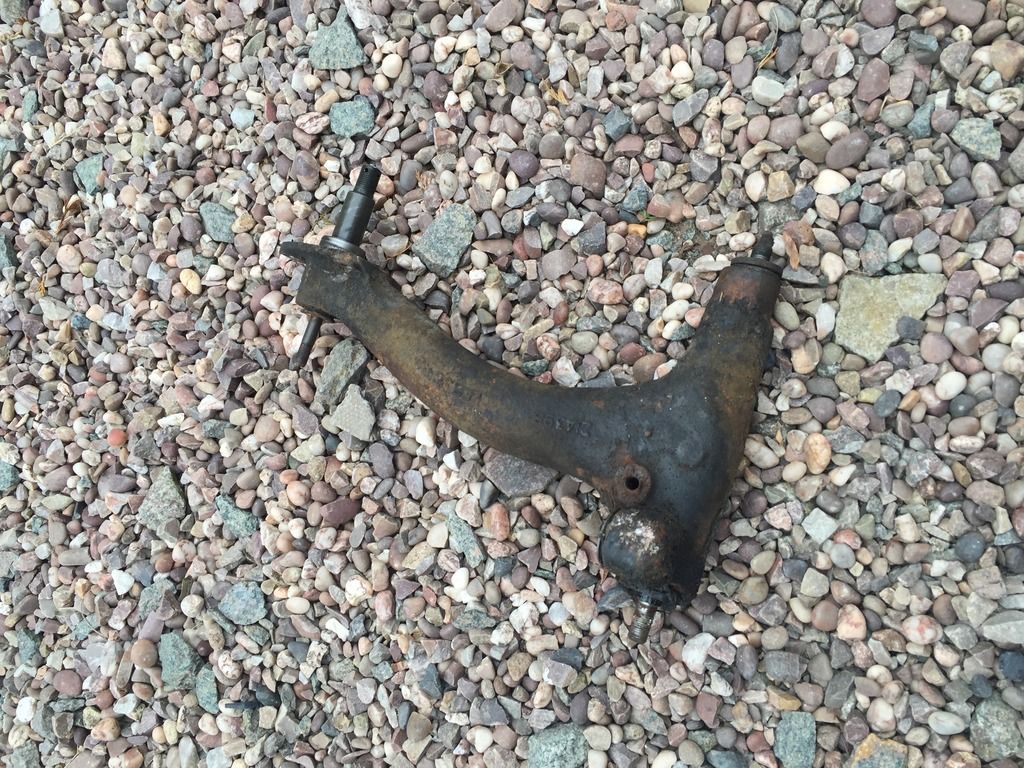
And an offside radius arm to take to Minispares!
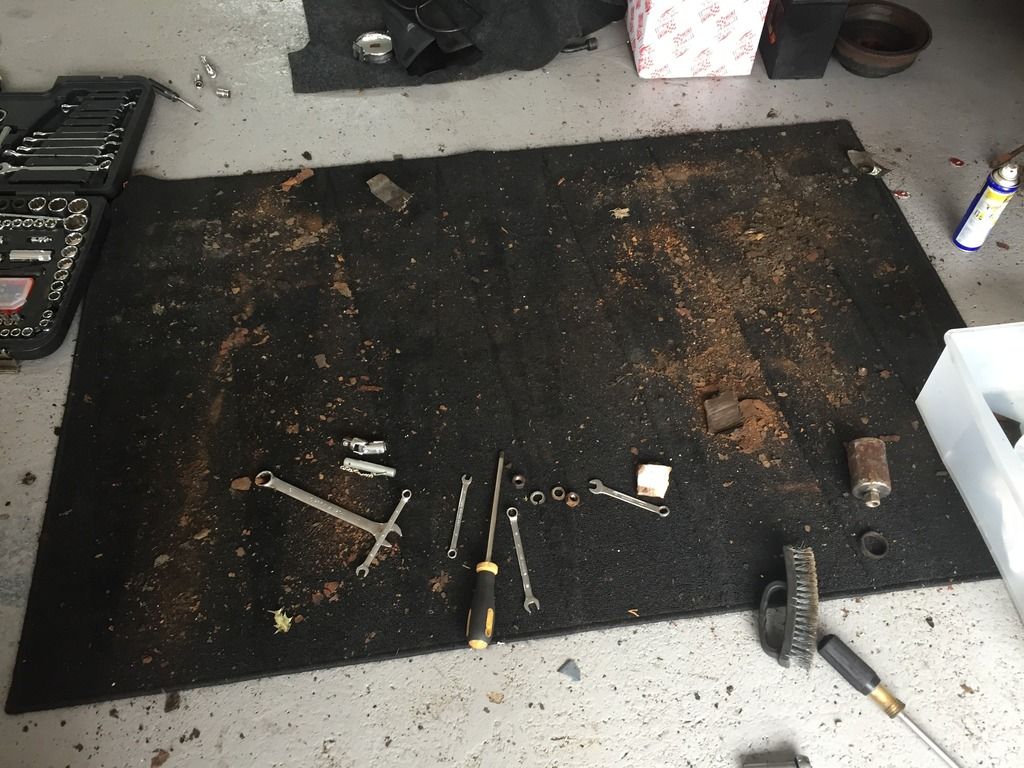
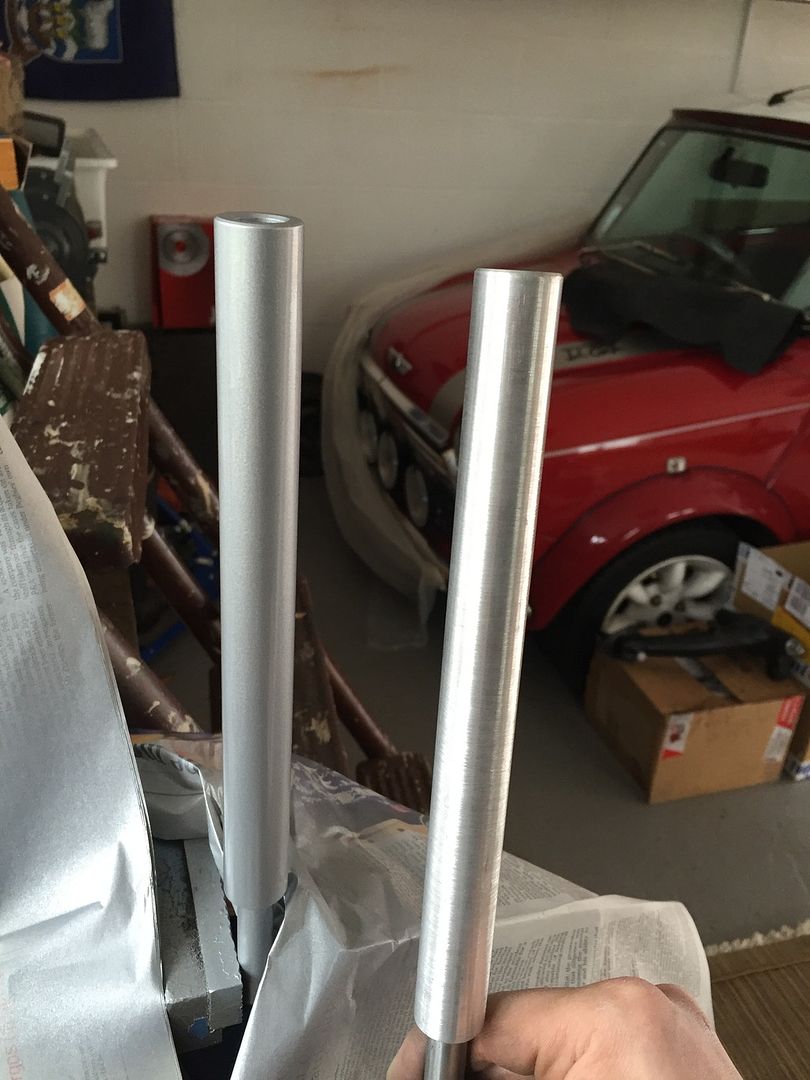
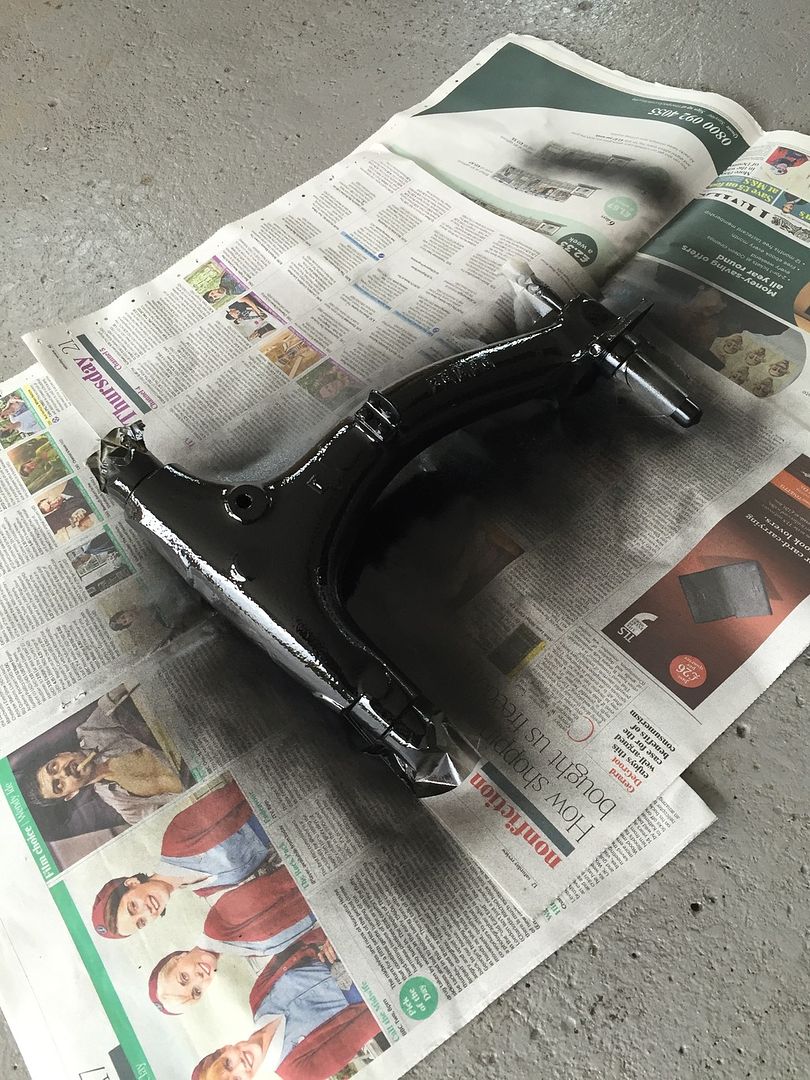
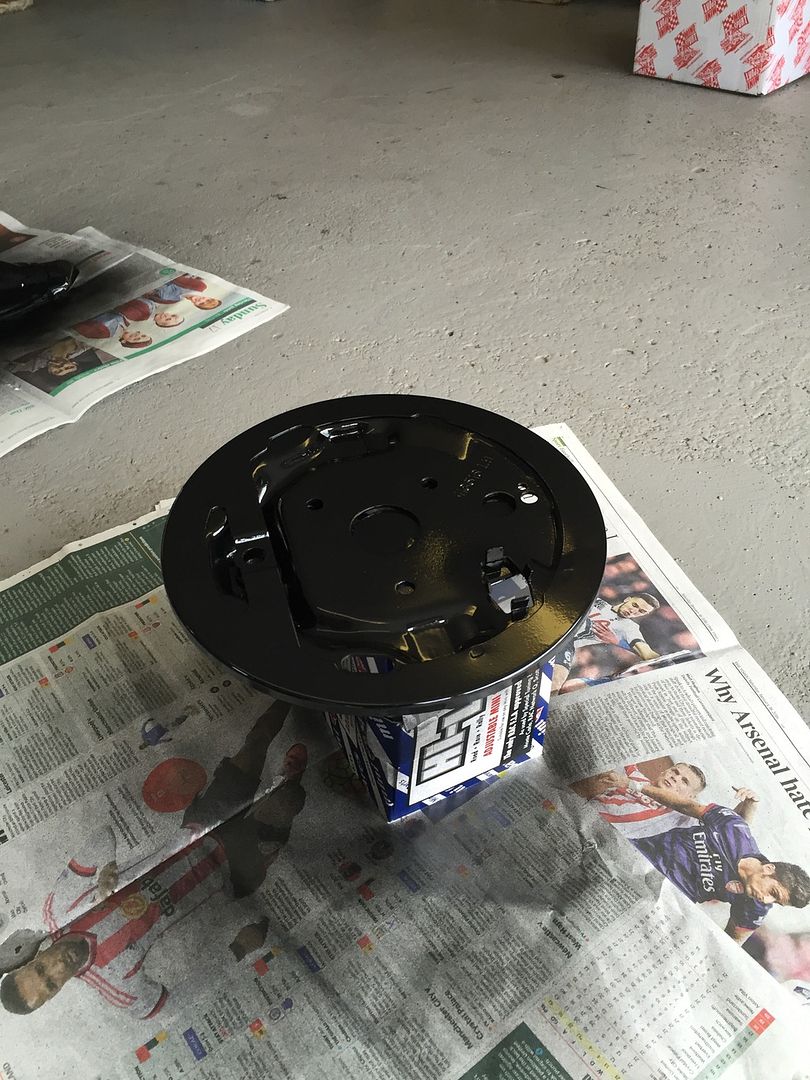
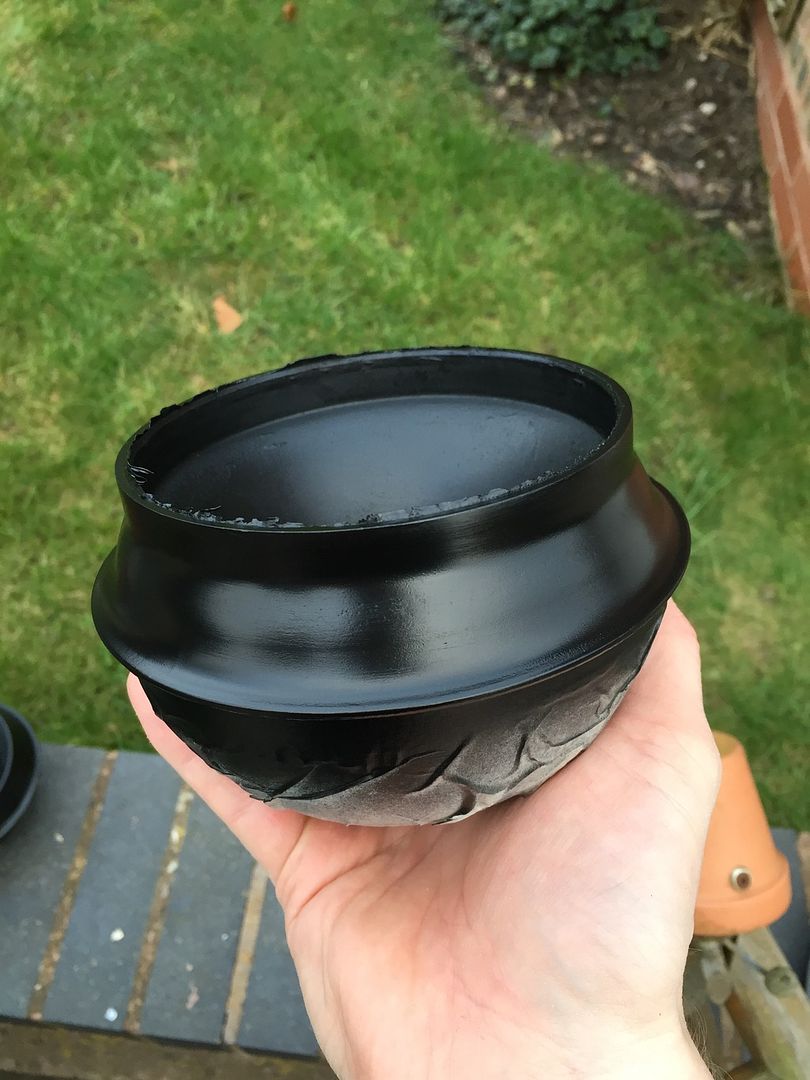
Now onto the cleaning and spraying. The hilos from Minispares have bare allow rods for the rears, wasn't a fan of them being exposed to the elements so scotch padded them, primed and sprayed silver. Really happy with the results. Also did a similar process with the new radius arm, the doughnut mounts and brake back plates. Had to take them all apart first which was easier than I first expected! Now they have a more durable coating on them.
I see on a lot of rebuilds that owners replace the brake pipes. I've checked mine over and they're sound. Maybe a small bit of surface corrosion that comes off with the scotch pad. Need to find the green that is the closest match (anyone got any ideas?) then I can polish the fittings!
Finally all cleaned up and stored for next time, whenever that will be!
Edited by Steve220, 22 March 2016 - 10:29 AM.
#112
Zeemax Adventure
-

- TMF+ Member
-
- 301 posts
Speeding Along Now
- Location: Llandudno
Posted 22 March 2016 - 01:06 PM
Your at the same stage as me... although my mini is a bit less complete. I was going to try and get the green colour mixed to do the fuel lines, but decided black gloss in the end as the project is costing enough. Ive got all new brake lines so no green on those anyway. Are you keeping the standard KONI shocks? mine have seized so looking at Protech ones as they seem to have great reviews
#113
Steve220
-
- TMF+ Member
-
- 5,066 posts
Crazy About Mini's
- Location: Shropshire
- Local Club: BMC
Posted 22 March 2016 - 01:49 PM
I'll clean them up, paint, renew stickers and sell them. I have protech in the shed at home, wouldn't have bought anything else. Personally I would always paint copper brake pipe, it too can corrode over time. I'll take one of the pipes down to a paint company and see if they can match it for a spray can.
Just dropped the subframe off to the tip, feels weird throwing it away.
Just dropped the subframe off to the tip, feels weird throwing it away.
#114
Zeemax Adventure
-
- TMF+ Member
-
- 301 posts
Speeding Along Now
- Location: Llandudno
Posted 22 March 2016 - 04:52 PM
Mine wont be corroding, ill be underneath regularly polishing all my bits with HD WAX haha.
#115
ukcooper
-
- Members
-
- 1,625 posts
Camshaft & Stage Two Head
- Location: Stoke on Trent
Posted 22 March 2016 - 05:08 PM
Ive got Protech ones to fit to mine to replace gaz's ones but ive gone with springs instead.
#116
Steve220
-
- TMF+ Member
-
- 5,066 posts
Crazy About Mini's
- Location: Shropshire
- Local Club: BMC
Posted 15 June 2016 - 08:36 PM
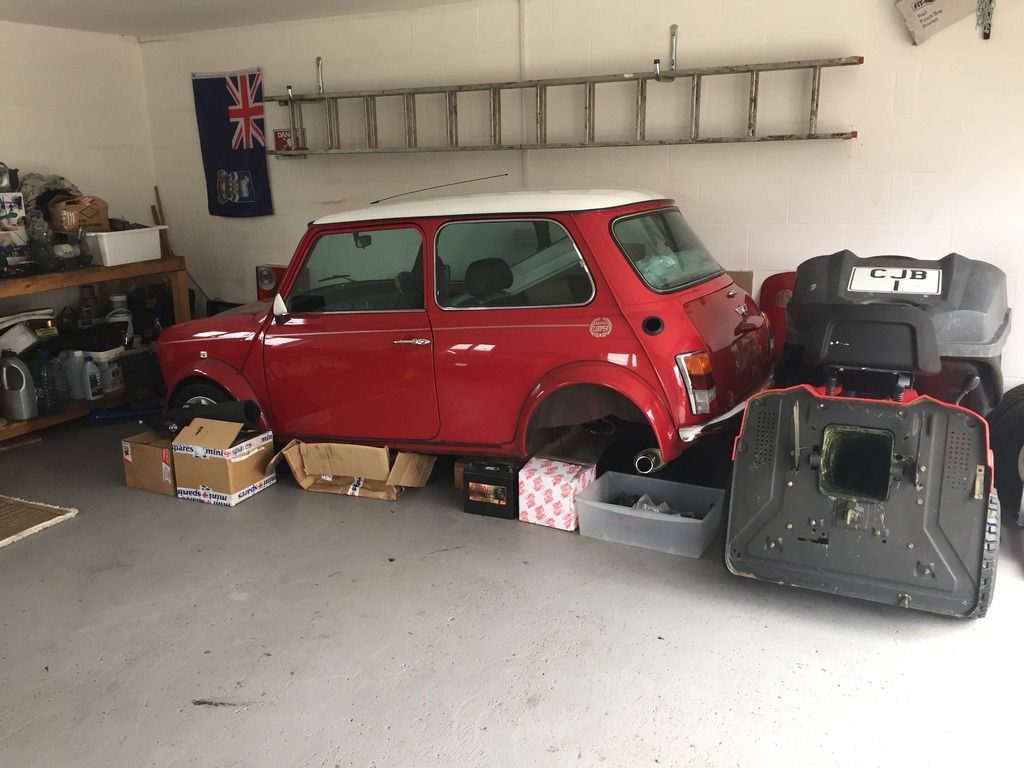
Mwuhaha
#117
ckneller321
-
- Members
-
- 224 posts
Mini Mad
- Location: Northampton
Posted 16 June 2016 - 10:20 AM
Going for the exhaust blown rear axles... I like it! 
#118
Steve220
-
- TMF+ Member
-
- 5,066 posts
Crazy About Mini's
- Location: Shropshire
- Local Club: BMC
Posted 16 June 2016 - 06:07 PM
I was tempted to put it out the fuel filler hole. Got a large update, just uploading the photos!
#119
Steve220
-
- TMF+ Member
-
- 5,066 posts
Crazy About Mini's
- Location: Shropshire
- Local Club: BMC
Posted 16 June 2016 - 08:08 PM
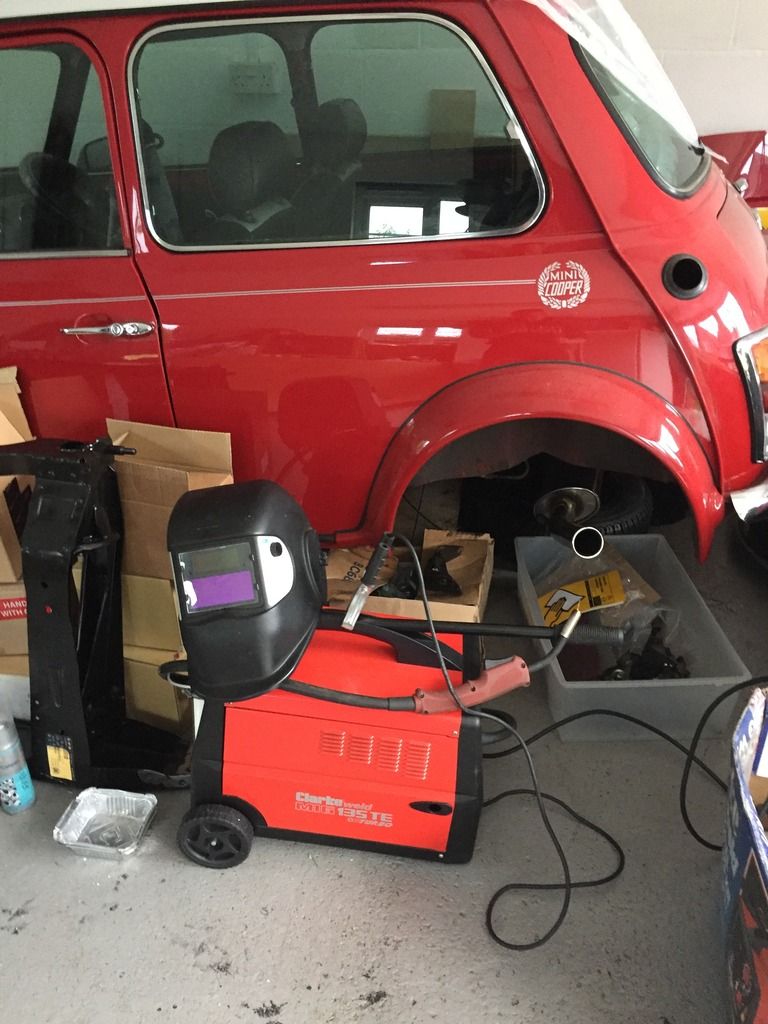
Right, bit of an update. So, as you've seen in the previous pic, i've bought myself a mig welder! Decided over a beer with mates that i'd give some of the bodywork a go myself!
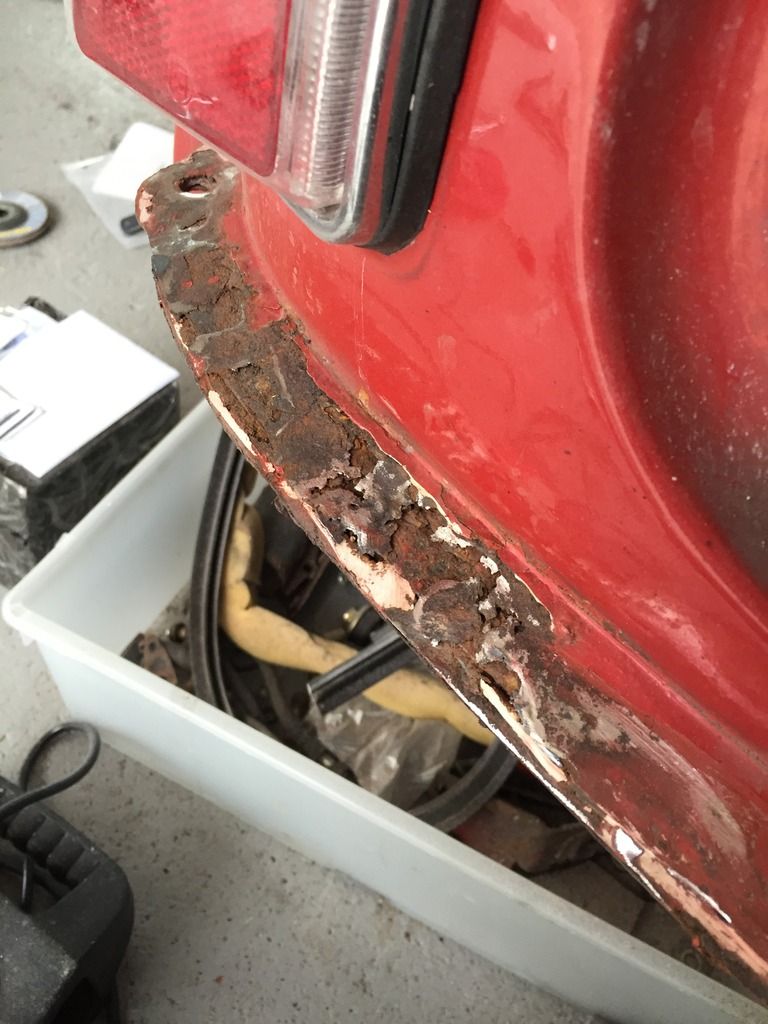
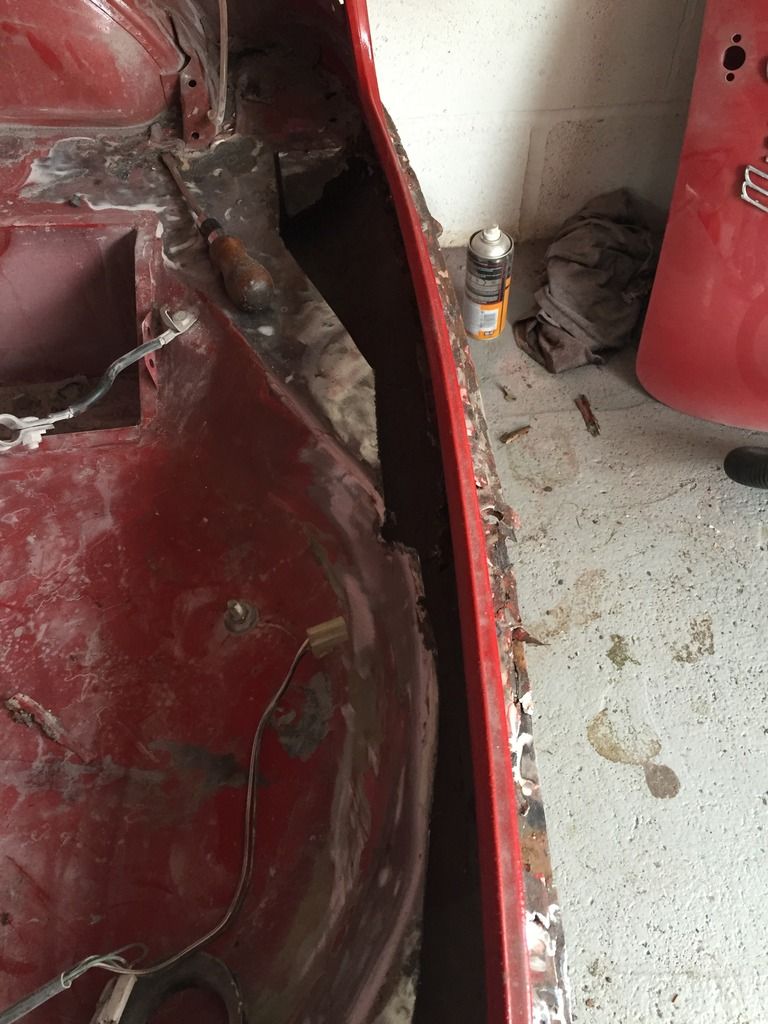
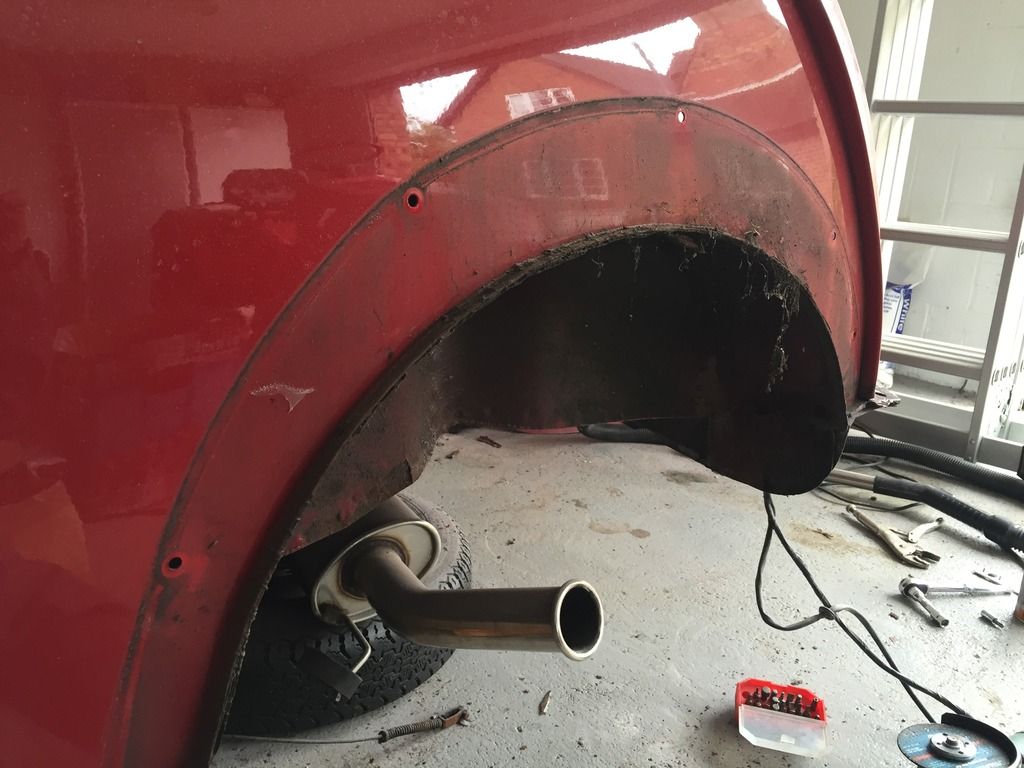
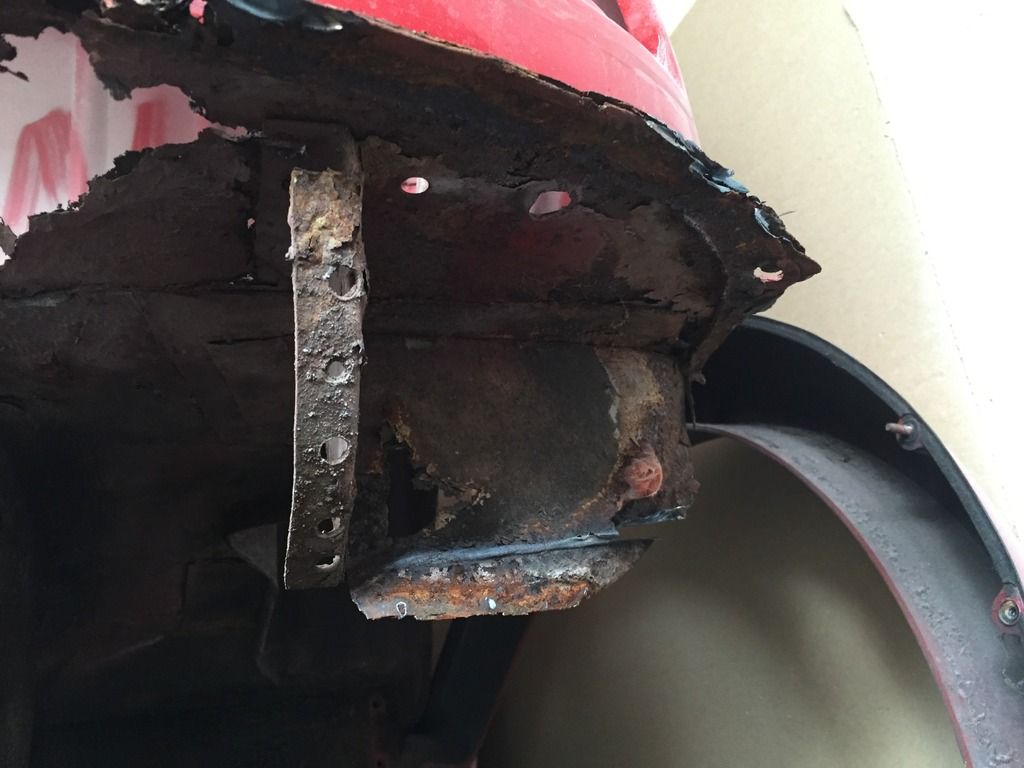
Today was all about seeing what the state of the car is like. Firstly was a small area over the O/S wheel arch that suddenly got larger with the flapper wheel
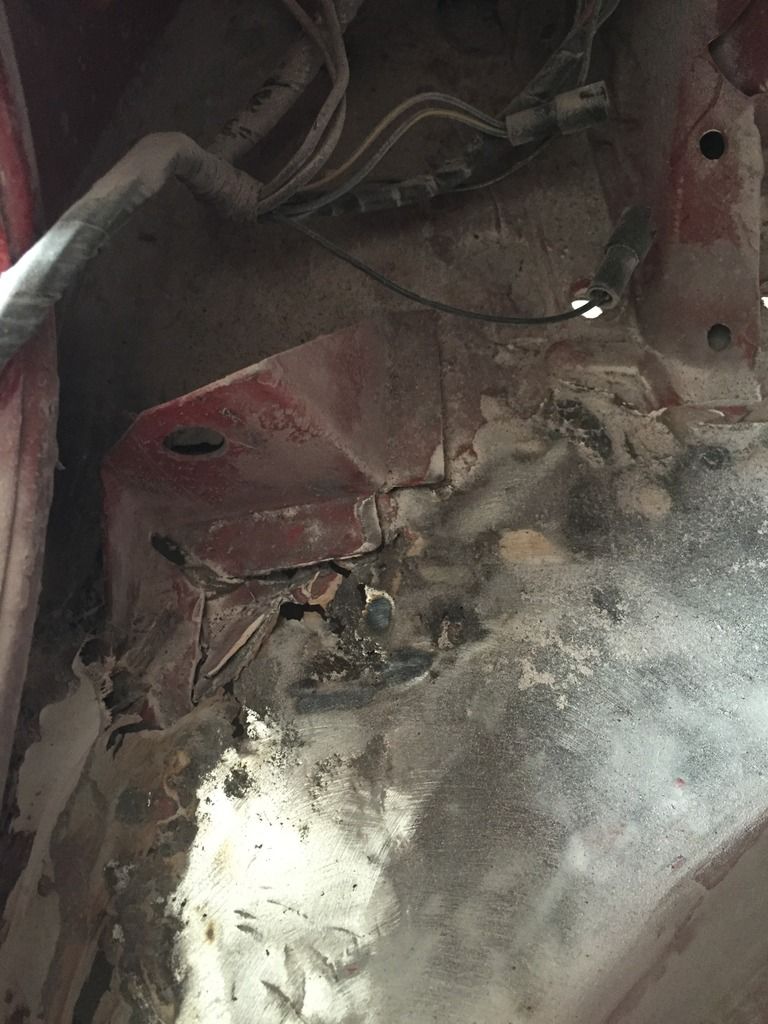
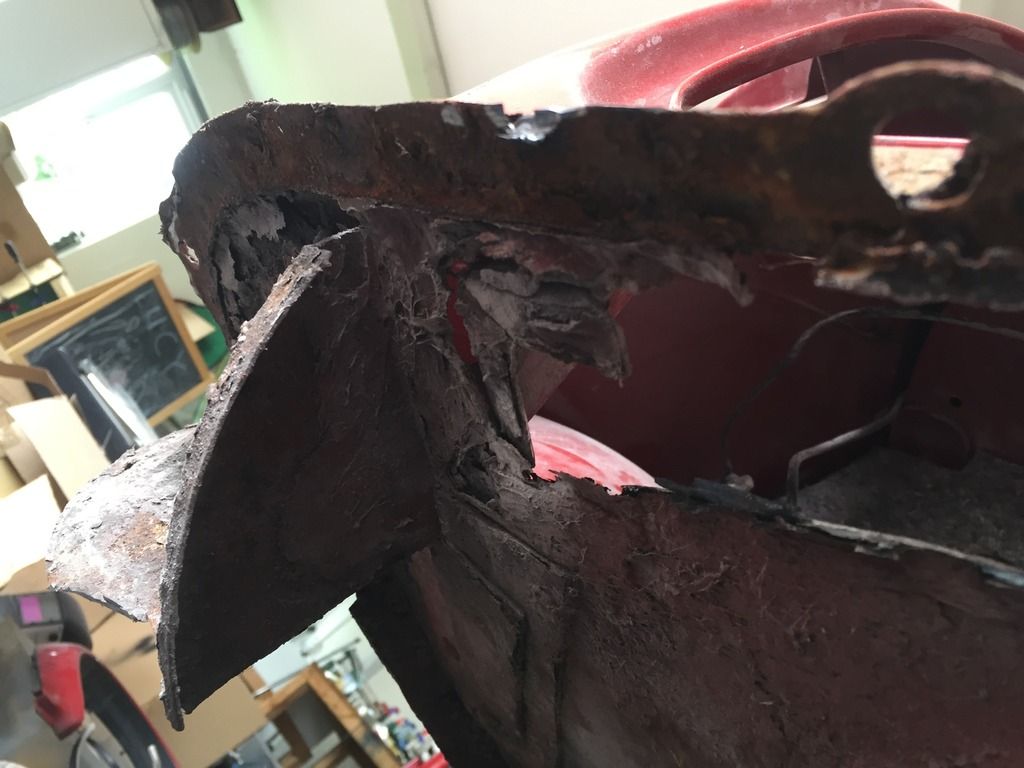
Think this is going to be a new inner arch to make sure its all out. The front of the boot floor always appeared to be mostly made of fibreglass, again with the flapper wheel I took it back. I found about 5-7mm thick filler all over the portion and underneath a lot of rust/rot

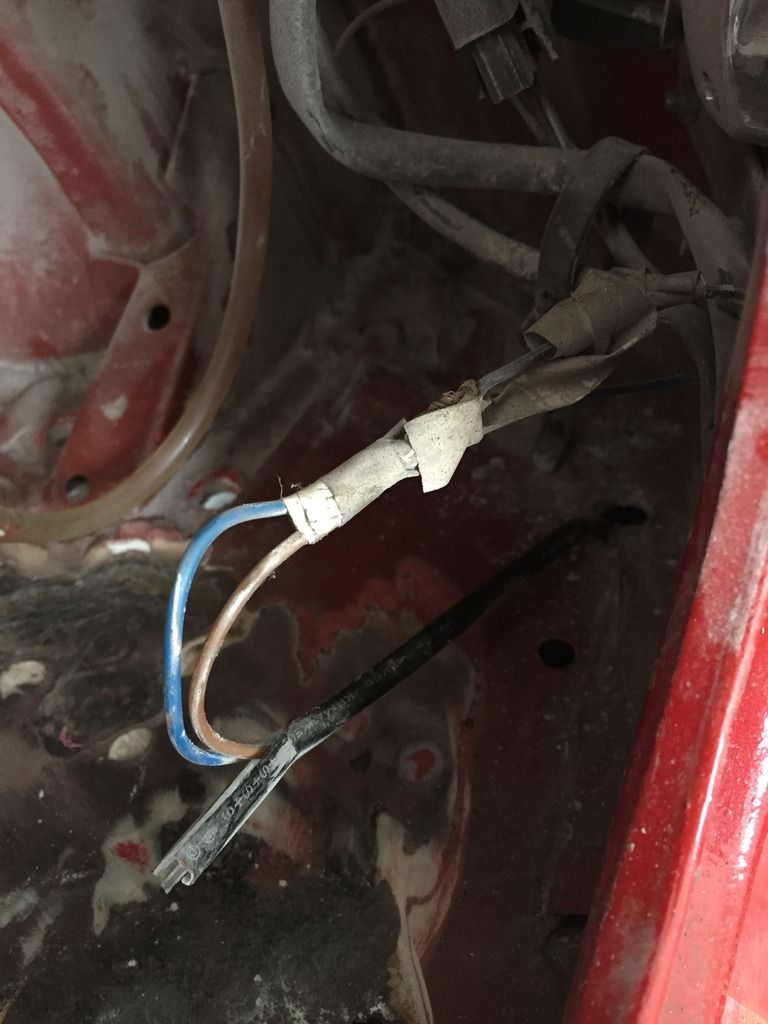
Removed the 'epic' wiring attempt for the rear fog light. This will later be made into a waterproof plug.
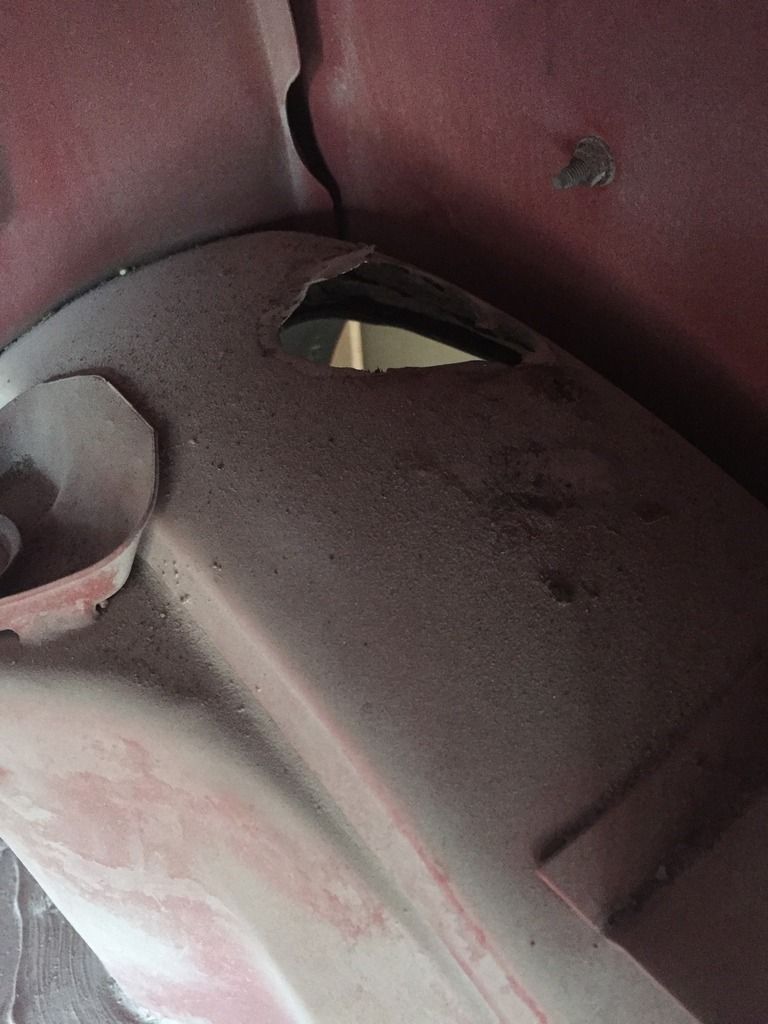
More filler/fiberglass removed - Turns out the tank mount was resting on it all!
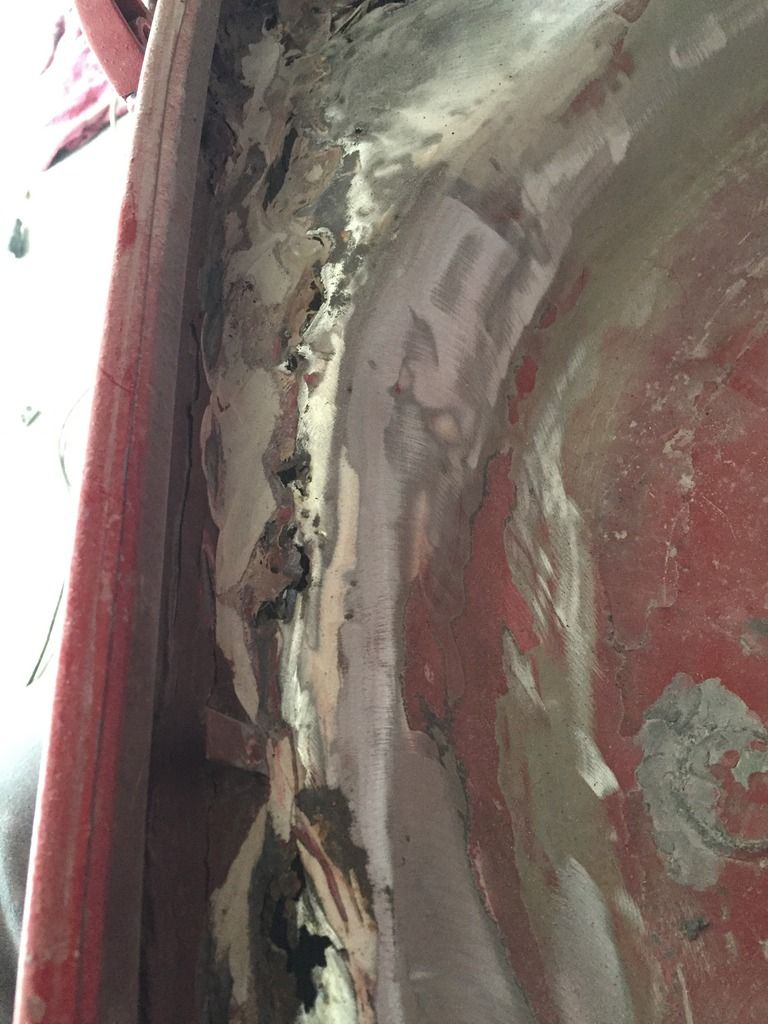
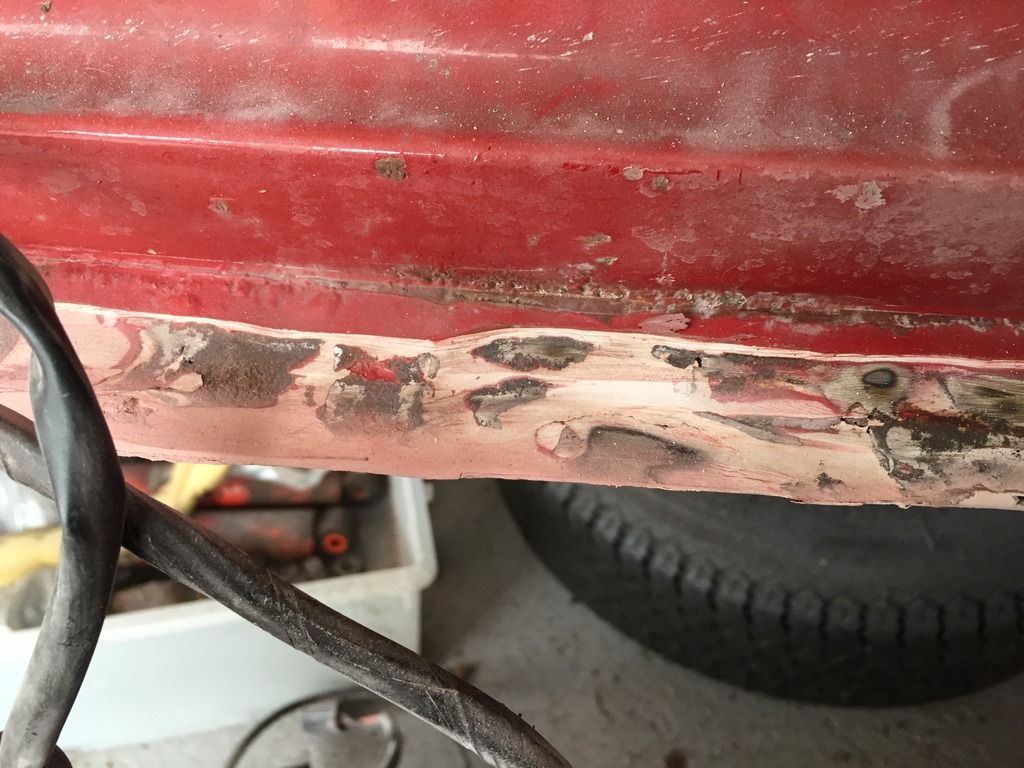
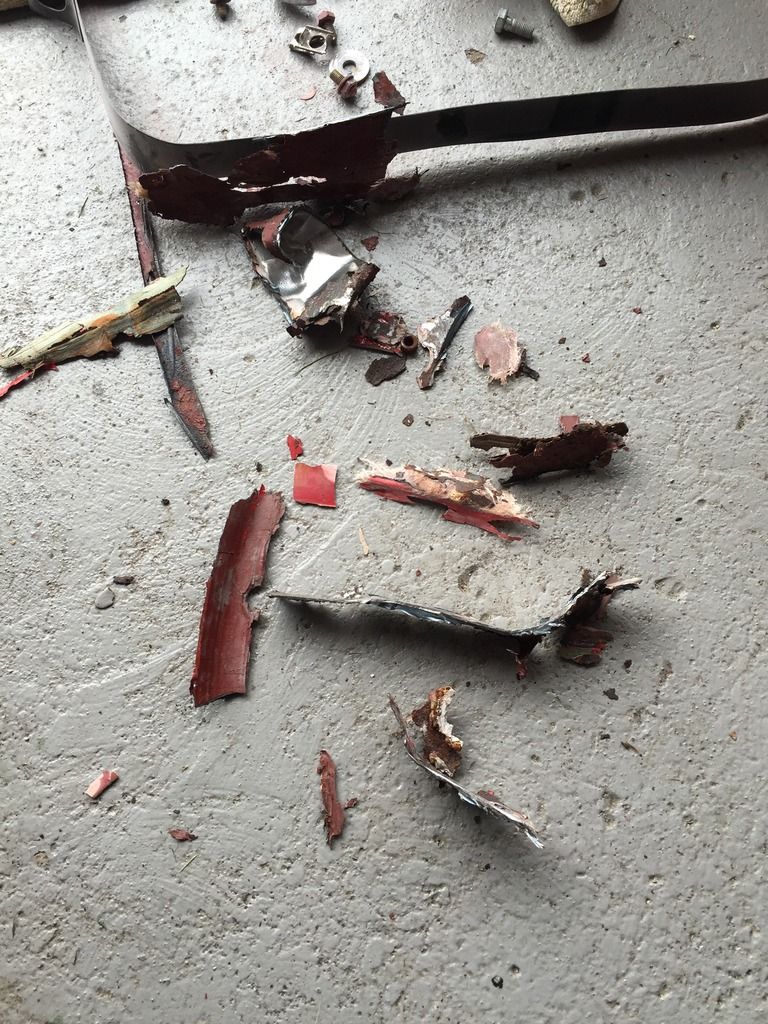
Onto the outer valence... well, i'll let the pictures do the talking.
More filler!
Had the "f*** it' moment and cut out all the rust etc out. This will later be replaced by a repair panel.
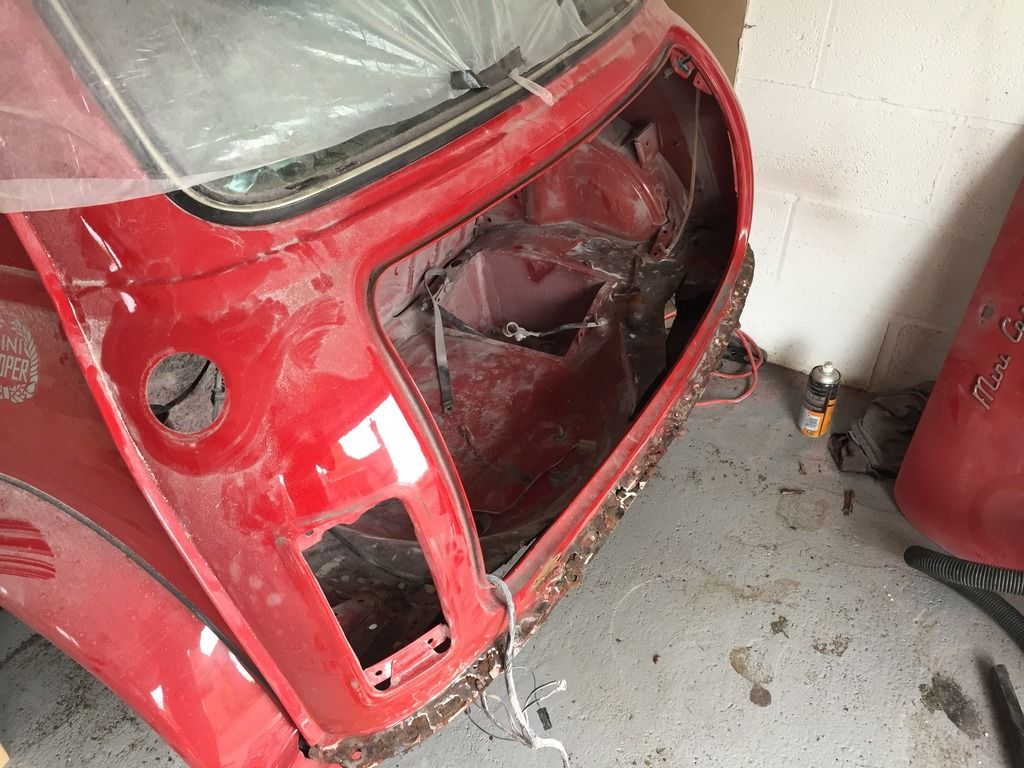
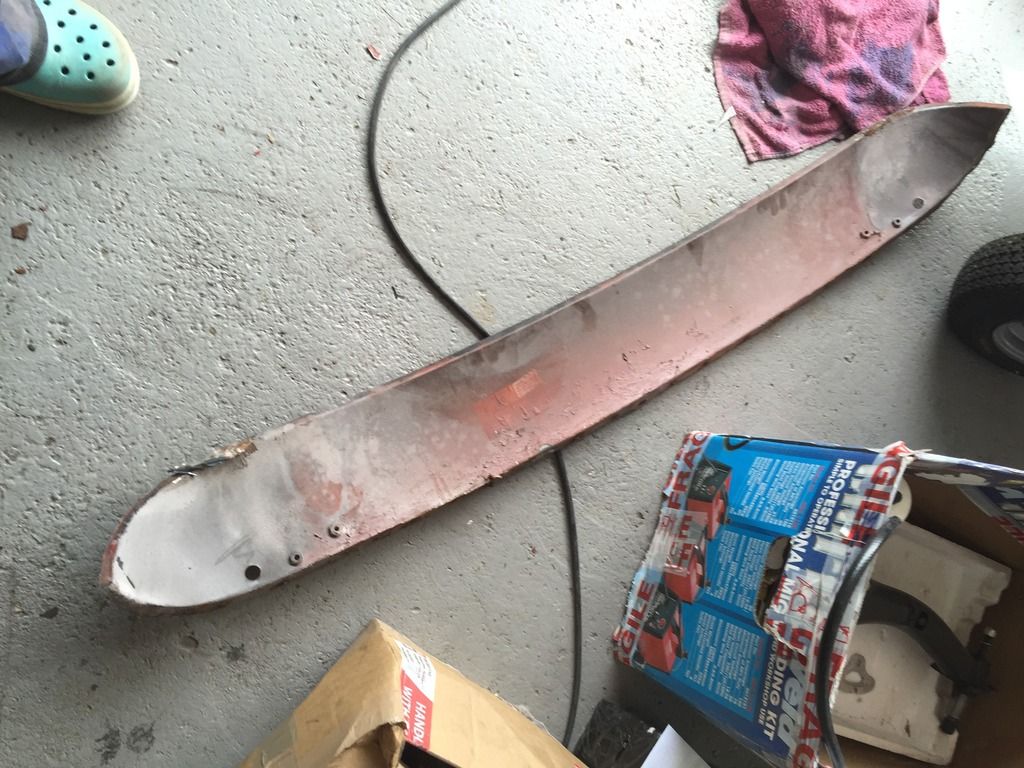
Arches off to check underneath and gain access to the weld spots for the lower scuttle
After wrestling with the grinder, a 1mm cutting disc and a flat bladed screwdriver and its off! The main reason I've tried to rescue it is it seemed to be in very good condition. Turns out it isn't that bad at all and is a genuine heritage panel!

My mum's wearing the crocs. Unfortunately I haven't succumbed to that fashion disaster just yet.
Filler panels will be replaced with the front part of the boot floor.
That's it for today. Making a list of more panels I will need, but mainly i'm enjoying cracking on with this! Shame I don't have more time to work on her 
#120
Ben_O
-

- Paint Doctor
-
- 9,794 posts
Mill Road Garage
- Location: Isle of Wight
Posted 16 June 2016 - 08:32 PM
This is looking very familliar 
Good luck with the welding Steve. It all looks horrific when they go like that but it is all straightforward stuff once you get stuck in. Shame someone thought that body filler would be a suitable repair...
What's the heelboard like?
Ben


3 user(s) are reading this topic
0 members, 1 guests, 0 anonymous users
-
Bing (2)


