My Classic Mini Cad Work
#16

Posted 12 September 2016 - 06:03 PM
#17

Posted 12 September 2016 - 06:10 PM
The adjuster part in the middle really needs to be a nut welded on, as on a car the chances are it will round in a short period of time,
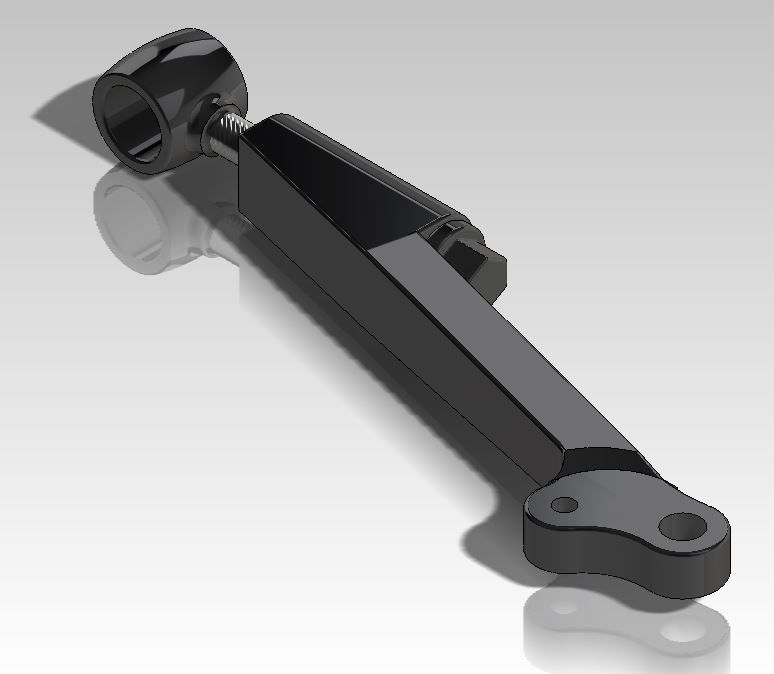
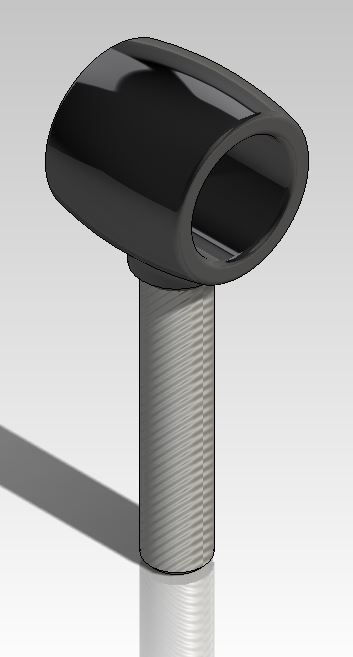
How do you suggest I do the above to my tie bar which I measured in order to make the above model?that's a depiction of the bar I currently own, not one of my own design :)
Mine is exactly the same, with a centralised flat section for spanner.
#18

Posted 12 September 2016 - 06:14 PM
I have but I want to create a system that requires no real modification of the standard running gear. If I have time I might create tubular versions and compare and contrast. Might be a good way to improve my final grade in the end. Thankfully Solidworks has FEA included so I can do some accurate analysis.Good progress on that. Interesting you have chosen the oem construction route, have you considered going for a tubular/rod construction.
Edited by Mini 360, 12 September 2016 - 06:18 PM.
#20

Posted 12 September 2016 - 10:49 PM
Thats cool! My day to day stuff can be found here...boring boring boring ![]() http://www.weatherfo...wer-completions
http://www.weatherfo...wer-completions
#21

Posted 12 September 2016 - 11:11 PM
Thats cool! My day to day stuff can be found here...boring boring boring
http://www.weatherfo...wer-completions
My day to day stuff can be found in this lot.
http://www.gm.com/index.html
#22

Posted 13 September 2016 - 07:35 AM
At least you're getting to work with car stuff ![]() My dream is to work for McLaren so i better hurry up and get my degree
My dream is to work for McLaren so i better hurry up and get my degree ![]()
#24

Posted 16 September 2016 - 05:18 PM
Not had much time to work on this due to insane workload levels at work (long may it continue in the current oil climate!!!)
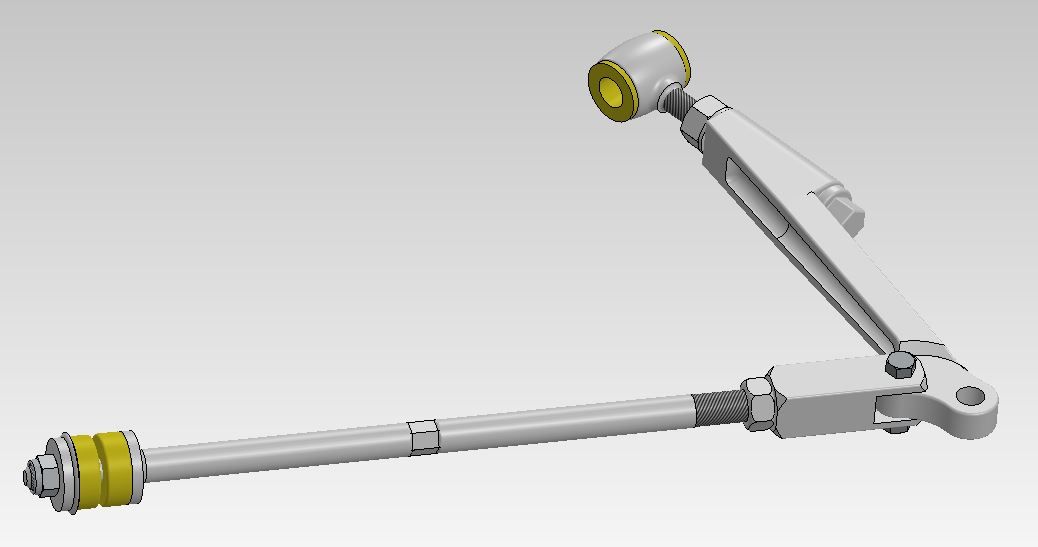
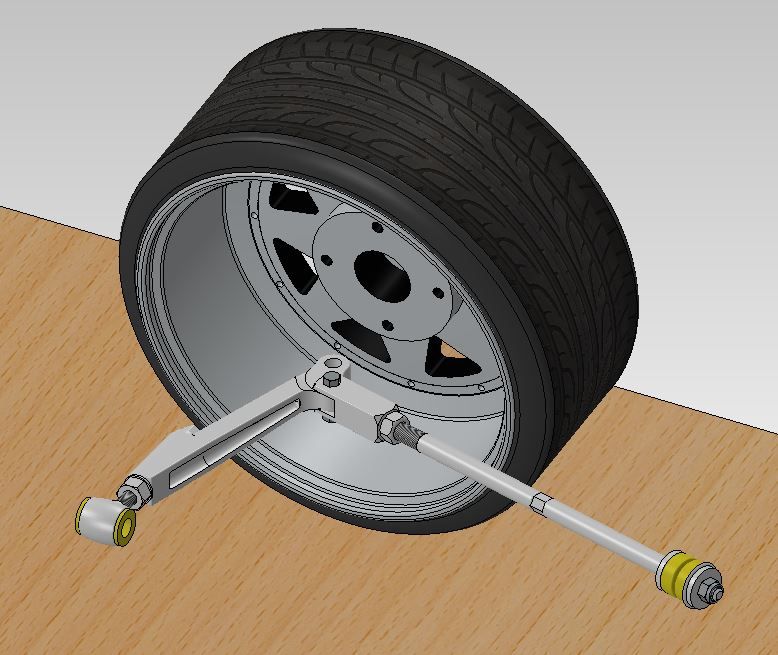
I stayed on late tonight to get this sub assembly thrown together though. Recoloured all piece parts white as black as hiding the detail and edges. Not ideal for future diagrams/illustrations.
Bottom arm and tie bar combined
and roughly positioned inside the Mad In. Going to remove the hub and top arm from the car tomorrow so i can model them up this coming week.
#25

Posted 16 September 2016 - 05:30 PM
#26

Posted 18 September 2016 - 01:44 PM
Do you have a drawing of a GT/Mk2 S booster bracket? I'd like to get one made (since it is just folded metal) and there aren't too many around here.
I've gotten one that I'm looking to draw, but it is easier if someone else already has :)
#27

Posted 19 September 2016 - 07:34 AM
Nice looking models your producing there, been months since I managed to do any decent cad work, only had time to make a few 2d templates for water cutting brackets at work. Must get back on with my mini cad project!
Yeh i enjoyed following your progress on that! Get a move on! ![]()
Do you have a drawing of a GT/Mk2 S booster bracket? I'd like to get one made (since it is just folded metal) and there aren't too many around here.
I've gotten one that I'm looking to draw, but it is easier if someone else already has :)
I am afraid what you see is all i have ![]()
#28

Posted 19 September 2016 - 08:29 AM
No problem, If I can get the booster bracket drawn up I'll share it on here (if you don't mind of course).
#29

Posted 19 September 2016 - 09:52 AM
Very nice work!
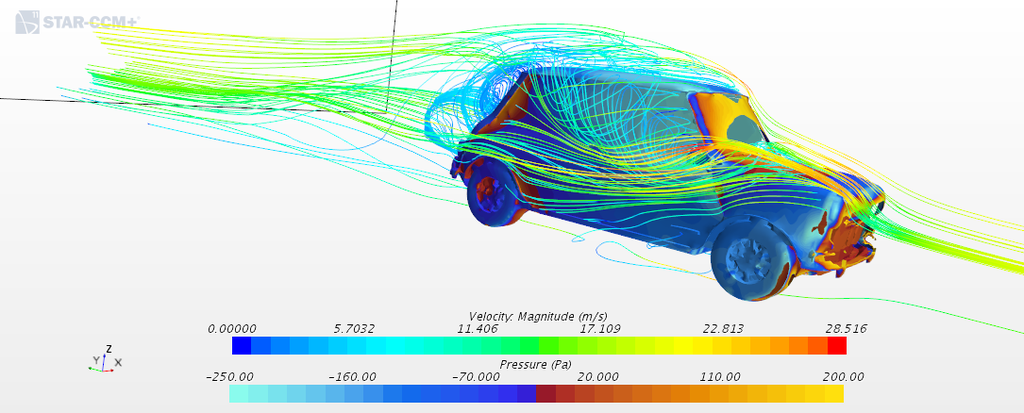
On a slight tangent I have been after a good CAD model of a mini to do some CFD investigations, things like designing engine bay cowlings for intercoolers and stuff, I just don't have the time (or the skill for that matter!!) to build the CAD model myself.
I can do some external stuff with a model from GrabCAD, but it's no good for detailed underbody stuff.
#30

Posted 22 September 2016 - 12:20 PM
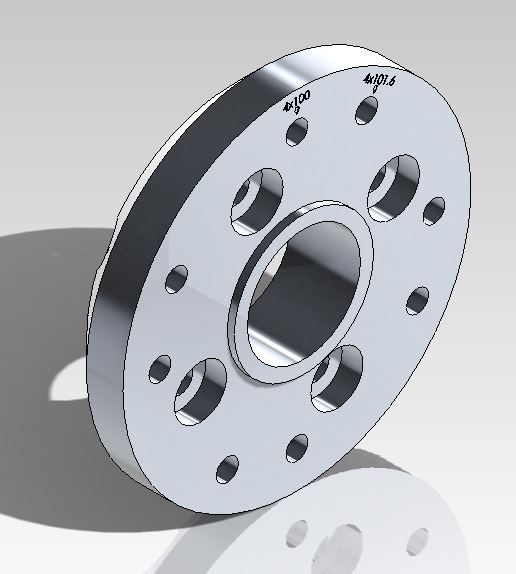
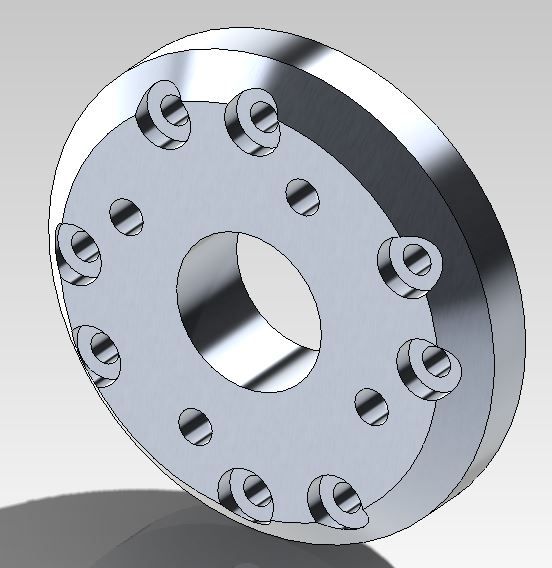
With my new wheels being the incorrect PCD, I looked into wobble bolts and due to Mini wheels not being hub centric, and 3.8 UNC wobble bolts not being available I am going down the machined hubs route. I have contacted KAD who are willing to make custom alloy drive flanges/rear hubs to accomodate 4x100 and 4x101.6 (4x4") PCDs.
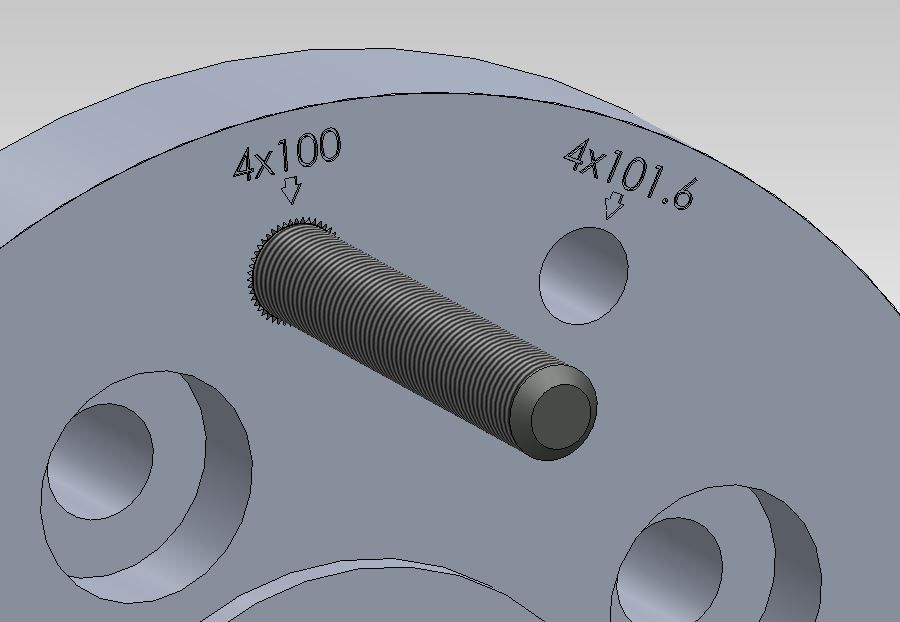
So as I am trying to model up the entire Mini running gear above, I created this. All dims currently from memory until i can get one removed from the car but it proves my concept. Offset PCDs that don't interfere with the mounting bolt holes.
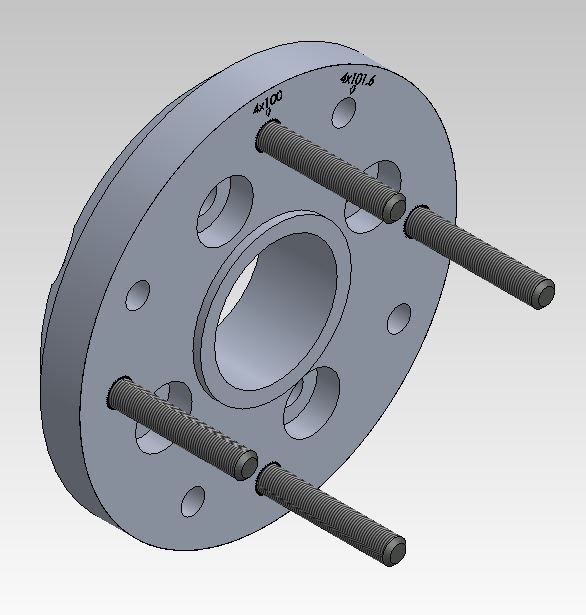
Added inscriptions so the correct PCD can be located easily, so I can change the studs over depending on what wheels I want to use.
and with the 4x100 studs in place.
Going to wheak the drive flanges off the car over the next couple nights at some point so i can model them up correctly.
0 user(s) are reading this topic
0 members, 0 guests, 0 anonymous users


