


This is my journal on my 1992 Mini city which was bought 4 years ago. We purchased the mini from a salvage yard who still has a lot of damaged (or in some cases undamaged) minis come in which sell for more the half of their real value.
We went to view the mini a few days before we bidded on the auction, from what we could see it had colided with another car and smashed the driver side corner in. The force of the smash had bent the shell, you could tell because the actual centre box section inside had crumpled and the door had bent outwards. But that was only the start.
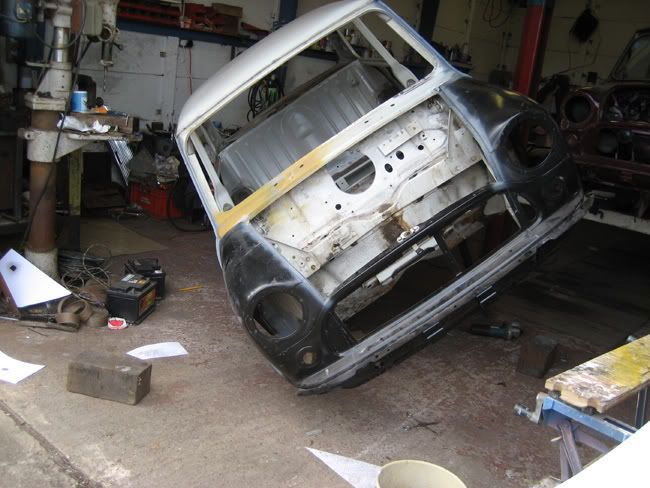
When we got it home:


[img]http://i187.photobucket.com/albums/x29/paulysmini/Project/102-0299_img.jpg[/img]
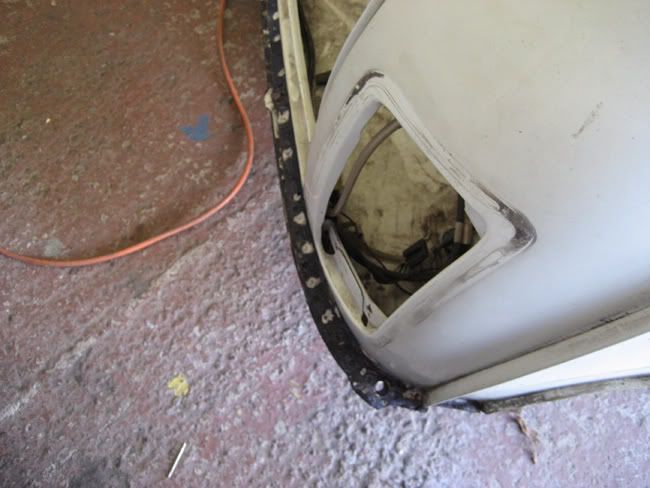
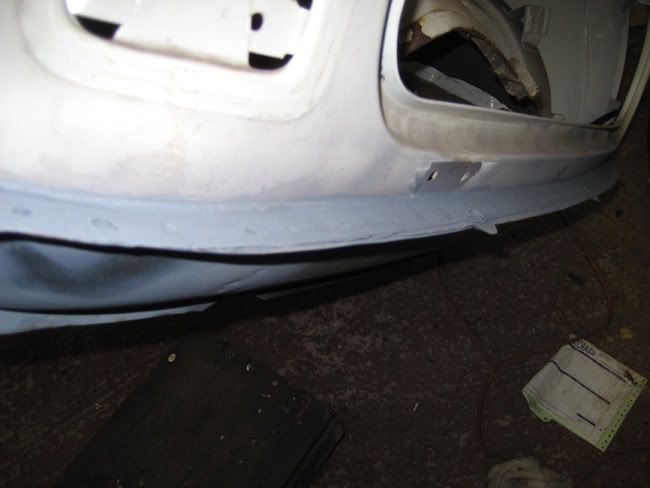
You can see how much the front panel had been pushed over.
[img]http://i187.photobucket.com/albums/x29/paulysmini/Project/102-0293_img.jpg[/img]
I then started to strip it down to a bare shell.
[img]http://i187.photobucket.com/albums/x29/paulysmini/Project/103-0306_img.jpg[/img]
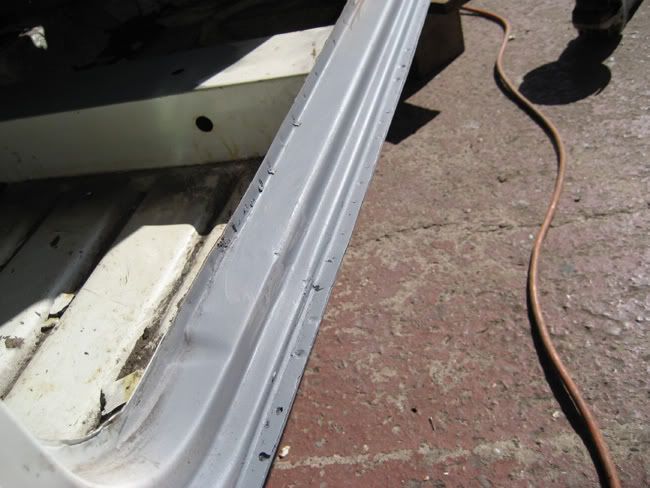
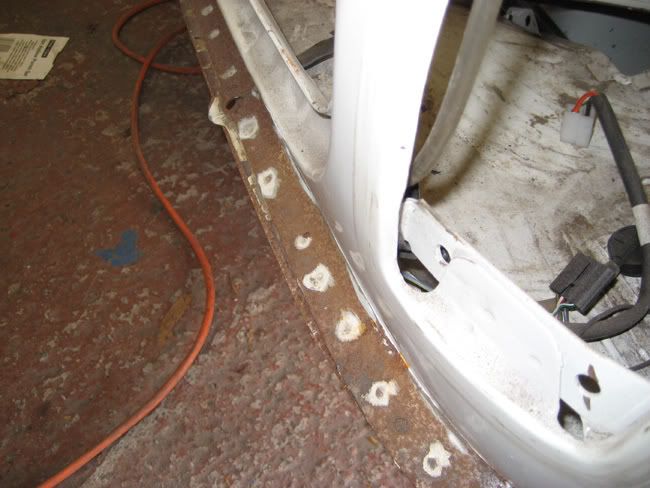
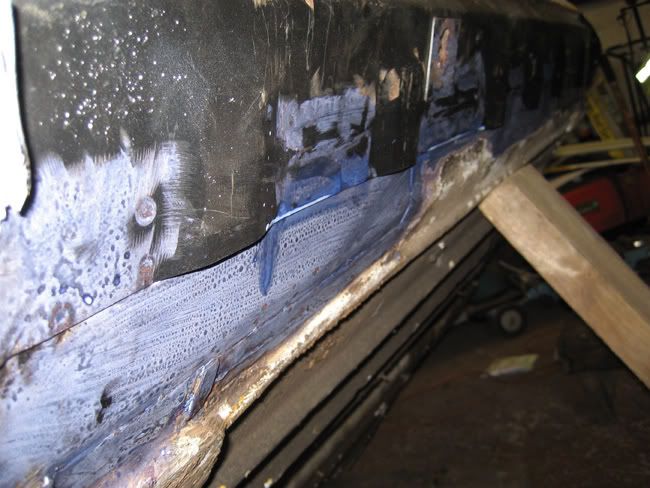
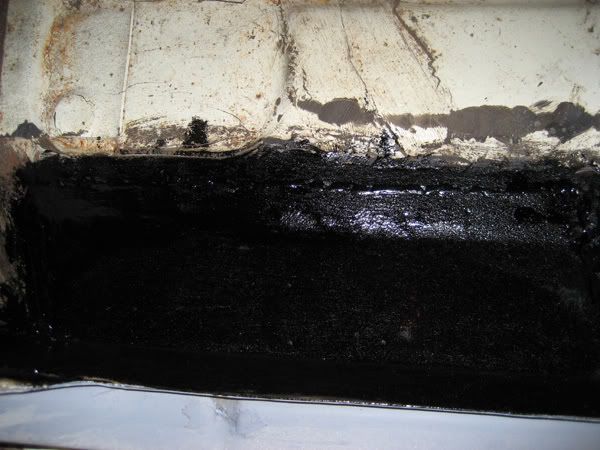
At this point we could see that the floor under the pedals where the subframe mounts bolt to had been pushed a great amount. So much infact that when it came to unbolt the bottom steering column clamp it took a day to get out, because I couldn't get a spanner in. I also started to look at the damage in more detail.
[img]http://i187.photobucket.com/albums/x29/paulysmini/Project/103-0306_img.jpg[/img]
[img]http://i187.photobucket.com/albums/x29/paulysmini/Project/103-0318_img.jpg[/img]
[img]http://i187.photobucket.com/albums/x29/paulysmini/Project/103-0326_img.jpg[/img]
[img]http://i187.photobucket.com/albums/x29/paulysmini/Project/103-0332_img.jpg[/img]
[img]http://i187.photobucket.com/albums/x29/paulysmini/Project/103-0336_img.jpg[/img]
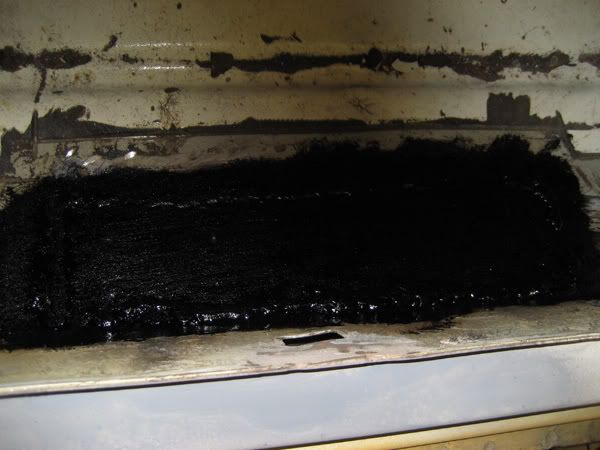
Strange??
[img]http://i187.photobucket.com/albums/x29/paulysmini/Project/103-0351_img.jpg[/img]
The shell was then pushed under the car port at the side so that the jig could be made.
[img]http://i187.photobucket.com/albums/x29/paulysmini/Project/103-0397_img.jpg[/img]
We the placed the shell onto the jig and bolted it down.
[img]http://i187.photobucket.com/albums/x29/paulysmini/Project/103-0400_img.jpg[/img]
It was then we realised the true extent of the damage. When we took some measurements we found out that the bulkhead had been pushed back 15MM!!!! from its normal position, which is quite alot.
But the porta-power soon took care of that. We started to straighten the shell out, when we started it actually went back rather well, and it took no time to get the shell straight again.
[img]http://i187.photobucket.com/albums/x29/paulysmini/Project/104-0406_img.jpg[/img]
Next was to fit a new, all genuine front end.
[img]http://i187.photobucket.com/albums/x29/paulysmini/Project/104-0414_img.jpg[/img]
After the front end was welded up we test fitted the bonnet and doors to check gaps and alignment.
[img]http://i187.photobucket.com/albums/x29/paulysmini/Project/104-0487_img_2.jpg[/img]
And at that point was when I purchased my mini 30 which came from the same salvage yard. Then this project was put on hold.
UNTIL TODAY!!!
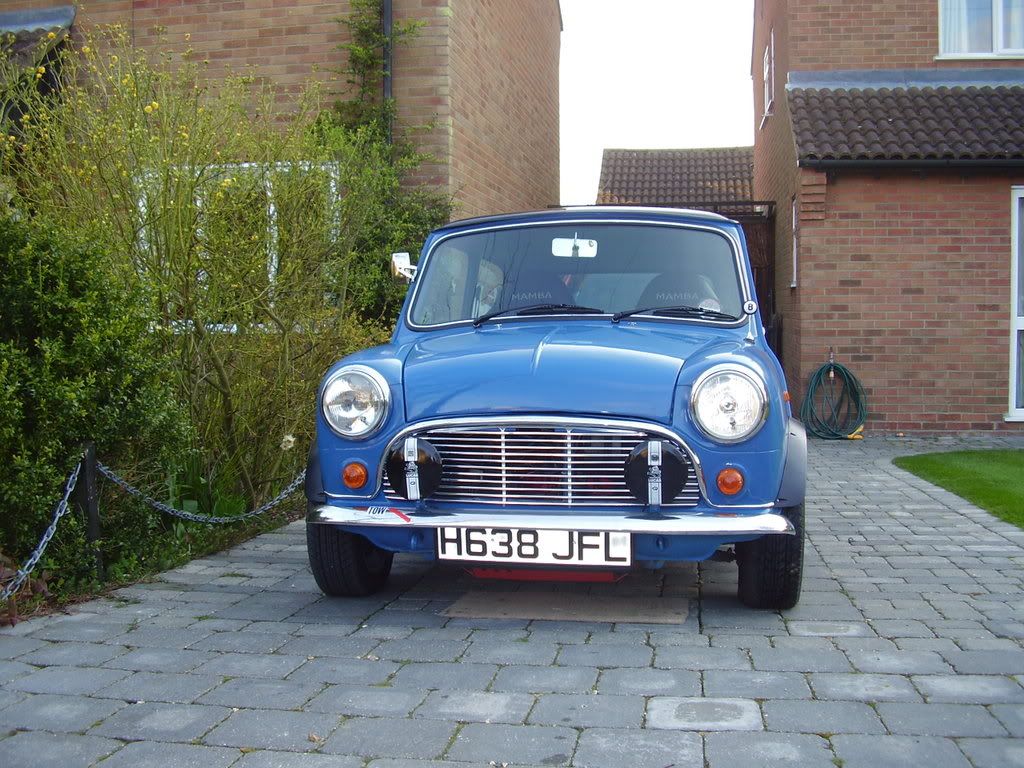
Me and my dad decided that this was the right time now to start back on the project again. So while my dads doing the thirty I will be getting my project sprayed and back on the road by hopefully this time next year (he says
 ).
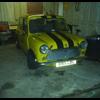
).Pic from today.
[img]http://i187.photobucket.com/albums/x29/paulysmini/Project/IMG_0554.jpg[/img]
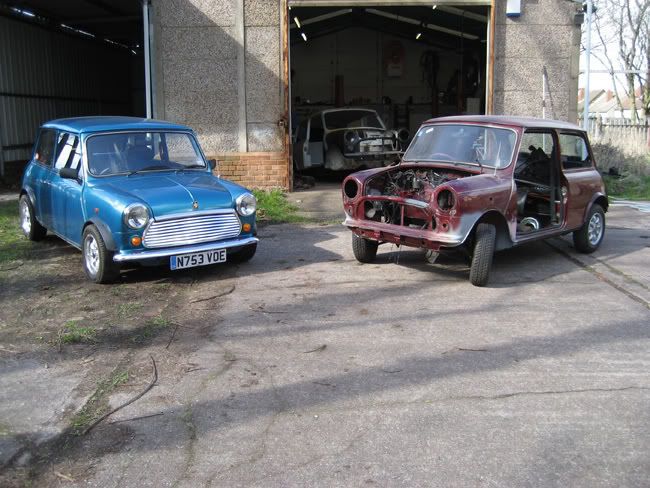
Group Shot.
[img]http://i187.photobuc...ct/IMG_0552.jpg
To be continued........... tomorrow.


