Go use the MG's hoses and buy a Cooper RSP ('91-'92) top rad hose.
The MG's system is one of the very best and helps you to avoid cooking the head gasket (or worse)

Edited by Asphalt, 23 April 2009 - 03:55 PM.


Up Into Fourth


Posted 23 April 2009 - 03:54 PM
Edited by Asphalt, 23 April 2009 - 03:55 PM.
Mini Mad
Posted 24 April 2009 - 04:45 PM
 will possibly have another update tomorrow.
You'r engine doesn't have a bypass now between pump & head, does it?...
Go use the MG's hoses and buy a Cooper RSP ('91-'92) top rad hose.
The MG's system is one of the very best and helps you to avoid cooking the head gasket (or worse)
Edited by silva_mini, 24 April 2009 - 04:49 PM.
Mini Mad
Posted 30 April 2009 - 09:34 AM
First we took a pot joint off the Metro to possibly use on the mini. We then went to remove a dodgy pot joint from the mini, however, as the brakes had been bled, we couldnt undo the hub nut  Had to refit the brake servo (not happy really as it needs painting ), re-bleed the brakes and we finally managed to undo it Had a look at the pot joint once we'd got it off the mini, the mysterious ball bearings I keep finding off the drive werent from there, the pot joint ones are much bigger. Any ideas where smaller ball bearings are used on a mini anyone??? Fitted the new pot joint gaiter on it and put it back. Also managed to fit the new clutch parts listed above, had some fun with the clutch pedal clevis pin
  and we then bled the clutch in I've fogotten what a mini clutch pedal feels like!
  love it Fitted my new K&N Filter and whilst I was watching the Champions League(!) my Dad has hooked up all the electrics, bar a few wires and also modified the left hand side oil breather so it misses my brake servo. He also had a go at connecting the accelerator and choke cable to the carb, the choke cable is freyed at the carb end and we've misplaced a vital part off the Metro accelerator cable (despite keeping it and saying "we must keep hold of that!"
  lol ) . So another trip sometime this week or next to minispares for new cables. (and painting the brake servo black, looks terrible in the pics below ) Any ideas about them ball bearings anyone please let me know, starting to worry about them!!
  All I know is they keep appearing after we've jacked it up at the front, we've had a good look underneath and cant work it out!
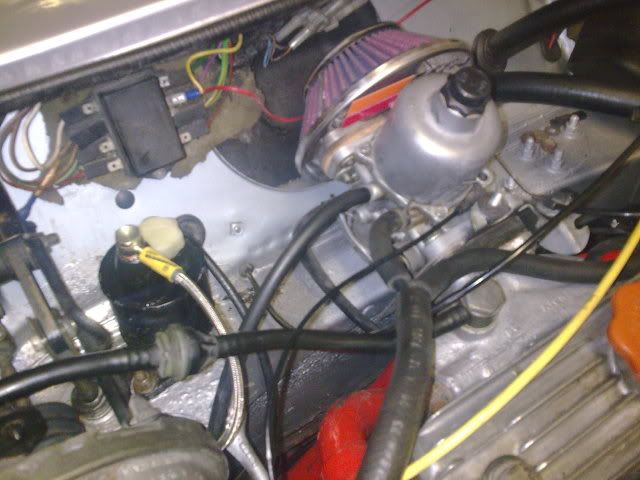

Mini Mad
Posted 06 May 2009 - 11:25 AM
 Put some water, coolant and oil in and after a couple of turns (hand controlled choke and accelerator jobbie!) she started the neighbours had the joy of the sound of my car again!
  Its much louder when your actually there, but its a k&n cone filter with rc40 single box, so you'll all know the sound
  Mixture is way off due to the air filter, cant wait to get her on the rollers
Edited by silva_mini, 08 August 2009 - 09:27 PM.
One Carb Or Two?
Posted 06 May 2009 - 06:38 PM
Mini Mad

Posted 06 May 2009 - 07:44 PM
One Carb Or Two?

Posted 06 May 2009 - 08:23 PM


Edited by Lukie-J, 07 May 2009 - 04:35 PM.
Mini Mad
Posted 07 May 2009 - 09:11 AM
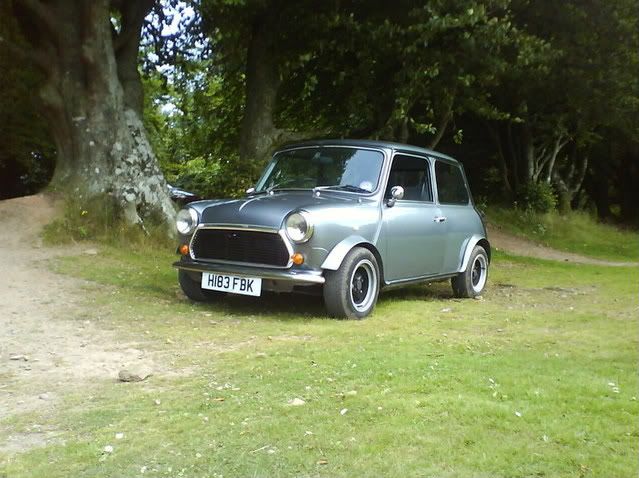
ThanksVery smart Mini, Have you been for a drive yet? Whats the power like..
Unfortunately, no I need to get my choke and accelerator cables first (on order from minispares) and it needs a rolling road session. With the choke held open it revs fine but with the choke in the K&N's sucking in air, but it starts to stall. I'll want it tuned properly and MOT'd before I hit any B roads ThanksI had one of these babies in my clubby when I had it.
You are going to love it!
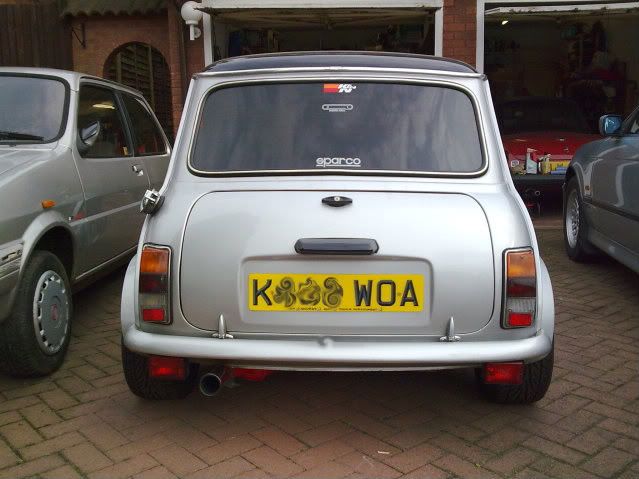
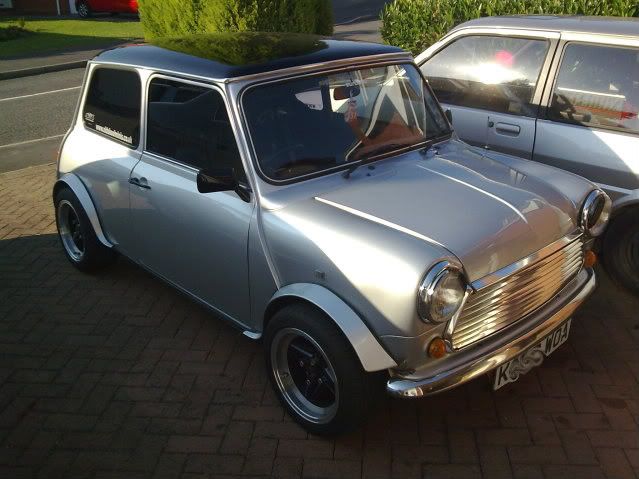
I can see myself getting through a lot of petrol now you've said that!Nice looking car *coughs*:
Don't suppose you know where your arches came from?
Look the same as mine? Curve around behind the rear bumper?
nice wheels too!
I was offered a 1275 A+ engine yesterday for £100.
Will be making a note of your thread for reference!
Cheers for that!
I've never seen a mini like mine before!One Carb Or Two?
Posted 07 May 2009 - 11:59 AM
Mini Mad
Posted 24 June 2009 - 08:30 PM
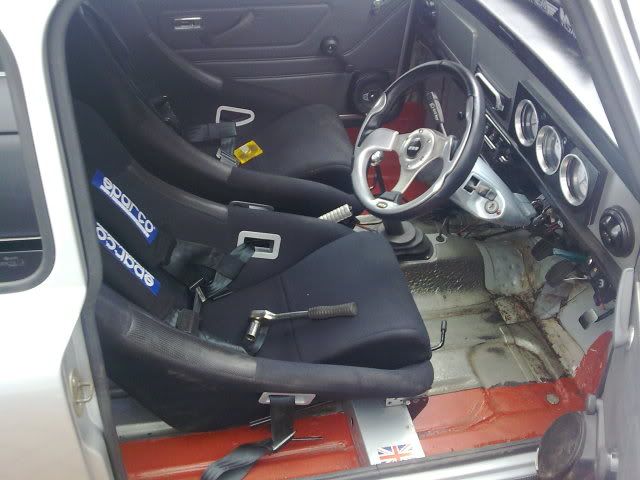
My mini's been off at Old Skool Mini's in Birmingham for the past few weeks. Decided to bite the bullet and get the sills replaced, which should have been done when we replaced the front end, but we never did Also, it's a job we havent really got time or proper indoor space for at home, plus I wanted some really good welding as its structural . My next task is to remove the rest of the sound deadening inside the car and prep the back seat bench, floor area and interior bulkhead for painting. Will be painted gloss silver inside, going for the race look with no carpets  Oh and I now have an MOT certificate
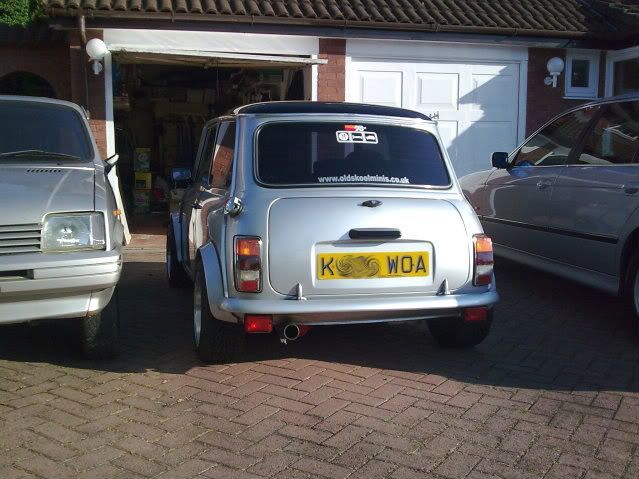
Speeding Along Now

Posted 24 June 2009 - 08:56 PM
if so can you drop me a PM thanks 
Mini Mad
Posted 07 July 2009 - 09:41 AM
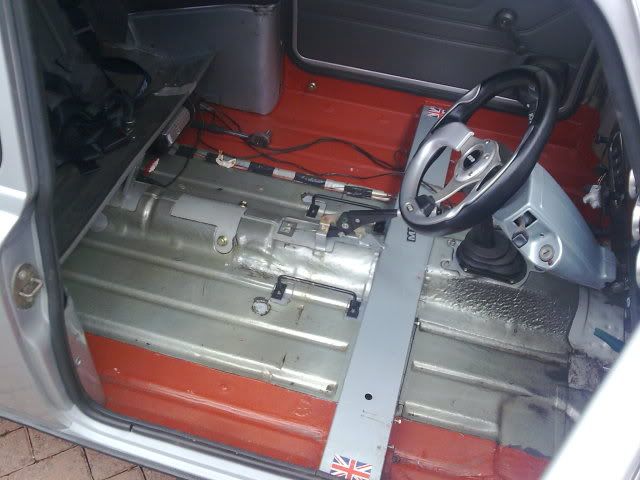 ) and a hammer I started to chisel off the grey deadening in the centre of the pics. The red areas are the new sills. I also removed any uneccesary wiring from my old sound system - which will not be returning Heater matrix had gone. We flushed the system during the engine change, so must have dislodged some muck blocking a leak! Fitted a new matrix later in the week and finished off removing the rest of the deadening. didnt take a pic
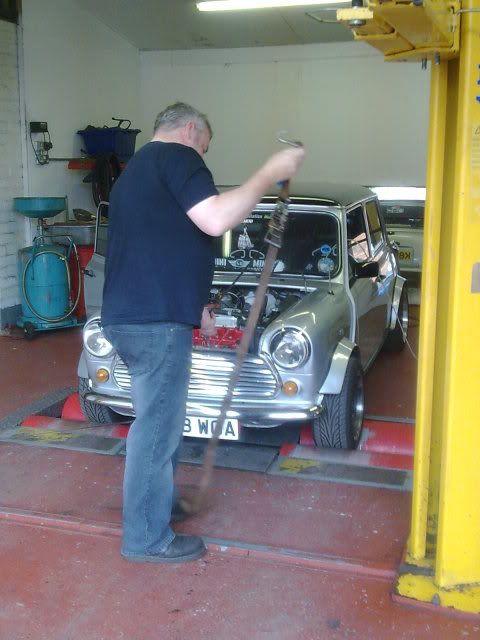
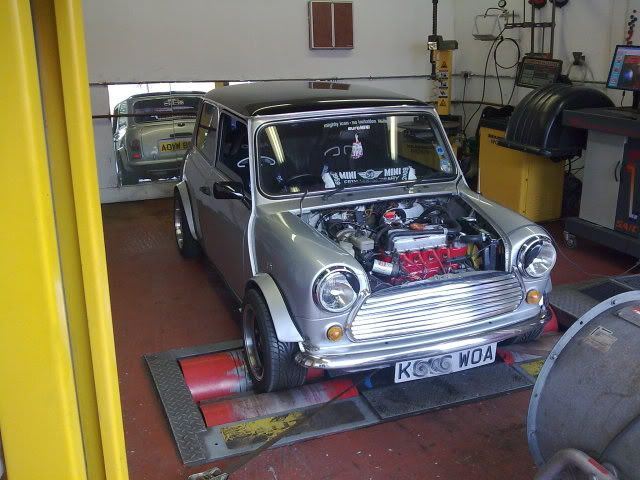
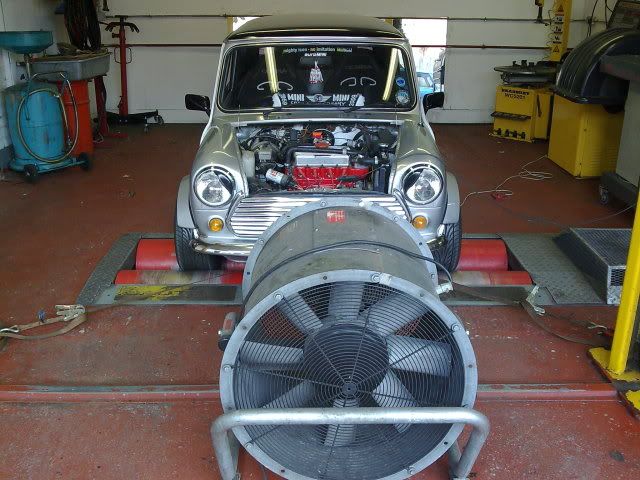
  but got lots of prepping to do for the painting yet - will have plenty of time to take pics while watching paint dry! I placed all the removed sound deadening in a plastic bag and the weight of this stuff is quite surprising!! Made the hard work feel worth it to get the mixture set up properly. The current carb needle was filed down a bit and its now running really well Made 72.9 bhp on its final run A few photos:
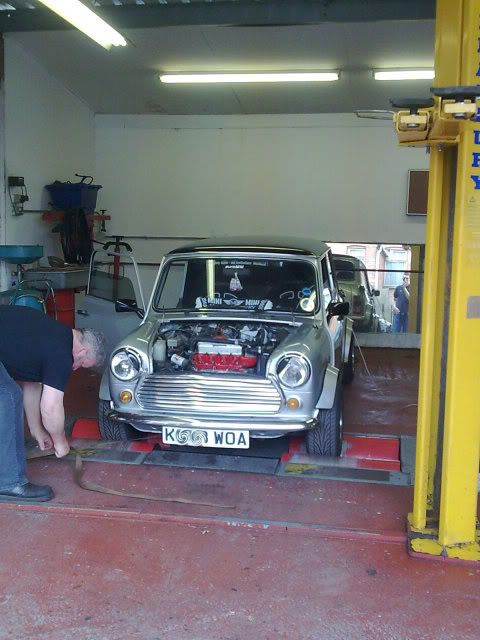
 Ran really, really well there and back No problems at all ) I fitted a new steering wheel I bought on Sunday at Gaydon, its the same one as before though, the leather was peeling off the back of my old one Also tidied up the wiring for my head unit. No pics again unfortunately, I just got on with it! Will probs do this Saturday
 Let future you worry about it

Posted 07 July 2009 - 10:10 AM
Mini Mad
Posted 09 July 2009 - 09:04 AM
Just cant wait to get on and get the floor painted up now


0 members, 1 guests, 0 anonymous users


