Jump to content


Photo
- - - - -

Project Erm


  • Please log in to reply
834 replies to this topic

#31 scsracing

scsracing

    Mini Mad

  • Members
  • PipPipPipPip
  • 276 posts
  • Location: Eastbourne

Posted 29 October 2009 - 05:09 PM

Well had a nice arrival today,some boxes

Posted Image

Posted Image

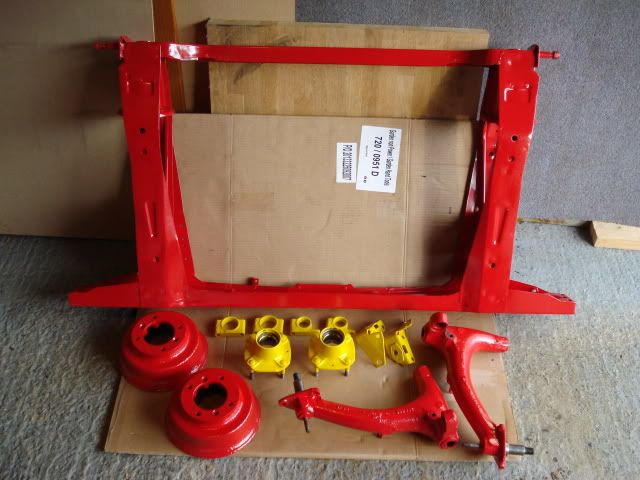
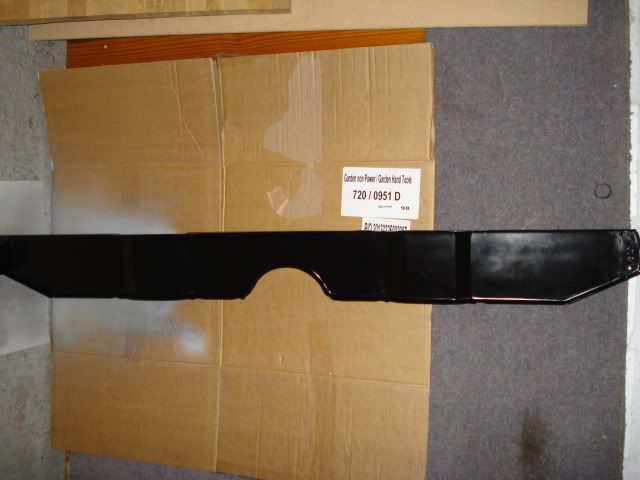
Oh shiny,my powder coated bits(came to £110 inc blasting)

Posted Image

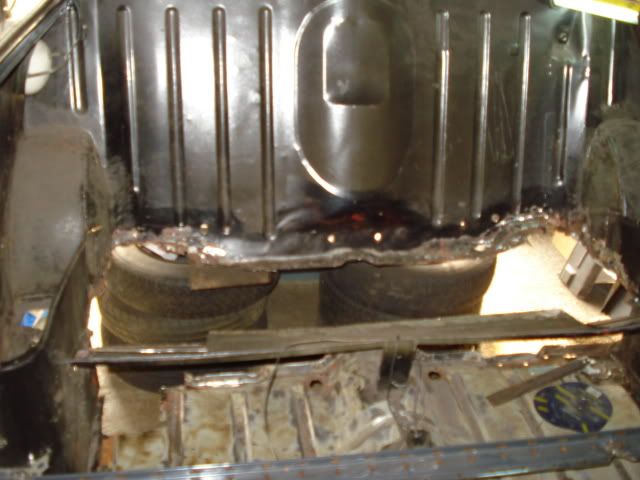
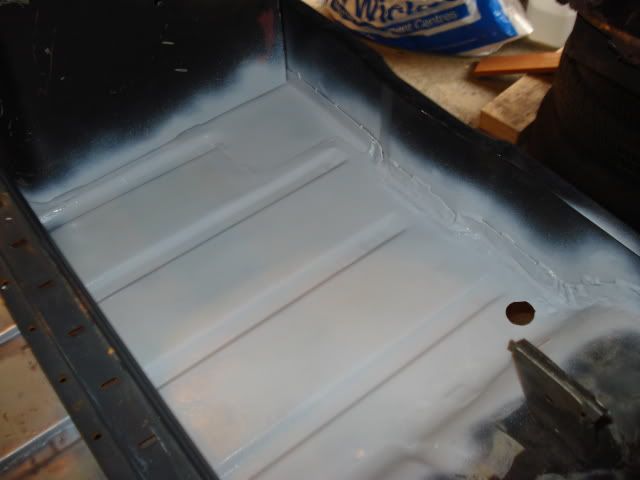
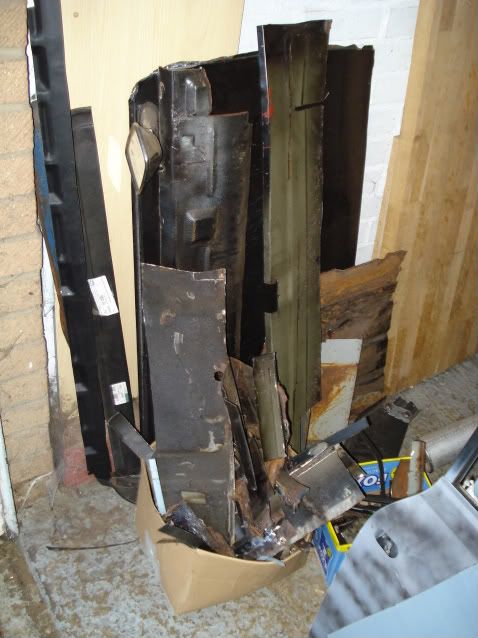
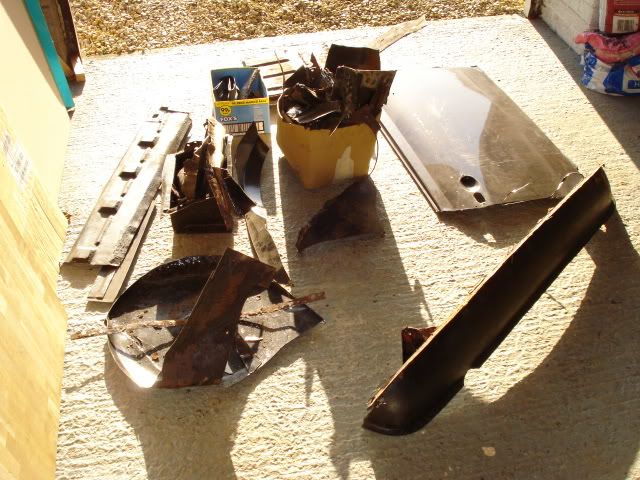
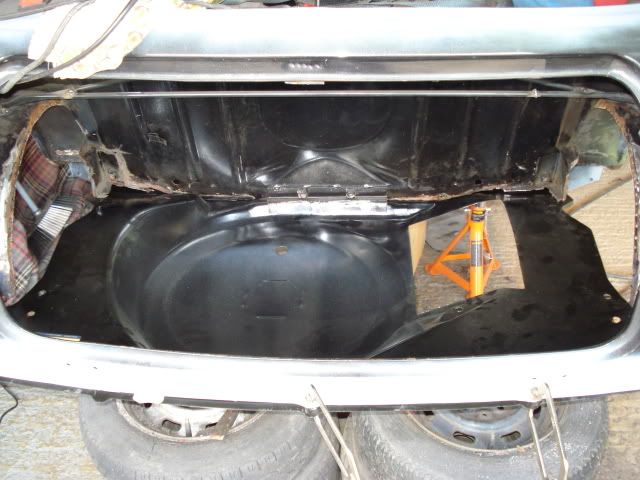
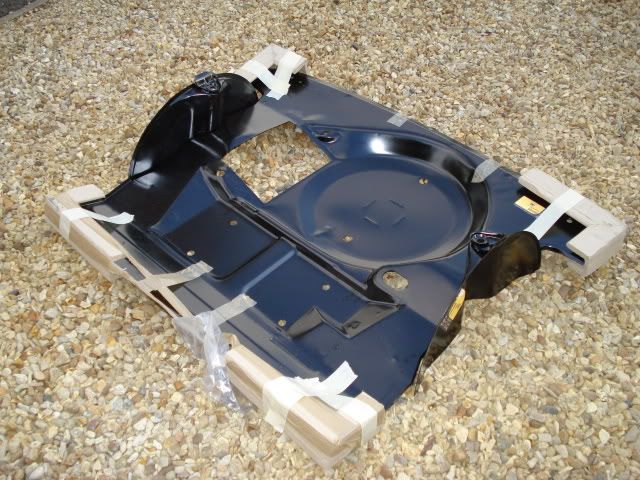
A heritage boot floor and inner arches,and heelboard

Posted Image

Posted Image

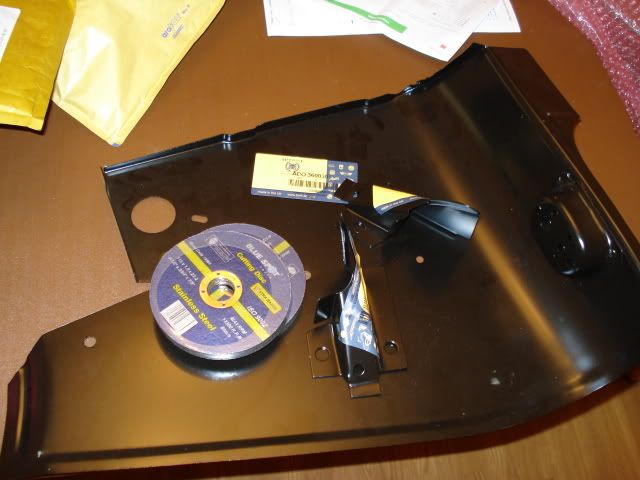
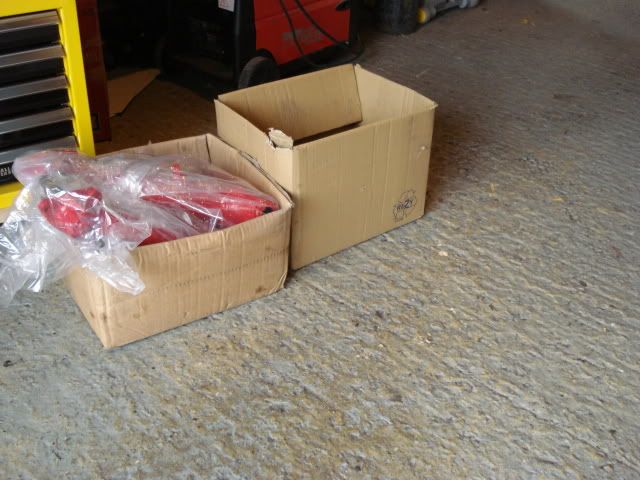
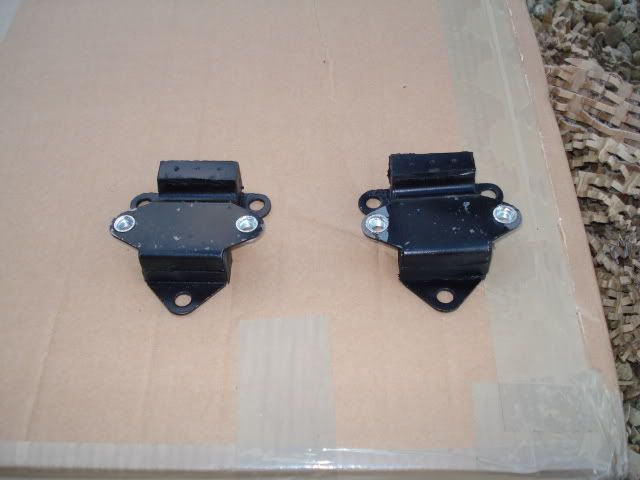
On the small side some other wee bits

Posted Image

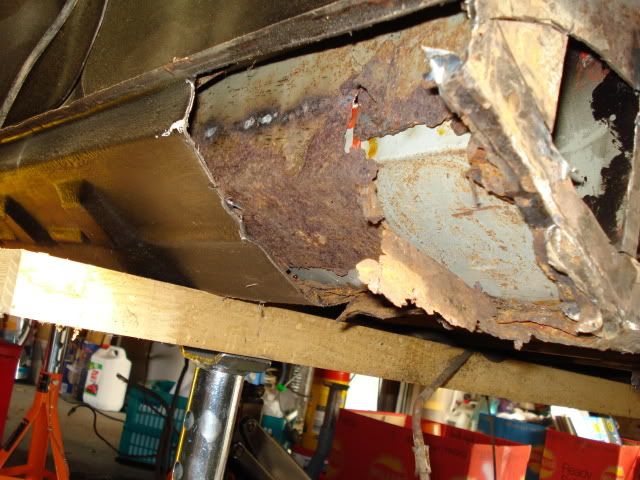
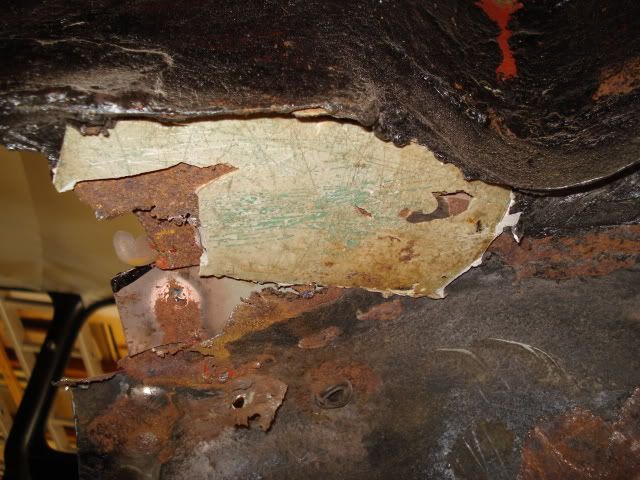
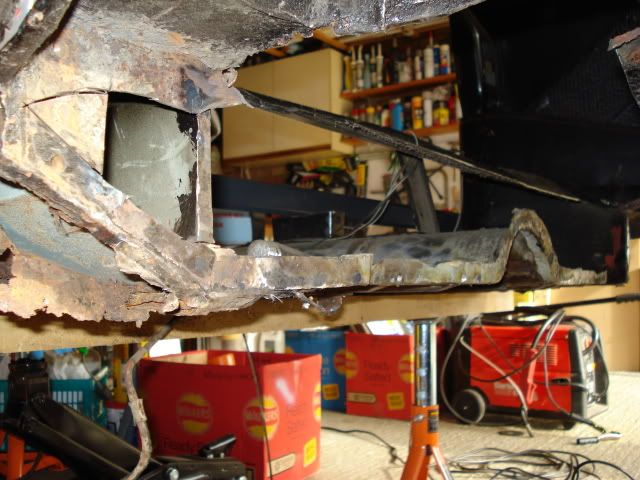
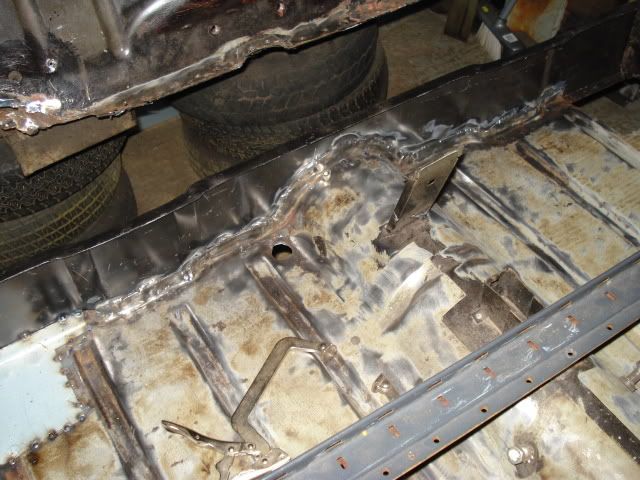
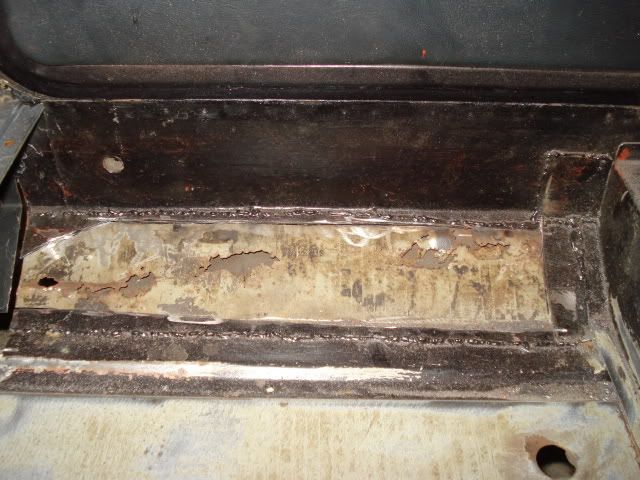
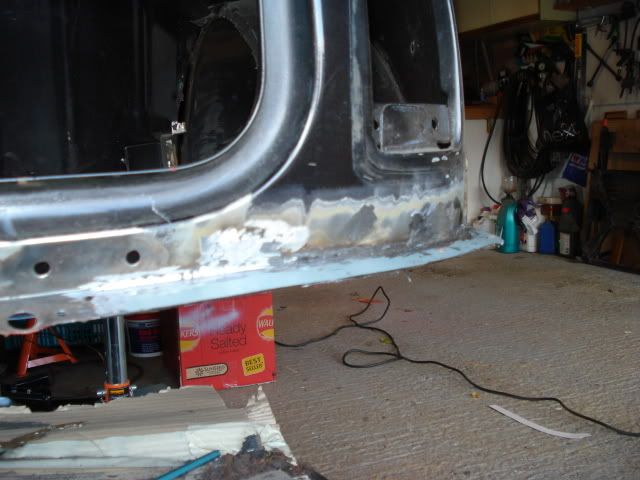
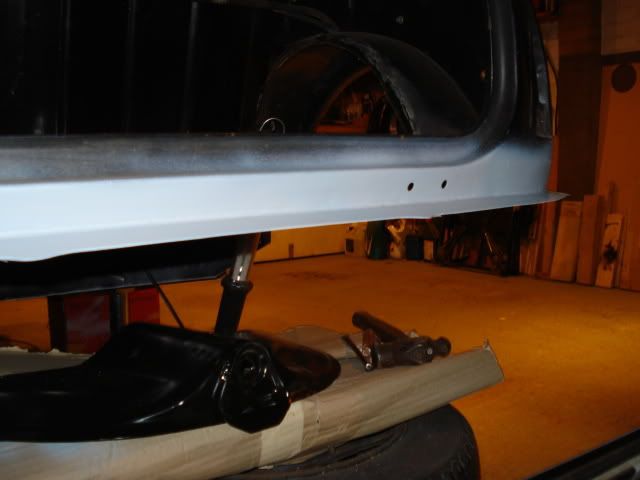
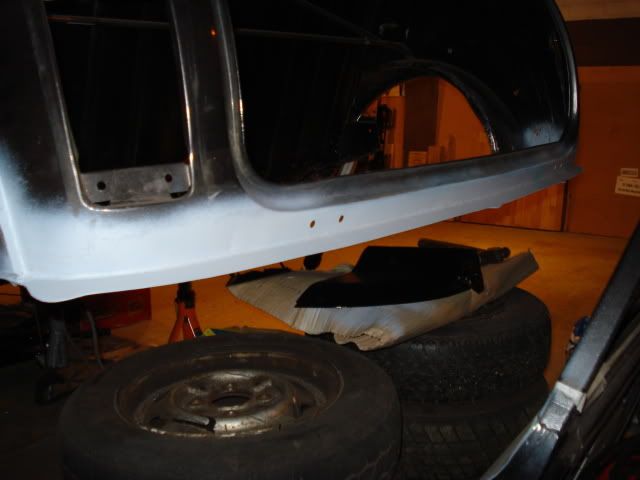
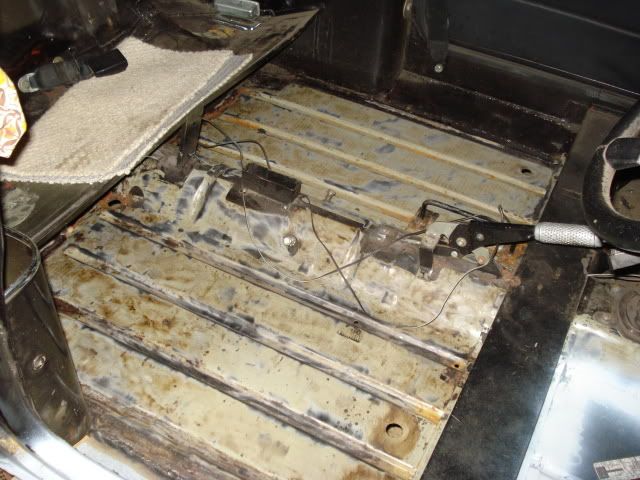
Spent most of my time cleaning the underside again getting rid of all the filler,waxoil and sealant ready for the new panels so that we cold find the spot welds and the metal.

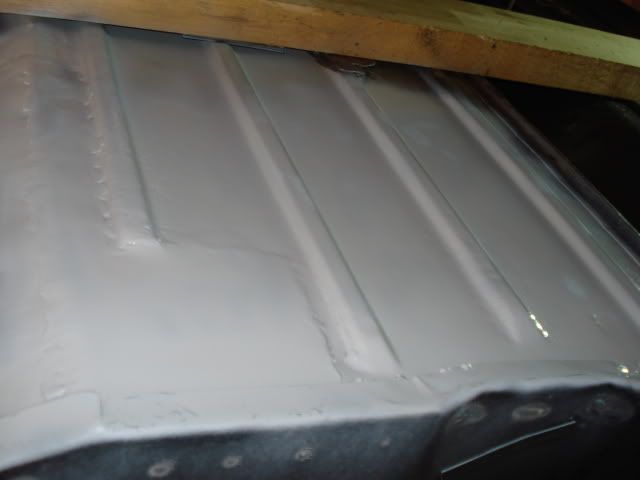
Cleaned up the soundproofing on the floor,still need to treat some surface rust on it.

Posted Image

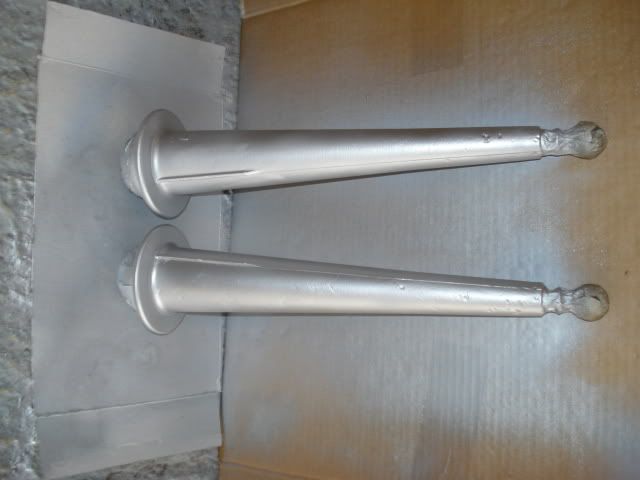
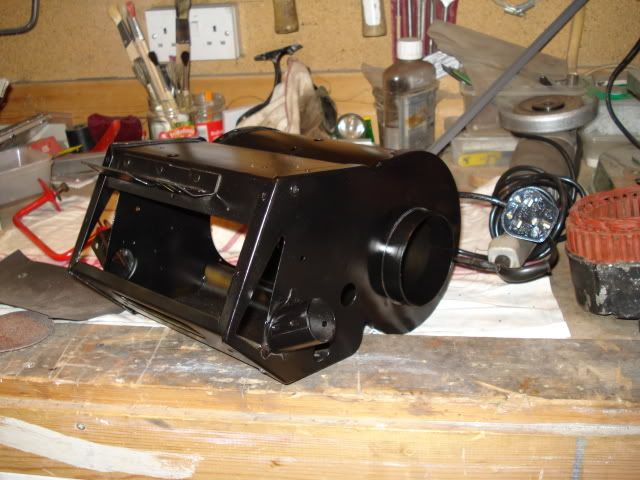
The painted struts and heat matrix

Posted Image

Posted Image

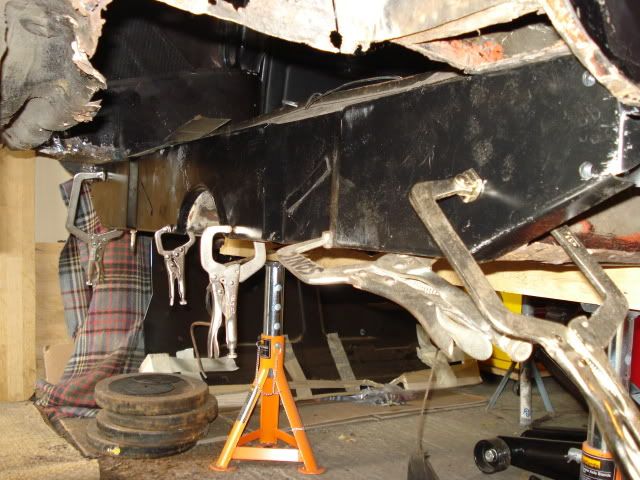
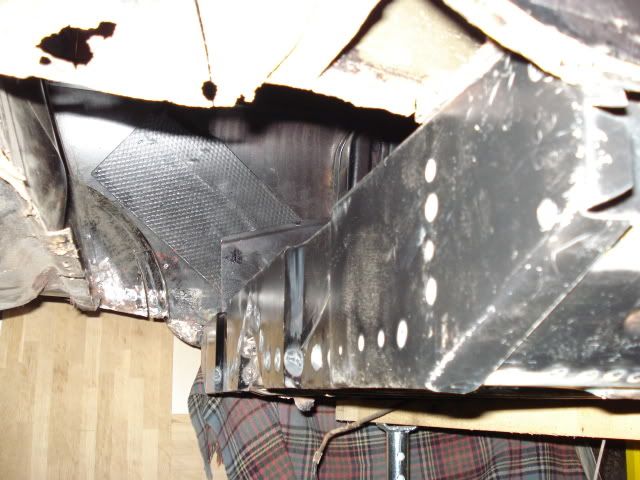
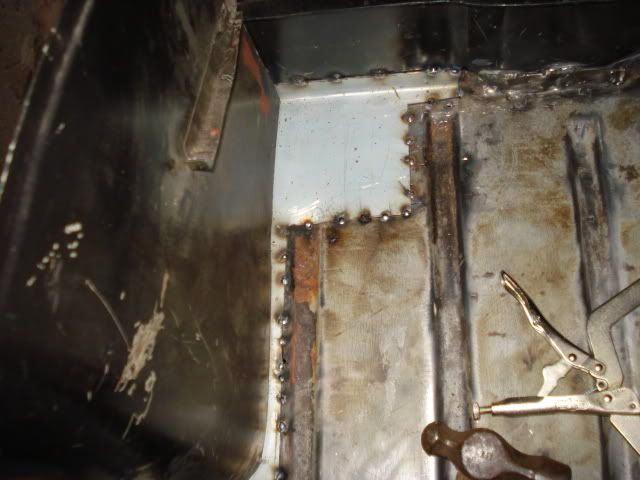
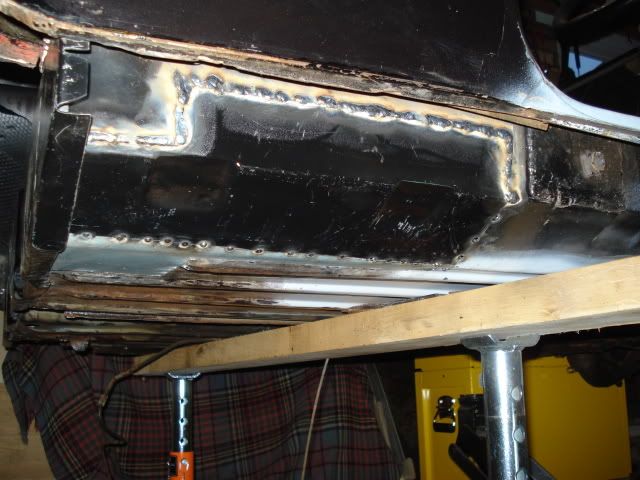
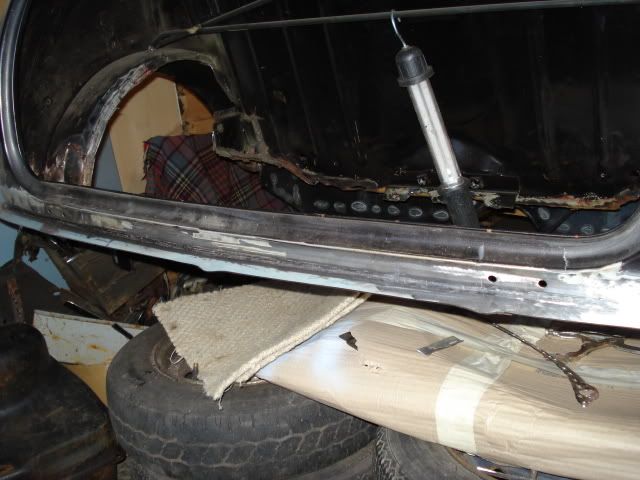
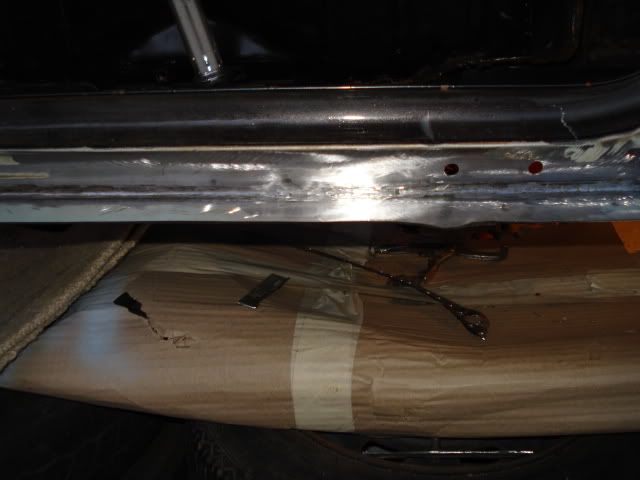
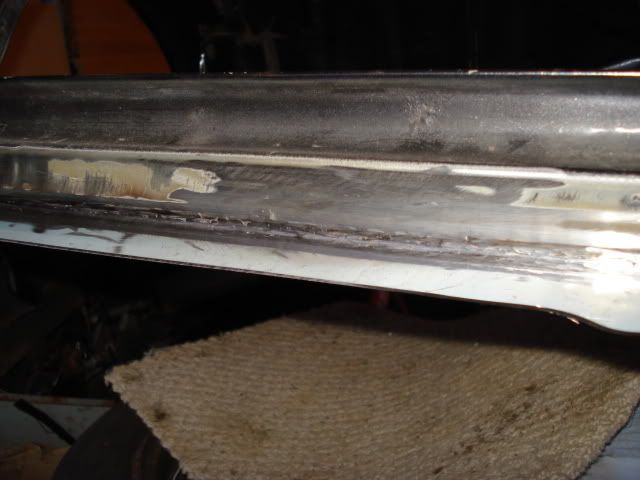
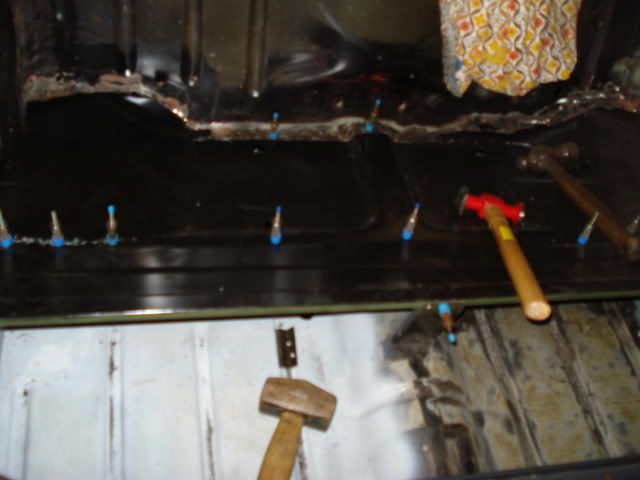
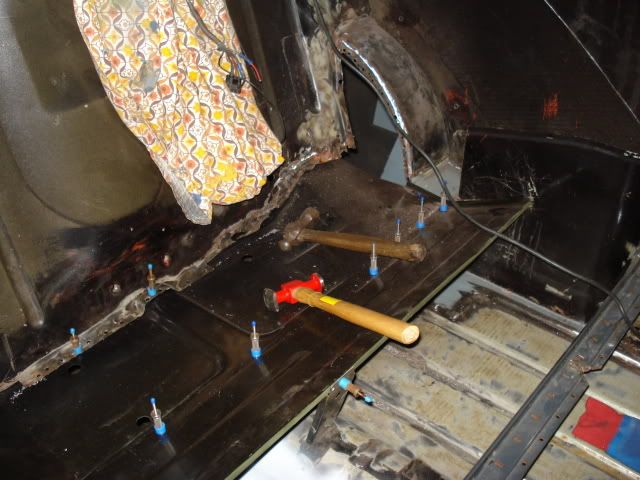
From now on we have basiclyl all the panels for the rear of the car and got the door step and sills for the left side too.

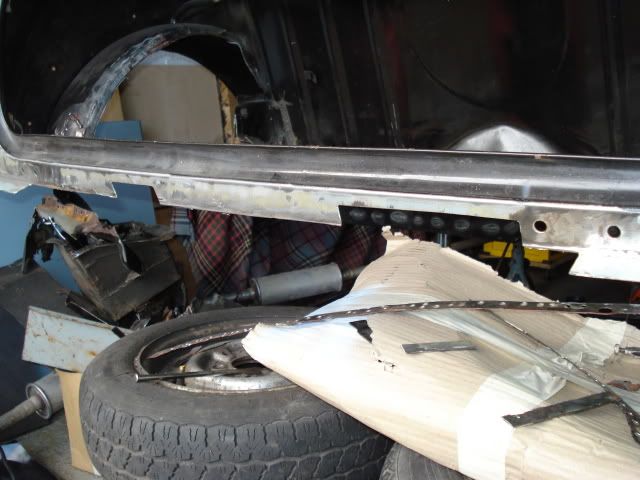
How the car is at the moment,a storage place.

Posted Image

#32 dell_boy

dell_boy

    lovely jubbley

  • Noobies
  • PipPipPip
  • 57 posts

Posted 29 October 2009 - 06:18 PM

doesn't look like allot of room but its still loads more than i have. i can only just walk down one side of the car, i should probably start clearing sum space so i can start.

#33 scsracing

scsracing

    Mini Mad

  • Members
  • PipPipPipPip
  • 276 posts
  • Location: Eastbourne

Posted 29 October 2009 - 06:26 PM

In a single it would be tight even though the mini is small,feel sorry for you.Its ok when working as its a double so all the stuff can be moved over but a car has to go on the other side at night so everything is put back over.The shed is jammed packed too :lol:

Edited by scsracing, 29 October 2009 - 06:27 PM.


#34 Tim1970

Tim1970

    Speeding Along Now

  • Members
  • PipPipPipPipPip
  • 394 posts

Posted 29 October 2009 - 06:54 PM

Some really nice work there!
powerdcoated bits look awesome.

#35 scsracing

scsracing

    Mini Mad

  • Members
  • PipPipPipPip
  • 276 posts
  • Location: Eastbourne

Posted 29 October 2009 - 06:59 PM

Thanks,all the welding is done by my dad and i tend to do all the stripping(sounds so wrong :lol: ) and cleaning up of bits and tidying up all the bits that need some welding done so that it makes my dads job easyier.

Going to get a quote from another Powder coaters when it comes to the front subframe and bits as they where quite slow getting it done as they had to get it blasted out of house where as the other coaters have there own one.

My uncle can blast everything bar the subframes though for beer so might get him to blast it all instead of getting coaters to do it(was £55 for the blasting for those bits above)

#36 minimaff

minimaff

    Super Mini Mad

  • Members
  • PipPipPipPipPipPip
  • 695 posts
  • Location: Barnsley
  • Local Club: Barnsley mini club

Posted 29 October 2009 - 07:01 PM

Looking good, keep it up !!

#37 obiwan riley

obiwan riley

    Stage One Kit Fitted

  • Noobies
  • PipPipPip
  • 76 posts

Posted 02 November 2009 - 12:41 PM

looking good now, good to see you taking care of it

#38 RowenBlaineSkinley

RowenBlaineSkinley

    Super Mini Mad

  • Members
  • PipPipPipPipPipPip
  • 641 posts

Posted 03 November 2009 - 04:28 PM

awsome project man, coming along real nice...loving the powder coated parts, im gonna get my parts powder coated now :D

#39 scsracing

scsracing

    Mini Mad

  • Members
  • PipPipPipPip
  • 276 posts
  • Location: Eastbourne

Posted 06 November 2009 - 03:21 PM

Powder coating is much better than painting and cheaper too.

Well today not too much going on but my dad has welded bracing in the boot and across the floor prior to cutting out the heel board, boot floor and inner arches.

Hopefully tomorrow the cutting will begin :withstupid:

#40 scsracing

scsracing

    Mini Mad

  • Members
  • PipPipPipPip
  • 276 posts
  • Location: Eastbourne

Posted 11 November 2009 - 06:49 PM

Another update.

Most of the rear bench cut out

Posted Image

What was a new sill that has been badly fitted and treated

Posted Image

There was a piece of metal stuck here that was glued on :D

Posted Image

Spot welds drilled out and heel board removed

Posted Image

Heel board offered up

Posted Image

Welded in

Posted Image

Welds tided up(will eventually be seam sealed)

Posted Image

A new patch made after the last attempt by previous owner was terrible and was'nt doing very much.It still has to be seam welded only tacked in place at the moment

Posted Image

Rear piece of inner sill welded in place

Posted Image

That all for now,next time the boor floor and inner arches should be no more ,

#41 scsracing

scsracing

    Mini Mad

  • Members
  • PipPipPipPip
  • 276 posts
  • Location: Eastbourne

Posted 13 November 2009 - 05:13 PM

The rear right hand side is nearly finished now but some of the welds do need going over again to get them smooth.Just a coat of etch primer to stop the rust coming back for the time being until the whole car can be done.WIll be seam seal aswell in the end.

Posted Image

Underneath cleaned up and primed.

Posted Image

The same is happening to the left hand side but it has only just been started.

This is the old sill.

Posted Image

All the scrap bits so far :P

Posted Image

#42 scsracing

scsracing

    Mini Mad

  • Members
  • PipPipPipPip
  • 276 posts
  • Location: Eastbourne

Posted 25 November 2009 - 06:51 PM

My dad has been busy since last time.The boot floor and inner arches are no more and only some little bits are left too cut out.

The rear bulkhead needs some reconstruction work on the bottom lip as it is nearly all gone.

I have;nt got the pictures of the boot floor gone but i have some of the rear bumper lip which has been all cut out and replaced with some sheet metal.

Posted Image

Posted Image

Posted Image

Posted Image

Posted Image

Posted Image

Posted Image

Posted Image

Still needs some filler but its basicly there.

Had to get a new rear bin aswell and even more cutting disc's(looking for a sponsor to supply discs :D )

Posted Image

Oh and 67lbs of car :thumbsup:

Posted Image

Edited by scsracing, 25 November 2009 - 06:52 PM.


#43 scsracing

scsracing

    Mini Mad

  • Members
  • PipPipPipPip
  • 276 posts
  • Location: Eastbourne

Posted 02 December 2009 - 09:00 PM

After hours and hours of cutting by my dad the boot floor has been put in to test to see how well it fits.The fit is ok,not perfect but the car its self is abit mangled as one arch is 21" and the other is 22" :crazy: .Still wanting on some more brackets for the boot(its surprising how many panels and brackets go into a boot floor ).

The bottom of the bulkhead needs some major surgery so that will be next before the floor will be welded in

There is still alot of tidying up to do but its getting there ;)

Posted Image

Posted Image

Posted Image

Edited by scsracing, 02 December 2009 - 09:02 PM.


#44 obiwan riley

obiwan riley

    Stage One Kit Fitted

  • Noobies
  • PipPipPip
  • 76 posts

Posted 02 December 2009 - 09:19 PM

nice progress

#45 sonikk4

sonikk4

    Twisted Paint Polisher!!!

  • Admin
  • PipPipPipPipPipPipPipPipPipPipPip
  • 15,903 posts
  • Name: Neil
  • Location: Oxfordshire

Posted 02 December 2009 - 10:37 PM

We still cannot figure out why the arches are different in length. I have checked and double checked all the measurements, heelboard to rear mount pickups, shock tower points to heelboard and so on. ITS REALLY TWISTING MY BRAIN. However a large precision calibrated impact tool will sort this out along with some more sophisticated panel beating.

I think a lot of it is down to the standard of the Heritage panels we are using along with the previous butchery from the last owner (welding skills of Stevie Wonder)

Still Mini's were never perfect from new but we can and will improve Project Erm.


0 user(s) are reading this topic

0 members, 0 guests, 0 anonymous users