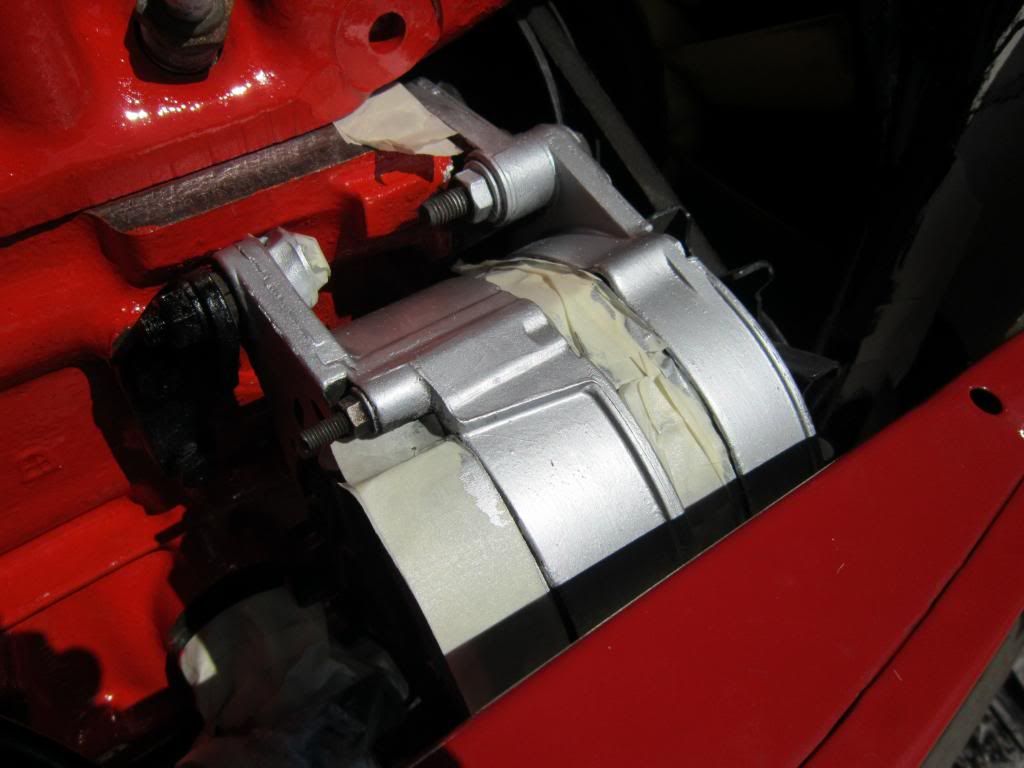
And first coat of high temp silver enamel:
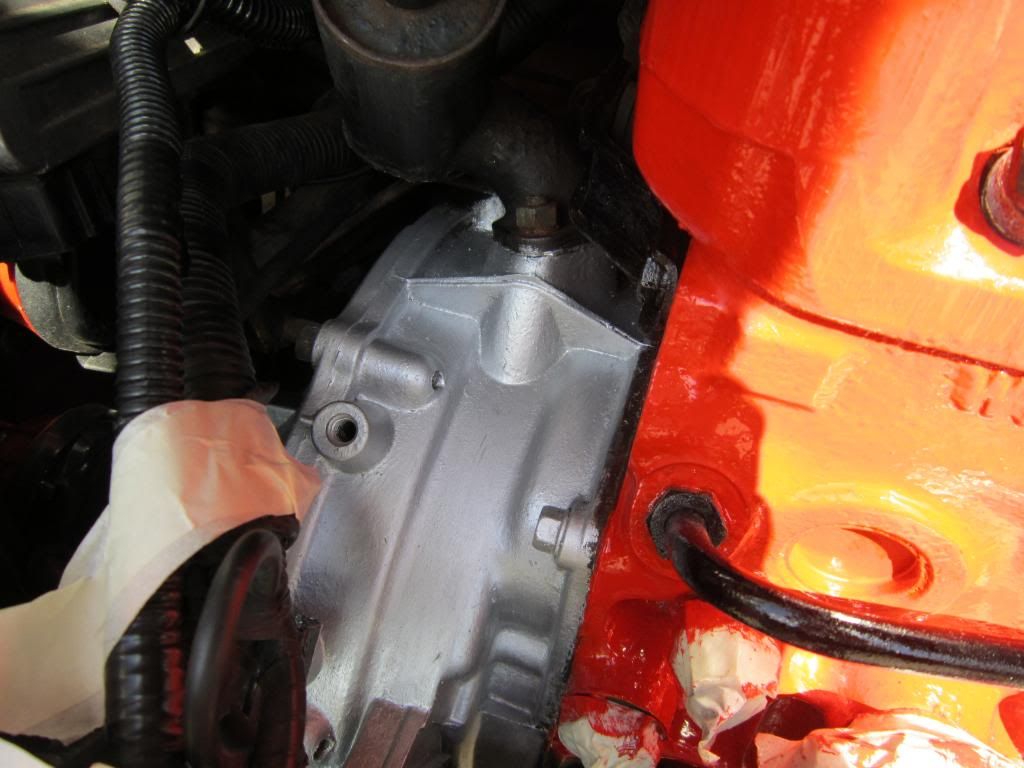
Once this has set, I'll use smaller brushes to get towards the end of the housing.

One Carb Or Two?

Posted 26 May 2013 - 08:12 PM
And first coat of high temp silver enamel:
Once this has set, I'll use smaller brushes to get towards the end of the housing.
One Carb Or Two?
Posted 26 May 2013 - 08:22 PM
It's amazing how much better things look with a little effort:

One Carb Or Two?
Posted 27 May 2013 - 05:37 PM
Second coat for the alternator and bell housing drying in the sun:
Got a bit carried away:
Getting there! End of stage 2. Next step is to tidy up the mess of SPi wires!
One Carb Or Two?
Posted 28 May 2013 - 01:27 PM
Edited by wardyxxx, 28 May 2013 - 01:29 PM.
One Carb Or Two?
Posted 28 May 2013 - 01:28 PM
Not a massive update today.
This took a lot of shoving and swearing under my breath, but it's on!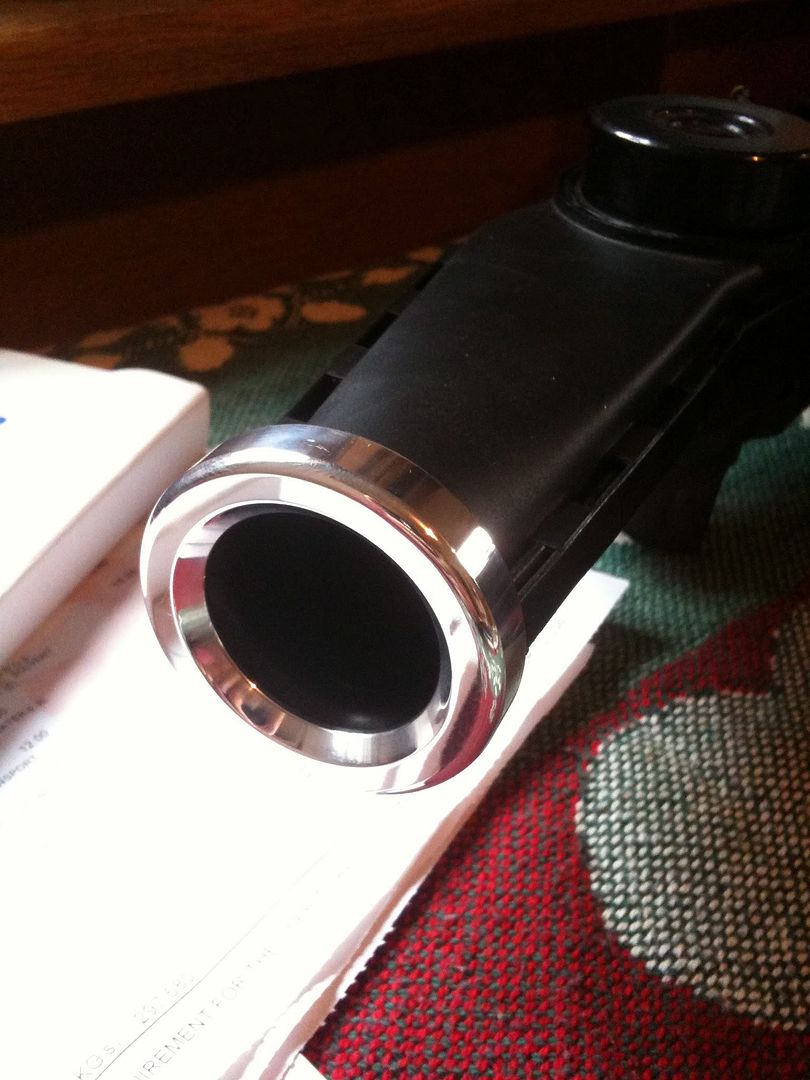
Washed and drying: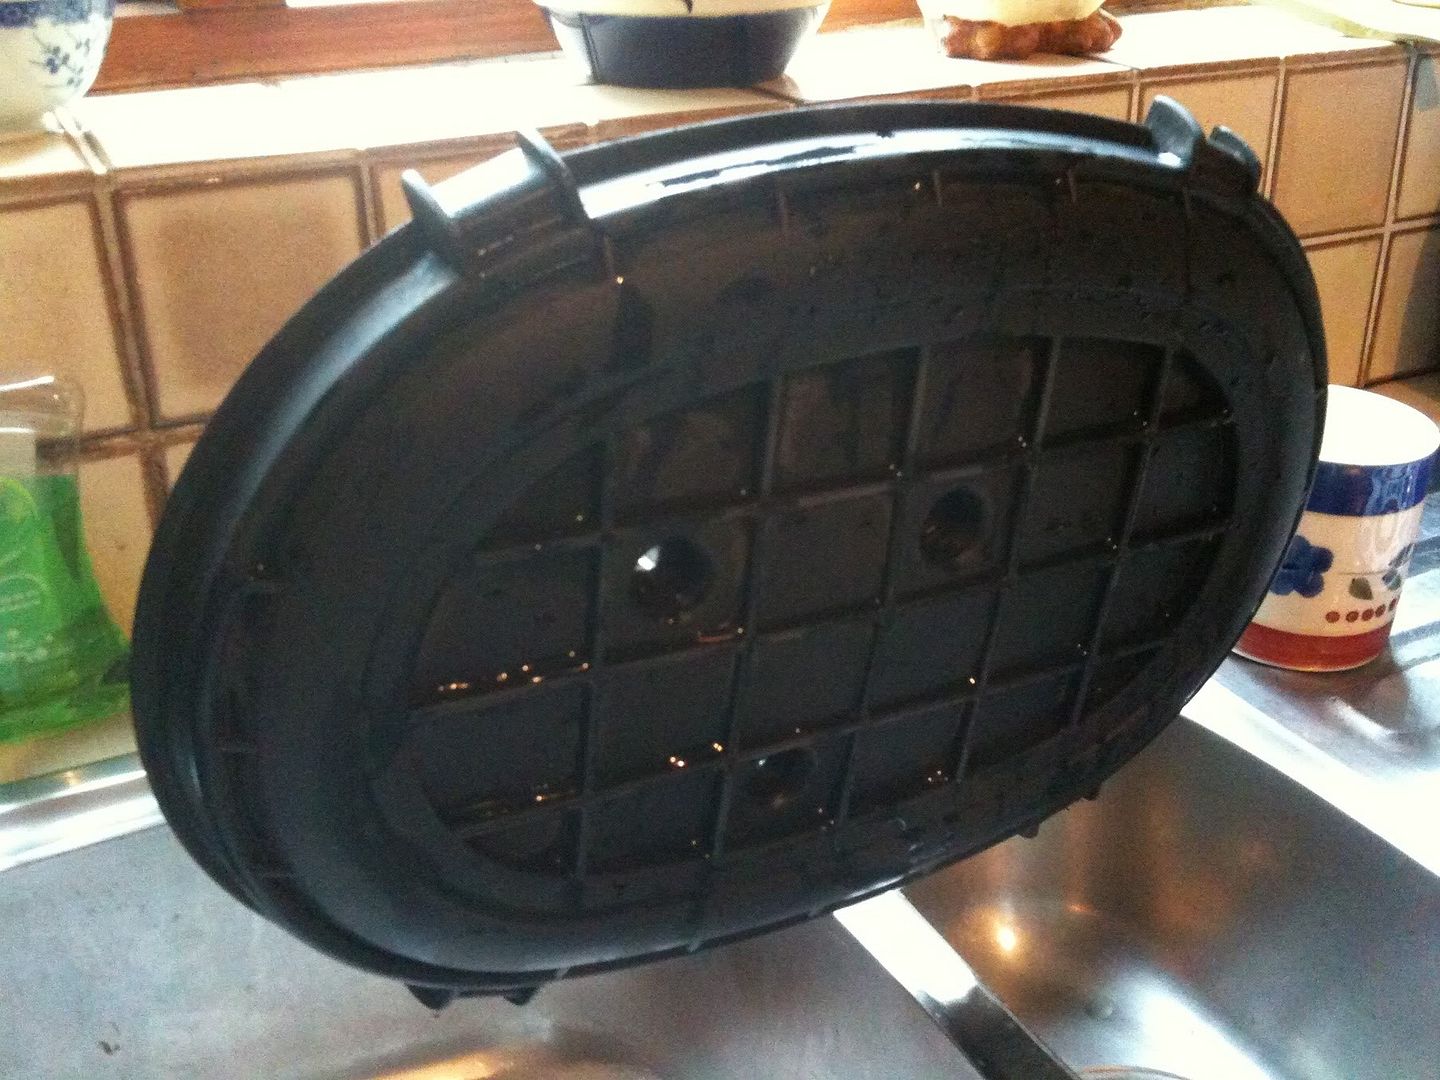
Edited by wardyxxx, 28 May 2013 - 06:20 PM.
One Carb Or Two?
Posted 28 May 2013 - 06:33 PM
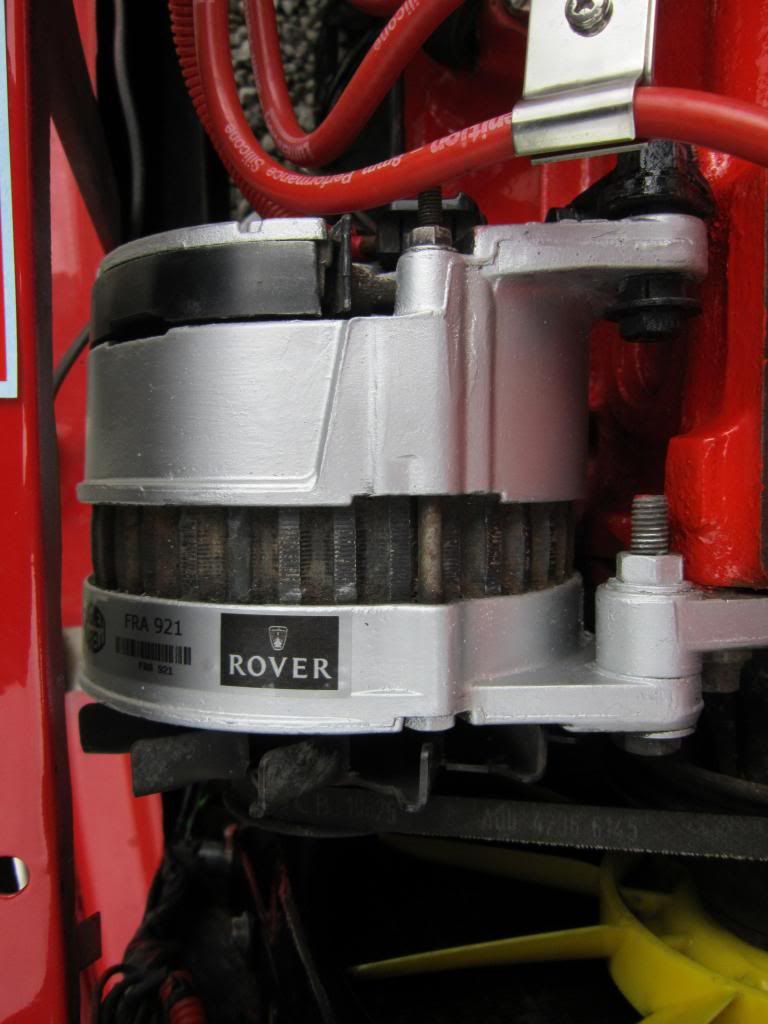
Finished painting the back of the alternator:

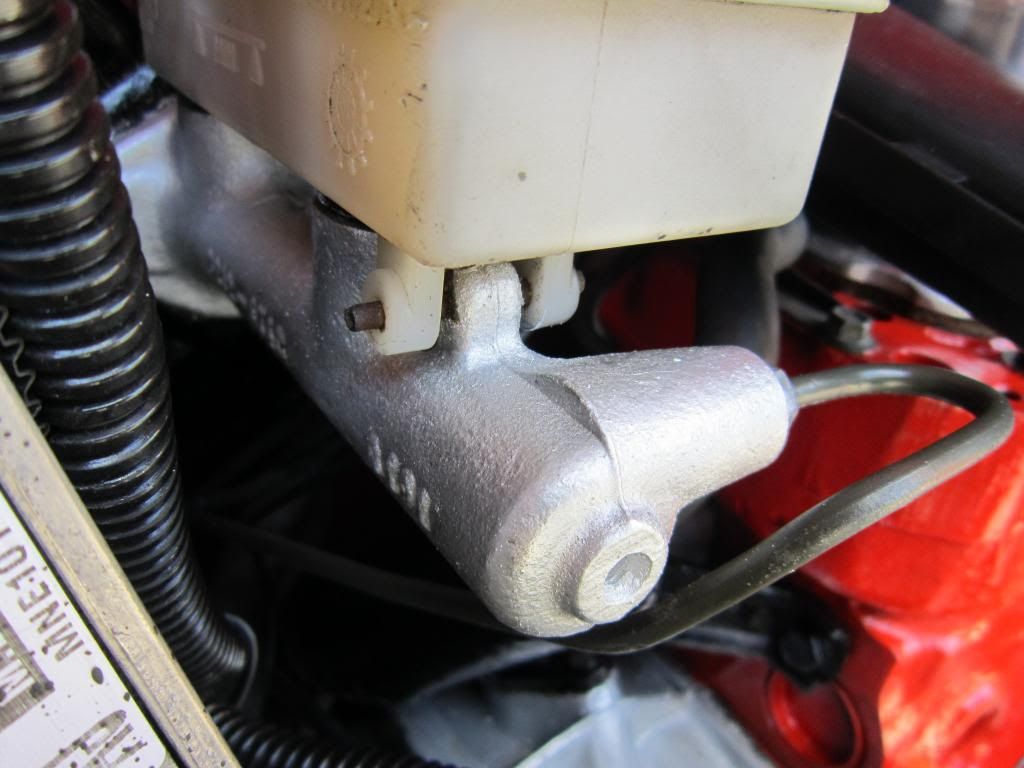
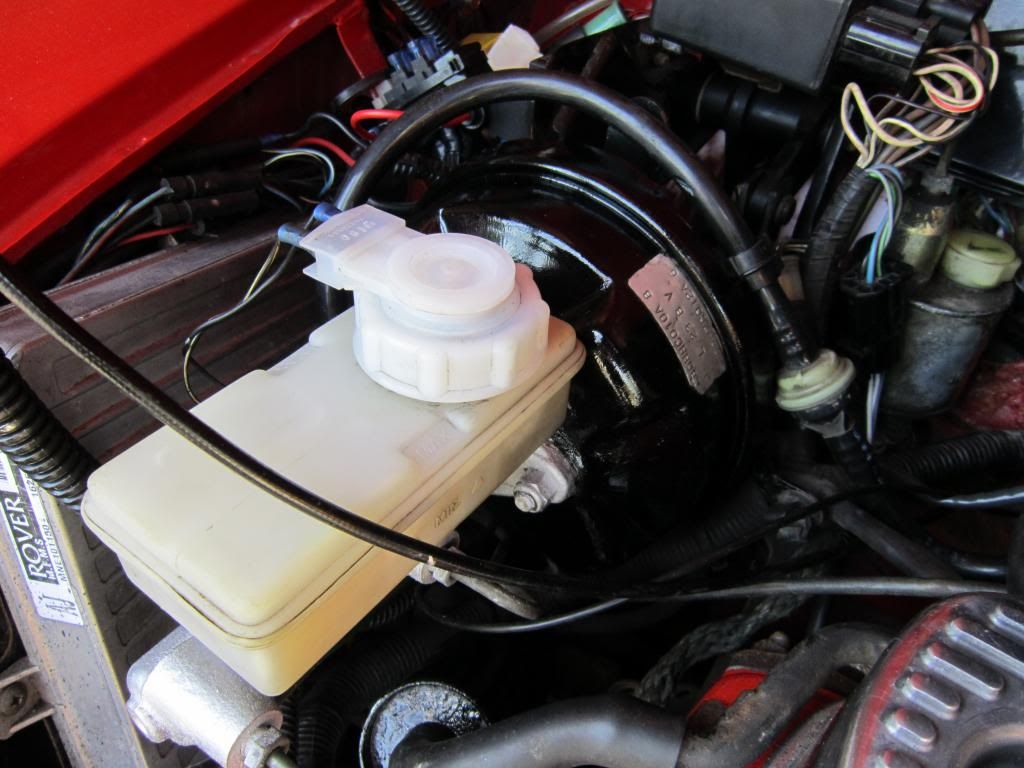
And painted the brake servo in silver and black:

Gave a really light coat to the side of the rad just to hide some blemishes:
Touched up the breather:
Crazy About Mini's

Posted 29 May 2013 - 04:16 PM
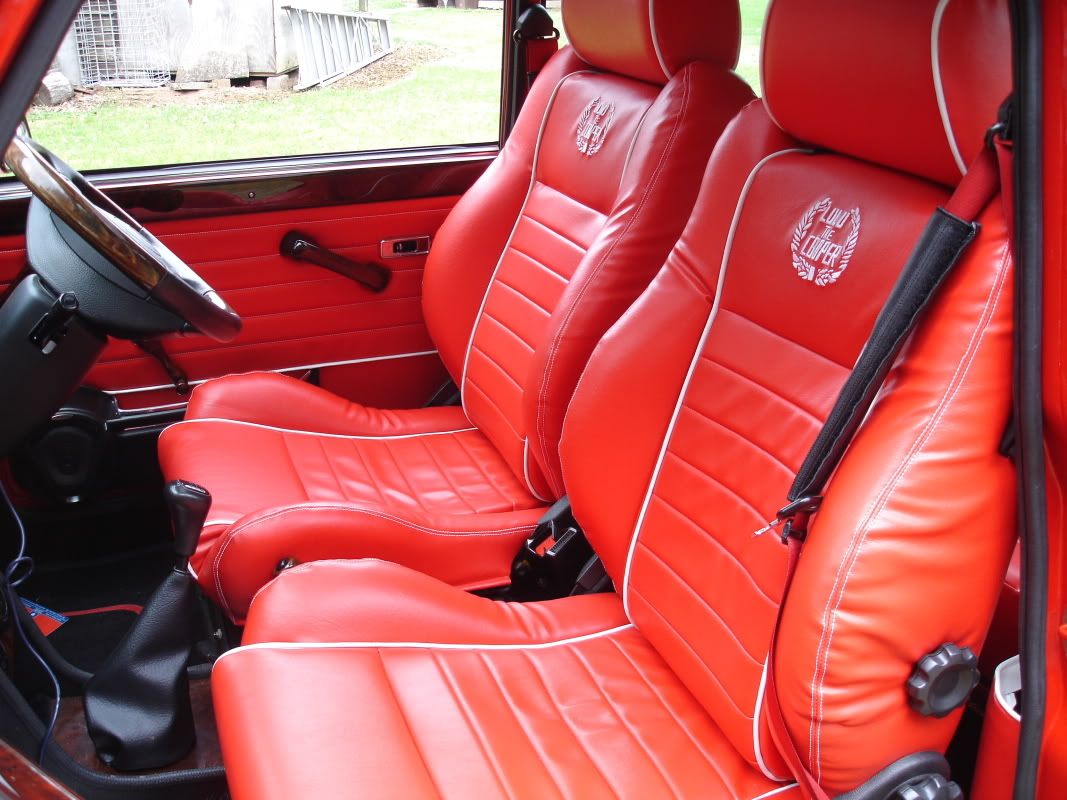
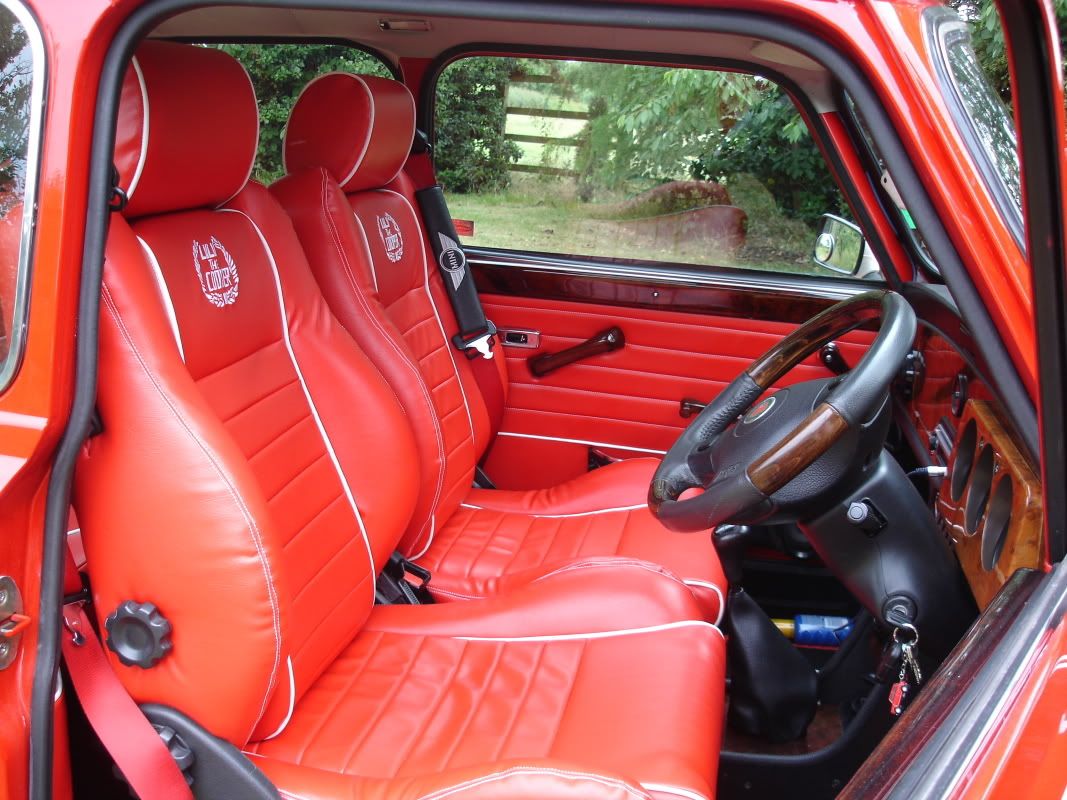
Here we go!
I love them. They are a bit of a tighter fit than my old Mini 30 seats, but there is more than enough room.
It's taken me a couple of days to adjust to the new driving position, but they have lumbar support and are a damn sight more comfy than my old seats.
they look amazing........well done....... 
One Carb Or Two?
Posted 29 May 2013 - 04:22 PM
they look amazing........well done.......I love them. They are a bit of a tighter fit than my old Mini 30 seats, but there is more than enough room.
It's taken me a couple of days to adjust to the new driving position, but they have lumbar support and are a damn sight more comfy than my old seats.
One Carb Or Two?
Posted 29 May 2013 - 07:29 PM
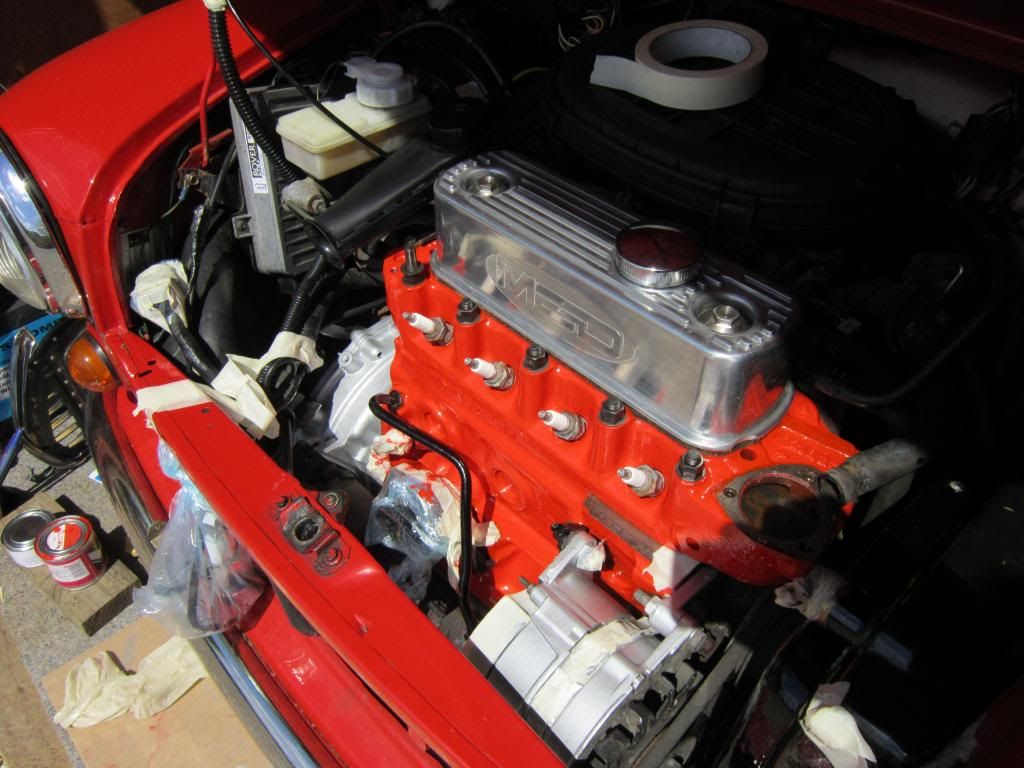
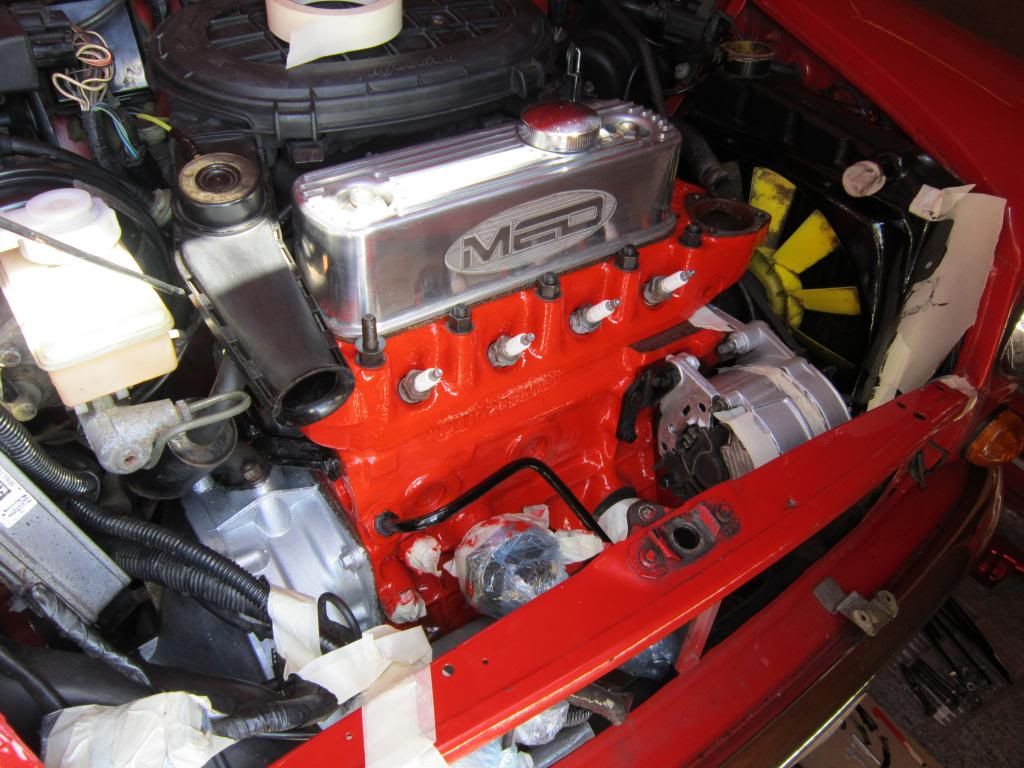
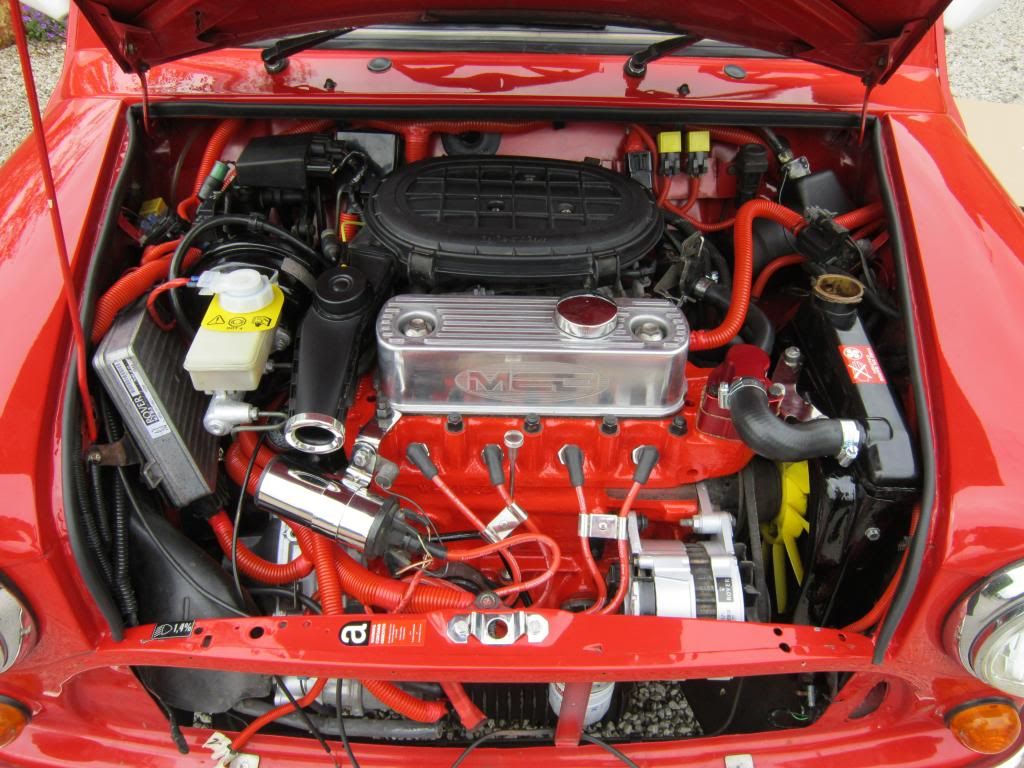
So, painting done:
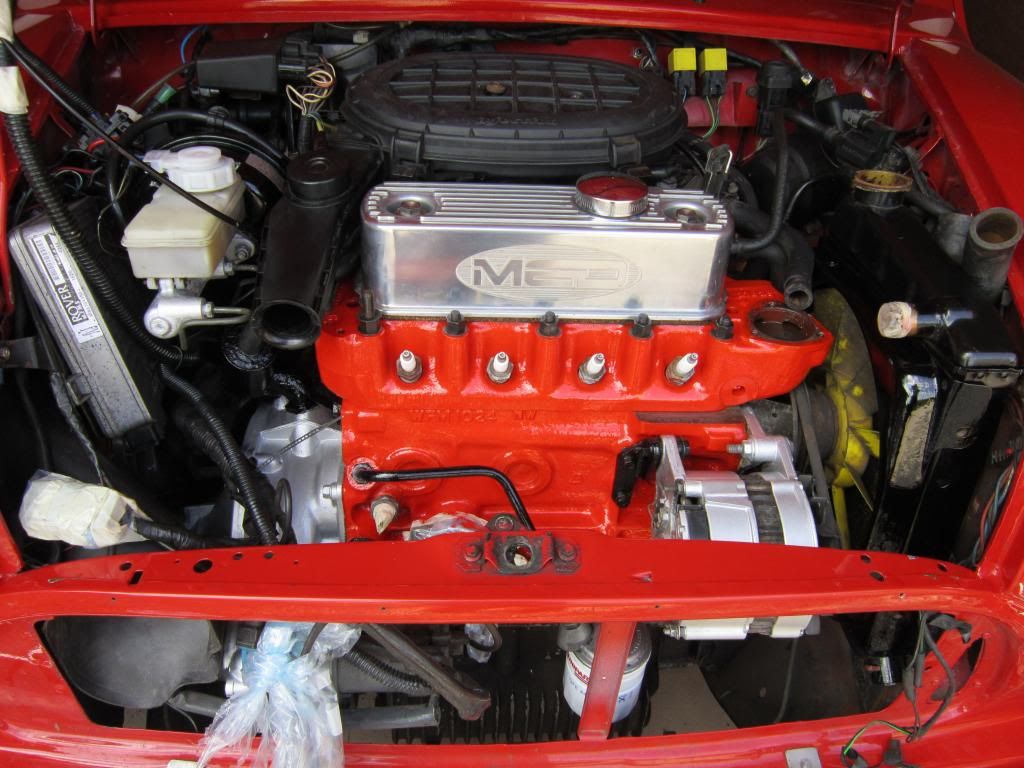
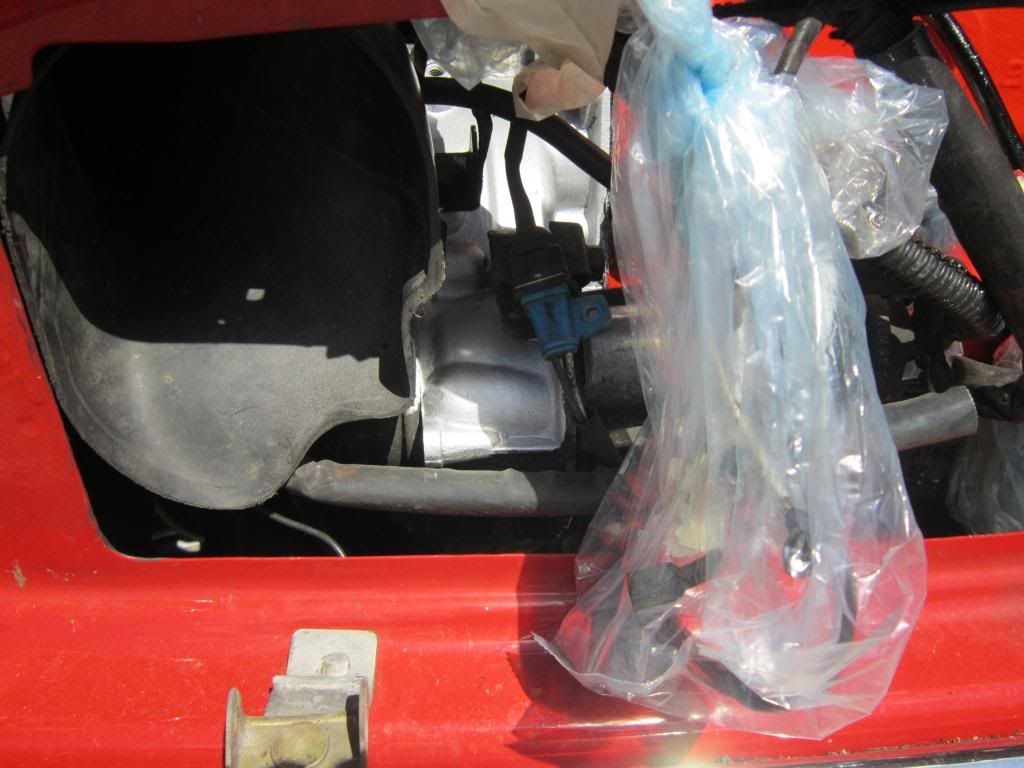
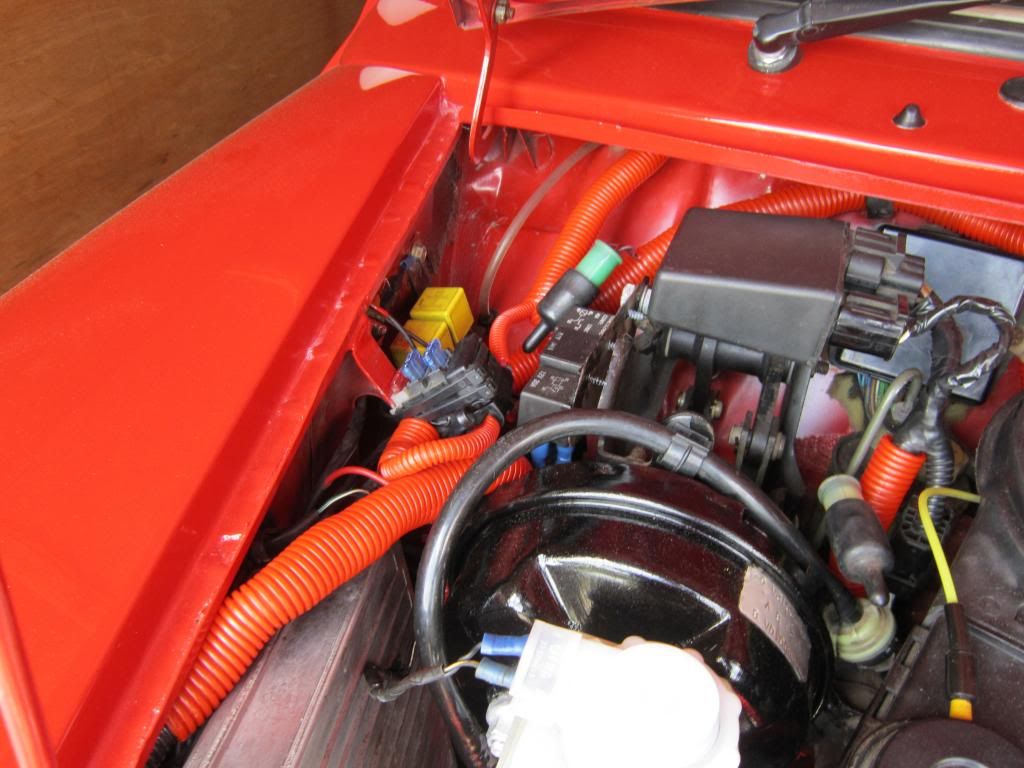
Now its on to tidying! I've always despised how messy the SPi bay can be. The MPi bay is that full, it doesn't look so messy.
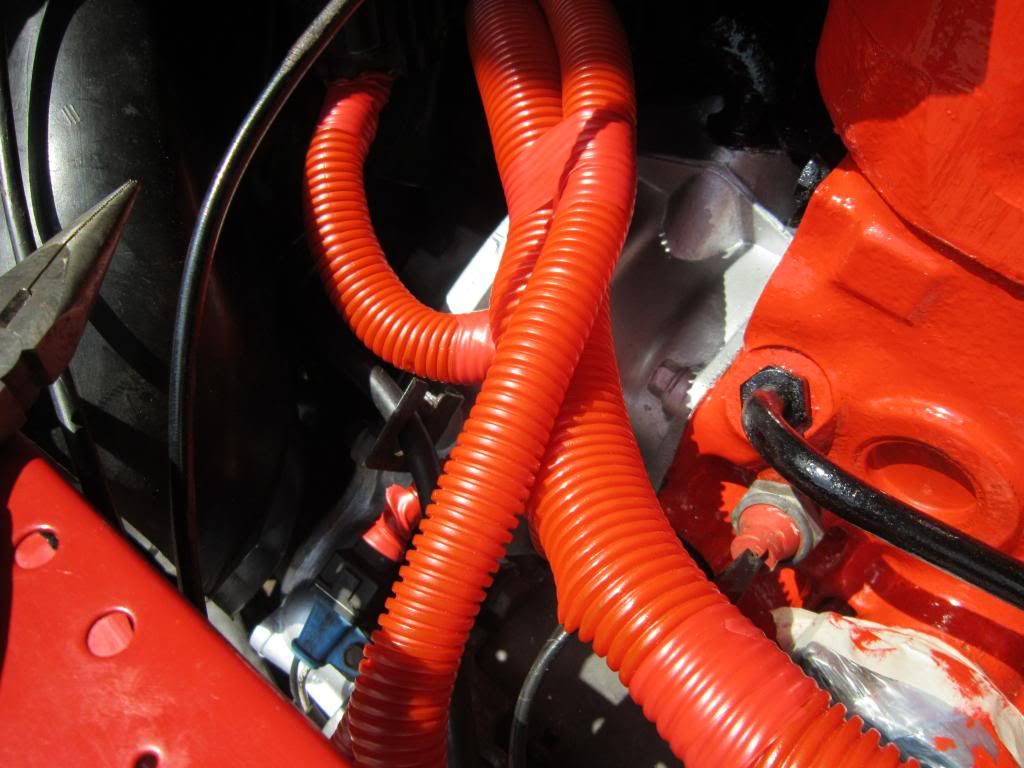
I know this will be controversial, but I've opted to use a hose dressing kit to hide some of the mess of wires. It had some black ones already in there, so it's not ALL red...
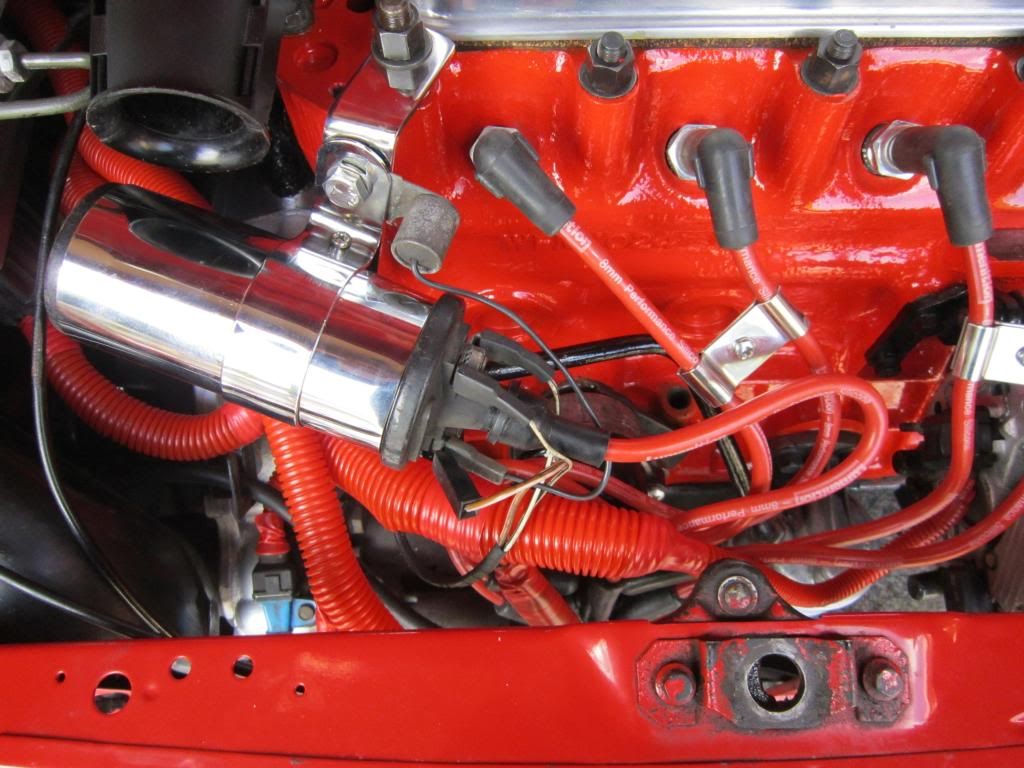
ECU, starter, and coil wires:
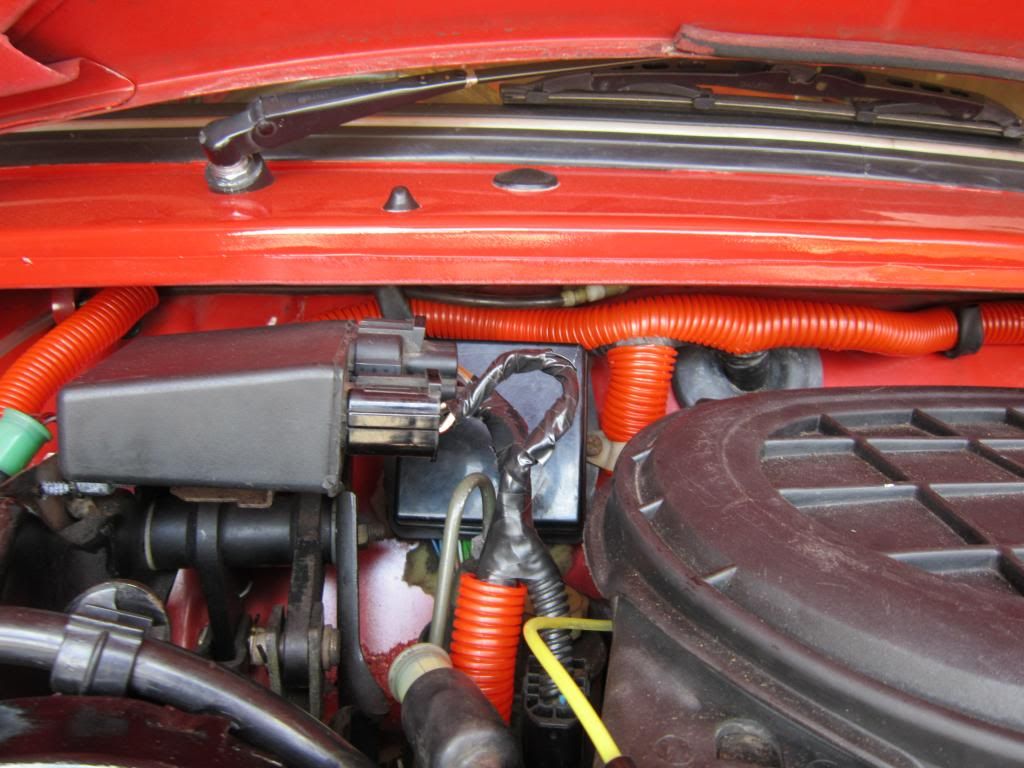
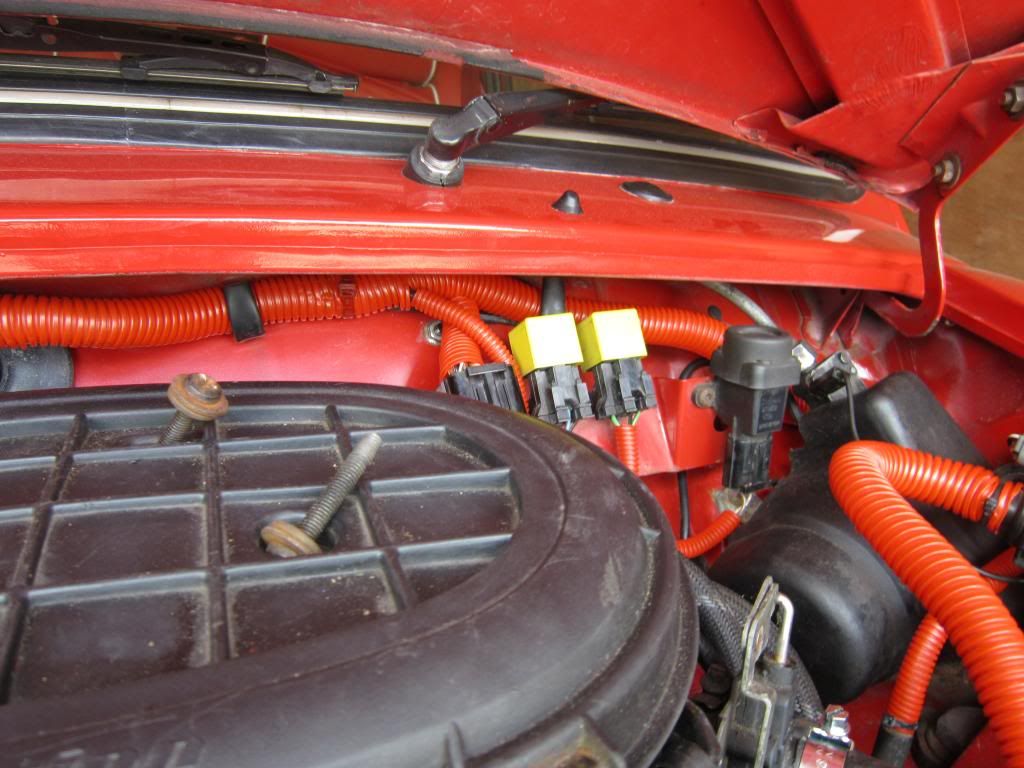
Recycled some of the factory fitted black hoses to tidy the headlight wires, my spotlight wires and the earth for my spotlights (Remind me to paint my ECU, it's brackets and the air scoop!):
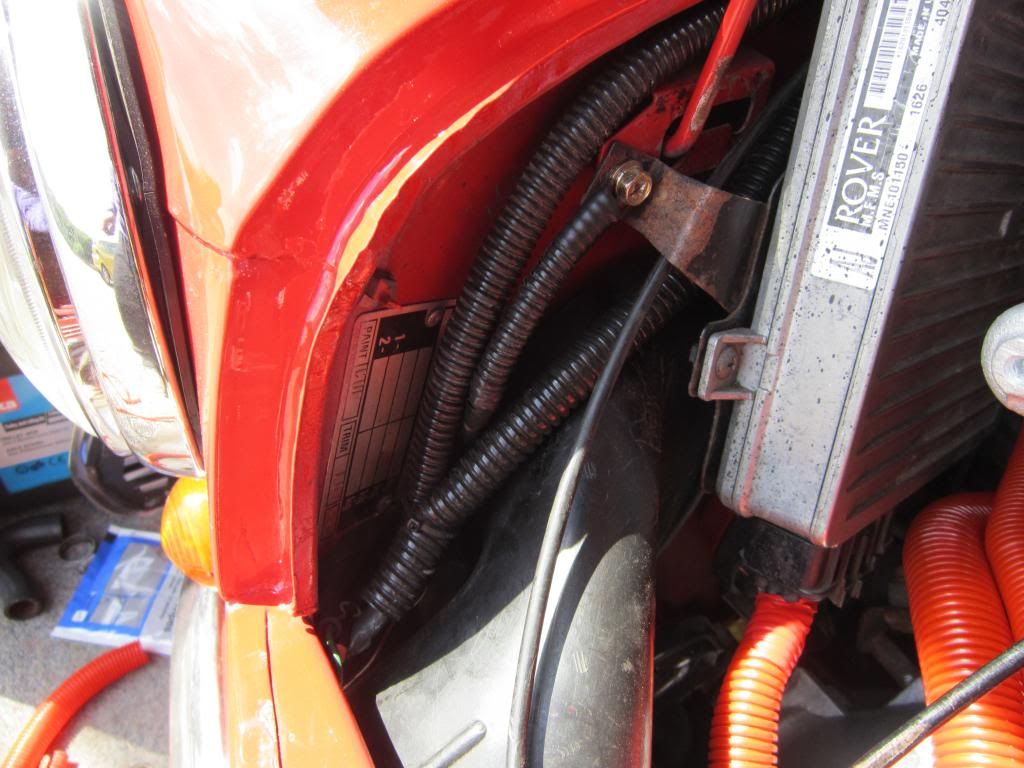
Now the corners and bulkhead appears much tidier:
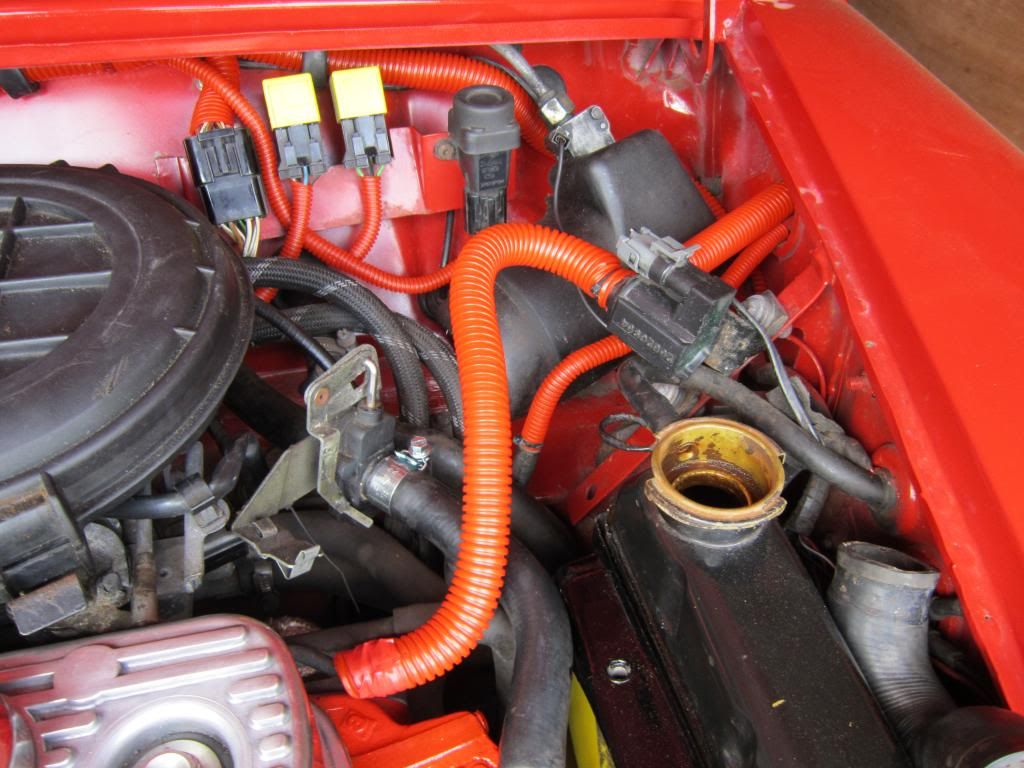
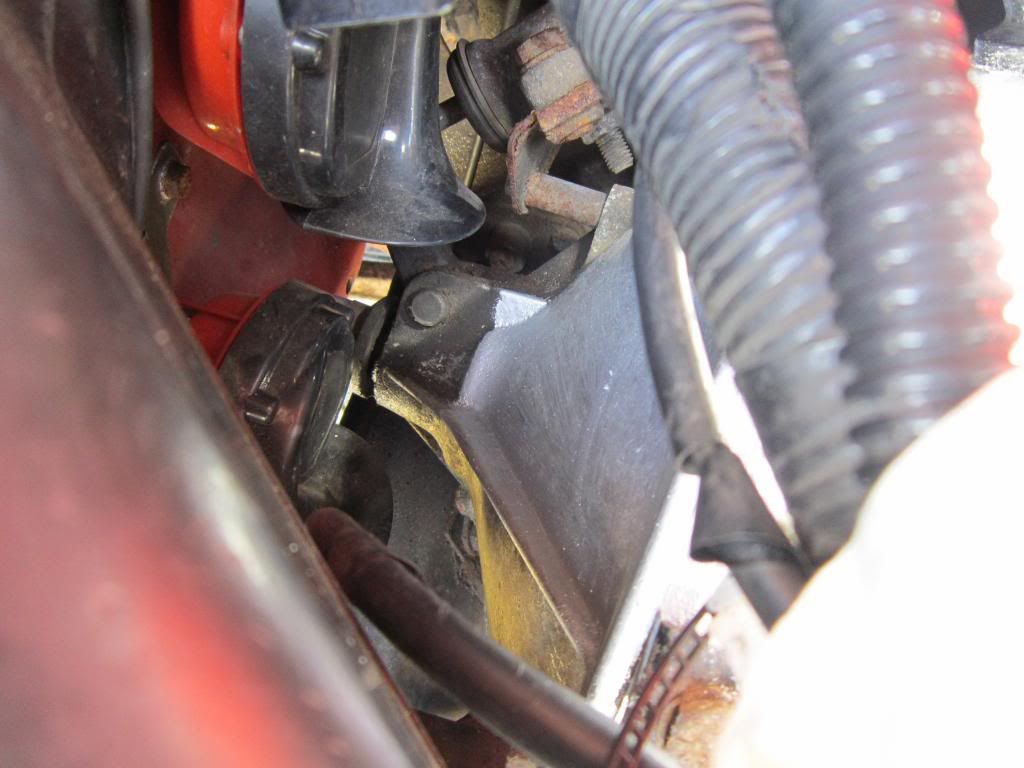
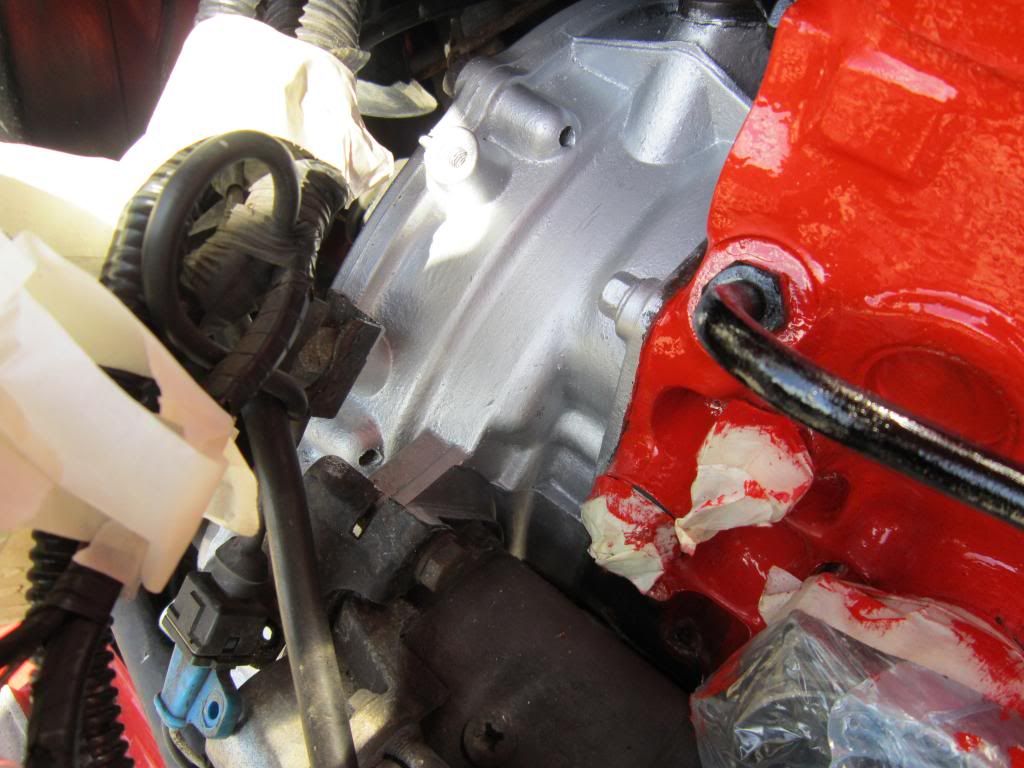
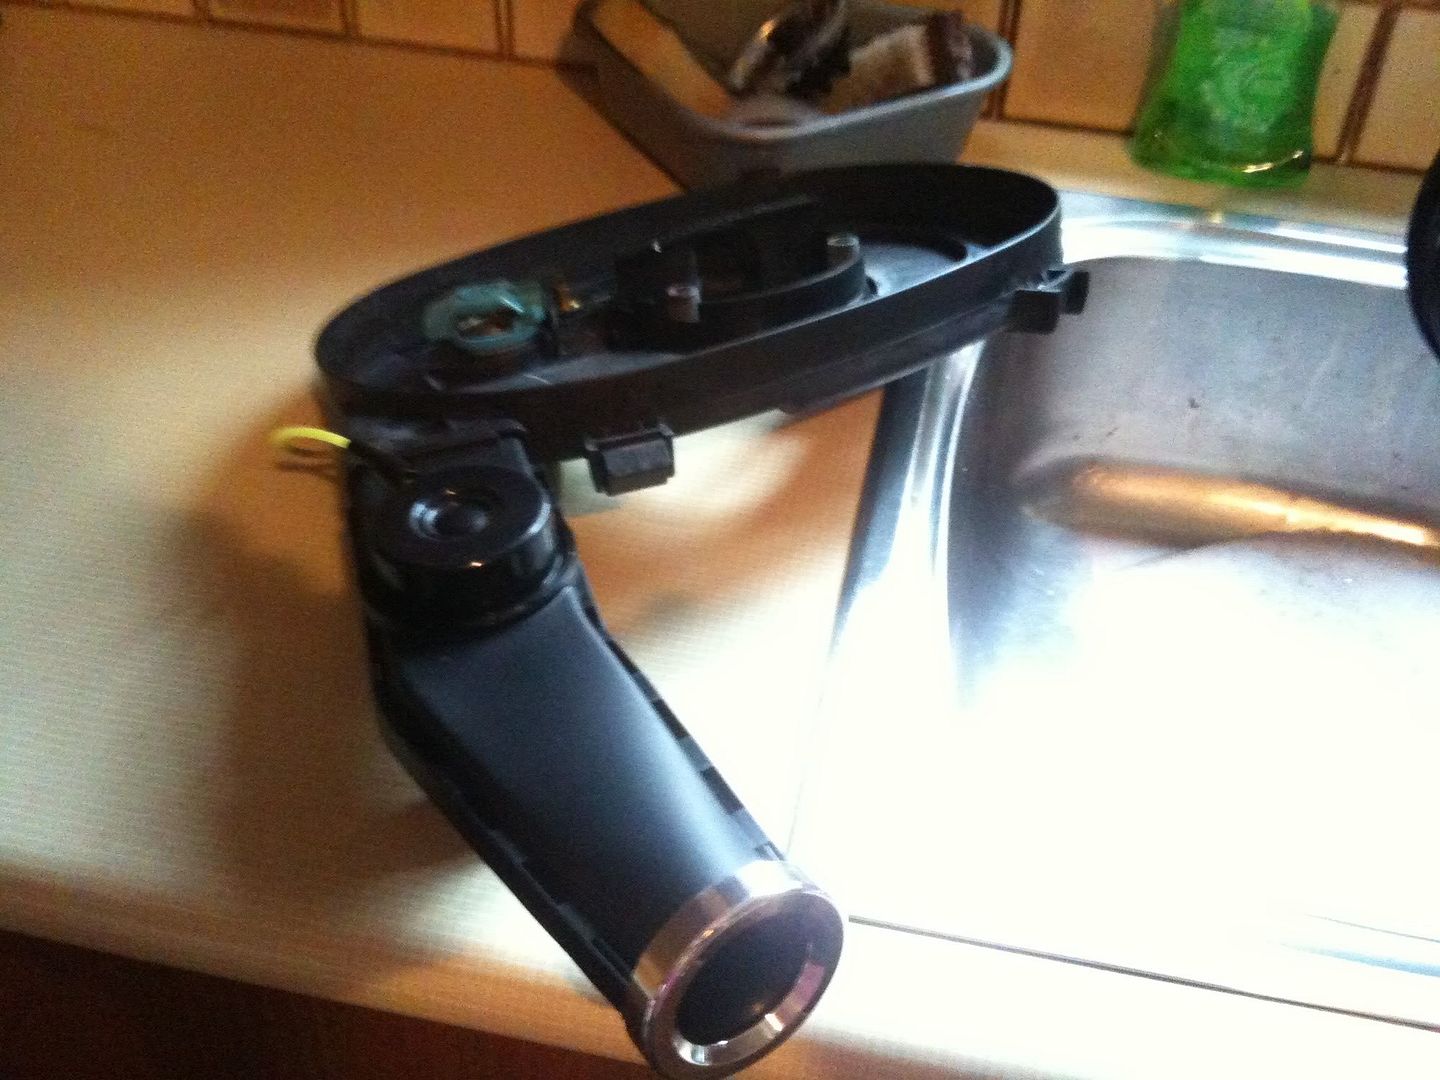
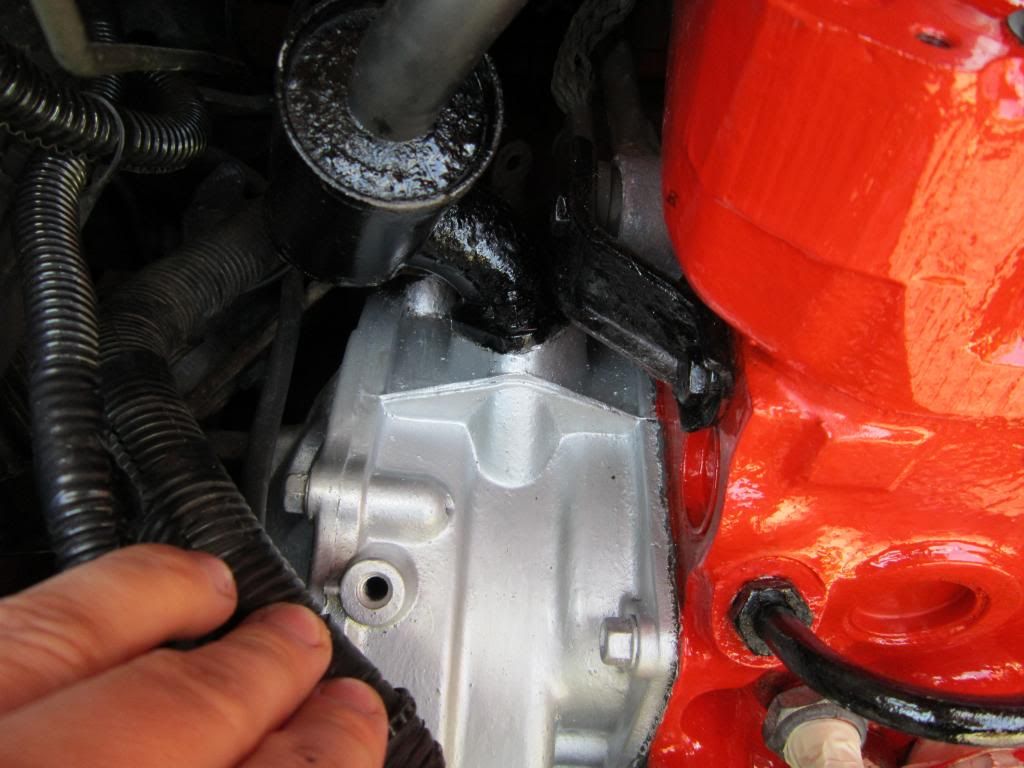
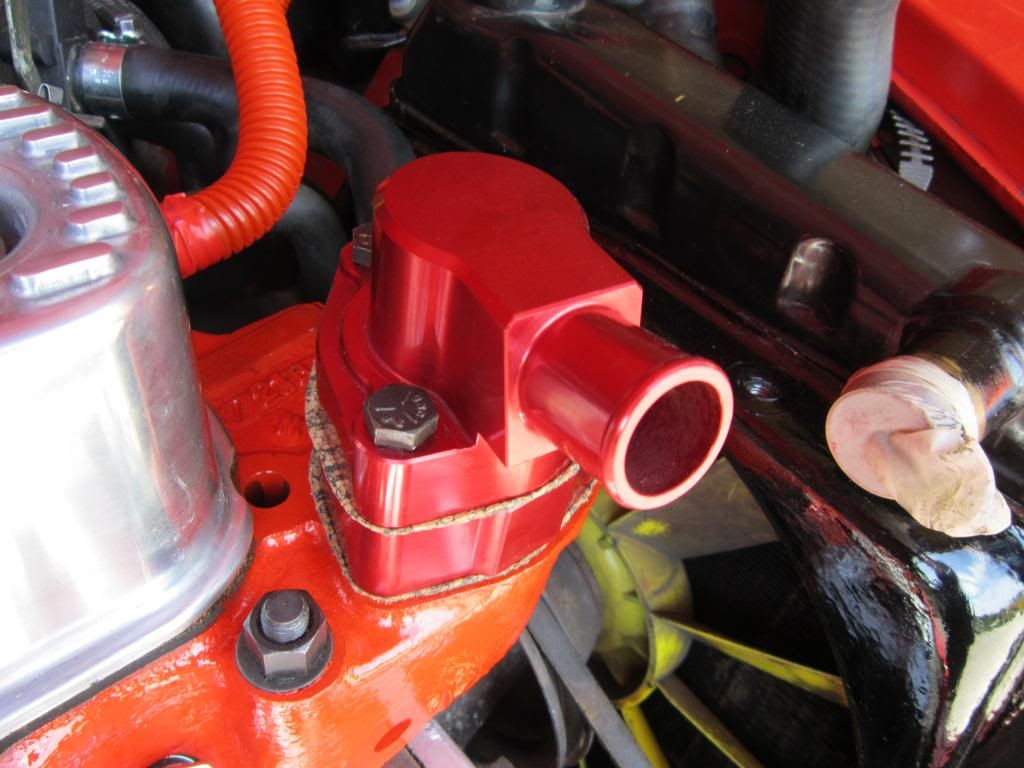
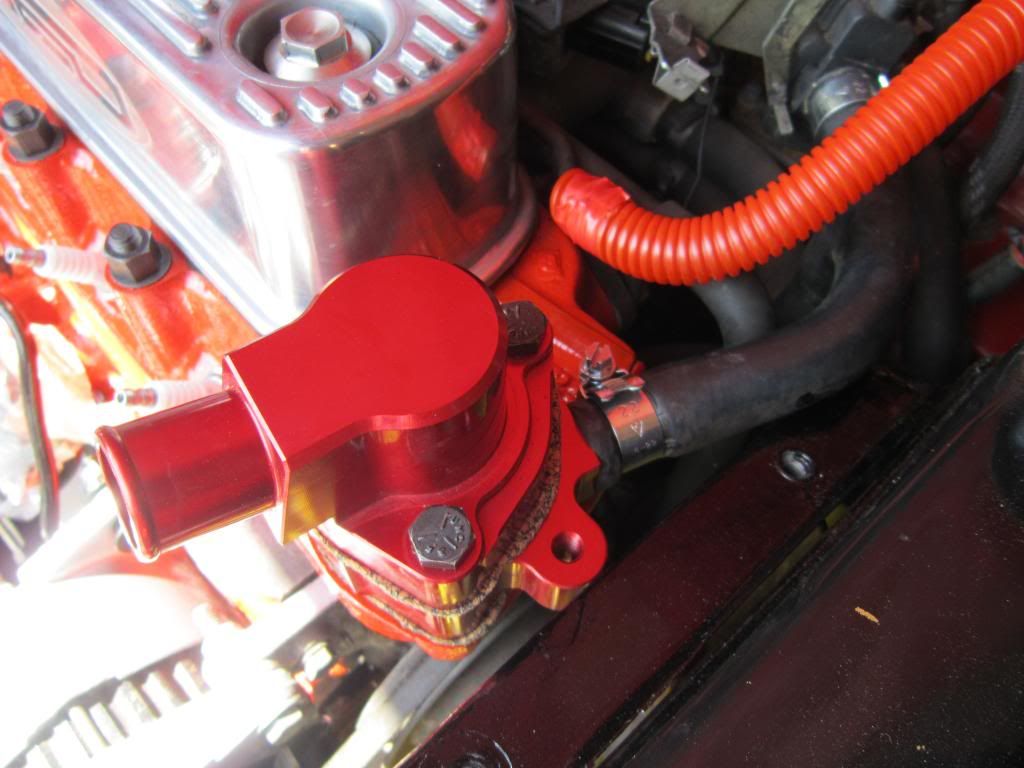
My DSN thermostat housing looked sad without a matching sandwich plate, so I removed the standard sandwich plate:

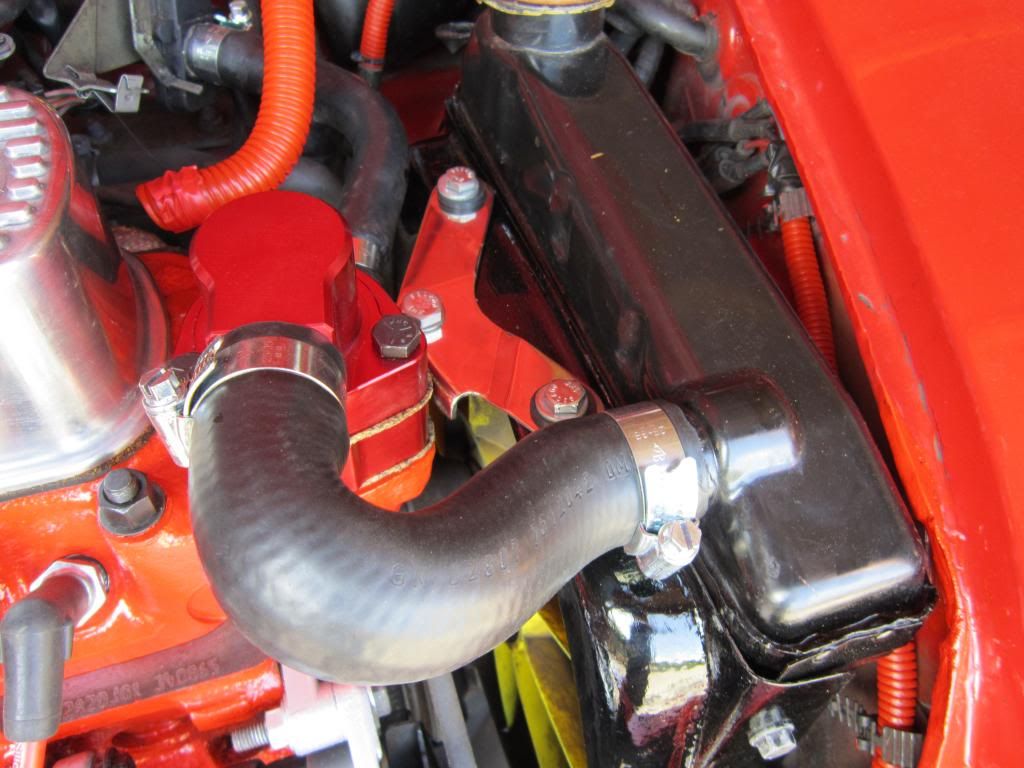
Even splashed out on new shiny jubilee clips!
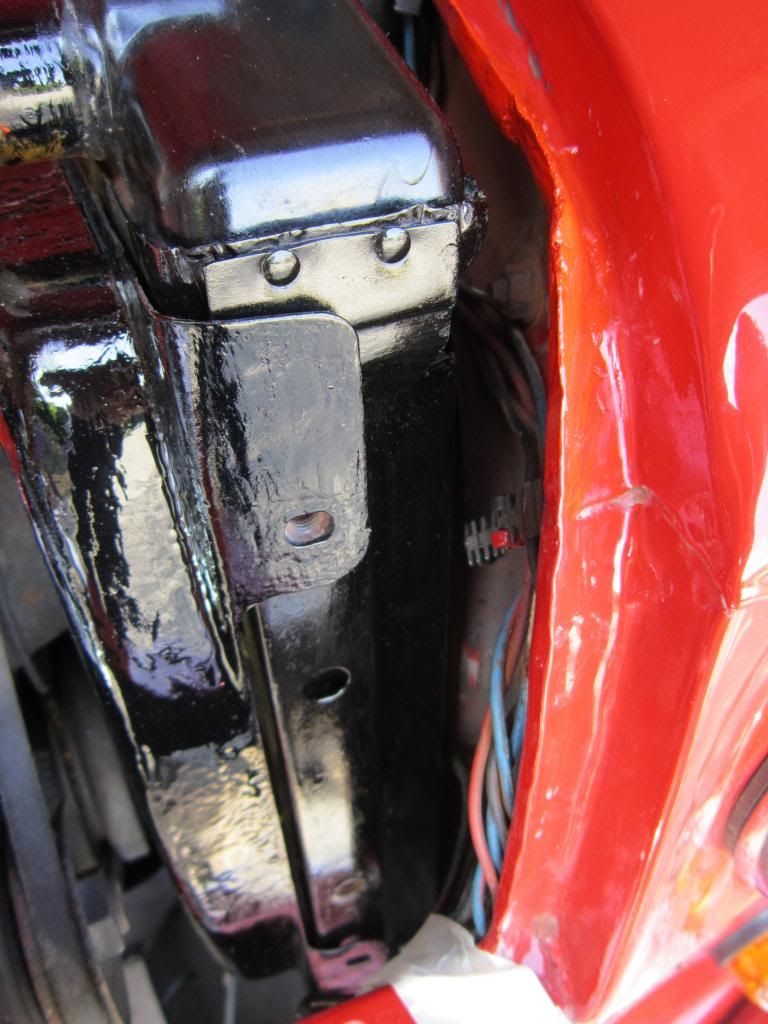
Smiffy's stainless rad bracket fitted and new Kevlar top hose on:
One Carb Or Two?
Posted 30 May 2013 - 06:08 PM
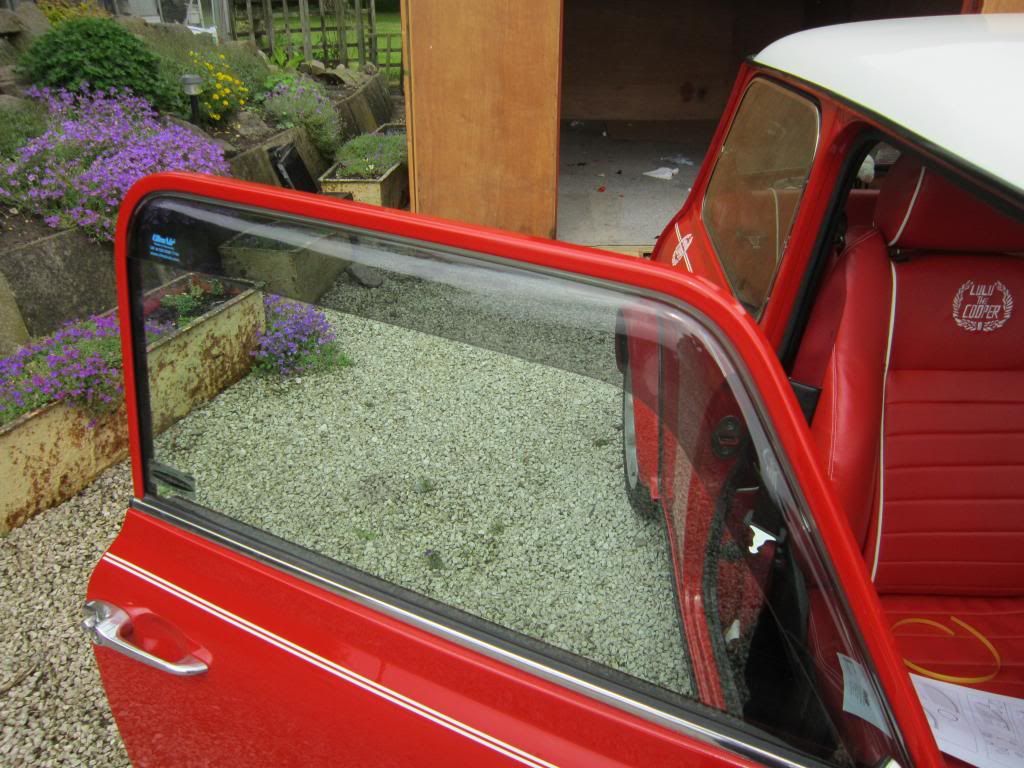
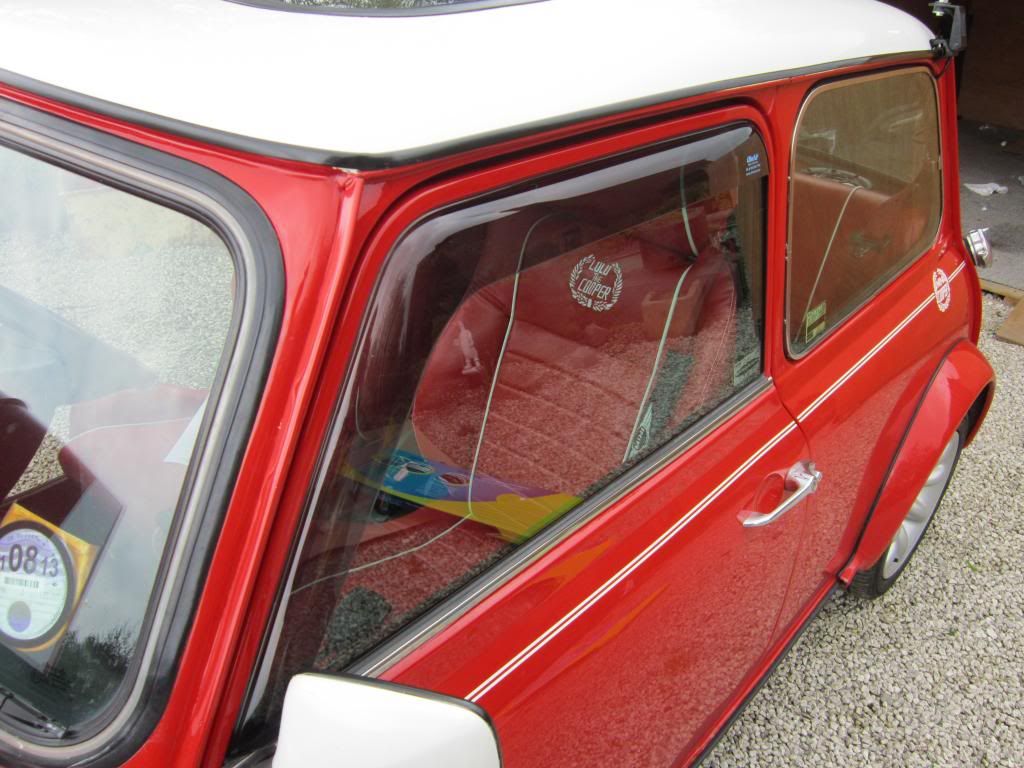
Wind deflectors on, literally took 2 minutes to fit these. I've heard that they take ages, but they didn't!
Managed to man-handle the stainless coil cover, wasn't as straight forward as I expected!
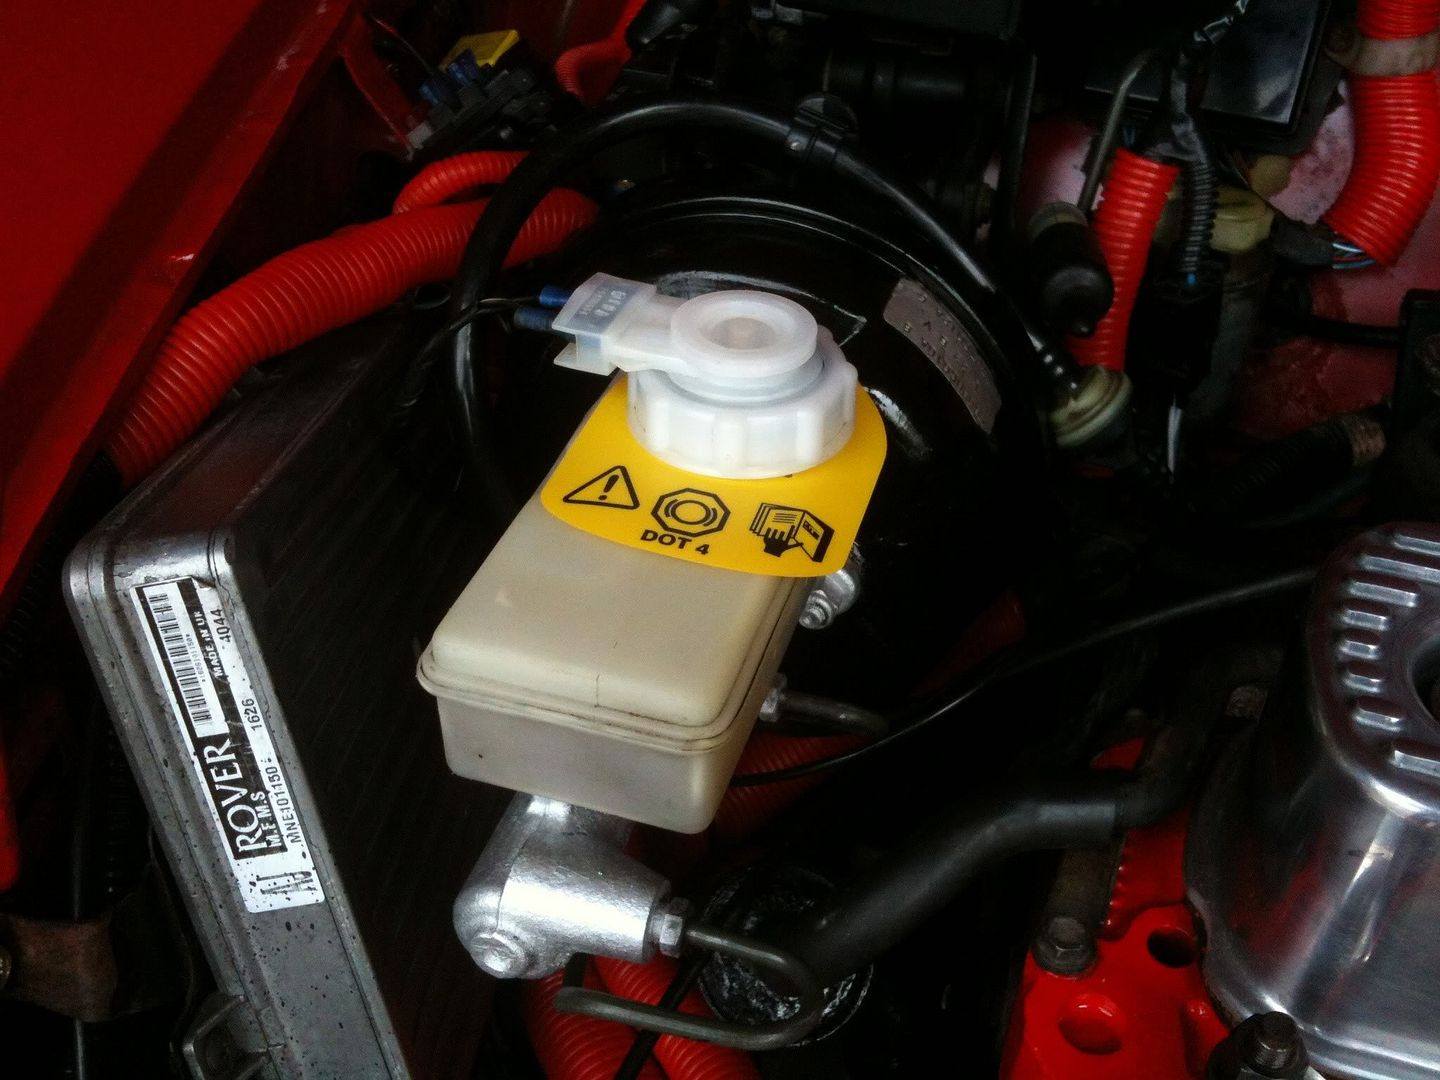
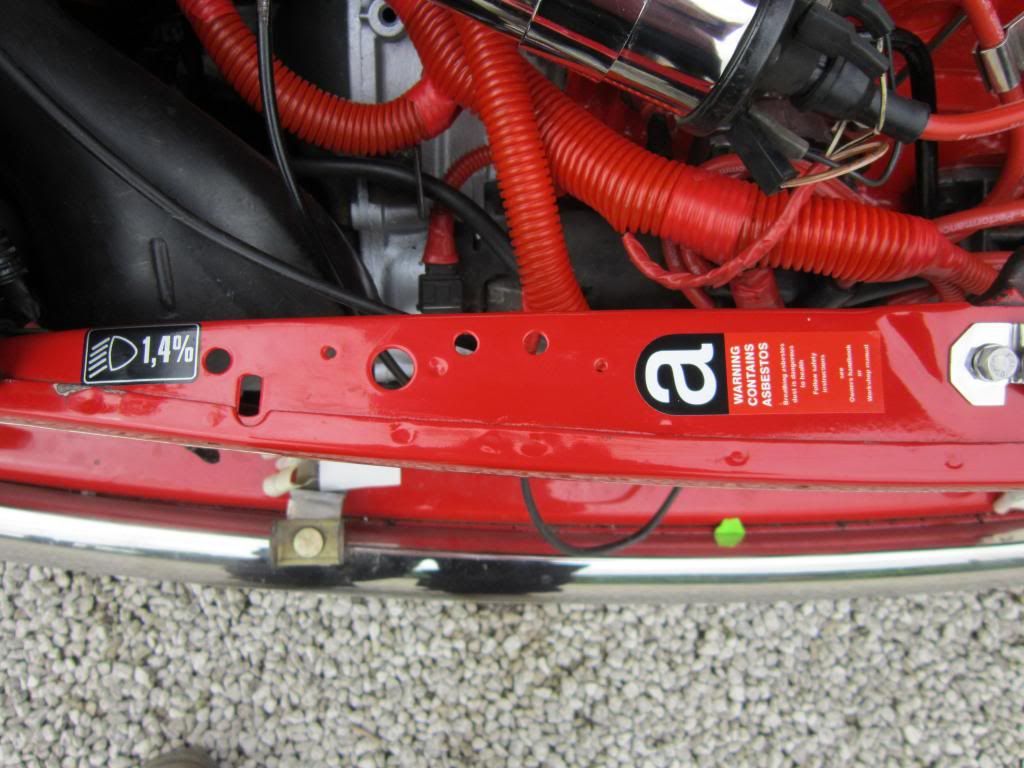
Smiffy's brake fluid tag fitted. Was a little loose, so I used a little double-sided:
Stainless bonnet plate on. I didn't want the spring and cable to come off, so I did one side at a time:
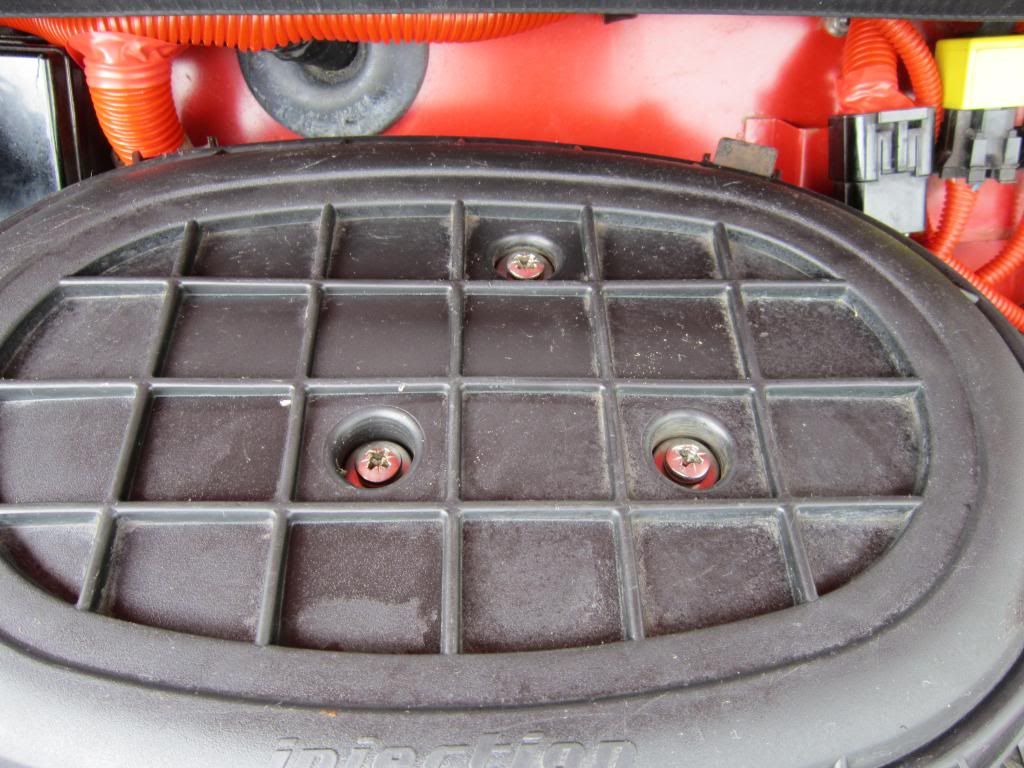
Ta-dah! Look how clean my fan is! 17 years of grime came off really easily! Not finished yet though.
One Carb Or Two?
Posted 31 May 2013 - 07:12 PM
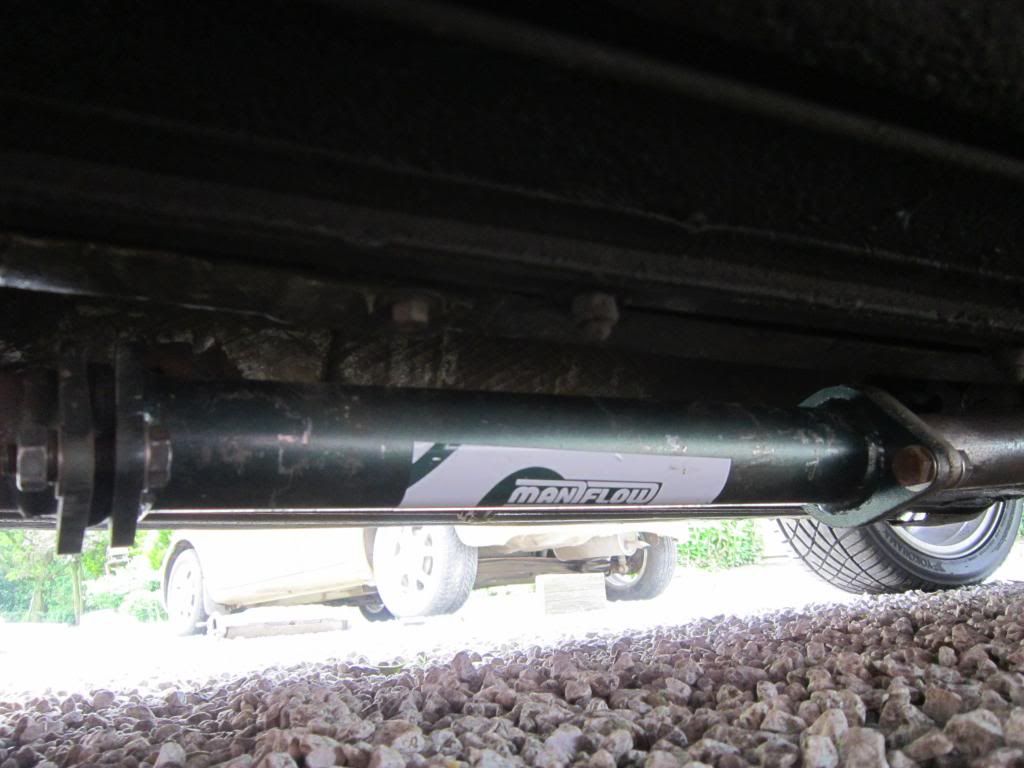
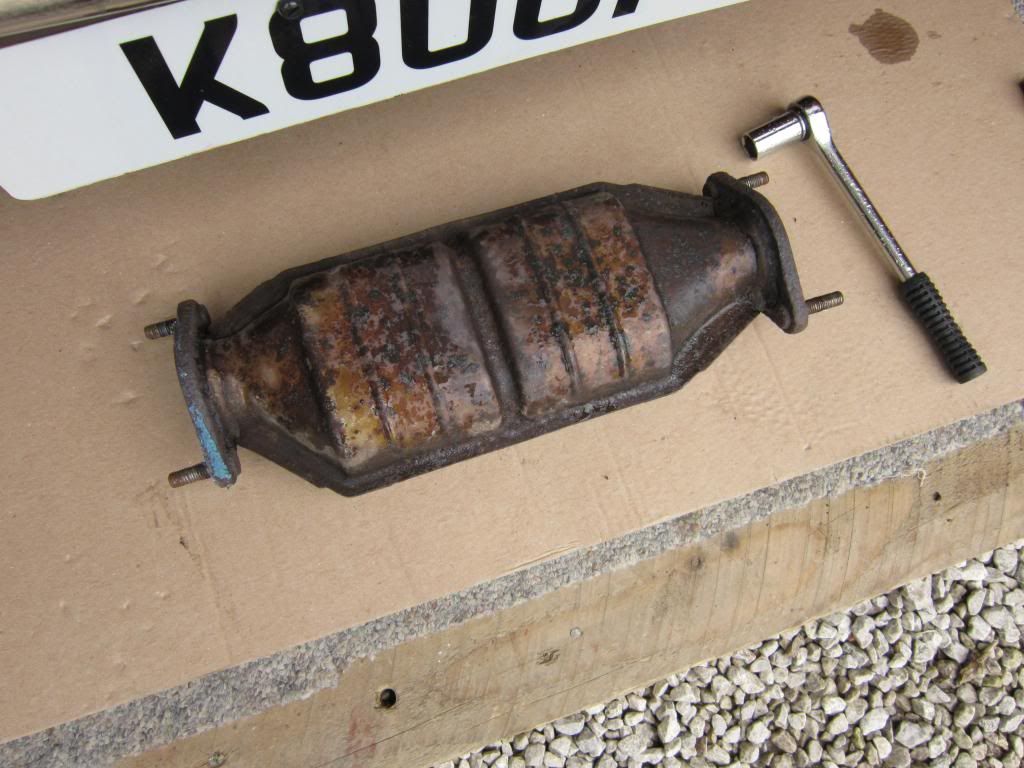
De-cat pipe on. God it sounds good now!! 
Manky manky thing:
Sticky stickers:

New stainless screws. Why not!
Penultimate step!
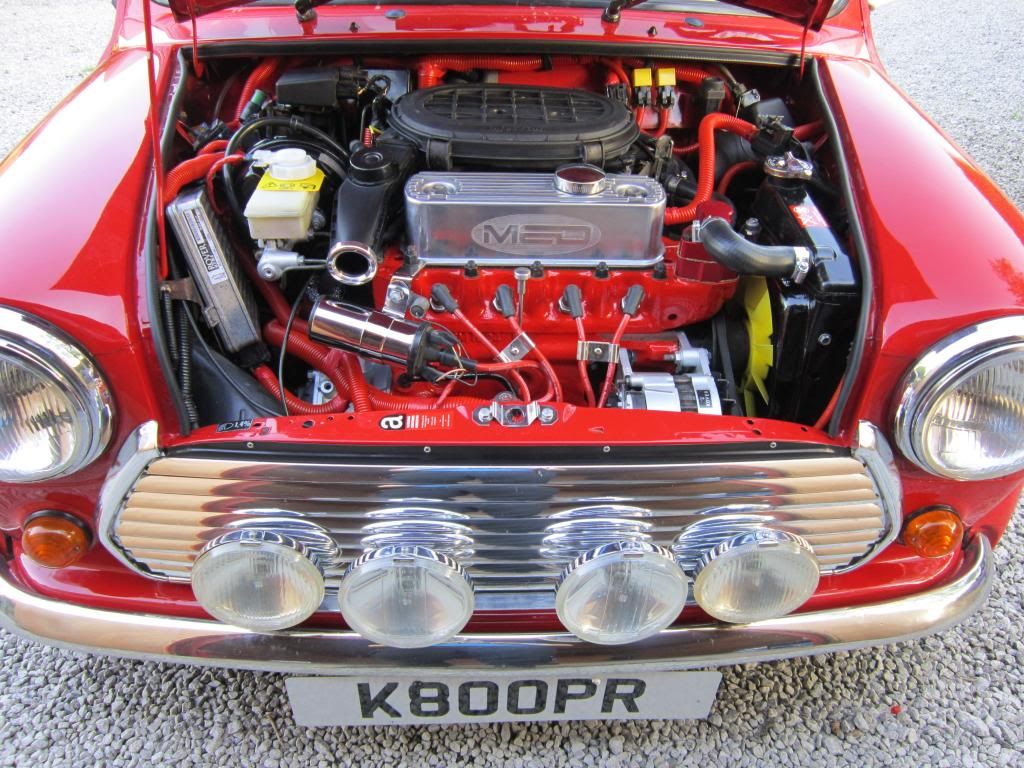
Made the grill and lights shiny!
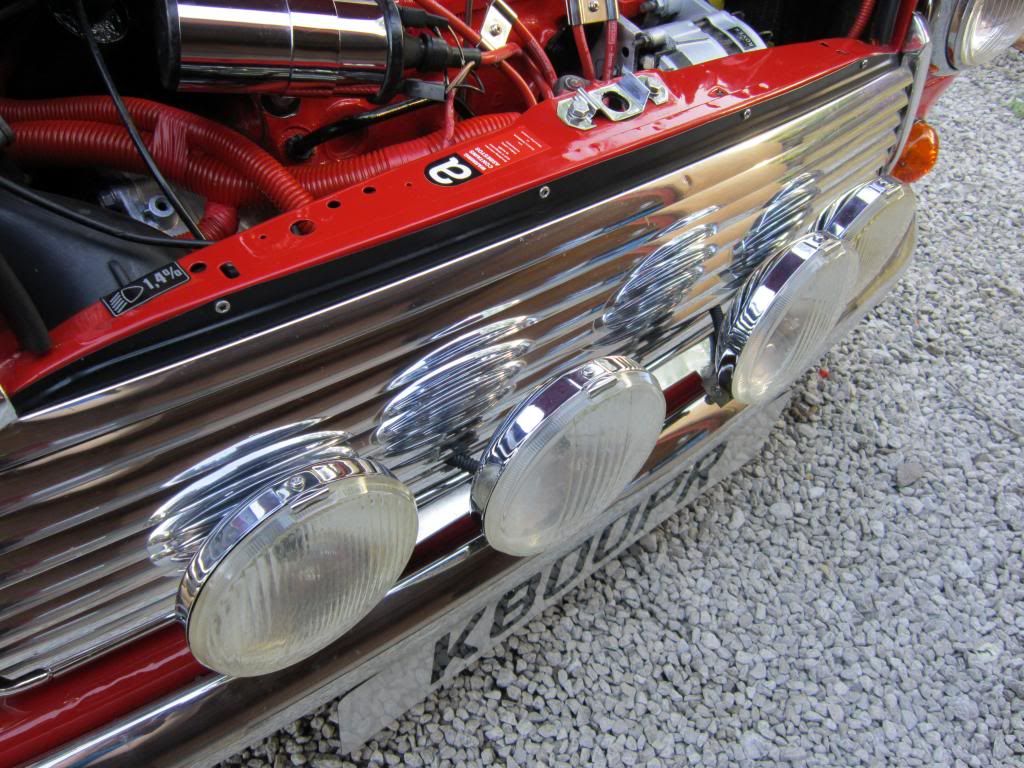
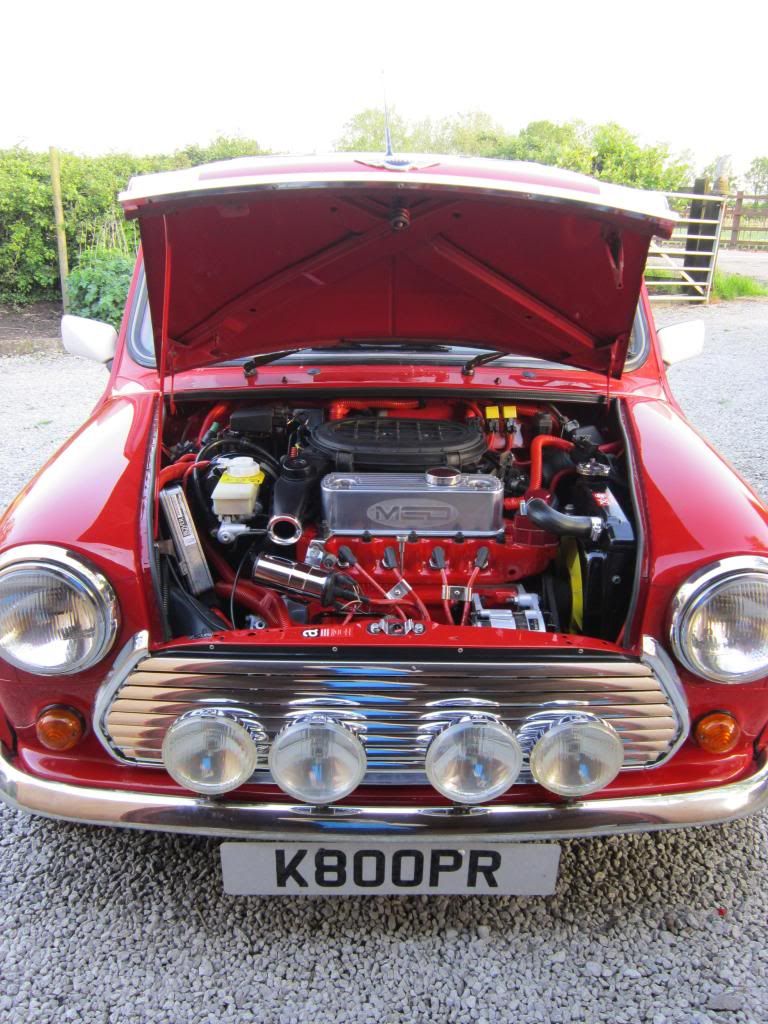
Annnd FINISHED!! So happy with how this came out.
One Carb Or Two?
Posted 31 May 2013 - 07:24 PM
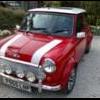
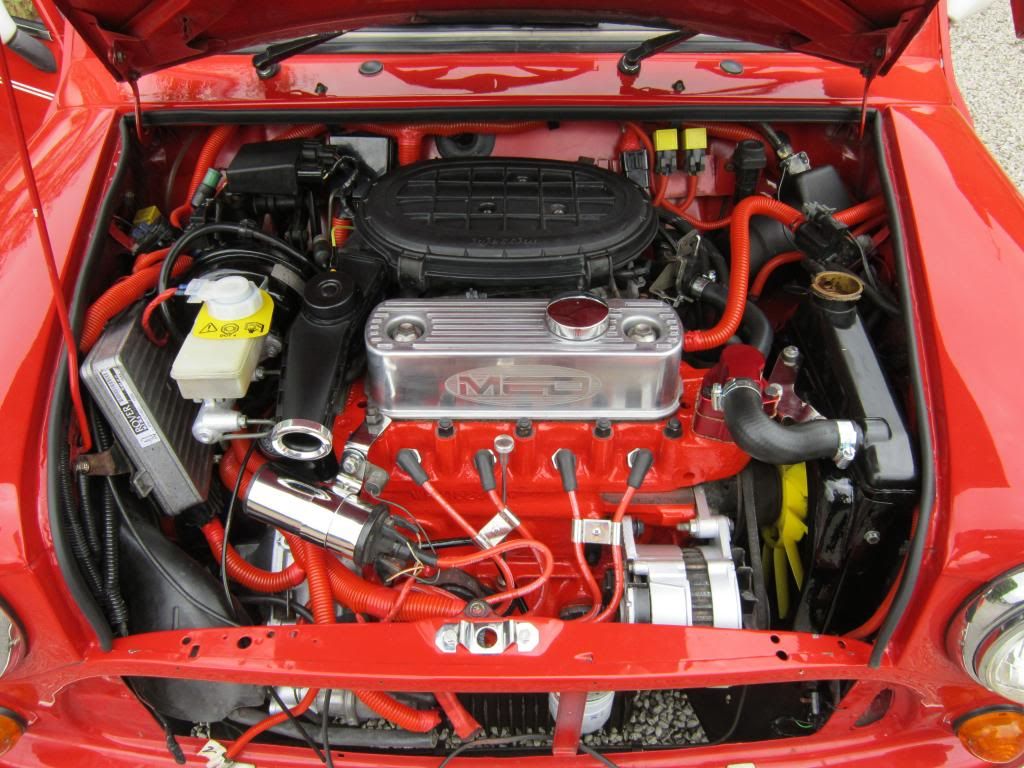
So the engine never left the car and here is the before and after transformation:
What do you think?
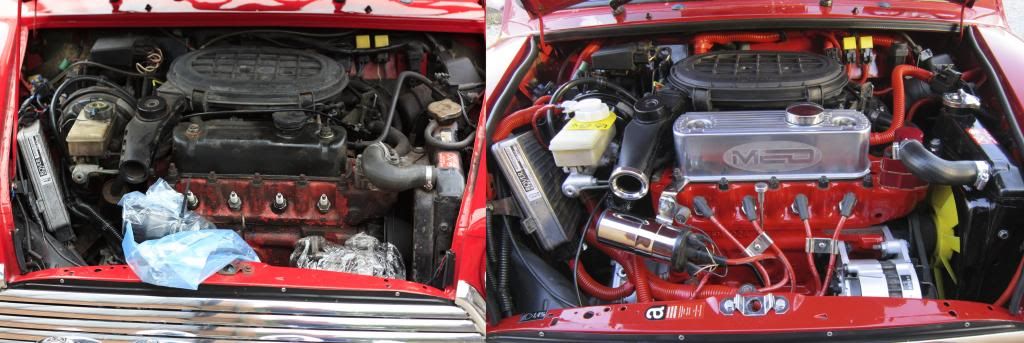
Safe to say I'll be popping the bonnet at L2B!
Up Into Fourth
Posted 31 May 2013 - 07:30 PM
Amazing work! Can see you're chuffed to bits.
Mini Mad

Posted 31 May 2013 - 11:04 PM
what an amazing job on the engine bay looks a million times better, i bet your very happy with that 
In the navy you can sail 7 peas

Posted 01 June 2013 - 07:21 AM
that engine bay looks smart as hell


0 members, 3 guests, 0 anonymous users