Jump to content


Photo

Building My Sub Enclosure


  • Please log in to reply
5 replies to this topic

#1 PartySausage

PartySausage

    Stage One Kit Fitted

  • Noobies
  • PipPipPip
  • 84 posts

Posted 21 September 2010 - 02:48 AM

Hey guys this is a little topic on my woffer box im making for my sub going on the back of my seats, done alot of home work found lots of advice.

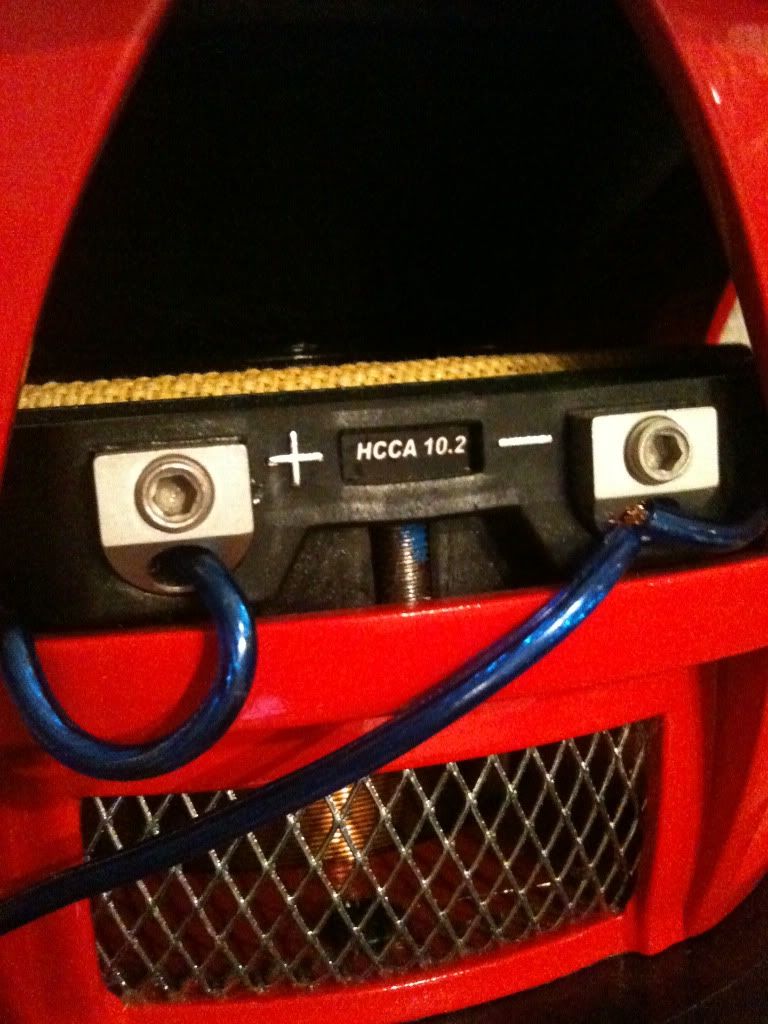
so if you guys know im running a orion hcca 10.2 4000watts peak woffer.

its my first time building a box, i didnt want to go to the audio shop and spend over 100 pounds when i know ill be more satisfied making it myself and hell cheaper.

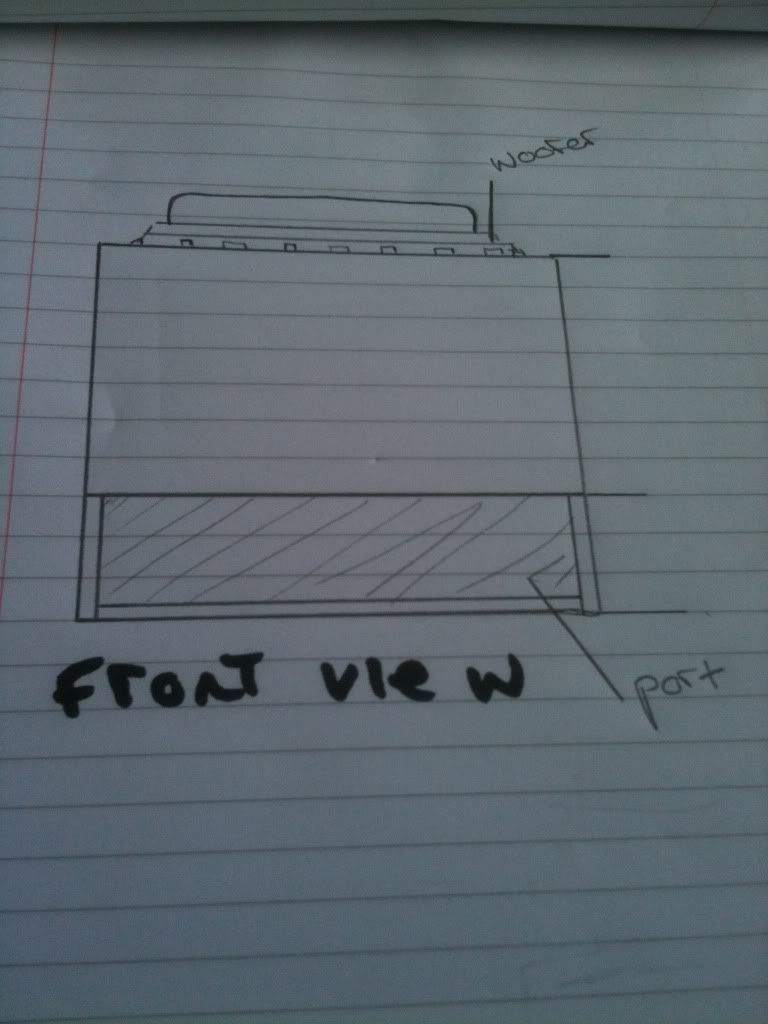
firstly i got measurement of course then carefully added them up to tune the box to 30hz with a 2.0 cbf (without sub woofer)

i used one of them subwoffer enclosure calculators you find on a google search

so the task is to build a box sounds simple huh?! WRONG!

the audio guys i get most of my advice from insisted i should use to 1inch thick mdf even up to 3inchs thick! he said he runs these in his motor and theyll just break any thing less then 1inch thick.

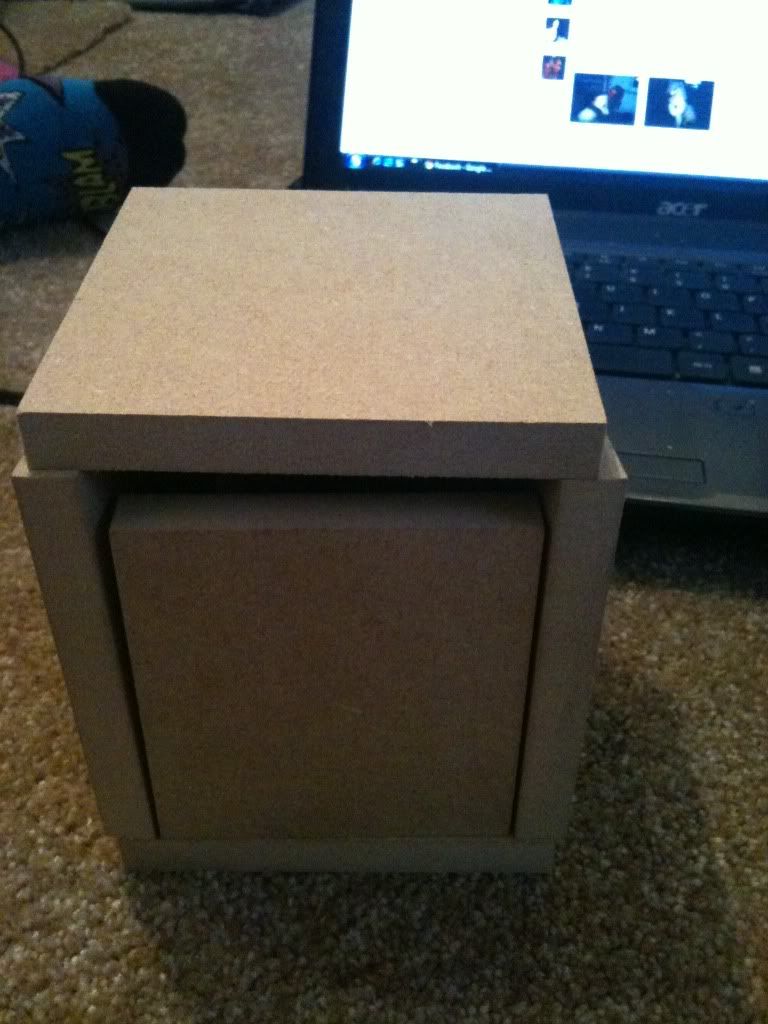
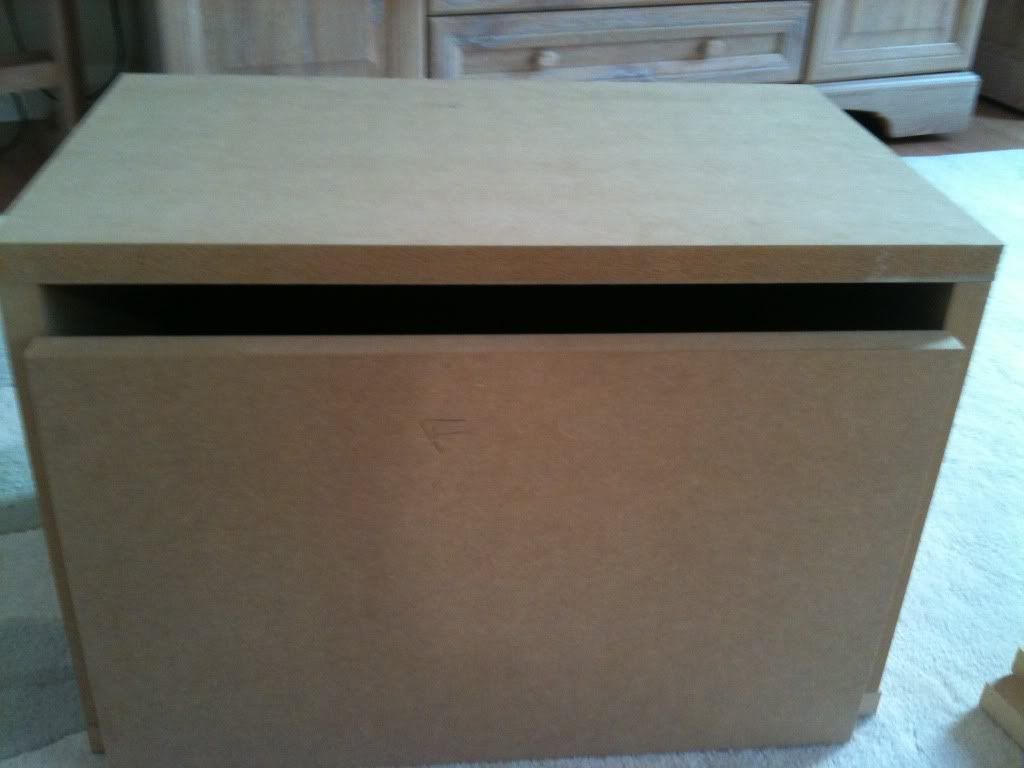
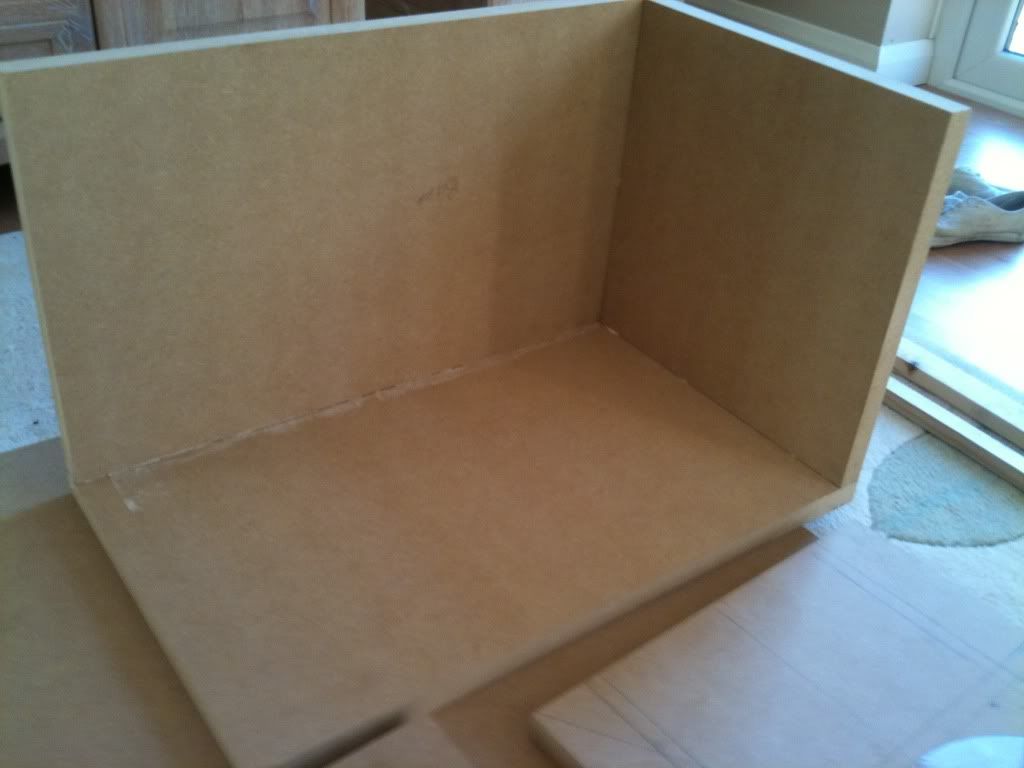
so i started off with a design and mini box so i could get my head around how itll all fit together with the joins ect...


http://i936.photobuc.../IMG_0219-1.jpg

http://i936.photobuc...ge/IMG_0235.jpg


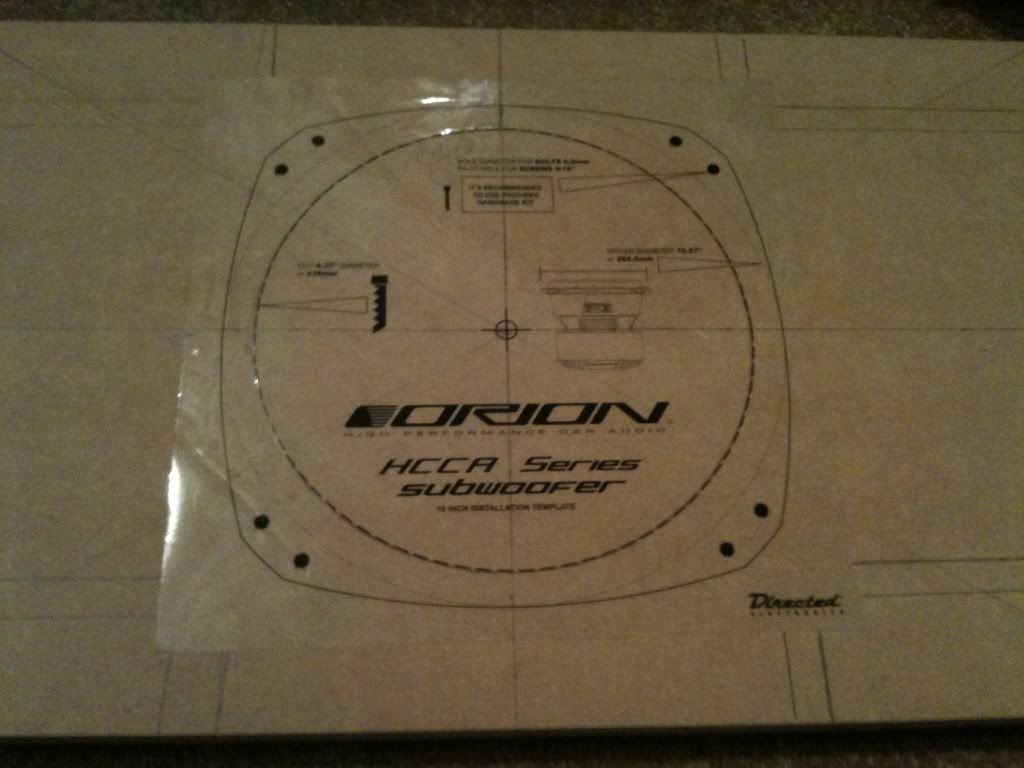
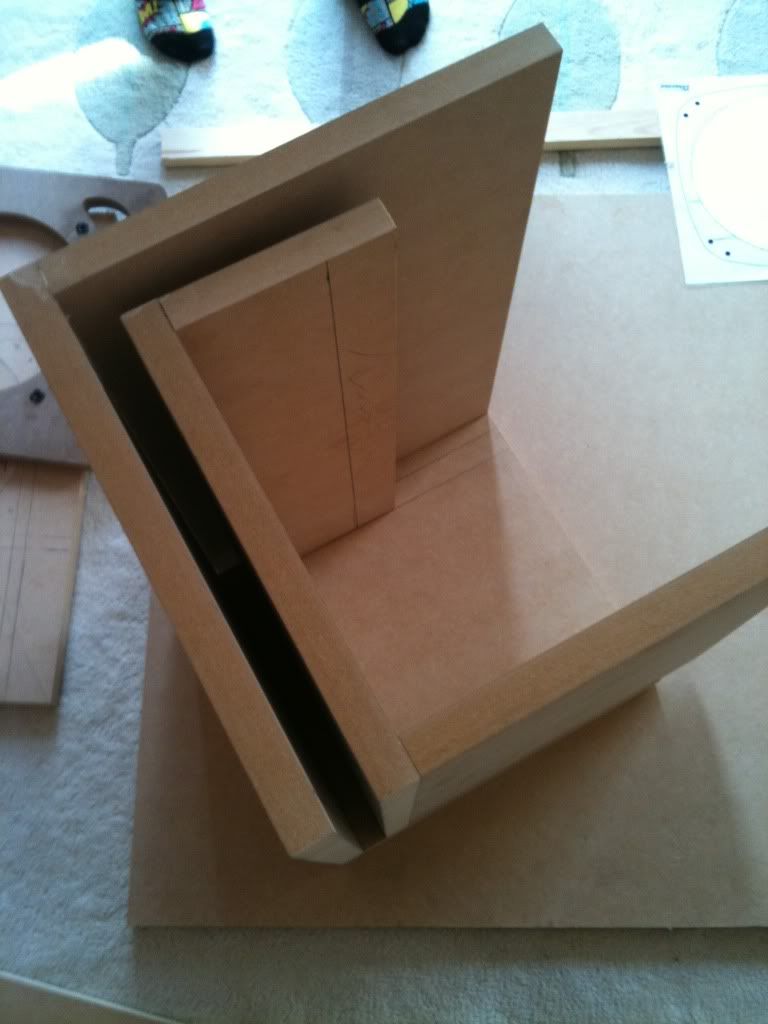
this means yeh i have my calculations all added up but then i had to calculate cutting sixes for everything to fit together so i had to chop bits off the side bits off the top the vents everything and maths got crazyyyyyy! Went to BNQ and the guy who cuts the wood was really helpful cut and measured and check everything perfect.

only spent 25pounds on a sheet of 1inch thick mdf and cut! bargin !

http://i936.photobuc...ge/IMG_0233.jpg


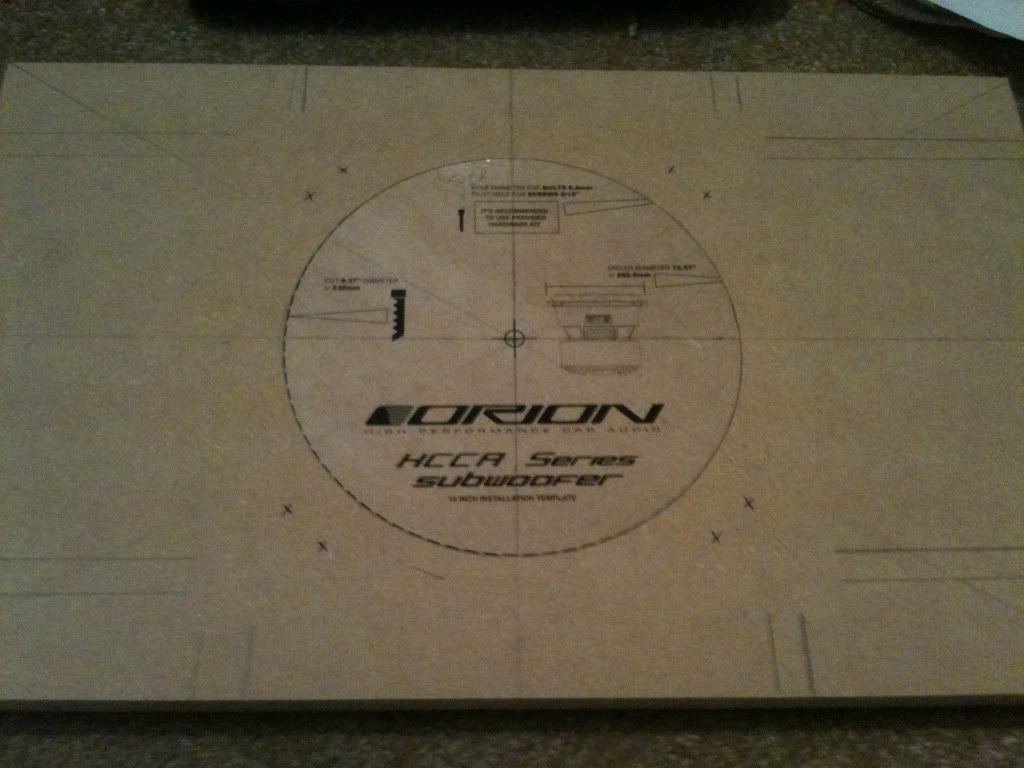
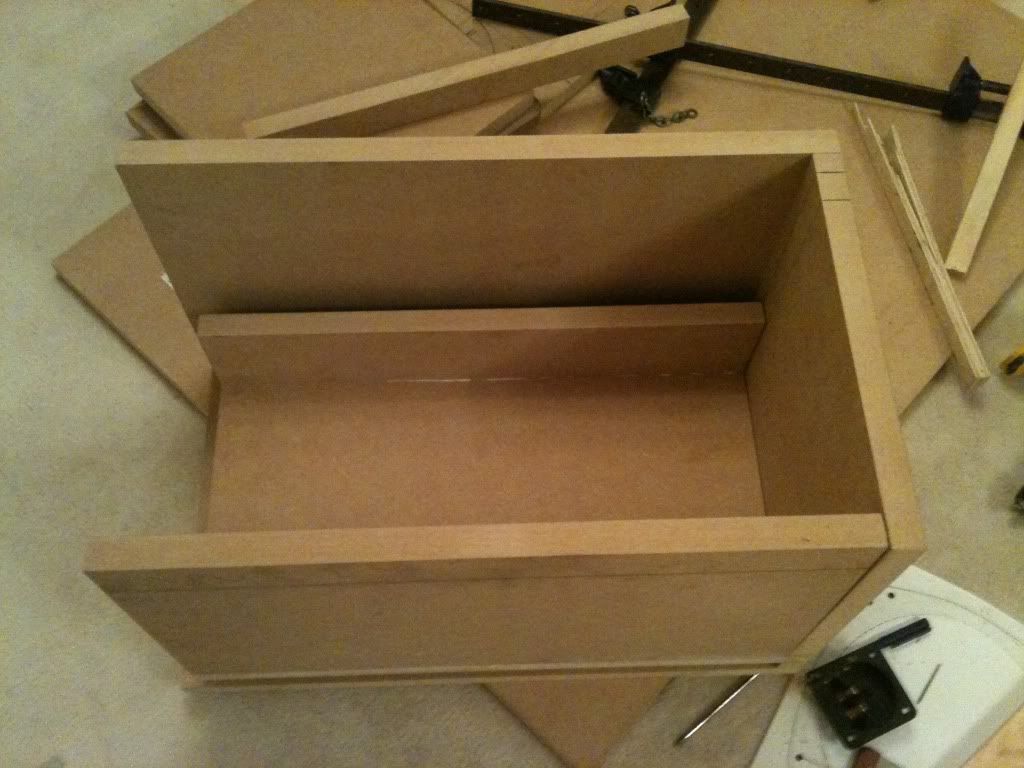
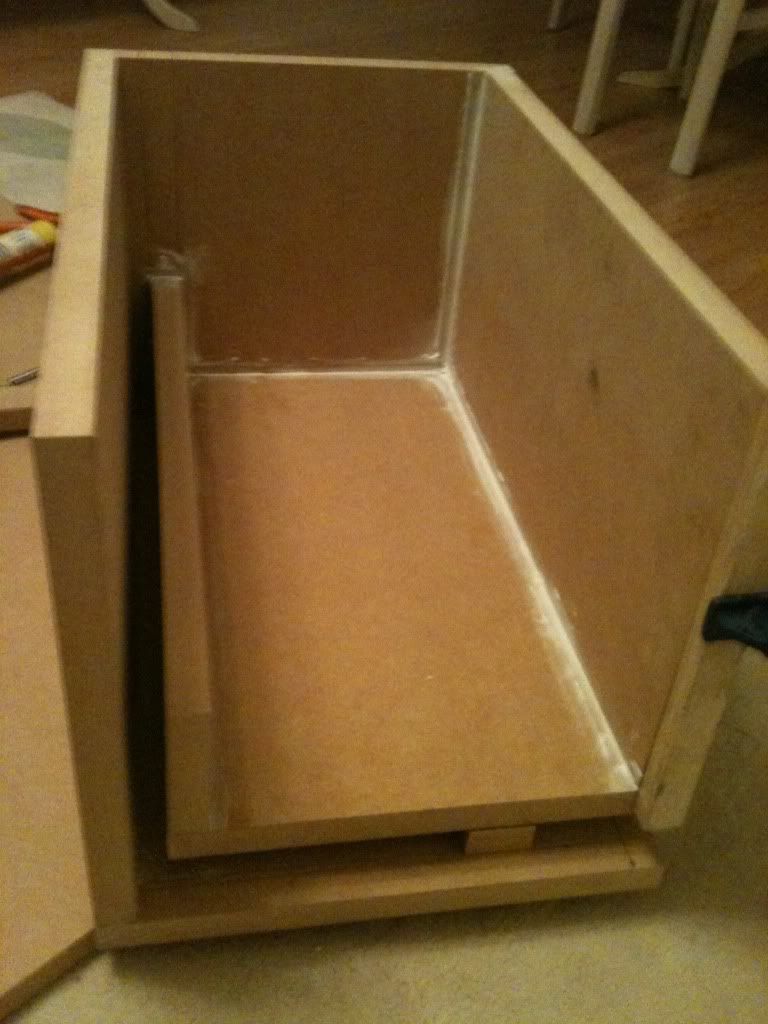
In the end i got it all to add up ( you cant the L vent but its there! )


its not together yet thats tomorrows job ! :)

http://i936.photobuc...ge/IMG_0236.jpg


http://i936.photobuc...ge/IMG_0237.jpg


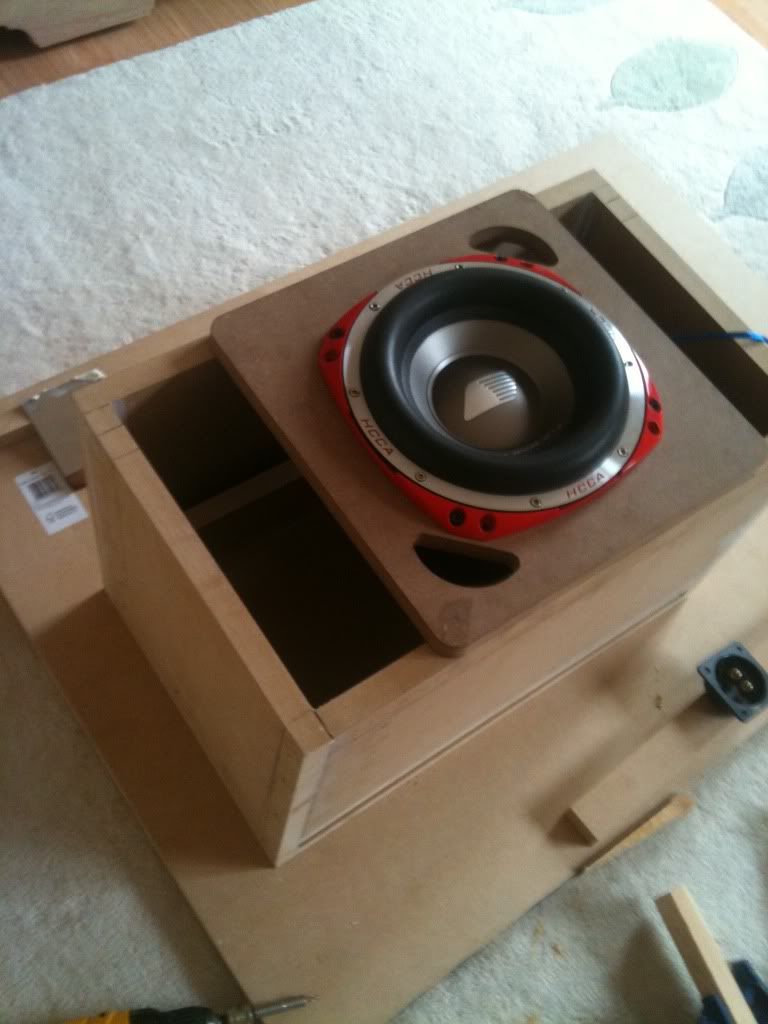
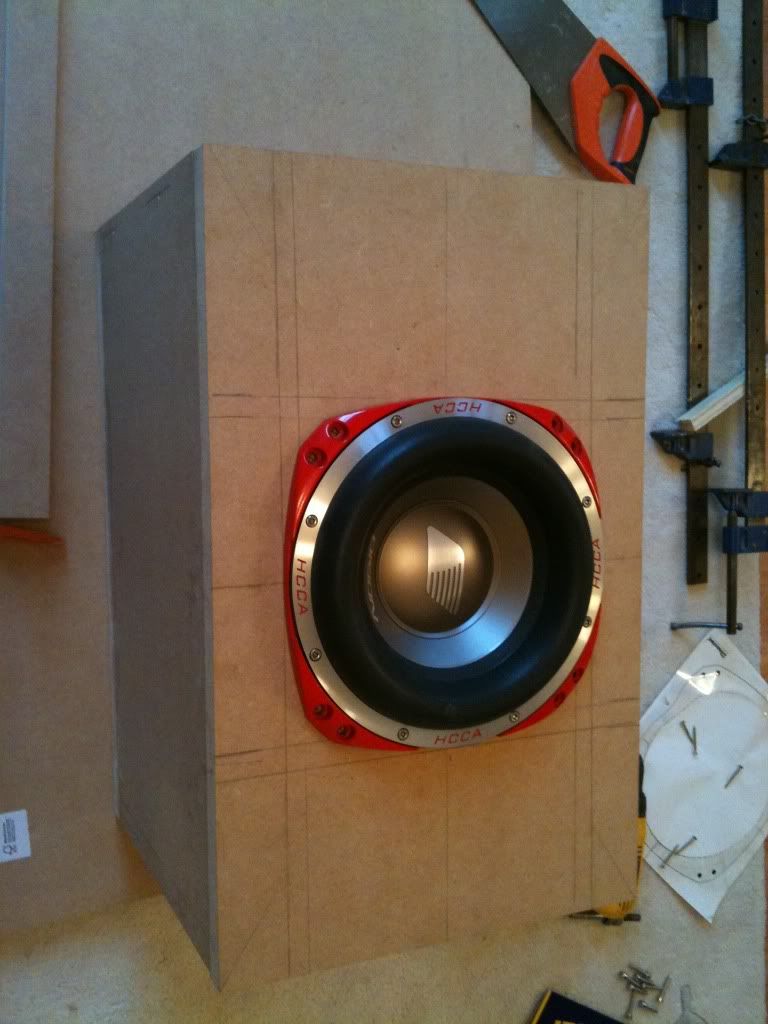
And a cheeky little peak of my 1ohm woffer going in

http://i936.photobuc...ge/IMG_0238.jpg

Anyways ill add more pictures tomorrow


UPDATE***********************22/9/10***********************

last few days have been real tricky had a friend come over and look at the box and had to remeasure and tune the box in to what i originally thought it was going to be
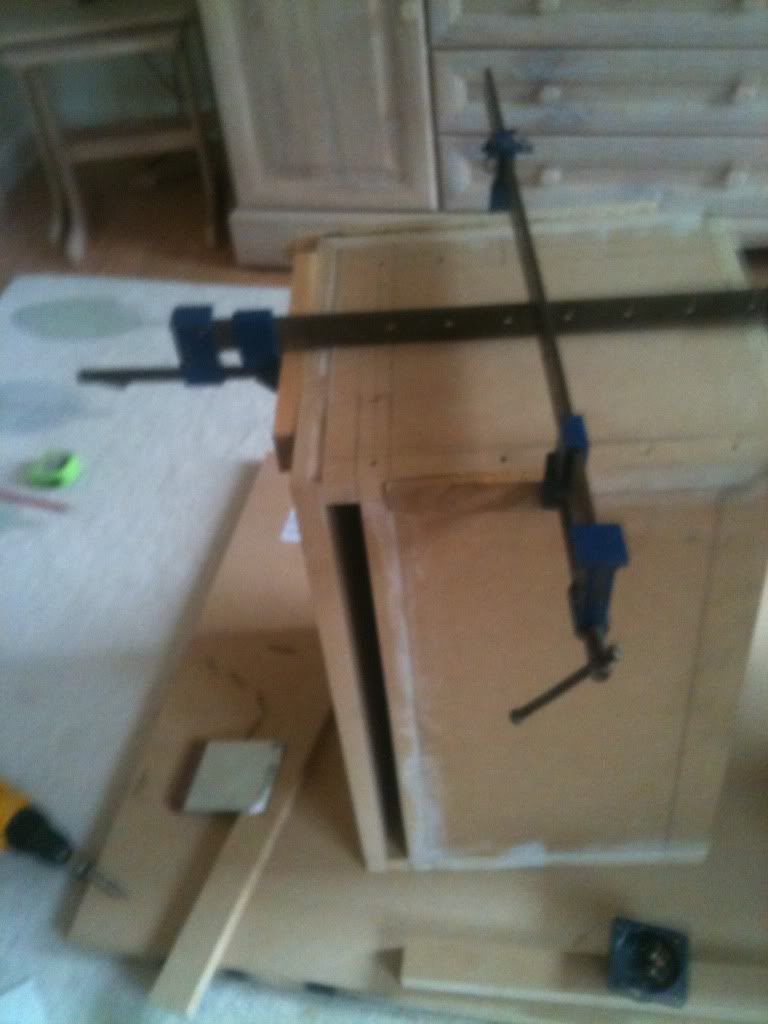
the box has glued well and ive had to cut two sides of the L port by hand which was a right B****H with a saw, managed to do it all well and i have some updated pictures!


http://i936.photobuc...ge/IMG_0261.jpg

http://i936.photobuc...ge/IMG_0267.jpg


http://i936.photobuc...ge/IMG_0268.jpg

http://i936.photobuc...ge/IMG_0270.jpg

http://i936.photobuc...ge/IMG_0271.jpg


the new measurements added up to the box being tuned at 44hz keep u posted only got one side and one top to do now!


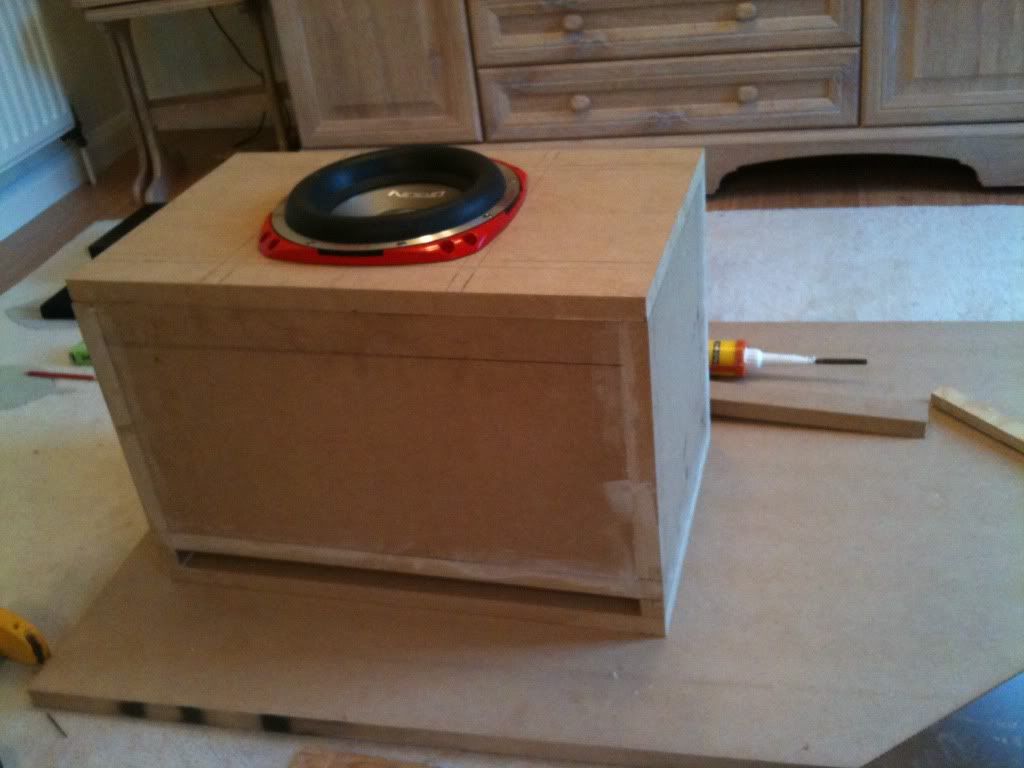
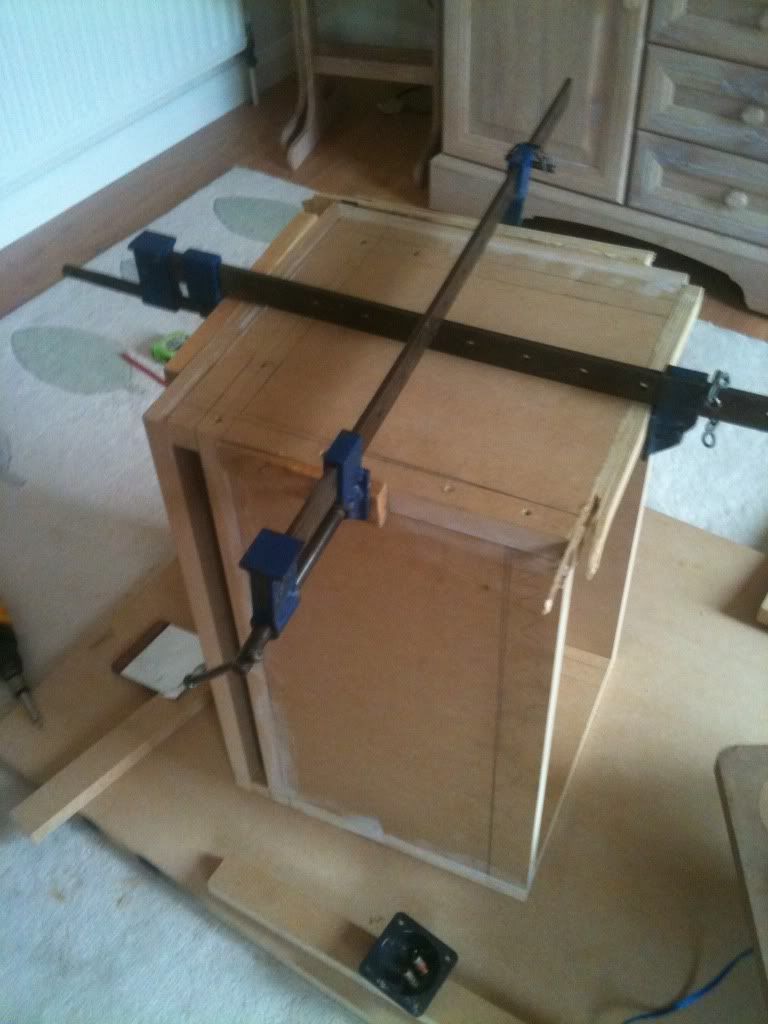
Got both sides on now its just the lid to do!

http://i936.photobuc...ge/IMG_0272.jpg

http://i936.photobuc...ge/IMG_0273.jpg

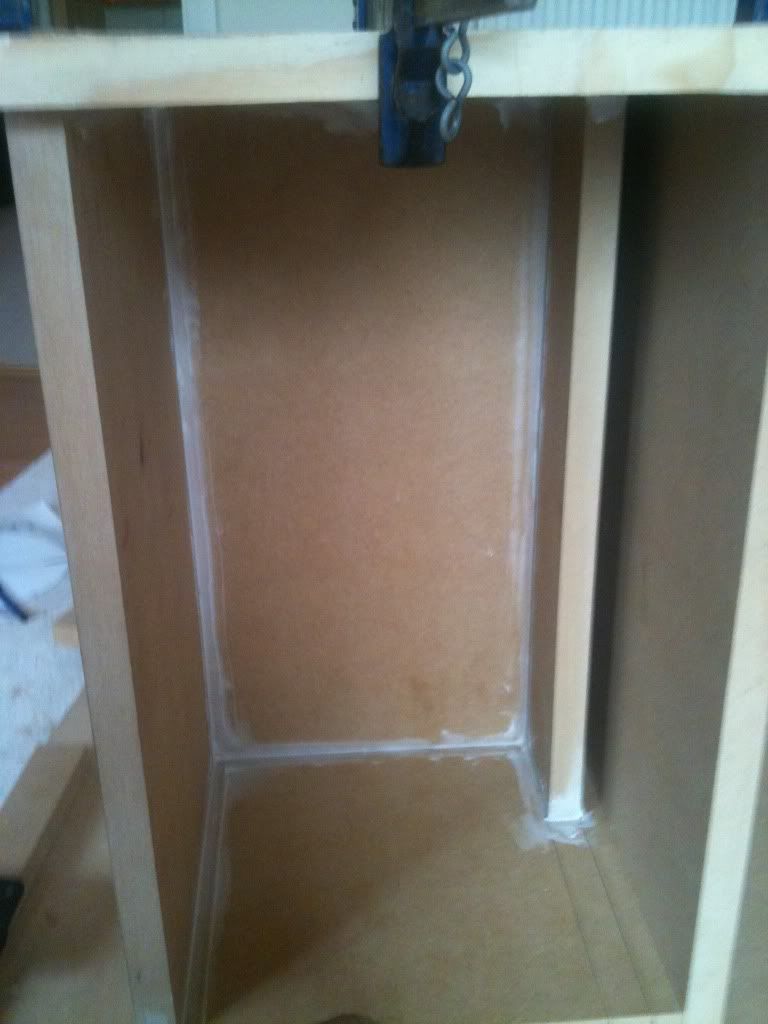
http://i936.photobuc...ge/IMG_0274.jpg Inside the box air tight!


23/9/10***************************NEARLY FINISHED :D**************************


okay so i did the last side this morning it fitted 1mm out as all the glued has settled and moved everything out but sorted that due to a bit of sand paper and man muscle

ive just come up from doing the lid and screwing the sub into place the last thing i need to do is cut the connector block on the side so the wires can be connected inside out ill get pictures tomorrow


http://i936.photobuc...ge/IMG_0279.jpg Making sure everything fits nice!


http://i936.photobuc...ge/IMG_0281.jpg inside the box just about see the L port


http://i936.photobuc...ge/IMG_0285.jpg

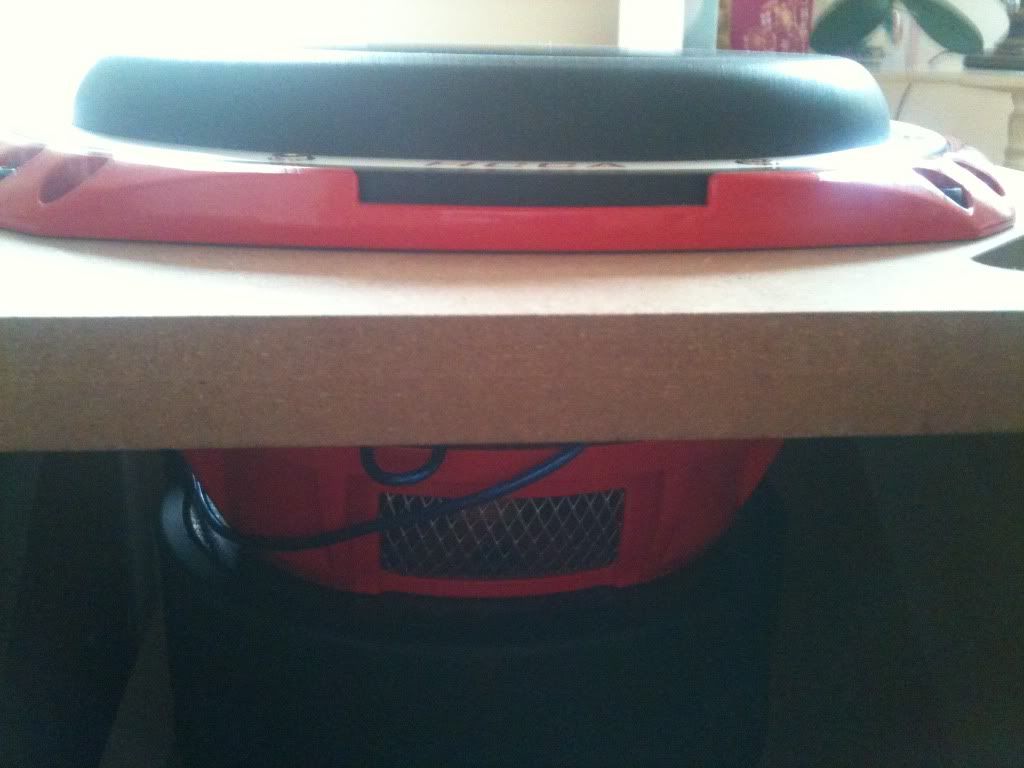
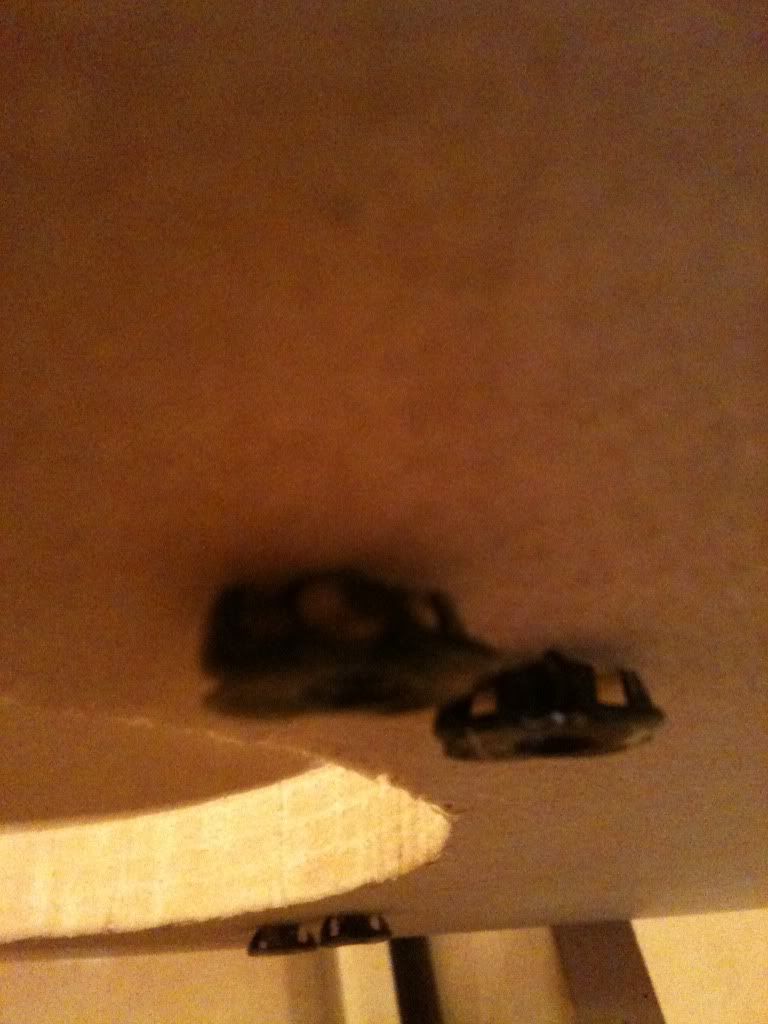
Managed to find these bolt like things, i made the holes bigger and put the bolts though and as the sub sits on and tightens up the sub should fit real snug i was going to use self tappers but i know this woffers going to vibrate alot and may rip the box to pieces

http://i936.photobuc...ge/IMG_0288.jpg Using a few washers it all settled nicely


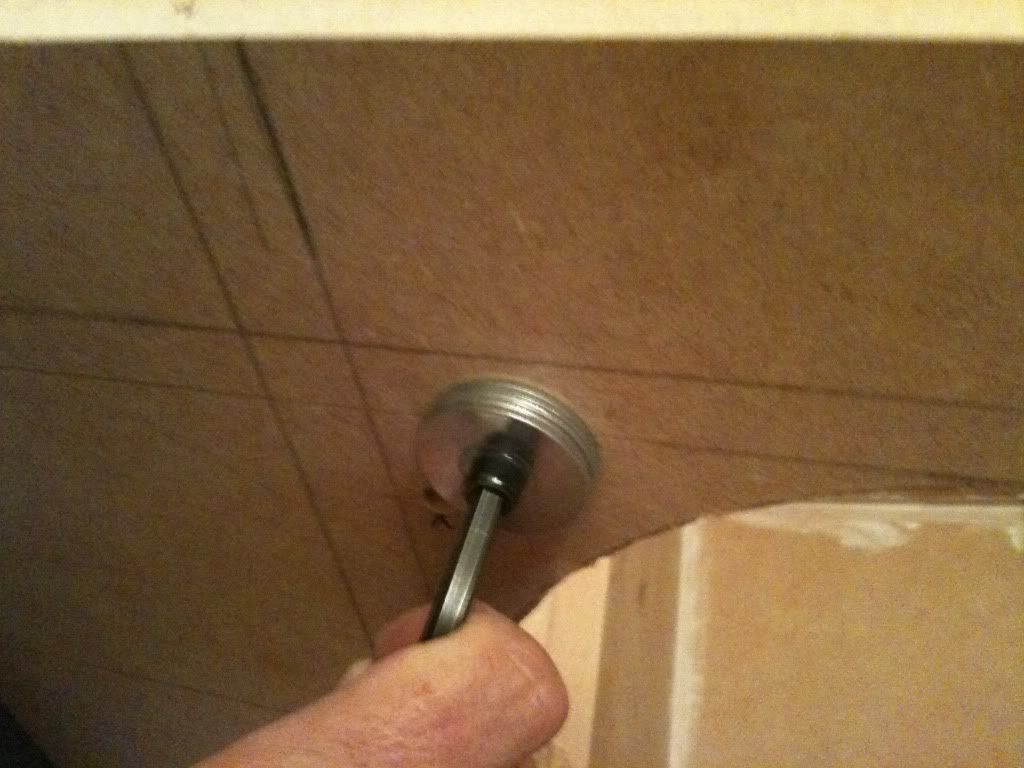
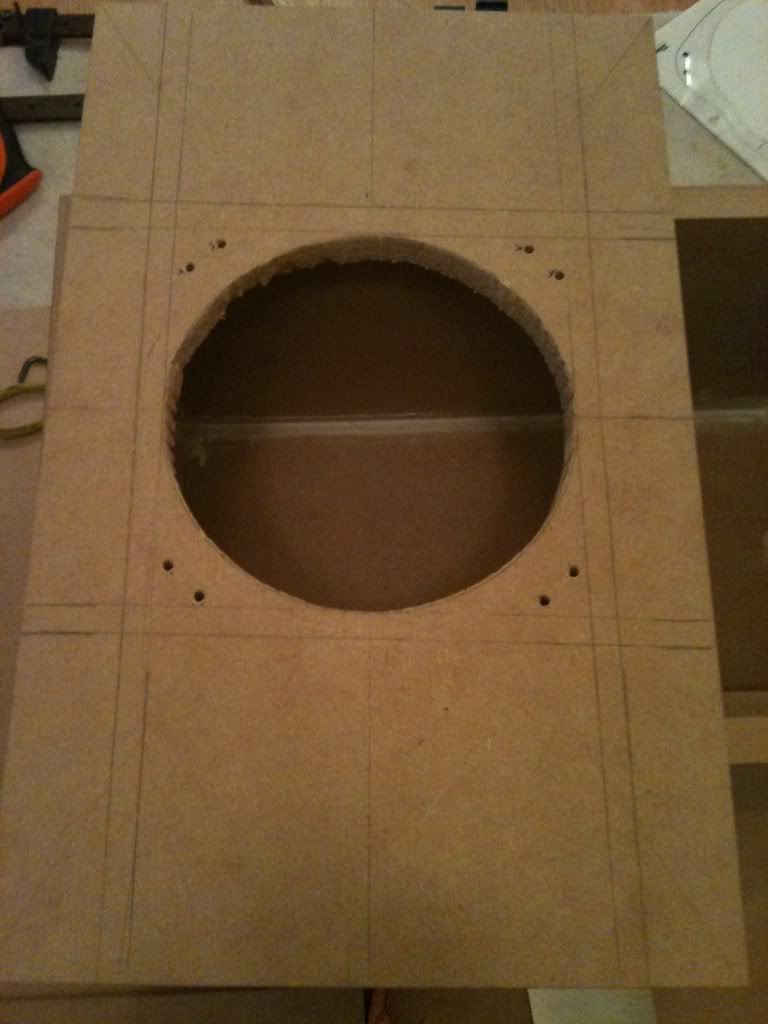
http://i936.photobuc...ge/IMG_0287.jpg I cut the hole dont laugh with a drill and a saw n then found a jigsaw which annoyed me alot hahaha


but the hole is perfect again using sandpaper got it all to match up good!

http://i936.photobuc...ge/IMG_0283.jpg TOP VIEW :D


Posted Image


Needs to be carpeted and the connector block and its finished!

Anyone got any other ideas instead of carpeting it?!

Edited by PartySausage, 23 September 2010 - 07:17 PM.


#2 travellering

travellering

    Mini Mad

  • Noobies
  • PipPipPipPip
  • 125 posts

Posted 22 April 2011 - 01:38 AM

Needs to be carpeted and the connector block and its finished!

Anyone got any other ideas instead of carpeting it?!


Carpet's always good since it doesn't show damage as most things get sliding around in a mini. One of the nicest sub boxes I have seen had black carpeted corners, then the main area of each panel was some sort of rich dark wood veneer. If you or any mates have access to a CNC or waterjet, you could always have some covers/guards cut out of aluminium plate, perhaps some sort of repeating pattern, or your car's name, etc....

#3 Brams96

Brams96

    Up Into Fourth

  • TMF+ Member
  • PipPipPipPipPipPipPipPipPip
  • 2,308 posts
  • Local Club: Kentish Mini Club

Posted 30 April 2011 - 02:25 PM

Looks good so far. What amp are you powering that bad boy with?

#4 Ruckus

Ruckus

    Ice Ice Baby!!!

  • Members
  • PipPipPipPipPipPipPipPipPip
  • 2,071 posts
  • Location: Top of the hill in Kent
  • Local Club: SMOC

Posted 10 May 2011 - 09:20 AM

Very Nice solid Build :withstupid:

And at 44hz it should sing in a Mini with cabin gain.

We have found in the past that there is a lot of help from cabin gain in a mini around 47hz and then up near 65.

AMP? Power Supply? give us more.. :ermm:

#5 TopCatCustom

TopCatCustom

    Previously known as C4NN0N.

  • Members
  • PipPipPipPipPipPipPip
  • 1,134 posts

Posted 10 May 2011 - 09:38 AM

Nice build, I knew a bit about ICE but been out of it for a few years as been concentrating on engines!

How does the tuning go- I understand half of it, i.e. tuning the box for 44hz means it is at it's prime at 44hz (I think?!) but what happens either side of that frequency? Say If you go down to 33hz or up to 50hz- is it just not quite as effective as it could be? Also how does the L port work- I thought that the square corners would cut out most of the sound coming through the thin slit, where if it had a 45° angle in the corner it would help?

Sorry for all the questions!

#6 Ruckus

Ruckus

    Ice Ice Baby!!!

  • Members
  • PipPipPipPipPipPipPipPipPip
  • 2,071 posts
  • Location: Top of the hill in Kent
  • Local Club: SMOC

Posted 10 May 2011 - 11:10 AM

Nice build, I knew a bit about ICE but been out of it for a few years as been concentrating on engines!

How does the tuning go- I understand half of it, i.e. tuning the box for 44hz means it is at it's prime at 44hz (I think?!) but what happens either side of that frequency? Say If you go down to 33hz or up to 50hz- is it just not quite as effective as it could be? Also how does the L port work- I thought that the square corners would cut out most of the sound coming through the thin slit, where if it had a 45° angle in the corner it would help?

Sorry for all the questions!


Hi C4NN0N
The point of porting is to tune an enclosure to give a desired frequency gain (boost) and yes as well as peak you get dips. These peaks and dips are due to the ports resonance frequency, inside the port you get standing waves this in turn boost or cuts SPL as hits listener.
The trick is to get a peak where you want it and get a dip outside of the frequency you are crossing over at.

ie peak at 45hz and dip at 90hz when you are crossing at 80hz

Slot ports are good for SPL focused setups as you can use as big a port as you need, but they have a couple of down sides.

Port noise, Port noise is created by the friction of air moving in/past the port.
Larger enclosure, to ‘help’ with the port noise you need to use a much large box due to the large port size.
Lack of Acoustic suspension. Using a sealed of small port box gives the speaker AIR suspension to ‘sit’ on. This can help the long term life of the Subwoofer.

Flared ports have little port noise and do not need an overly enlarged enclosure. But they do not help the SPL as much as a Slot port due to their limit in size and therefore tuning scope.

Edited by Ruckus, 10 May 2011 - 11:17 AM.


0 user(s) are reading this topic

0 members, 0 guests, 0 anonymous users