Jump to content


Photo
- - - - -

Project Paddy A Long And Slow Rebuild.


  • Please log in to reply
1086 replies to this topic

#346 sonikk4

sonikk4

    Twisted Paint Polisher!!!

  • Admin
  • PipPipPipPipPipPipPipPipPipPipPip
  • 15,909 posts
  • Name: Neil
  • Location: Oxfordshire

Posted 30 April 2015 - 07:01 PM

Pinned the arch in place and then offered up the quarter panel and arch close out panel, not good so after a few tweaks here and there it all lined up nicely.

IMG_4134_zpsbsnaowkg.jpg


So the arch got a good dose of welding and ended up looking like this

IMG_4136_zpshdaq9hgr.jpg


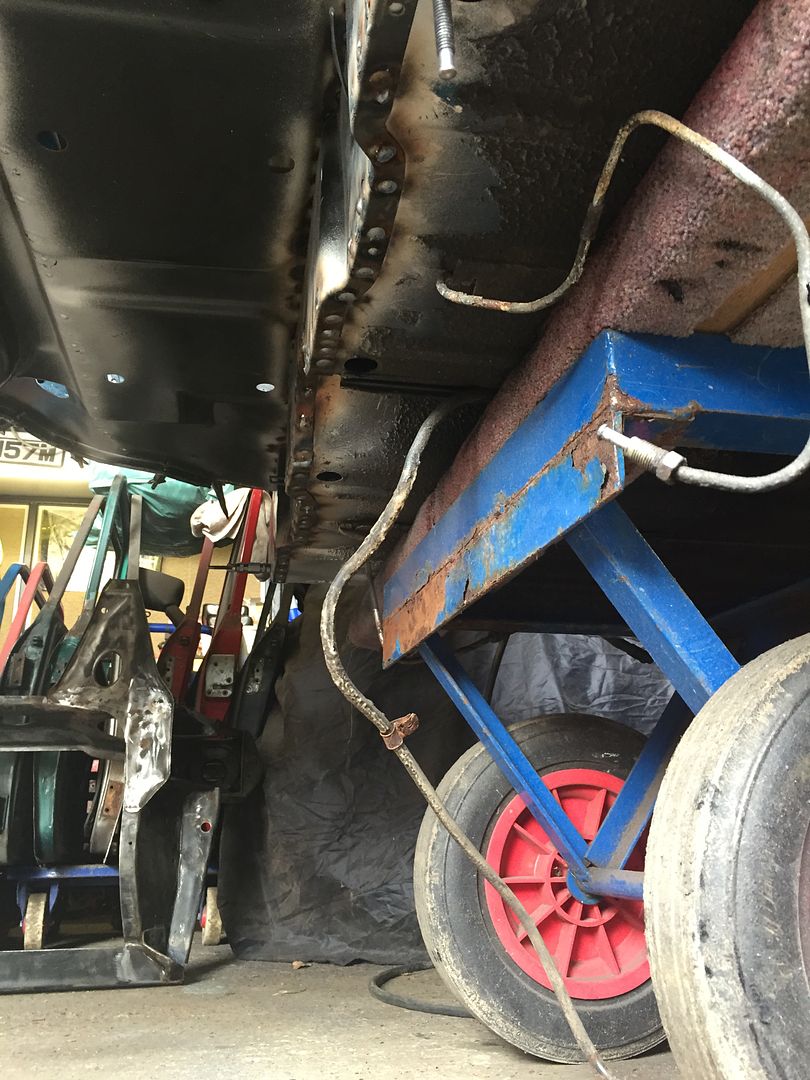
Chucked a wee patch into the bulkhead after the damage i caused getting the arch and everything else off. Just needs a good cleaning up then it will be time to weld the whole thing in. Then it will time to repeat on the other side.

IMG_4137_zpsahfjw98n.jpg


#347 Covert

Covert

    Super Mini Mad

  • Members
  • PipPipPipPipPipPip
  • 526 posts
  • Location: Northampton

Posted 30 April 2015 - 07:06 PM

Looks awesome neil, i see where you have plug welded the lip on the healboard to the floor, have you also done the other lip that attaches to the underside if the floor ?
Thanks

#348 sonikk4

sonikk4

    Twisted Paint Polisher!!!

  • Admin
  • PipPipPipPipPipPipPipPipPipPipPip
  • 15,909 posts
  • Name: Neil
  • Location: Oxfordshire

Posted 30 April 2015 - 07:10 PM

Looks awesome neil, i see where you have plug welded the lip on the healboard to the floor, have you also done the other lip that attaches to the underside if the floor ?
Thanks


Yes i have and will clean all of the welds back once the car is on the spit. It will certainly be a lot stronger than the factory spot welds. They are quite poor on this wee motor.

IMG_4060_zpsns8zv4mu.jpg


#349 Covert

Covert

    Super Mini Mad

  • Members
  • PipPipPipPipPipPip
  • 526 posts
  • Location: Northampton

Posted 30 April 2015 - 07:14 PM

Cool thanks matey, that was my plan too , so long as im on the right track !

#350 sonikk4

sonikk4

    Twisted Paint Polisher!!!

  • Admin
  • PipPipPipPipPipPipPipPipPipPipPip
  • 15,909 posts
  • Name: Neil
  • Location: Oxfordshire

Posted 30 April 2015 - 07:18 PM

Cool thanks matey, that was my plan too , so long as im on the right track !


On my boys car i plug welded and seam welded on the inside just for good measure. A bit OTT but it will never break.


#351 sonikk4

sonikk4

    Twisted Paint Polisher!!!

  • Admin
  • PipPipPipPipPipPipPipPipPipPipPip
  • 15,909 posts
  • Name: Neil
  • Location: Oxfordshire

Posted 08 May 2015 - 06:42 PM

So after much trial fitting the r/h arch is in. Trial fitted with everything in place

IMG_4148_zpsmub4e83h.jpg

Then it was time to slave this wee bracket in place

IMG_4154_zpsot398c1c.jpg

 and then welded in place

IMG_4150_zpsvxkagea3.jpg

Then after checking everything else still fitted

IMG_4149_zpssgnjbrbi.jpg

It was welding time

IMG_4152_zpsoxsd4goq.jpg

IMG_4153_zpsyzme76qv.jpg

and then cleaned up

IMG_4155_zpsyfnac6e4.jpg

IMG_4158_zpsbdcufaff.jpg

IMG_4157_zpsdfa5gncm.jpg

 so hopefully next week the waist rail will go in. The arch front closeout will be left for the time being until the inner sill is done.


#352 CBJ805T

CBJ805T

    Speeding Along Now

  • Members
  • PipPipPipPipPip
  • 431 posts
  • Location: Kenilworth

Posted 11 May 2015 - 11:42 AM

Hi Neil, 


I've got my boot floor assembly arriving this weekend and I was just after some advice about chopping it out. Like you, I will also be replacing the inner arches and as such I had been thinking about just cutting the inner arches above the line of boot-floor to arch spots, to release the boot floor. 


However I can see from your photos below, you've drilled out the spots on the arches, even though they are going - presumably to retain them as a datum. Did you find you needed these datums when refitting the boot floor, or if doing it again, would you have yourself the job of drilling the spots?


Any other advice on this job welcome :-)


Cheers


Chris

Mmm found this on the floor today

IMG_3711_zpsxygmcv6w.jpg


Think it came from here

IMG_3705_zpsobnehpmz.jpg

IMG_3706_zpsa7u8etol.jpg

IMG_3707_zpssratwfmm.jpg

IMG_3708_zpsvgnsczfx.jpg


And a  classy bodge, never seen this before

IMG_3709_zpsihjlph9k.jpg

IMG_3710_zpshohba148.jpg

Yep the body shop welded the rear valance to the trim strip W.T.F!!!! O_O  O_O  O_O


little bit more cleaning up to do tomorrow then a trial fit of the floor.


#353 sonikk4

sonikk4

    Twisted Paint Polisher!!!

  • Admin
  • PipPipPipPipPipPipPipPipPipPipPip
  • 15,909 posts
  • Name: Neil
  • Location: Oxfordshire

Posted 11 May 2015 - 04:11 PM

Chris, originally I was only changing the outer sections of the arch hence why I went to the effort of drilling out the spot welds. However that all went belly up when I found rust on the inners as well. If it was not for doing that I would have just cut it all out and then finish off the old spot welds by either drilling them out or grinding back.

The best thing to do is use your heelboard and rear panel as datum points to slave the floor in place and if still fitted the rear subframe stiffeners. If the arches are staying in obviously that will help as well.

#354 CBJ805T

CBJ805T

    Speeding Along Now

  • Members
  • PipPipPipPipPip
  • 431 posts
  • Location: Kenilworth

Posted 12 May 2015 - 11:27 AM

HI Neil, 


thanks for your advice. Both inner arches are shot so I'll be replacing these. However I'll leave them and the rear sub stiffeners in to alight the floor. 


much appreciated


Chris 


#355 sonikk4

sonikk4

    Twisted Paint Polisher!!!

  • Admin
  • PipPipPipPipPipPipPipPipPipPipPip
  • 15,909 posts
  • Name: Neil
  • Location: Oxfordshire

Posted 14 May 2015 - 05:48 PM

The r/h side got finished off as far as possible last week, the waist rail was changed and i refitted the rear subframe rear mount

IMG_4161_zps3s1s5xwk.jpg

IMG_4160_zpsanty7xvu.jpg


Then onto today, the left side was ripped into and pleased with the results so far,

Quarter panel before

IMG_4162_zpsxpf93isk.jpg

and after

IMG_4164_zpssrpdjbvg.jpg

all of the removed bits

IMG_4163_zpsahhp3mso.jpg


New panel slaved in place along with the arch

IMG_4168_zpsweoeflim.jpg

IMG_4169_zpstftxj0ti.jpg

IMG_4170_zpsvegbhzlp.jpg


So hopefully tomorrow the arch will be welded in place


#356 evansisgreat

evansisgreat

    One Carb Or Two?

  • Members
  • PipPipPipPipPipPipPip
  • 1,095 posts
  • Local Club: Not yet

Posted 17 May 2015 - 03:42 PM

This is such a brilliant thread for me right now. It's like you've just gone ahead and made me a step by step guide. It's all looking great. I hope I'm able to get everything half as good.

I'm just looking at replacing the back panel from the rear screen down and I'm not 100% sure where to cut. Did you use the new panel as a guide or did you remove a little of it before offering it up? Any advice as always greatly appreciated.

#357 sonikk4

sonikk4

    Twisted Paint Polisher!!!

  • Admin
  • PipPipPipPipPipPipPipPipPipPipPip
  • 15,909 posts
  • Name: Neil
  • Location: Oxfordshire

Posted 17 May 2015 - 04:36 PM

This is such a brilliant thread for me right now. It's like you've just gone ahead and made me a step by step guide. It's all looking great. I hope I'm able to get everything half as good.

I'm just looking at replacing the back panel from the rear screen down and I'm not 100% sure where to cut. Did you use the new panel as a guide or did you remove a little of it before offering it up? Any advice as always greatly appreciated.


I offered up the new one first but marked my cut line roughly 1/2" below the final fit line. This gave me plenty of options to move things around if needs be. Then i cut the complete thing off. That was final trimming was minimal.


I'm glad the thread helps. :D  :D


#358 sonikk4

sonikk4

    Twisted Paint Polisher!!!

  • Admin
  • PipPipPipPipPipPipPipPipPipPipPip
  • 15,909 posts
  • Name: Neil
  • Location: Oxfordshire

Posted 17 May 2015 - 07:51 PM

Should have posted these on friday but hey ho.


Arch is now in, a few more plug welds to do and grinding back

IMG_4171_zpsft0jocap.jpg

IMG_4172_zpsdzwyp7hq.jpg


#359 sonikk4

sonikk4

    Twisted Paint Polisher!!!

  • Admin
  • PipPipPipPipPipPipPipPipPipPipPip
  • 15,909 posts
  • Name: Neil
  • Location: Oxfordshire

Posted 17 May 2015 - 07:52 PM

The only gripe i have with the Heritage arches is the small tang that should be at the rear of the arch. For some reason they no longer have them so that was something i had to add to both of them.


#360 Wise Old Elf

Wise Old Elf

    Camshaft & Stage Two Head

  • Members
  • PipPipPipPipPipPipPipPip
  • 1,655 posts
  • Location: Maldon
  • Local Club: Club Lotus

Posted 17 May 2015 - 08:00 PM

I did wonder if I had fitted mine incorrectly as I also have no tang on either of mine. That's one less thing to worry about :)


0 user(s) are reading this topic

0 members, 0 guests, 0 anonymous users