Nice work!!!


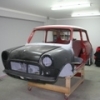
Leyland Mini 1000 1980 Restoration Project
Started by
minifcd
, Aug 27 2011 08:59 PM
393 replies to this topic
#62

minifcd
-
- Members
-

- 246 posts
Mini Mad
- Location: Stamford
Posted 26 November 2011 - 05:07 PM
Thanks Hugh, thanks Mortens. Just thought I would post that little update whilst watching the Formula 1 qualifying. Back off into the garage to see if I can get another hours work done now!
Thanks.
Thanks.
#63
grahama
-

- Members
-
- 2,442 posts
Up Into Fourth
- Location: Warrington
- Local Club: None in my area !!
Posted 26 November 2011 - 07:11 PM
I agree with Hugh. lovely work going on, keep it up.
#64
minifcd
-
- Members
-
- 246 posts
Mini Mad
- Location: Stamford
Posted 04 December 2011 - 09:24 PM
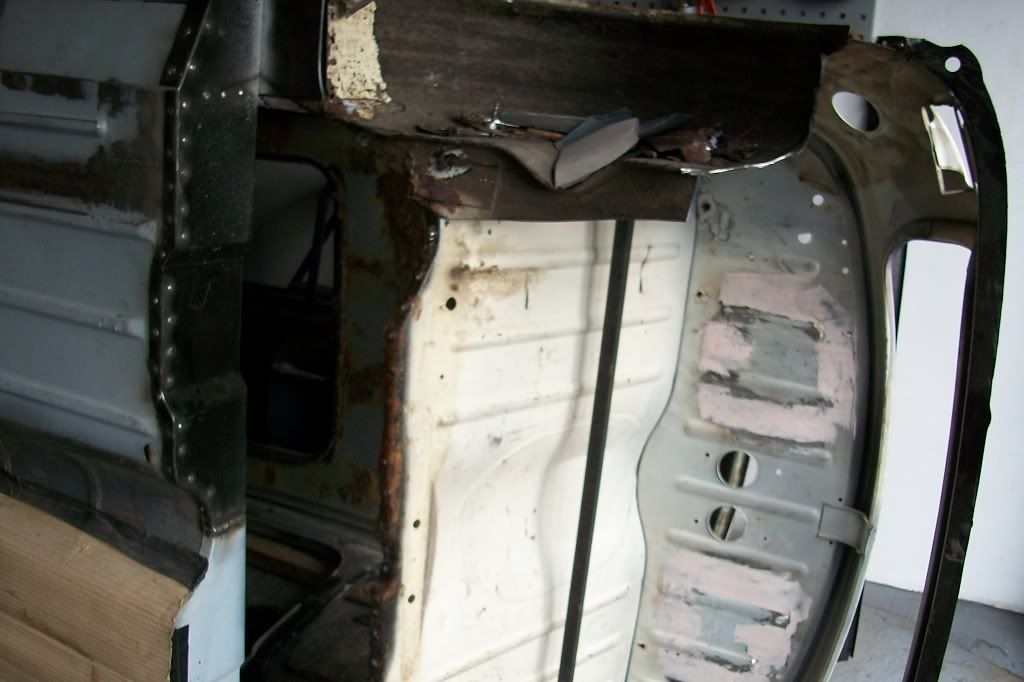
Hi again. So next installment, I cut out the the lower part of the rear quarter panel and made up two pieces to repair it and welded in.
Not very pretty at the moment but gets better when ground down. Forgot to take some more pictures though.
Next the floor/sill panel was fitted. Again, the same as the other side, trial fitting, tweeking, spot welding the companion box closing panel on, and then finally welding in so haven't included all the pictures this time.
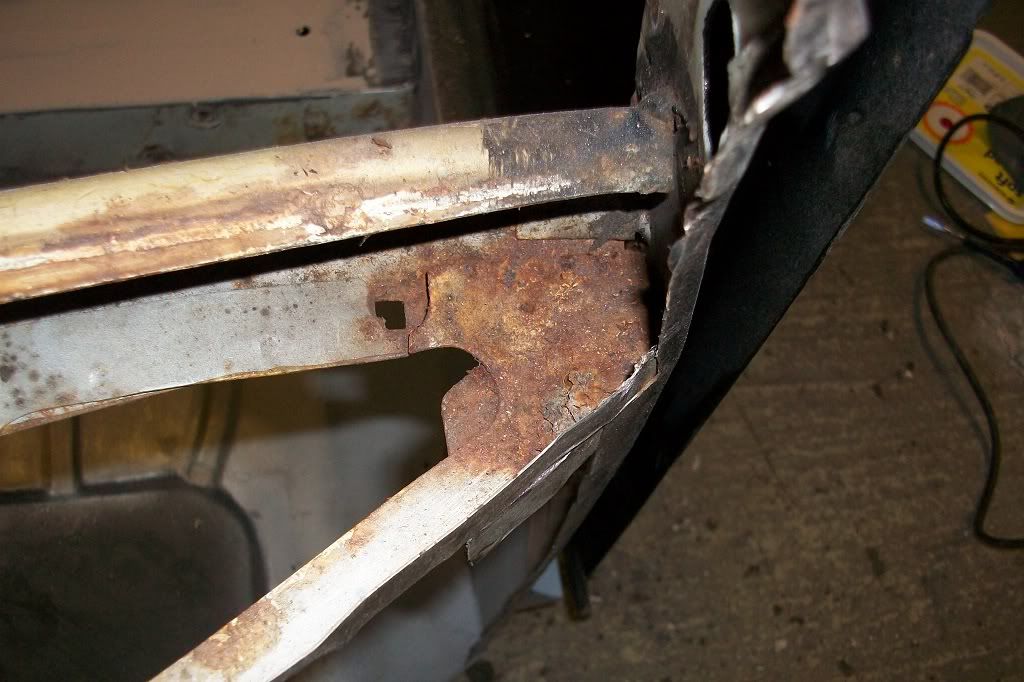
This end was staggered due to the repair I made to the heal board lip.

Plug welded to the companion box, butt welds ground down and the other heal board half test fitted. The wheel arch closing panel was clamped in place to the heal board and then removed complete with heal board to weld the two together.
Next I fitted the rear subframe for alignment (no picture) and plug welded the heal board in place. Then cut out the boot floor.
Ground down the welds.
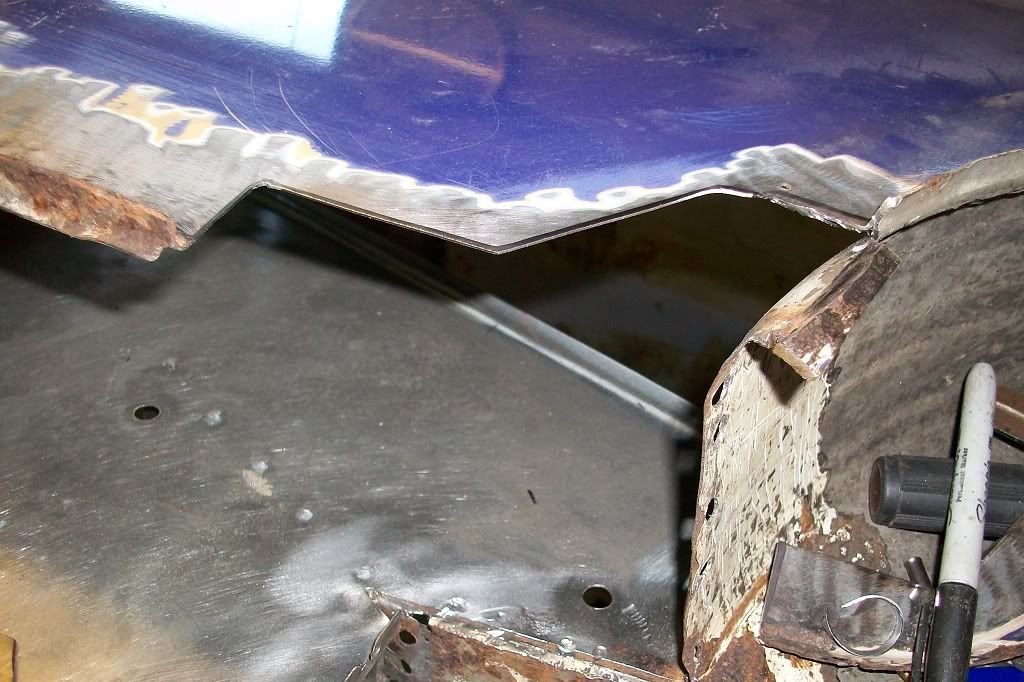
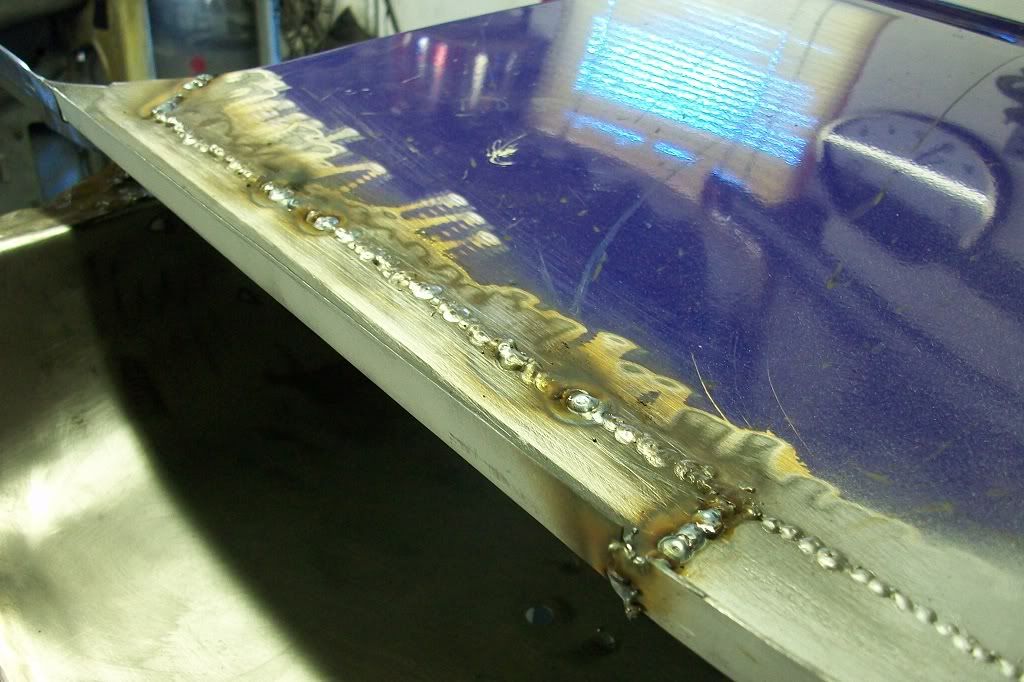
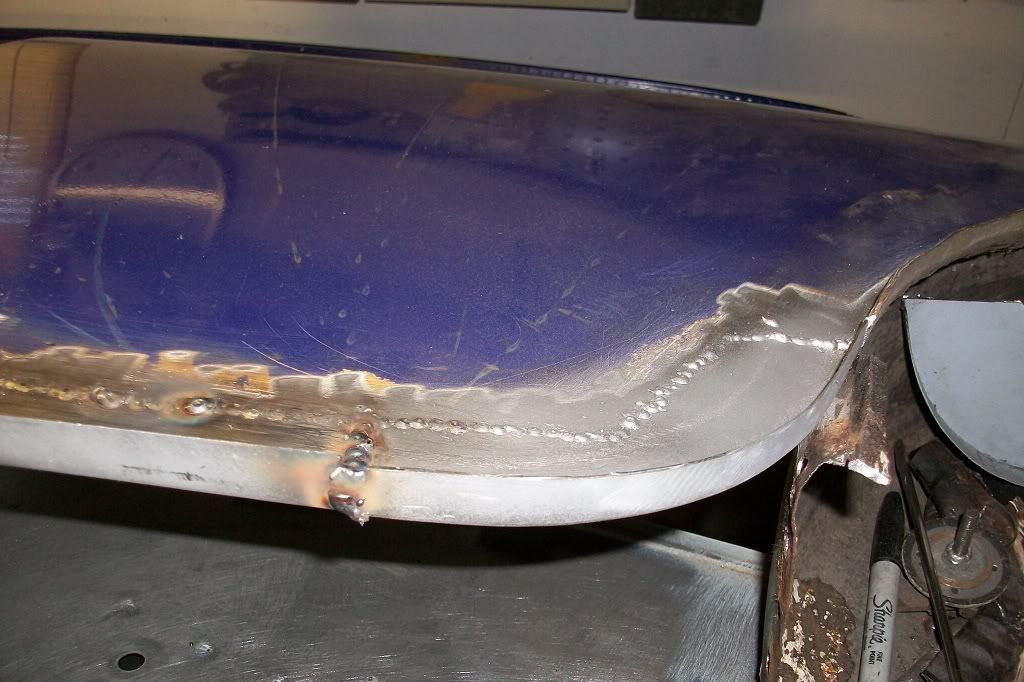
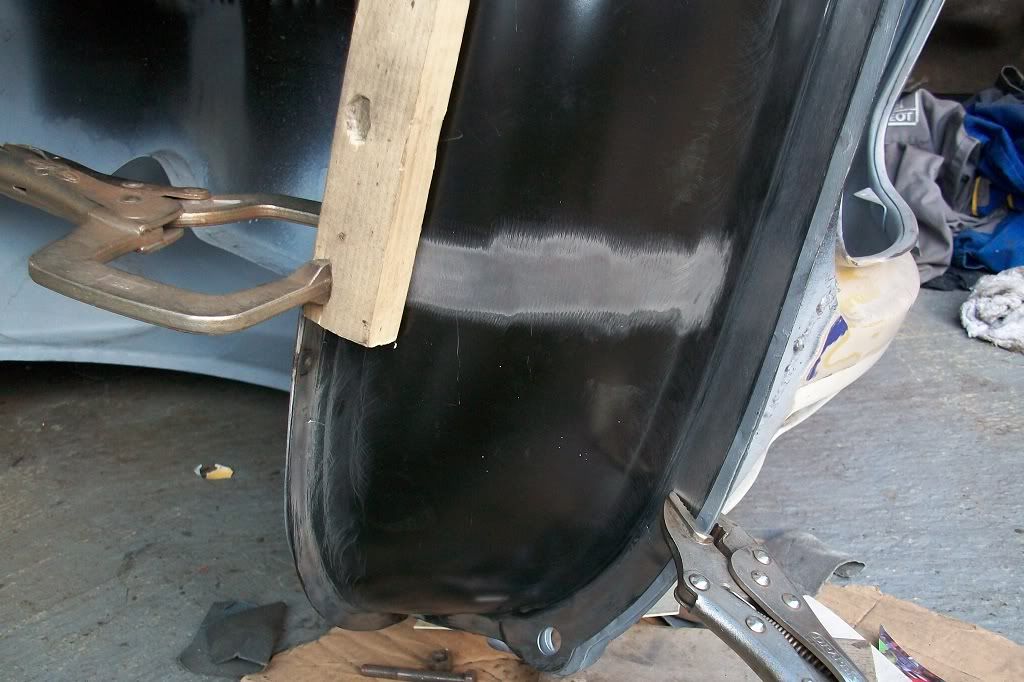
Next made this by folding from one piece and shrinking/stretching the edges to get the slight curve of the panel. But, the eagle eyed among you will have noticed that the forward edge doesn't have the correct curve, (too straight) so a little cut and stitch will be required latter.
Thats it for now. Thanks.
Not very pretty at the moment but gets better when ground down. Forgot to take some more pictures though.
Next the floor/sill panel was fitted. Again, the same as the other side, trial fitting, tweeking, spot welding the companion box closing panel on, and then finally welding in so haven't included all the pictures this time.
This end was staggered due to the repair I made to the heal board lip.
Plug welded to the companion box, butt welds ground down and the other heal board half test fitted. The wheel arch closing panel was clamped in place to the heal board and then removed complete with heal board to weld the two together.
Next I fitted the rear subframe for alignment (no picture) and plug welded the heal board in place. Then cut out the boot floor.
Ground down the welds.
Next made this by folding from one piece and shrinking/stretching the edges to get the slight curve of the panel. But, the eagle eyed among you will have noticed that the forward edge doesn't have the correct curve, (too straight) so a little cut and stitch will be required latter.
Thats it for now. Thanks.
#65
minifcd
-
- Members
-
- 246 posts
Mini Mad
- Location: Stamford
Posted 10 December 2011 - 09:52 PM
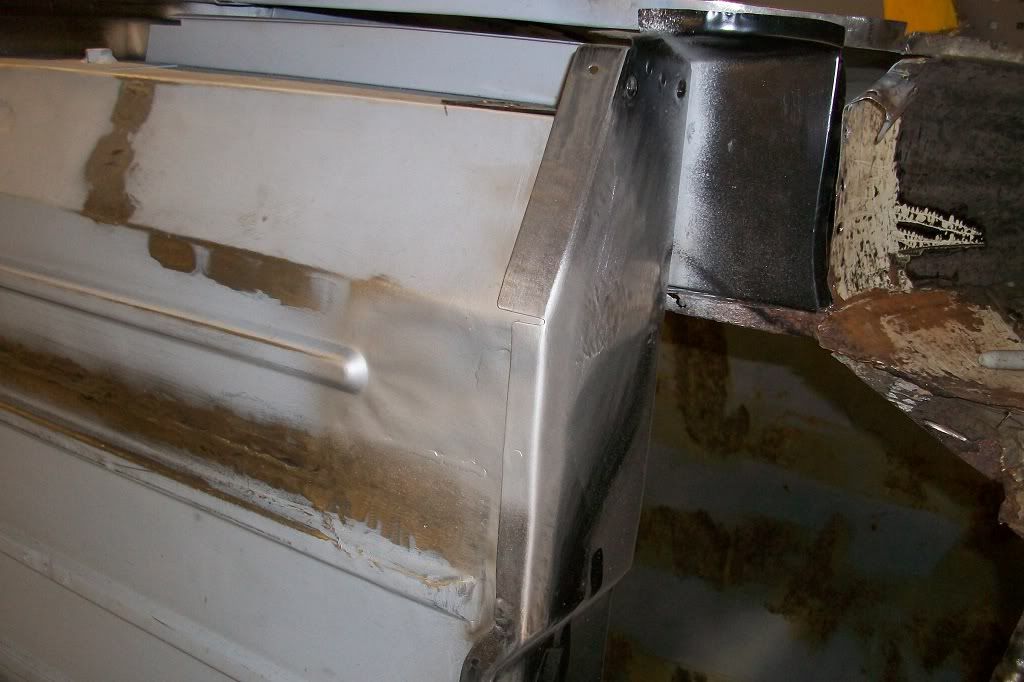
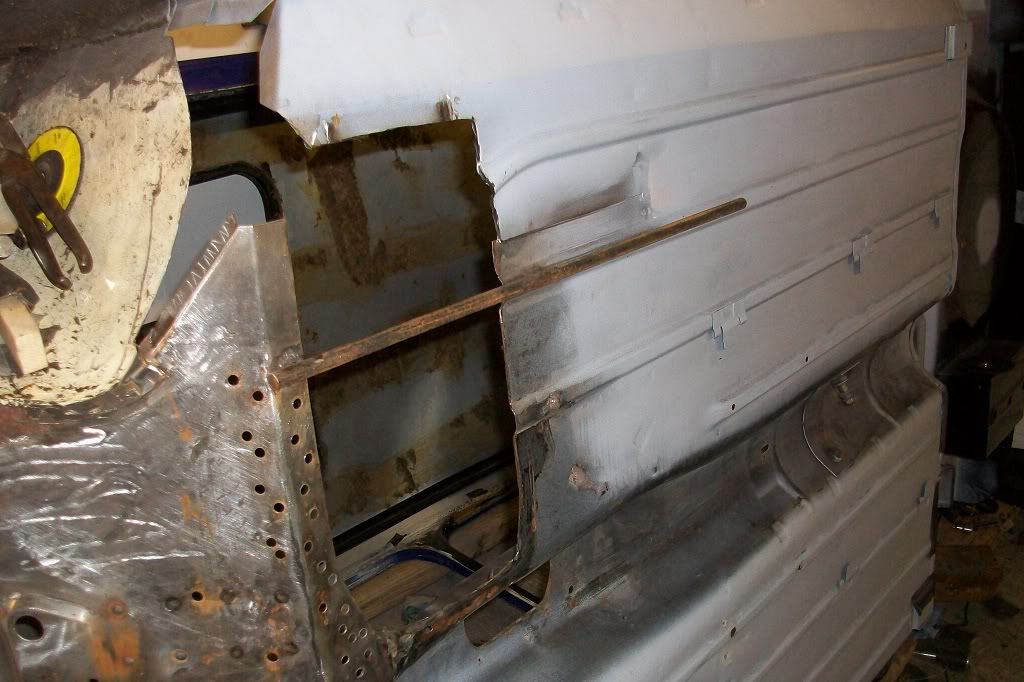
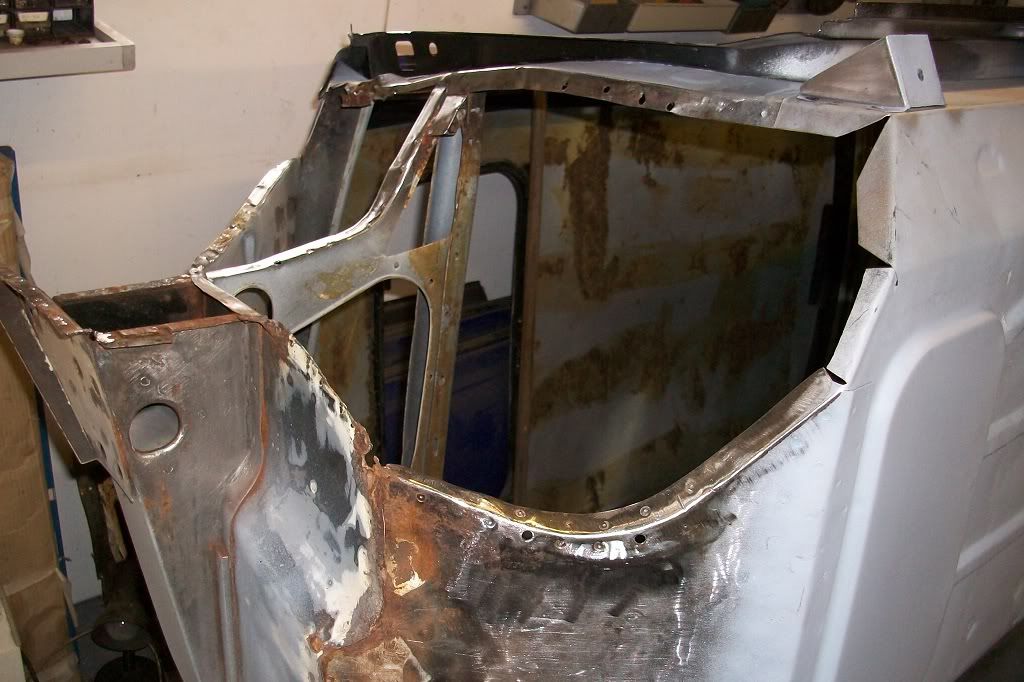
Hi again. As you can see from this next photo, I added a brace bar between the heal board and seat back to help keep the seat back in position with the wheel arch removed. I also took the opportunity to clean the seat back and parcel shelf down to bare metal and etch prime.
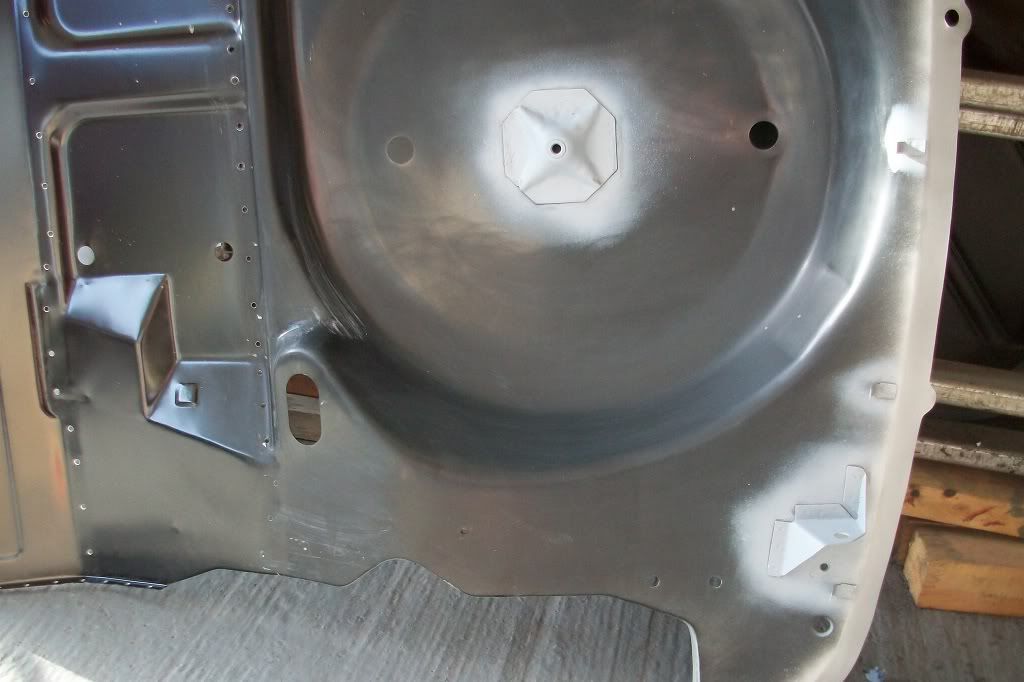
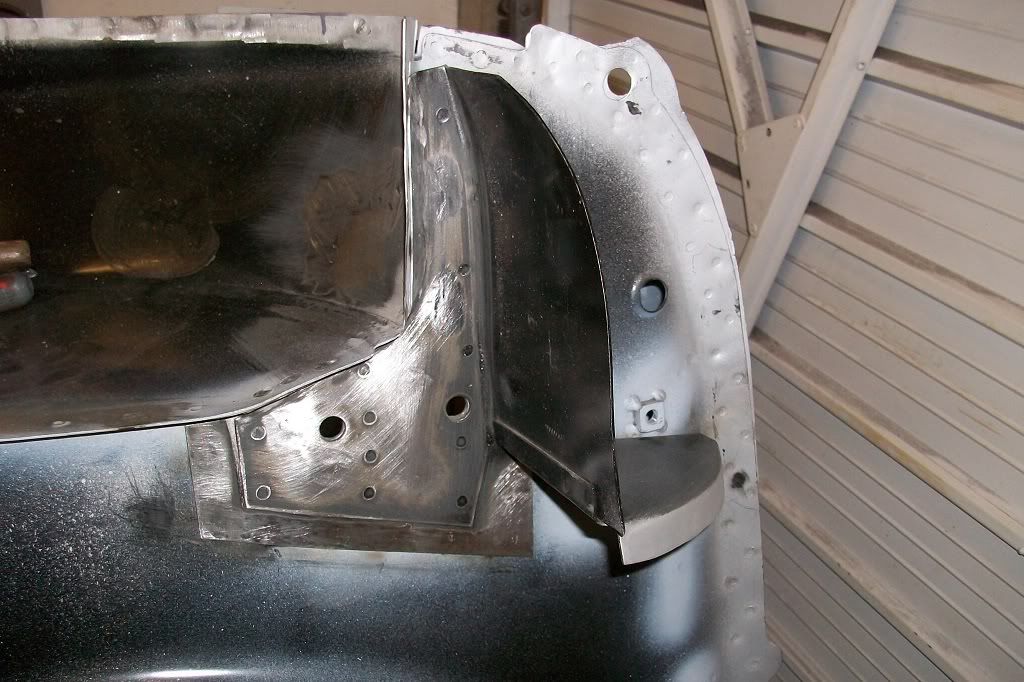
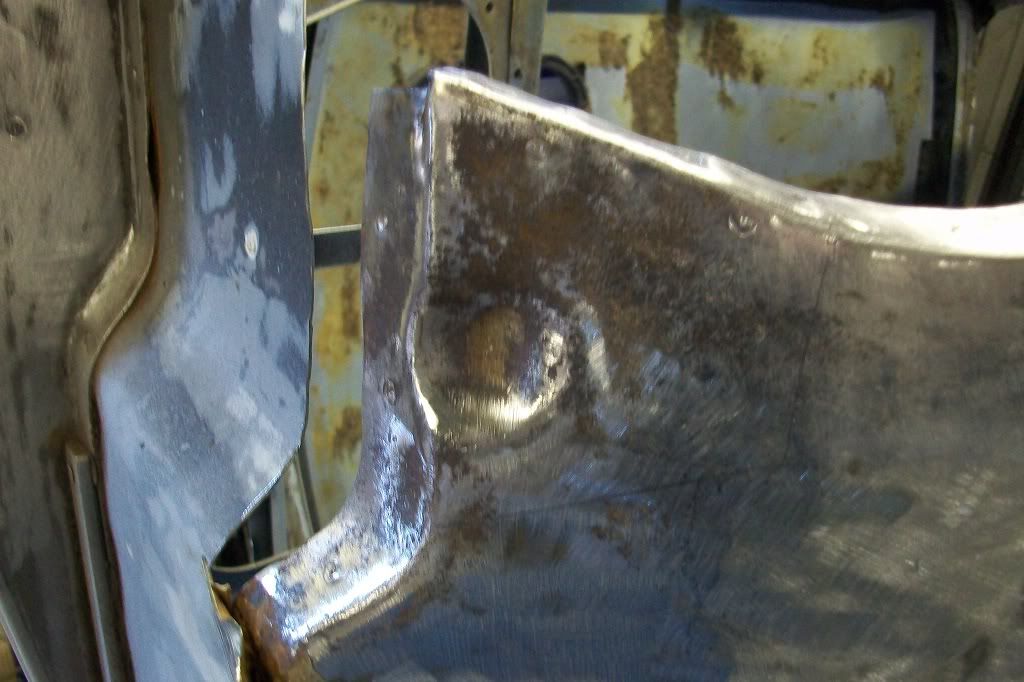
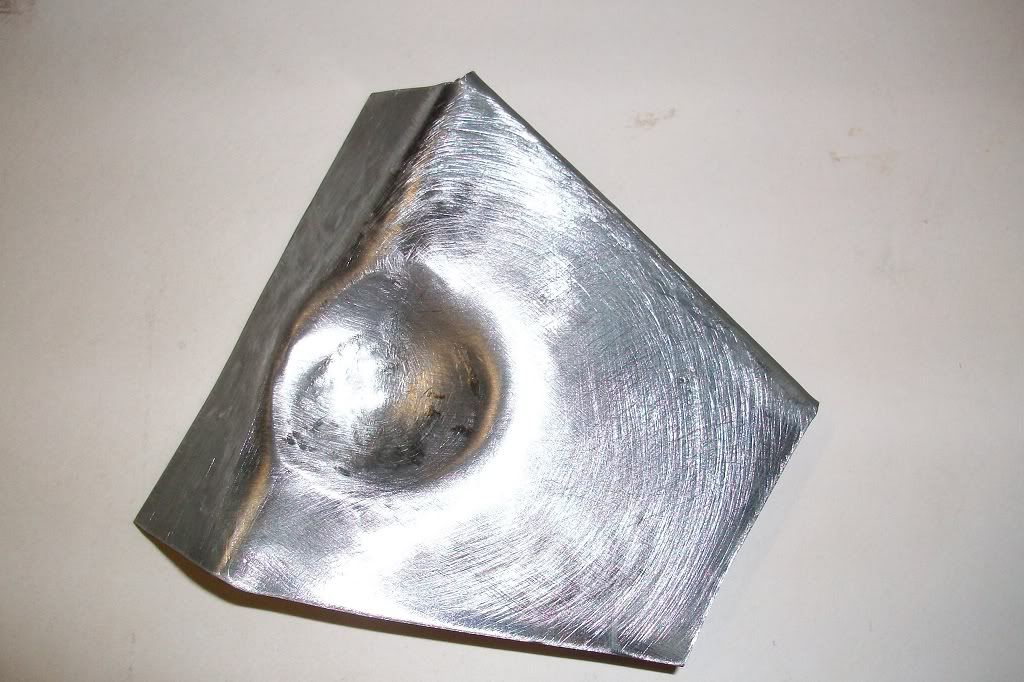
When the wheel arch had been removed, this strengthening panel did not quite align correctly with the wheel arch and the floor. I drilled out the spot welds, welded up the holes and ground down. Then spot welded back in the correct position.
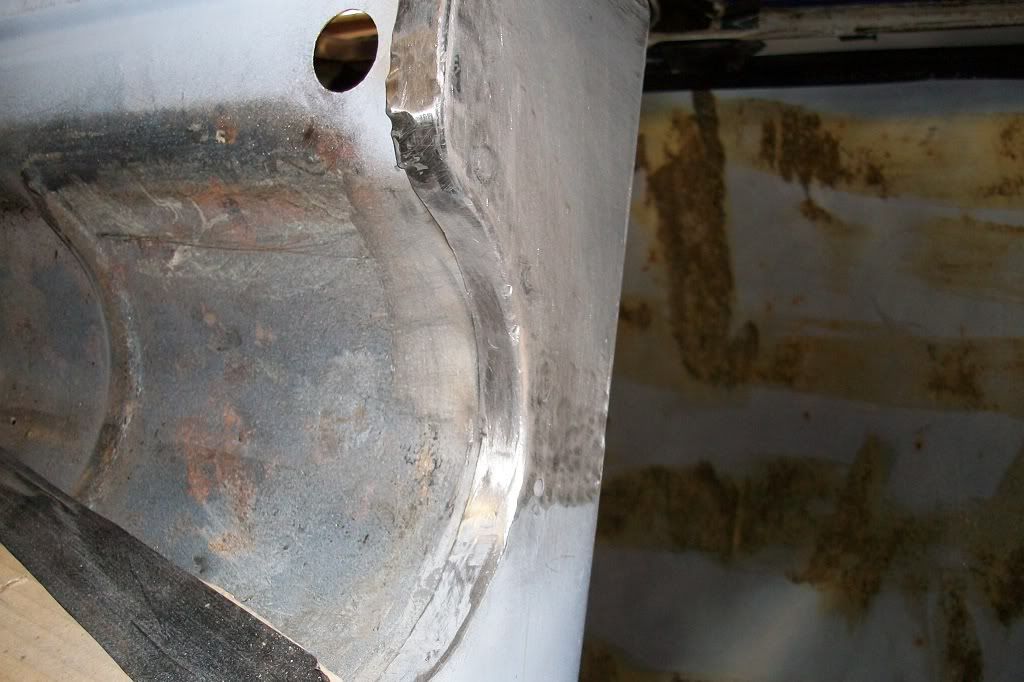
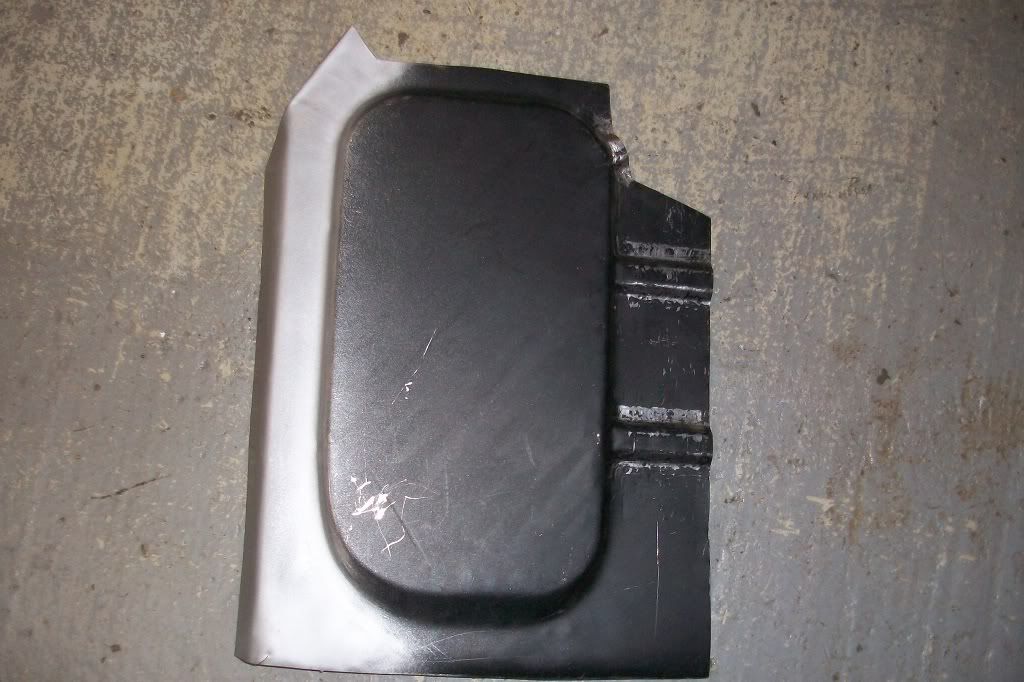
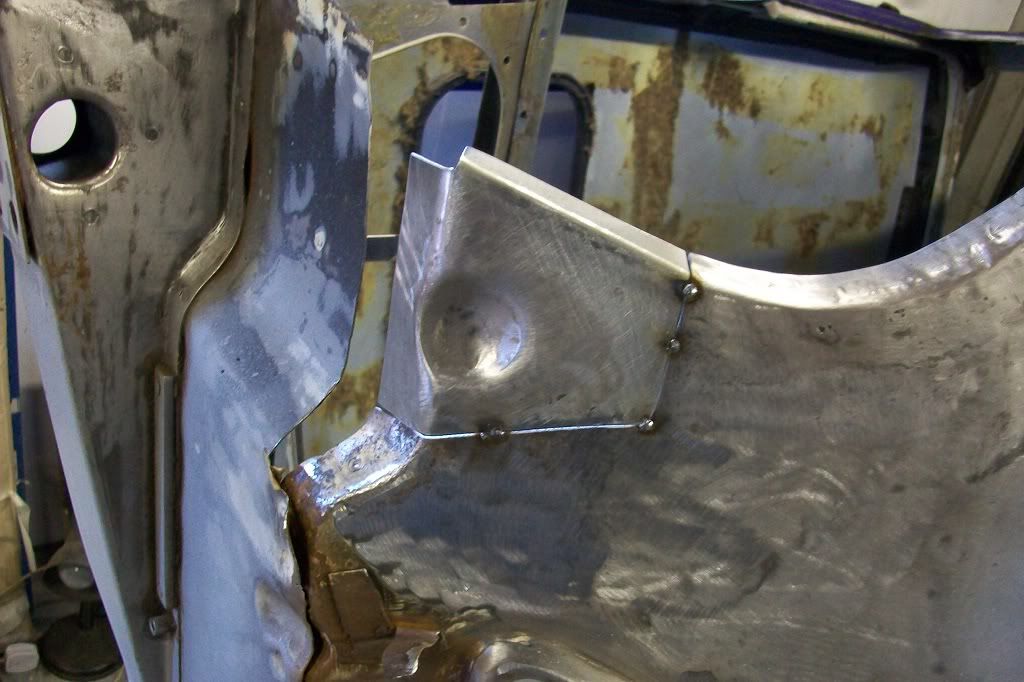
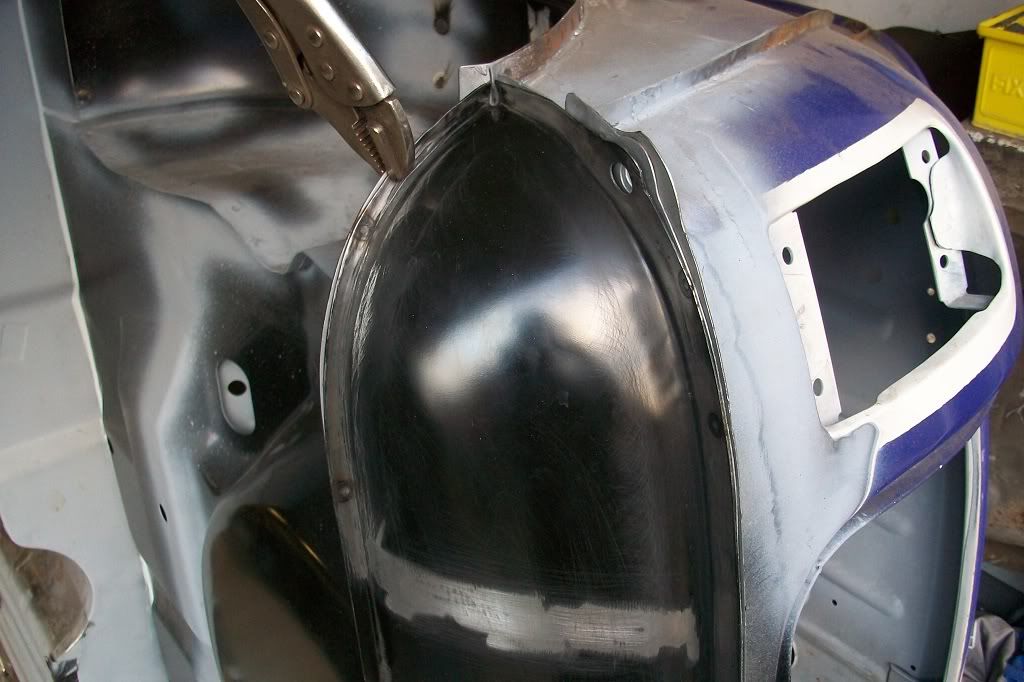
The wheel arch was prepared and holes drilled for plug welding. I zinc primed where the joins would be and etch primed the rest.
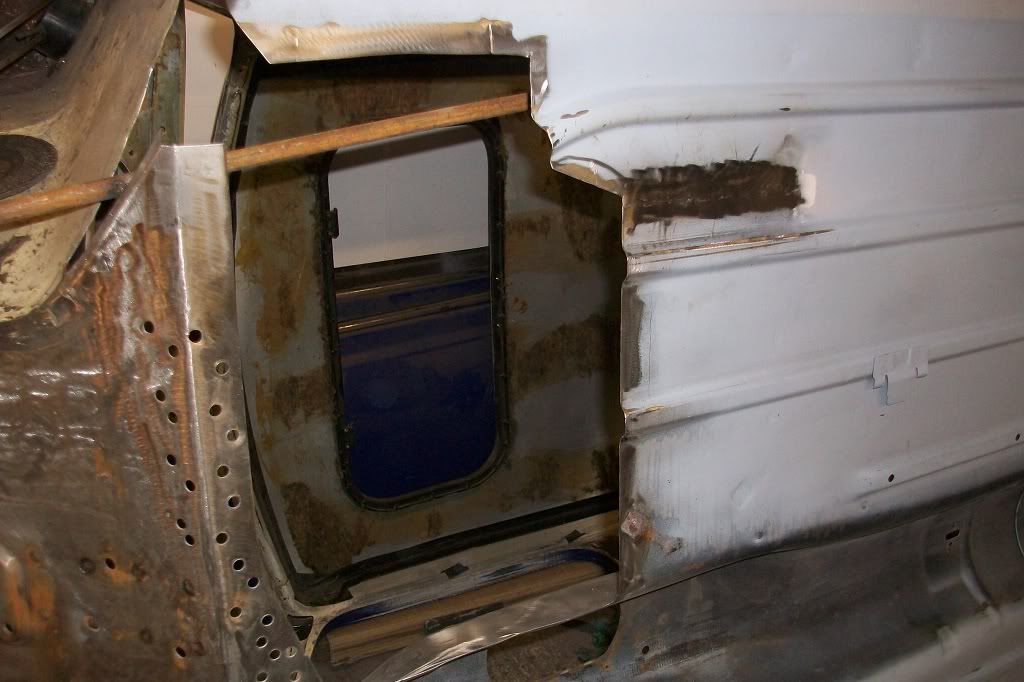
Plug welded in place. Only four tacks to the rear quarter panel as I will spot weld all around the wheel arch.
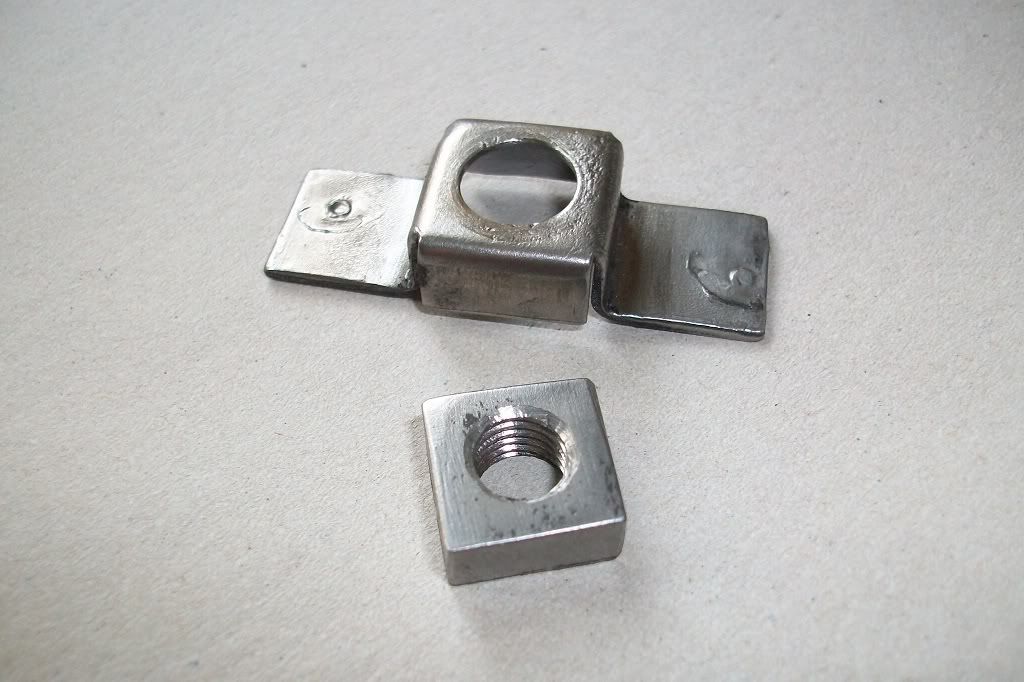
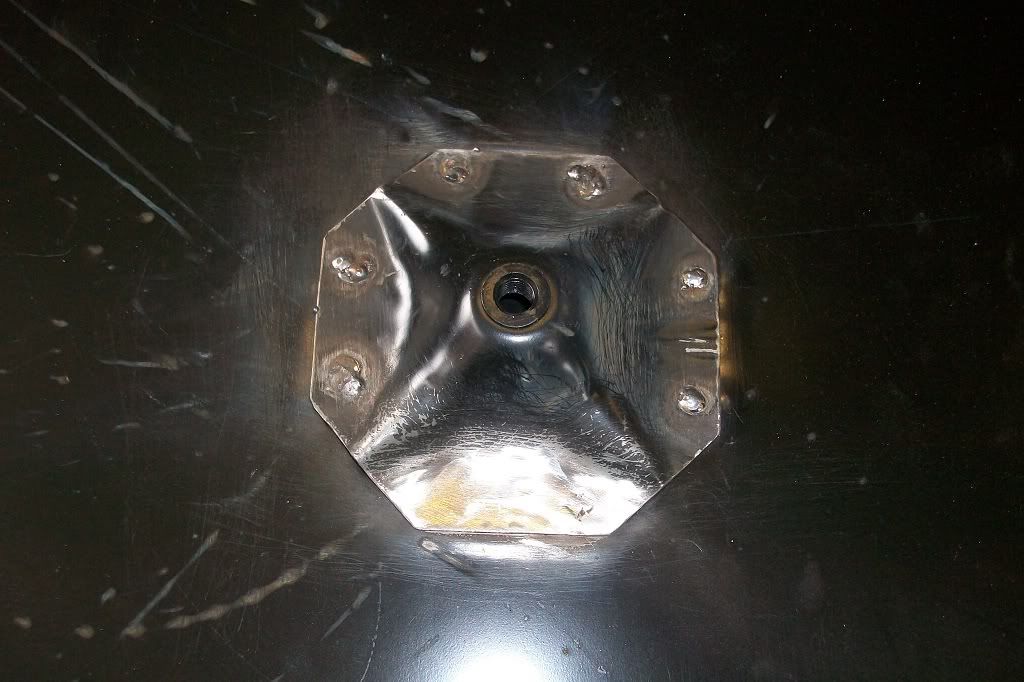
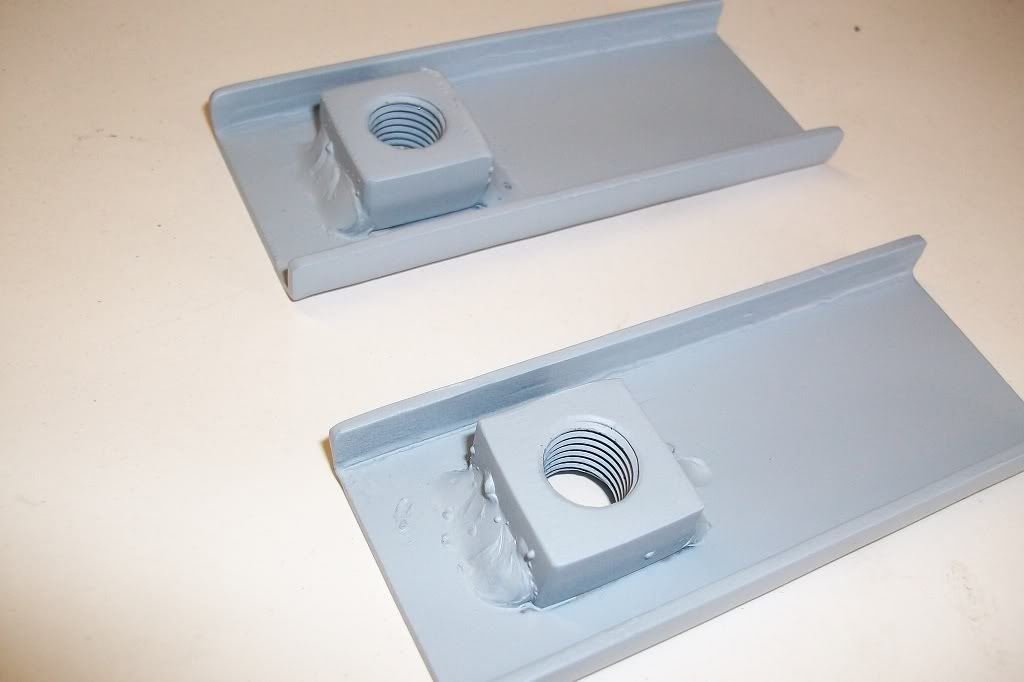
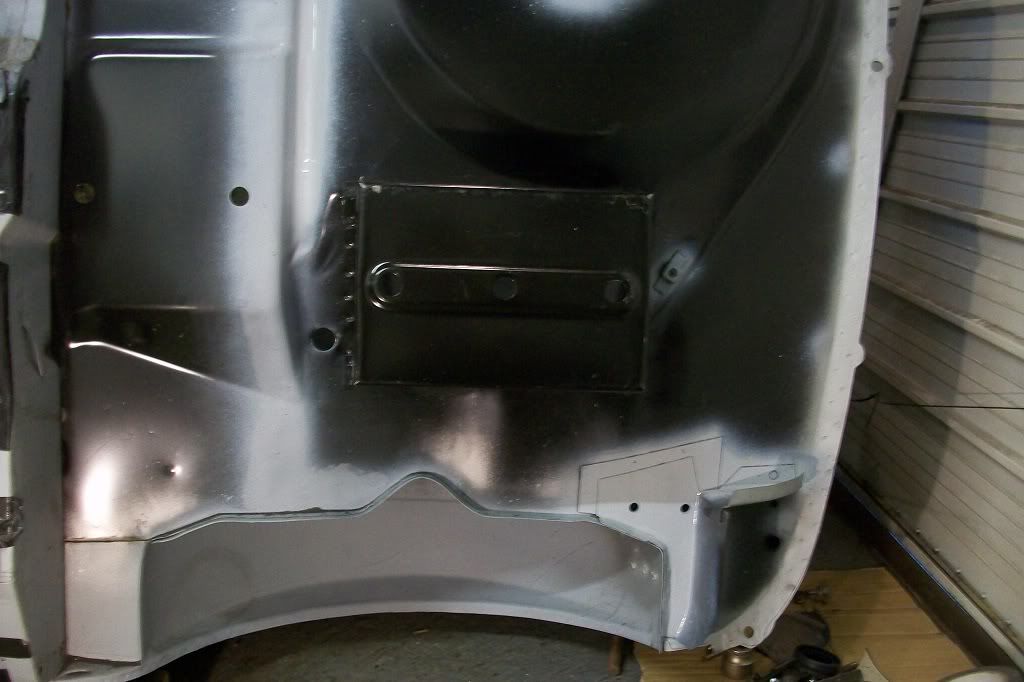
Next I did some prep work on the boot floor. I managed to salvage the battery earth point cradle but the threads were stripped in the square nut. So I cut a new square from some scrap 1/4 inch thick steel and drilled and tapped to 5/16 UNF. Originally the nut sits loosely in the cradle but this does not give a good earth, so I mounted the nut in the cradle level with the two ears of the cradle and welded the nut in and ground down. The whole thing was then plug welded in place over the hole, on the underside of the floor, next to the battery box.
I welded in a spare wheel mount to the boot floor. Not original on this model but personal preference.
I made some new wiring harness tabs from some offcuts of steel and spot welded to the floor whilst I could gain access with the spot welder.
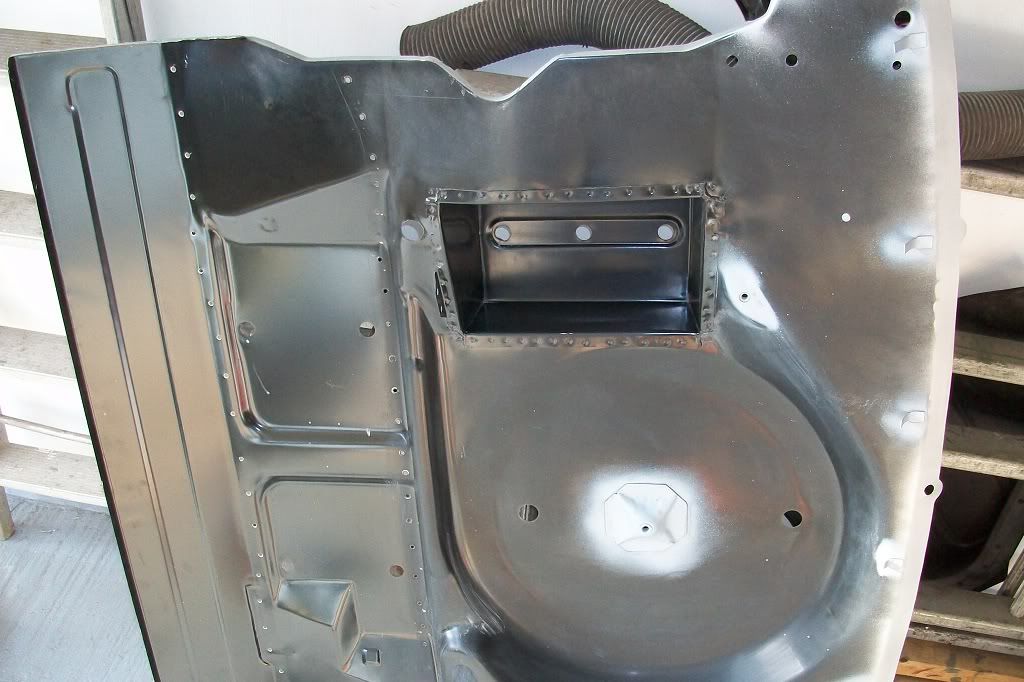
and then welded on the fuel tank strap mount removed from the old floor. I made a cardboard template before removing so I could get it in the right place on the new floor.
You may see another small hole just below the fuel tank strap on the photo above. Due to the way minis use one of the bolts of the rear left light cluster as an earth point for the main harness (another bad earth point), I decided to add my own. I made another square nut tapped to 5/16 UNF and welded to the underside of the floor.
Some new fuel pipe tabs welded on.

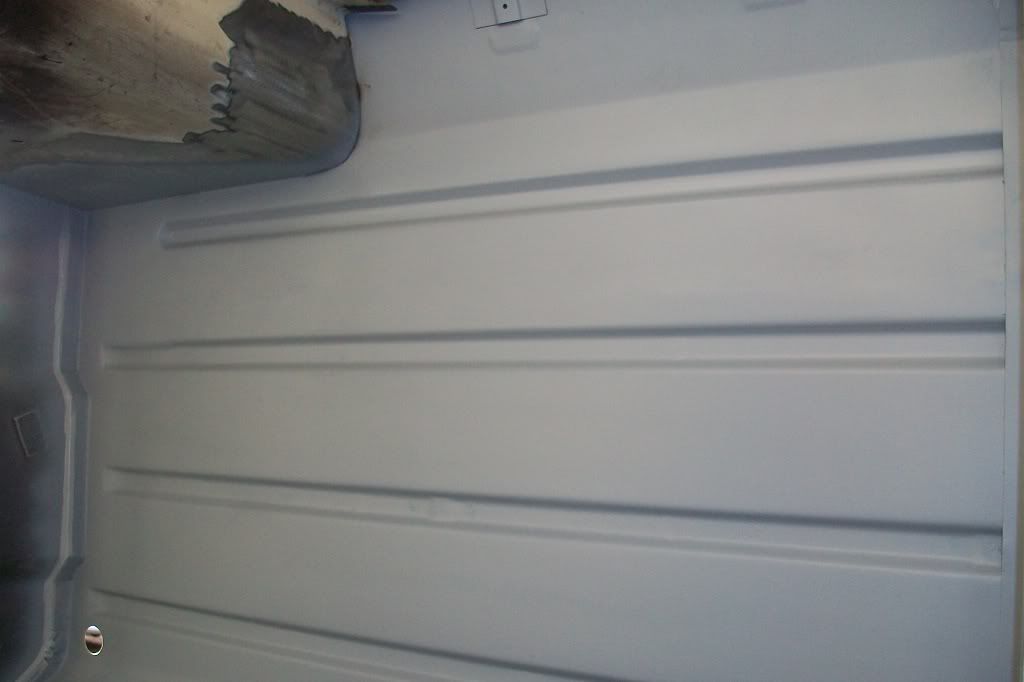
and finally, just a few photos of the inside floors after the seam welds were hammered flat and tidied up, floors cleaned to bare metal and etch primed.
Thats it for this update. Thanks again.
When the wheel arch had been removed, this strengthening panel did not quite align correctly with the wheel arch and the floor. I drilled out the spot welds, welded up the holes and ground down. Then spot welded back in the correct position.
The wheel arch was prepared and holes drilled for plug welding. I zinc primed where the joins would be and etch primed the rest.
Plug welded in place. Only four tacks to the rear quarter panel as I will spot weld all around the wheel arch.
Next I did some prep work on the boot floor. I managed to salvage the battery earth point cradle but the threads were stripped in the square nut. So I cut a new square from some scrap 1/4 inch thick steel and drilled and tapped to 5/16 UNF. Originally the nut sits loosely in the cradle but this does not give a good earth, so I mounted the nut in the cradle level with the two ears of the cradle and welded the nut in and ground down. The whole thing was then plug welded in place over the hole, on the underside of the floor, next to the battery box.
I welded in a spare wheel mount to the boot floor. Not original on this model but personal preference.
I made some new wiring harness tabs from some offcuts of steel and spot welded to the floor whilst I could gain access with the spot welder.
and then welded on the fuel tank strap mount removed from the old floor. I made a cardboard template before removing so I could get it in the right place on the new floor.
You may see another small hole just below the fuel tank strap on the photo above. Due to the way minis use one of the bolts of the rear left light cluster as an earth point for the main harness (another bad earth point), I decided to add my own. I made another square nut tapped to 5/16 UNF and welded to the underside of the floor.
Some new fuel pipe tabs welded on.
and finally, just a few photos of the inside floors after the seam welds were hammered flat and tidied up, floors cleaned to bare metal and etch primed.
Thats it for this update. Thanks again.
#66
hughJ
-

- Members
-
- 727 posts
Soldiering Along
- Location: Highlands, Scotland
Posted 10 December 2011 - 10:43 PM
Absolutely amazing work - speed and quality. Most interesting posts. Thanks Scott.
Hugh
Hugh
#67
liirge
-

- Members
-
- 4,097 posts
Up Into Fourth
- Local Club: EDMC AND MMC
Posted 11 December 2011 - 12:15 PM
The standard of work is amazing! I really respect the amount of time and effort you are putting into this!
#68
minifcd
-
- Members
-
- 246 posts
Mini Mad
- Location: Stamford
Posted 19 December 2011 - 10:29 PM
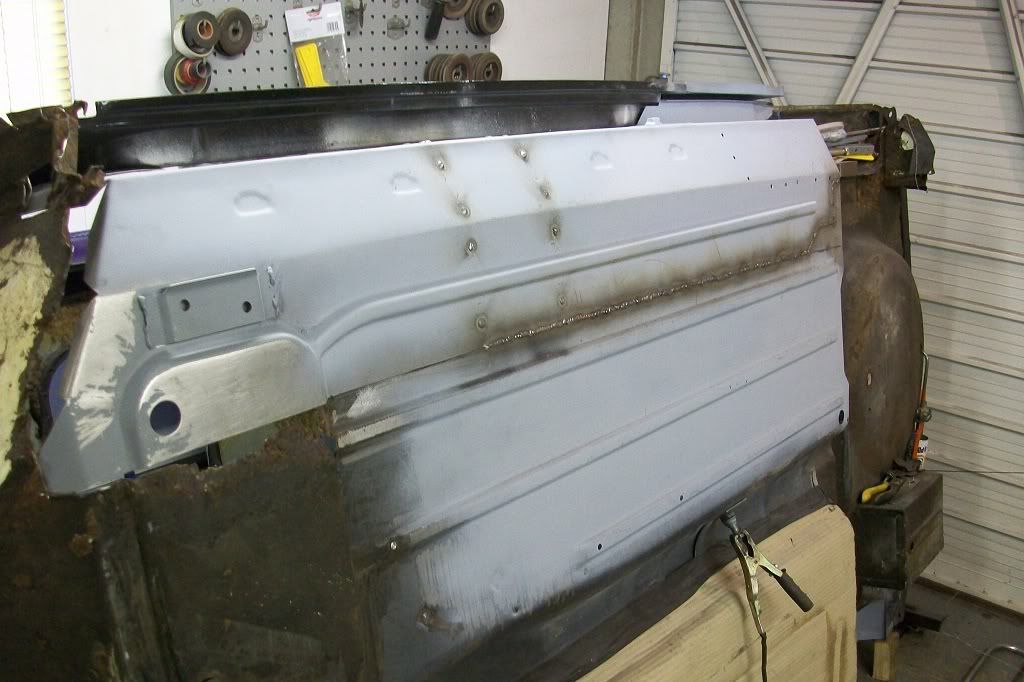
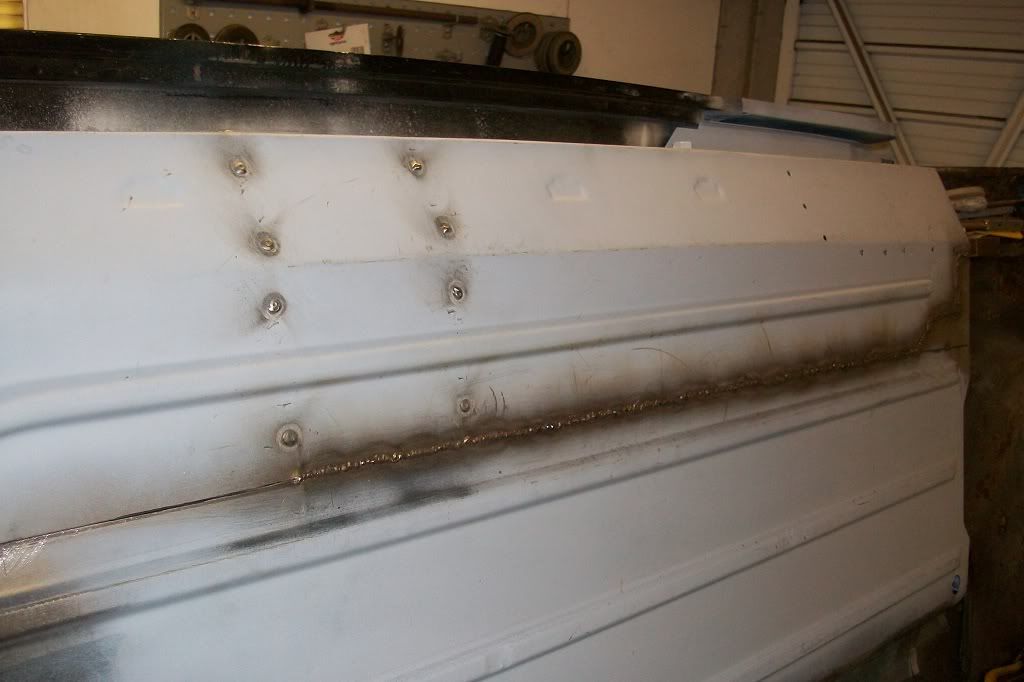
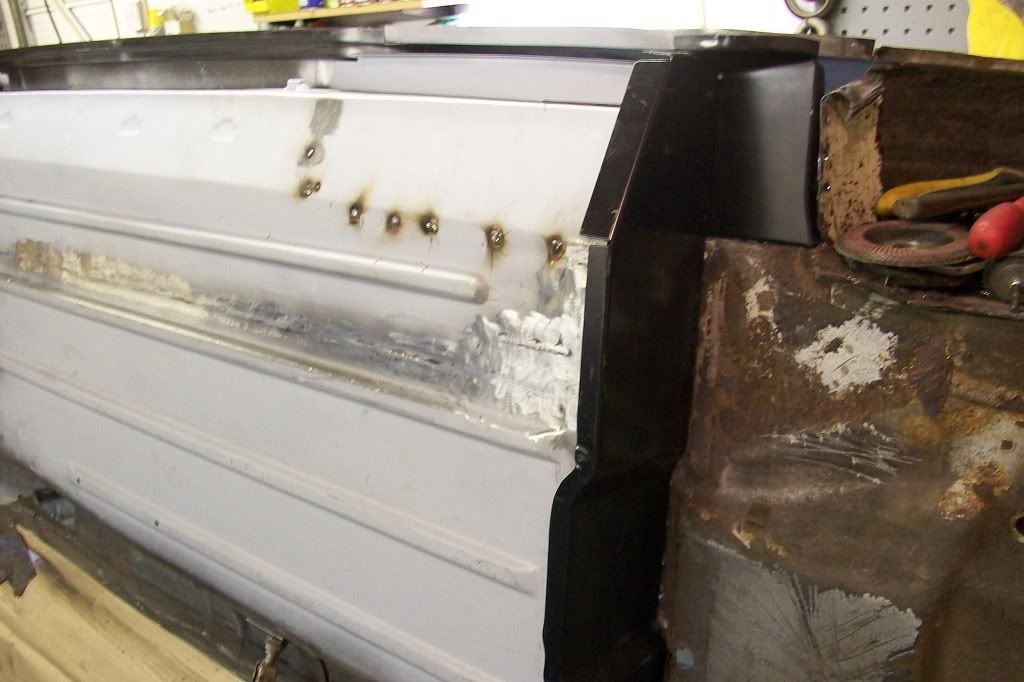
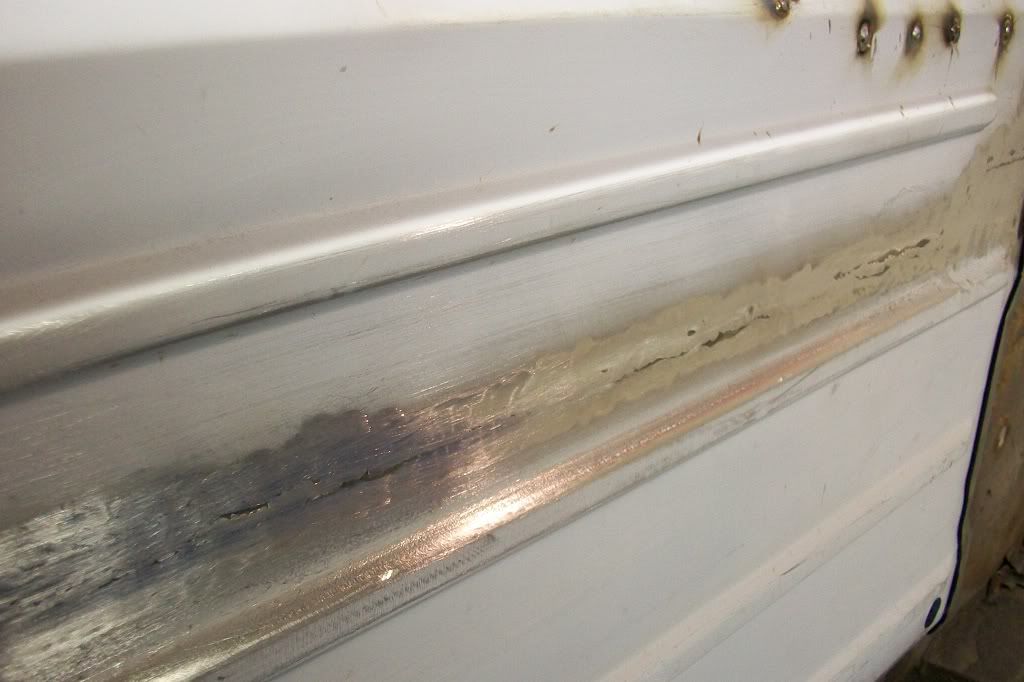
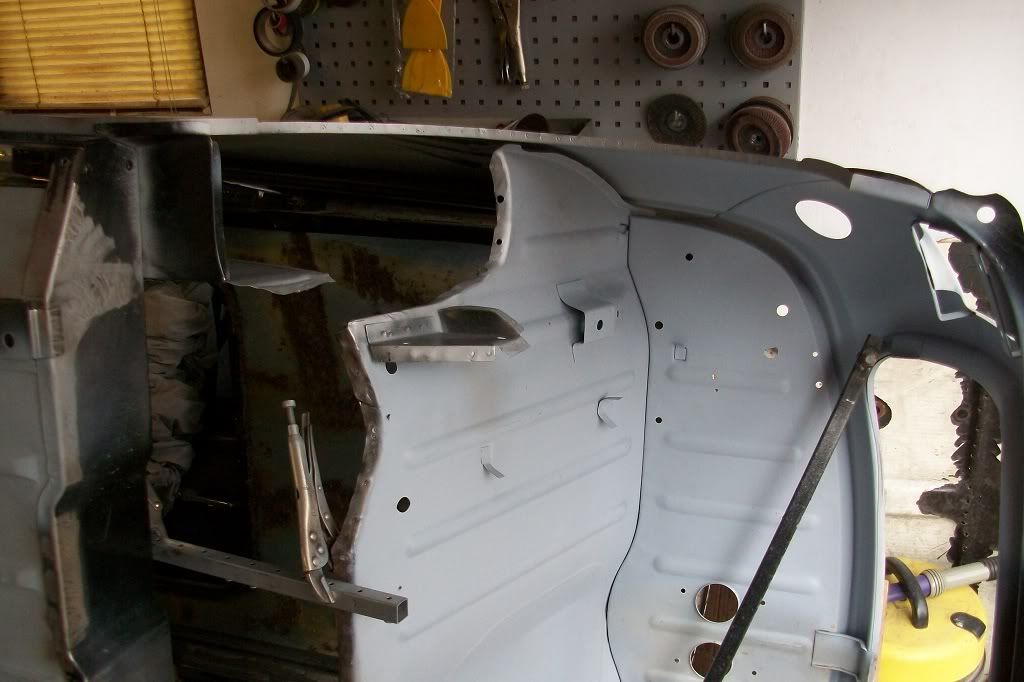
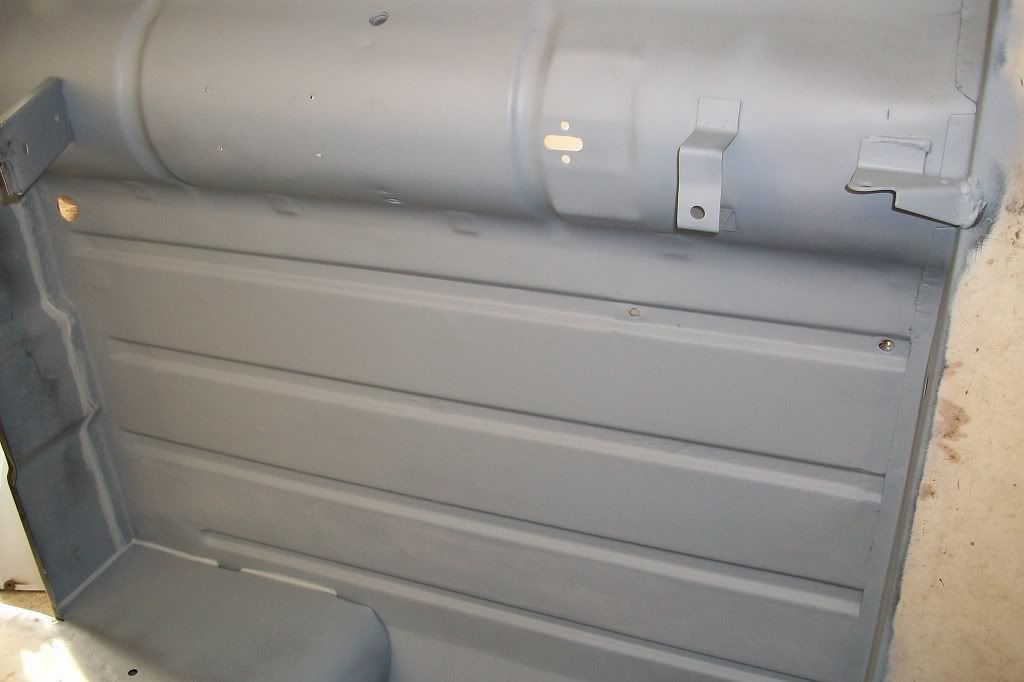
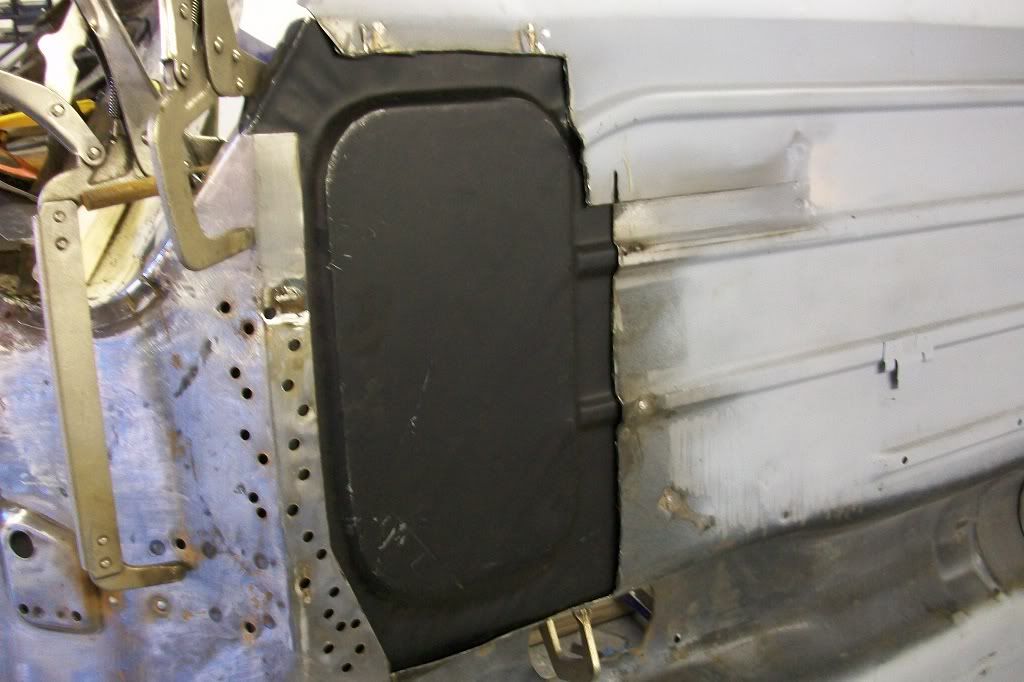
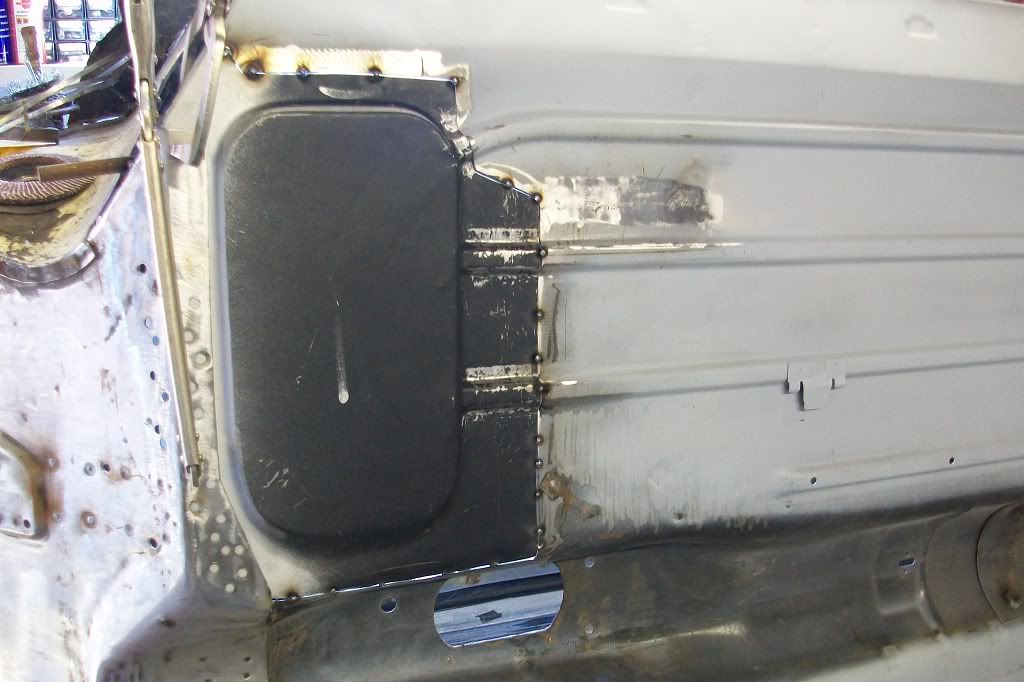
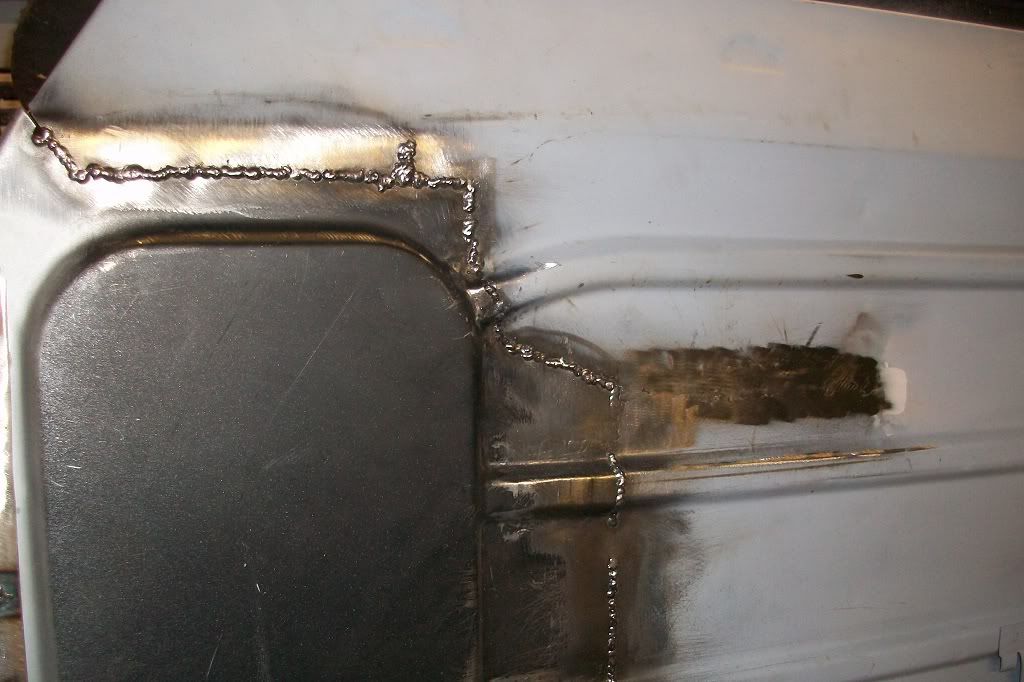
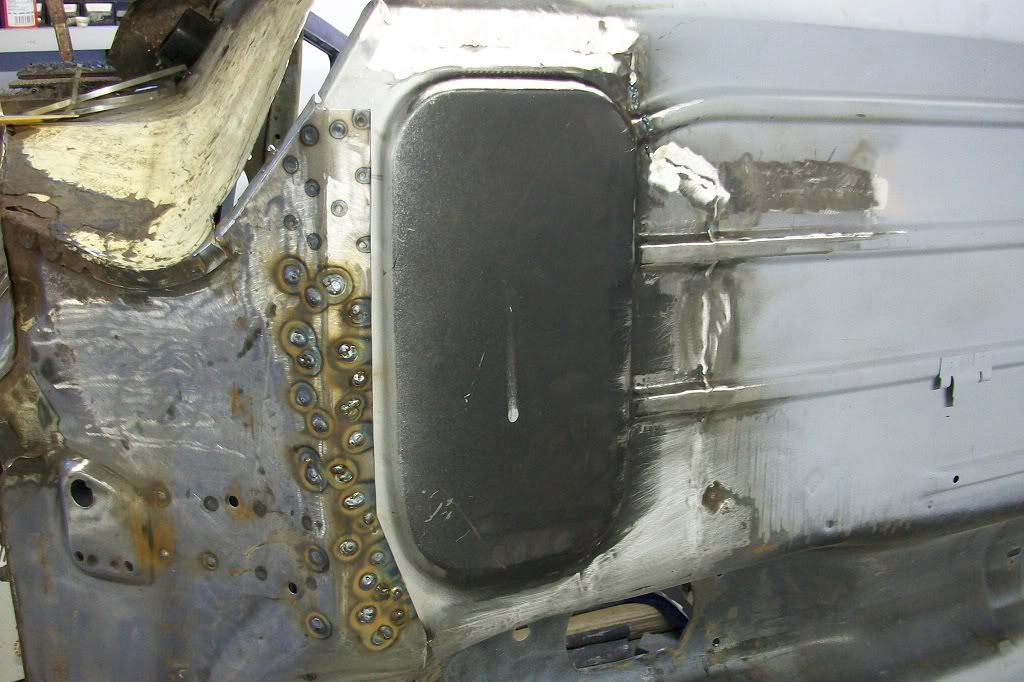
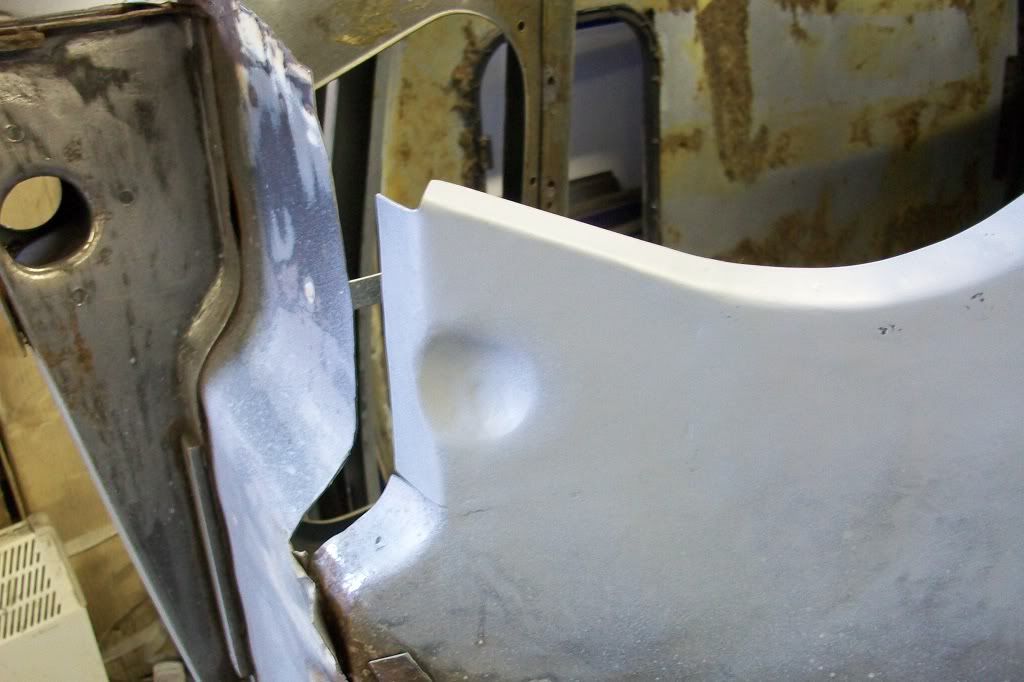
Hi again. Thanks for the comments Hugh and Liirge, much appreciated. A few more photos for you all, but I have to appologise as it appears I did not take any of fitting the boot floor. So we jump to this next photo of the boot floor fitted and the subframe mount/rear valance closing panel fitted (Heritage ALA8623 LH and ALA5528 RH). The rear wheel arch has been spot welded to the rear quarter panel and the boot floor has been spot welded to the rear panel lip. You can see the square nut I welded under the floor on the passengers side as an improved earth point.
Boot floor in place.
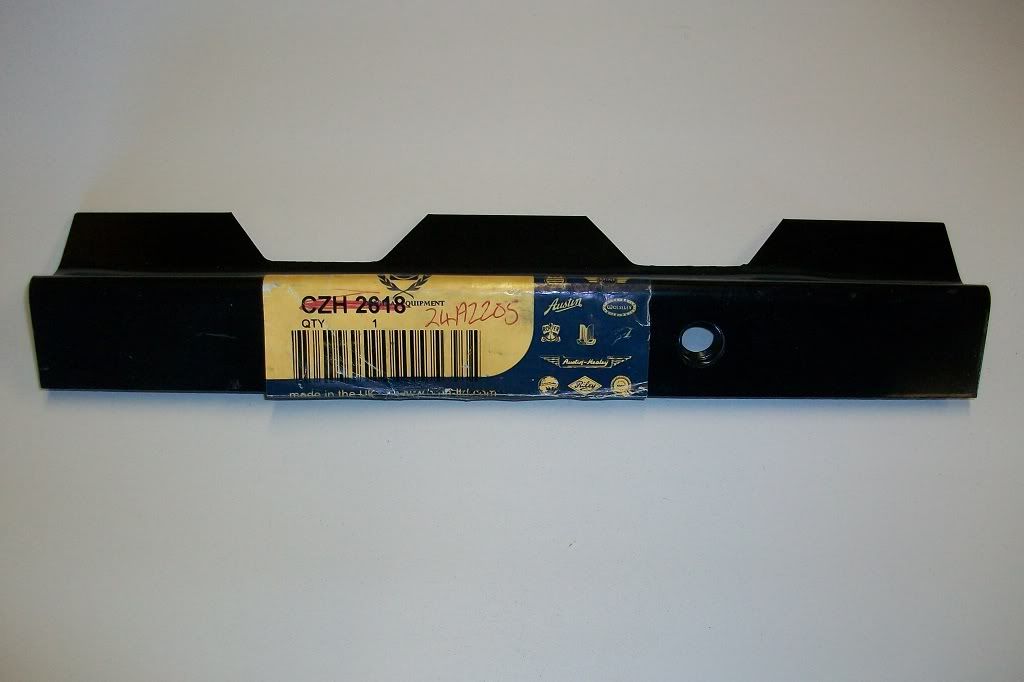
As I am adding seatbelts to the rear, I ordered this Heritage seat belt centre mounting bracket 24A2205 from Somerford Mini.
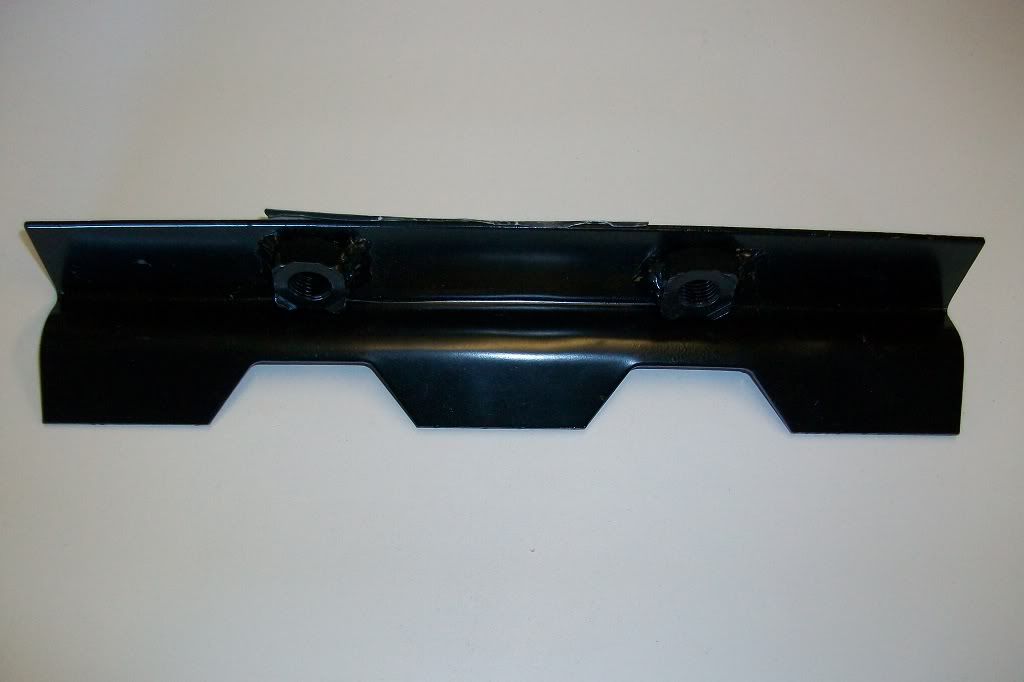
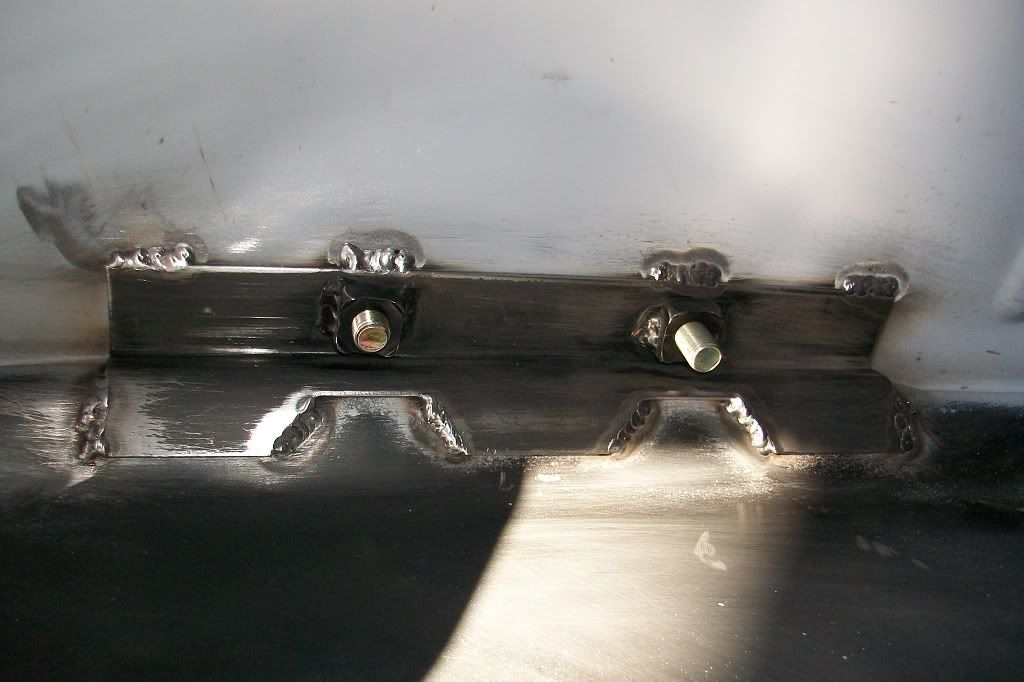
Welded in.
I decided to make my own left and right lower seat belt mount brackets, from photos of originals. Made the 2 square nuts from a piece of bar, drilled and tapped to 7/16 UNF.
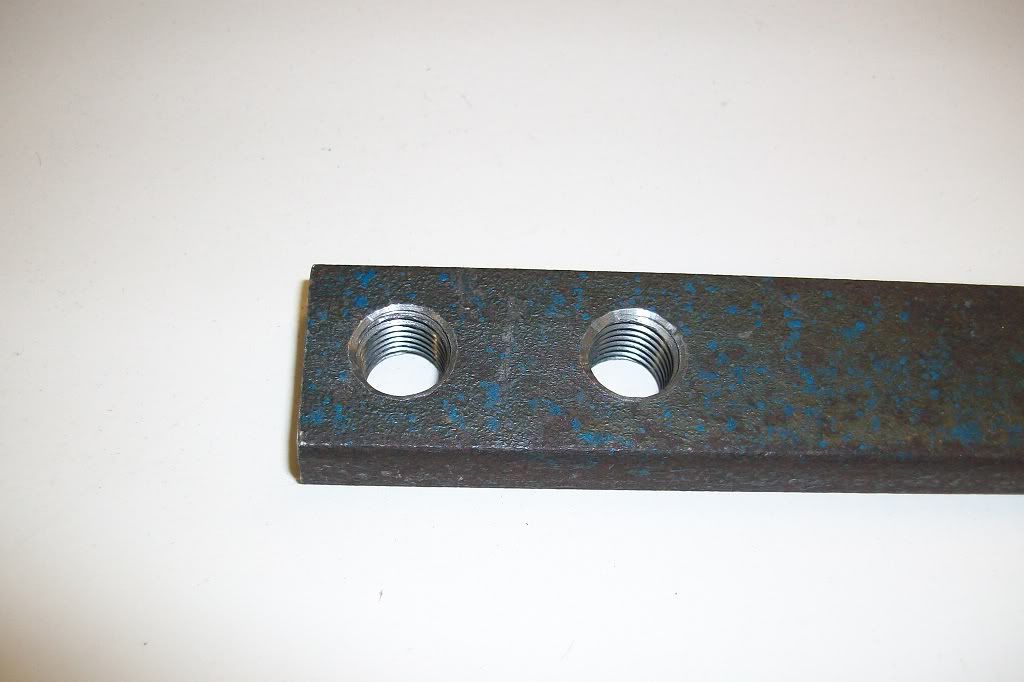
Folded the brackets from some 2mm steel, drilled the hole and welded on the nuts.
I haven't got a picture of them fitted yet but will add one later. Another photo of boot floor.
Moved on to the front left hand foot well.
Card board template used to make a repair piece for the left hand corner of the toe board.
Floor pan lined up to mark for cutting. This is MS25L an over panel, but I just use the foot well impression and cut as required.
I opened out the grooves to the correct size and shape with a pair of male and female dies I made and cut panel to size.
Tacked in place.

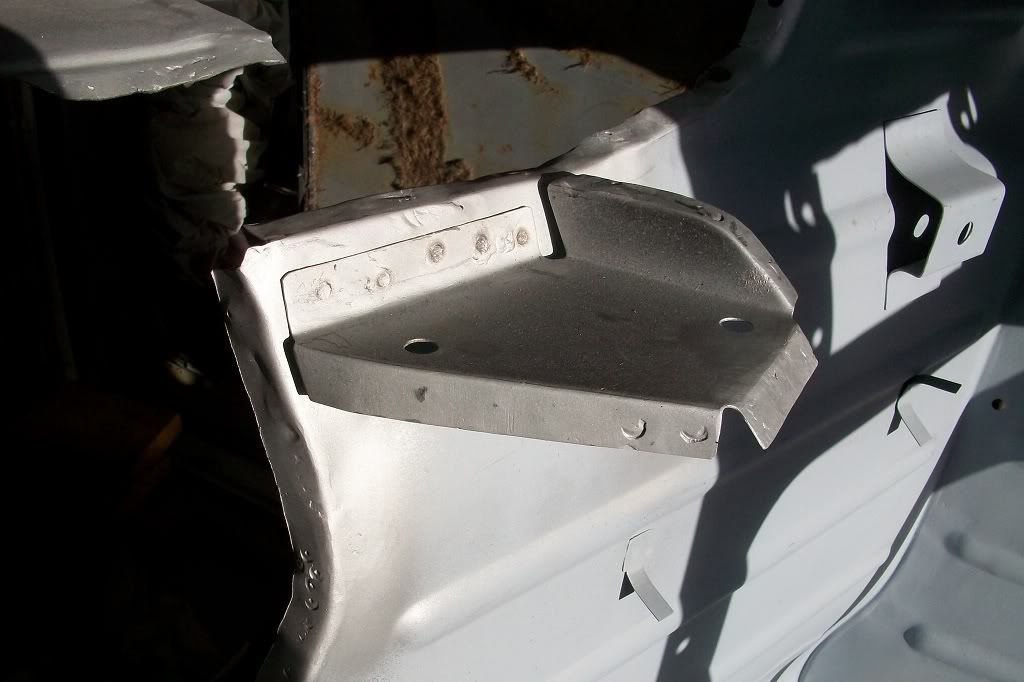
Finally, with the foot well in I removed the inner wing and spot welded in the second of the sill reinforcing brackets I made.
And thats it again for this update. Thanks.
Boot floor in place.
As I am adding seatbelts to the rear, I ordered this Heritage seat belt centre mounting bracket 24A2205 from Somerford Mini.
Welded in.
I decided to make my own left and right lower seat belt mount brackets, from photos of originals. Made the 2 square nuts from a piece of bar, drilled and tapped to 7/16 UNF.
Folded the brackets from some 2mm steel, drilled the hole and welded on the nuts.
I haven't got a picture of them fitted yet but will add one later. Another photo of boot floor.
Moved on to the front left hand foot well.
Card board template used to make a repair piece for the left hand corner of the toe board.
Floor pan lined up to mark for cutting. This is MS25L an over panel, but I just use the foot well impression and cut as required.
I opened out the grooves to the correct size and shape with a pair of male and female dies I made and cut panel to size.
Tacked in place.
Finally, with the foot well in I removed the inner wing and spot welded in the second of the sill reinforcing brackets I made.
And thats it again for this update. Thanks.
#69
grahama
-
- Members
-
- 2,442 posts
Up Into Fourth
- Location: Warrington
- Local Club: None in my area !!
Posted 19 December 2011 - 11:04 PM
Fantastic work, love looking through your thread, very insipational to one who has slowed down in the recent crappy weather !!
Graham
Graham
#70
minifcd
-
- Members
-
- 246 posts
Mini Mad
- Location: Stamford
Posted 20 December 2011 - 08:17 PM
Cheers Graham, I guess thats the advantage of being able to work in a garage. The only element of the weather that affects me is the cold! I don't know how you do your mini outside. Your a braver man than me! I have enough trouble with surface rust forming inside the garage when I forget to prime bare metal over night. It must be a full time job for you!
Thanks.
Thanks.
#71
hughJ
-
- Members
-
- 727 posts
Soldiering Along
- Location: Highlands, Scotland
Posted 21 December 2011 - 09:49 PM
It is inspirational. Your repairs are so accurate.
Even with a garage its too cold!
Hugh
Even with a garage its too cold!
Hugh
#72
087dave
-

- Members
-
- 952 posts
One Carb Or Two?
- Location: In the living room
Posted 22 December 2011 - 12:26 PM
Great work man
#73
minifcd
-
- Members
-
- 246 posts
Mini Mad
- Location: Stamford
Posted 24 December 2011 - 08:17 PM
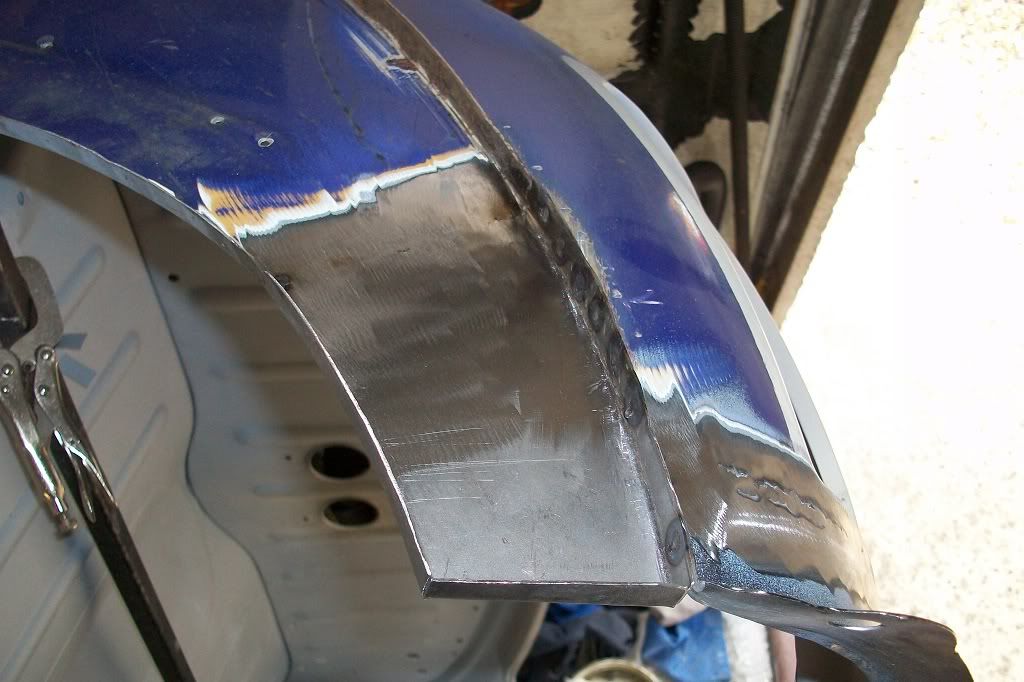
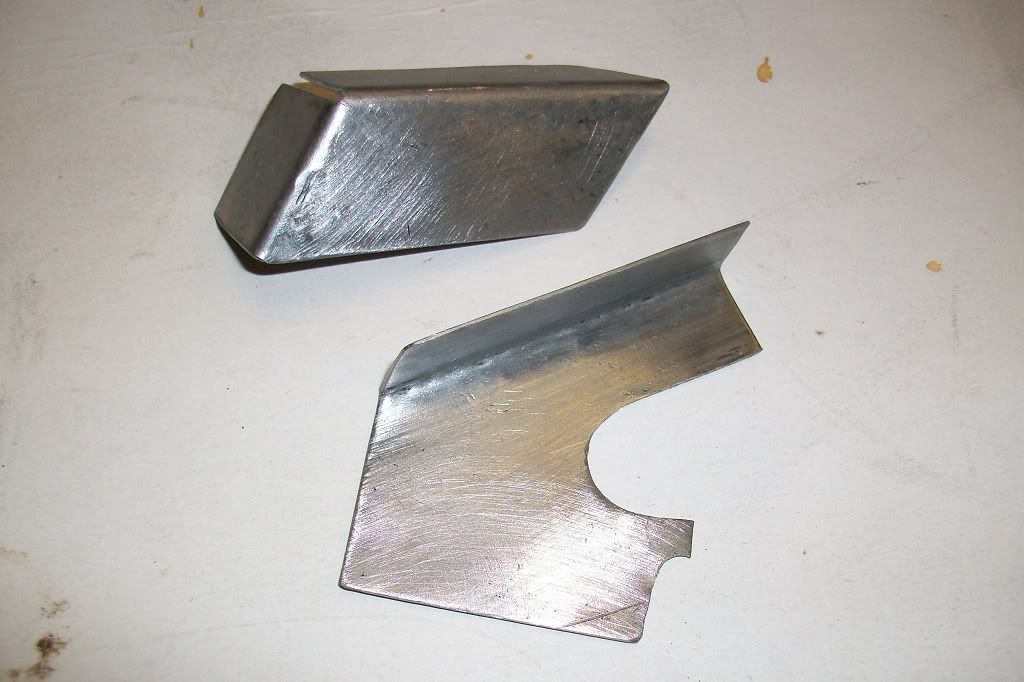
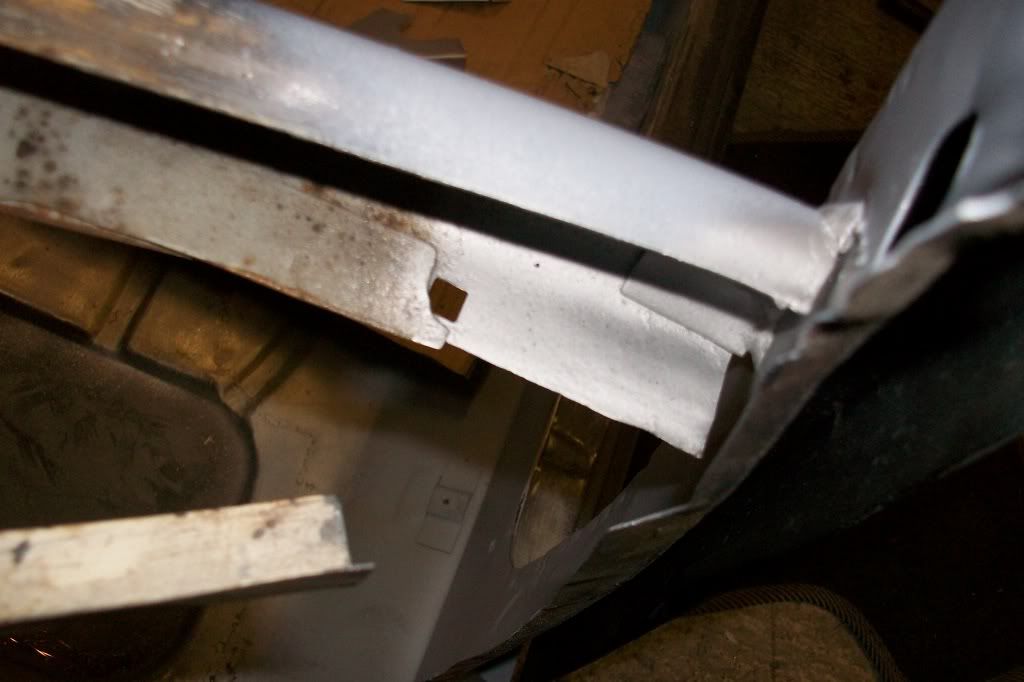
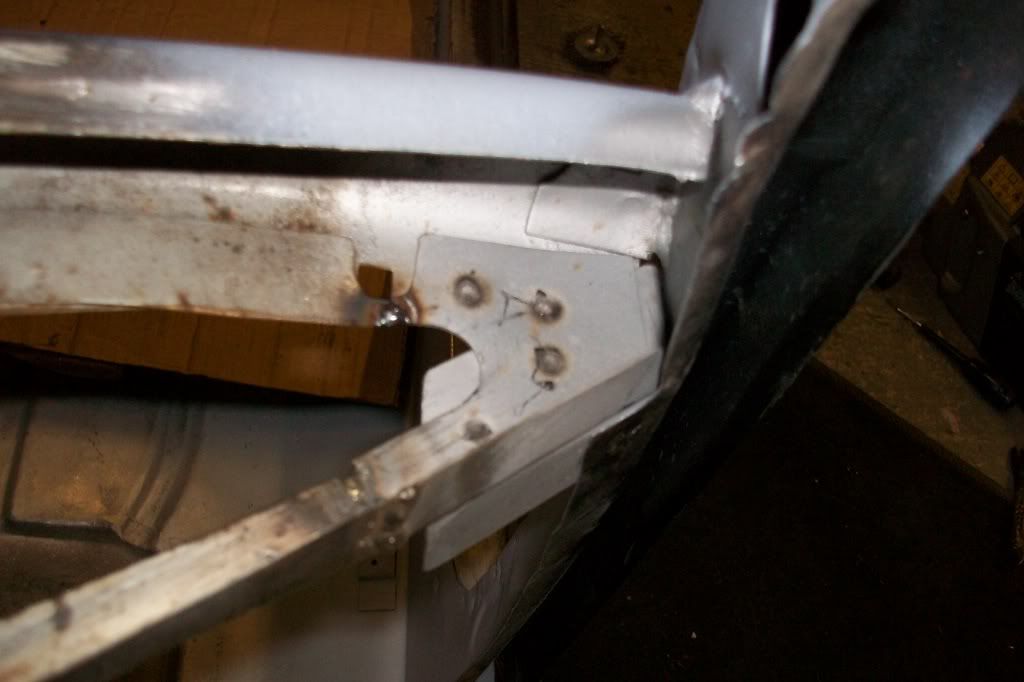
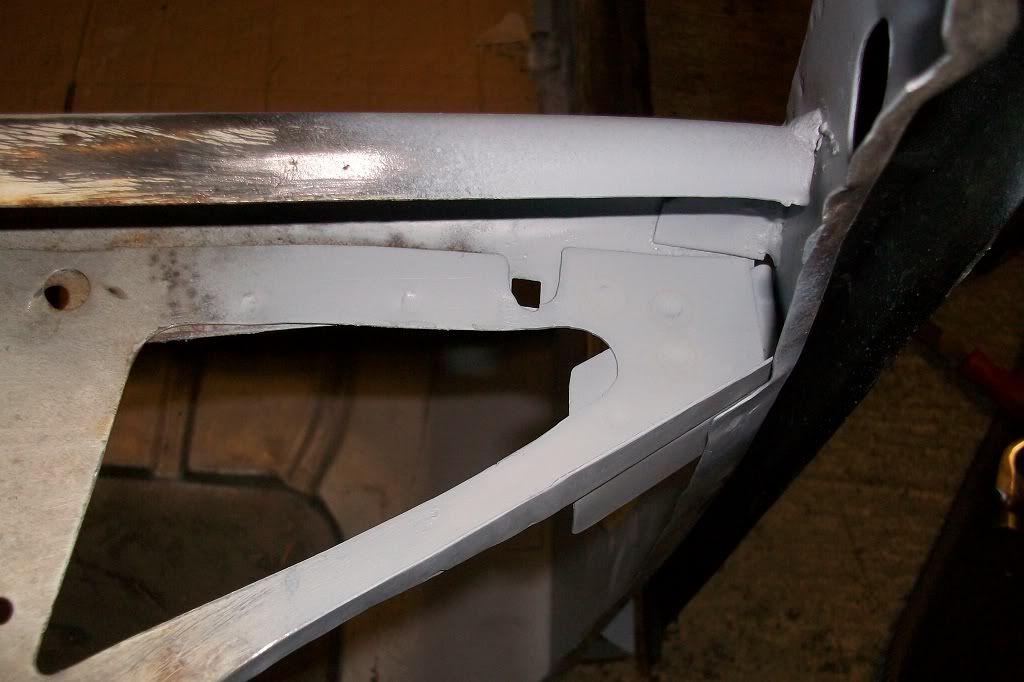
Next job was to sort the upper left corner of the toe board. Although this was quite solid it had a lot of pitting from rust so I decided to cut out and replace with new metal.
New piece made and ready to fit.
Tacked in place.
Finished and primed.
Now for the rear valance. I originally bought a non genuine rear valance but was very unhappy with the shape and fit. The curve at the middle point was virtually non existent and there were a lot of ripples at the corners, so I ordered a Heritage panel instead and am glad i did. I used a non genuine rear valance on my other mini that was perfect but can't remember what make it was.
Clamped in place and began spot welding.
Socket extension used to align holes.

I'll add finished pictures of the rear valance later, but next back to the front to repair the lower dash rail corner.
Piece cut out to measure up and make new parts.

New parts made.
Spot welded together and welded in.
Finished repair.
Thanks to all who have taken time to read through these past 5 pages so far and thanks to those who have replied. Hope you all have a merry christmas and a happy new year and keep posting those updates to your topics.
New piece made and ready to fit.
Tacked in place.
Finished and primed.
Now for the rear valance. I originally bought a non genuine rear valance but was very unhappy with the shape and fit. The curve at the middle point was virtually non existent and there were a lot of ripples at the corners, so I ordered a Heritage panel instead and am glad i did. I used a non genuine rear valance on my other mini that was perfect but can't remember what make it was.
Clamped in place and began spot welding.
Socket extension used to align holes.
I'll add finished pictures of the rear valance later, but next back to the front to repair the lower dash rail corner.
Piece cut out to measure up and make new parts.
New parts made.
Spot welded together and welded in.
Finished repair.
Thanks to all who have taken time to read through these past 5 pages so far and thanks to those who have replied. Hope you all have a merry christmas and a happy new year and keep posting those updates to your topics.
#74
hughJ
-
- Members
-
- 727 posts
Soldiering Along
- Location: Highlands, Scotland
Posted 24 December 2011 - 10:25 PM
And a very merry Christmas to yourself Scott. Again lovely work. Your repairs are to original standard. Mine are just repairs!
Kind wishes, Hugh
Kind wishes, Hugh
#75
minifcd
-
- Members
-
- 246 posts
Mini Mad
- Location: Stamford
Posted 24 December 2011 - 10:57 PM
Your doing a great job Hugh and most importantly your keeping another mini on the road!
Thanks.
Thanks.


1 user(s) are reading this topic
0 members, 1 guests, 0 anonymous users


