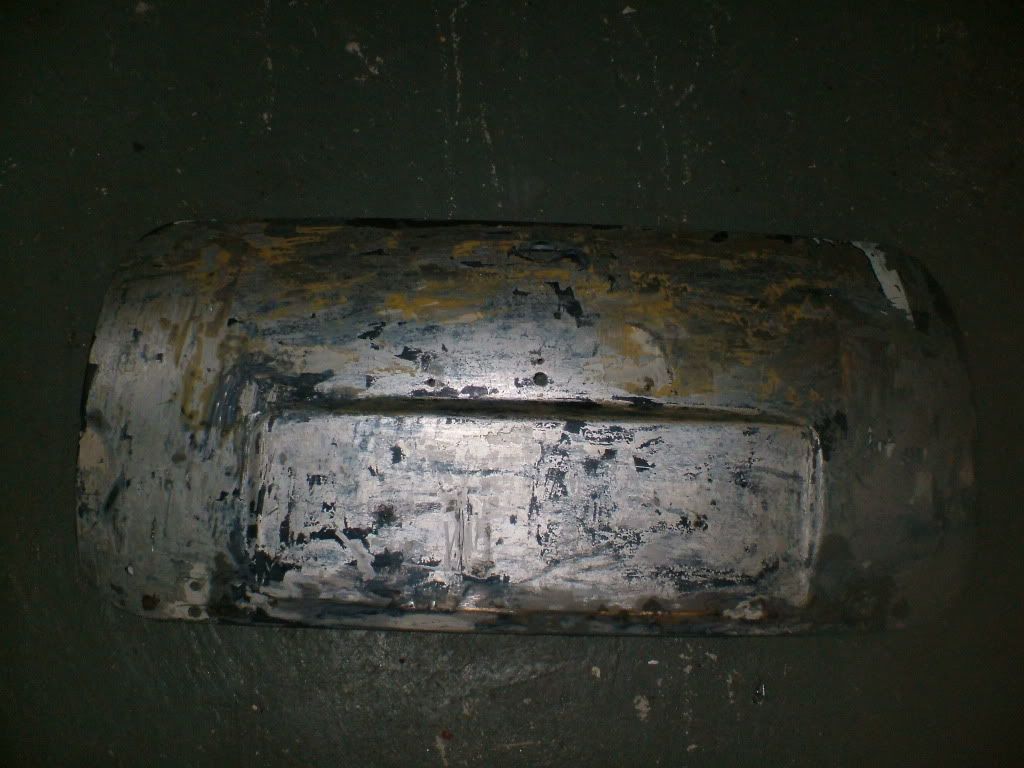
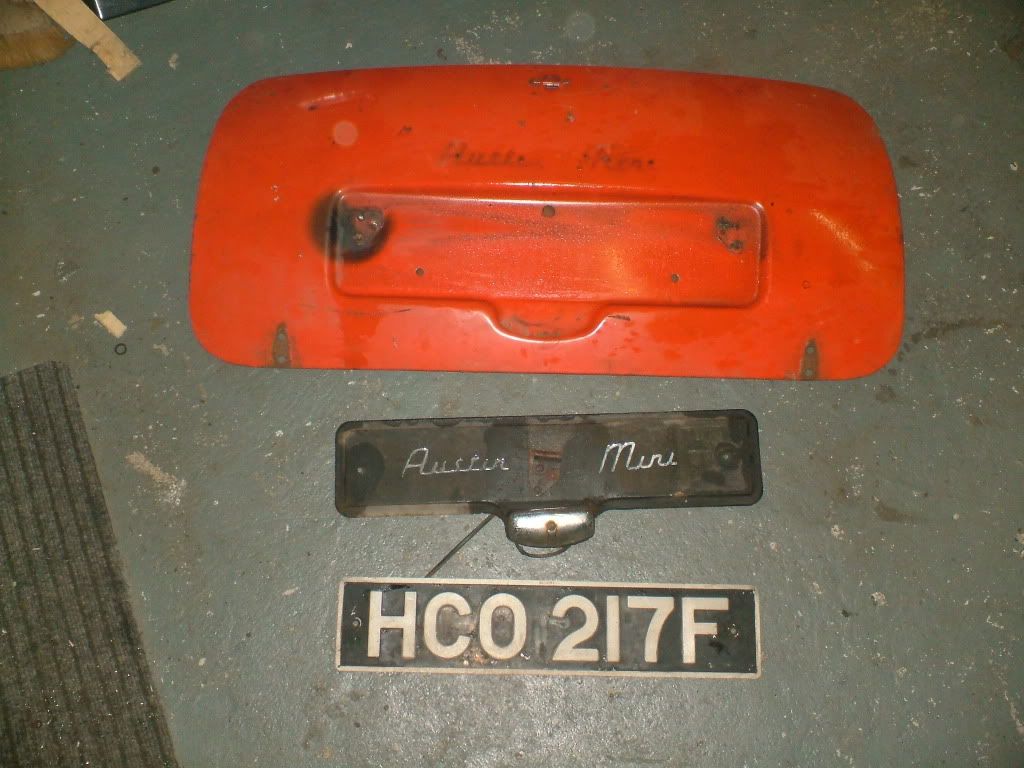
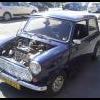
First picture is how I got it .
2nd front wing removed.
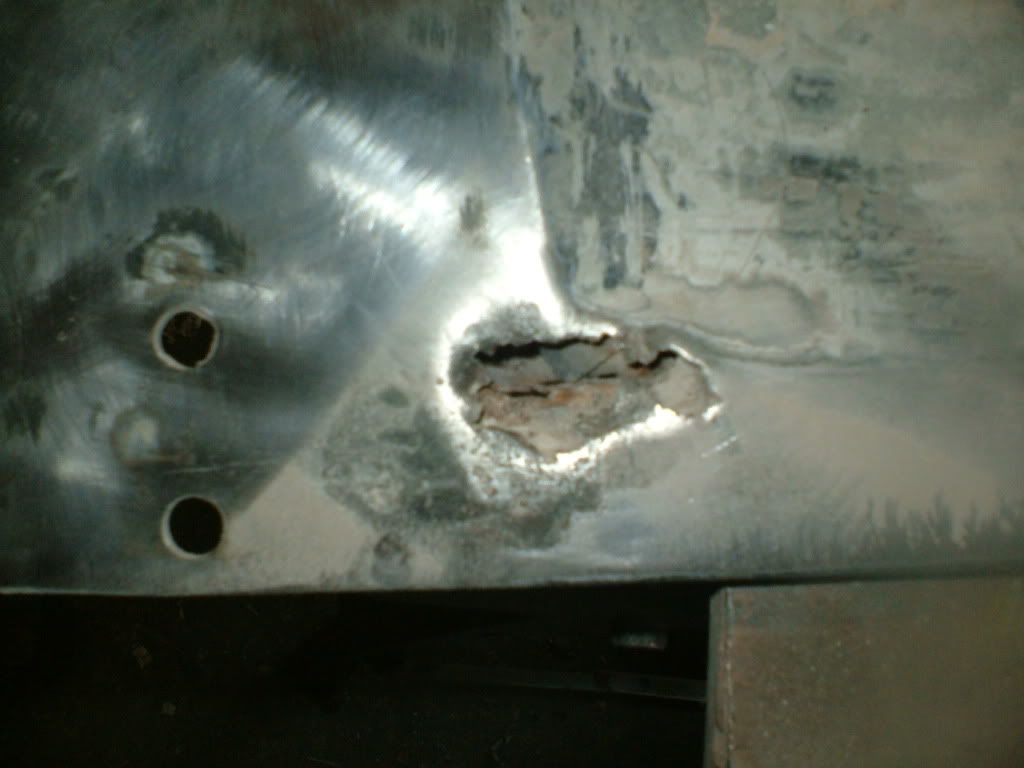
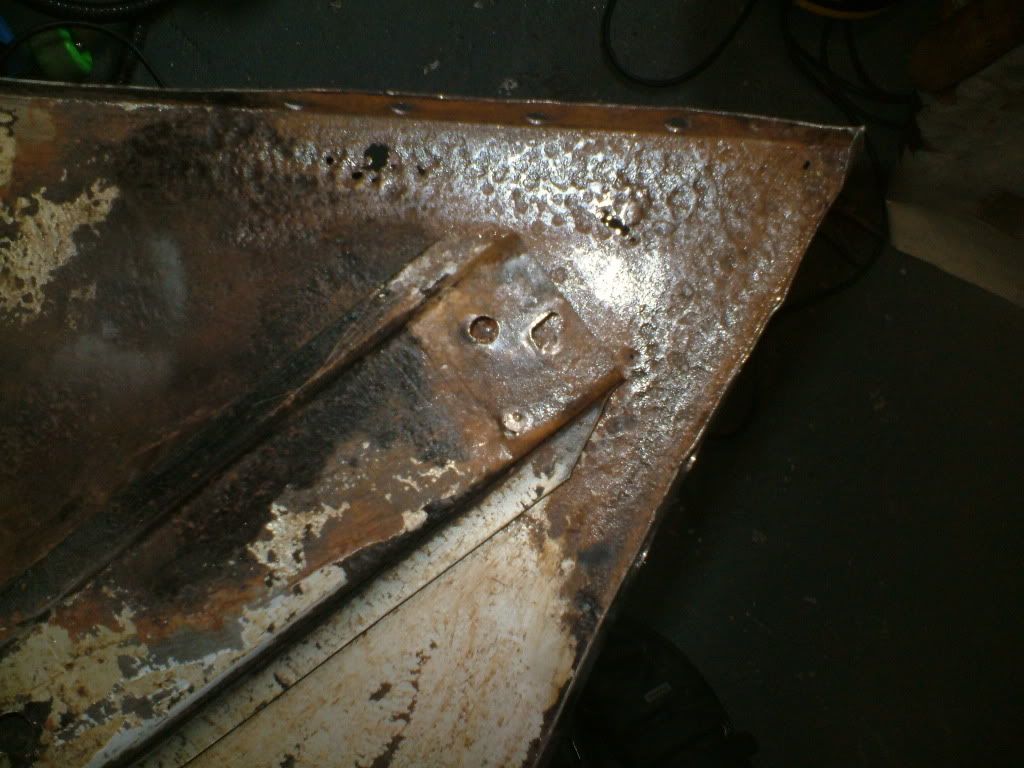
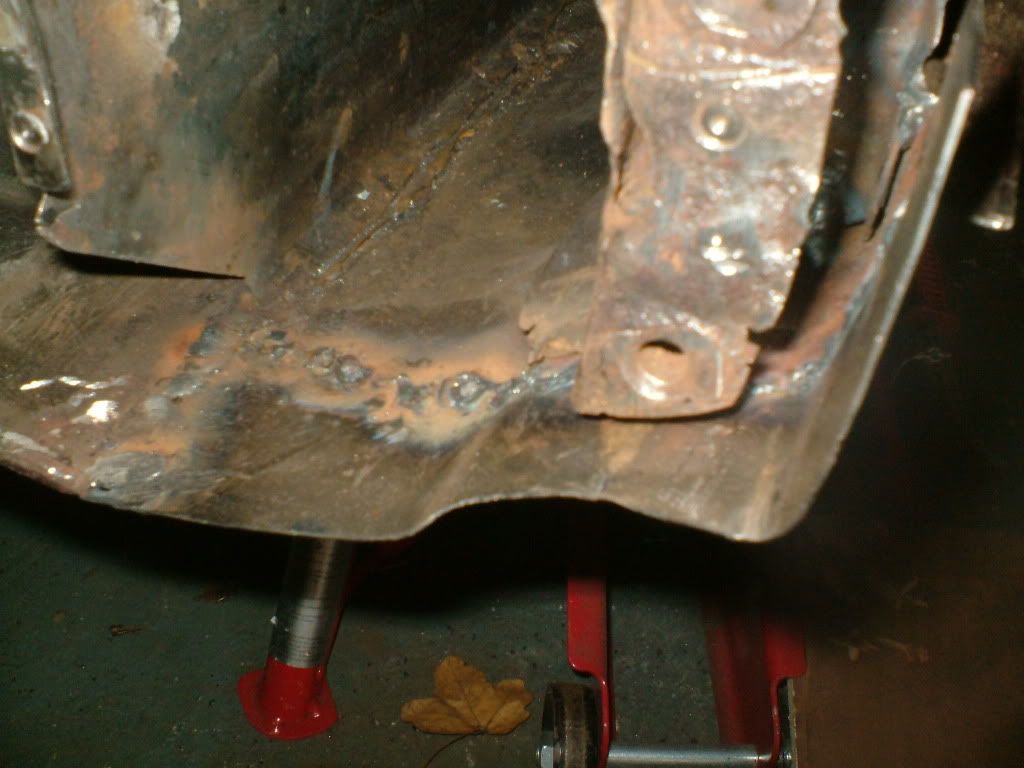
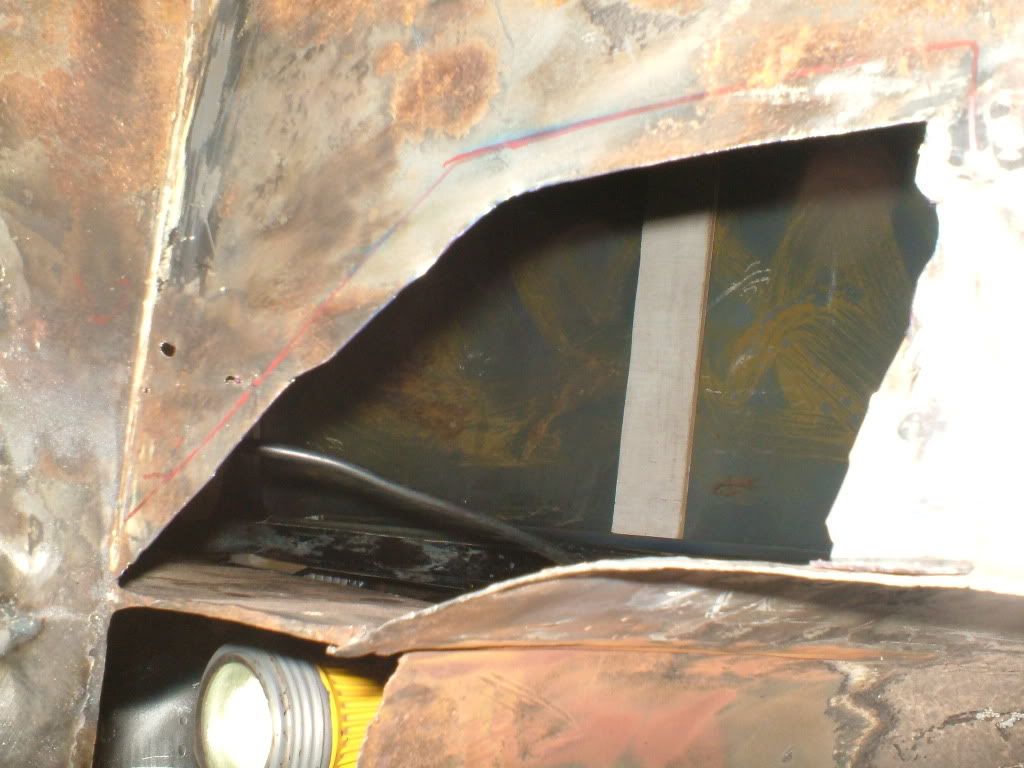
3rd rust!
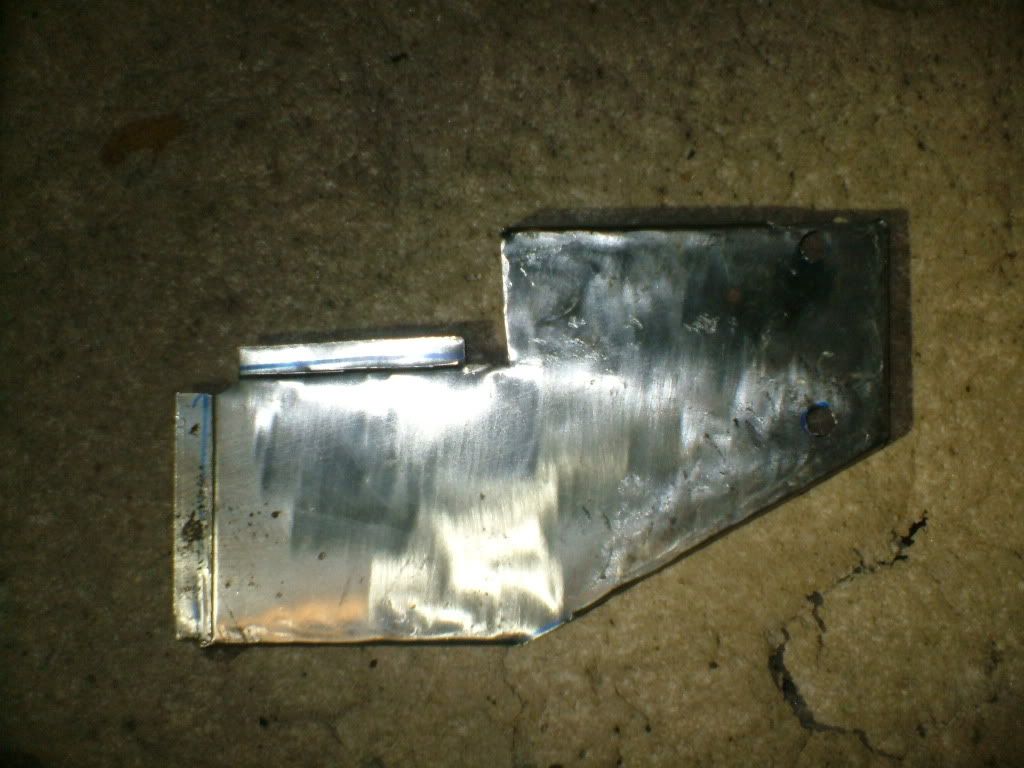
4th door step removed.
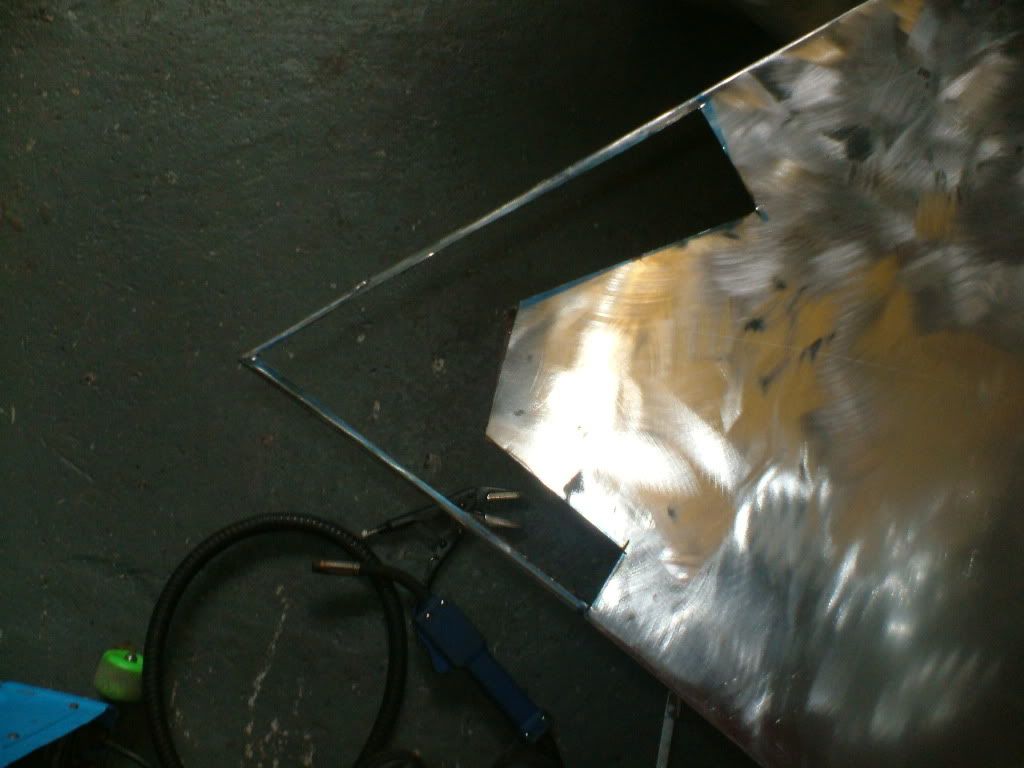
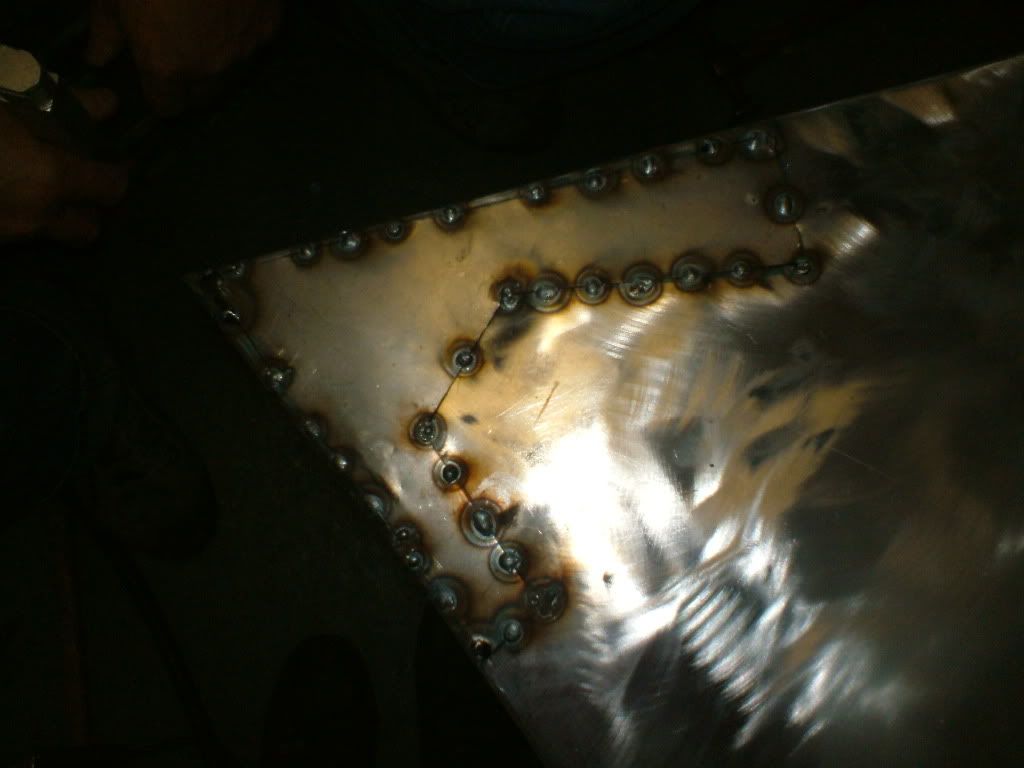
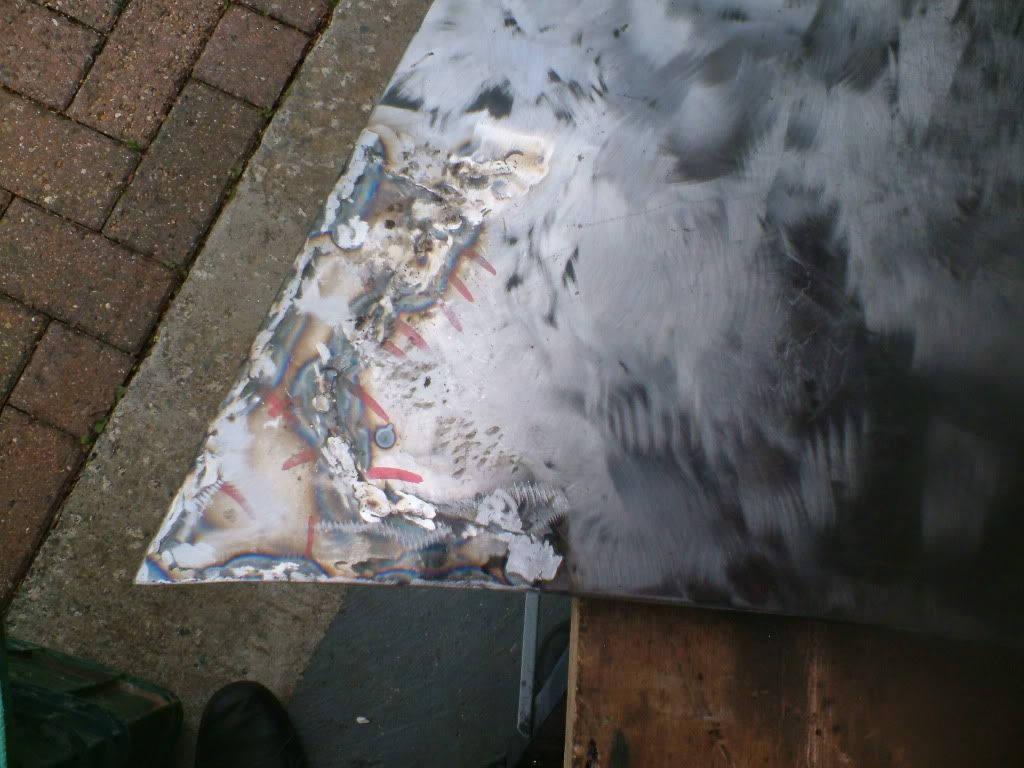
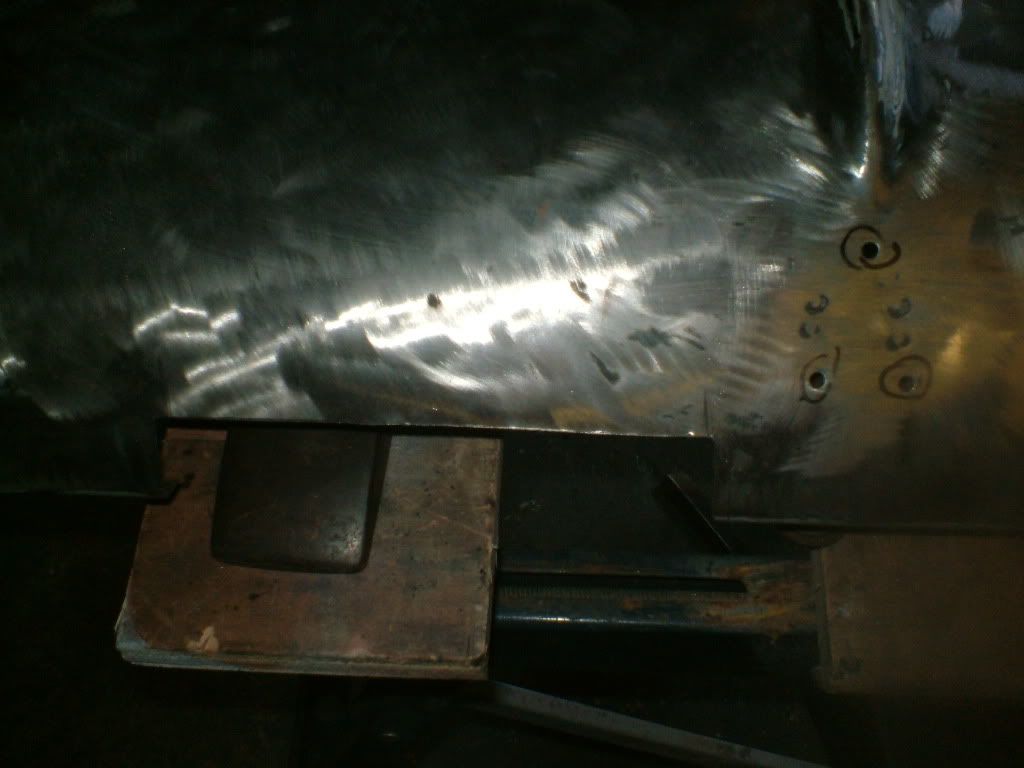
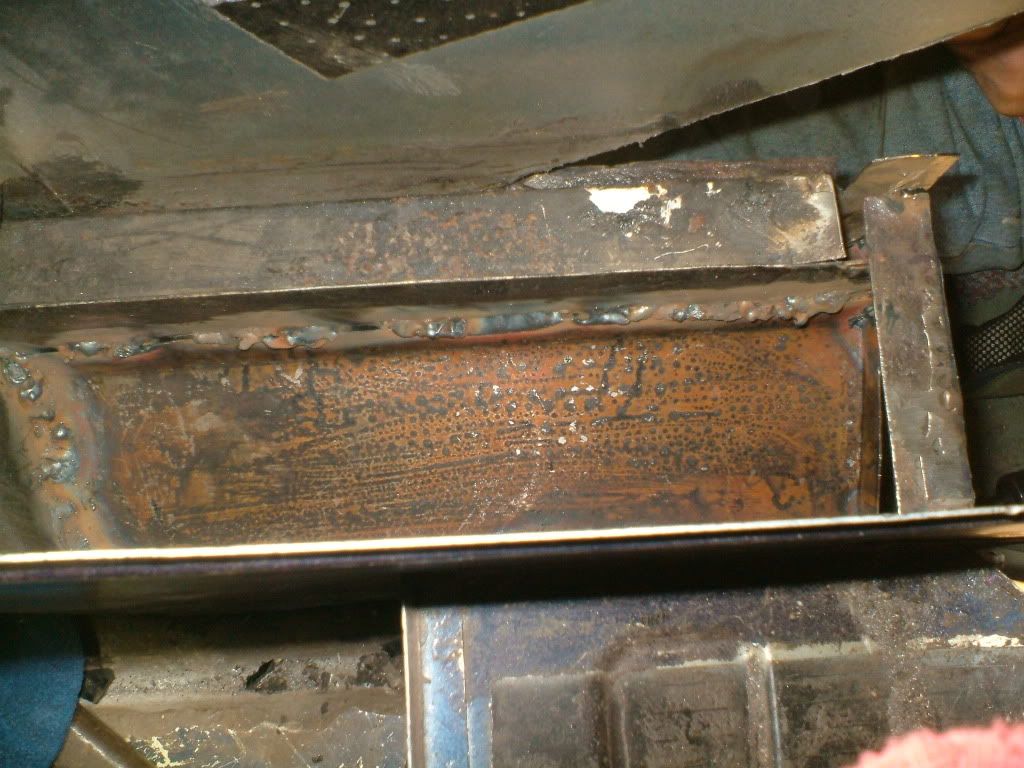
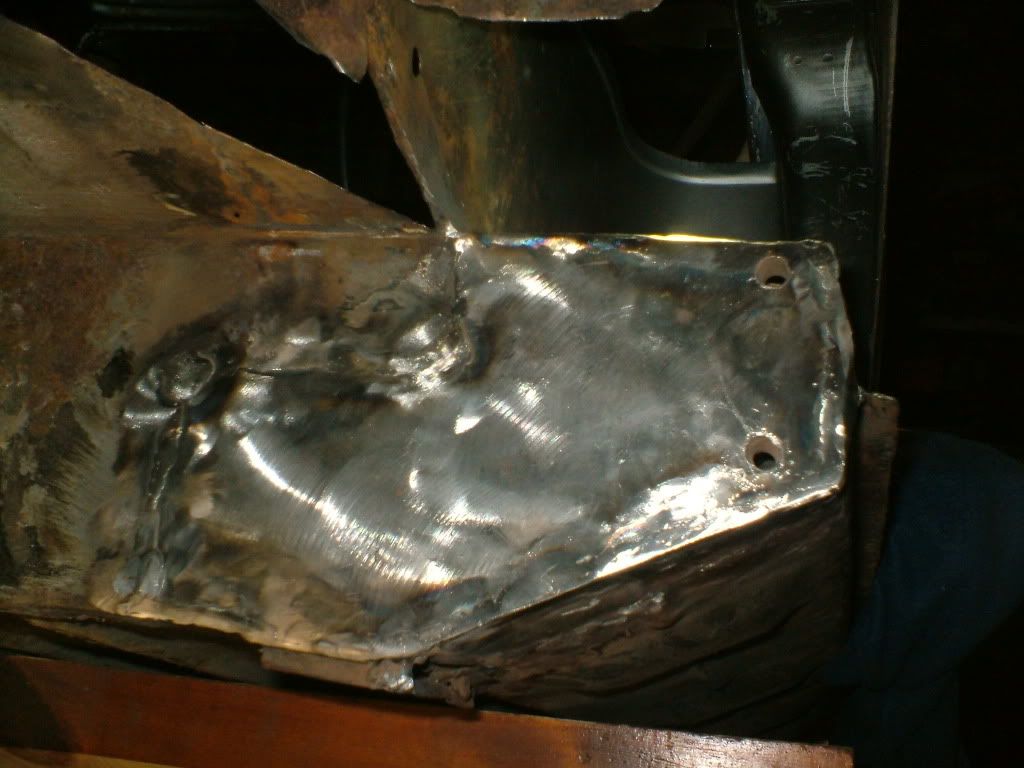
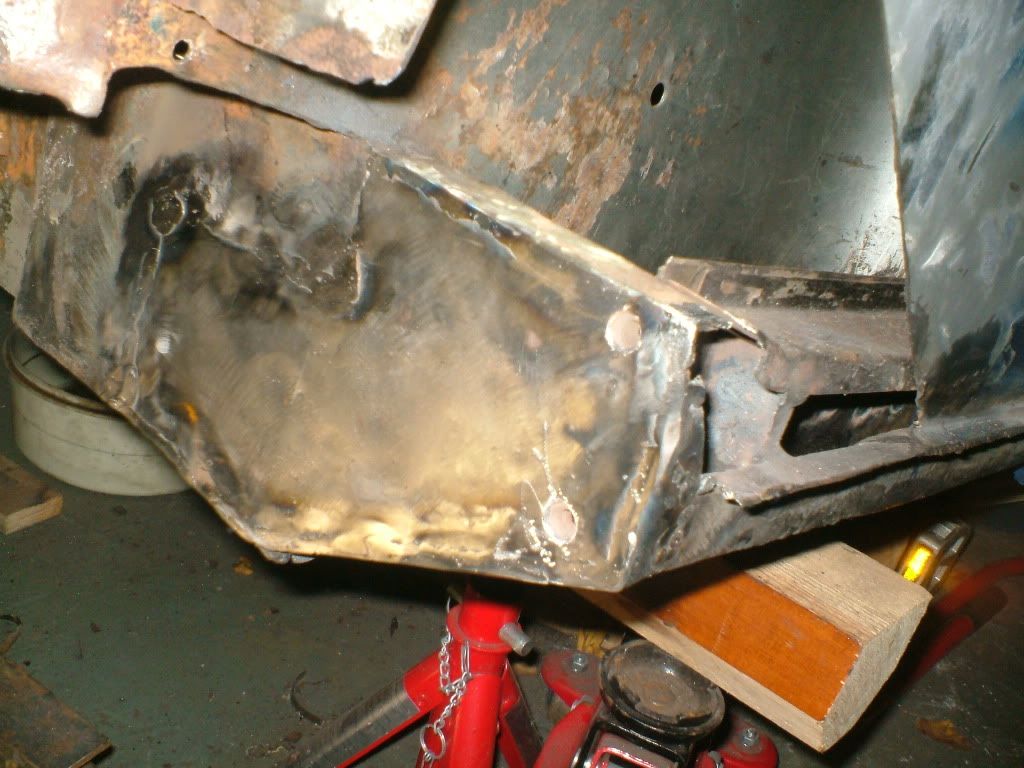
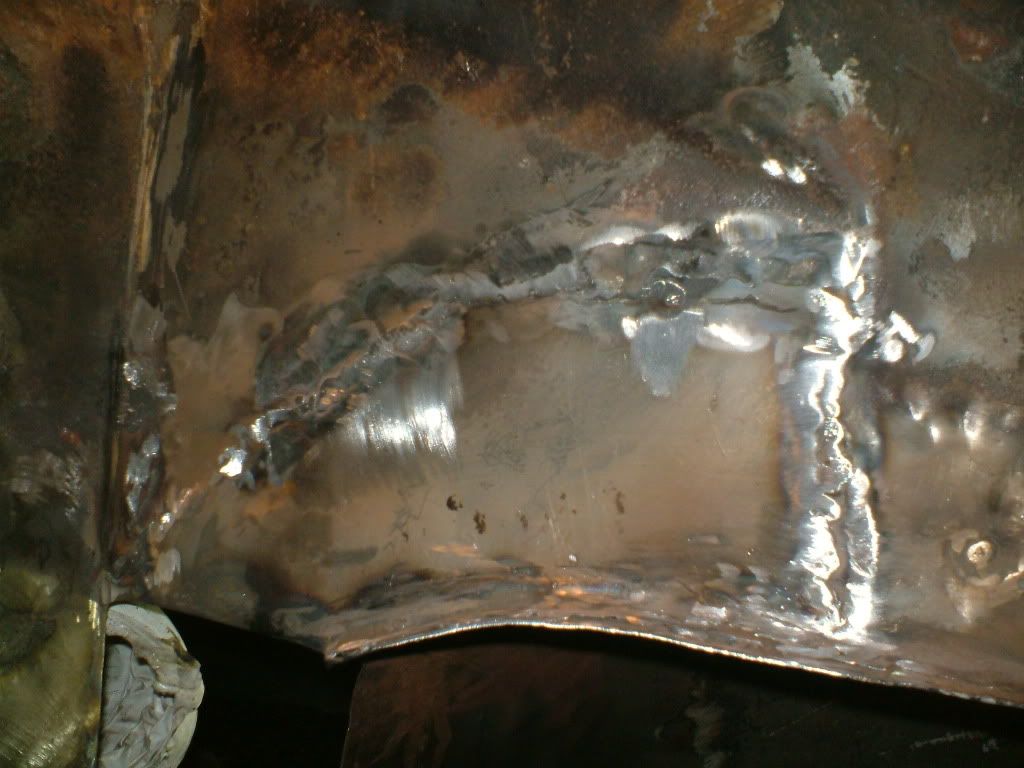
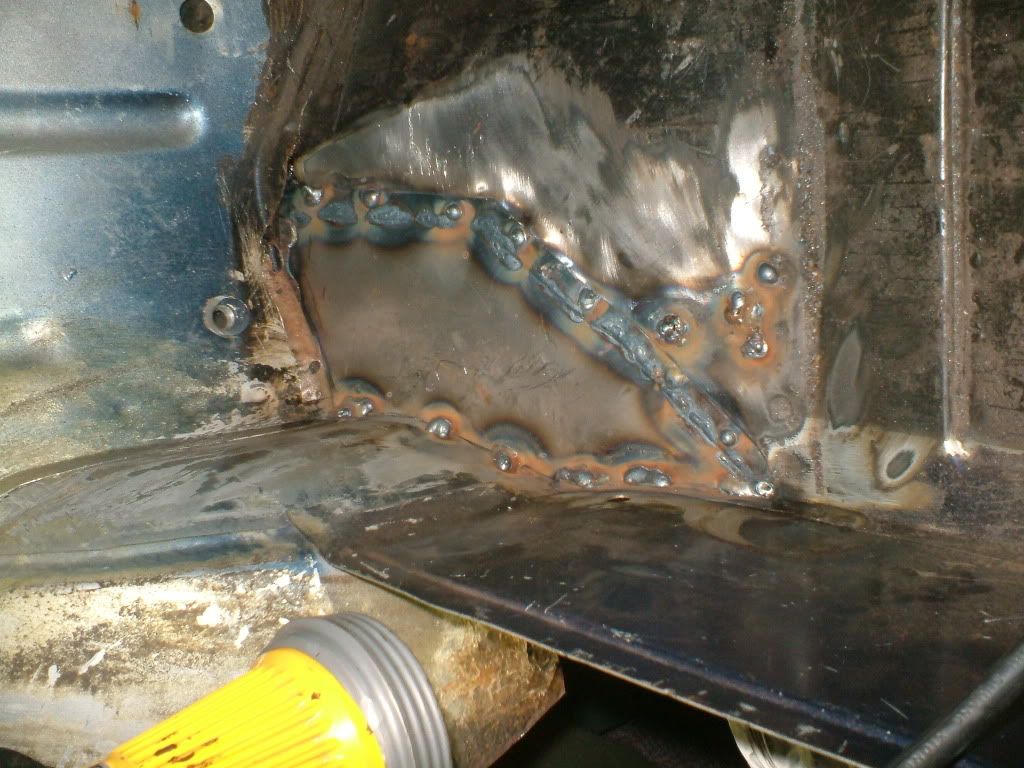
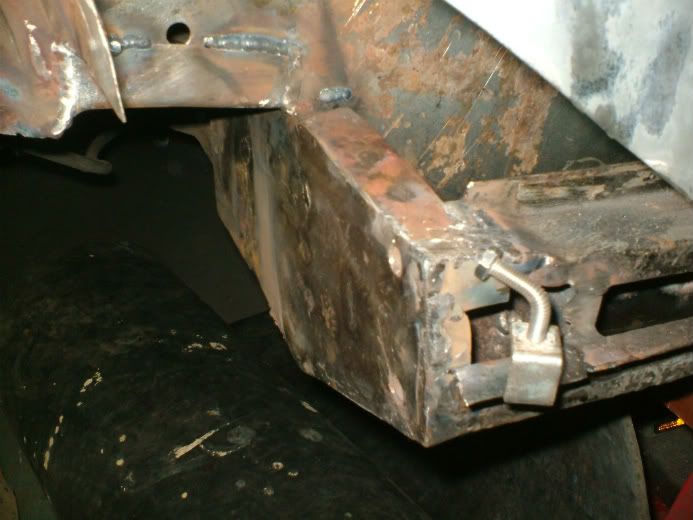
5th flitch welded in.
6th replacment door put on.
7th testing wing Apanel and door.
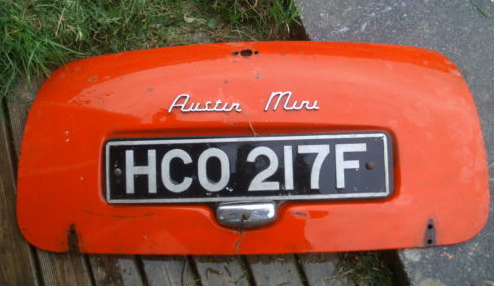
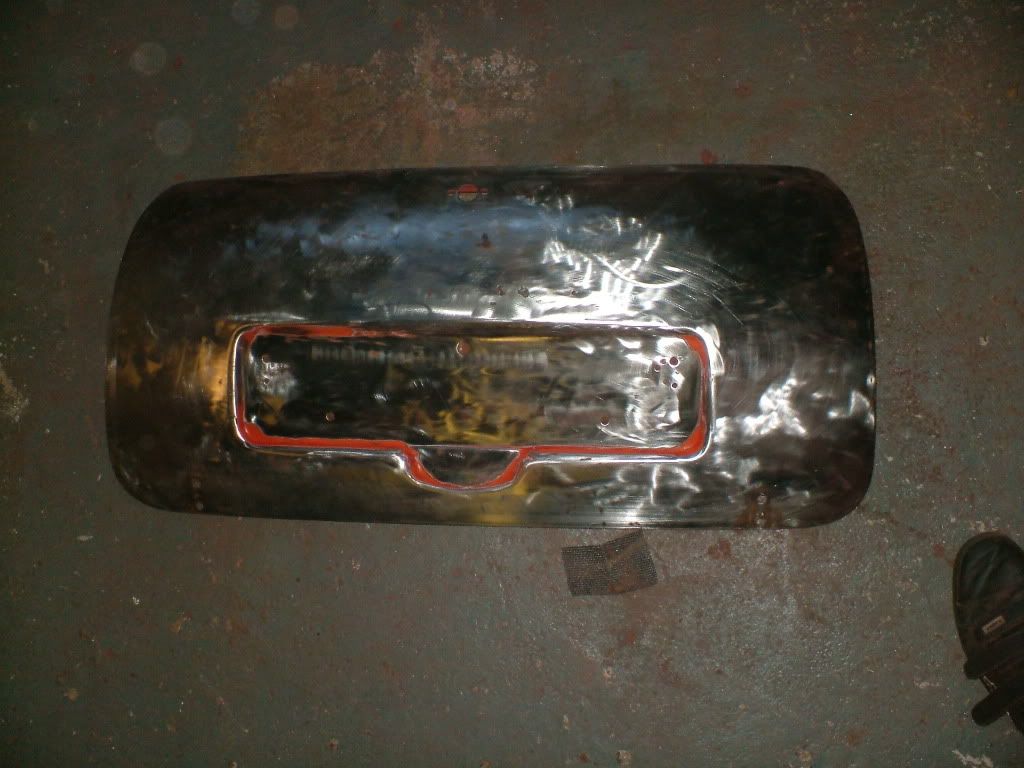
8th and 9th bonnet repairs.
10th old doors.
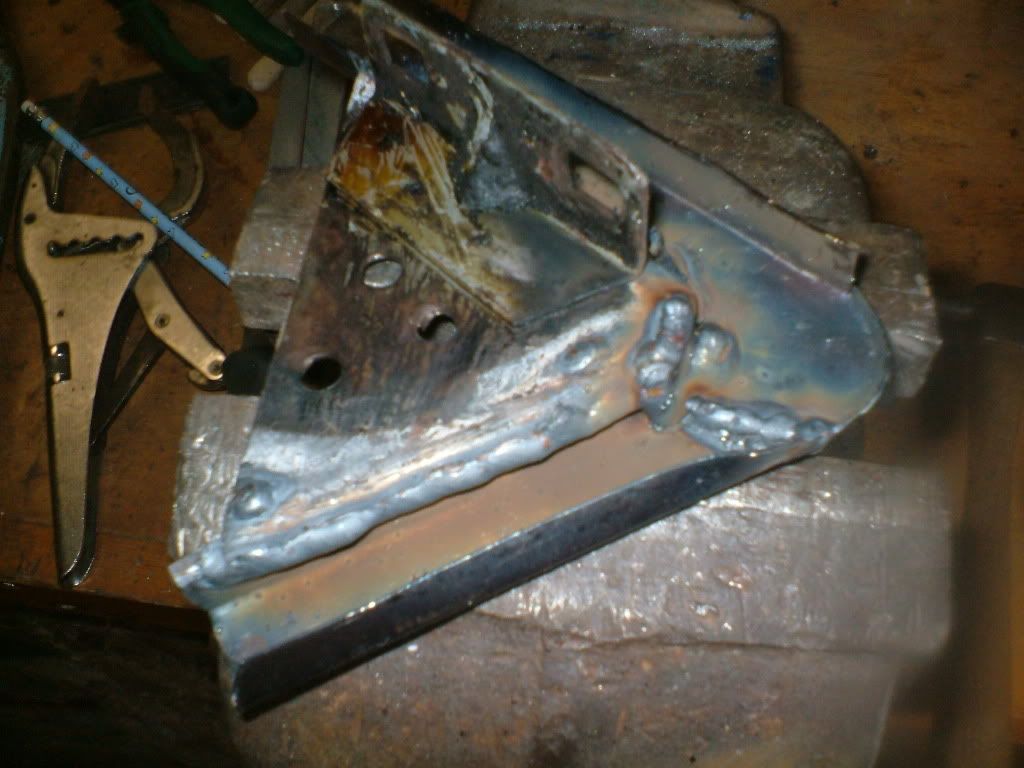
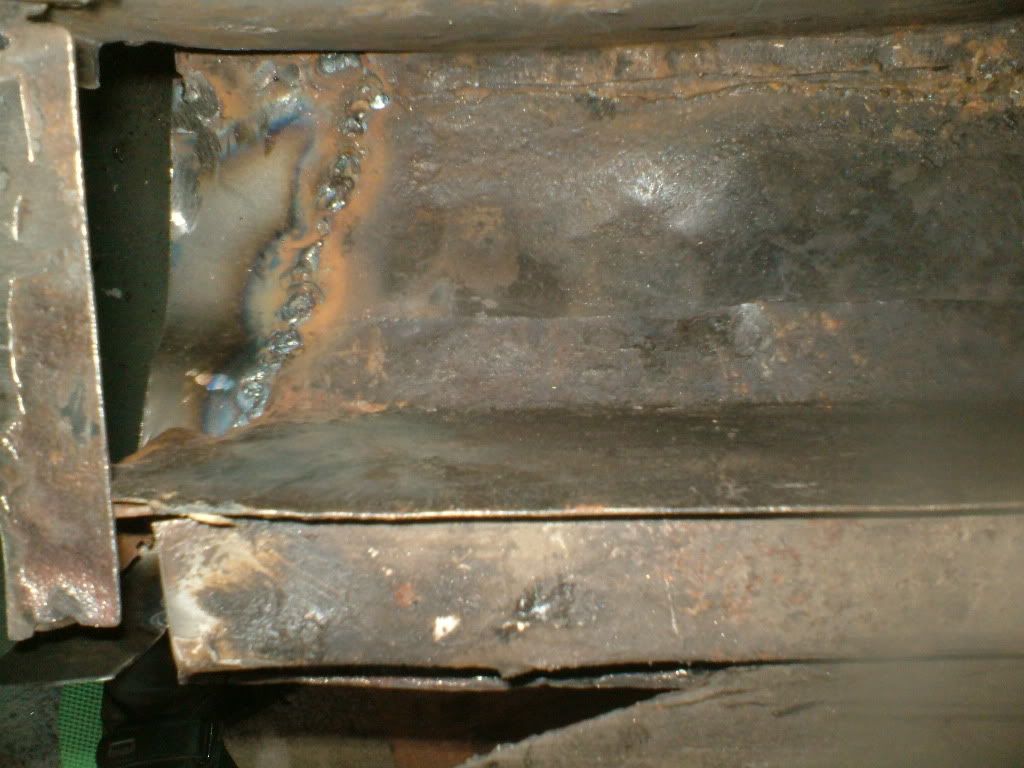
11th A panel and wing welded in
 .
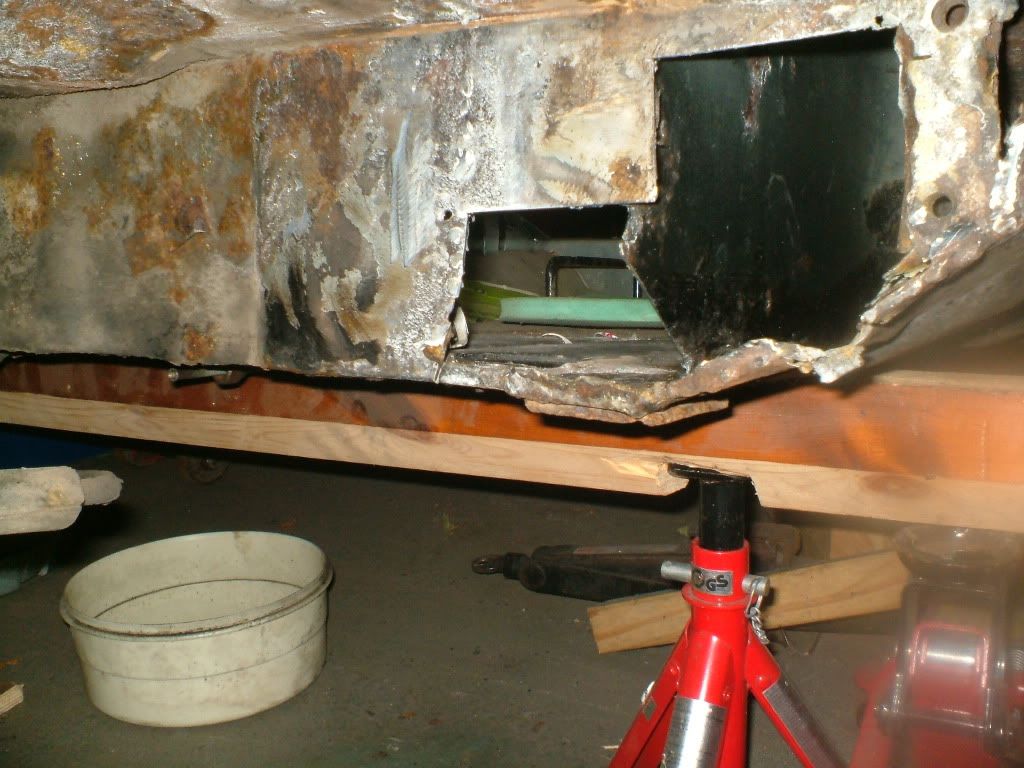
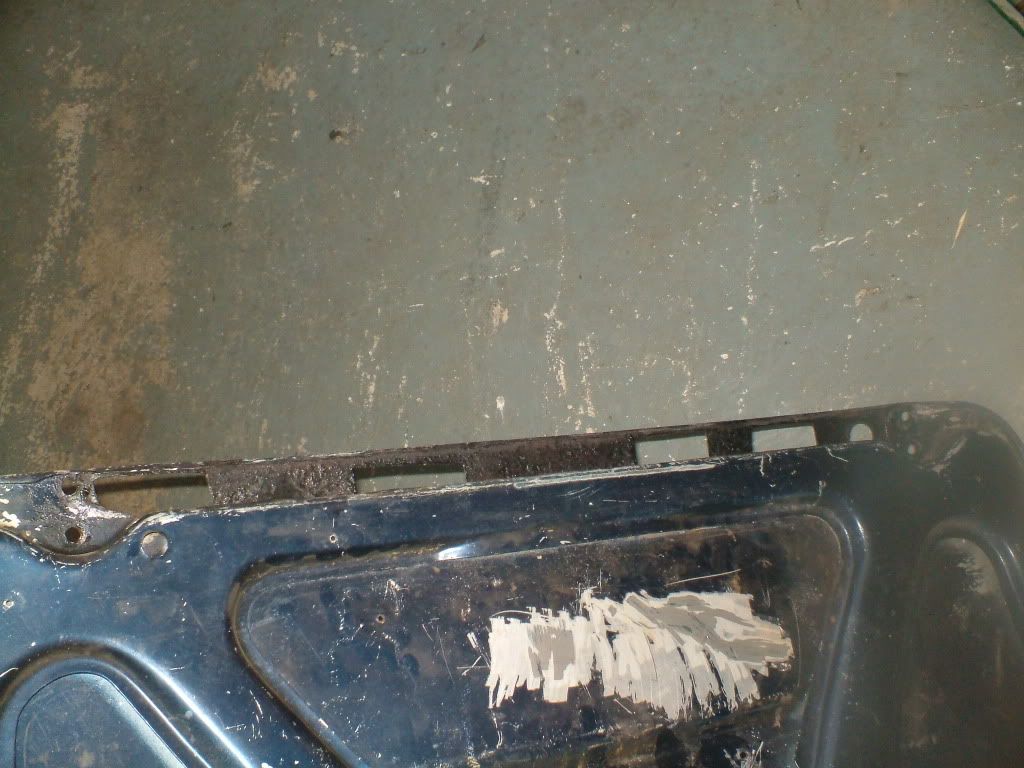
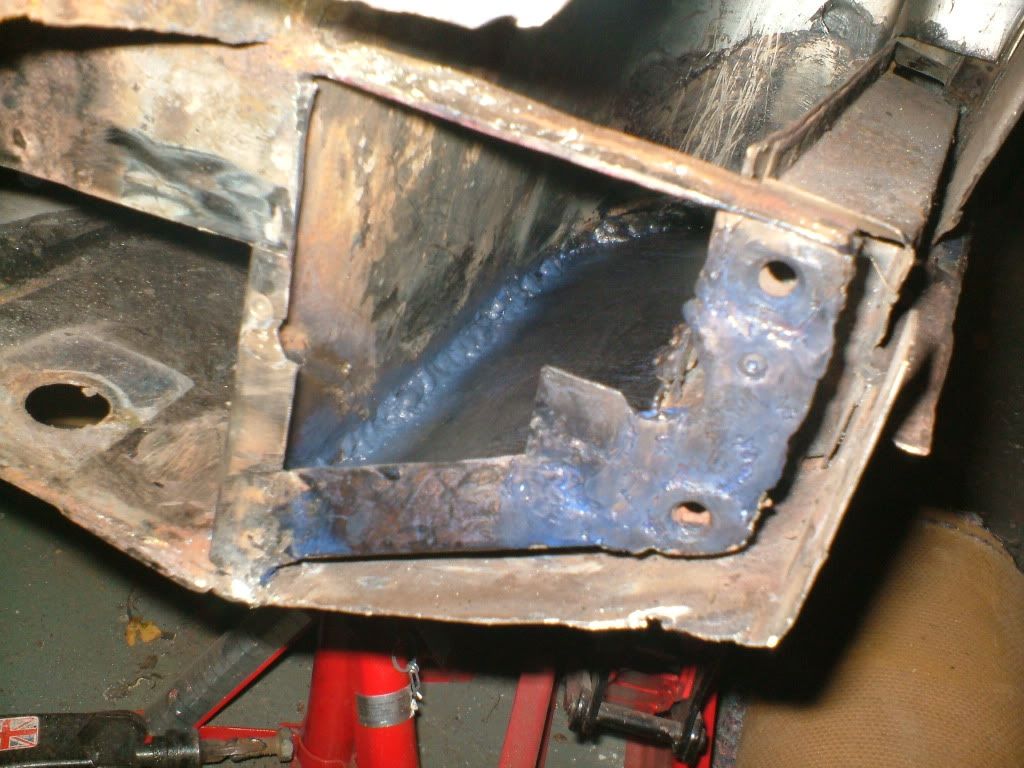
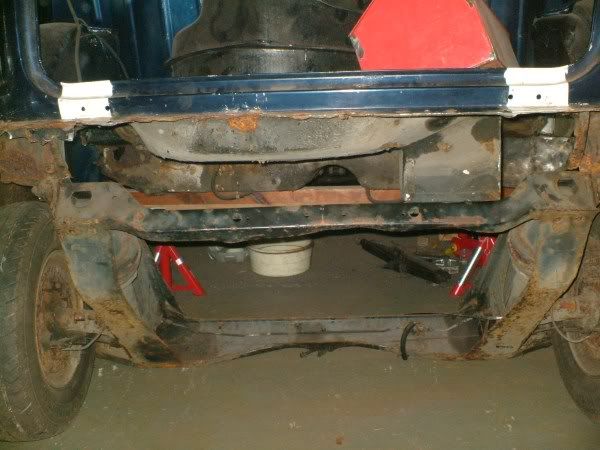
.12th heel board rust.
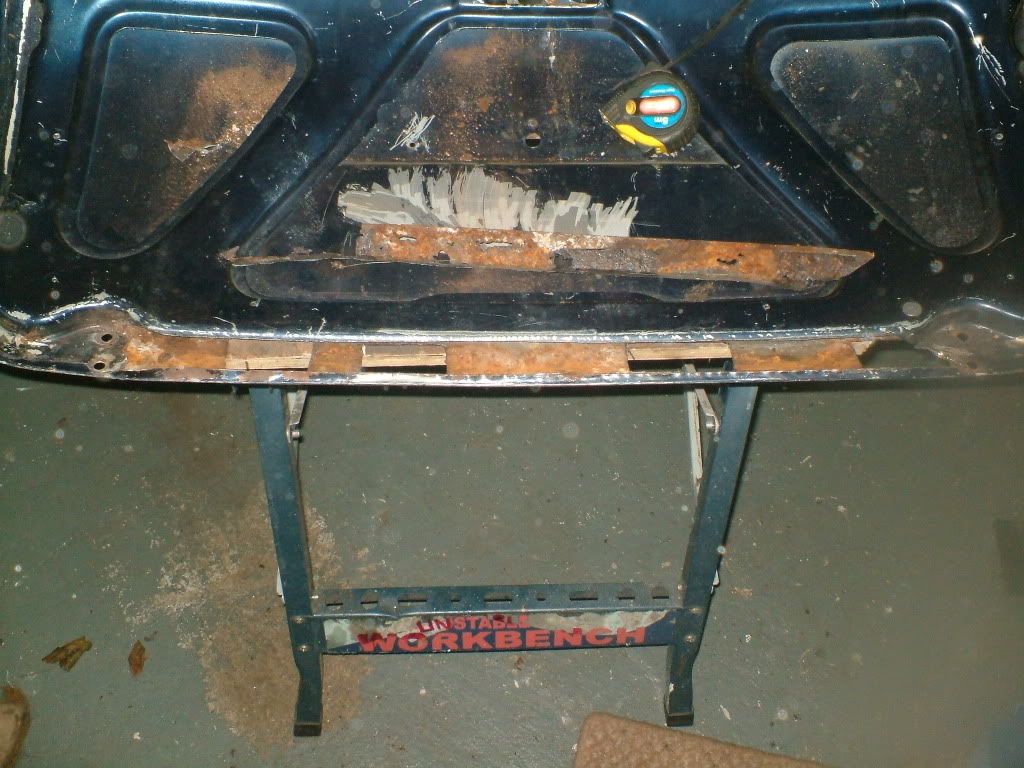
13th rear bin.
14th more rust
 .
.Thanks Alex
Attached Files
-
 DSCF16311.jpg 34.28K
170 downloads
DSCF16311.jpg 34.28K
170 downloads
-
DSCF1641.jpg 65.52K
111 downloads
-
DSCF1644.jpg 75.22K
103 downloads
-
DSCF1668.jpg 75.32K
116 downloads
-
DSCF1685.jpg 76.19K
88 downloads
-
DSCF1698.jpg 76.48K
61 downloads
-
DSCF1702.jpg 75.39K
79 downloads
-
DSCF1725.jpg 40.48K
52 downloads
-
DSCF1748.jpg 42.66K
50 downloads
-
DSCF1785.jpg 57.41K
35 downloads
-
DSCF1790.jpg 46.07K
44 downloads
-
DSCF1797.jpg 69.14K
88 downloads
-
DSCF1800.jpg 81.89K
47 downloads
-
DSCF1633.jpg 111.8K
116 downloads
Edited by alex-95, 02 March 2013 - 09:03 PM.