
Hey, I am watching your thread regularly, you do some awesome work, makes mine look poor. Keep on documenting because it is so enjoyable. Good luck


The Wifes Worst Nightmare 83 Full Resto
Started by
Minidarren83
, Jul 17 2012 08:57 PM
920 replies to this topic
#92

william_clubman
-

- Members
-

- 369 posts
Speeding Along Now
Posted 13 October 2012 - 08:39 AM
good job like keep up 
#93
Minidarren83
-
- Members
-
- 1,207 posts
One Carb Or Two?
- Location: Stanford Le hope
Posted 13 October 2012 - 10:11 AM
Hugh mackeelan and William thanks for the reply it means a lot to know in doing an ok job lol especially from the likes of Hugh your work is superb cheers
#94
grahama
-

- Members
-
- 2,442 posts
Up Into Fourth
- Location: Warrington
- Local Club: None in my area !!
Posted 14 October 2012 - 09:30 AM
Lovely work on that floor panel. Almost an invisible repair keep it up !!
Graham
Graham
#95
Minidarren83
-
- Members
-
- 1,207 posts
One Carb Or Two?
- Location: Stanford Le hope
Posted 15 October 2012 - 09:40 AM
Cheers graham I can definatly see a clear difference from my early welds to where I have it now it makes me want to revisit some of my older welds but I would only end up grinding too much off and causing lots of work so I will suffer them and just live with one half of the car being nicer than the other lol
#96
Minidarren83
-
- Members
-
- 1,207 posts
One Carb Or Two?
- Location: Stanford Le hope
Posted 16 October 2012 - 06:03 PM
got a little update
i managed to get in the garage after work today for an hour or so and set about gringing down all the plug welds from the other day on the doorstep and it came out nice stripped the rest down to bare metal and then primed up
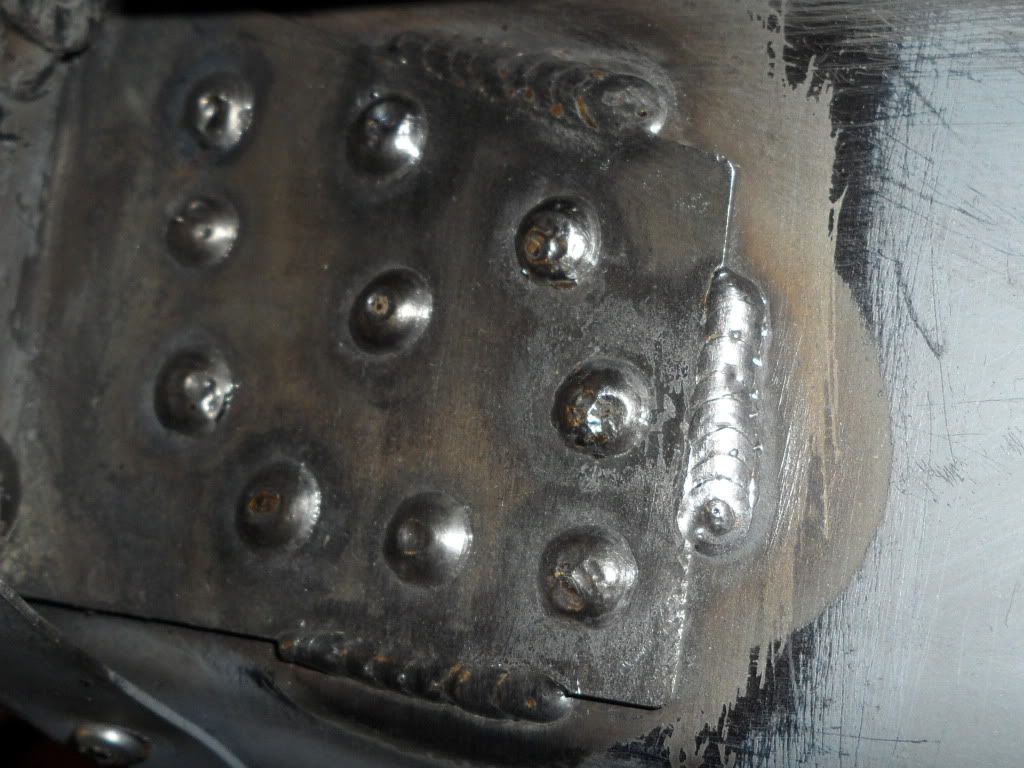
then it was time to plug in the heal board stiffener bracket and for good measure i put a one inch seam on each side
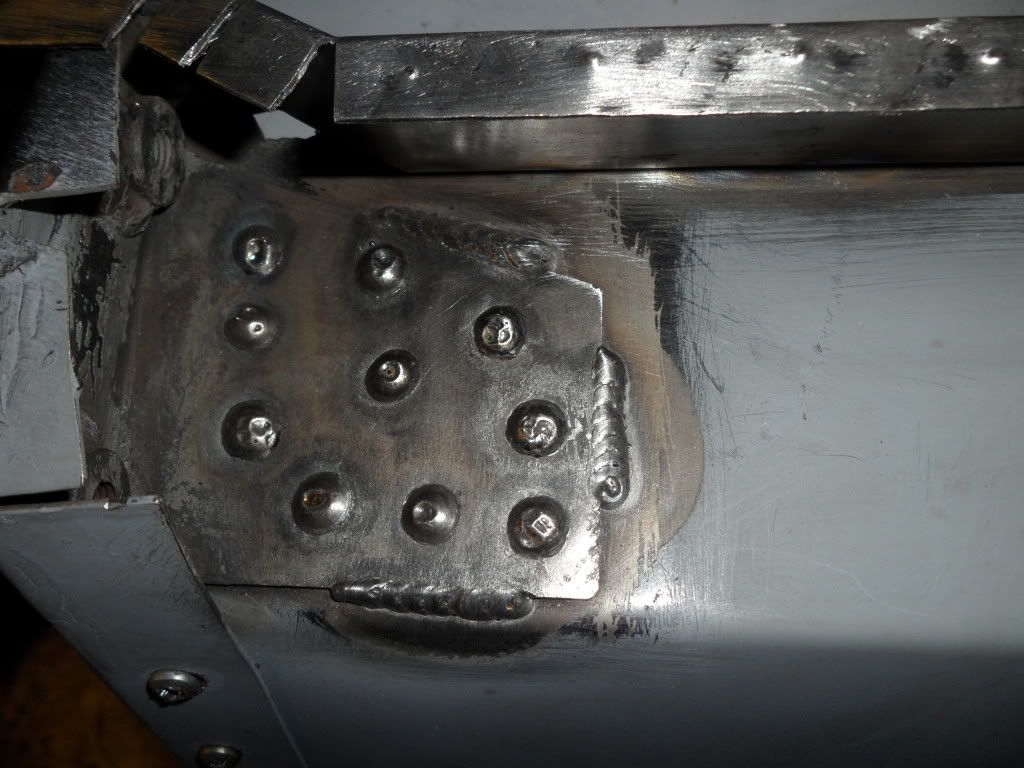
and just beacause i am so pleased with how neat the welds came out i took a close up lol
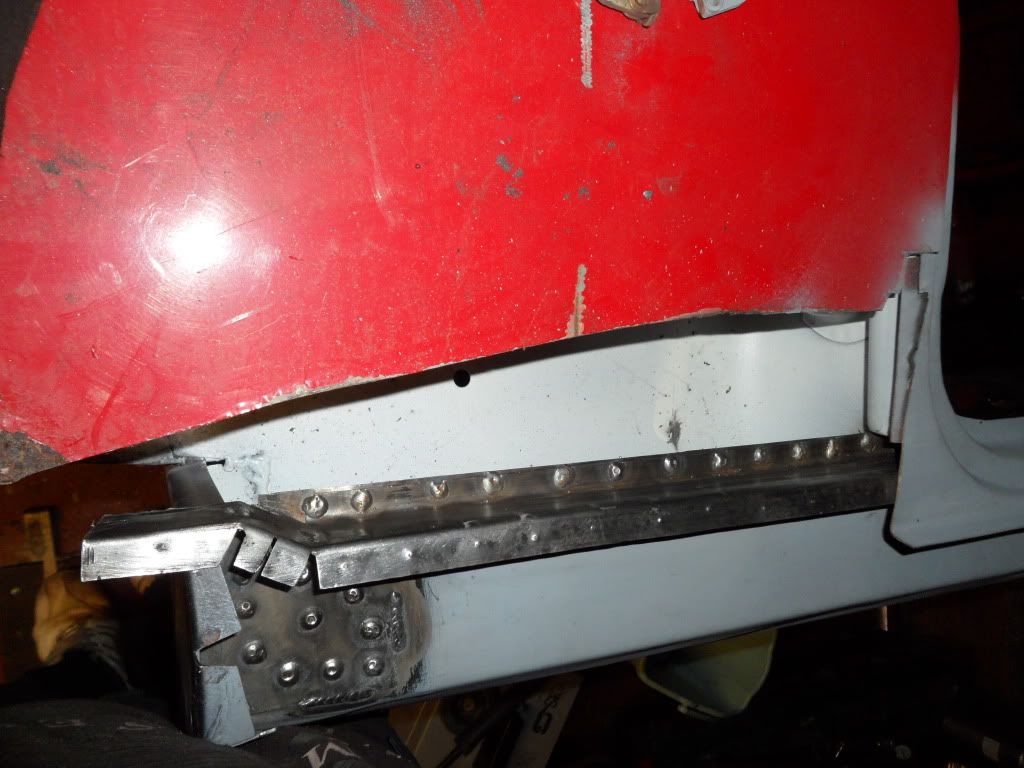
then i moved on to the last piece in this area which was the inner sill stiffener i didnt keep the origonal as it was past even taking messurements from so just copied roughtly what i did on the other side made the bends in the workmate bench and made the final lift bends for the tang with some pliars and then stripped it all down to bare metal again and punched in the locations for the plug welds then realised i had put them on the wrong lip so redone them on the correct side and drilled them out and plugged it in i think it looks just perfect and saved myself £12 not much but its a saving
none of these welds need dressing down as they will never be seen so i just wire brushed and primed and that is all for today
cheers for looking darren
i managed to get in the garage after work today for an hour or so and set about gringing down all the plug welds from the other day on the doorstep and it came out nice stripped the rest down to bare metal and then primed up
then it was time to plug in the heal board stiffener bracket and for good measure i put a one inch seam on each side
and just beacause i am so pleased with how neat the welds came out i took a close up lol
then i moved on to the last piece in this area which was the inner sill stiffener i didnt keep the origonal as it was past even taking messurements from so just copied roughtly what i did on the other side made the bends in the workmate bench and made the final lift bends for the tang with some pliars and then stripped it all down to bare metal again and punched in the locations for the plug welds then realised i had put them on the wrong lip
so redone them on the correct side and drilled them out and plugged it in i think it looks just perfect and saved myself £12 not much but its a savingnone of these welds need dressing down as they will never be seen so i just wire brushed and primed and that is all for today
cheers for looking darren
#97
Carlos W
-

- TMF+ Member
-
- 10,115 posts
Mine is purple, but I have been told that's normal
- Location: Sittingbourne, Kent
Posted 16 October 2012 - 06:51 PM
Darren, you really are making massive progress mate!
It's looking superb
It's looking superb
#98
hughJ
-

- Members
-
- 727 posts
Soldiering Along
- Location: Highlands, Scotland
Posted 16 October 2012 - 07:06 PM
Darren your comment is much appreciated. Your welding, though, is way better than mine! That close-up above is text-book stuff. The neatest welder I've seen is Neil and your style is very similar. I know what you mean by wishing you could redo earlier stuff, but we have to bear with it. As I say, great work.
Hugh
Hugh
#99
Minidarren83
-
- Members
-
- 1,207 posts
One Carb Or Two?
- Location: Stanford Le hope
Posted 16 October 2012 - 08:26 PM
Cheers Carlos its getting there
Hugh I find it much easier on the thicker stuff my welder is not that great at the thin stuff but does the job and when it's mini looking again if it looks half as good as yours I will be more than pleased. All we can do is try and hope
Darren
Hugh I find it much easier on the thicker stuff my welder is not that great at the thin stuff but does the job and when it's mini looking again if it looks half as good as yours I will be more than pleased. All we can do is try and hope
Darren
#100
alex-95
-

- Members
-
- 6,078 posts
I am THE CLAMP MAKER
- Location: l
Posted 16 October 2012 - 08:46 PM
Look's like your doing a great job there. The weld's look very good. I to made the mistake of putting drilling the holes on the wrong lip 
 .
.
Have you thought about putting a piece of right angle on the subframe mounting point's something like minehttp://www.theminifo...ld/page__st__90(near the bottom of the page) as the strengthener usually has a indent to add more strength.
.Have you thought about putting a piece of right angle on the subframe mounting point's something like minehttp://www.theminifo...ld/page__st__90(near the bottom of the page) as the strengthener usually has a indent to add more strength.
#101
grahama
-
- Members
-
- 2,442 posts
Up Into Fourth
- Location: Warrington
- Local Club: None in my area !!
Posted 16 October 2012 - 09:27 PM
Stop this right now Darren,
you are meant to stay a welding numpty like the rest of us amateurs !! Far too nice, well done !!
Graham
you are meant to stay a welding numpty like the rest of us amateurs !! Far too nice, well done !!
Graham
#102
Minidarren83
-
- Members
-
- 1,207 posts
One Carb Or Two?
- Location: Stanford Le hope
Posted 17 October 2012 - 04:35 AM
Look's like your doing a great job there. The weld's look very good. I to made the mistake of putting drilling the holes on the wrong lip
Have you thought about putting a piece of right angle on the subframe mounting point's something like minehttp://www.theminifo...ld/page__st__90(near the bottom of the page) as the strengthener usually has a indent to add more strength.
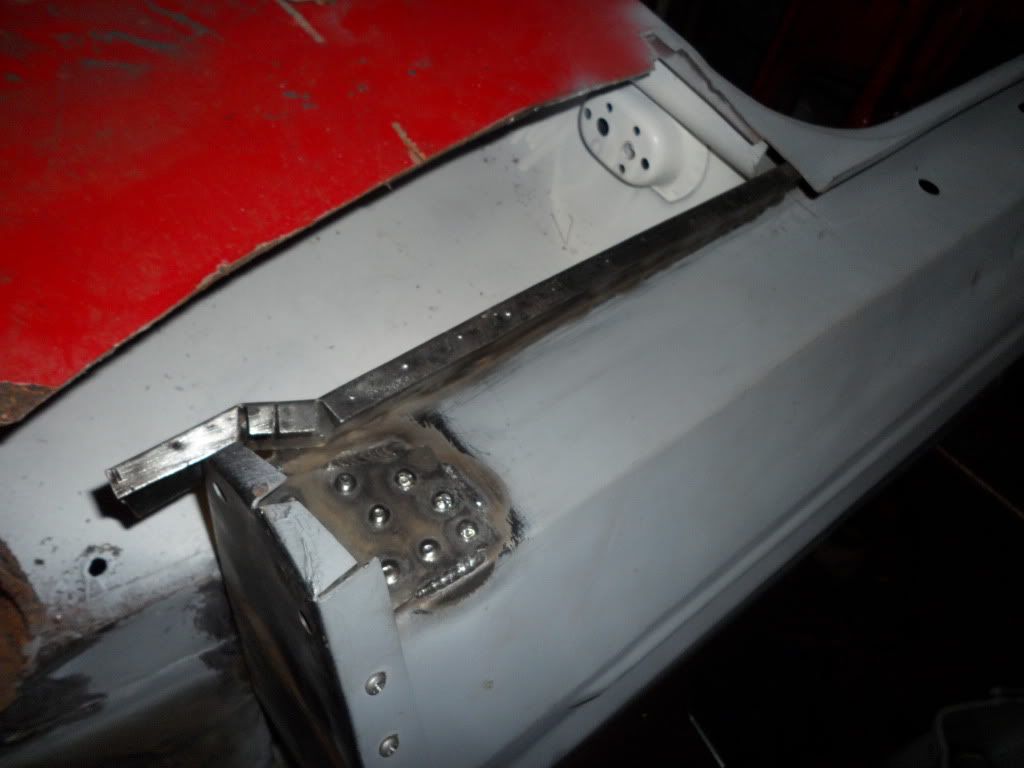
Hi there Alex I had thought about adding some extra strength to this area but that would mean grinding down all those plugs and in an area like that only the die grinder could get in and would take an age plus I would like to avoid putting more potrential rusting metal in there but thanks for the input nevertheless
Graham fear not I think it was luck they turned out well and don't worry I will be back on the thin stuff next blowing holes and general blobby welds ahoy
#103
Minidarren83
-
- Members
-
- 1,207 posts
One Carb Or Two?
- Location: Stanford Le hope
Posted 23 October 2012 - 06:32 PM
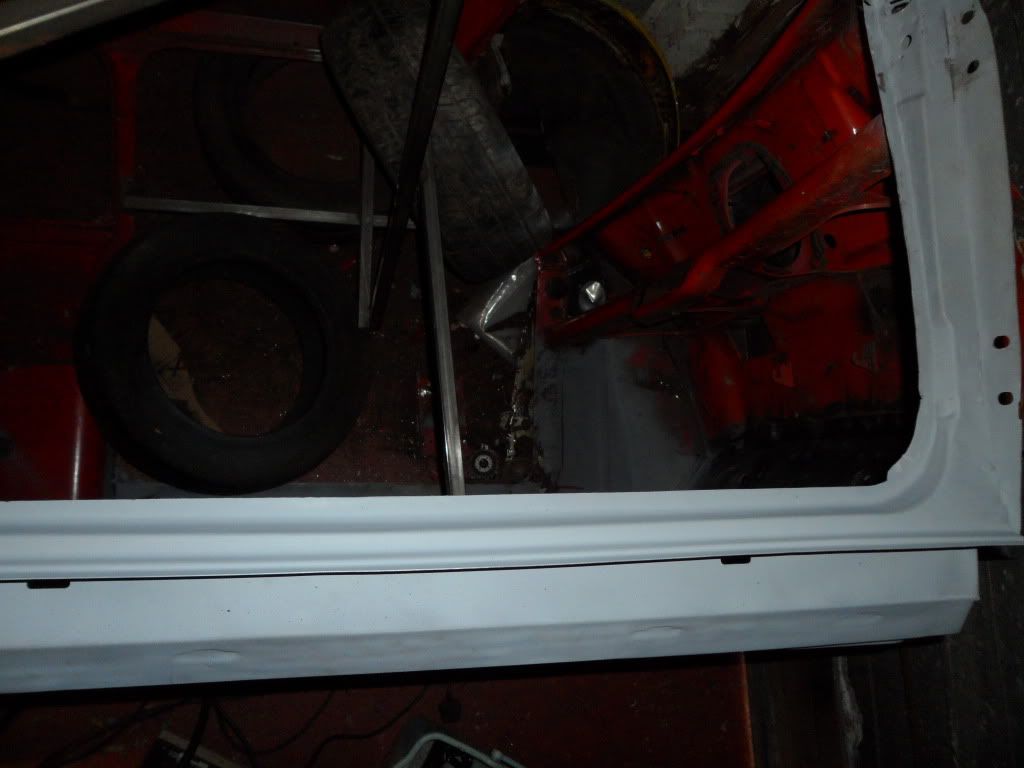
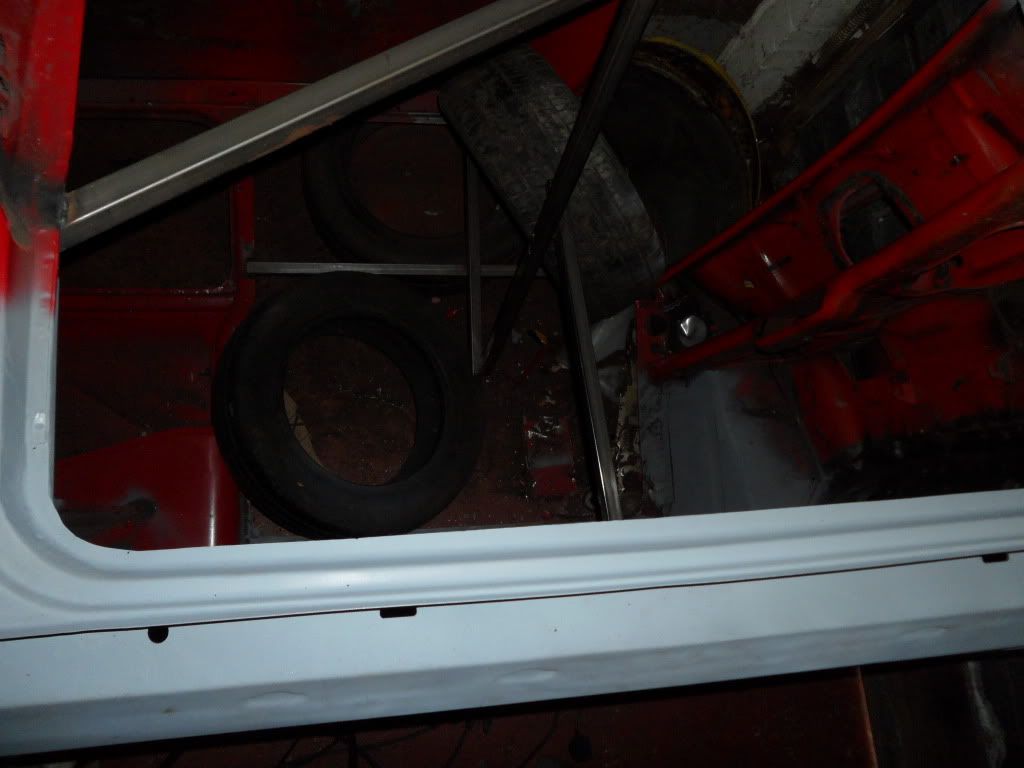
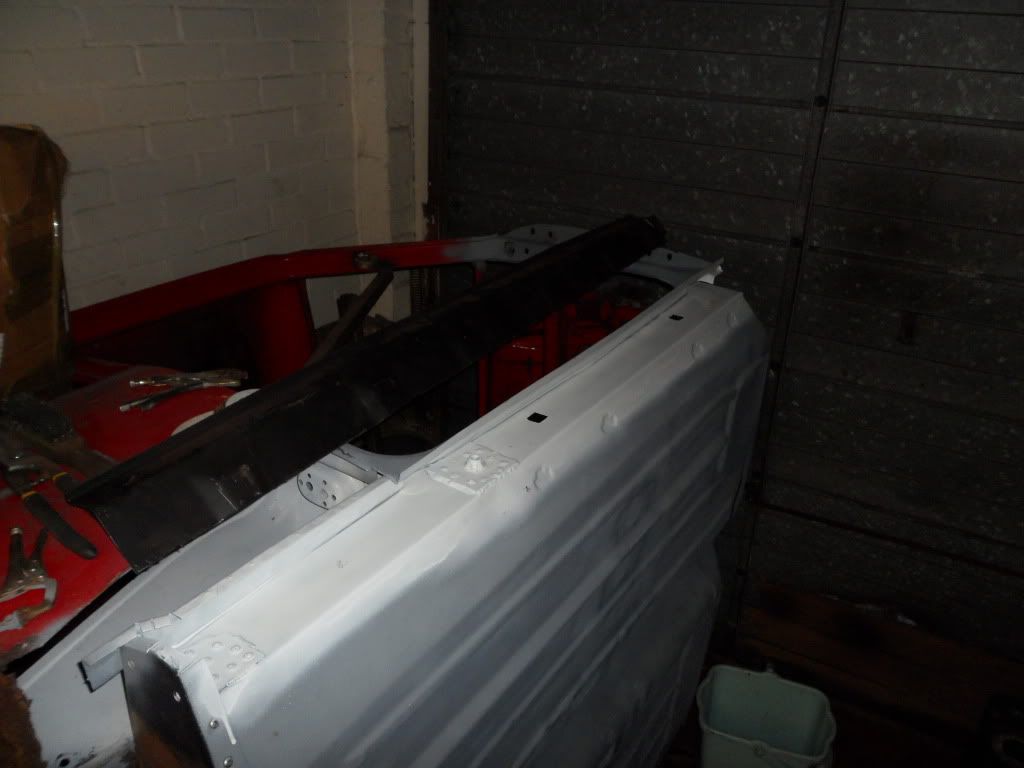
only a small update so far this week as ive not had much time to get on it but the drivers sill is now ready to go on so i will show you how i got there
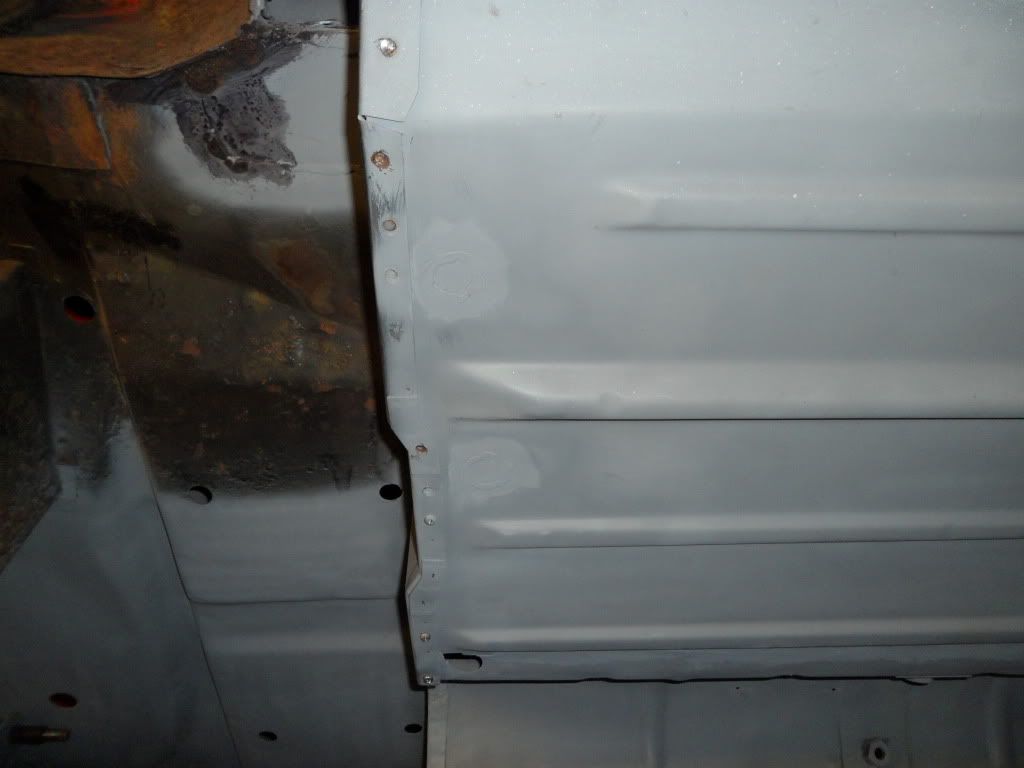
i started with filling in all the drain holes in the floor this took forever cutting out 9 little two penny pieces of steel using tools desinged to cut strait lines needless to say i had very sore fingers by the end but i giot there and welded them all in and ground down most of the way stonechip will cover the rest lol
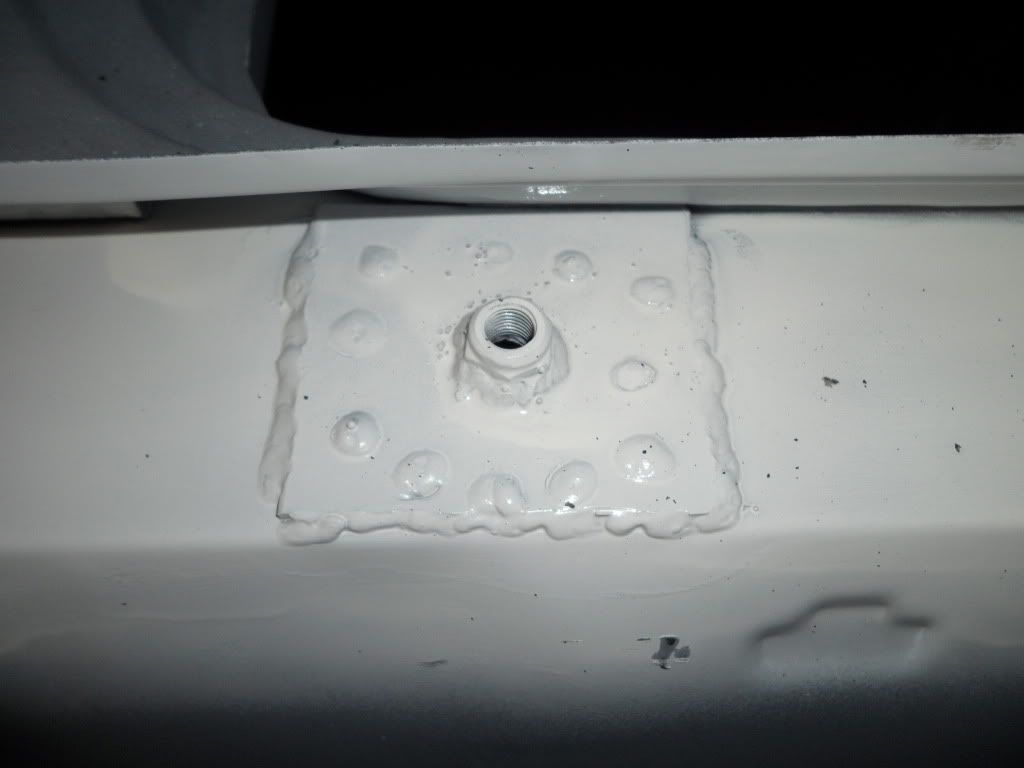
then i needed to make a new seat belt plate as i threw the old one away but the 3mm steel i had was to narrow so i cut and welded two pieces together to make the plate i welded on full power on both side just to make double sure and then drilled a hole in it and welded a 7/16 nut over the hole again on full power so i dont think it will be going anywhere soon. when that was done i drilled loads of holes in it and plugged it into place on the inner sill and also seam welded down the 3 sides i had access to
and that was the last bit that needed doing before the sill goes on oi gave it all a thick coat of white paint
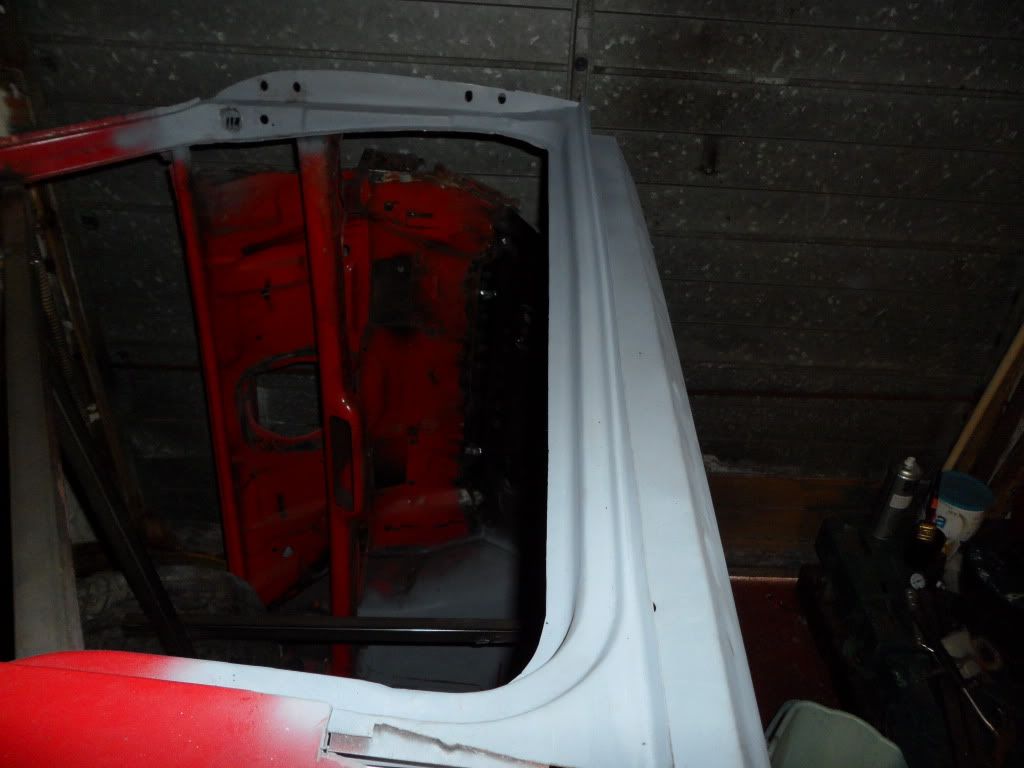
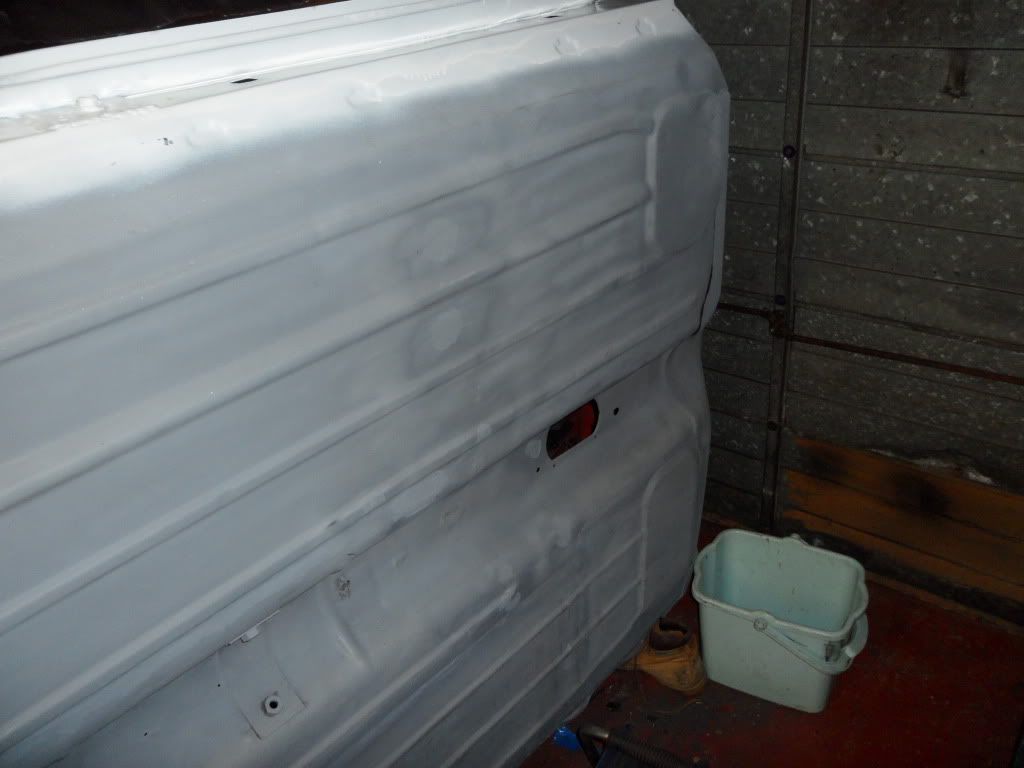
abd just for fun i cut down the oversill and tried it on to see how it will fit. its not that good at the back but pattern heel board and patterns sill are never going to fit perfect so like the other side it will have to go on the outside again
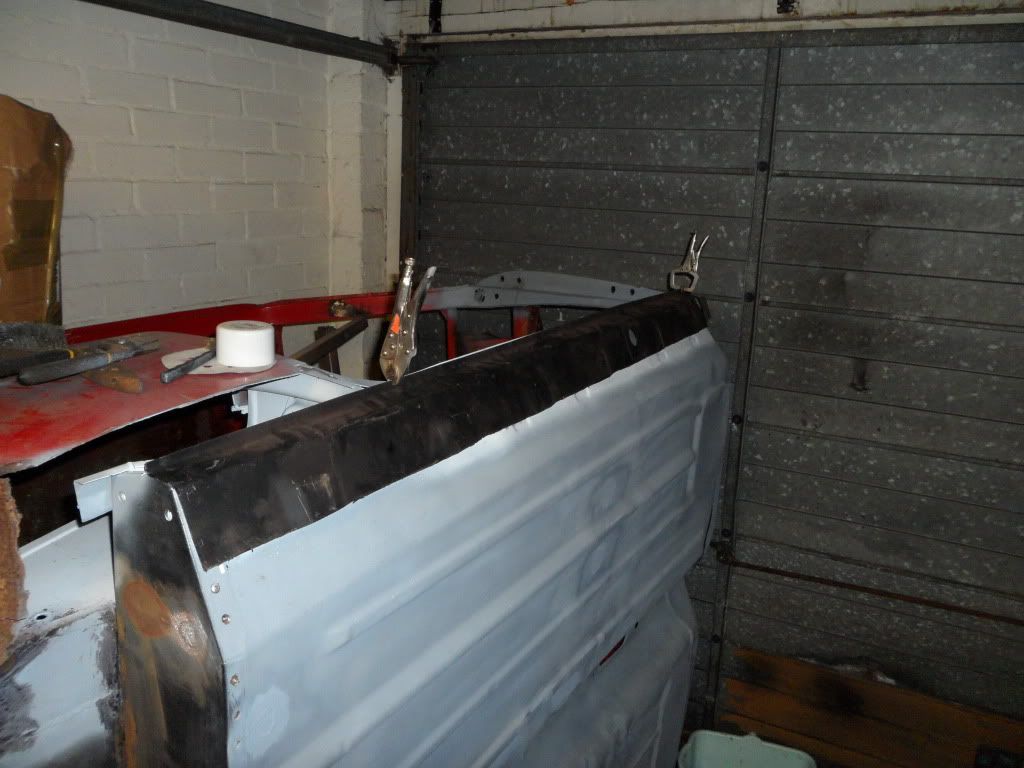
thats all for now should get the sill on later this week
cheers darren
i started with filling in all the drain holes in the floor this took forever cutting out 9 little two penny pieces of steel using tools desinged to cut strait lines needless to say i had very sore fingers by the end but i giot there and welded them all in and ground down most of the way stonechip will cover the rest lol
then i needed to make a new seat belt plate as i threw the old one away but the 3mm steel i had was to narrow so i cut and welded two pieces together to make the plate i welded on full power on both side just to make double sure and then drilled a hole in it and welded a 7/16 nut over the hole again on full power so i dont think it will be going anywhere soon. when that was done i drilled loads of holes in it and plugged it into place on the inner sill and also seam welded down the 3 sides i had access to
and that was the last bit that needed doing before the sill goes on oi gave it all a thick coat of white paint
abd just for fun i cut down the oversill and tried it on to see how it will fit. its not that good at the back but pattern heel board and patterns sill are never going to fit perfect so like the other side it will have to go on the outside again
thats all for now should get the sill on later this week
cheers darren
#104
sonikk4
-

- Admin
-
- 16,176 posts
Twisted Paint Polisher!!!
- Name: Neil
- Location: Cotwolds.
Posted 23 October 2012 - 06:40 PM
That's come on really well and i know what you mean about re visiting previous repairs welds etc. The way i look at it is as a learning curve and sometimes quite a steep one at that. At the end of the day what you have done is very good and going back in time although would be a nice to do thing as long as the welds are solid enough then happy days.
#105
Minidarren83
-
- Members
-
- 1,207 posts
One Carb Or Two?
- Location: Stanford Le hope
Posted 23 October 2012 - 08:09 PM
hi sonikk thanks for the reply i feel the same with welds i know they are strong but god they are ugly luckily for me they are not on show and are only underframe welds so i can live with them. looking forward to more progress on erm and paddy the carbon roof sounds very tempting


2 user(s) are reading this topic
0 members, 2 guests, 0 anonymous users


