Round Nose Mini Toyota 4Efte
Started by
Relatively Normal
, Nov 06 2012 11:07 PM
43 replies to this topic
#31
Posted 11 December 2012 - 07:04 PM
First up, Cheers for getting the missus involved and supporting a project of this magnitude! Goodness knows we all have fought that battle (and lost many times!!)
Second, amazing project mate! Cant wait to hear how it runs. Good luck!!!!
#32
Posted 16 December 2012 - 06:35 PM
Thanks for all the support,
I managed to get the missus approval after initially having the idea by her having the idea that it would be a brilliant car to have as our Wedding car! That was when I first bought the car last september. I knew full well it wasnt going to be ready and i did tell her that, Our wedding was in August and of course its not ready so now she is on my back, but at least its nearly there!
I have managed to do the fuel supply by modifying a standard tank. I fitted a tail connector to the top of the tank to act as a fuel return. This is seperate from the breather slightly further down the tank.
Then I painted it, The missus again in the background looking busy!
now the interesting bit, I have mounted an aluminium plate on rubber mounts to the rear bulkhead. This holds the fuel pumps and filters from left to right, Low pressure fuel filter, low pressure fuel pump, high pressure fuel pump, high pressure fuel filter and lastly a swirlpot. The two fuel pipes that i have run front to rear can be seen through the floor on the left. The idea for this came from one of the aus mini conversions which i am closely basing mine on. Immitation is the greatest compliment and all that. May seem a little over engineered but hey ho.
All in with the tank and radiator and cooling fan.Just a Battery left to fit in here.
#33
Posted 17 December 2012 - 02:27 AM
Good to see more 4EFTE builds being done..
Mines almost complete but id recommend getting some decent tyres and putting a Quaife ATB diff. Made a HUGE difference.. Smiles from ear to ear!!
Keep up the good progress!
Mines almost complete but id recommend getting some decent tyres and putting a Quaife ATB diff. Made a HUGE difference.. Smiles from ear to ear!!
Keep up the good progress!
#34
Posted 21 December 2012 - 12:24 AM
Very impressive configuration in the trunk!!
#35
Posted 22 December 2012 - 09:29 PM
I quickly made up a Bracket to hold the switch gear to the steering coloumn.
I know this sounds trivial to some people but its an annoyance of mine. I have to have the indicators cancel once round the bend.
and i have to figure out how i can get the cancelling mechanism on the toyota switch gear to work on a mini steering coloumn and with a mountney steering wheel.
Below is the switch gear and the centre ring with the two nubbins on is the cancelling mech.
Below is the steering boss i have to make fit.
How to get the indicators to automatically cancel. Take one inner driveshaft bearing cage.
And cut some slots into it so they match up with the nubbins on the switch gear.
now the nubbins sit into the cut outs and the bearing cage sits neatly inside the steering boss. job done.
#36
Posted 23 December 2012 - 11:19 AM
Some clever stuff, especially like the use of the bearing cage... Genius!
#37
Posted 05 January 2013 - 01:18 PM
Haha bearing cage to the win! That was very clever . Keep up the good work!
#38
Posted 18 January 2013 - 08:19 PM
Now, I originally thought i had some time to tell you about how i was getting on but due to photobucket being complete and utter sh*te the website crashed three times meaning a whole load of stuff I typed has been deleted so im just going to put up pictures and youll get the general jist of it!
#39
Posted 09 February 2013 - 07:43 PM
Looking good. And some good ideas
#40
Posted 26 March 2013 - 10:45 PM
I know i havent updated in a while but heres a biggy
TODAY IT RAN!
TODAY IT RAN!
#41
Posted 27 March 2013 - 06:23 PM
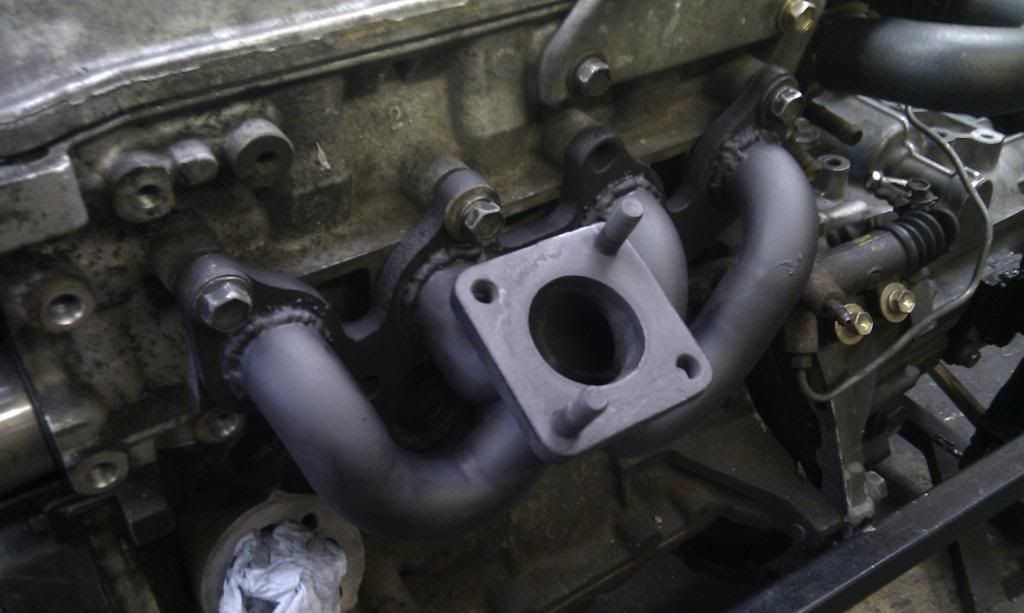
Congratulations on the first start up, its a great buzz aint it?
Have you got any recent pictures/videos of it?
Kieran
Have you got any recent pictures/videos of it?
Kieran
#42
Posted 03 August 2023 - 12:28 PM
Did this project ever get finished?
#43
Posted 05 August 2023 - 04:23 PM
Last active Dec 2013 😂 hopefully there will be an update
Edited by petey81, 05 August 2023 - 04:23 PM.
#44
Posted 08 August 2023 - 09:30 PM
🤞😂Last active Dec 2013 😂 hopefully there will be an update
1 user(s) are reading this topic
0 members, 1 guests, 0 anonymous users