Jump to content


Photo
- - - - -

Round Nose Mini Toyota 4Efte


  • Please log in to reply
43 replies to this topic

#1 Relatively Normal

Relatively Normal

    On The Road

  • Noobies
  • PipPip
  • 43 posts
  • Location: Surrey

Posted 06 November 2012 - 11:07 PM

Hi,

I just spent ages typing out stuff only for it to be lost. so sod that. heres some pics, let me know what you think.

Attached File  1 - Copy.JPG   40.91K   31 downloads
This is how the mini looked when i bought it, the day i got it home infact.

Attached File  3 - Copy.JPG   45.55K   30 downloads

#2 Relatively Normal

Relatively Normal

    On The Road

  • Noobies
  • PipPip
  • 43 posts
  • Location: Surrey

Posted 06 November 2012 - 11:29 PM

Here's some more Just trying to get the picture size right

Attached File  4 - Copy.JPG   53.45K   13 downloads

Attached File  11 - Copy.JPG   71.68K   7 downloads

Then The missus and i Started stripping it which we did in a day.

Attached File  16 - Copy.JPG   32.35K   80 downloads

Attached File  17 - Copy.JPG   40.69K   79 downloads

Attached File  21 - Copy.JPG   72.59K   7 downloads

Attached File  13 - Copy.JPG   67.47K   9 downloads

Attached File  23 - Copy.JPG   68.87K   5 downloads

Attached File  26 - Copy.JPG   69.12K   14 downloads

Attached File  27 - Copy.JPG   89.56K   7 downloads

Attached File  29 - Copy.JPG   82.27K   7 downloads

Attached File  33 - Copy.JPG   73.06K   9 downloads

One empty shell. More pics tomorrow

#3 Relatively Normal

Relatively Normal

    On The Road

  • Noobies
  • PipPip
  • 43 posts
  • Location: Surrey

Posted 07 November 2012 - 10:07 PM

heres some more. the day I put it in a van and took it to the bodyshop for body repairs.

Attached File  35.jpg   27.21K   15 downloads

Attached File  36.jpg   58.55K   12 downloads

Attached File  38.jpg   46.53K   20 downloads

I had to have a whole new nearside rear quarter, sills and rear valance with hinge panel for the boot.

Attached File  39.jpg   46.11K   12 downloads

Up front i have had new wings, new front panel, new scuttle and new offside door step. this was just to get it up to functioning state.
Then i had the front arches cut to take 13 inch rims, and the rear ones also cut and re welded to take the thirteens without any chance of scuffing when lowered or fully laden.

Attached File  40.jpg   56.63K   12 downloads

More pics to follow

#4 evansisgreat

evansisgreat

    One Carb Or Two?

  • Members
  • PipPipPipPipPipPipPip
  • 1,095 posts
  • Local Club: Not yet

Posted 08 November 2012 - 12:07 AM

Nice one, will be keeping an eye on this.

#5 miniblade81

miniblade81

    Mini Mad

  • Members
  • PipPipPipPip
  • 218 posts

Posted 08 November 2012 - 07:03 AM

i like this conversion good progress good luck and will be keeping eye on too

#6 Relatively Normal

Relatively Normal

    On The Road

  • Noobies
  • PipPip
  • 43 posts
  • Location: Surrey

Posted 08 November 2012 - 10:30 PM

Heres some more. I seam welded a new rear subframe for strength and body sealed it to prevent rust as best possible. I also coated it in stone chip for extra protection.

Attached File  43.jpg   43.78K   20 downloads

I completely overhauled the rear radius arms with new bearings etc etc

Attached File  44.jpg   46.77K   10 downloads

The next picture jumps forward in time a bit upto when I had fitted the adjustable GAZ lowering shocks and adjustable trumpets

Attached File  IMAG0094.jpg   45.46K   22 downloads

And underneath where I had fitted new brake lines and braided hoses

Attached File  IMAG0095.jpg   46.63K   20 downloads

Some more body repair had to be done up front from where I removed the top strut mounts and rust holes appeared.

Attached File  IMAG0101.jpg   30.2K   9 downloads

Attached File  IMAG0097.jpg   53.06K   15 downloads

over the next couple of days i will hopefully add some pics of me actually starting to modify the shell in preperation for the engine conversion. The interesting bit basically.

#7 Relatively Normal

Relatively Normal

    On The Road

  • Noobies
  • PipPip
  • 43 posts
  • Location: Surrey

Posted 10 November 2012 - 03:39 PM

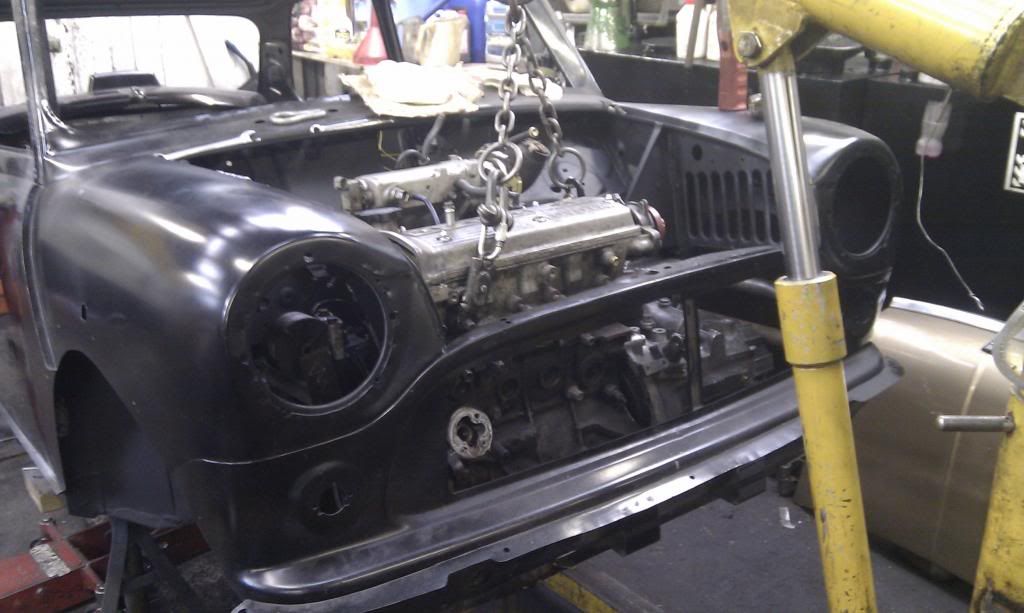
I did some research before doing this project and found that if i wanted to stick with the round nose mini i had very minimal space up front. I had found a guy in Australia that had put the radiator under the boot floor with coolant pipes from an MGF running the length of the car.

I felt that the radiator would be quite exposed to damage under there and so decided to put in the boot with a under car scoop. The air would be picked up off the road go through the radiator and out through vents in the boot lid.

Im not going to insult peoples intelligence by going through it step by step because hopefully the pictures are self explanatory.
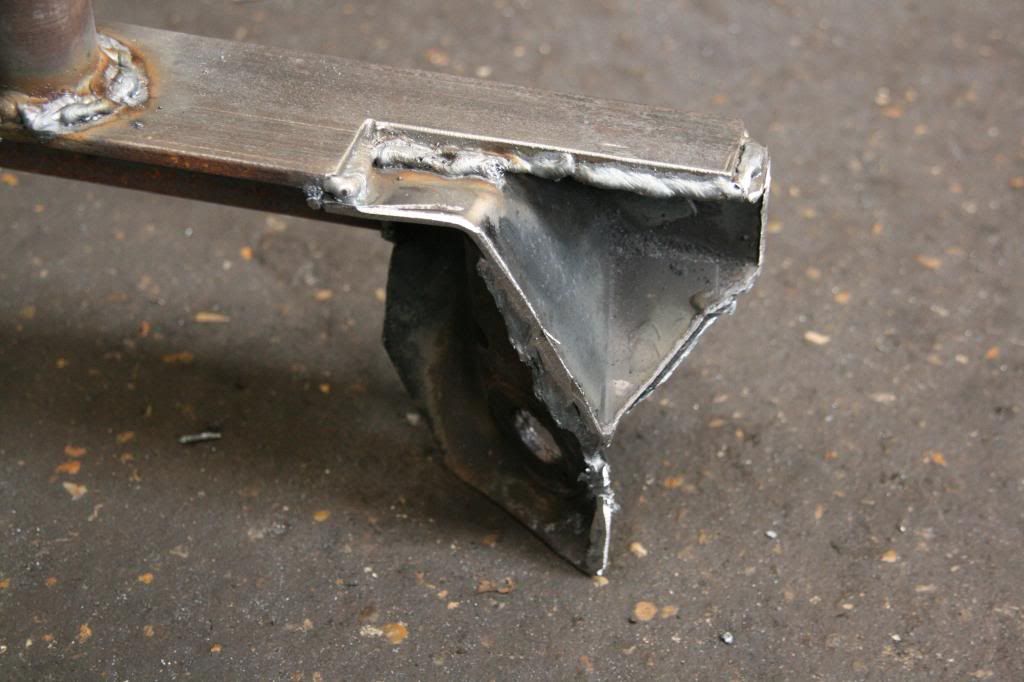
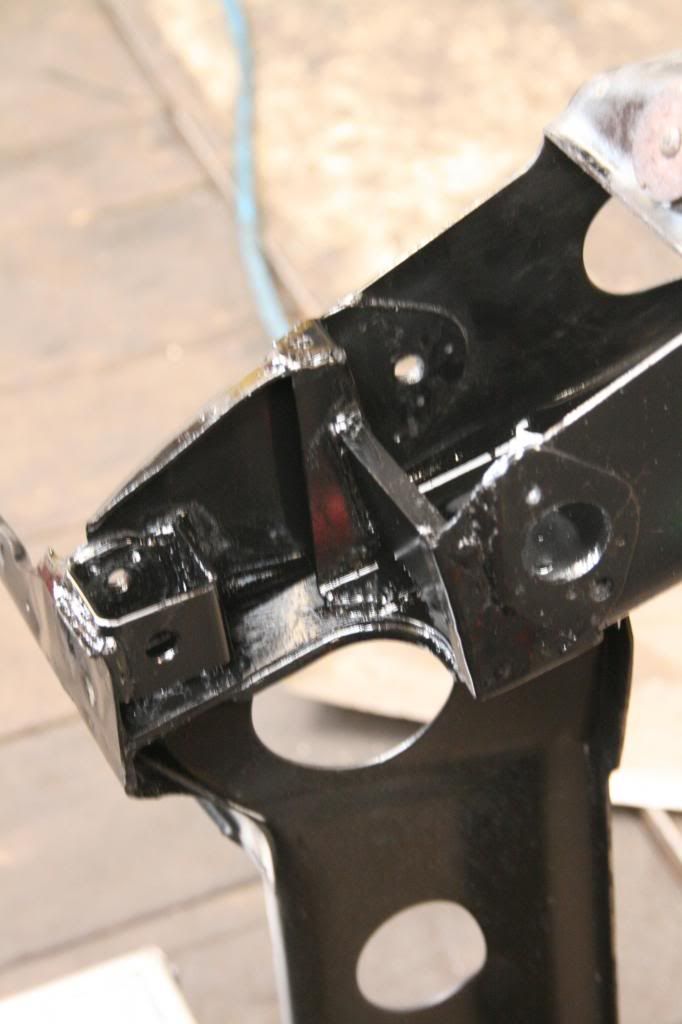
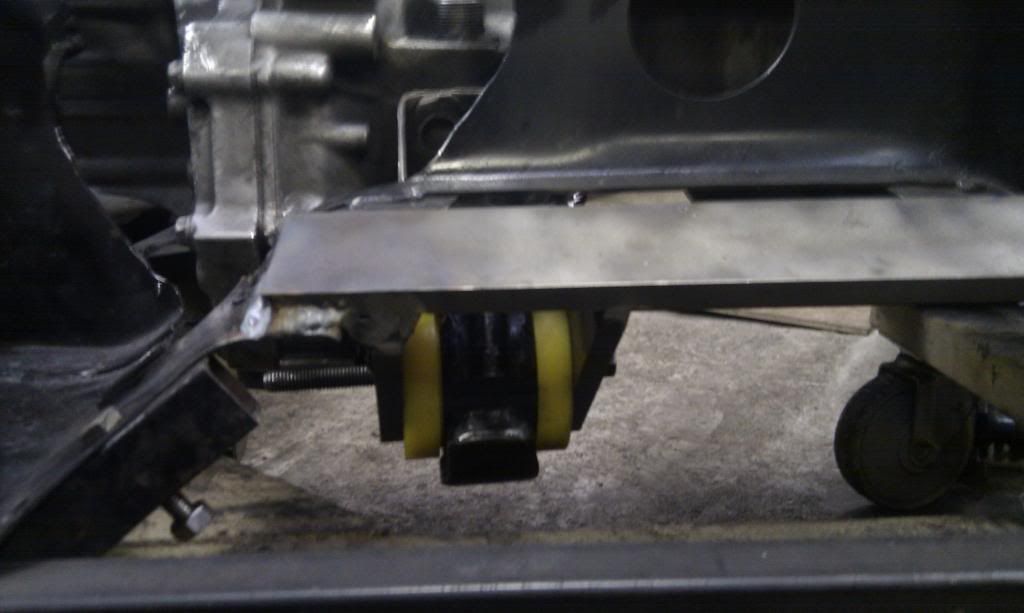
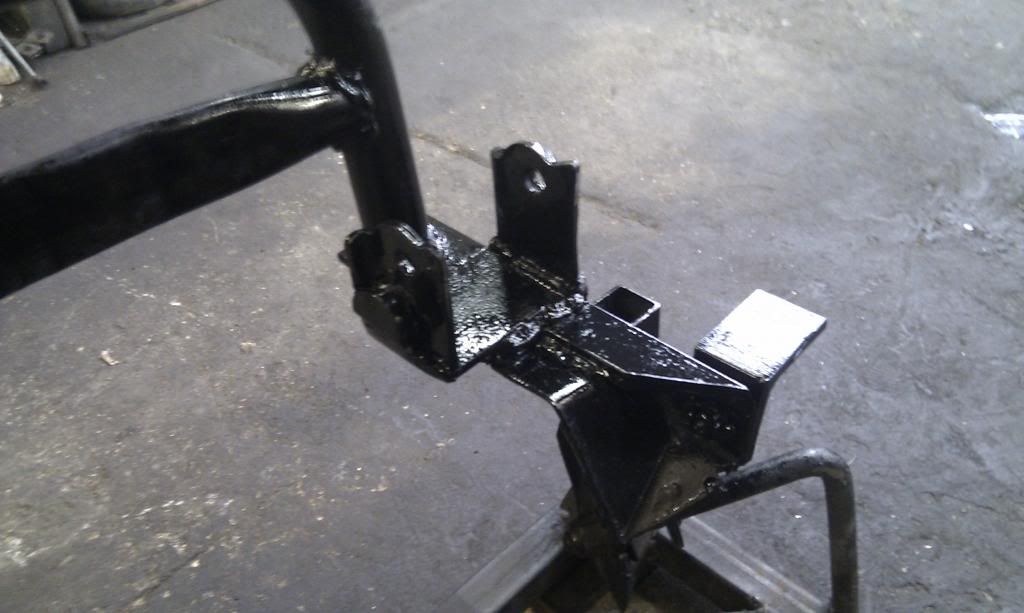
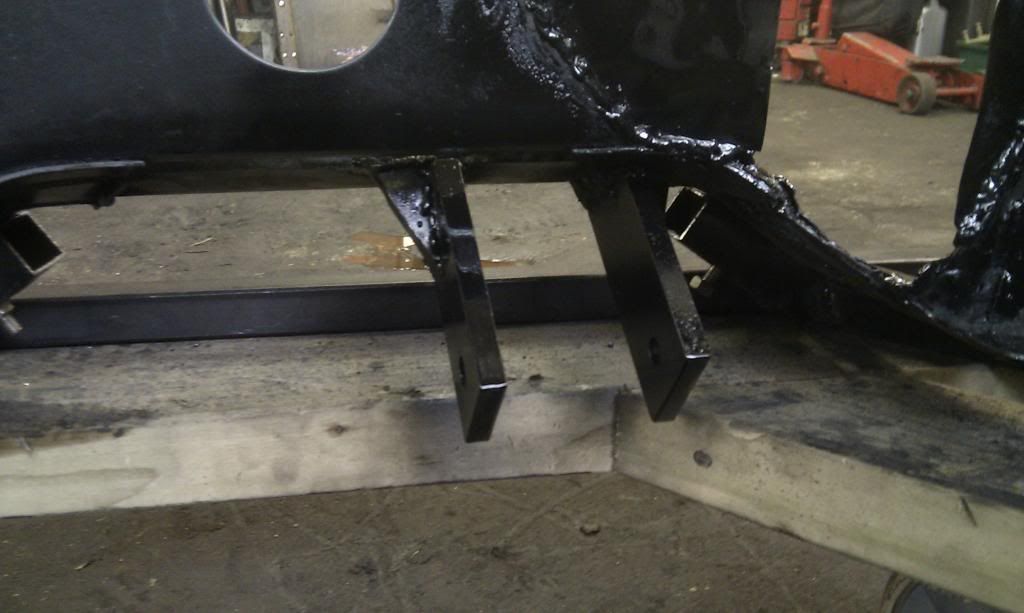
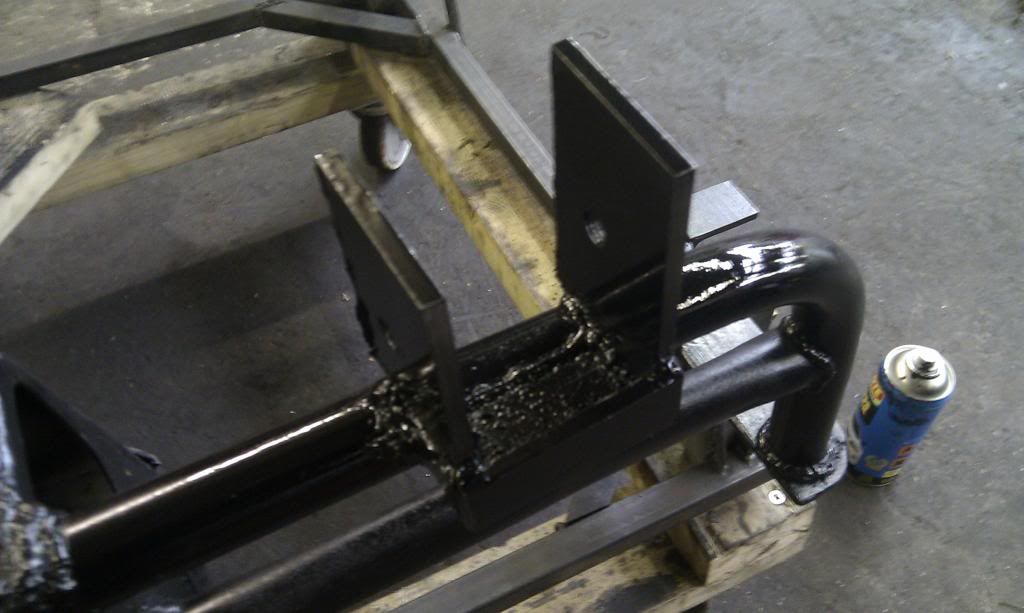
First I needed to cut the boot floor, then create the sides of the scoop.

Attached File  IMAG0108.jpg   23.66K   13 downloads

Attached File  IMAG0112 (2).jpg   35.98K   12 downloads

Attached File  IMAG0113 (2).jpg   26.19K   13 downloads

After that I coated the boot in Lightweight Dynamat to keep the noise of the cooling fan and fuel pumps to a minimum. I want to be able to drive this regularly and so make it as bearable to drive as possible. I also fitted some metal grate to the scoop inlet to protect the radiator from debris.

Attached File  IMAG0195.jpg   74.82K   24 downloads

Attached File  IMAG0240.jpg   32.69K   15 downloads

Attached File  IMAG0280.jpg   38.98K   14 downloads

Attached File  IMAG0283.jpg   36.39K   19 downloads

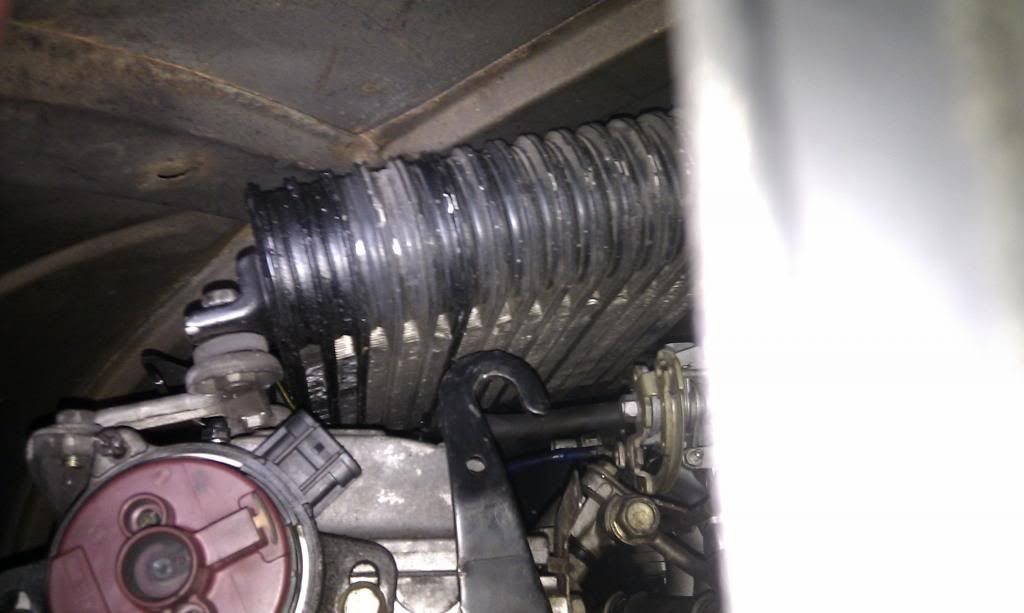
I had to make a fan cowling for the radiator to sit on so the air is channelled through it and its rubber mounted. I also need to run an electric water pump to take the stress away from the engine pump having to move coolant along the length of the car. Coincidentally the coolant connections on the Toyota engine and the radiator connections are 28mm external diameter. I have used copper pipe of 28mm diameter to connect the radiator. As you can see on this unit I made.

Attached File  IMAG0449.jpg   48.21K   22 downloads

#8 Relatively Normal

Relatively Normal

    On The Road

  • Noobies
  • PipPip
  • 43 posts
  • Location: Surrey

Posted 10 November 2012 - 07:18 PM

Thanks to the guys who have commented.

Anyones opinions would be welcomed

#9 miniblade81

miniblade81

    Mini Mad

  • Members
  • PipPipPipPip
  • 218 posts

Posted 11 November 2012 - 09:51 AM

looks like you got same prob as me lol i got to put spare on back seats what fuel tank you using mpi one

#10 Relatively Normal

Relatively Normal

    On The Road

  • Noobies
  • PipPip
  • 43 posts
  • Location: Surrey

Posted 11 November 2012 - 10:37 AM

Nothing a mini compressor and a can of instant tyre seal cant fix. Those rear side pockets are more than large enough to accommodate! Maybe on the longer runs i would like a roof rack with a spare on, they look quite cool!

#11 miniblade81

miniblade81

    Mini Mad

  • Members
  • PipPipPipPip
  • 218 posts

Posted 11 November 2012 - 11:10 AM

lol yeah good answer

#12 Relatively Normal

Relatively Normal

    On The Road

  • Noobies
  • PipPip
  • 43 posts
  • Location: Surrey

Posted 11 November 2012 - 04:22 PM

Oh the fuel tank is a standard one that i have modified, i will include pics soon.

This on the other hand is after i have cleaned up and put the first coat of aint in the engine bay. You can see i replaced the servo the car came with for the vertical master cylinder for more room.

Posted Image

Ypu can hopefully see that Imade a Subframe Jig before actually starting the subframe but keeping the oringinal intact for now too make sure the mounting brackets dont move. Plus a little wooden frame with casters that the jig sits on so i can wheel it around to get it out of the way when I need too

Posted Image

You probably recognise my design from some others you've seen i have extended the lower cross member.

#13 Relatively Normal

Relatively Normal

    On The Road

  • Noobies
  • PipPip
  • 43 posts
  • Location: Surrey

Posted 11 November 2012 - 04:24 PM

Seeing as now i have discovered how to do big pics, if anyone wants some of the previous pics big just ask.

#14 Relatively Normal

Relatively Normal

    On The Road

  • Noobies
  • PipPip
  • 43 posts
  • Location: Surrey

Posted 13 November 2012 - 10:09 PM

Posted Image

Posted Image

Posted Image

Posted Image

Posted Image

Posted Image

#15 Relatively Normal

Relatively Normal

    On The Road

  • Noobies
  • PipPip
  • 43 posts
  • Location: Surrey

Posted 14 November 2012 - 09:40 PM

Posted Image


above is one of the front mounts that i have kept from the original mini subframe as it incorporates the front subframe mount and more importantly almost the tie rod mount which i didnt want to move as it would effect the front suspension geometry.

Posted Image

Above is where i have made a new mount for the lower suspension arm and reinforced the upper part underneath the upper suspension arm. I realise My welding isnt the neatest!

Posted Image

This is the rear gearbox mount which i have used from the original Starlet mount. all the mount are based arounf the original and have new polybush to reduce engine movement.

Posted Image

Front Gearbox mount.

Posted Image

The rear gearbox mount from the front.

Posted Image

Offside Engine Mount

Posted Image

The front gearbox mount with gearbox attached

Posted Image

Offside engine mount with engine attached

Posted Image
Trying to make sure that the rear gearbox mount does not get in the way of the exhaust routing down the tunnel too much.


1 user(s) are reading this topic

0 members, 1 guests, 0 anonymous users