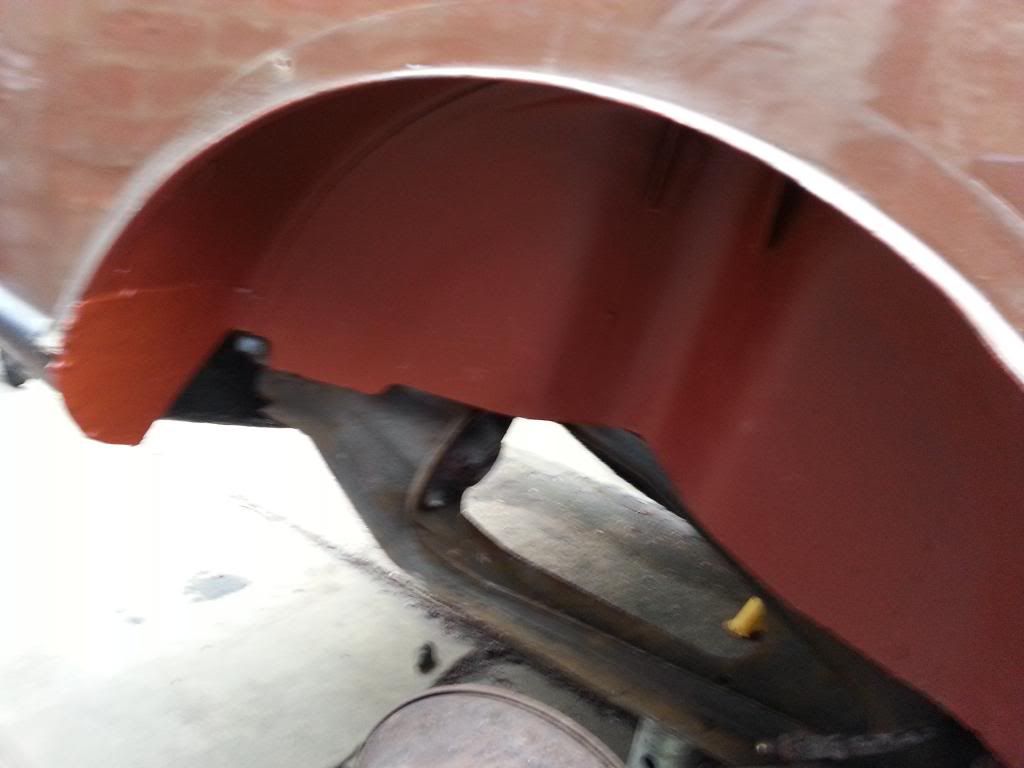

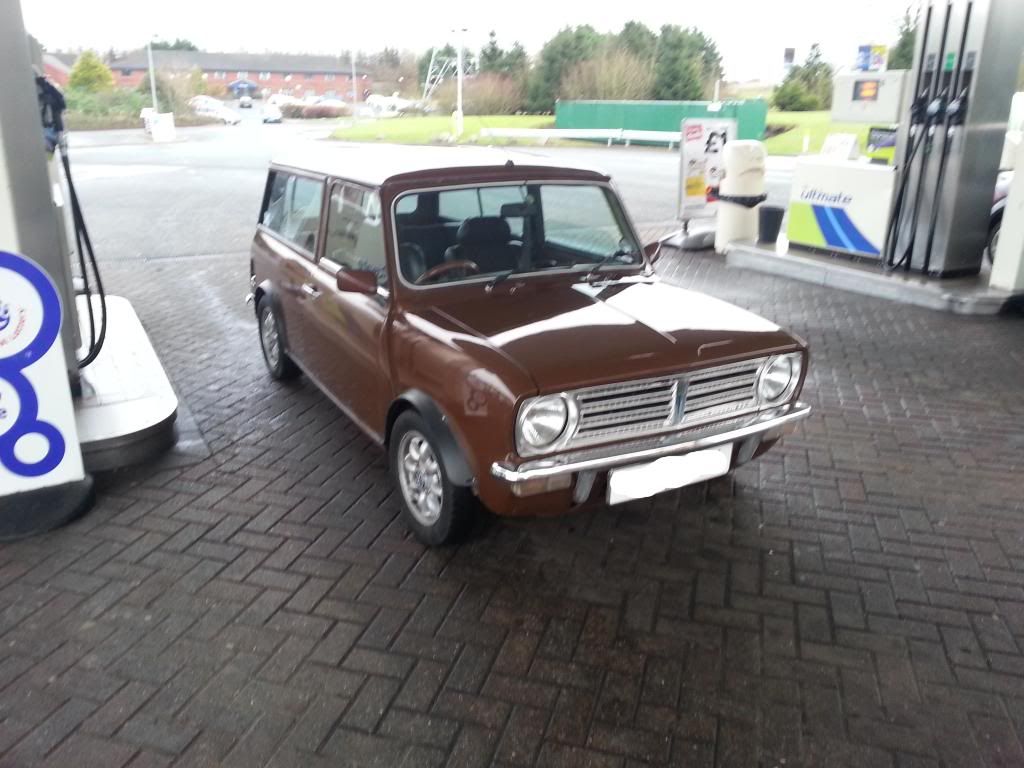
After finding a hole under the rear seats that needed welding I thought it was time to start tarting her up.
I have 2 weeks off work, and the following has so far arrived and needs fitting.
Gaz Shocks
New rubber cones
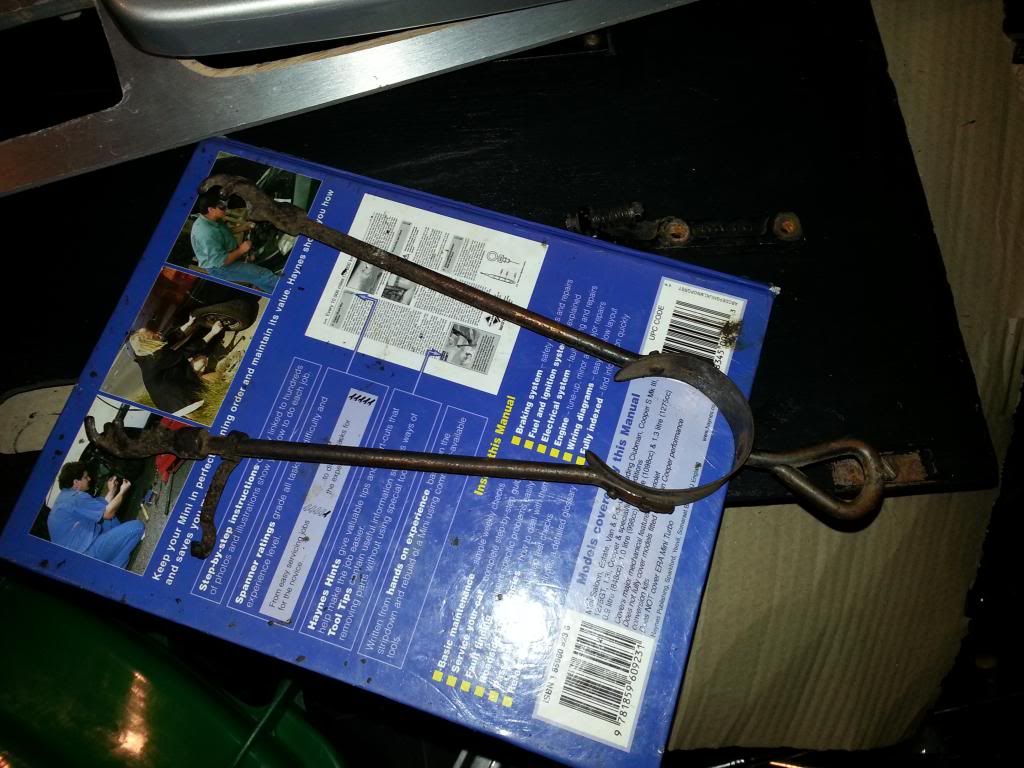
Strengthened front tie rods
Focal Speakers
Alpine Amp
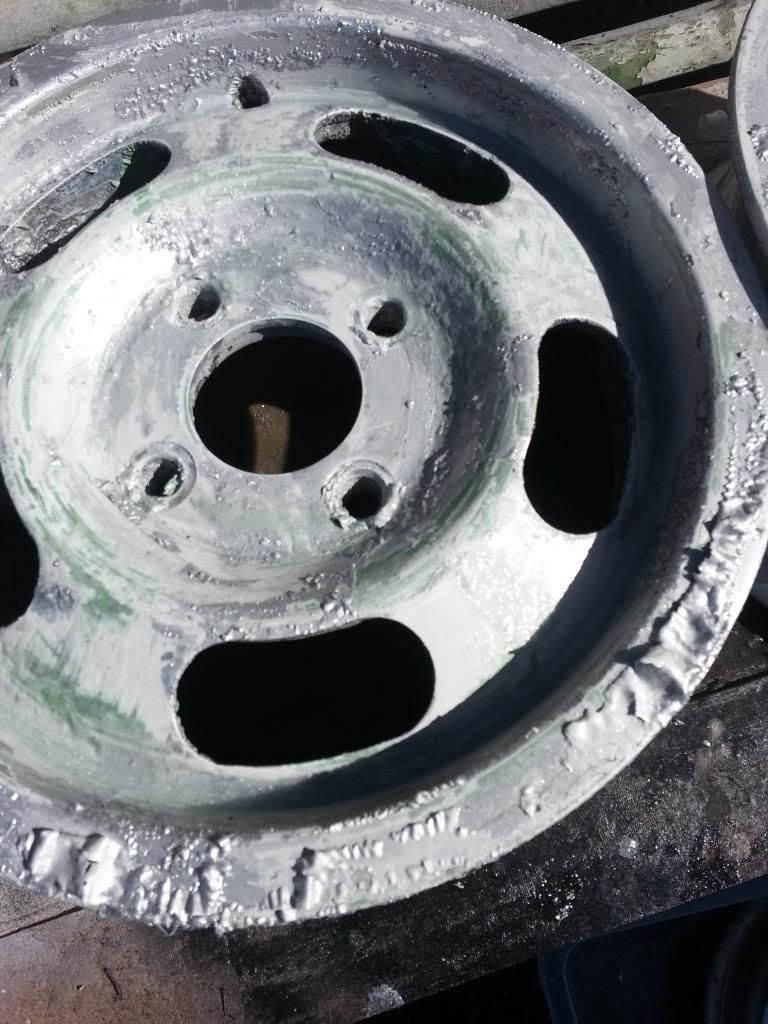
Slot Mag Wheels
New Cylinder Head (Benross)
Maniflow LCB
Maniflow twin box system
Twin HS4 carbs
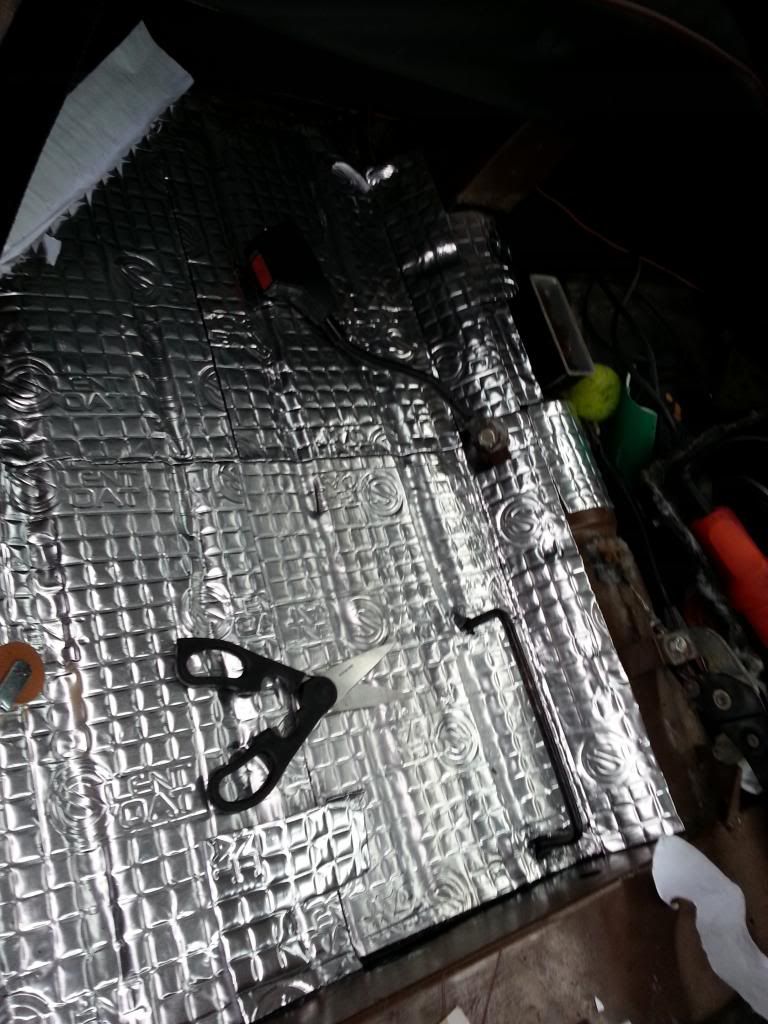
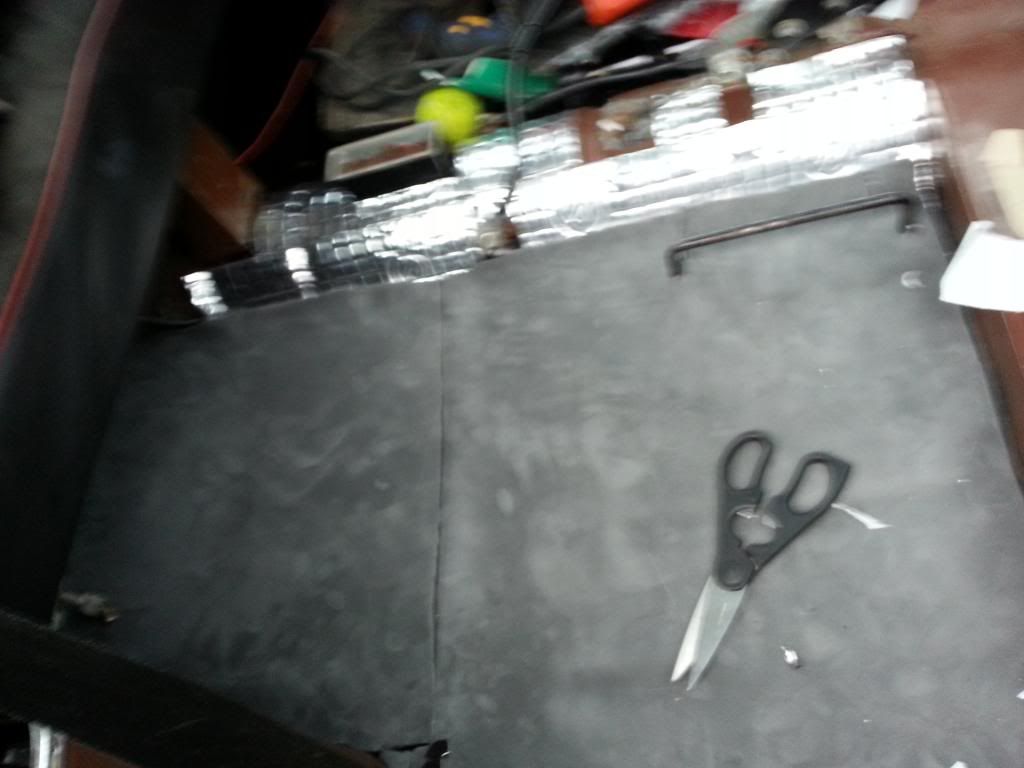
Lots of sound proofing
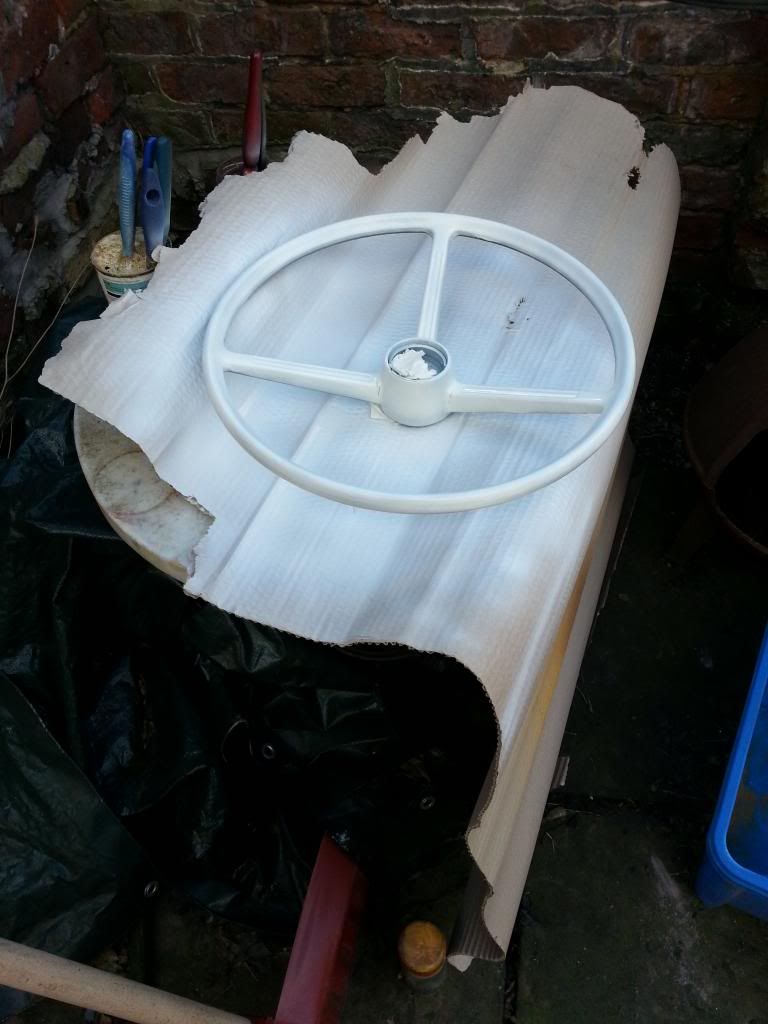
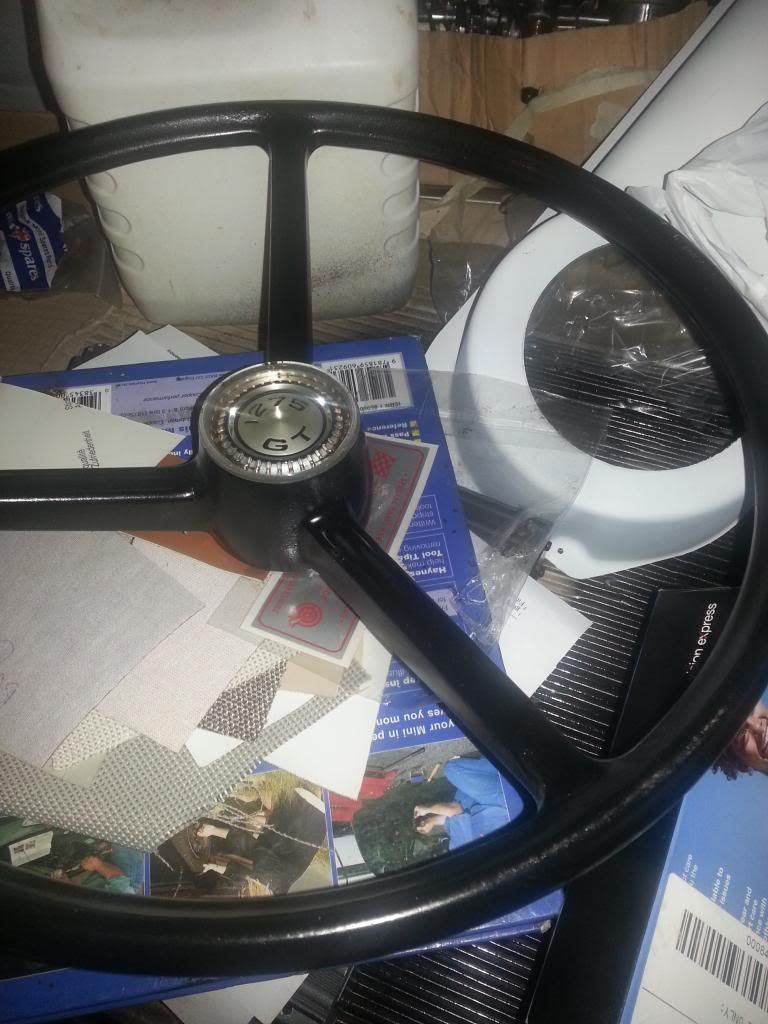
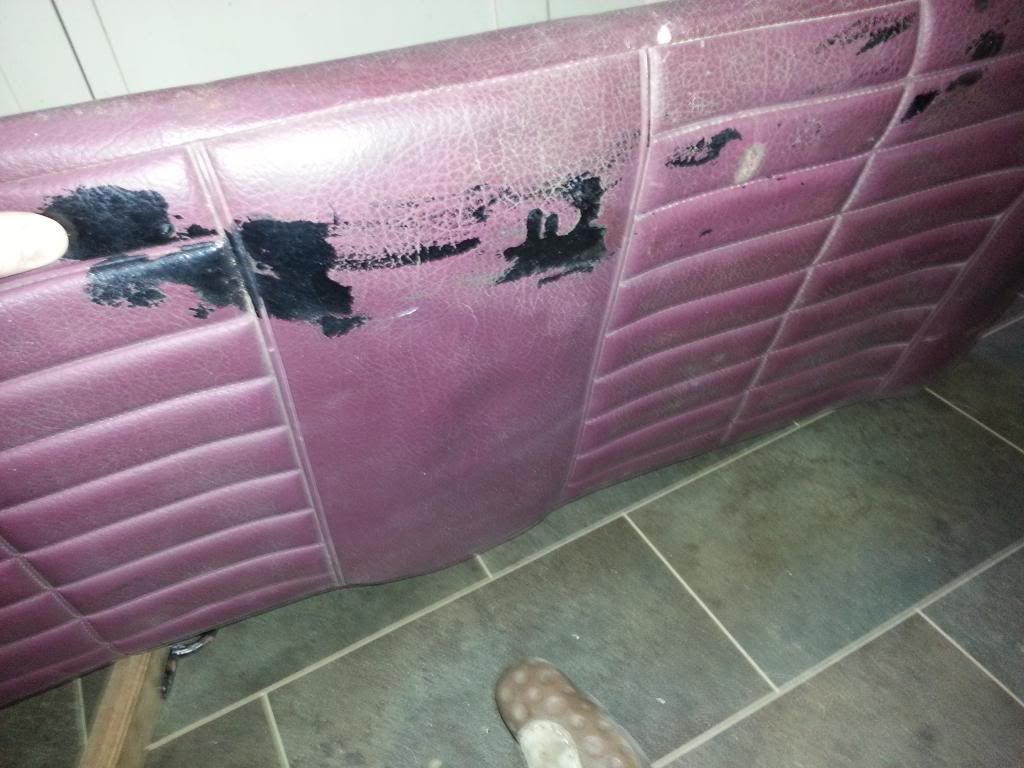
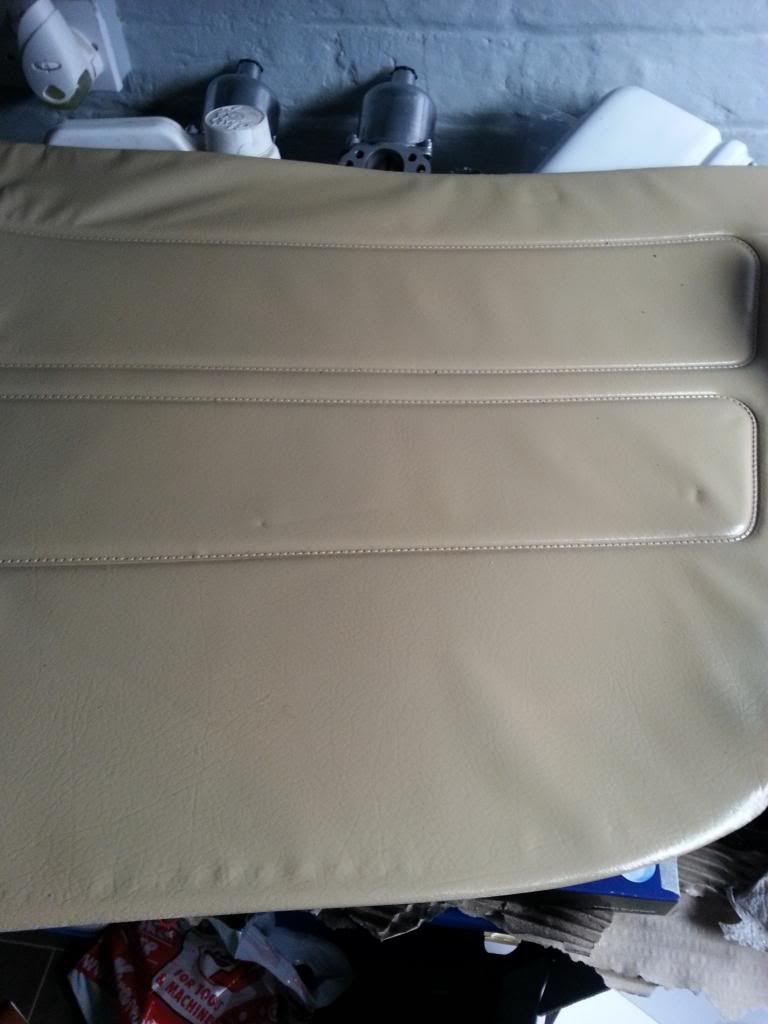
New Interior
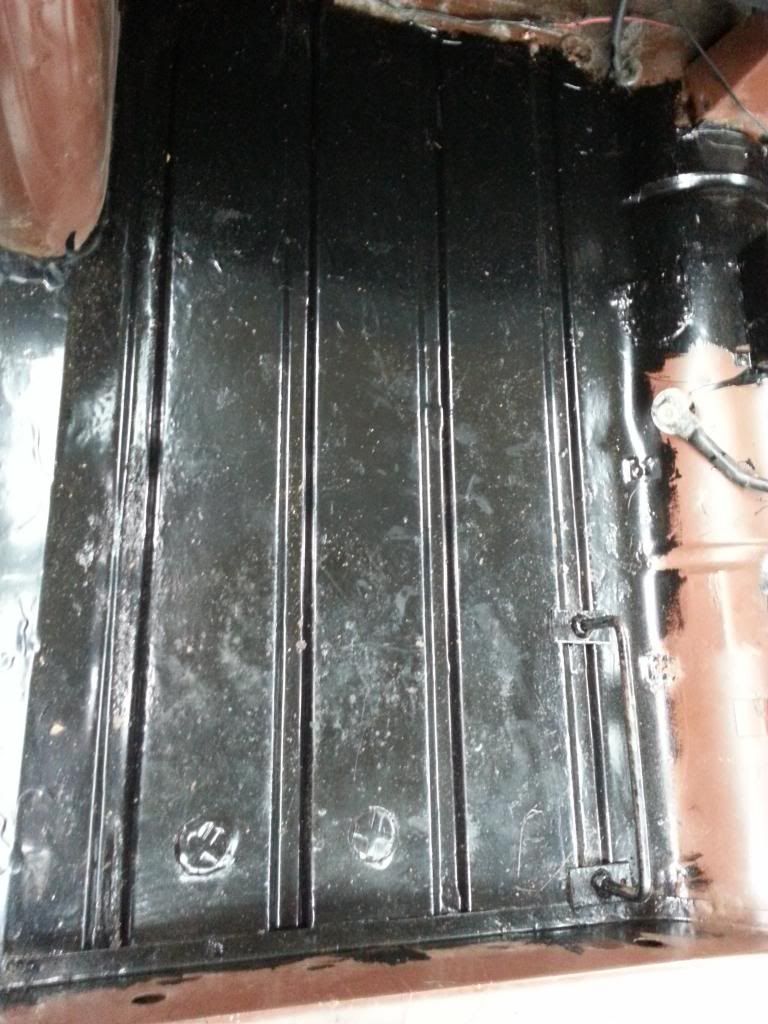
In addition to that, the inside of the floorpan needs a good rub down and paint, along with the odd bit of rust here and there.
So when the weather improves I'll start!!! (I have no garage)