Jump to content


Photo
- - - - -

Mini Piccadilly Chav Reversal.


  • Please log in to reply
39 replies to this topic

#1 joet999

joet999

    Mini Mad

  • Noobies
  • PipPipPipPip
  • 119 posts
  • Location: rochester
  • Local Club: medway mini club

Posted 04 November 2013 - 09:31 PM

So I'm new to Mini's. Iv helped my dad out on his ventures but he's into big and american. 5.7 litre V8 big as a house pick ups mostly, so i have a bit of knowledge when it comes to what to do. 


So i started out looking for a project, and found plenty of Mini's about in the usual places. So within a week i had gone to pick this up.

IMG_0038.png

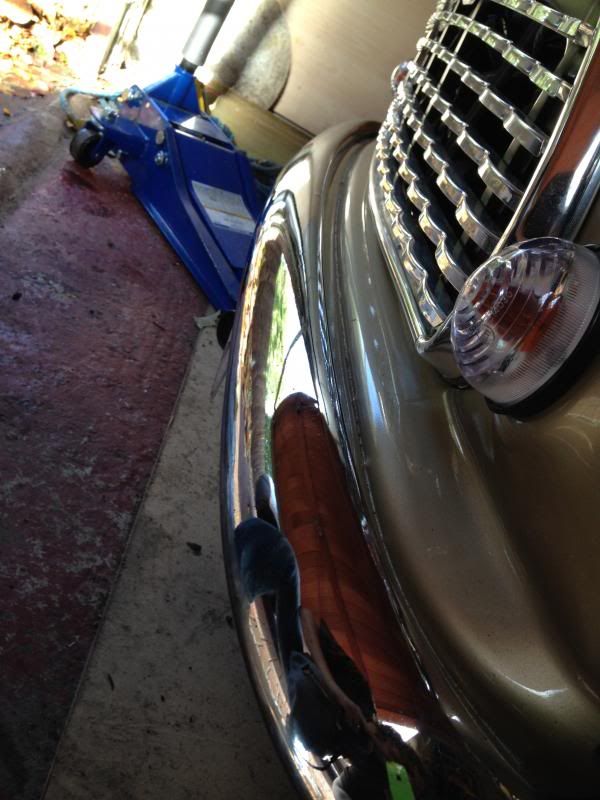
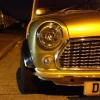
Mini Piccadilly 1986 in Indian Gold as my friends have labeled it. Unwashed.


IMG_0778.jpg

Washed.


Off the road since 2011 but started after a 5 second crank and would move under its own power so it can't be that bad.


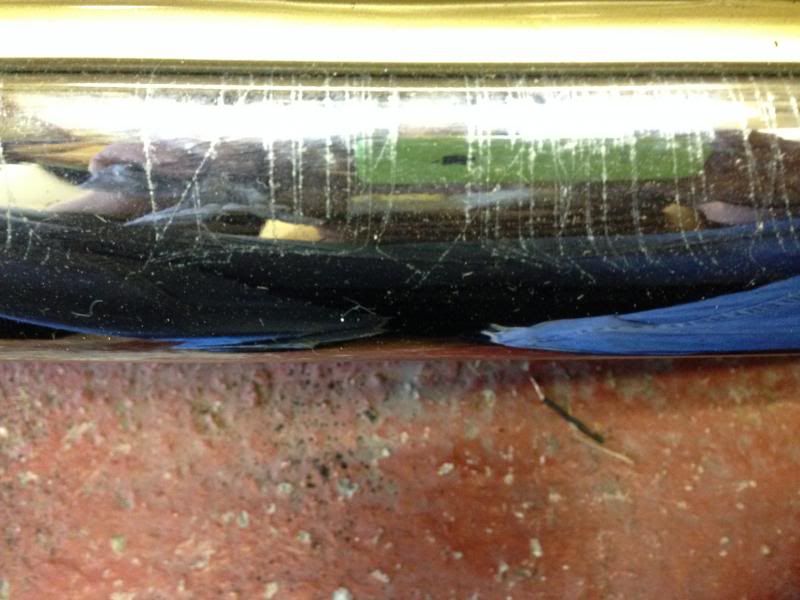
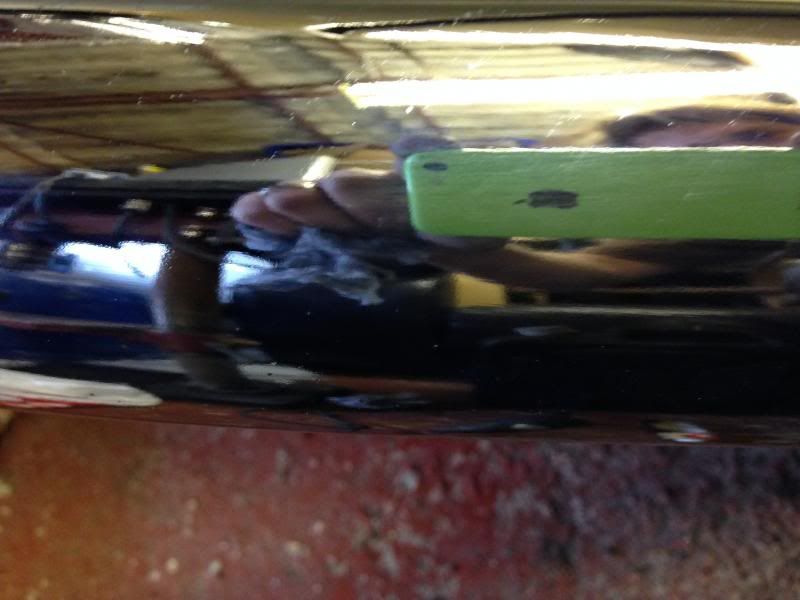
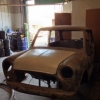
Welding has mostly been done (drivers inner wing and floor pan, both rear pockets and all the common stuff it seems. But undoubtedly there will be more. Paint is not the best job iv seen but it needs re painting. huge scratches in the roof where something heavy has been dragged across it and rust bubbles coming through in a few places.


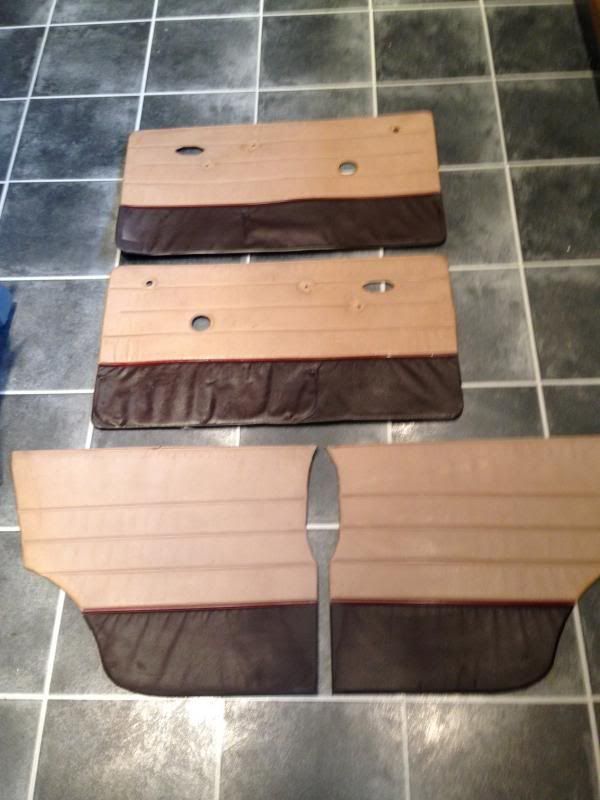
So the guy before me was going to "chav" it up. Living in the adjoining town to Chatham it was to be expected. Hence the sport pack arches on the rear, but luckily he didn't get to far. Gave up on the front as to much cutting was involve i think. he ripped the original interior out and soiled the original seats pretty badly as well as he was going to replace them with black ones. I don't see why because nothing say character like brown, cream and red seats. they look pretty dodgy but its what the car had, same goes with the 8cr gold paint job.


So im a little into the car now and in my hurry to get started i didn't really take any pictures. so ill put up what i have.


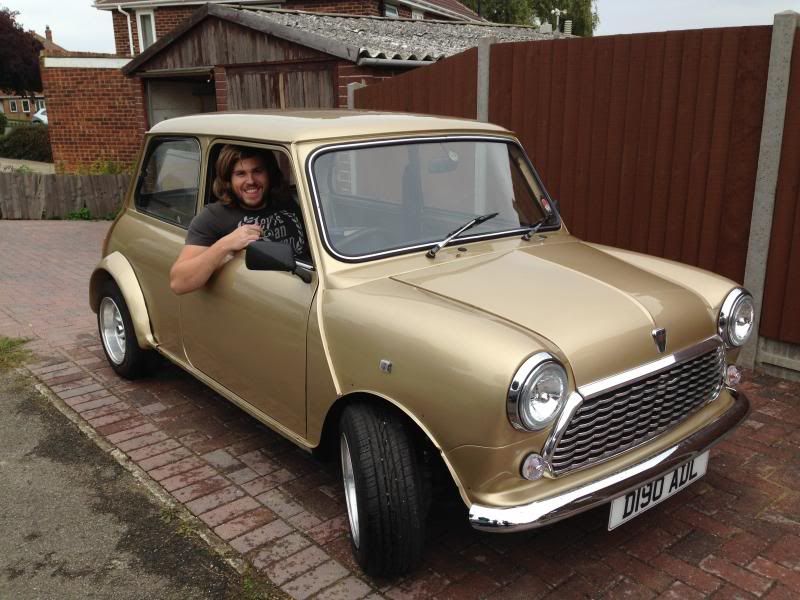
So i started by getting all 4 four alloy wheels on the car. so i set about cutting the front arch back to fit the 12x165 tyres under them. I also made the choice of using standard arches with stainless steel covers  and i like the look of tyres slightly outboard of the arch.


87fe2251-bd89-4dc1-9dd2-8fcb5717047b.jpg


413f6727-3fbf-4979-a850-59aebb2d2528.jpg
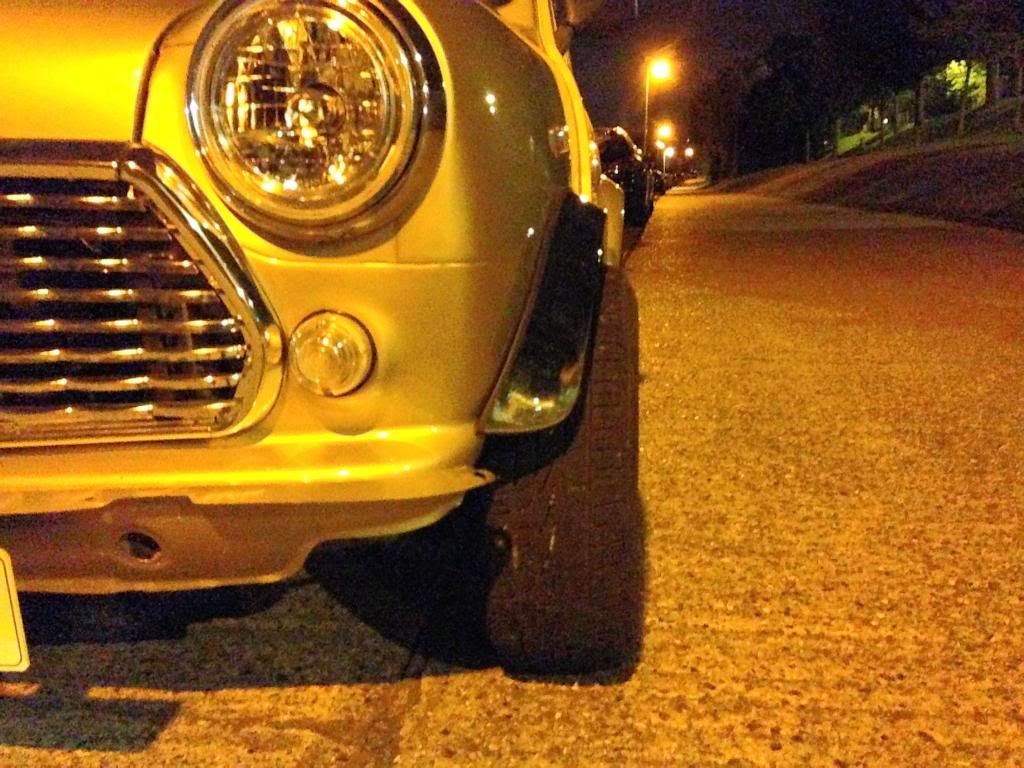
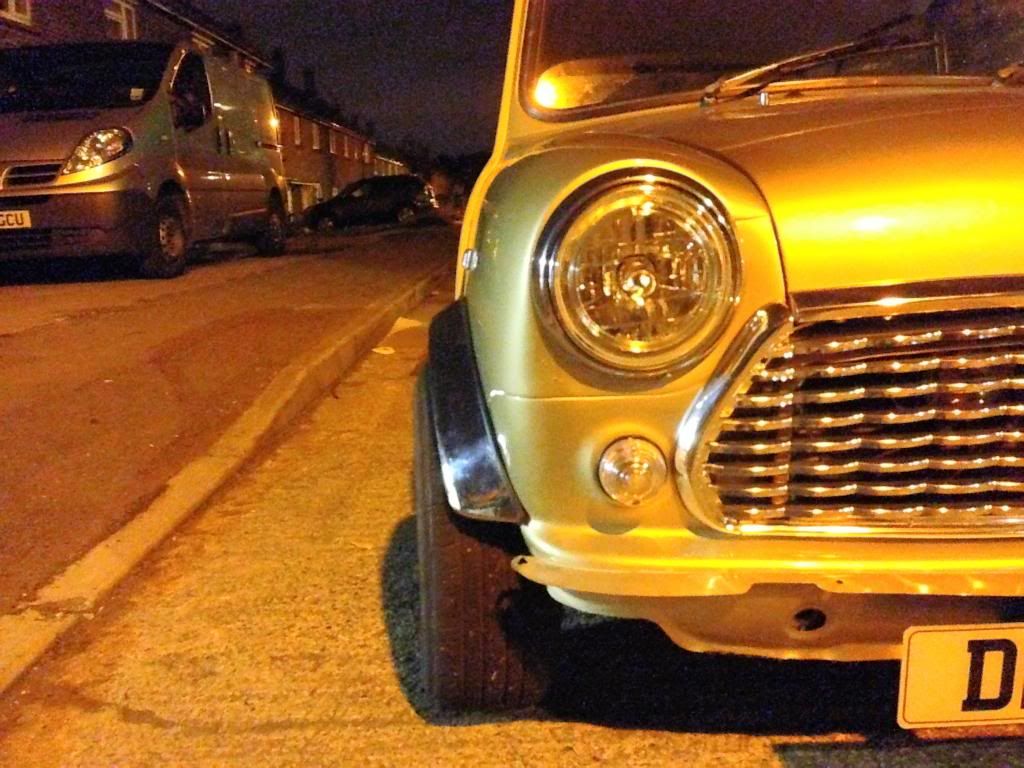
So the tyres do hang out the arches but i have spoken to my man in the know (MOT tester) and he said its a grey area. There is nothing that says they can't stick out unless they cause a danger to pedestrians or other road users. So if a pedestrian falls and could get caught in the open wheel then its a MOT fail, and if you create so much road spray that tis dangerous to other drives its a fail. This is just what iv been told so you take it in to your own hands if you choose to do the same. There is so little room inside a Mini arch it would be difficult for either of these things to happen. there is more chance of it happening on a big 4x4 or pick up truck.


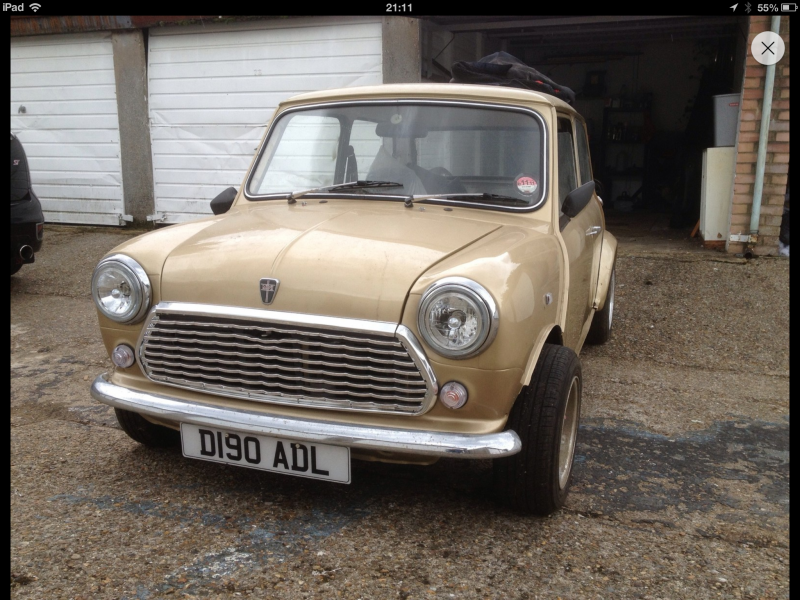
so at the moment i am running a Lambo style wide rear end, with my standard fronts and sports pack rears.


IMG_0056.jpg

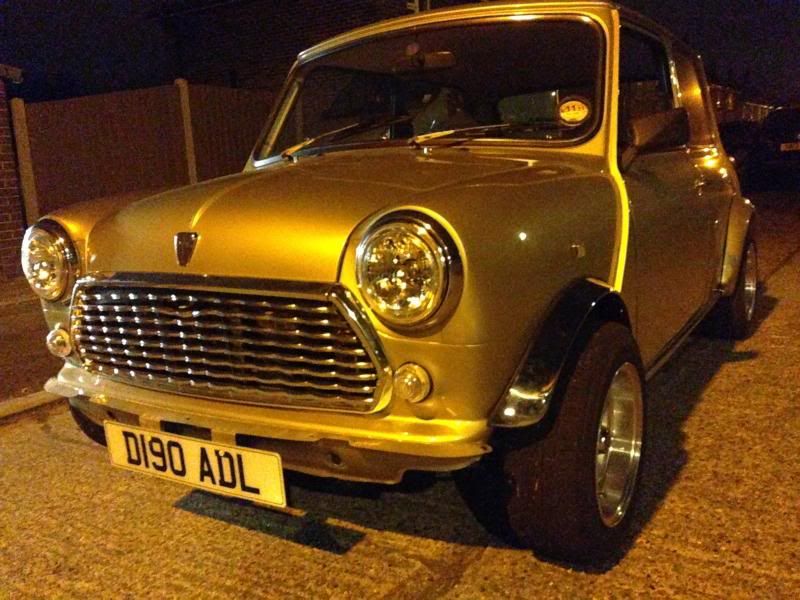
Forgot to put my bumper back on for these photos.

The rears will be coming off when i am read to paint and fill. no point taking them off to expose more holes in the body.


things i have done that i have not photographed:

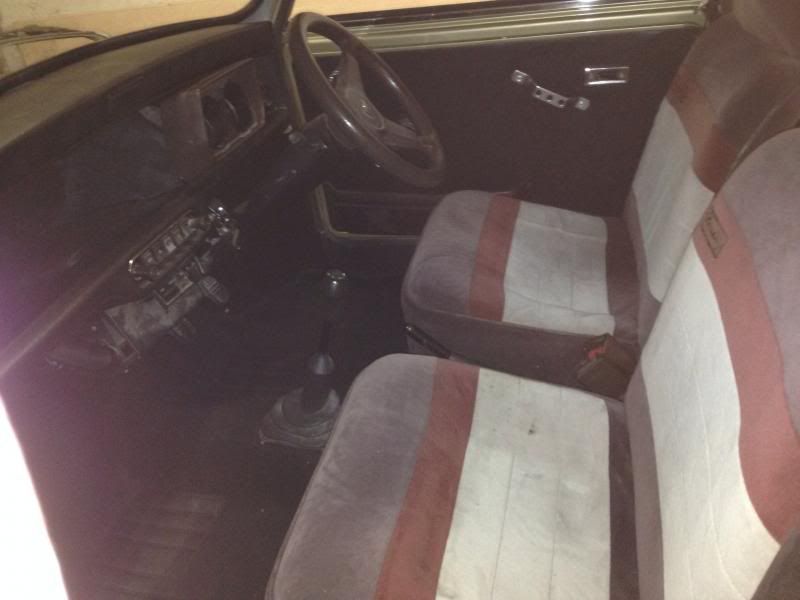
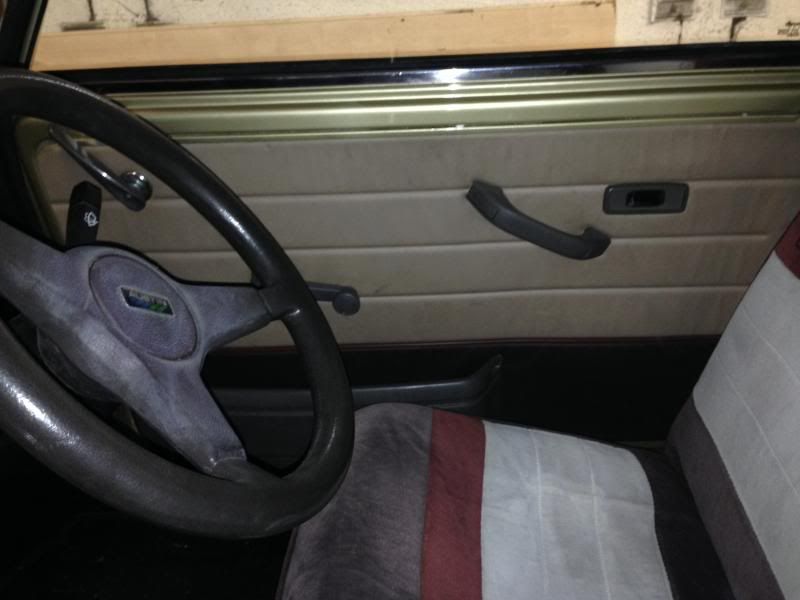
re fitted dash in original style open dash (could only get black, needs brown), modern dash taken out.

got the engine firing on all 4 cylinders instead of three.

fault fount the twin clocks and fitted them replaced missing bulbs.

new carpet fitted (could only get black again) and seat belts re-installed

fixed hazard light problems.


So now all i need is an MOT so i can get it mobile, then its down to the point of getting the detail right.


Also as i can't use the wanted pages yet, if anyone has or knows someone who has a good condition set of Piccadilly seats available please let me know.


Cheers for looking Joe and Morris (the wife insisted it be called Morris, i wanted to call it Dad But got over ruled)


#2 Artful Dodger

Artful Dodger

    " I AM THE SPECIAL ONE"

  • Members
  • PipPipPipPipPipPipPipPipPip
  • 4,435 posts
  • Local Club: aint no body got time fo dat

Posted 04 November 2013 - 09:37 PM

Niiiice love a good near chav experience!!

Good luck rebuilding the car to its original goodness!!


Oh.. And it's err. Jewish racing gold;)

#3 joet999

joet999

    Mini Mad

  • Noobies
  • PipPipPipPip
  • 119 posts
  • Location: rochester
  • Local Club: medway mini club

Posted 04 November 2013 - 10:04 PM

Wasn't sure of the P.C level of the forum just yet. so i played it safe, they call it a slightly less complementary name.


#4 joet999

joet999

    Mini Mad

  • Noobies
  • PipPipPipPip
  • 119 posts
  • Location: rochester
  • Local Club: medway mini club

Posted 05 November 2013 - 01:38 PM

So waiting on pay day to get the dreaded MOT, insurance and tax all in one go so i can get the car mobile i decided today i would hut the autosol.

before

IMG_0885.jpg

After (looks like it could use a little more)

IMG_0886.jpg


before

IMG_0893.jpg


After

IMG_0895.jpg


also got my door cards cleaned up today but don't tell the wife iv had them in the house.

IMG_0896.jpg


this is the door card that the "chav" put in.IMG_0878.jpg

don't get me wrong they look great in modified mini's. But in a standard, they just look a bit out of place.


he also took the brown dash out and has since disappeared so i put the black one in for now.


all things on the shopping list.


#5 Tahiti Joe

Tahiti Joe

    Super Mini Mad

  • Members
  • PipPipPipPipPipPip
  • 663 posts
  • Location: Pickering, North Yorkshire!

Posted 05 November 2013 - 02:00 PM

Looking good man! You said it needs re-painting, im guessing your planning on keeping it gold?


Good luck with the MOT! 


#6 joet999

joet999

    Mini Mad

  • Noobies
  • PipPipPipPip
  • 119 posts
  • Location: rochester
  • Local Club: medway mini club

Posted 05 November 2013 - 02:53 PM

At first I was going to change the colour. But it's grown on me, it looks really good at night. Think I might try and spray it myself, my dad's got the stuff to do it, worst comes to worst iv just waisted paint.

#7 craig-721

craig-721

    Mini Mad

  • Members
  • PipPipPipPip
  • 166 posts
  • Location: Tyne & Wear

Posted 05 November 2013 - 10:08 PM

looking good, good luck


#8 j03baynt

j03baynt

    On The Road

  • Validating
  • PipPip
  • 40 posts
  • Location: wales

Posted 09 November 2013 - 01:00 PM

Nice project buddy, Im currently rebuilding a Piccadilly myself, Gotta love the gold.

:proud:


#9 minimissions

minimissions

    Up Into Fourth

  • Members
  • PipPipPipPipPipPipPipPipPip
  • 3,427 posts
  • Location: North West
  • Local Club: M.M.O.C

Posted 12 November 2013 - 06:46 AM

Looks like a nice project mate :)


#10 joet999

joet999

    Mini Mad

  • Noobies
  • PipPipPipPip
  • 119 posts
  • Location: rochester
  • Local Club: medway mini club

Posted 12 November 2013 - 07:21 PM

So iv done a bit of asking about on stage one kits. seems to make a big difference in performance. The two that came up are the:


minispares performance kit,

http://www.minispare...px|Back to shop


or


the maniflow system,

https://www.somerfor...oducts_id=14791


people say they are pretty close in performance so i was thinking the mini spare one as it £30 cheaper.


Bit more work done yesterday.


got the new black door cards out with the alloy handle kit off.

in with the original door cars and light brown fittings for now until i can get a set of original dark brown ones. (wish the bloke had kept them, it would have been much easier)


before

IMG_0903-1.jpg

original now installed.

IMG_0907-1.jpg


also got a bit of minor hidden rust treated with rust remover an then red oxide primed. no pictures as thats pretty boring, apart from the when i tipped the best part of a tin of it in the rear bin.  :mmkay:


#11 joet999

joet999

    Mini Mad

  • Noobies
  • PipPipPipPip
  • 119 posts
  • Location: rochester
  • Local Club: medway mini club

Posted 19 November 2013 - 09:04 PM

Yes! Failed my mot. But only on wipers inadequate hazards not working again and a rear brake with no power.

#12 joet999

joet999

    Mini Mad

  • Noobies
  • PipPipPipPip
  • 119 posts
  • Location: rochester
  • Local Club: medway mini club

Posted 21 November 2013 - 09:23 PM

Any one got any tips on wiper motors. Can they be "service" or do you just get a new one? Iv whipped it out tonight which was easy poked around with the wiper bar and that seemed to move easy enough so the motor must be gummed up/shot.

Cheers.

#13 brad101

brad101

    Passed Test

  • Noobies
  • PipPip
  • 28 posts
  • Location: Newfoundland

Posted 21 November 2013 - 10:04 PM

their is brush kits(£20 roughly) available for wiper motors but depending on the state of the armature it may not remedy the issue.


very nice car by the way!


Edited by brad101, 21 November 2013 - 10:07 PM.


#14 joet999

joet999

    Mini Mad

  • Noobies
  • PipPipPipPip
  • 119 posts
  • Location: rochester
  • Local Club: medway mini club

Posted 24 November 2013 - 03:26 PM

Job No.1, wiper motor.


So i took it out and opened up the case. and the grease in there was a old as me. gave it a good de grease and clean. then re-lubed it reinstalled it as it seems to have sorted my pathetic wiper action. Easy and free, don't get that very ofter on a mini iv found.


Job No. 2, rear brake.


Mot tester said there was little to no power coming from the rear near side break.


so the drum came off without much of a fight, didn't even need a hammer.


image-3.jpg


then the pads came out again without a fight, they have pad on them, but have no idea how think they started.

image-4.jpg

next it was to test the pistons,

image-2.jpg

(Iv taken the rubber boots off the pistons) So the one on the right of the picture is stuck. like proper stuck. Iv tried all the methods i know from my bicycle mechanics that is my work but this hasn't worked at all. Tried pumping the brake with the free piston held in but it won't budge, lubed the sticky piston tried again, nothing. its welded in place. The only thing i haven't tried is getting a G clamp and pushing both pistons in to the cylinder. 


I might just give up and buy one of these, http://minispares.co...ic/GWC1102.aspx

Just thought i could get away without having to bleed the break. they are pretty cheap at £13.


if anyone else is doing rear pads, a little tip. fit the lower spring before you put the pads in, then stretch them over the pistons. much easier than fitting the lower spring after the pads are in place.


any help much appreciated.


Edited by joet999, 24 November 2013 - 03:27 PM.


#15 minisebastian

minisebastian

    Mini Mad

  • Noobies
  • PipPipPipPip
  • 103 posts
  • Location: Birmingham

Posted 24 November 2013 - 04:02 PM

Looks like a nice mini love the colour too


1 user(s) are reading this topic

0 members, 1 guests, 0 anonymous users