Jump to content


Photo
- - - - -

The Flinstone Mini - Loads Of Pics


  • Please log in to reply
134 replies to this topic

#46 bluemini17

bluemini17

    Mini Mad

  • Members
  • PipPipPipPip
  • 158 posts
  • Location: Bangor

Posted 01 November 2014 - 09:39 PM

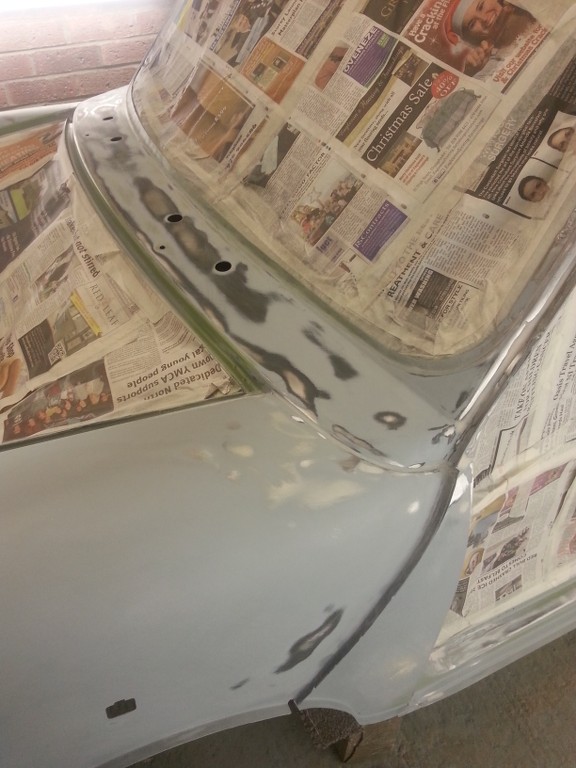
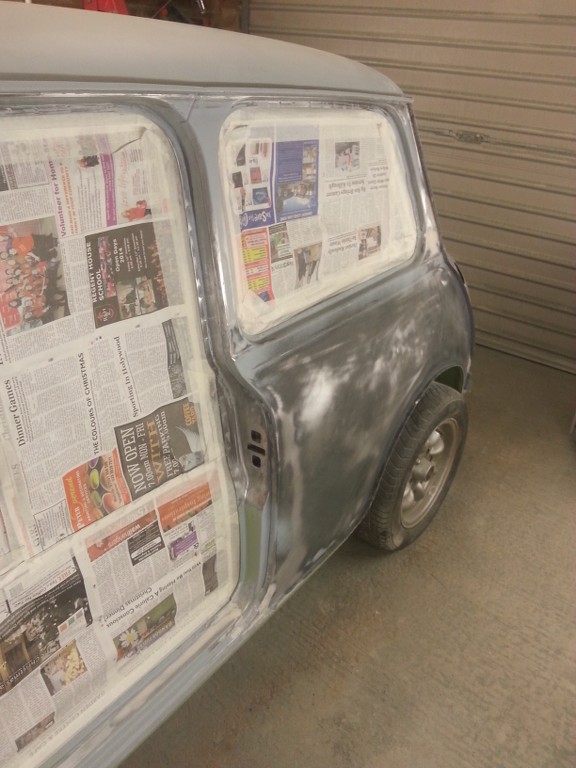
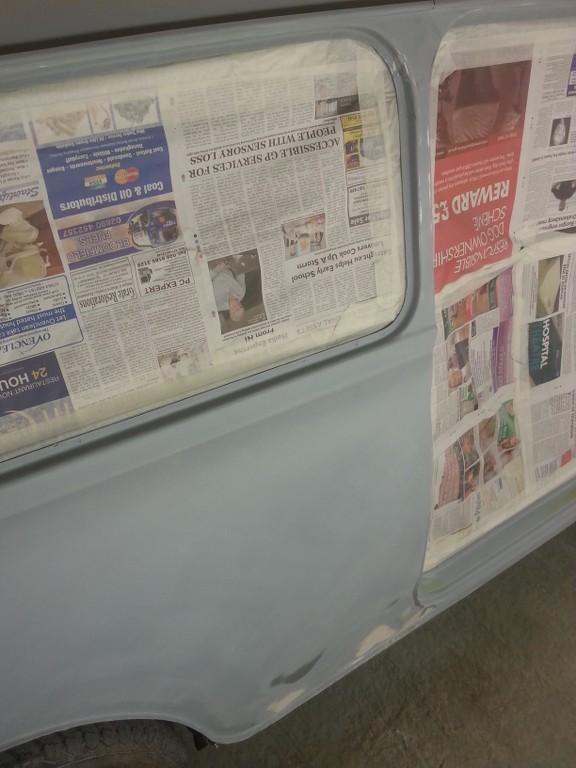
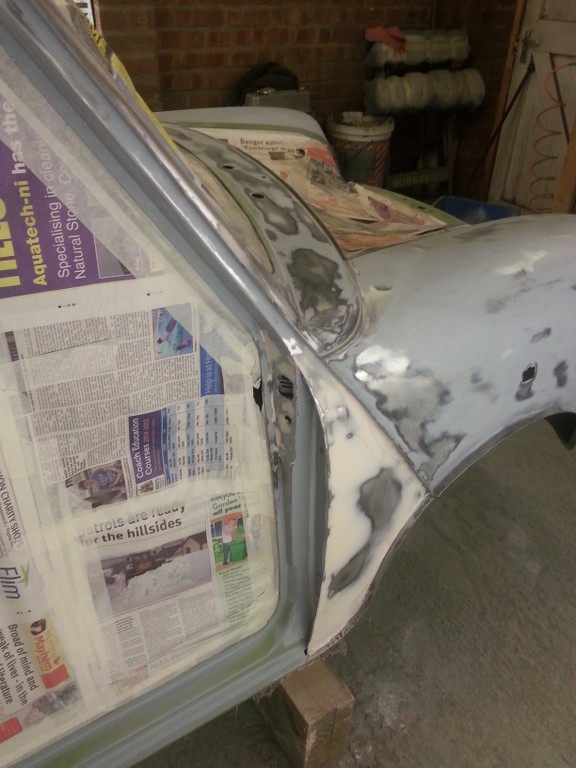
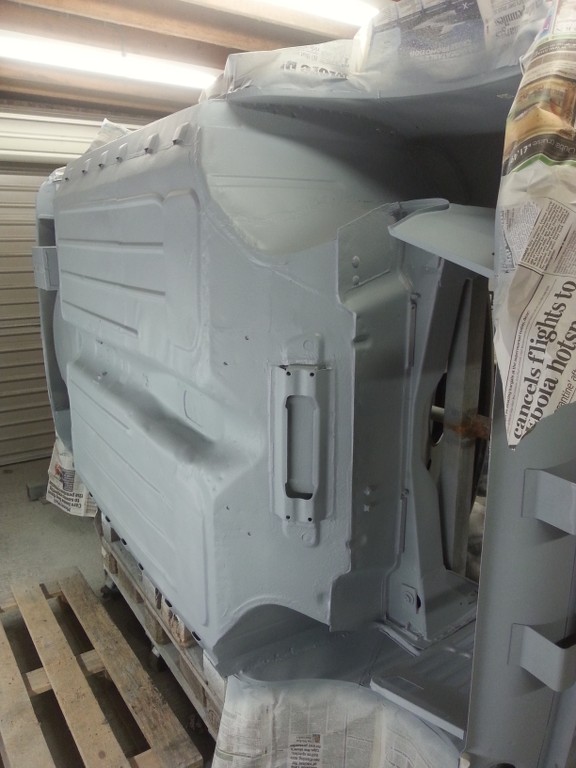
I then made a start to the driver side, same story, back to bear metal, etch prime, high build primer, swearing, dolly work etc etc


m9LzKa.jpg


xv346v.jpg


I then made a start to the 'I don't want to do it but I will have to do it eventually list' , I'm sure we all have one of them.


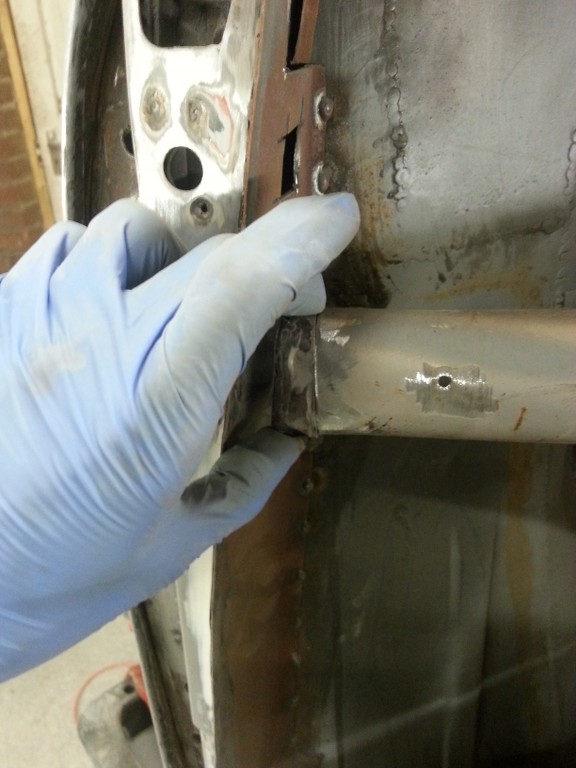
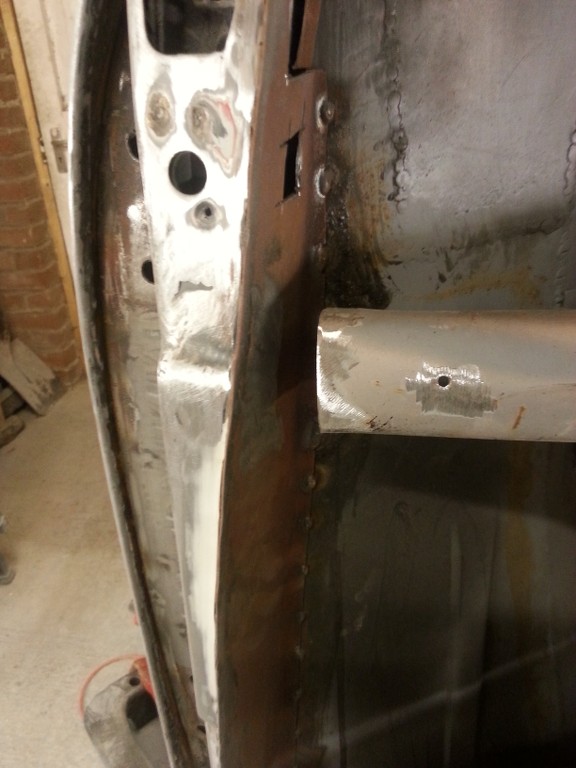
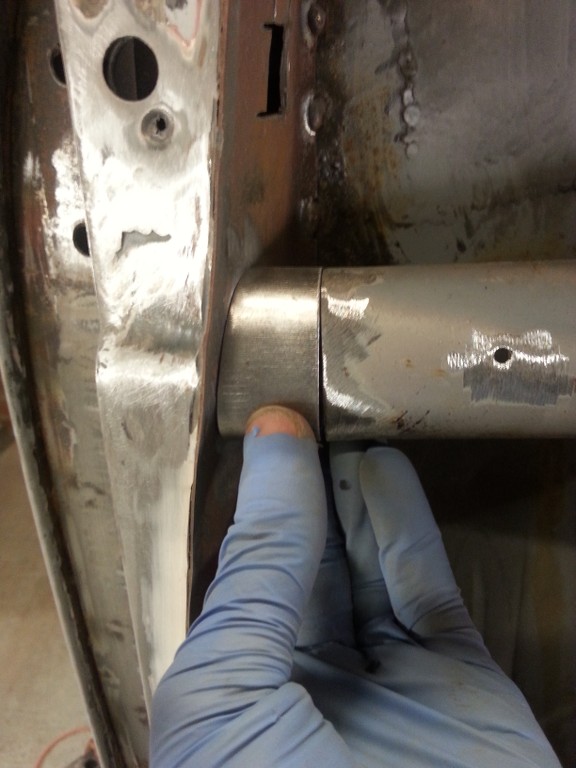
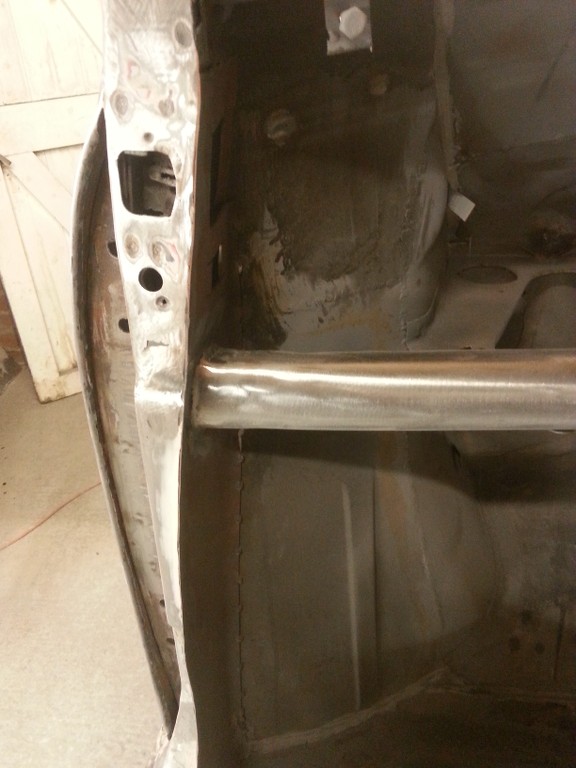
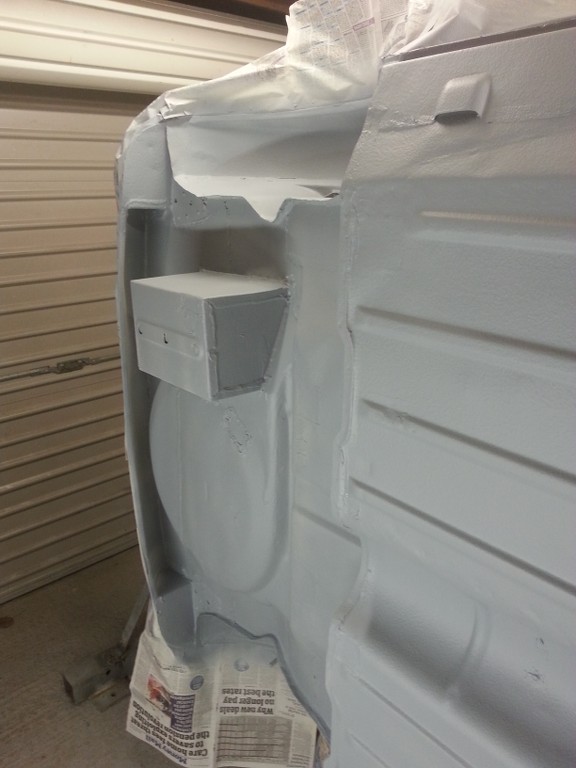
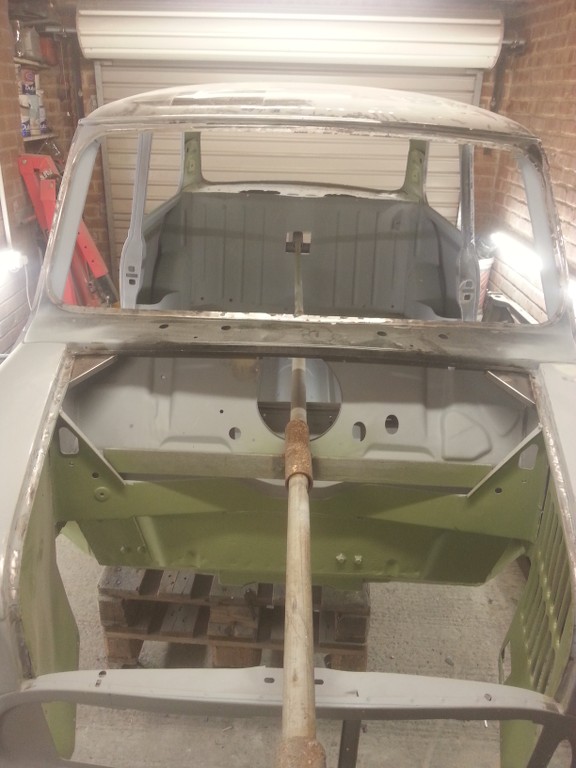
The lower dash rail had rotten at the door post, so out with the old in with the new,


Pohw9H.jpg


JGTWzs.jpg


qOjOeS.jpg


bhN30W.jpg


gQQRuR.jpg


Q1GrEv.jpg


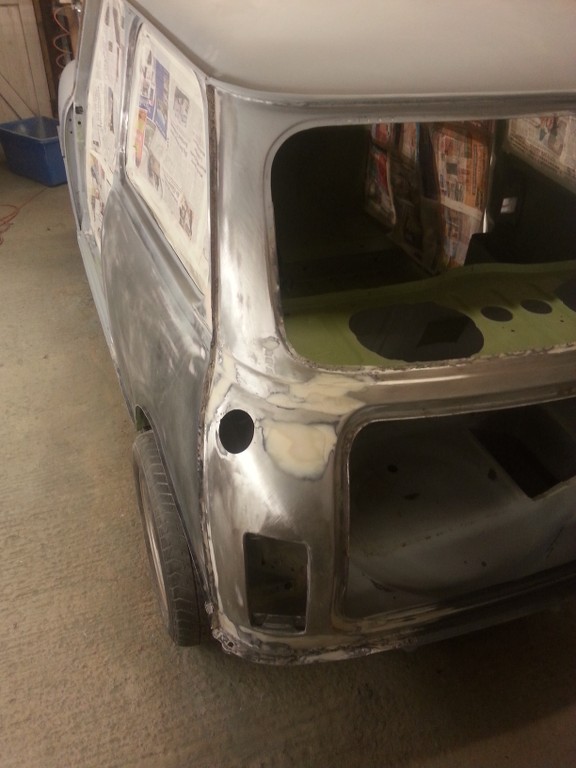
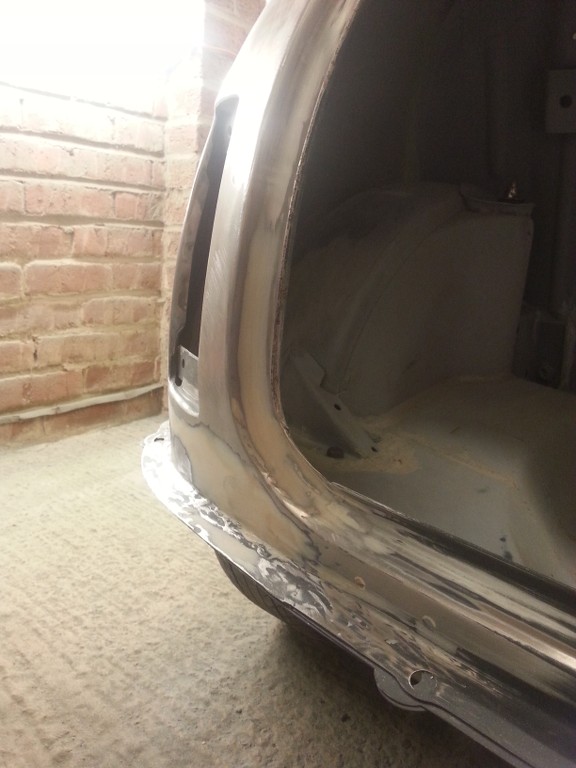
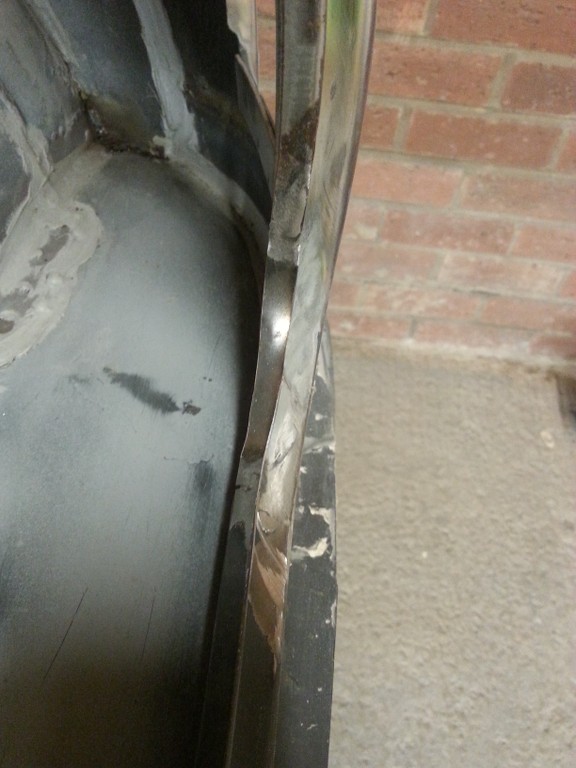
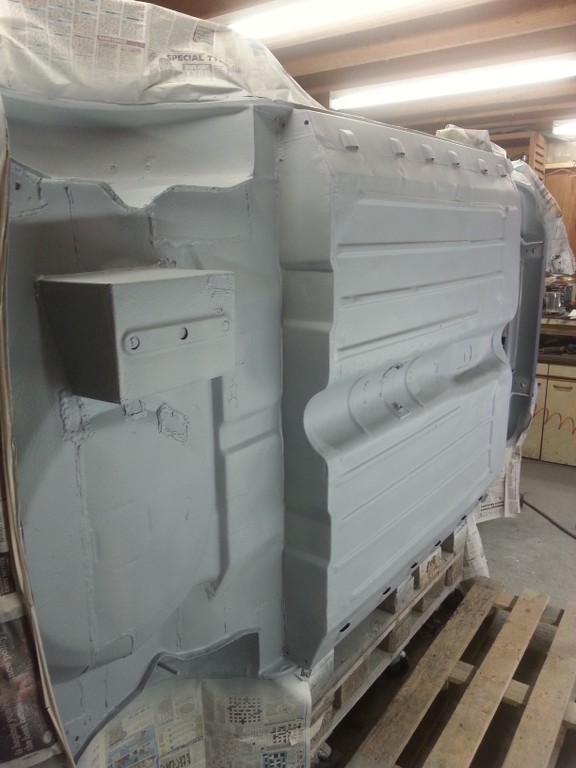
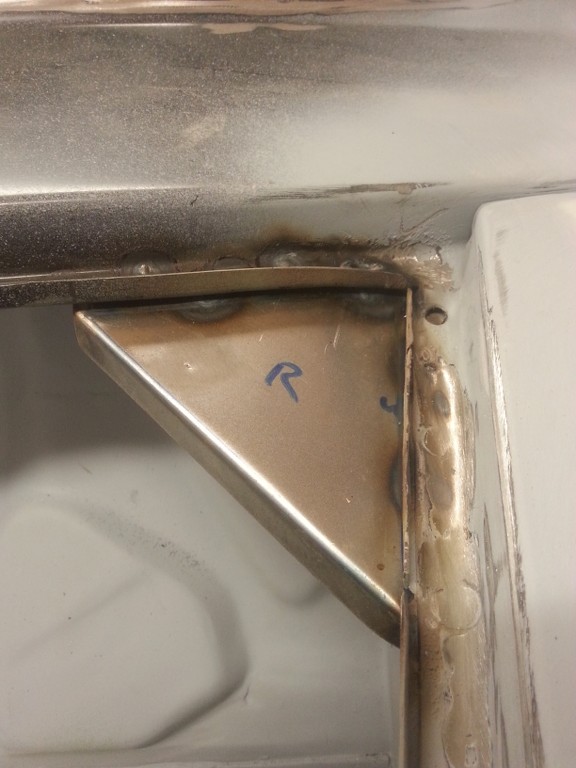
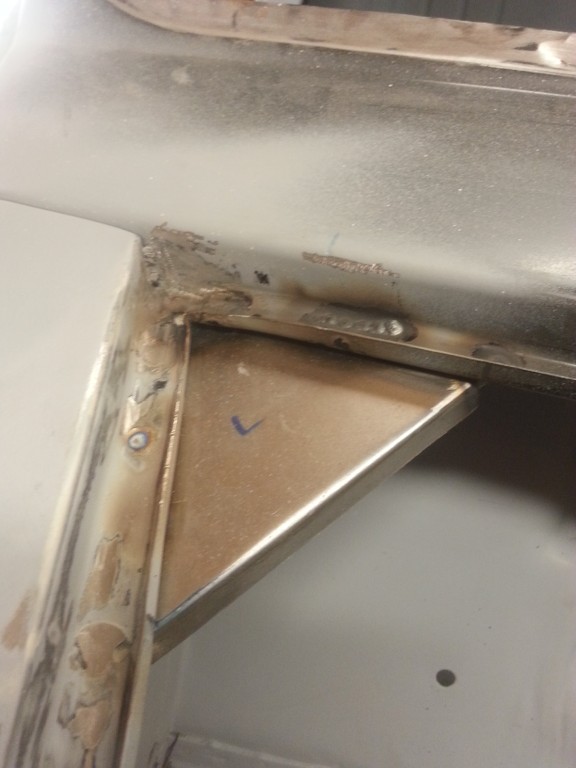
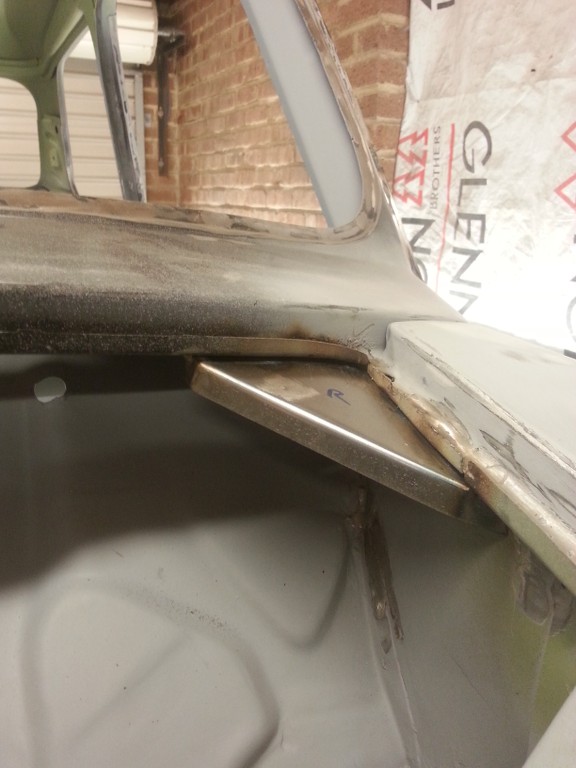
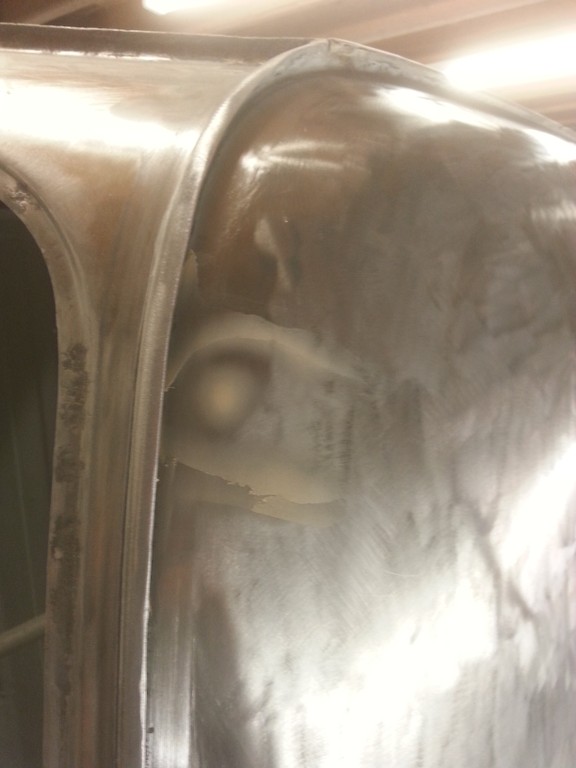
I then had the tricky corners to recreate on the rear boot panel, you may remember me removing the whole rear boot from the lights down. I was to tight to buy the rear replacement panel and instead i pieced together the repair panels, unfortunately the corners are not included. time to get creative,


sbgcAl.jpg


cFuZr4.jpg


sn9rdv.jpg


m3FoDB.jpg


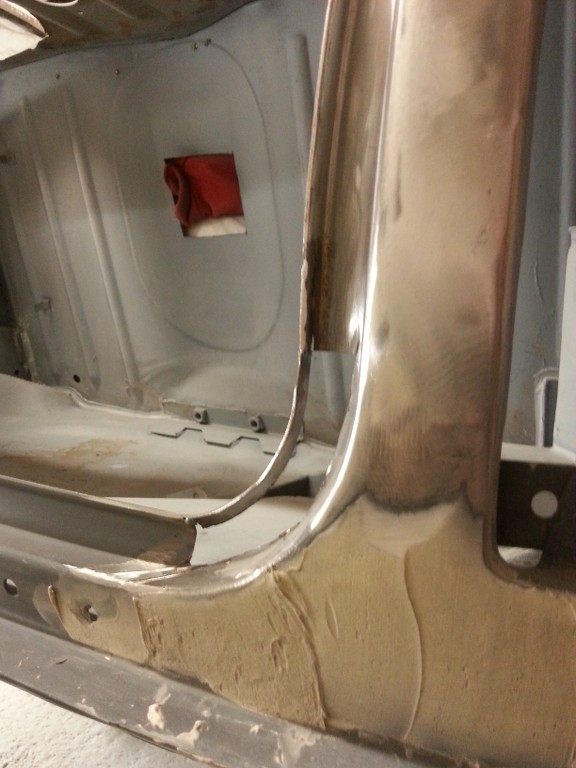
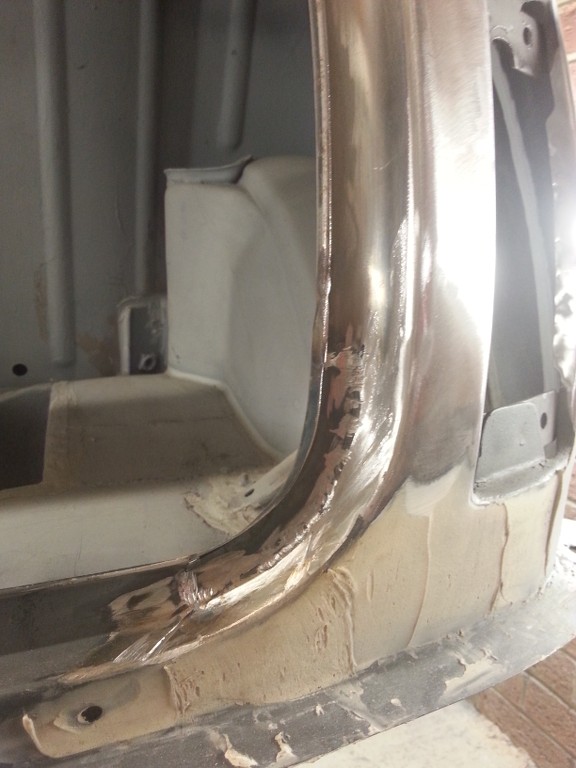
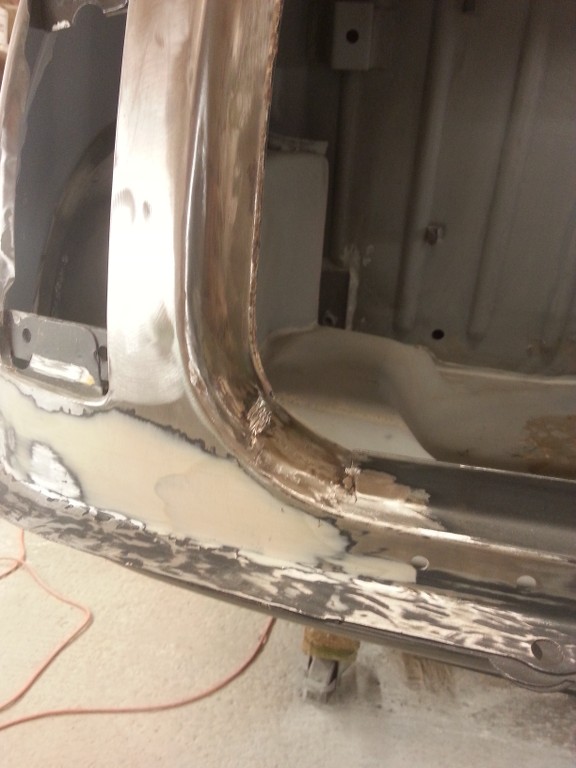
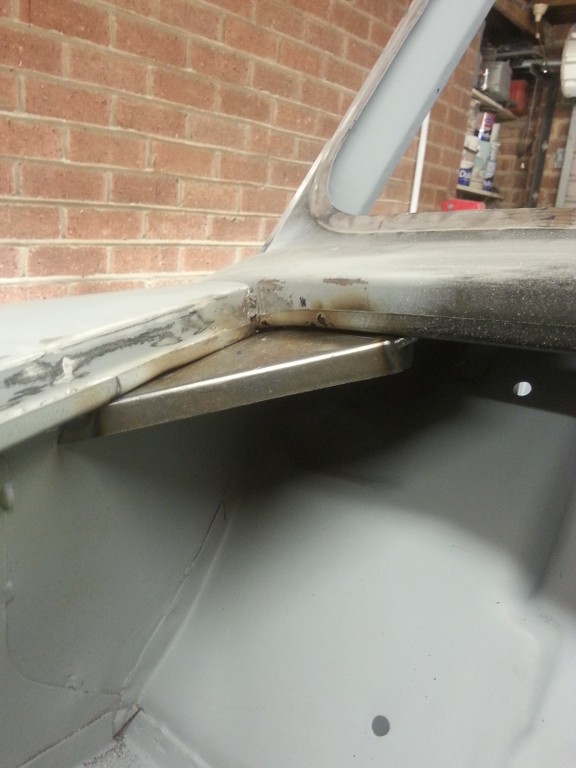
A dash of filler and no one will ever no :shades:


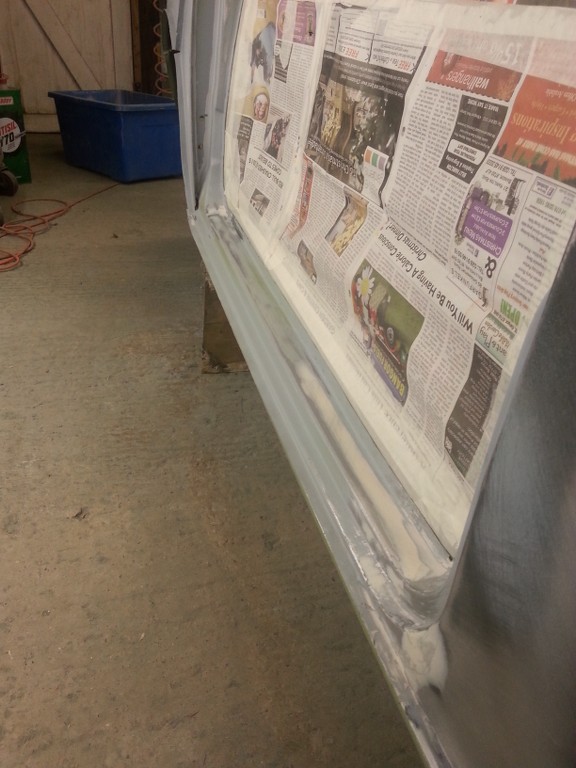
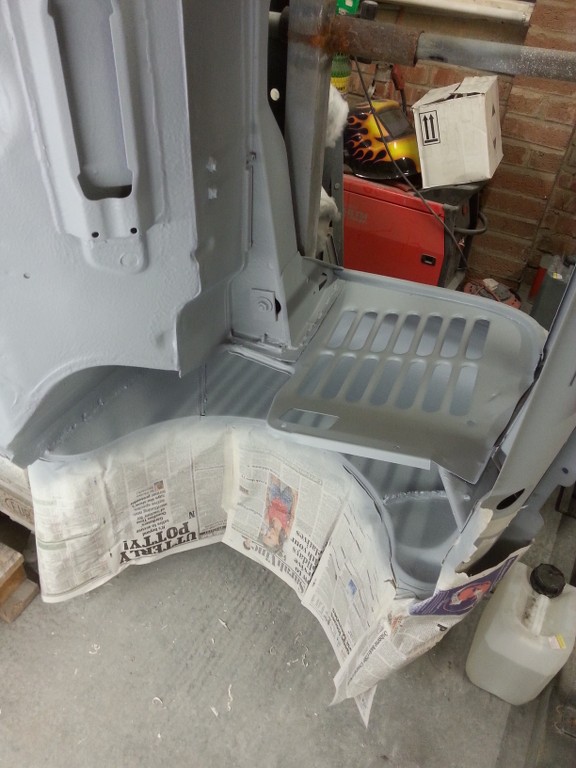
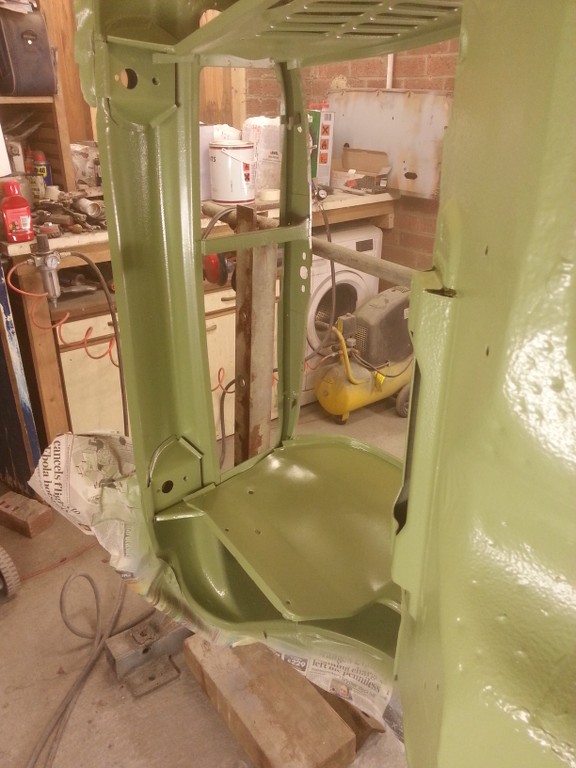
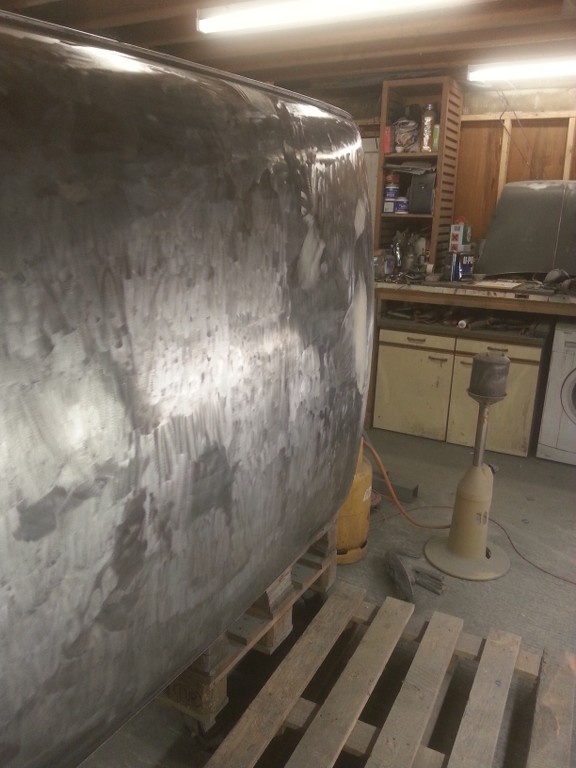
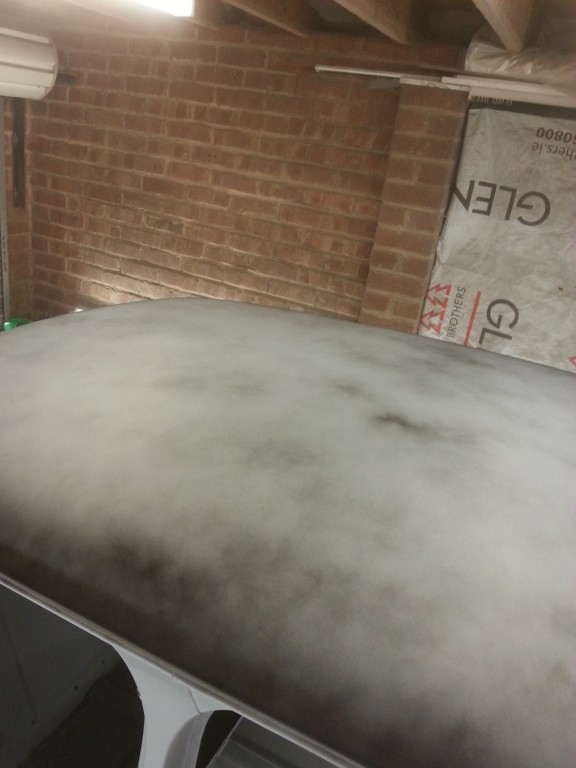
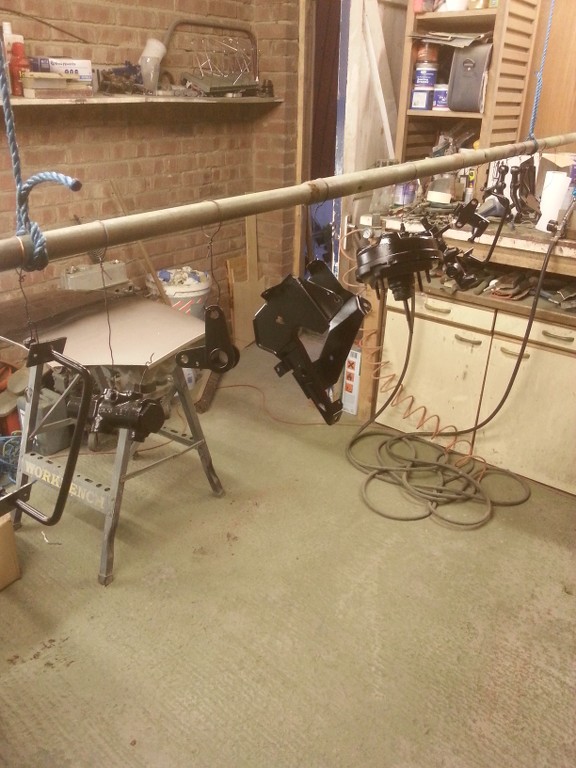
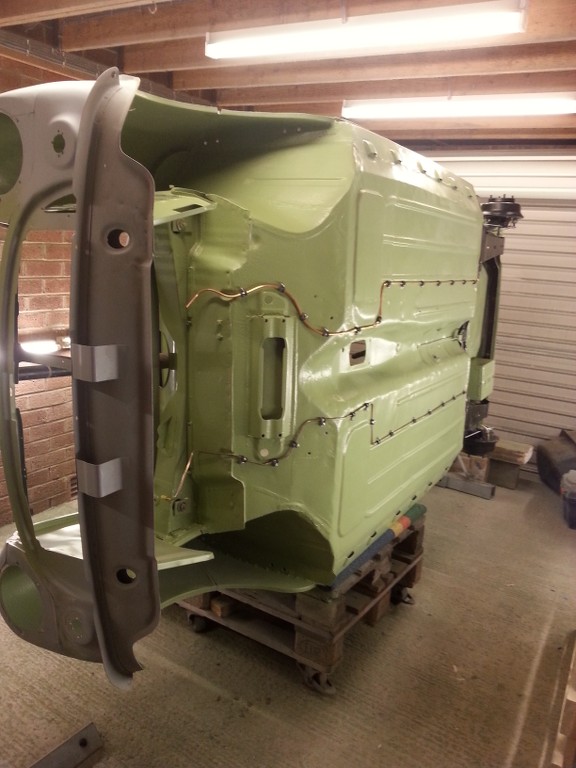
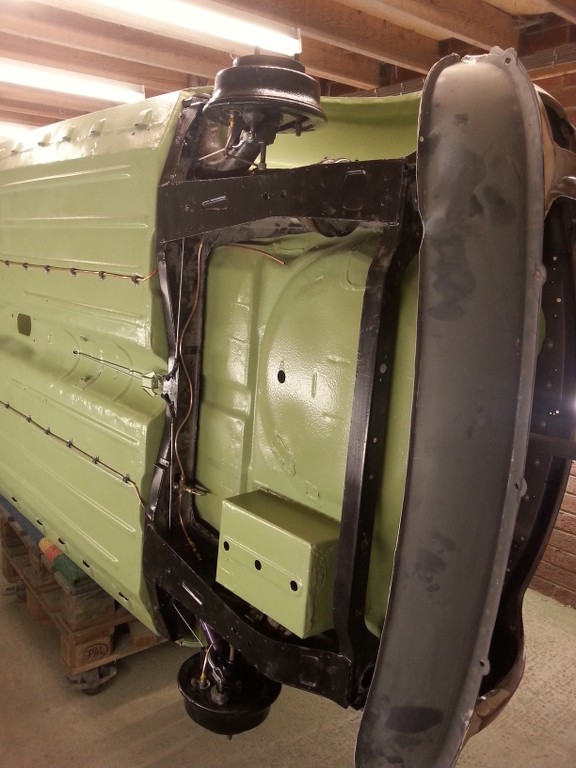
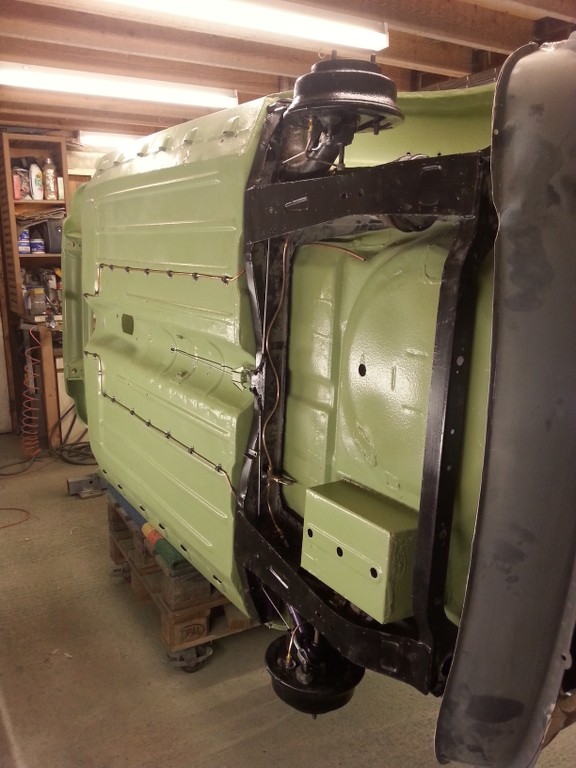
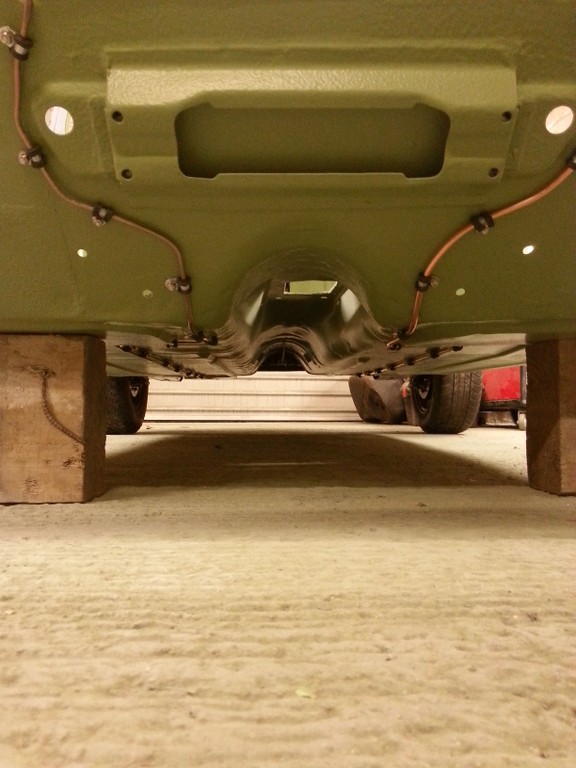
Then it was time for the belly of the beast, Upol gravitex is the name, some gear ! 4 bottles in total ( 4 liters)


m5aOir.jpg


M4p8eN.jpg


SN7DV3.jpg


SGAFCs.jpg


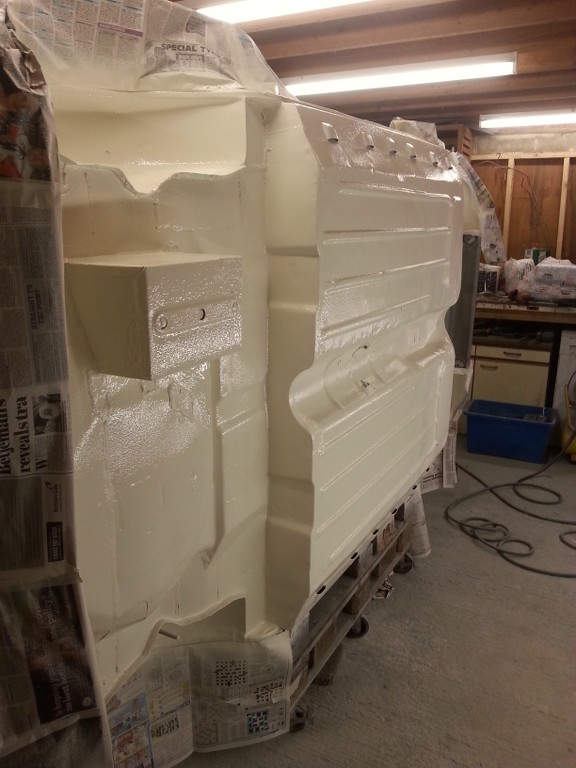
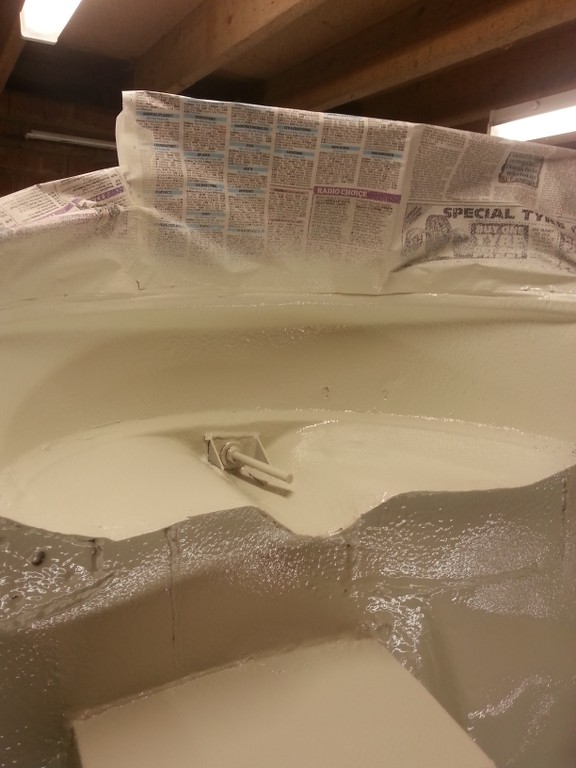
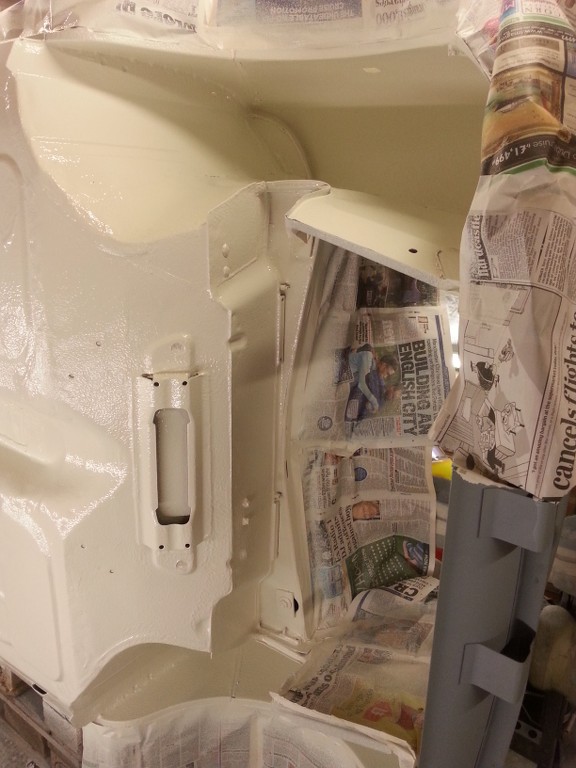
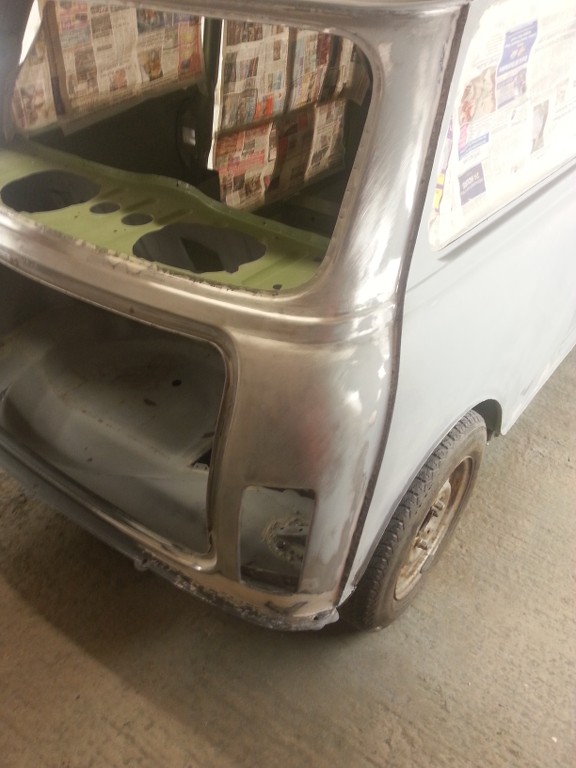
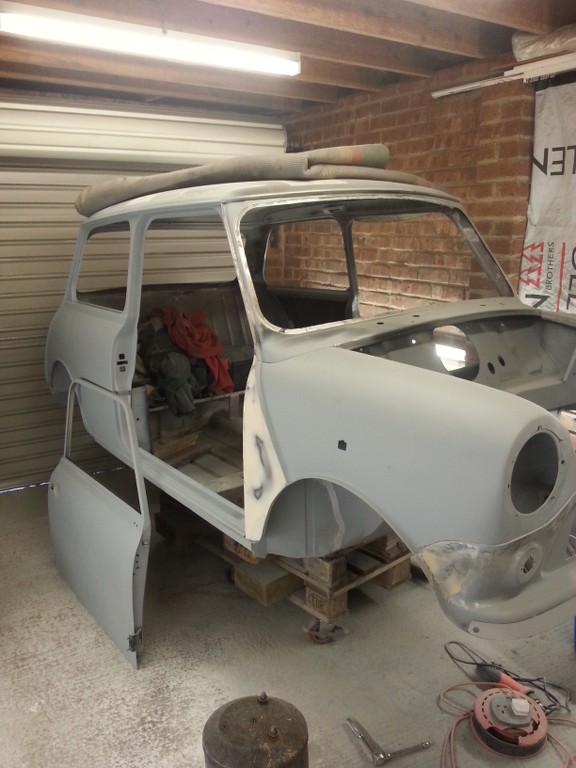
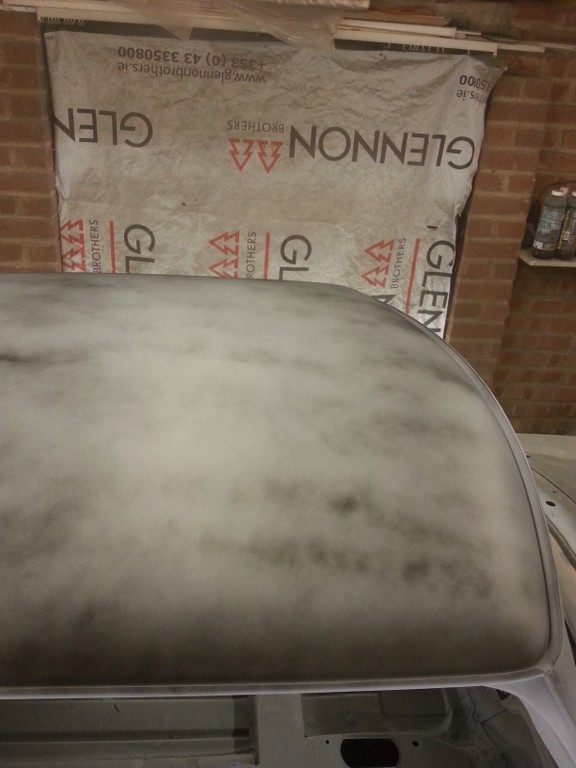
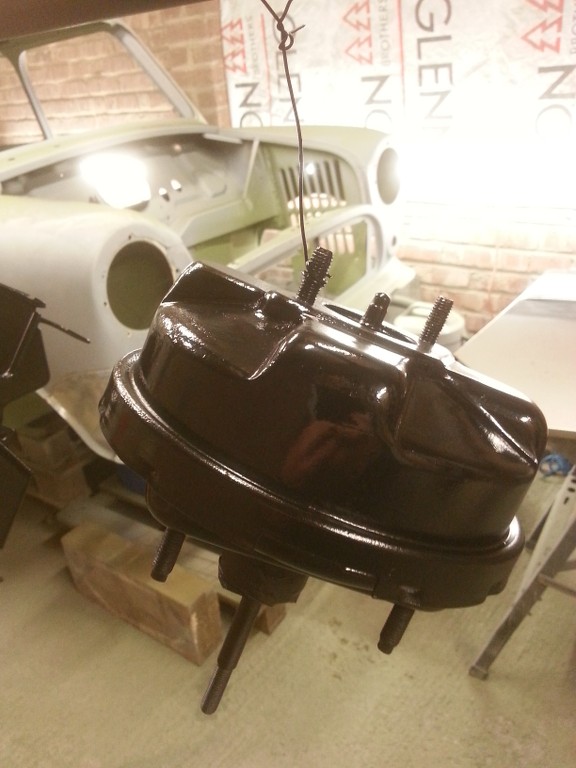
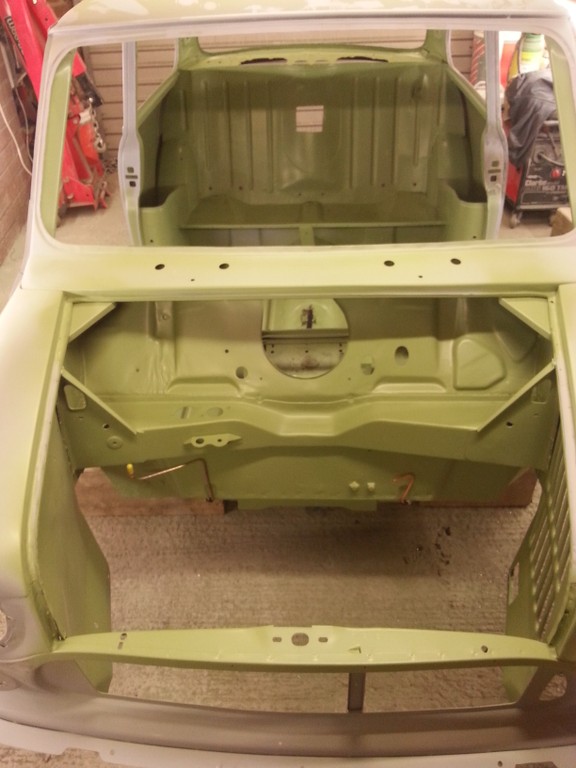
I then followed this up with some primer


jXalR5.jpg


eUcH3N.jpg


eRb1jZ.jpg


Vn2nof.jpg


vOzVoB.jpg


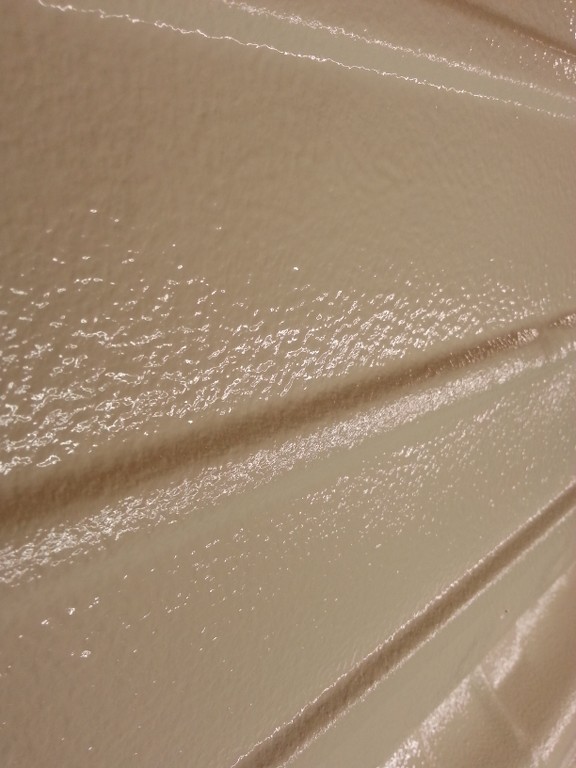
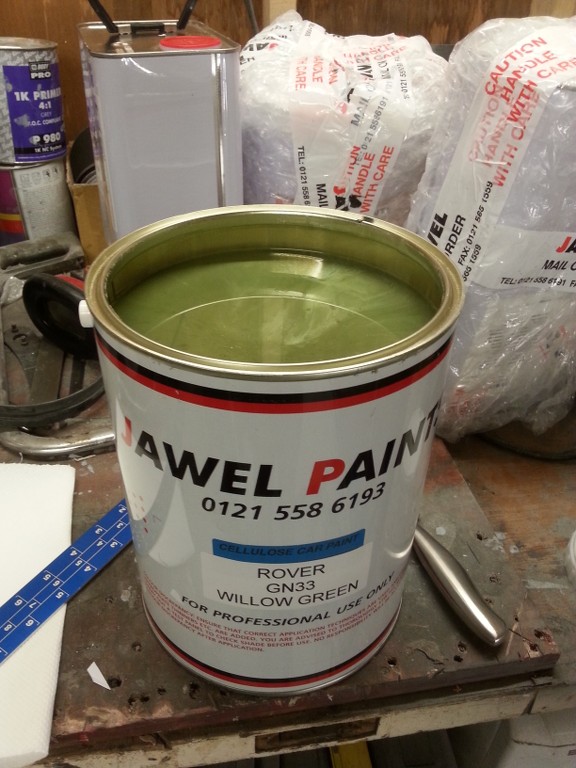
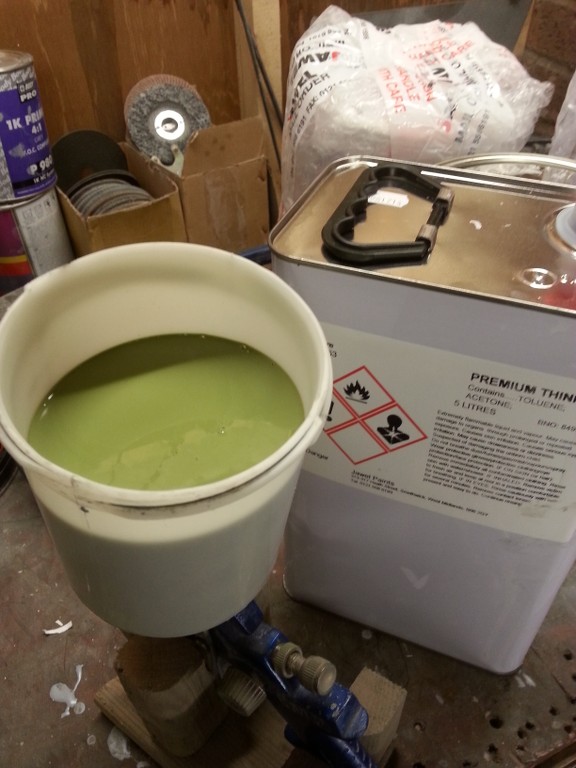
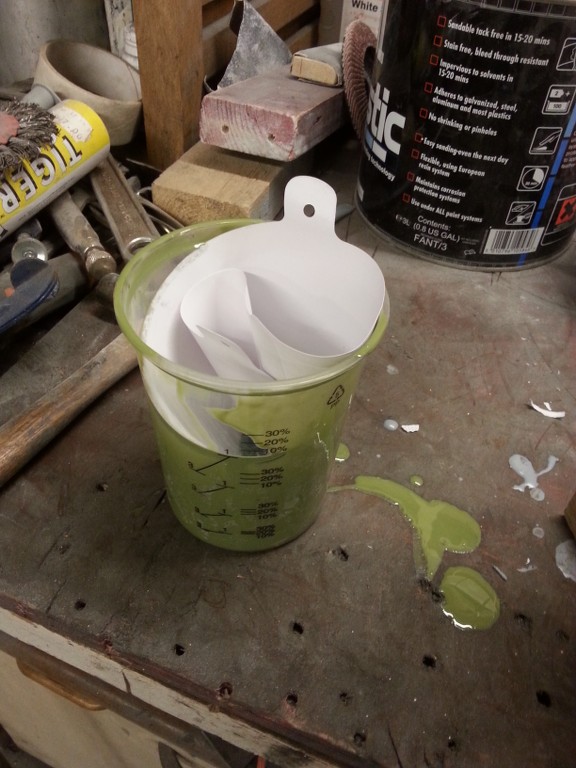
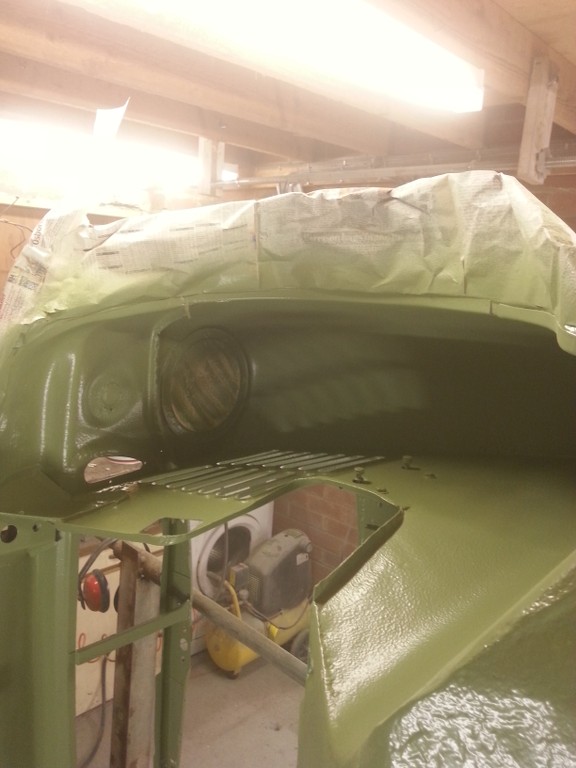
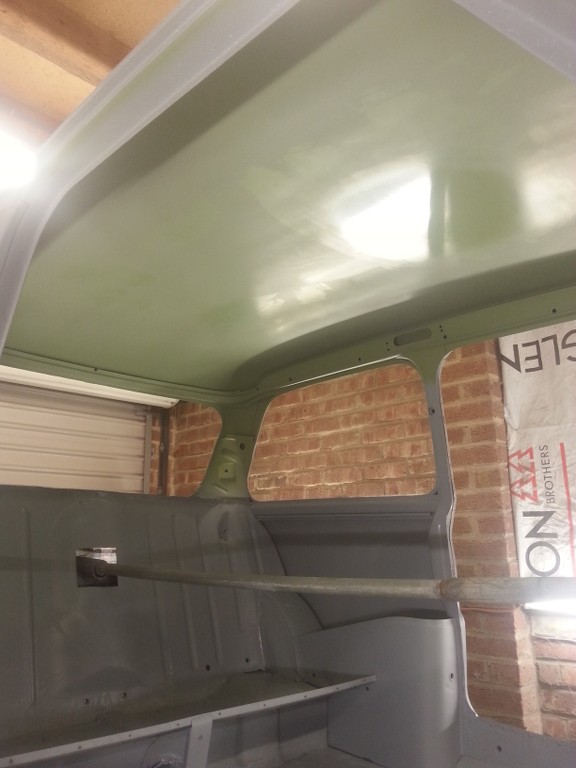
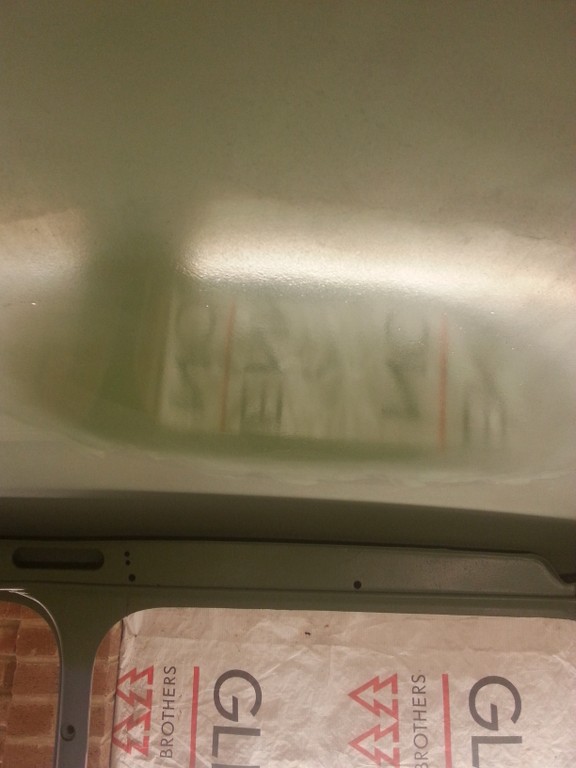
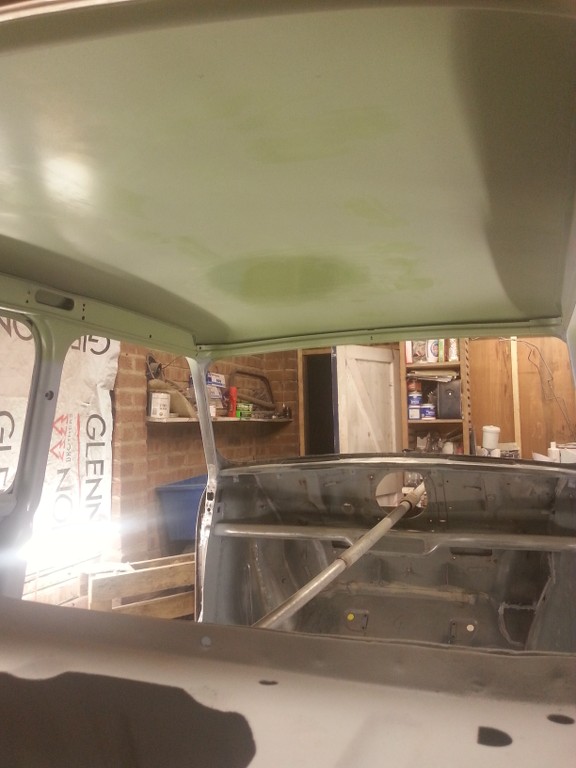
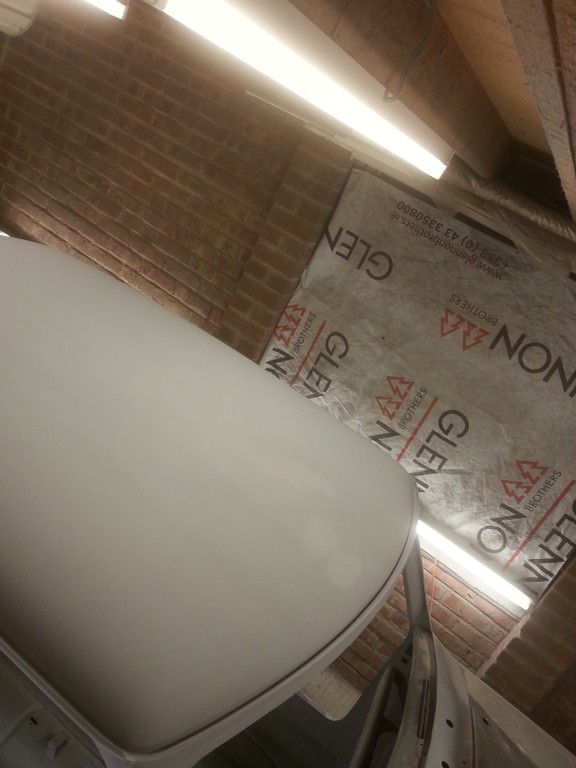
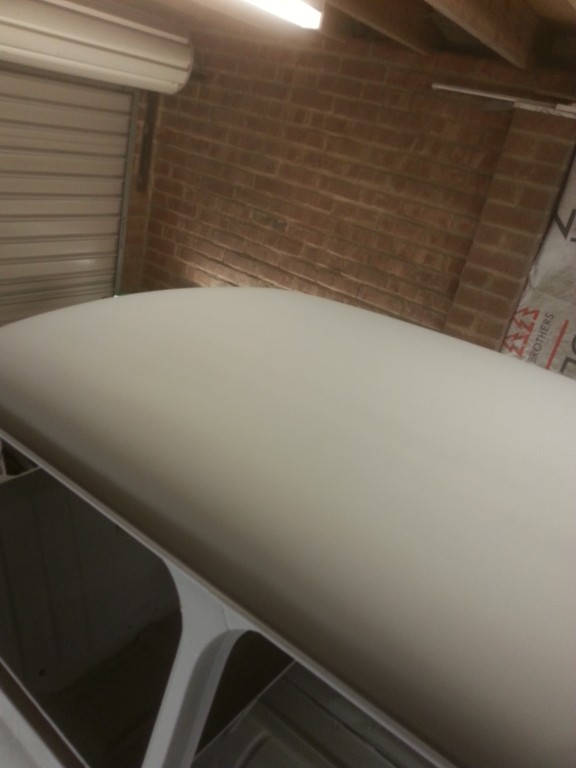
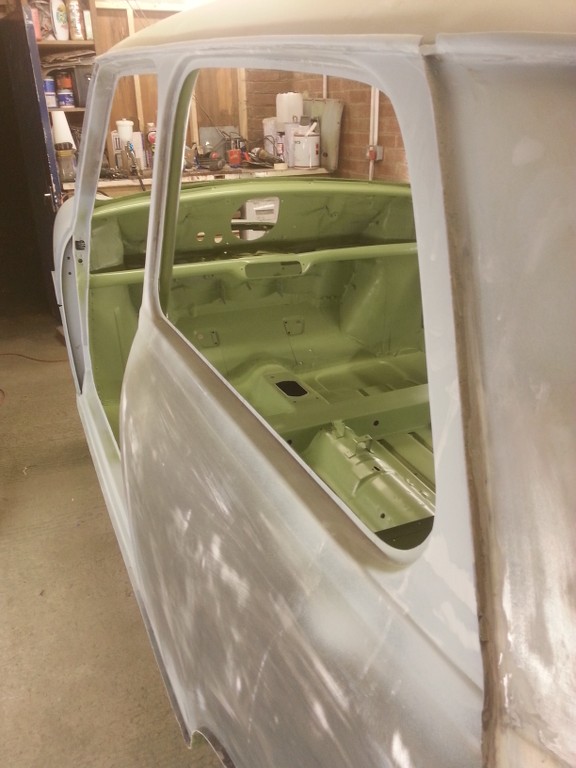
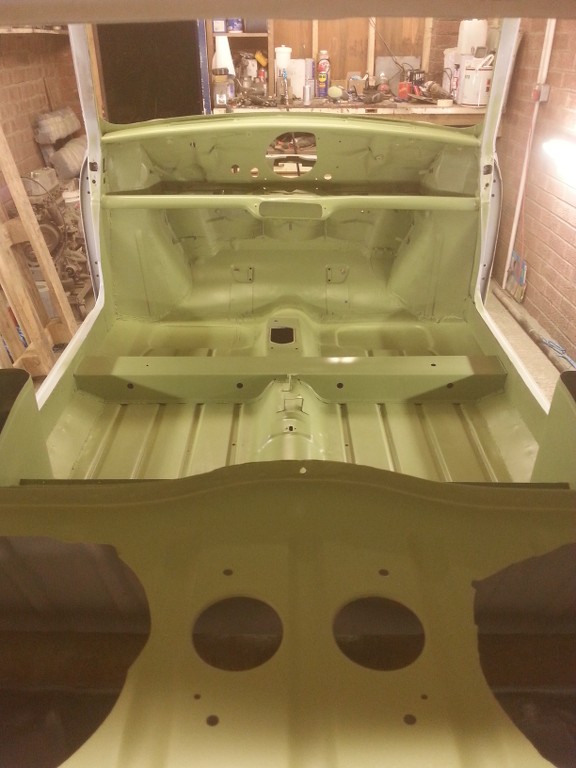
Next it was the body colour, I am using cellulose as I don't fancy killing myself or my neighbors with 2K, 2 pack or what not. I don't have an oven so water base is out too.
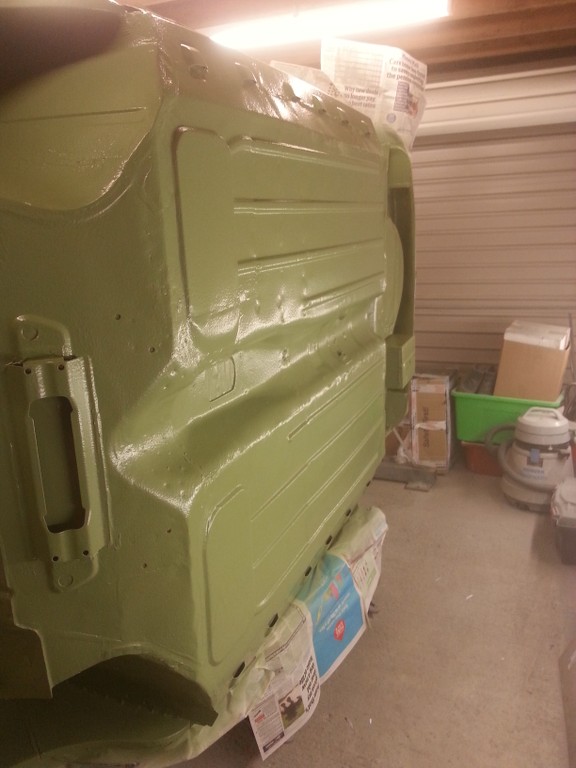
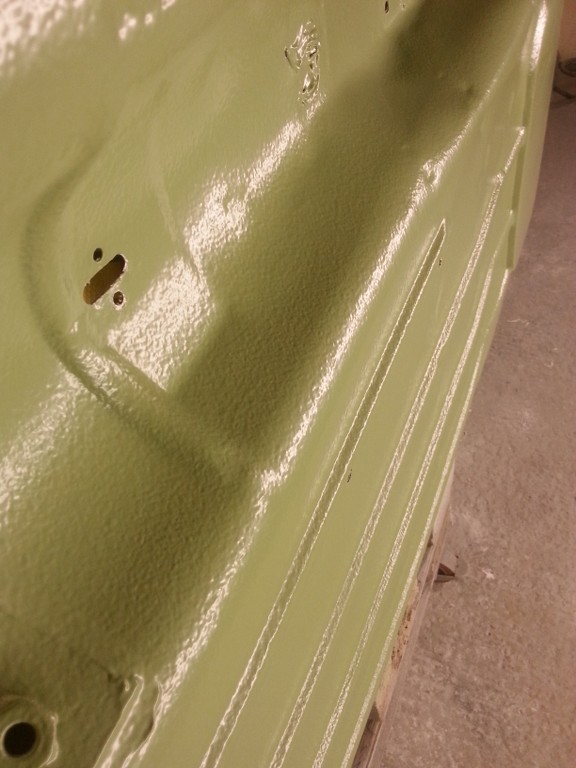
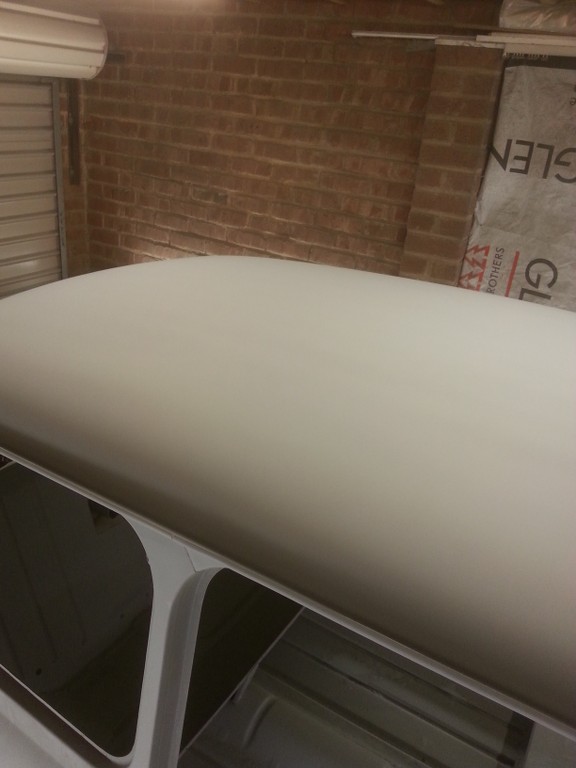
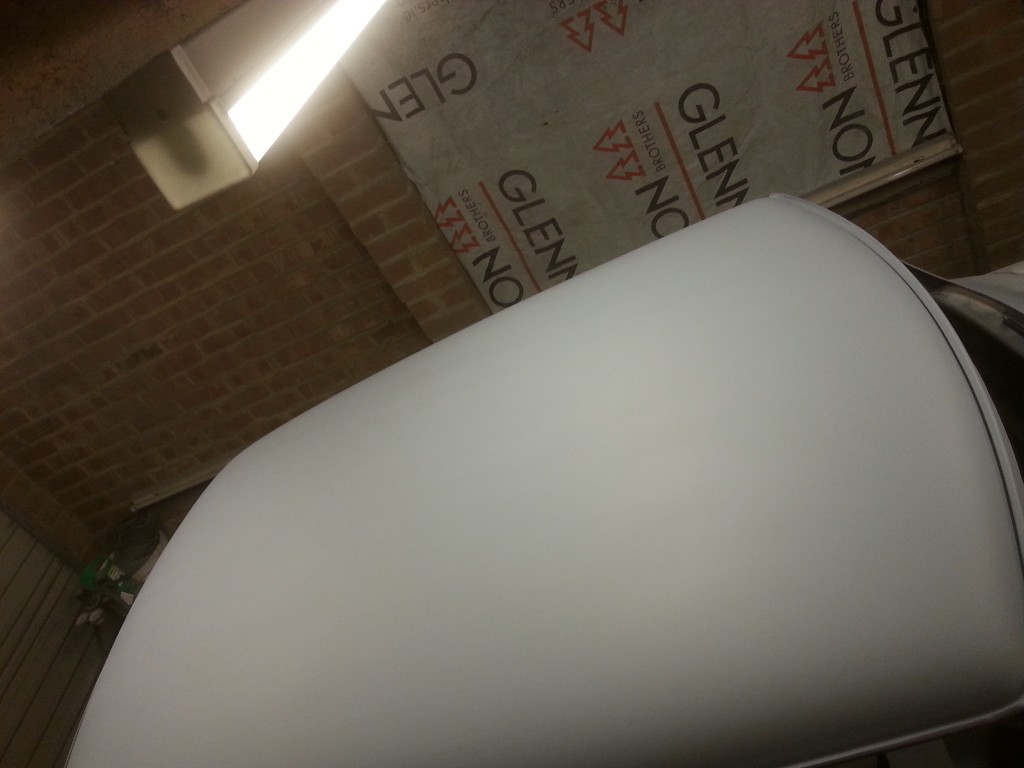
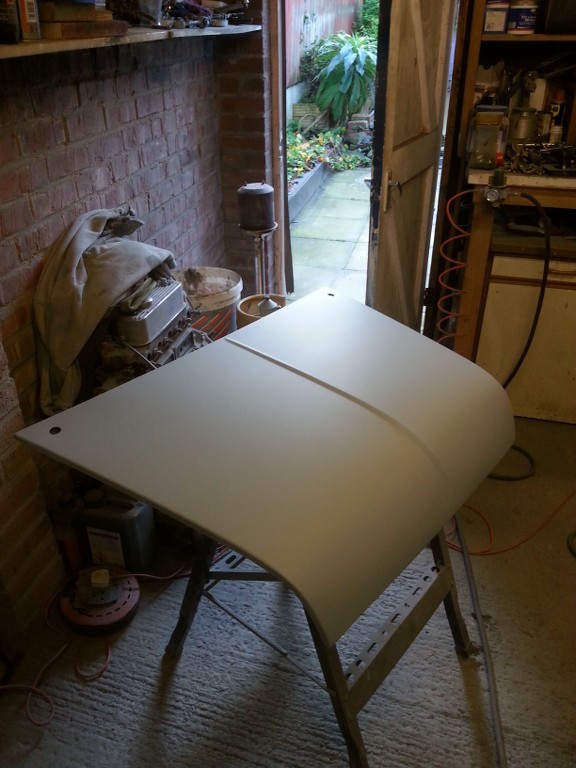
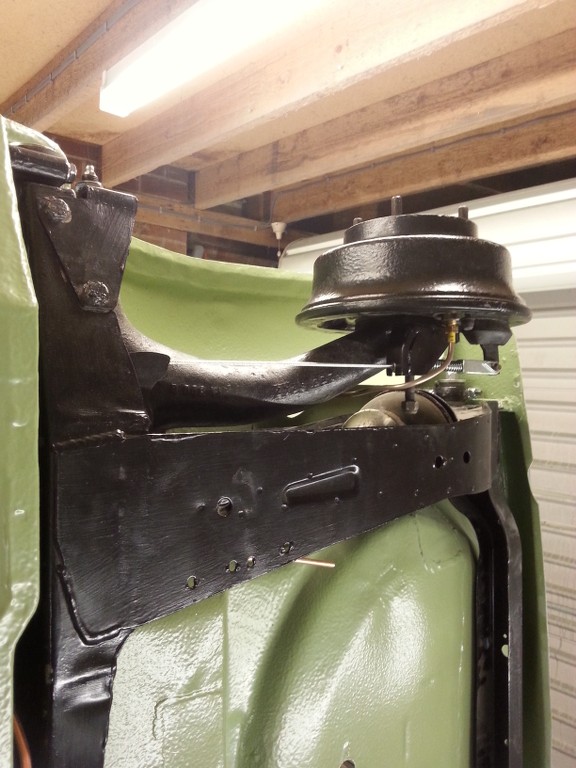
 

On went the colour


KS5DI1.jpg


h3ccDh.jpg


3NBfNr.jpg


STlsUF.jpg


gbfU1s.jpg


bwNDBG.jpg


bwNDBG.jpg

CTb3Sy.jpg


8gjmAm.jpg


Edited by bluemini17, 22 December 2014 - 05:48 PM.


#47 mini stephen

mini stephen

    Mini Mad

  • Noobies
  • PipPipPipPip
  • 138 posts
  • Location: northern ireland
  • Local Club: unkown

Posted 01 November 2014 - 09:39 PM

Looks good lad how u finding the sprayin

#48 bluemini17

bluemini17

    Mini Mad

  • Members
  • PipPipPipPip
  • 158 posts
  • Location: Bangor

Posted 01 November 2014 - 09:46 PM

I then did the inside of the shell in primer, it took ages to prep the panels ! all silky smooth and clean now,


zsdlag.jpg


I then turned the shell upside down and painted the inside of the roof with the body colour, being cellulose is dries dull, you can either buff it or spray a clear coat. I decided to buff a small area by hand to see how it came up.


32z86L.jpg


XFI1yX.jpg


Vcg8Za.jpg


Not a bad result, the final paint will be wet sanded with 2,000 and then machine polished to give a mirror finish, fingers crossed ! If it goes pair shapped I have only wasted £200 ish notes on paint, worth a try :shifty:


#49 bluemini17

bluemini17

    Mini Mad

  • Members
  • PipPipPipPip
  • 158 posts
  • Location: Bangor

Posted 01 November 2014 - 09:55 PM

Hiding wiring is called a wire tuck. Probably worth doing at this stage as you'll have to reroute some of it to make the tuck work. Great work so far! I'd love to be able to weld :(

Hey Steve, thanks for the info, I must add wire tuck to my vocabulary, I am making  new custom loom so routing the cables for the hidden look will be a wee bit easier


Looks good lad how u finding the sprayin


Cheers, Steve, so far so good, got a few runs at start and then sussed out the 'material screw' once i tuned it in i was flying. No doubt I will get a load of orange peal , but hey, thats what wet sandings for :lol:


#50 mini stephen

mini stephen

    Mini Mad

  • Noobies
  • PipPipPipPip
  • 138 posts
  • Location: northern ireland
  • Local Club: unkown

Posted 01 November 2014 - 10:09 PM

Hiding wiring is called a wire tuck. Probably worth doing at this stage as you'll have to reroute some of it to make the tuck work. Great work so far! I'd love to be able to weld :(

Hey Steve, thanks for the info, I must add wire tuck to my vocabulary, I am making  new custom loom so routing the cables for the hidden look will be a wee bit easier
 

Looks good lad how u finding the sprayin

 
Cheers, Steve, so far so good, got a few runs at start and then sussed out the 'material screw' once i tuned it in i was flying. No doubt I will get a load of orange peal , but hey, thats what wet sandings for :lol:
I'll take orange peel all day over bad reaction on 2k

#51 Jared Mk3

Jared Mk3

    Has a small thing but it does make a difference

  • Members
  • PipPipPipPipPipPipPipPip
  • 1,974 posts
  • Location: Kokstad, South Africa
  • Local Club: MOCKZN

Posted 02 November 2014 - 09:16 AM

Looking good. That engine bay is something I'd like to do one day, makes it so much neater. Love the colour as well.


#52 domdee

domdee

    Formally known as dominicdee

  • Members
  • PipPipPipPipPipPipPip
  • 1,183 posts
  • Location: hull
  • Local Club: hull clubs on FB

Posted 02 November 2014 - 09:57 AM

LOVE that colour!

#53 Tommyboy12

Tommyboy12

    Up Into Fourth

  • Members
  • PipPipPipPipPipPipPipPipPip
  • 2,252 posts
  • Location: Peterborough

Posted 02 November 2014 - 10:24 AM

Looking great but you seem to have welded up the holes that bolt the wiper motor down to the bulkhead.


#54 Jared Mk3

Jared Mk3

    Has a small thing but it does make a difference

  • Members
  • PipPipPipPipPipPipPipPip
  • 1,974 posts
  • Location: Kokstad, South Africa
  • Local Club: MOCKZN

Posted 02 November 2014 - 12:06 PM

I also welded up the wiring loom holes and the wiper motor holes as I will be modifying my wiper motor to fit inside the dashboard along with the washer bottle and fuse box.


There's a reason why they're closed up  =]


#55 Steve220

Steve220

    Up Into Fourth

  • Members
  • PipPipPipPipPipPipPipPipPip
  • 4,896 posts
  • Location: Shropshire
  • Local Club: BMC

Posted 02 November 2014 - 01:33 PM

Hiding wiring is called a wire tuck. Probably worth doing at this stage as you'll have to reroute some of it to make the tuck work. Great work so far! I'd love to be able to weld :(

Hey Steve, thanks for the info, I must add wire tuck to my vocabulary, I am making  new custom loom so routing the cables for the hidden look will be a wee bit easie

It's not easy, I'll tell you! I did it on my old evo 9, it took ages to do properly but was extremely worthwhile after! I always found it handy to buy an old loom from a rover, it will give you good lengths of similar colour and gauge wiring to extend the loom with.

Edited by Steve220, 02 November 2014 - 01:34 PM.


#56 bluemini17

bluemini17

    Mini Mad

  • Members
  • PipPipPipPip
  • 158 posts
  • Location: Bangor

Posted 02 November 2014 - 06:11 PM

LOVE that colour!


Cheers mate, A guy in our club showed me a pic of it one day and I was hooked from then on.


Looking great but you seem to have welded up the holes that bolt the wiper motor down to the bulkhead.


Good spot Tommy, as per Steve below, I am moving the wiper motor


It's not easy, I'll tell you! I did it on my old evo 9, it took ages to do properly but was extremely worthwhile after! I always found it handy to buy an old loom from a rover, it will give you good lengths of similar colour and gauge wiring to extend the loom with.


Plenty of bed time reading me thinks before I take the plunge


I also welded up the wiring loom holes and the wiper motor holes as I will be modifying my wiper motor to fit inside the dashboard along with the washer bottle and fuse box.


There's a reason why they're closed up  =]


Good spot Jared :proud:


Edited by bluemini17, 22 December 2014 - 05:49 PM.


#57 bluemini17

bluemini17

    Mini Mad

  • Members
  • PipPipPipPip
  • 158 posts
  • Location: Bangor

Posted 02 November 2014 - 06:23 PM

Got a bit more done today.


The bulkhead of the mini was rotten so I had to cut and patch it a couple of months ago. This left me with no bonnet hinge mounts >_< 
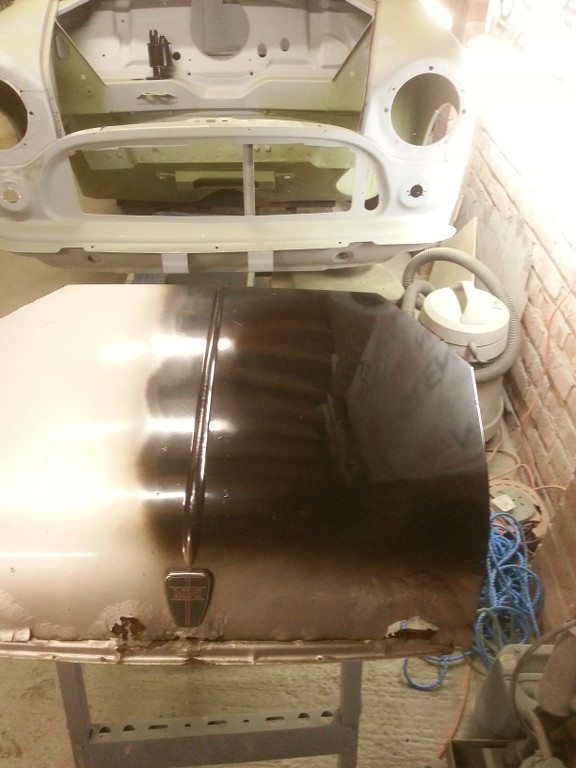
so instead of faffing around with trying to align new ones in etc  I made the decision to got the bonnet pin route. This was further enforced when I saw some cool studs being used by another forum member - Petrol - click me


I was hooked and bought some from ebay seller d.g.motorsport - click me


xUVzkq.jpg


Ks73LZ.jpg


To fit them I made some triangles with an edge - once again similar to what Petrol had done. I turned the shell upside down and welded them in


QnPJ8O.jpg


4zbyBp.jpg


ivM7Qz.jpg


PC54vo.jpg


VbxCtL.jpg


Thats todays antics over with, stay tuned for more mini fun !


#58 Jared Mk3

Jared Mk3

    Has a small thing but it does make a difference

  • Members
  • PipPipPipPipPipPipPipPip
  • 1,974 posts
  • Location: Kokstad, South Africa
  • Local Club: MOCKZN

Posted 02 November 2014 - 06:40 PM

I do like those bonnet pins/buttons.


#59 bluemini17

bluemini17

    Mini Mad

  • Members
  • PipPipPipPip
  • 158 posts
  • Location: Bangor

Posted 22 December 2014 - 06:18 PM

Merry Christmas all,


Time for an early Christmas present, PICTURES :lol:


Plenty has been happening in the man cave, once again I forgot to take pictures but I did manage to take a few pics of some stages.


Previous post was the fitting of the bonnet.


I then moved onto preparing the body for block sanding. This meant taking ALL the paint off the car, why oh why did I do a check roof?


ahGDnM.jpg


cFZ6PJ.jpg


With the roof paint free I then addressed any low spots by adding filler. once done I then hit it with some etch primer and then a few coats of high build primer.


GrjDXi.jpg


tnwmSl.jpg


ZzLYTo.jpg


0Tol6l.jpg


dBtKyP.jpg


bxMKD3.jpg


KO88Y5.jpg


I then hit it with some guide coat and started the slow process of leveling the roof.


Ro4f9w.jpg


9nV4r0.jpg


I also gave the bonnet and the wings a good few coats of primer


FBVM7O.jpg


L9qbCL.jpg


I then cracked open the celly and sprayed some of the components I prepped a while ago.


S9LVUF.jpg


ehXzEC.jpg


cONh90.jpg


I also sprayed the old bonnet for a bit of fun. Not bad results considering I literally just picked it up from outside and painted it with zero prep.


b2mrvh.jpg


Y7amGg.jpg


gfpCR3.jpg


#60 bluemini17

bluemini17

    Mini Mad

  • Members
  • PipPipPipPip
  • 158 posts
  • Location: Bangor

Posted 22 December 2014 - 06:28 PM

I then turned my attention to the inside of the car, after some rubbing down I gave her the first taste of colour O_O TDzZOf.jpg


ZDUtFe.jpg


NXidbg.jpg


d7NPpc.jpg


ZB8VVV.jpg


I also did the engine bay.


0GjPMU.jpg


Ec4fmY.jpg


I then did the underside of the car and fitted the brake and fuel line. Battery cable will be inside the roof channel. Dam it looks good :gimme:


1LXZ3a.jpg


NvKp3d.jpg


ZVsJgj.jpg


nNf5nf.jpg


Rear subby fully re built and bolted in.


9Rvsei.jpg


I then started the task of block sanding the car, she wasnt as level as i first thought, I hit bare metal a few times :X  
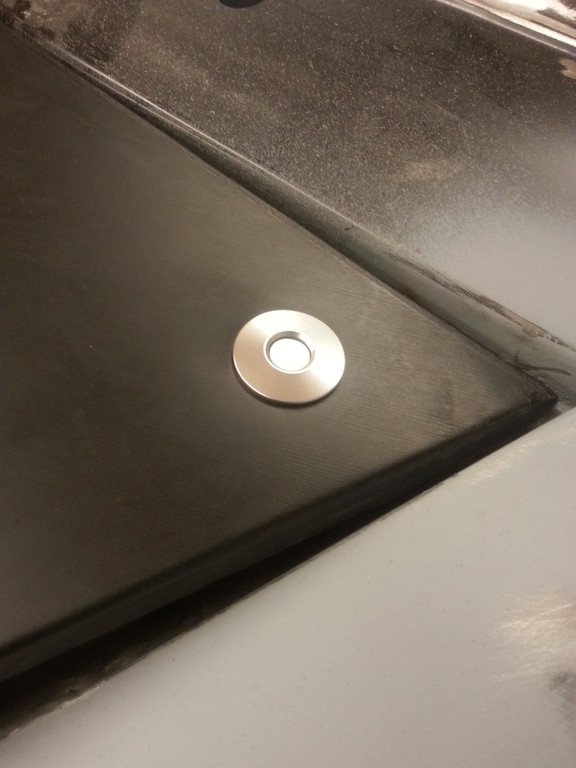
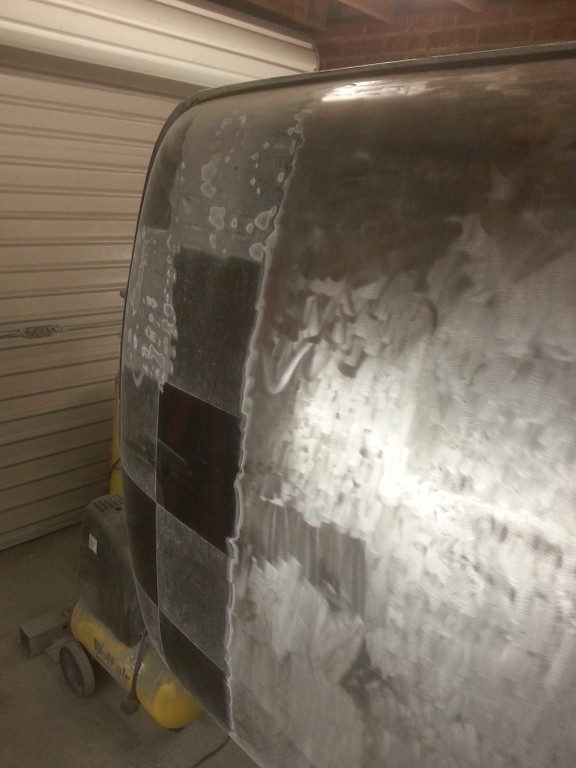
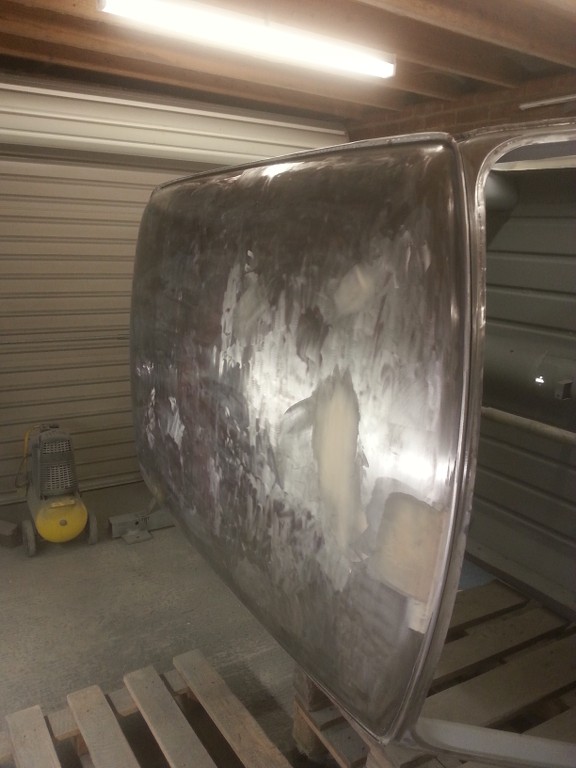
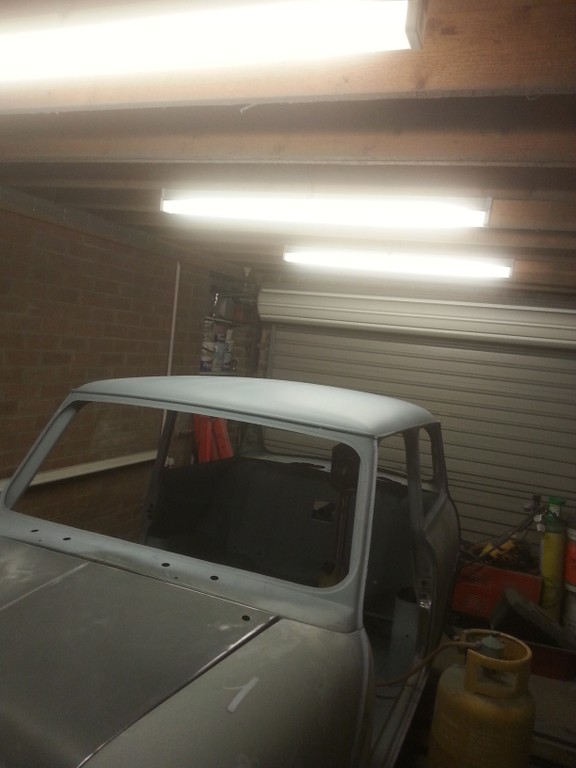
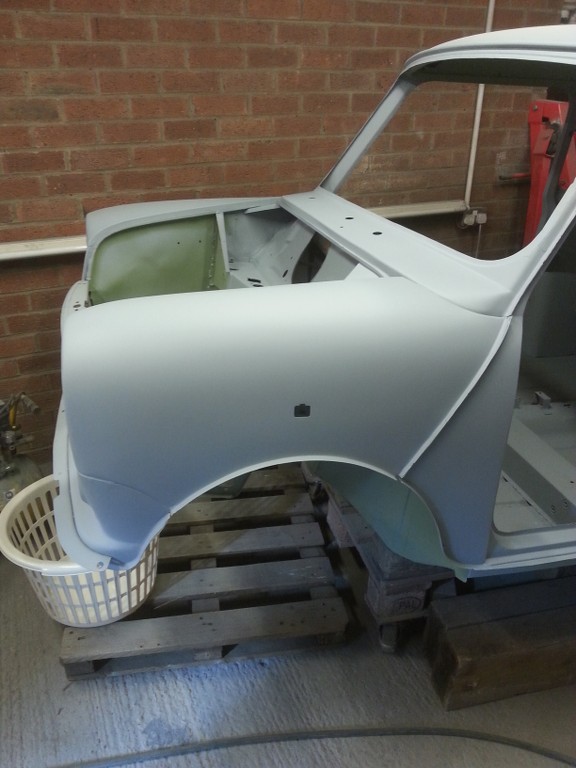
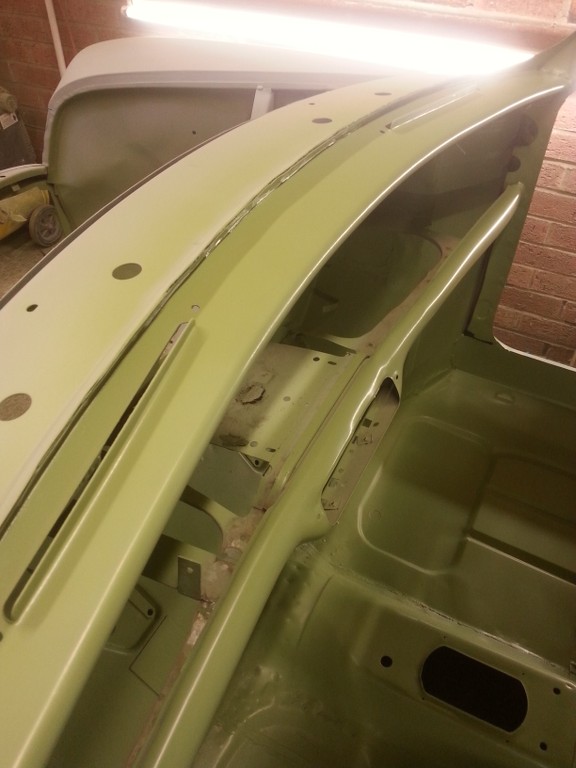
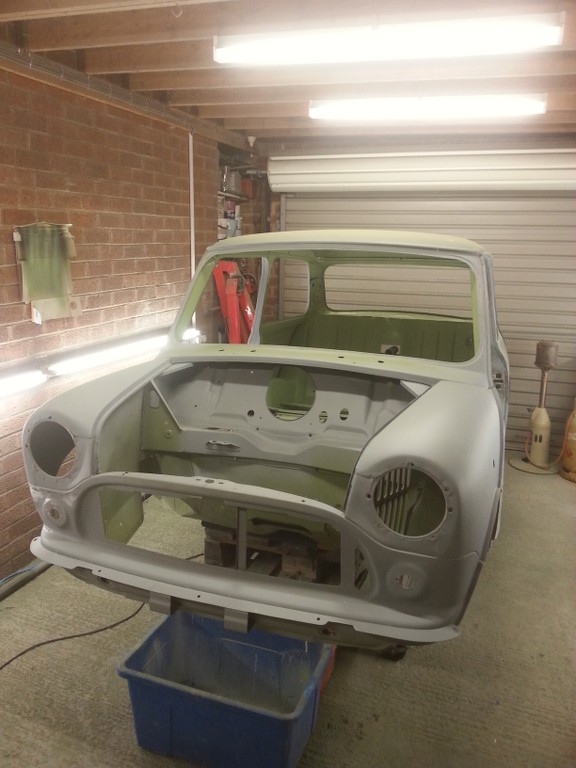
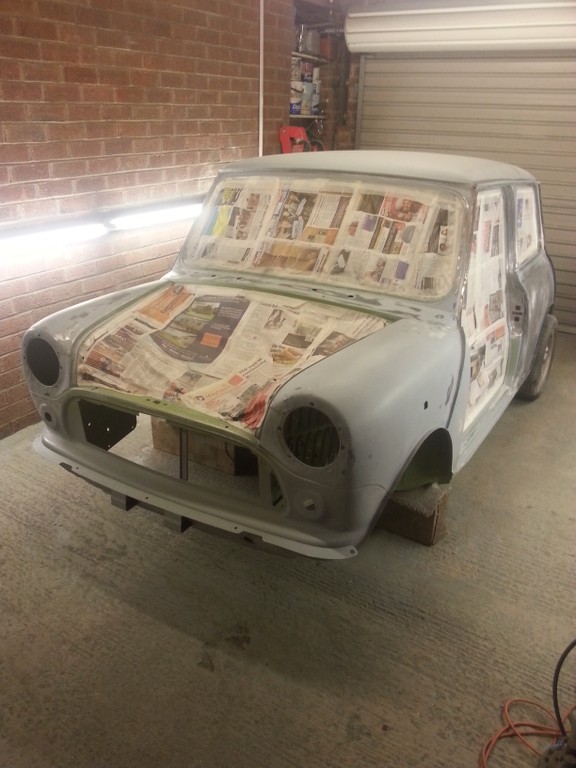
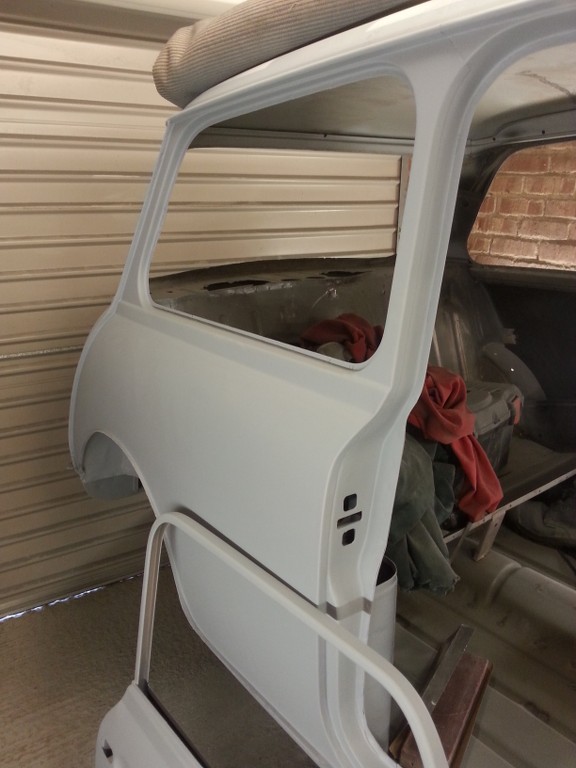
she is all ready for her final coat of etch primer then its time to lay down the coats of primer.


9IFB7S.jpg


7qcfxo.jpg


IetBtF.jpg


8dJTzG.jpg


7XzwKk.jpg


cUAzbp.jpg


Ij3nxB.jpg


nrDz7E.jpg


qoYhat.jpg


qsfJg3.jpg


Keep on rolling everyone and a Merry Christmas to all ! :kiss:


0 user(s) are reading this topic

0 members, 0 guests, 0 anonymous users