Ac Dodd Fast Road Engine Build
#31

Posted 13 January 2017 - 11:37 PM
#32

Posted 27 February 2017 - 12:14 PM
Thought it was time I put a quick update on as its been a while and I have a bit of spare time at work.
So the next stage was the dry build with the block ready to go but I will try and write this up tonight so for now just a few bits after.
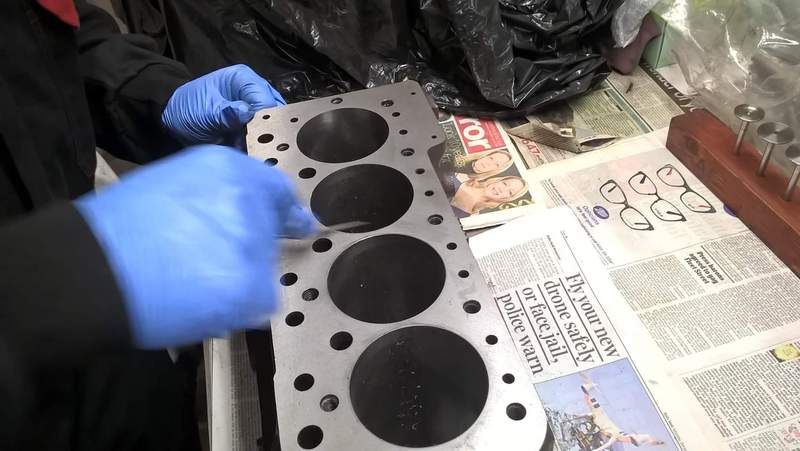
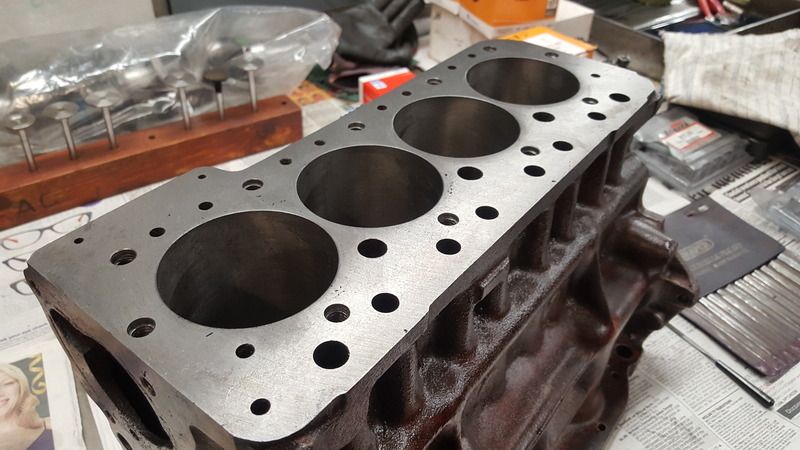
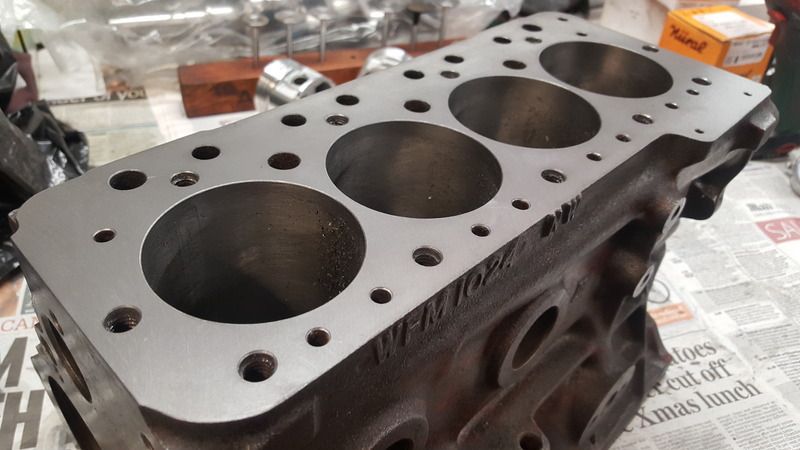
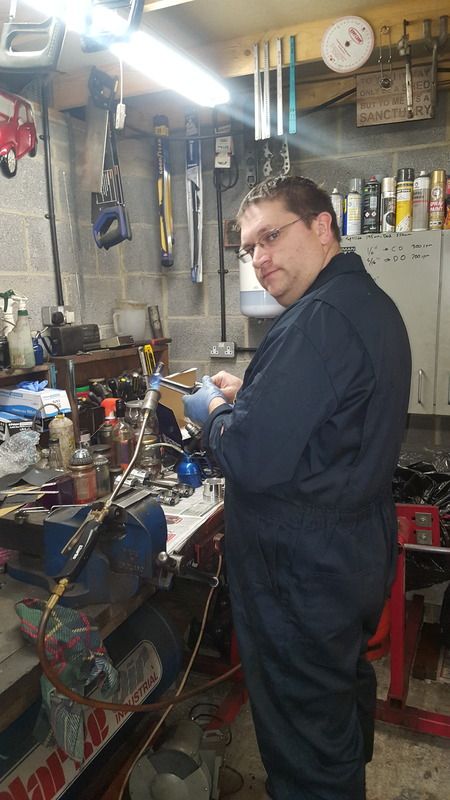
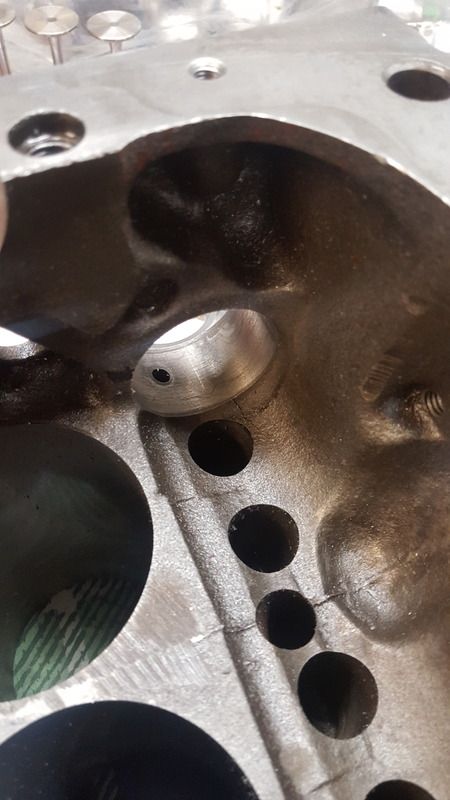
With everything measured the block could be skimmed ready for detailing. As skimming the block left sharp edges on the boars and oil water passages ect a small file and countersink was used to tidy these up ensuring a 45 to 60 degree angle was used:
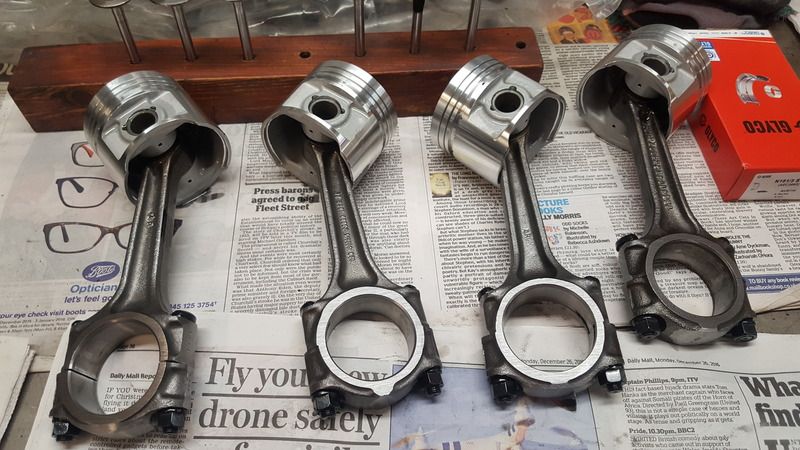
Once that was done Ac fitted the pistons to the rods:
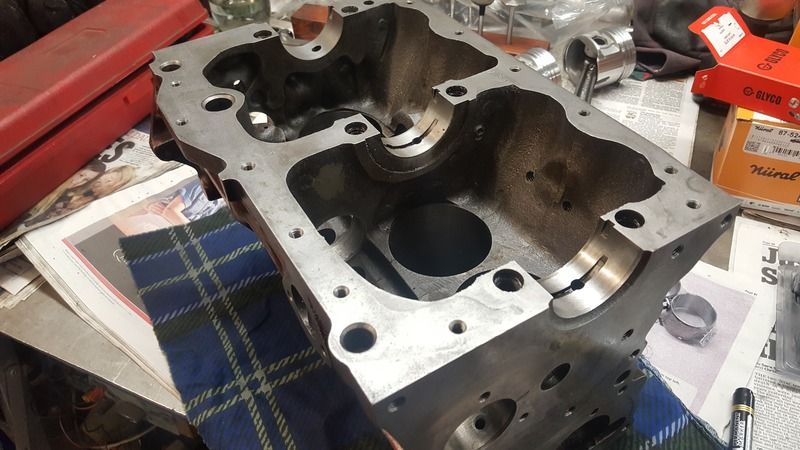
With that out of the way the block was ready to have its new cam bearings fitted. First the block was turned over ensuring the surface was clean to prevent damage to the face and then all the cam bearing journals were cleaned with brake cleaner:
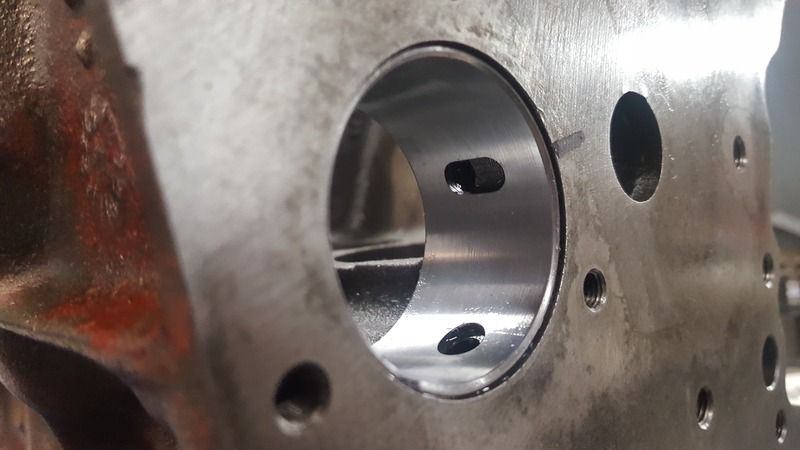
The bearings were first marked on the outside where the oil holes are and also on the block to aid fitting in the correct position:
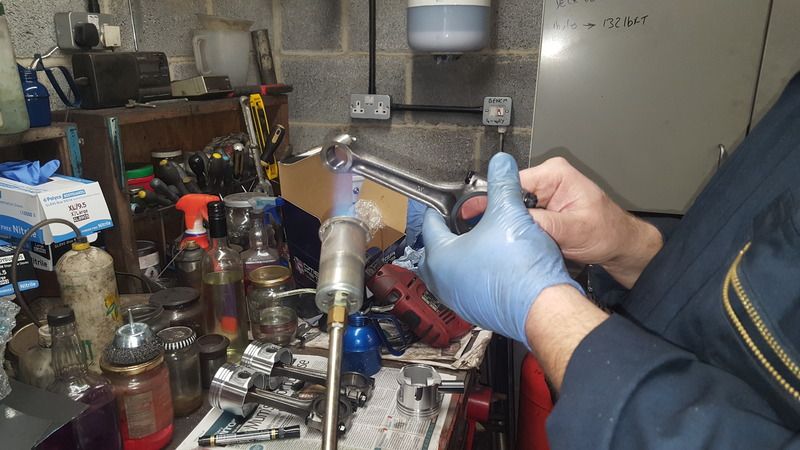
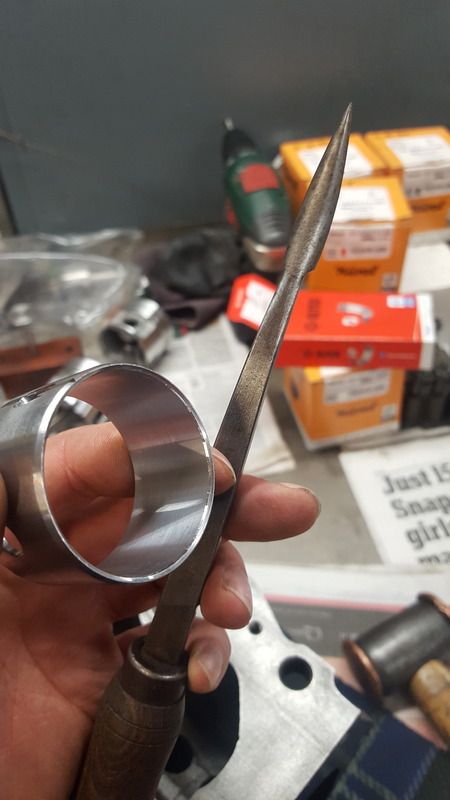
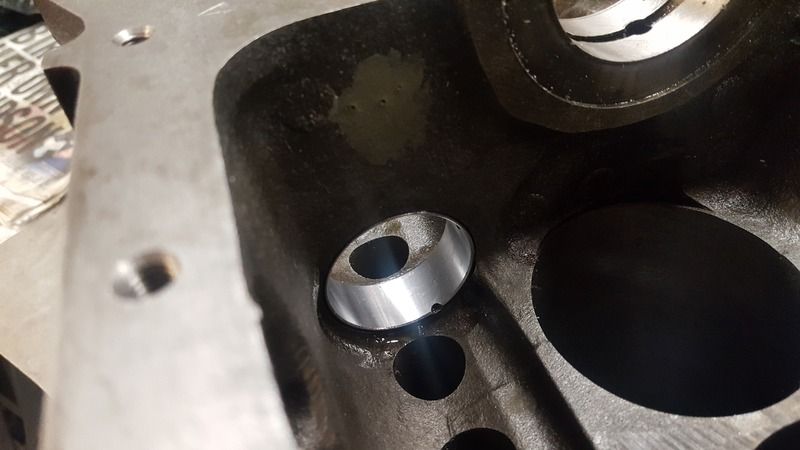
The first bearing to be fitted was on the timing chain end followed by the centre bearing and lastly the oil pump end. Each time the small notch faces the outside of the block so timing end and centre notches to that end and oil pump end facing towards the pump. The bearings first need a chamfer put in them on the side the installation tool will drive against to prevent a burr during installation using a bearing scraper:
Then after oiling the bearing and journal they can be fitted:
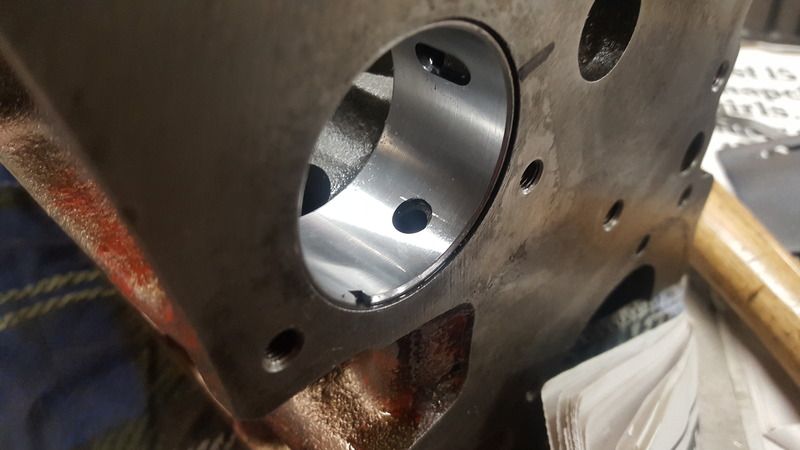
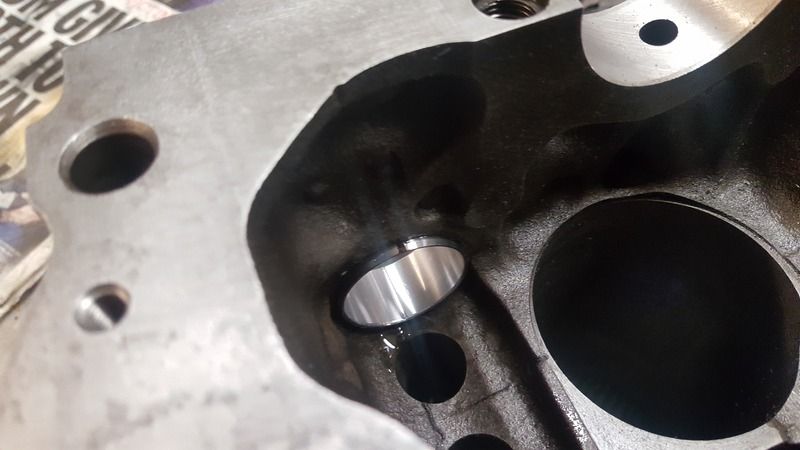
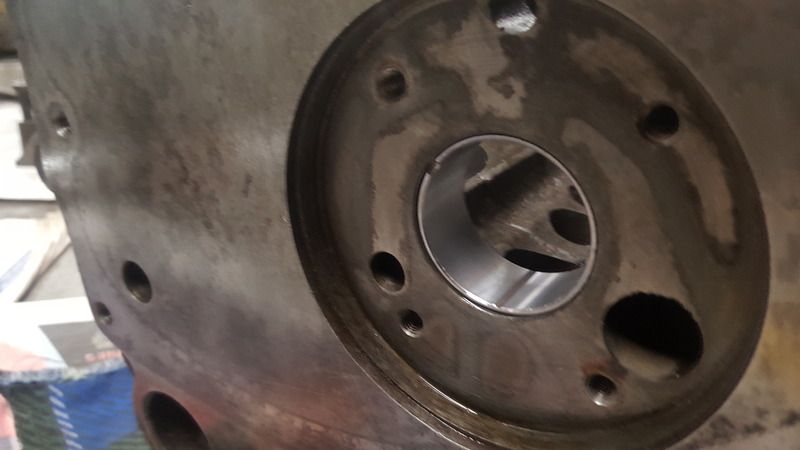
Each bearing needs to be driven in until they are in the correct position ensuring all oil holes line up. When fitting the final bearing at the oil pump end the tool must be covered with something like blue roll to ensure the other two bearings are not damaged.
Bearings fitted:
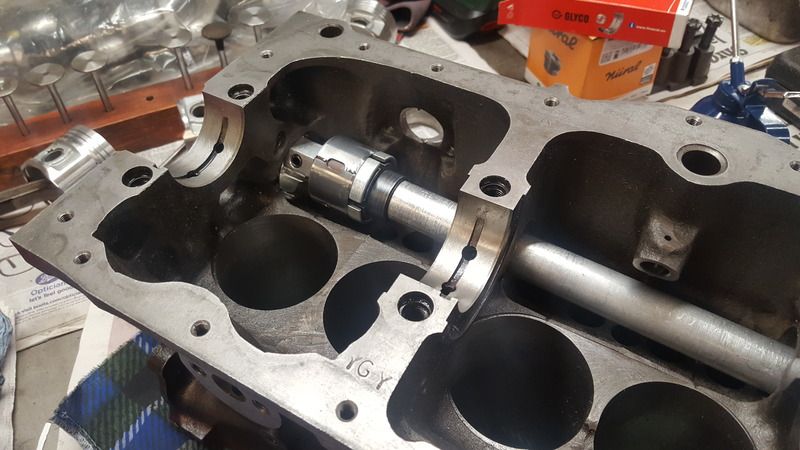
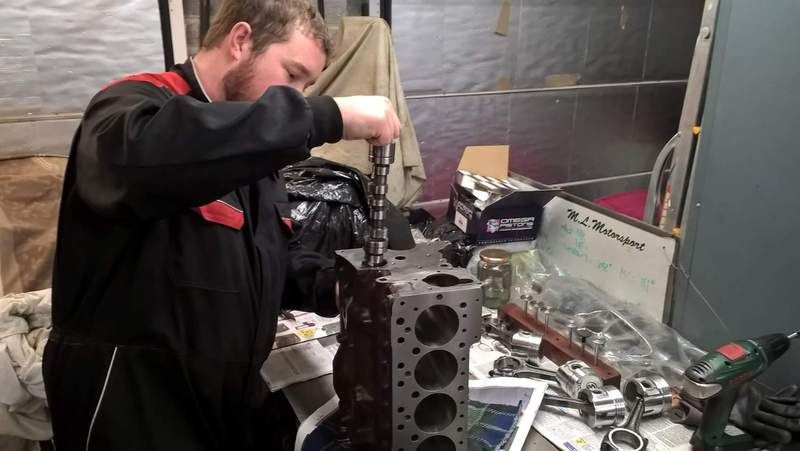
A cam shaft could then be trial fitted to check the fit:
This was a good fit but a final check will be made with my cam shaft as the engine is built up in case there are any areas that need a small shave to ensure smooth running
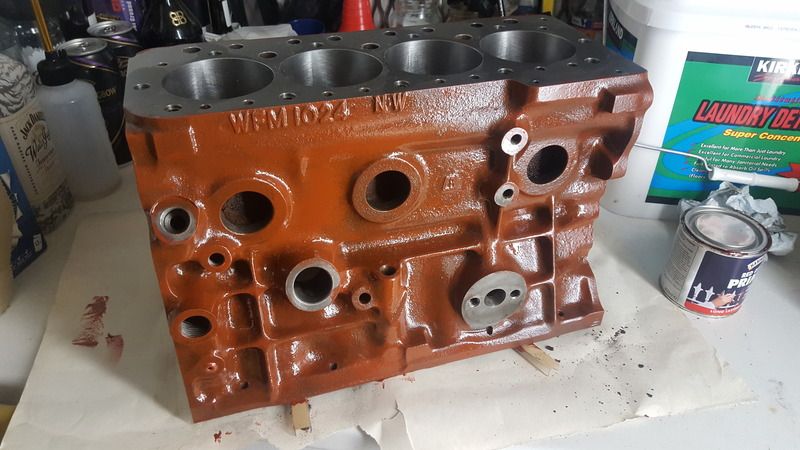
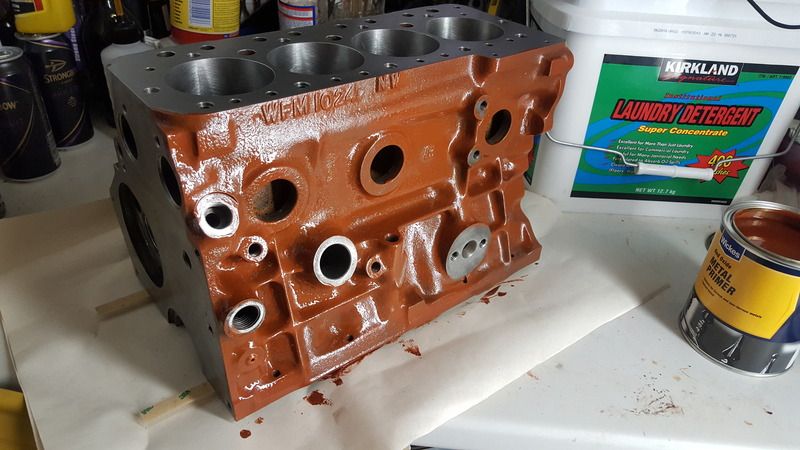
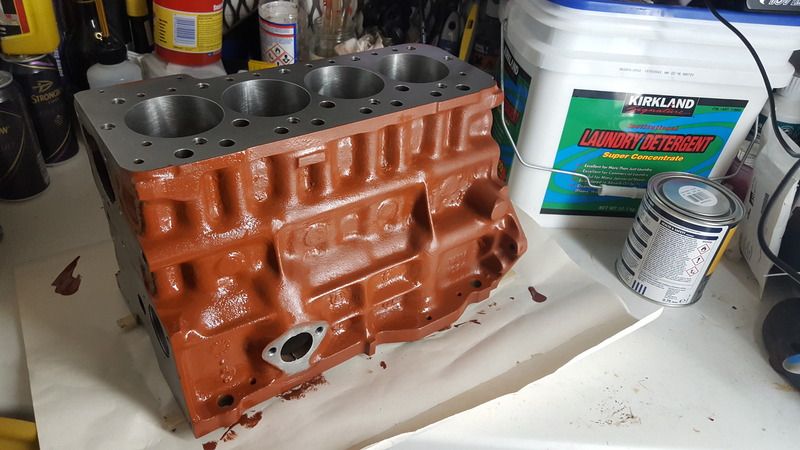
With the block now ready for a thorougher clean and paint I took it home to carry it out. After washing out the block with plenty of paraffin and brake cleaner it got a coat of red oxide primer:
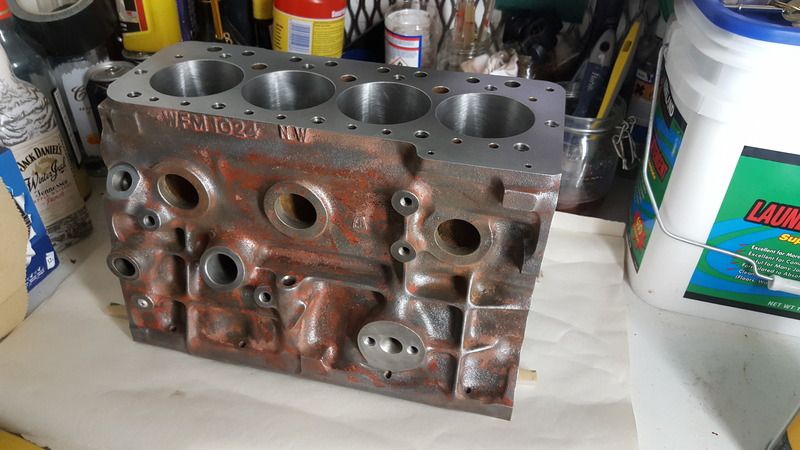
Unfortunately once this was dry some of it had reacted in a few places not sure if this was due to it being quite cold, some oil remaining or just the the hammerite paint was rubbish so i decided to clean it all off with a wire brush and start again. So after lots more dirt being created the block was washed and scrubbed with paraffin and then a couple of litres of brake cleaner. Then a little while before painting i gave it another wash with yet more brake cleaner and left it for a while before painting:
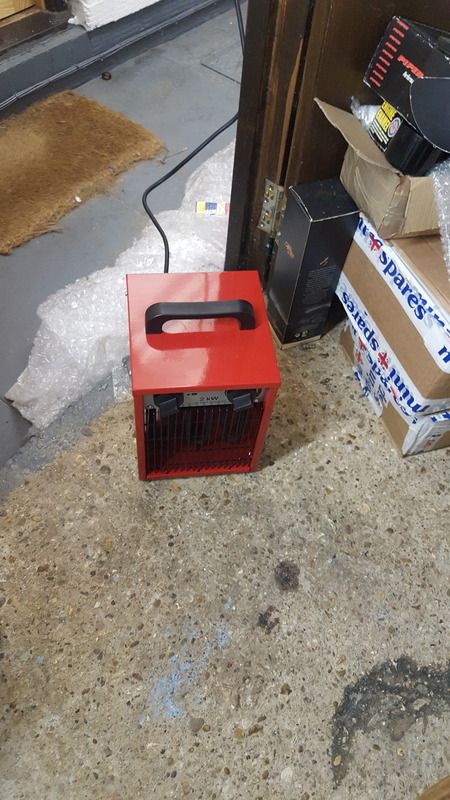
Also invested in a small fan heater to warm up the work area:
With all this and buying some different red oxide the block is now primed ready for its final colour:
#33

Posted 08 March 2017 - 10:43 PM
#34

Posted 09 March 2017 - 03:39 PM
Thanks for the comments cleaning the gearbox case is a right pain with all the little nooks you need to scrub to get all the old oil and crap off but it is worth it and necessary in the end to get a good looking and functioning part that will last.
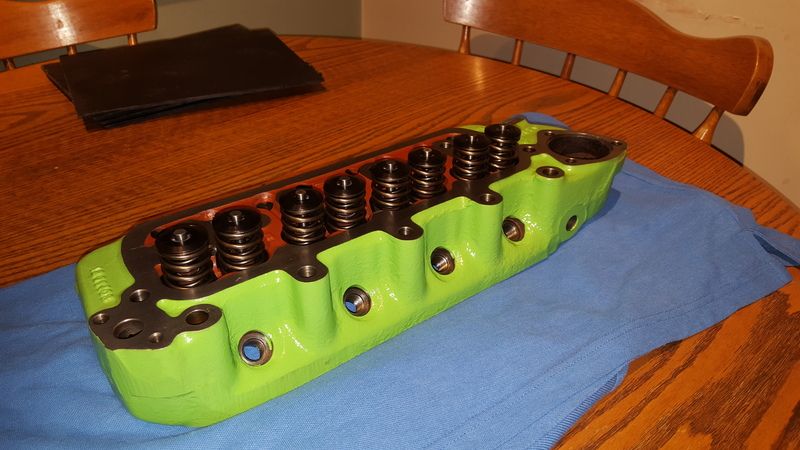
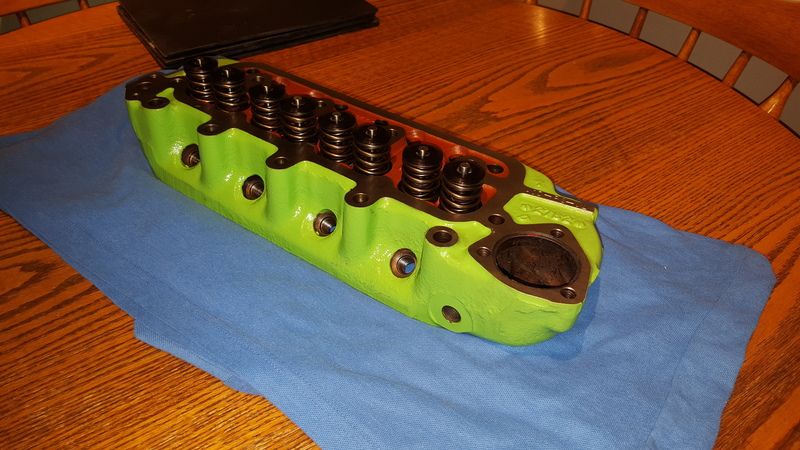
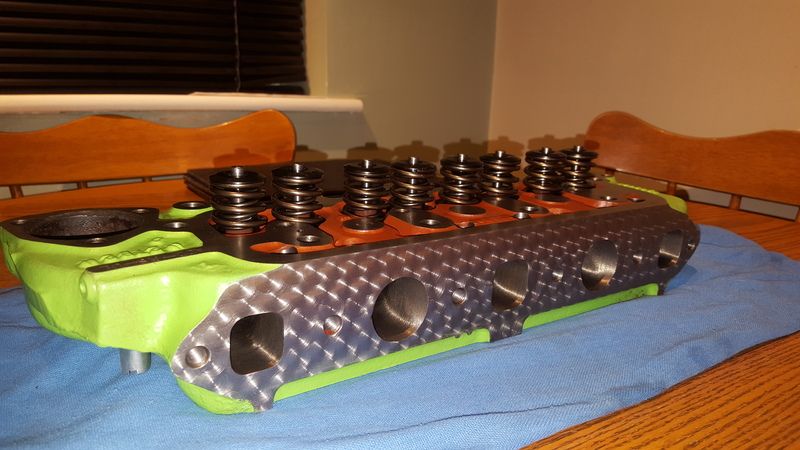
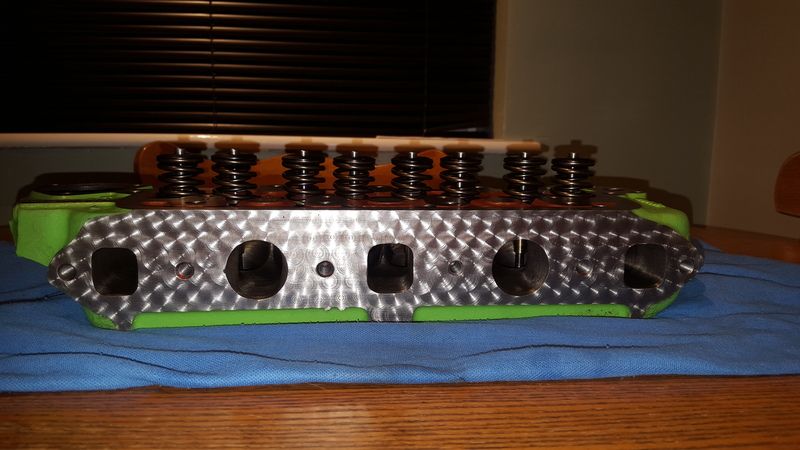
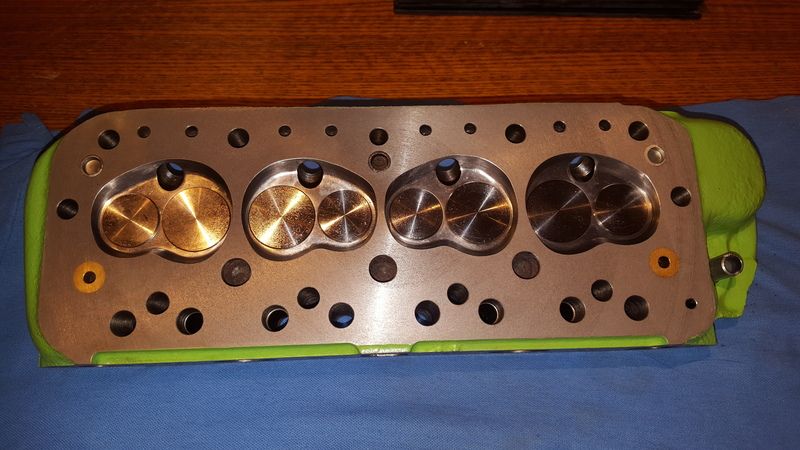
While I was in the finishing stages of the gear box and deciding on the next part to get onto I decided that I would have AC do all of the work to the head so in between engine clubs I dropped it down to him and got back the finished head below (you can see the full spec of the head at the start of this build), If you are friends with AC on Facebook them I'm sure you would of seen progress pictures of it as the work progressed:
CAR PORN!!!
Too nice to hide under a bonnet. Centre piece for the kitchen table?
#35

Posted 09 March 2017 - 07:30 PM
Edited by djdanmk, 02 July 2017 - 10:24 PM.
#36

Posted 19 December 2017 - 04:03 AM
Reviving an old thread, I have a comment regarding the rod balancing, I would say the way presented here is probably better than nothing, but the way I've always done it is more like this: http://www.angelfire...RodBalance.html . The setup in the link is maybe a little extravagant but the concept of balancing each of the small and big ends of each rod independently is important since one end is going in circles while the other is reciprocating. This way your up and down and round and round forces are better equalized to cancel each other.
#37

Posted 22 December 2017 - 02:03 PM
Ac
#38

Posted 22 December 2017 - 03:11 PM
I assume you're referring to the ridiculous added mass on the wrong end (near the throws) that is removed in the wedging mod? What was BL thinking?
#39

Posted 16 January 2018 - 08:35 PM
Ac
#40

Posted 16 January 2018 - 11:44 PM
Thanks AC, that makes sense, inertia being square of the velocity. 6k RPM vs 8k is like 36 vs. 64.
#41

Posted 15 May 2018 - 01:08 PM
What happened to this thread? It looked really interesting and would love to see it to finality.
#42

Posted 13 June 2018 - 08:42 PM
#43

Posted 14 June 2018 - 03:40 PM
I'm still building the engine I just haven't got round to do an update for ages really need to find the time to do it.
Sound a bit like me - taking ages or procrastination ![]()
#44

Posted 04 June 2023 - 04:48 PM
I'm still building the engine I just haven't got round to do an update for ages really need to find the time to do it.
Sound a bit like me - taking ages or procrastination
I like to take my time, when procrastinating.
1 user(s) are reading this topic
0 members, 1 guests, 0 anonymous users


