Hopefully this thread is not opening up a can or worms. I know many of you guys have your own way of doing or having done these tasks and I’ve of little doubt that what you guys do works for you. I also know that there are some Professional Engine Builders here who may chip in with their 2c (2p?) worth.
I am not an expert, I’m still learning like the next guy, however I did over a period well over 15 years while earning a living repairing Minis and Mokes, recondition many engines in that time, including some competition engines. Although I no longer earn a living doing this stuff, I am still actively doing it most days! So this is from some of my own experiences .
I don’t do my own machining in house, however I have been blessed in recent years to have full access to an engine machine shop and so when time permits, I do my own machining there or when it doesn’t, I give the guys very specific instructions on what I want done.
I’ve started this thread after receiving a PM from a member here regarding having an engine bored, after doing a few searches, it seems that this info isn’t on the forum, so apologies in advance if this has already been discussed elsewhere.
Before getting in to this, there a couple of points I’d like to say that I feel shouldn’t be forgotten, I guess kind of Philosophical Points if you like;-
- If the Machining done isn’t up to scratch (or just plain poor), then there is no part in the world that you can screw on to your engine to correct or over come this. Think of the machining as a foundation of a building, if the foundations are crook, then the building will never be right. The foundations – machining – has to be right before starting to assemble.
- I have read on many pages of this forum that a lot of you guys have or would like Performance Engines. It’s a bit of a backward step to plan to build a performance engine, spend bucket loads of cash on go faster parts if the machining isn’t up to scratch which robs performance.
If you are intending on building your engine up yourself, then it is up to you to check what the machine shop has done, don’t expect them to compensate you for a ruined engine after it’s assembled. An example of this is say the Spot Facings on the Con Rods for the bolts or nuts, if these are ‘off’ it can cause a pretty catastrophic and expensive failure. It’s up to you to check that these are right, don’t expect the machine shop to pay for your written off engine, all that they are really liable for is to correct that spot facing.
While what the machine shop does is largely out of your hands and control, you do need to check their work.
I don’t think I could cover every aspect here, but hopefully cover some points that maybe helpful.
So, before taking the block and other parts up to the machine shop, I spend a fair bit of time checking them over, mostly checking all the threads but just looking for anything out of the ordinary (that may need special attention or even stuff like damaged threads etc.
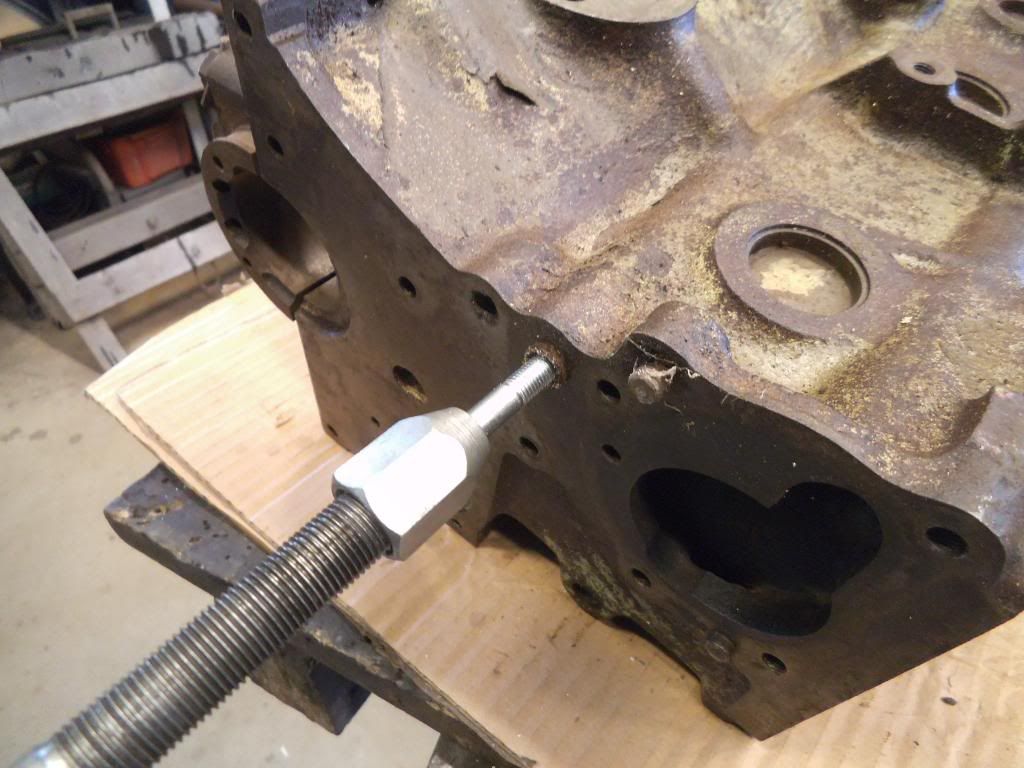
I pull all the Oil Way Plugs and also the Welsh (or Freeze) Plugs, remove all the dowels.
First up I have the cast parts hot then cold tanked. These are an Alkline bath (hot) to remove much of the grease, oil, paint and crap from them, then the Acid bath (cold) to remove rust. Sometimes they need a follow up in the Hot tank to neutralize the Acid, but this is usually only when the part was particularly rust. Very important step I feel to not only get the bits clean, but also tick one box (of many) to stop over heating. They say that a ½” rust layer has the same heat conductivity as 8” of steel plate.
Jumping ahead here a bit, despite this cleaning process, you will need to carry out a fine clean and inspection in your own workshop, preferably just prior to starting to assemble.
Now, depending on what equipment the machine shop has usually decides what step is next.
OK, now a bit more on some of the bits I’ve learnt about these blocks. From the factory, the general machining and geometry of the blocks isn’t great to down right woeful. For example, I am yet to find a block, from the factory that actually has the deck parallel to the Crankshaft Centre Line. Sadly, even an alarming number of (supposedly) reconditioned engines I’ve pulled down were no better.
Before Boring, the Crank Tunnels should be checked to ensure that that don’t require rework (line boring etc) and that they are actually lined up. These are usually pretty damn good from what I’ve found, but I also have had a few that have been out. This should be sorted before moving on.
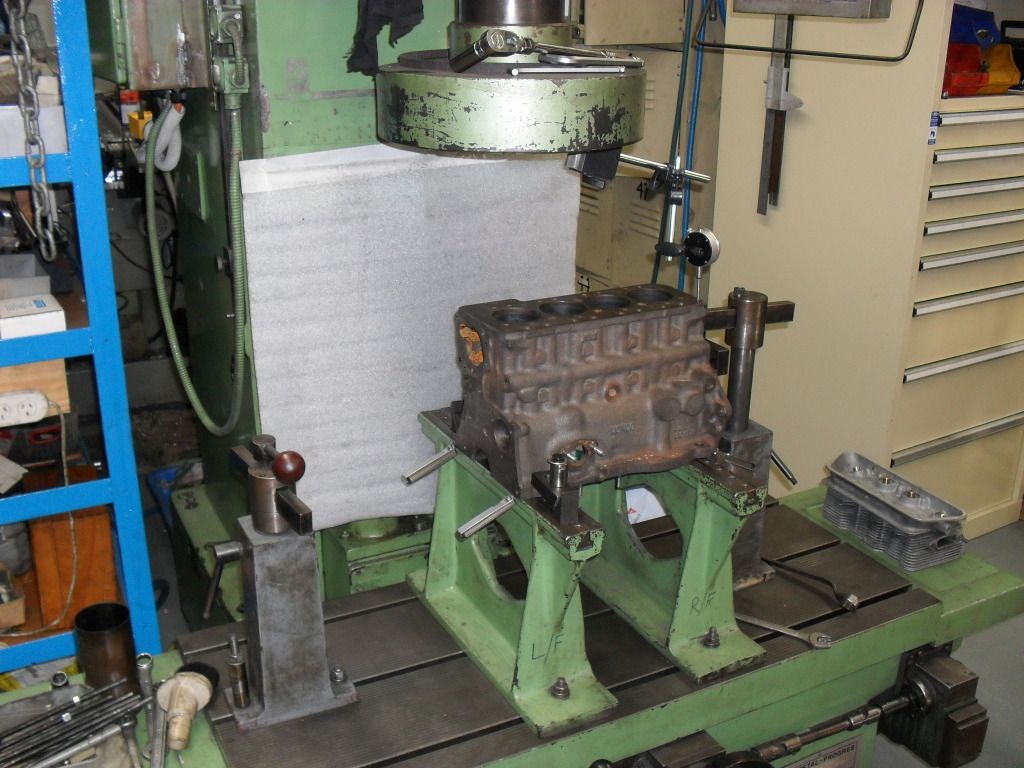
If a portable boring bar is used for the boring process, then the deck has to be machined first. The Portable Boring bar references off the Deck of the Block, so if (as mentioned above) the deck is off, then the bores will also be off. Dunno about you, but I always thought the pistons and rids should only go up and down, not sideways as well! So a must do is to deck the block, referenced off the Crankshaft Centre Line, then we do have a hope of getting the bore perpendicular to the Crank. Portable Boring Bars can give (from what I’ve found) very good results, but only if set up right in the first place.
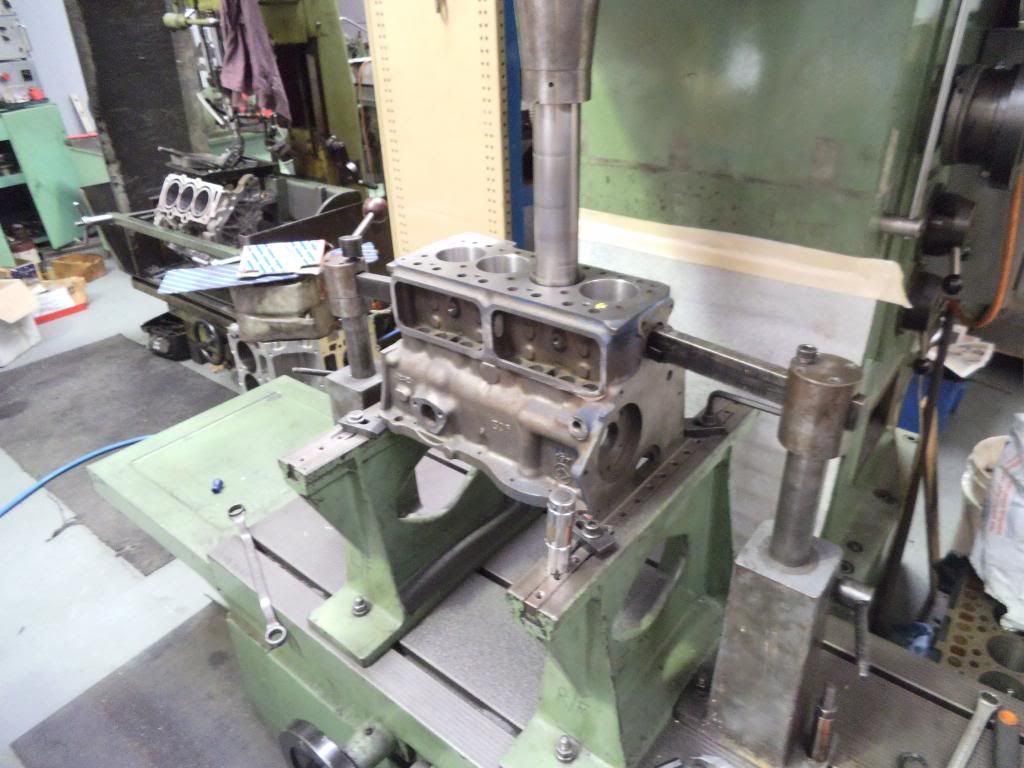
If the shop has a Boring Machine for the process, then the block should be clocked up from the Crank Tunnels when mounted in to the machine, this can be done several ways, some by using a ground dummy bar which the block tunnels ‘sit’ on or by feeler gauges under the sump rails
In nearly all cases, the block can be bored in a single pass. Now many guys have their own ideas and experiences as to how much should be bored and how much should be left for Honing. I always insist that no less than 2 thousands be left for Hone and preferably 3 thousands, however while up to 4 and 5 thousands can be honed, it does make it considerably harder and more work for the guy driving the Honing machine to keep the bores in shape, particularly parallel from top to bottom.
While the Block is in the Boring machine, it is Decked, usually only to clean up the deck, but sometimes to also bring the deck down.
Following Boring, the ‘real’ work begins with Honing.
So, it has been asked of me, why do Hone the Bores?
Good question.
They are Honed for a few reasons (that I am aware of);-
- To remove the rough finish from Boring. No matter how good the Boring Machine, the cutting tips and fed rate, the finished that is left is far to course for rings and piston to run in and get any respectable life from, it will grind them away in no time.
- To very accurately size the Bores.
- To give a desired and compatible finish in the Bores. This is quite important for engine life as well as performance.
Before Honing, I measure each piston as there usually is small variations between each of them, just normal manufacturing tolerances. I measure them down to 0.0001” (1/10 of 1/1000”) and then write that on the Crown of each piston. I then size each bore (in the honing process) to a particular piston, numbering the pistons as I go.
The New Pistons have the minimum finished piston to bore clearance or maybe a range that should be aimed at. Where the minimum is stated, I tend to go a ‘tad’ over this. Now this measurement of a ‘tad’ I can’t say what it is as a number, it’s based on the brand of the piston, the block that’s they are being fitted to and the duty that the engine is going in to (high reving, low maintenance, potential hot running etc), so this ‘tad’ is only based on my own trial and error (learning!) experience as well as some info exchanged with other guys, but generally, it will be anything from +0.0003 to +0.0015” over that minimum. The piston to bore clearance I work from is that from the piston manufacturer, not that from BMC / Leyland / Rover.
I really don’t feel it’s possible to get a good job by dropping a block off for boring and ask them to ‘take it out +0.020”’ without the shop having the pistons to reference that back to, in fact, if they did want to take it on, I’d take my block elsewhere.
Usually I’d use 3 different grits of honing stones to carry out the honing. Starting with a courser stone, I take it back to within about 0.0005” of finished size, then I’ll use a finer stone generally as guided by the Piston Ring manufacturer to get it on size, then a couple of sweeps with a very fine stone to ‘knock the sharp tops off’ the finish.
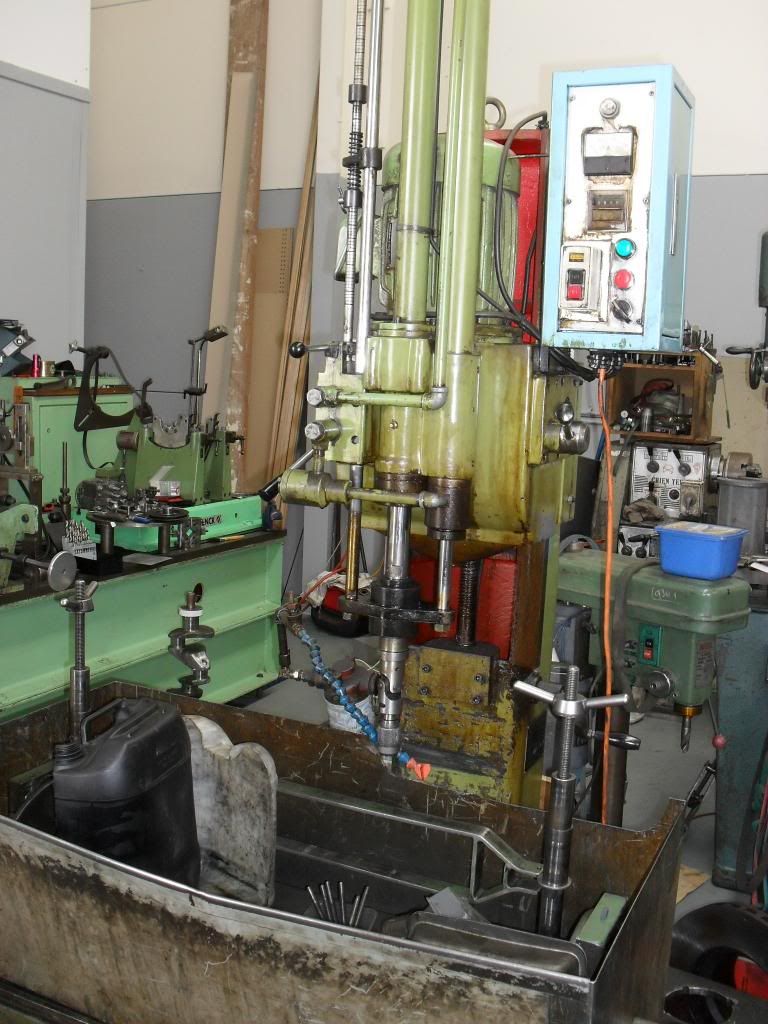
Now, in order to Hone a Block, having an understanding of what’s needed and why, I have always felt the only way to get that is with a proper Honing Machine fitted with a proper Honing Head, those 2 and 3 legged things you can get in the Auto Stores just have no chance in hell of trying to get there. It’s just never going to happen.
These machines not only rotate the Hone Head, but also oscillate the head up and down in time to it’s rotation in a fairly precise way, this is so that the finish that is left also has the correct ‘cross hatch’ pattern and angle, this something that is next to impossible to achieve by hand.
I’ve also heard some shops talk about Honing alternate Bores when Honing. This maybe necessary depending on the honing stone and finish. It is done sometimes, due to the heat that can be built up when Honing, however with most common honing processes the only reason heat is built is due to the stones being glazed and in need of a dressing, usually, while they are cutting, they hardly make any heat, however if (because of glazing) they are only rubbing, then they’ll heat up.
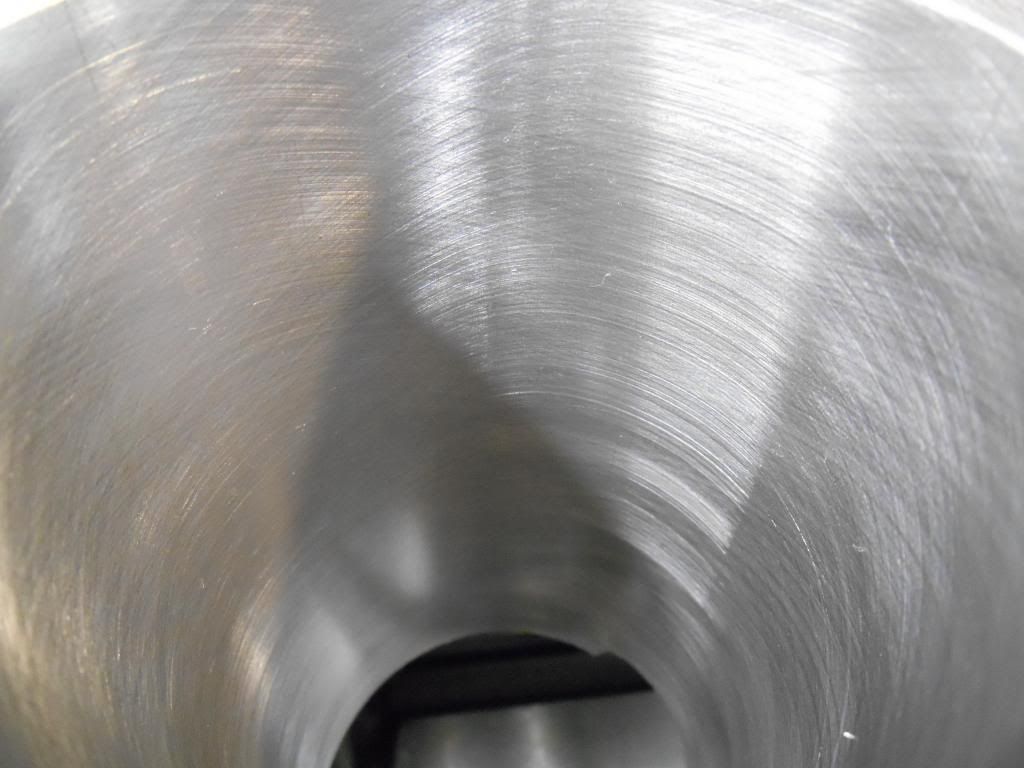
I mentioned above how much I like to leave in the Bores for Honing. I know some of the local shops around here try to get away with less than 0.002” for Honing (about 0.001” at a guess) and while at a glance, the job might look OK, a closer inspection shows otherwise
It maybe a little hard to see here as I'm no photographer however the boring machine tool 'marks' are left in the bore! It could be honed further to remove these, however it will then be well oversize.
Yes, this will run and work OK, put not nearly as well as it should or could. The expected life of this engine will also never be realized. Shame.
So, how much should one expect to pay for a Bore and Hone?
Well, I won’t talk about ‘standard charges’ or hourly rates and I’ve never ever asked any shop I’ve ever been to this. Personally, I’d rather they got all this stuff right – spot on in fact – and then bill me for it. Let’s face it, if the machine shop costs were say even as much as 50% higher to get it right, it could save you some heartache down the track, and the hard earned cash you’ve forked out for the rest of your parts have a better chance of working at their peak and for a longer period, ie, the foundations will be right and soild. You’ll usually also find that in the near to medium term, good money spent the right way early on will save money down the track.
So, it will cost what it will cost.
As I said way up the top, I’m not an expert, this is just some of my experience.
Anyways, I’ve probably waffled on too much already.


