Jump to content


Photo

Rustproofing - Do I Need To Drill?


Best Answer sonikk4 , 24 September 2015 - 08:05 PM


Brilliant! Thanks everyone.


Heres the other places you need to look for

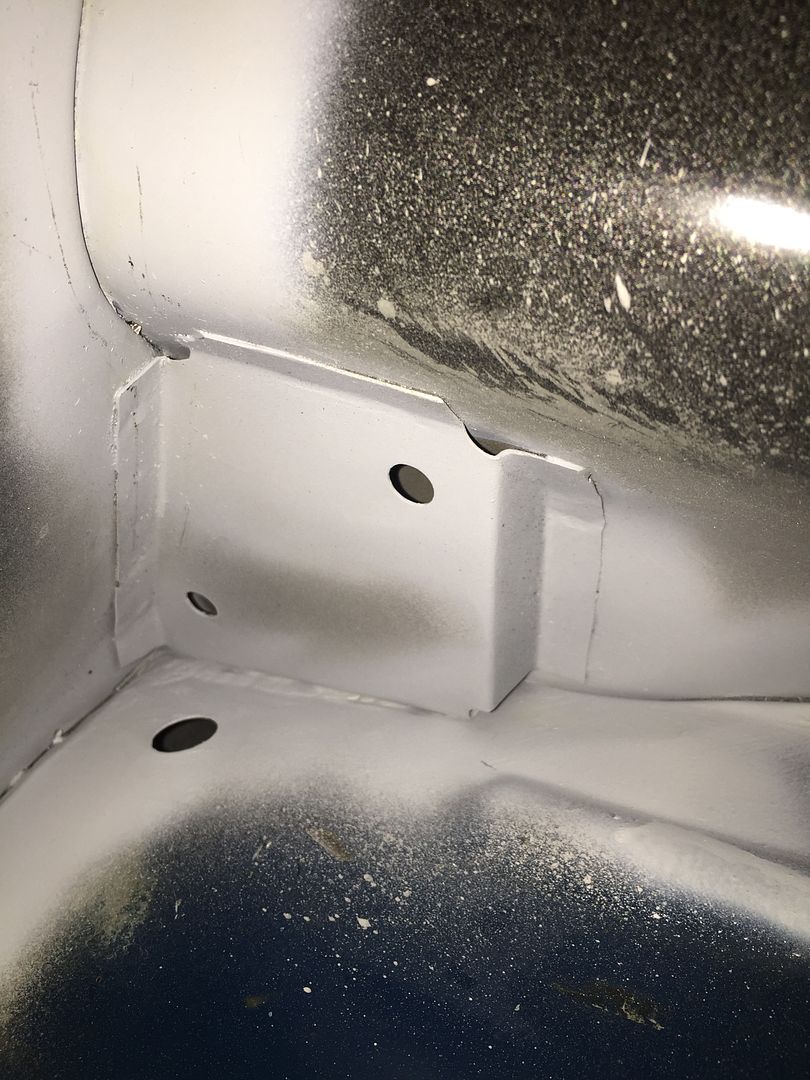
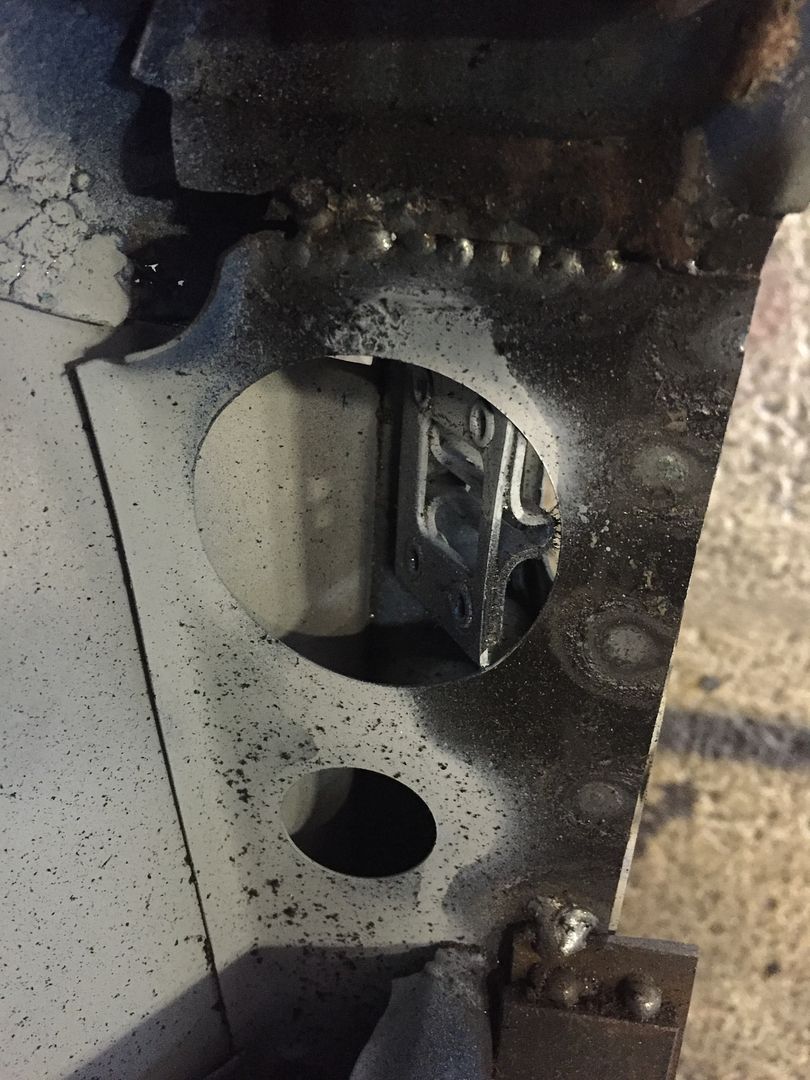
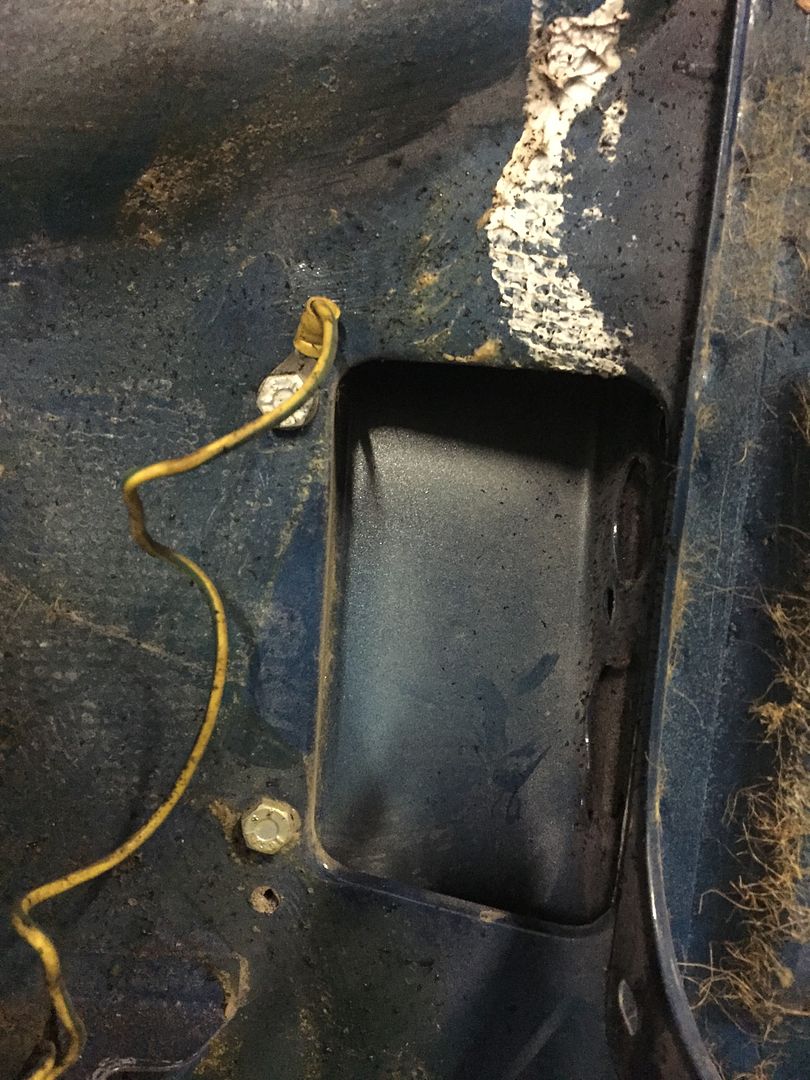
In the bottom left and right of the bulkhead in the boot (picture is not orientated properly for some reason)

IMG_4845_zps897ahcf1.jpg

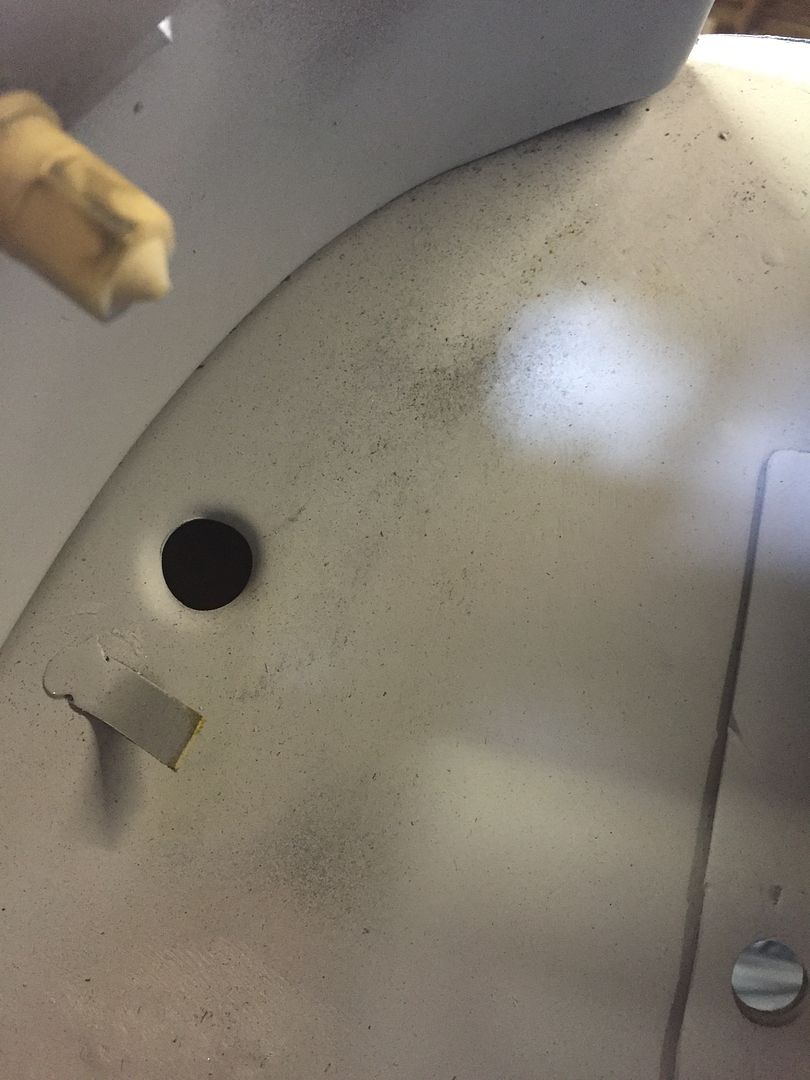
In the rear corner of the boot each side you will see this hole, this goes into the valance closeout

IMG_4844_zpszeoc7syc.jpg

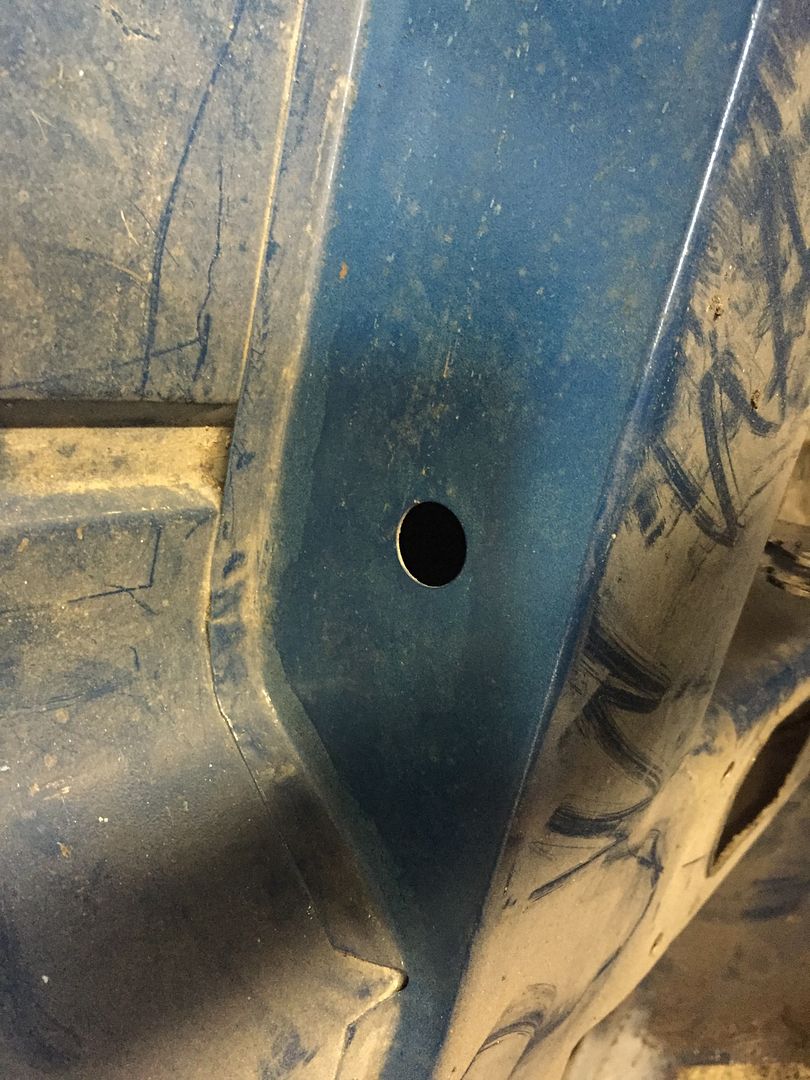
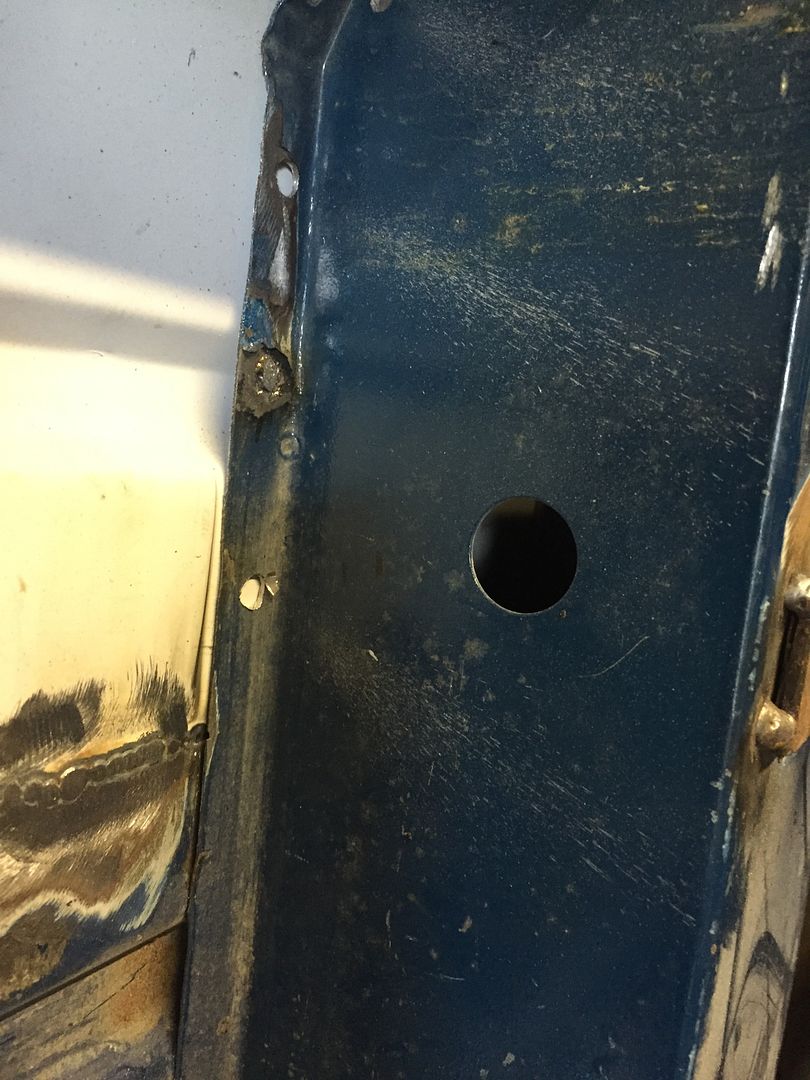
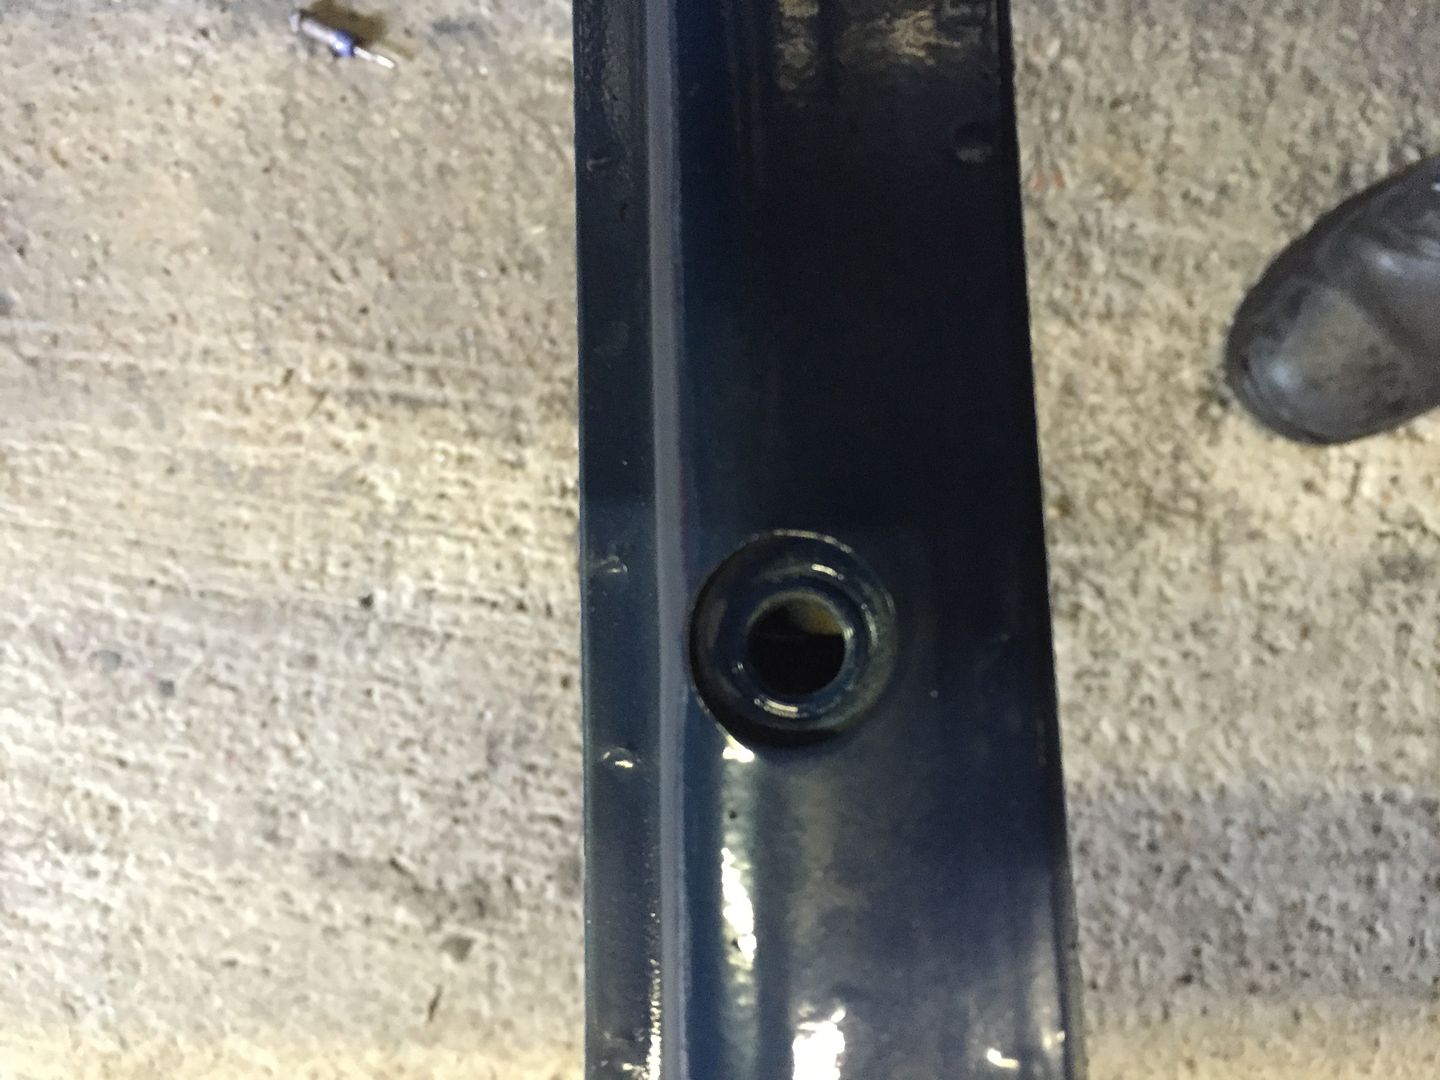
The floor crossmember has these holes in (picture is not orientated properly for some reason)

IMG_4847_zpsnrncnre5.jpg

IMG_4846_zps5iwh3uat.jpg


The A post has this aperture on the inside so ideal for access

IMG_4838_zpszhurwikf.jpg

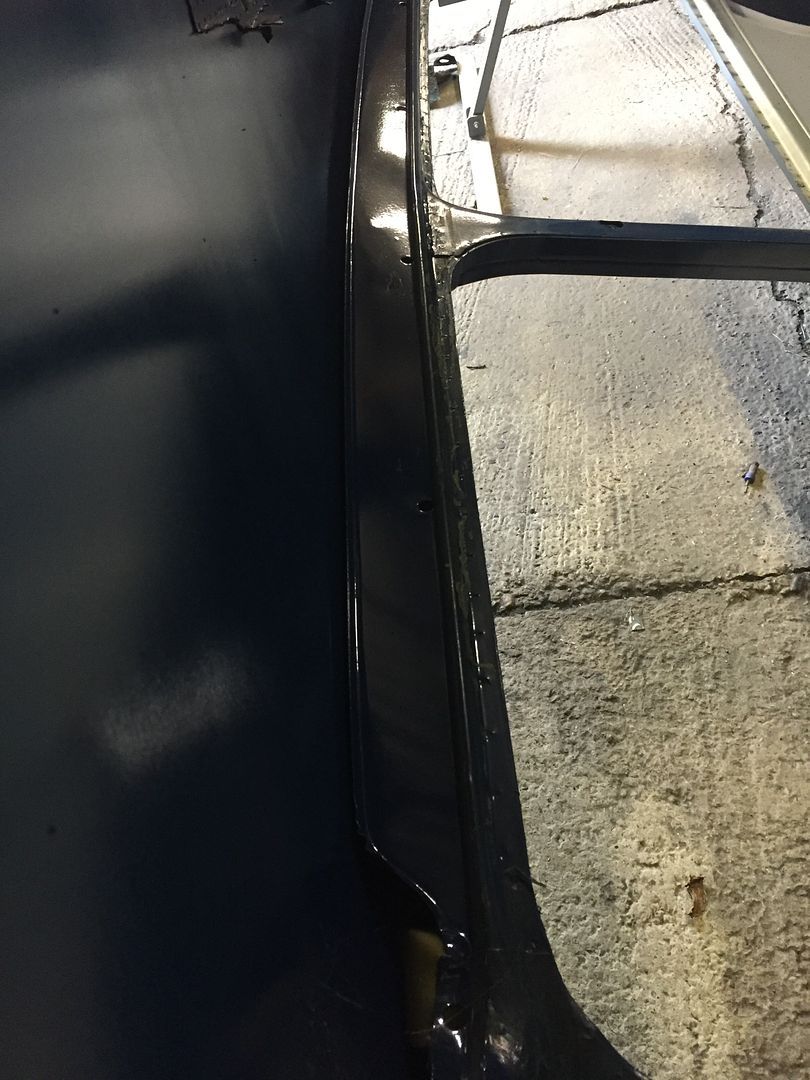
The roof has this channel easily accessible with the lining off

IMG_4839_zpsaopopvvi.jpg

The B post has these points

IMG_4842_zpsqhuqtty2.jpg

IMG_4843_zpsqe1r75cu.jpg


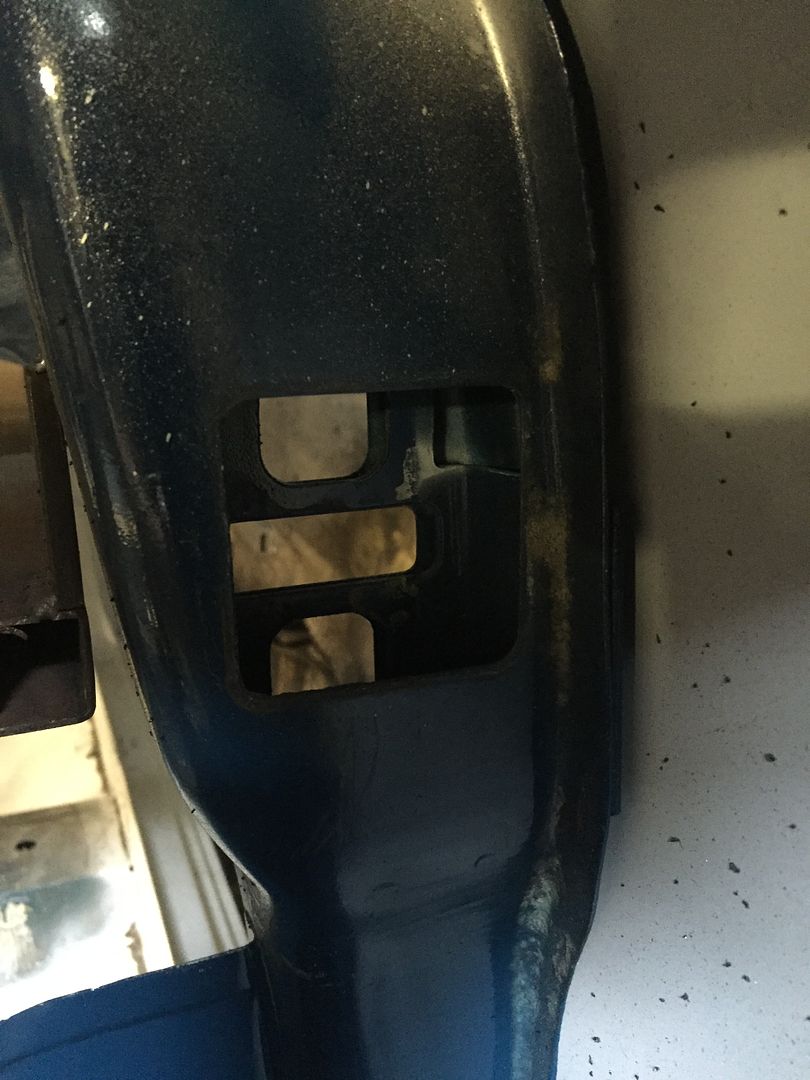
The fwd bulkhead crossmember has these access points, one each side (picture not orientated correctly)

IMG_4841_zpsloju4yjm.jpg


The outer sills you can use the flutes for access.

Go to the full post


  • Please log in to reply
17 replies to this topic

#1 MatthewsDad

MatthewsDad

    One Carb Or Two?

  • TMF+ Member
  • PipPipPipPipPipPipPip
  • 720 posts
  • Location: Warrington

Posted 23 September 2015 - 09:01 PM

There's obviously a lot of helpful information on rustproofing on the forum, but I haven't been able to find any photos to help provide a steer about drilling into box sections etc.  I'm aware of the existing holes that can be used e.g. seat belt mounts and the cross member, but it would be helpful if anyone has any photos to show where to drill.  Is drilling always necessary?  For obvious reasons I would like to minimise the amount of drilling.

I haven't chosen a rust proofing product, but I do have access to an air compressor.

Any photos or links would be much appreciated.

Thanks!


#2 Jordie

Jordie

    Traders Area Specialist Mod, North and Scotland Area Manager

  • TMF+ Member
  • PipPipPipPipPipPipPipPipPipPipPip
  • 13,564 posts
  • Name: Jordan
  • Location: North East

Posted 23 September 2015 - 09:02 PM

I used to have a diagram which showed places to drill then plug but cant find it.

Basically the rear valance close outs. Inside bottom of doors. Scuttle closing panels. Door posts.

Some can be accessed without drilling.

#3 sonikk4

sonikk4

    Twisted Paint Polisher!!!

  • Admin
  • PipPipPipPipPipPipPipPipPipPipPip
  • 15,884 posts
  • Name: Neil
  • Location: Oxfordshire

Posted 23 September 2015 - 09:08 PM

Thinking about all of the various box sections i cannot think of any you can not get a flexi pipe into. The waxoyl kits you can buy have various attachments that enable you to get into the most awkward places.


You may have to remove bits of trim here and there but a bare shell will get you access into everywhere.


#4 MatthewsDad

MatthewsDad

    One Carb Or Two?

  • TMF+ Member
  • PipPipPipPipPipPipPip
  • 720 posts
  • Location: Warrington

Posted 23 September 2015 - 09:20 PM

Thanks!  Removing bits of trim shouldn't be a problem.  Unfortunately it's not bare shell which might limit access a bit.  Any suggestions on the scuttle closing panels?


#5 Jordie

Jordie

    Traders Area Specialist Mod, North and Scotland Area Manager

  • TMF+ Member
  • PipPipPipPipPipPipPipPipPipPipPip
  • 13,564 posts
  • Name: Jordan
  • Location: North East

Posted 23 September 2015 - 09:34 PM

Scuttle closing....either a gap or drill a hole through the inner wing in the engine bay. You might need to remove bonnet and wiper motor to allow space to drill.

#6 sonikk4

sonikk4

    Twisted Paint Polisher!!!

  • Admin
  • PipPipPipPipPipPipPipPipPipPipPip
  • 15,884 posts
  • Name: Neil
  • Location: Oxfordshire

Posted 23 September 2015 - 09:45 PM

Scuttle closing....either a gap or drill a hole through the inner wing in the engine bay. You might need to remove bonnet and wiper motor to allow space to drill.


Nope on a roundnose you can get access through the engine bay between the inner wing and scuttle. There maybe a piece of foam there though. I can tell you tomorrow if there is access with a clubby.


#7 Jordie

Jordie

    Traders Area Specialist Mod, North and Scotland Area Manager

  • TMF+ Member
  • PipPipPipPipPipPipPipPipPipPipPip
  • 13,564 posts
  • Name: Jordan
  • Location: North East

Posted 23 September 2015 - 09:50 PM

Cant say ive ever injected rust proofing in there but if theres a gap even better.

#8 sonikk4

sonikk4

    Twisted Paint Polisher!!!

  • Admin
  • PipPipPipPipPipPipPipPipPipPipPip
  • 15,884 posts
  • Name: Neil
  • Location: Oxfordshire

Posted 23 September 2015 - 10:51 PM

Cant say ive ever injected rust proofing in there but if theres a gap even better.


I did this on my lads car.

#9 WPD

WPD

    Stage One Kit Fitted

  • Noobies
  • PipPipPip
  • 85 posts
  • Location: Hampshire

Posted 23 September 2015 - 11:07 PM

Sorry to hijack bur I have a question regarding this. Would drilling into the shell not leave metal shavings or particles inside the box sections and promote more rust or spread rust quicker than before?
Thanks

#10 sonikk4

sonikk4

    Twisted Paint Polisher!!!

  • Admin
  • PipPipPipPipPipPipPipPipPipPipPip
  • 15,884 posts
  • Name: Neil
  • Location: Oxfordshire

Posted 24 September 2015 - 07:50 AM

Sorry to hijack bur I have a question regarding this. Would drilling into the shell not leave metal shavings or particles inside the box sections and promote more rust or spread rust quicker than before?
Thanks


If left untreated then yes, however if they are being used to inject a wax or inhibitor then in theory this will encapsulate the swarf preventing them from oxidising. With the actual hole clean off any wax residue then touch up with paint. Before fitting the grommet add a little wax / inhibitor to the underside of that then fit.

#11 WPD

WPD

    Stage One Kit Fitted

  • Noobies
  • PipPipPip
  • 85 posts
  • Location: Hampshire

Posted 24 September 2015 - 09:27 AM

Sorry to hijack bur I have a question regarding this. Would drilling into the shell not leave metal shavings or particles inside the box sections and promote more rust or spread rust quicker than before?
Thanks

If left untreated then yes, however if they are being used to inject a wax or inhibitor then in theory this will encapsulate the swarf preventing them from oxidising. With the actual hole clean off any wax residue then touch up with paint. Before fitting the grommet add a little wax / inhibitor to the underside of that then fit.

Good to know, thanks!

#12 sonikk4

sonikk4

    Twisted Paint Polisher!!!

  • Admin
  • PipPipPipPipPipPipPipPipPipPipPip
  • 15,884 posts
  • Name: Neil
  • Location: Oxfordshire

Posted 24 September 2015 - 07:05 PM

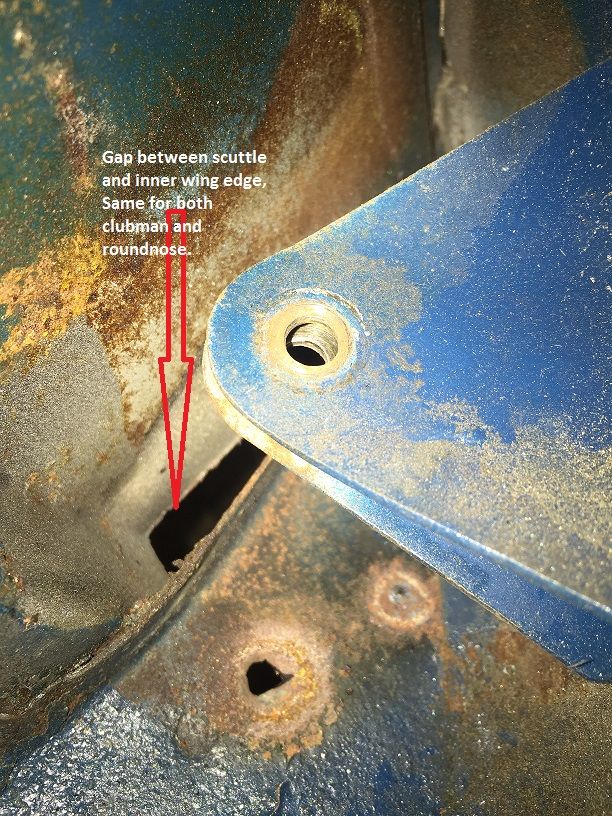
This is the gap i was on about between the scuttle and inner wing. its the same for both clubby and roundnose.

Scuttle%20gap_zpsqhlutlje.jpg


#13 MatthewsDad

MatthewsDad

    One Carb Or Two?

  • TMF+ Member
  • PipPipPipPipPipPipPip
  • 720 posts
  • Location: Warrington

Posted 24 September 2015 - 07:38 PM

Brilliant! Thanks everyone.

#14 sonikk4

sonikk4

    Twisted Paint Polisher!!!

  • Admin
  • PipPipPipPipPipPipPipPipPipPipPip
  • 15,884 posts
  • Name: Neil
  • Location: Oxfordshire

Posted 24 September 2015 - 08:05 PM   Best Answer


Brilliant! Thanks everyone.


Heres the other places you need to look for

In the bottom left and right of the bulkhead in the boot (picture is not orientated properly for some reason)

IMG_4845_zps897ahcf1.jpg

In the rear corner of the boot each side you will see this hole, this goes into the valance closeout

IMG_4844_zpszeoc7syc.jpg

The floor crossmember has these holes in (picture is not orientated properly for some reason)

IMG_4847_zpsnrncnre5.jpg

IMG_4846_zps5iwh3uat.jpg


The A post has this aperture on the inside so ideal for access

IMG_4838_zpszhurwikf.jpg

The roof has this channel easily accessible with the lining off

IMG_4839_zpsaopopvvi.jpg

The B post has these points

IMG_4842_zpsqhuqtty2.jpg

IMG_4843_zpsqe1r75cu.jpg


The fwd bulkhead crossmember has these access points, one each side (picture not orientated correctly)

IMG_4841_zpsloju4yjm.jpg


The outer sills you can use the flutes for access.


#15 castafiore

castafiore

    Mini Mad

  • Noobies
  • PipPipPipPip
  • 116 posts
  • Location: North West

Posted 24 September 2015 - 09:05 PM

The Bilt Hammer cavity treatment comes with a long plastic tube with holes in so that when you spray it covers 360 degrees. Haven't used mine yet as I am still welding up, but will be drilling holes from the wheel arch into the inner sills (it's a Saab not a Mini) then plugging the hole with a rubber grommet - these are about £4 for a box with loads in from eBay.

I was a bit concerned about drilling holes but the alternative is leaving areas unprotected. Although I used weld through metal primer on the inside of the metal I replaced, it's inevitable that there will be bits unprotected and the BH stuff should help.


1 user(s) are reading this topic

0 members, 1 guests, 0 anonymous users