I measured the seat belt ancor points on my other floor, the center of the bolt holes are 16" from the heelboard. This is a modified van floor cut to saloon length, so I don't know if it is correct.

1960 Austin Seven. Us Spec Ex Scca Car
Started by
Chappers
, Sep 30 2015 02:30 AM
159 replies to this topic
#136

jchomme
-
- Noobies
-

- 99 posts
Stage One Kit Fitted
- Location: Georgia
Posted 07 March 2018 - 05:08 PM
#137
Chappers
-
- Noobies
-
- 129 posts
Mini Mad
- Location: Columbus, IN
Posted 08 March 2018 - 04:17 AM
Thanks for the measurements, Ill do some marking up and see what it looks like.
#138
Chappers
-
- Noobies
-
- 129 posts
Mini Mad
- Location: Columbus, IN
Posted 08 March 2018 - 04:40 AM
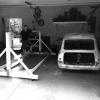
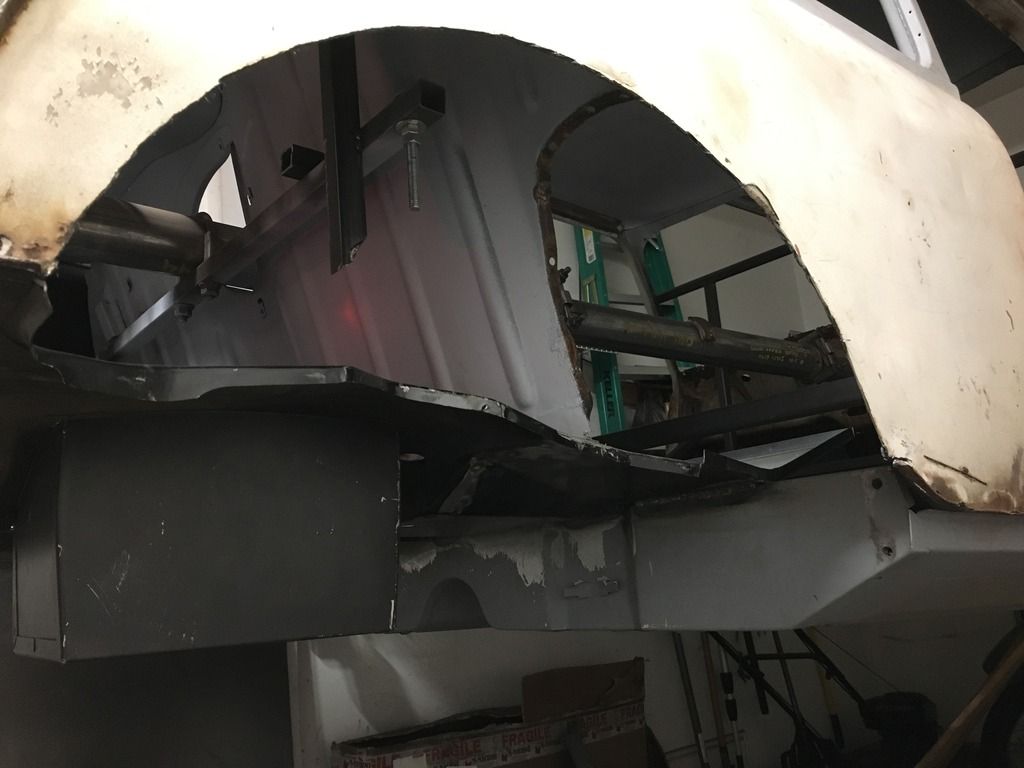
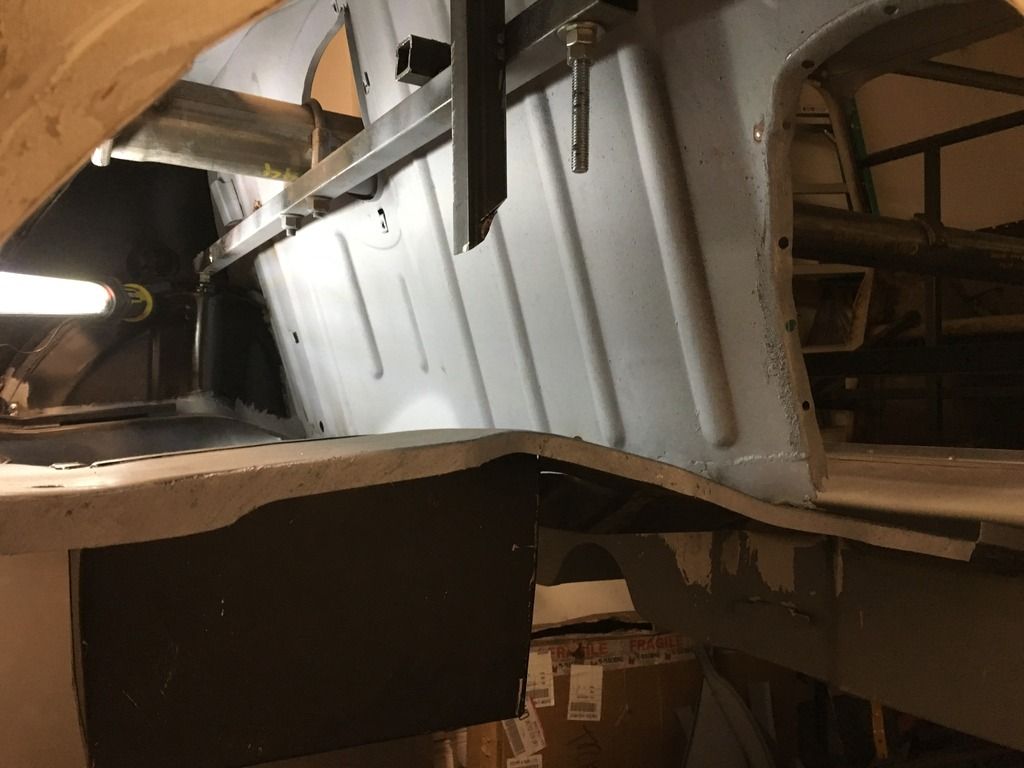
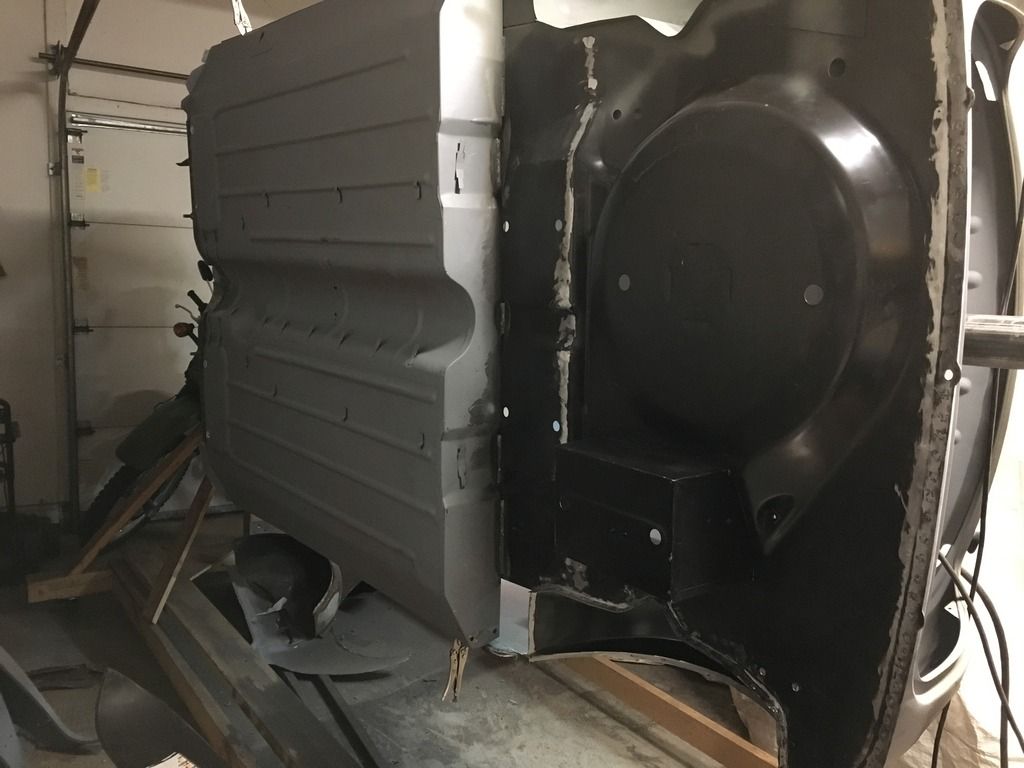
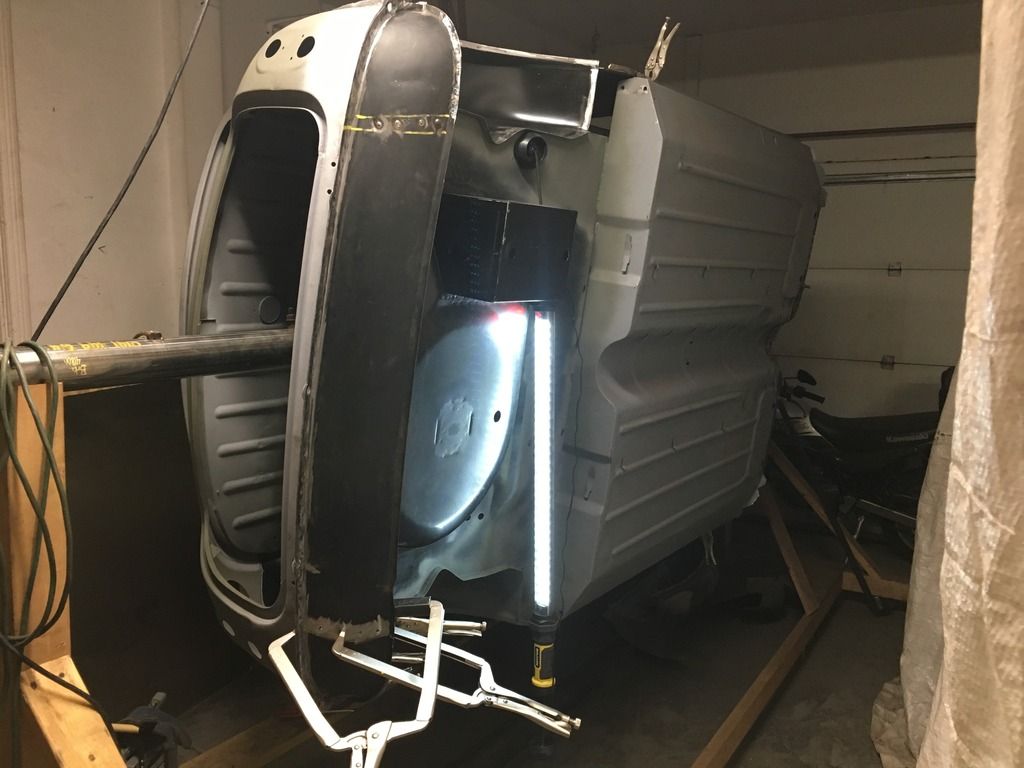
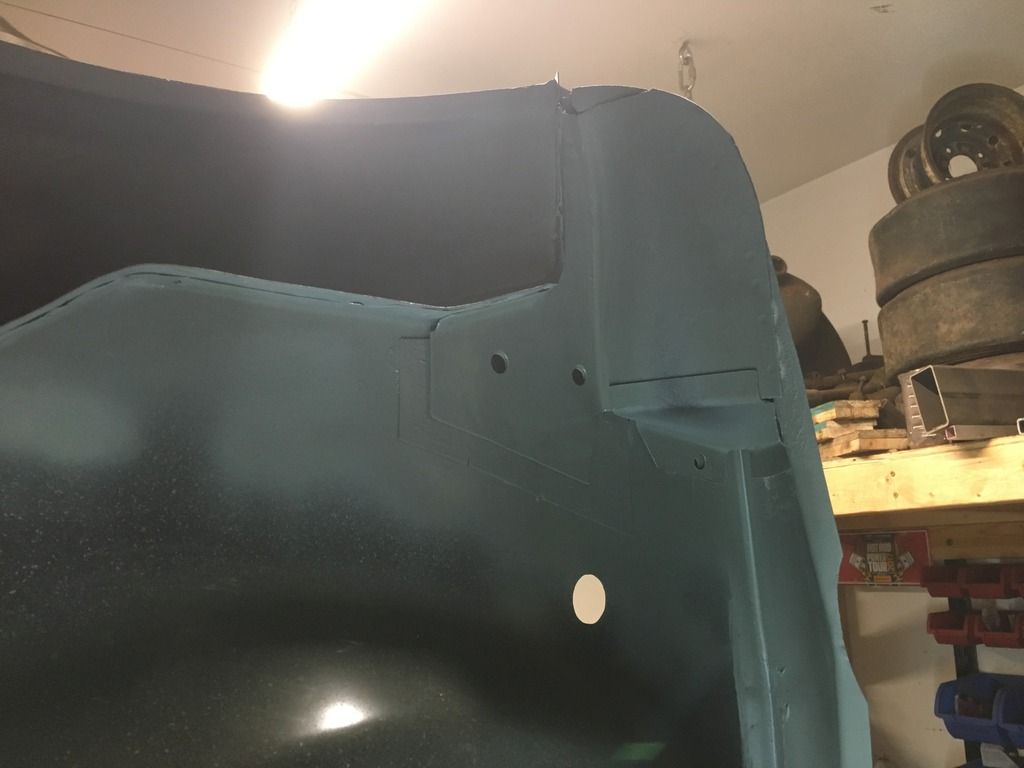
I did a bit in the garage tonight.
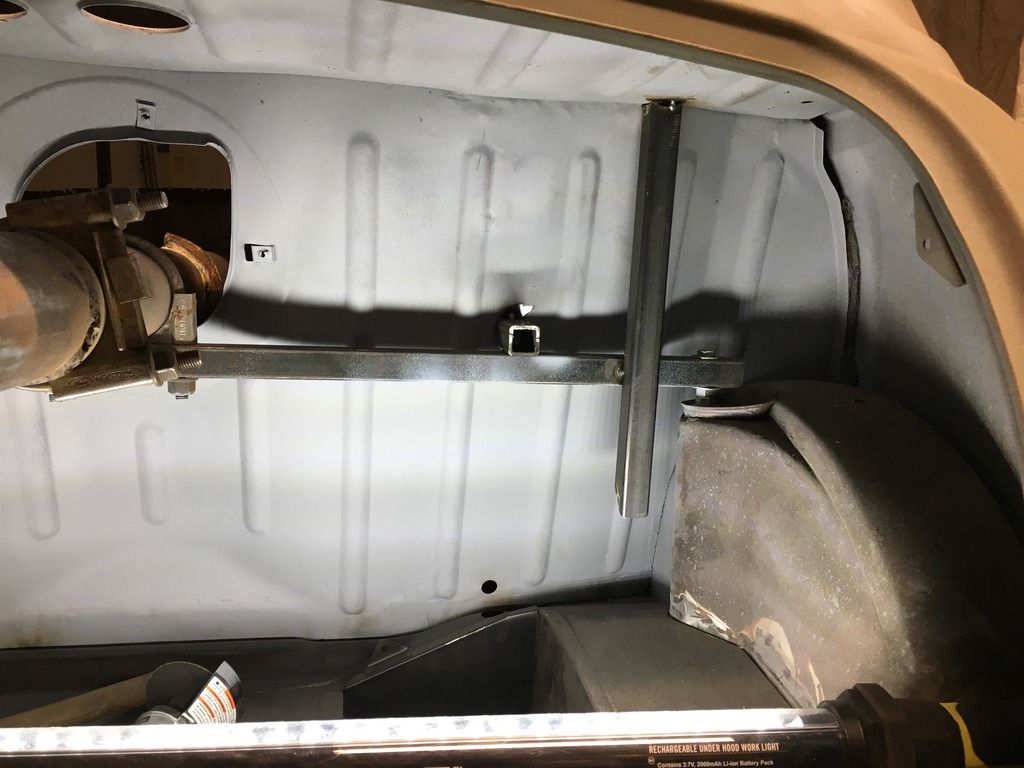
Relocated the extra bracing in the boot from the left side to the right side.
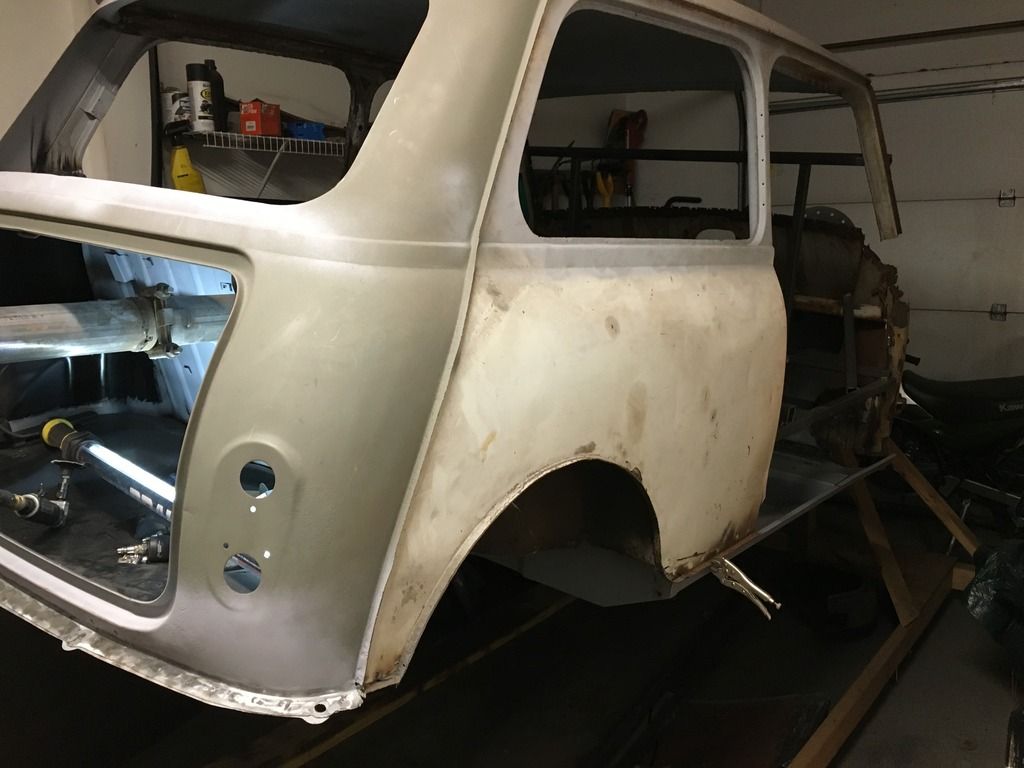
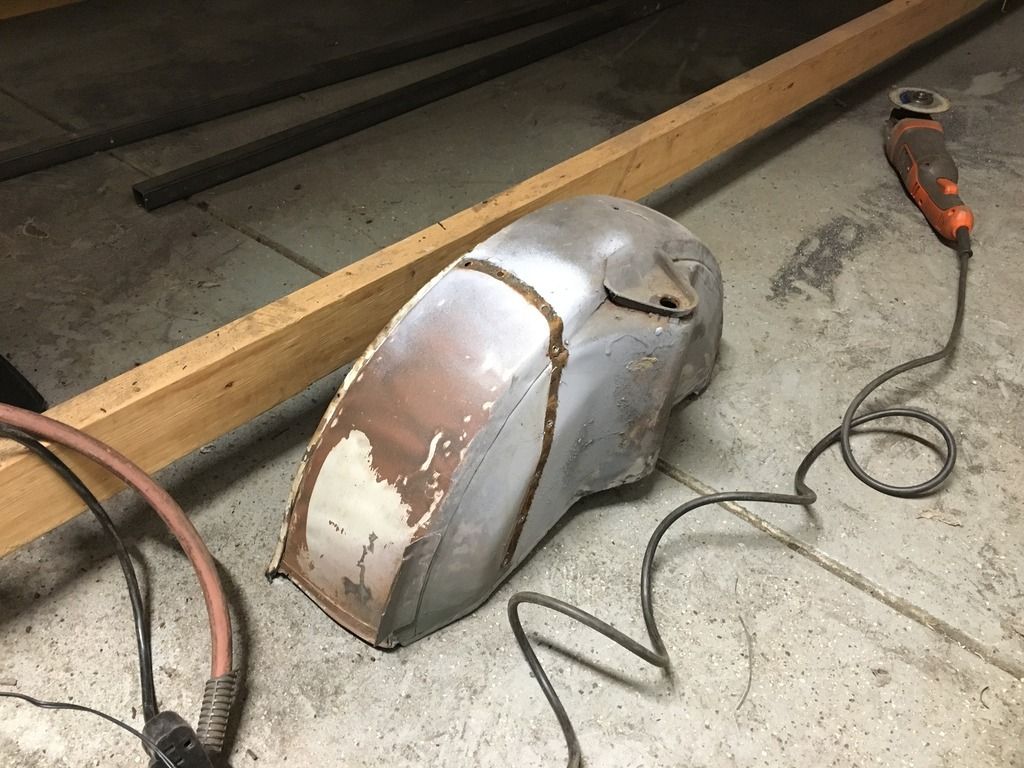
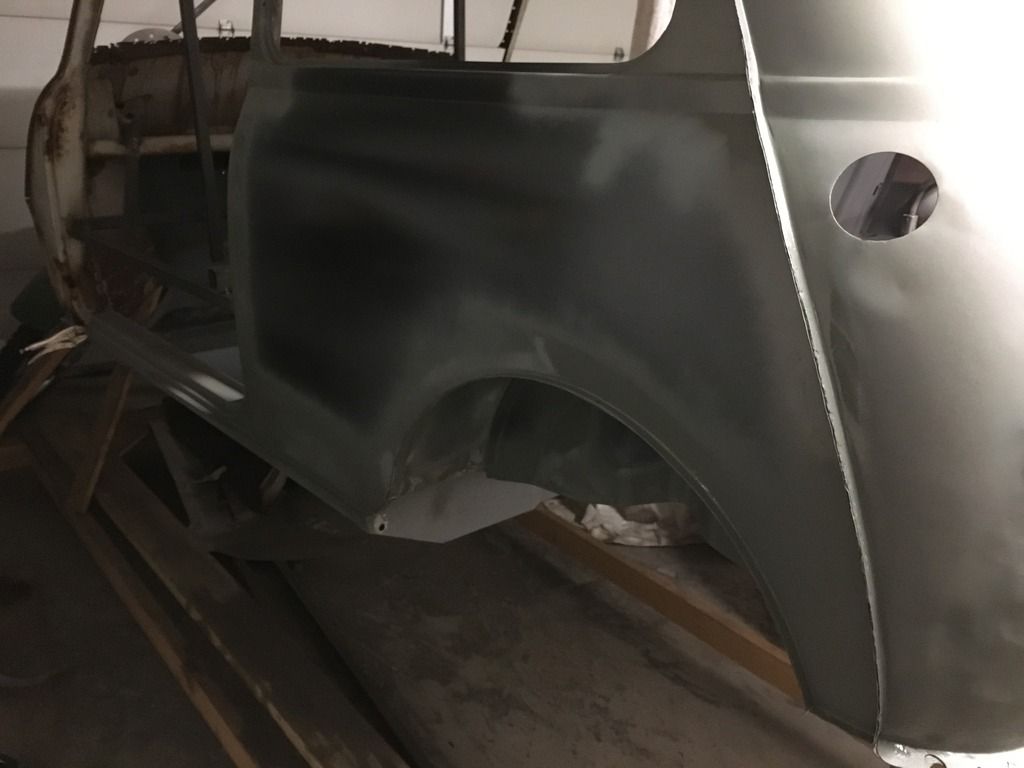
Heres the right side arch that will be chopped out.

And the right side quater panel.
Drilled out the spot welds here
Cut along the lip on the quarter panel
Removed the arch
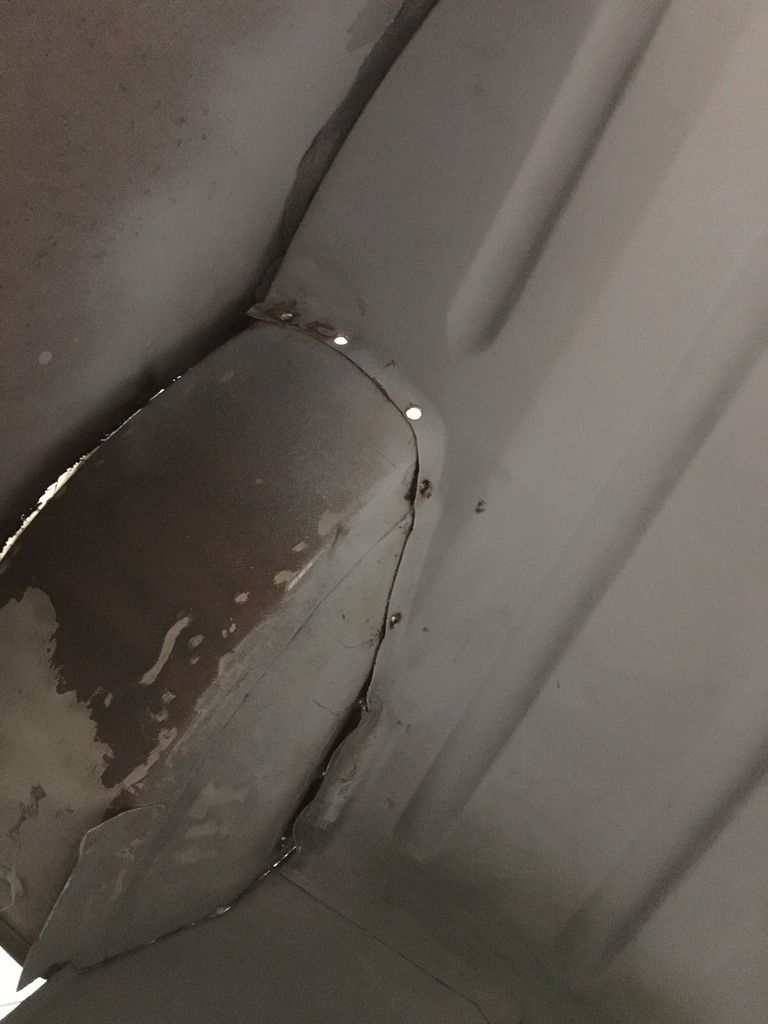
A little bit of hidden rust on the rear bulkhead to arch flange. Easily removed with a paint stripping disc.
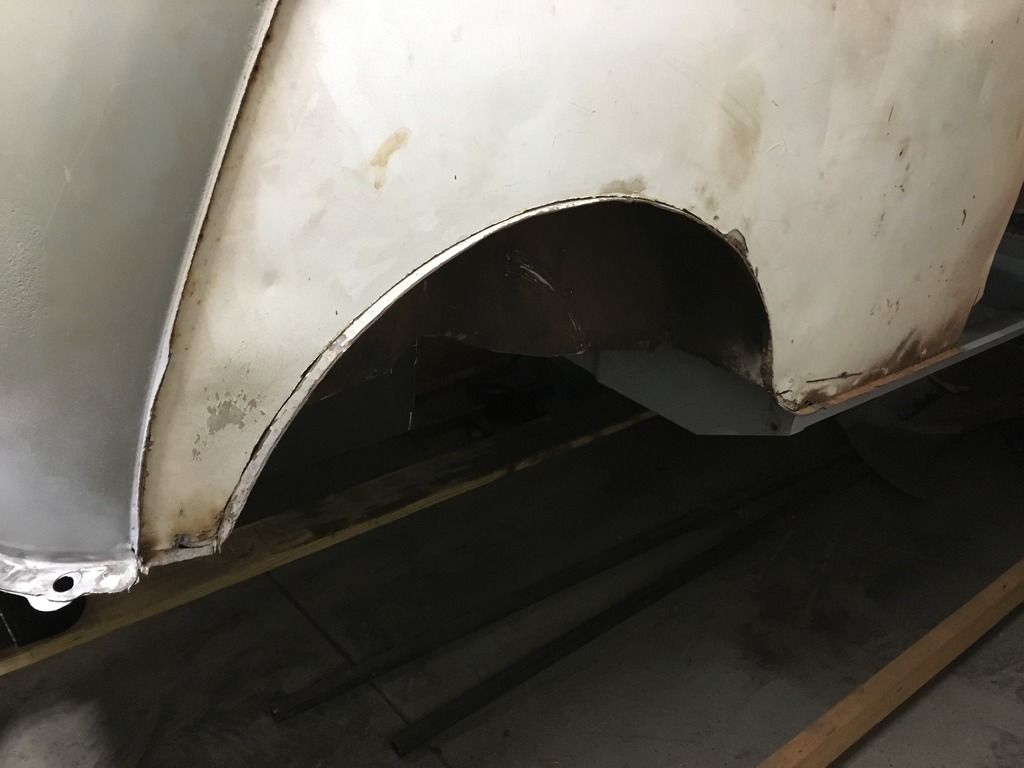
Offered up the new arch.
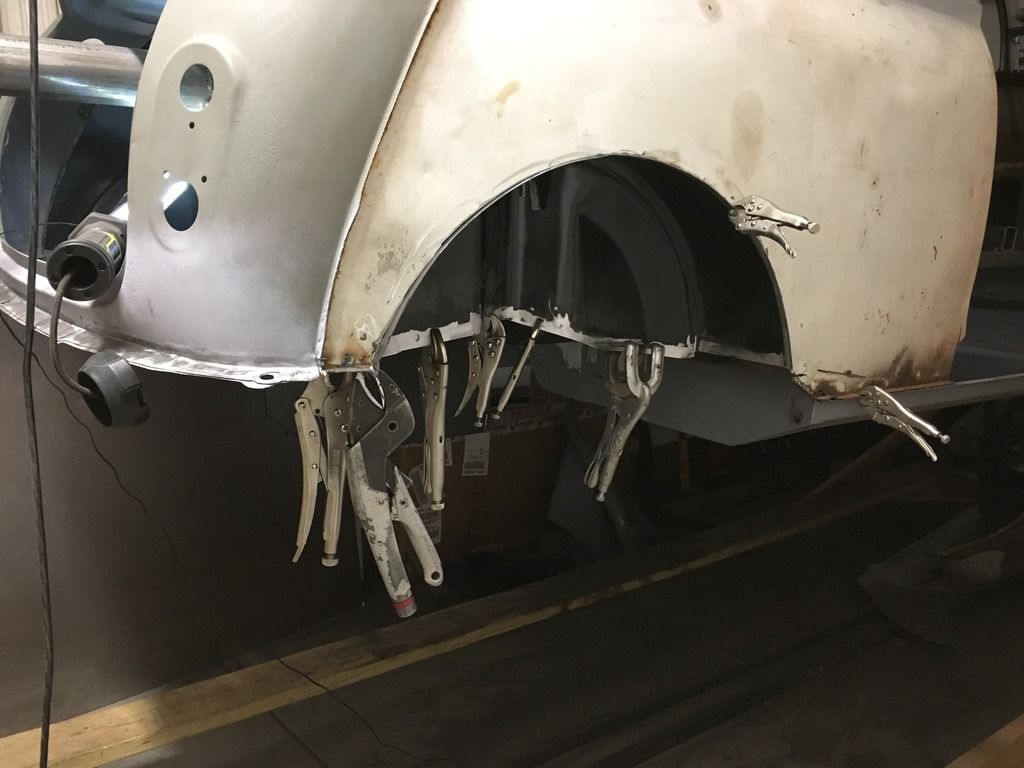
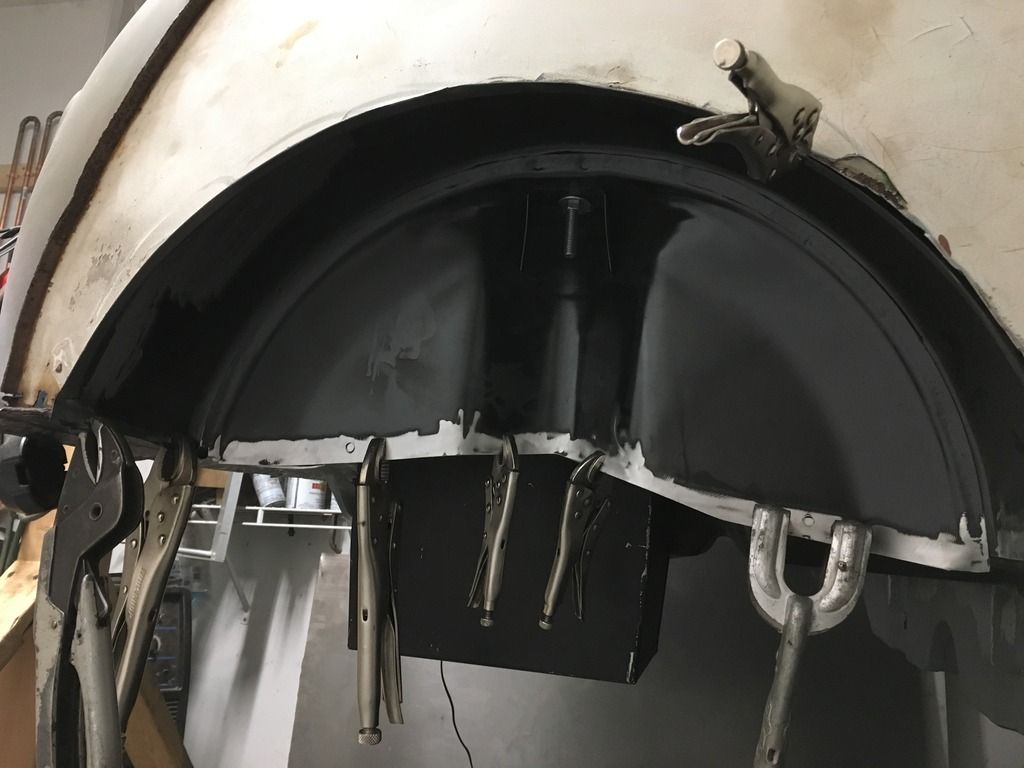

Fits very well all clamped up.
So it gets marked up where it meets the boot floor and the rear bulkhead, then paint stripper disc used to remove the paint where they are going to be welded and zinc weld thru primer applied.
And left to dry overnight.
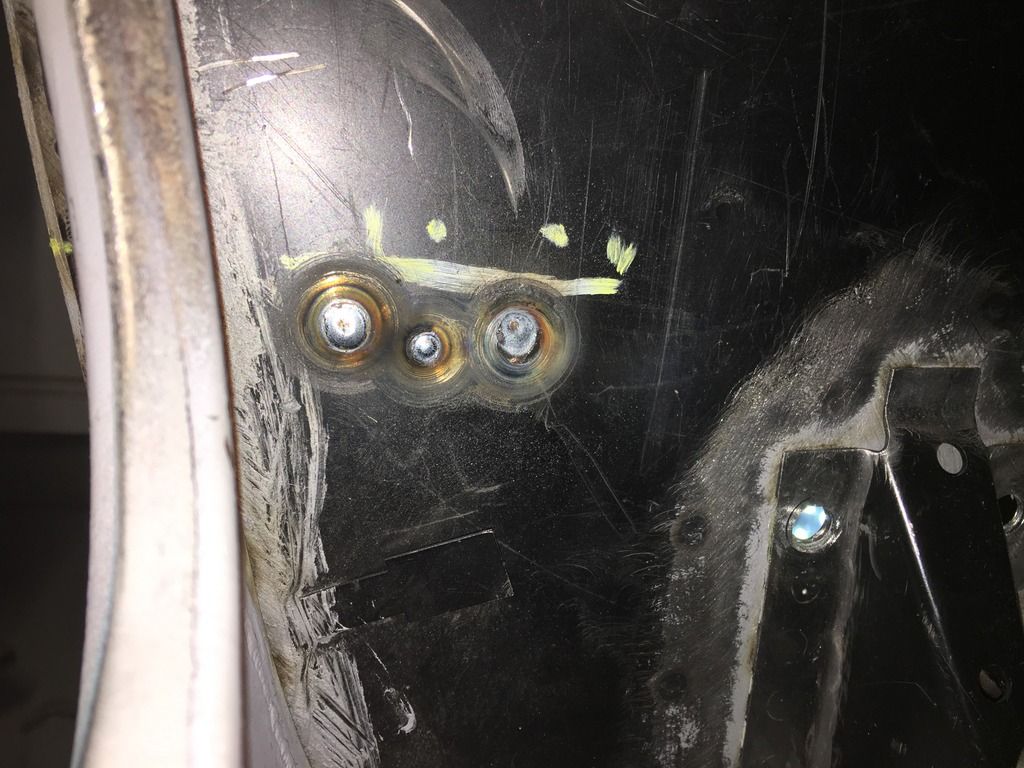
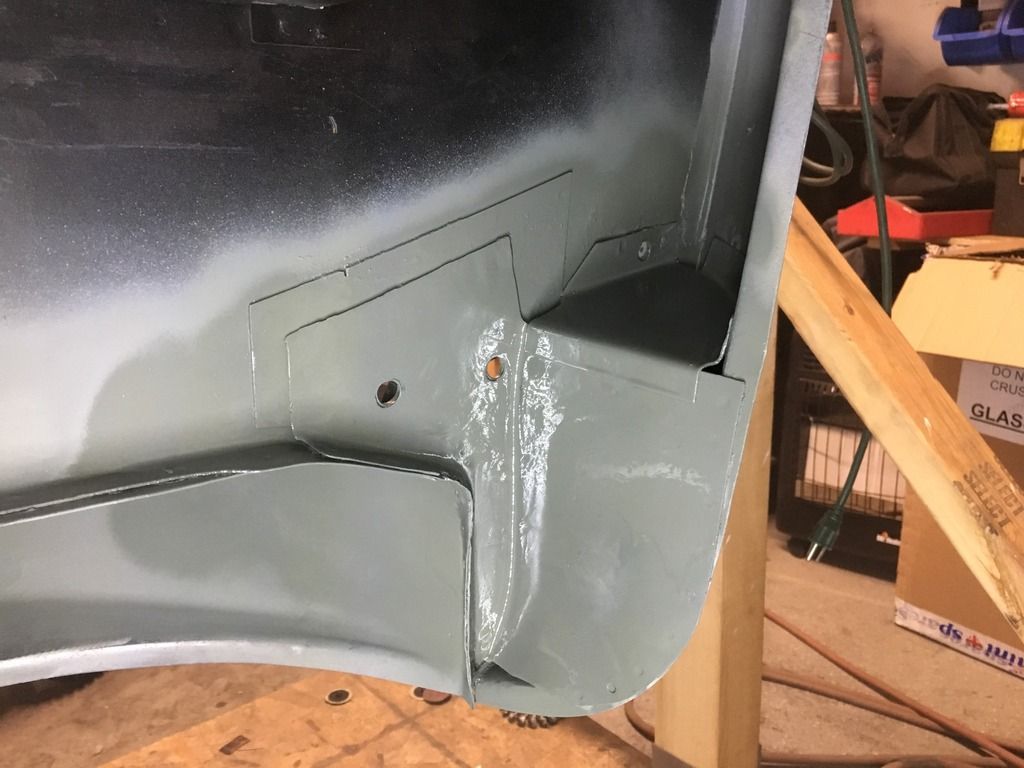
So while that was drying i had a look at tidying up some previous plug welds.
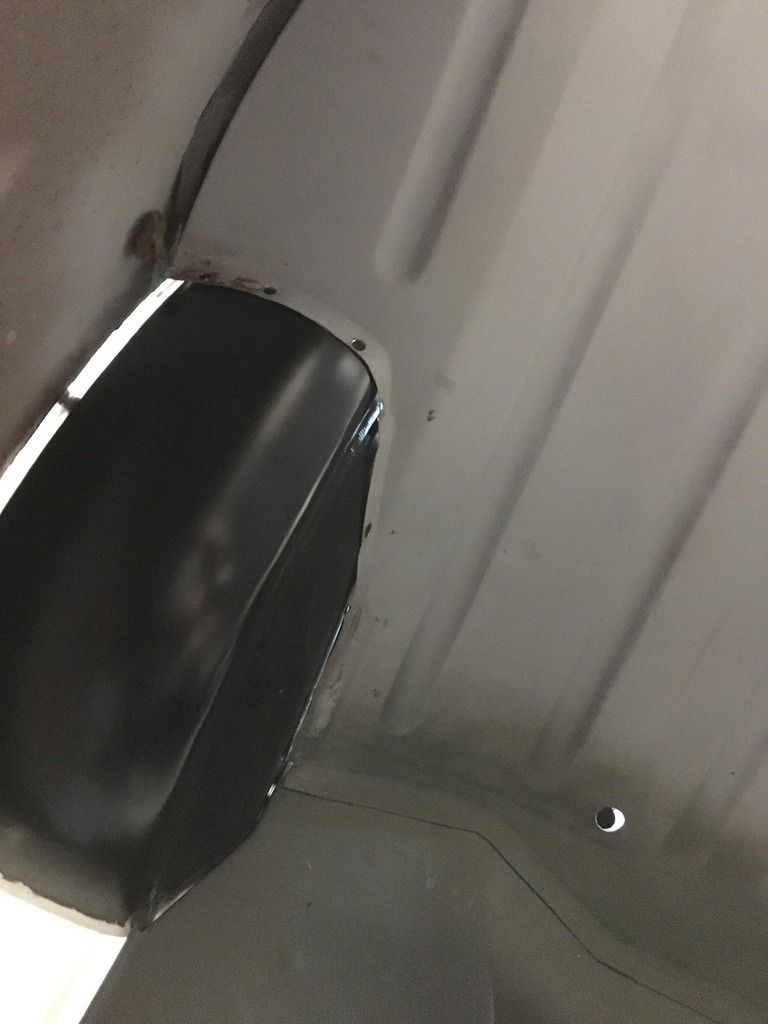
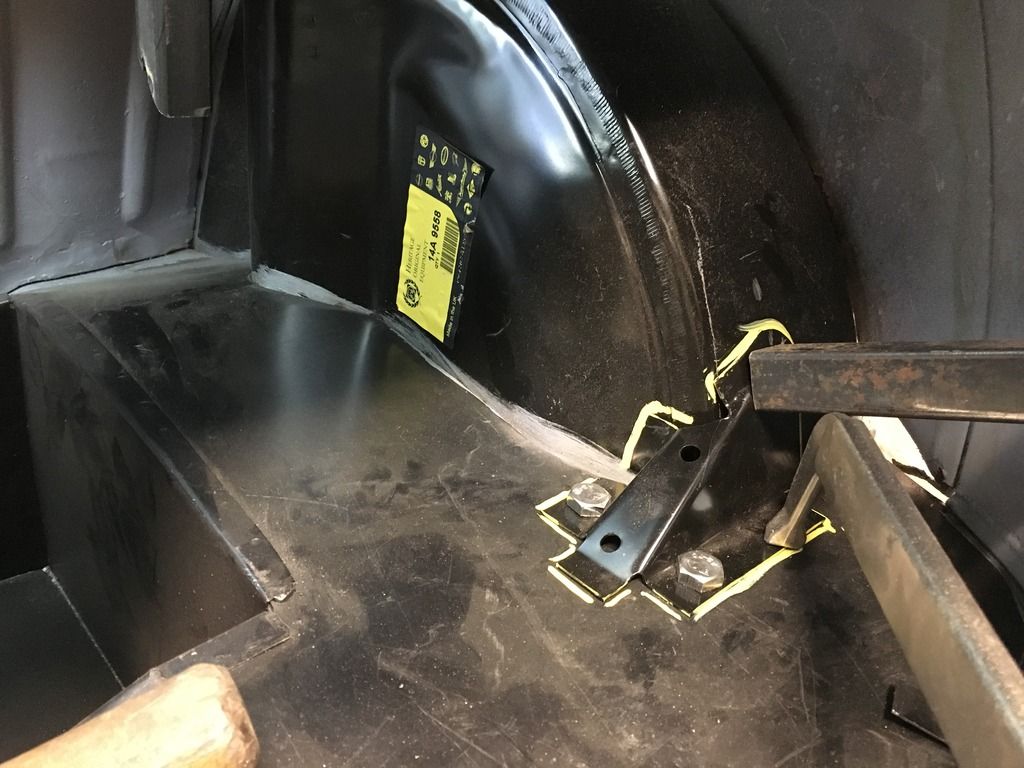
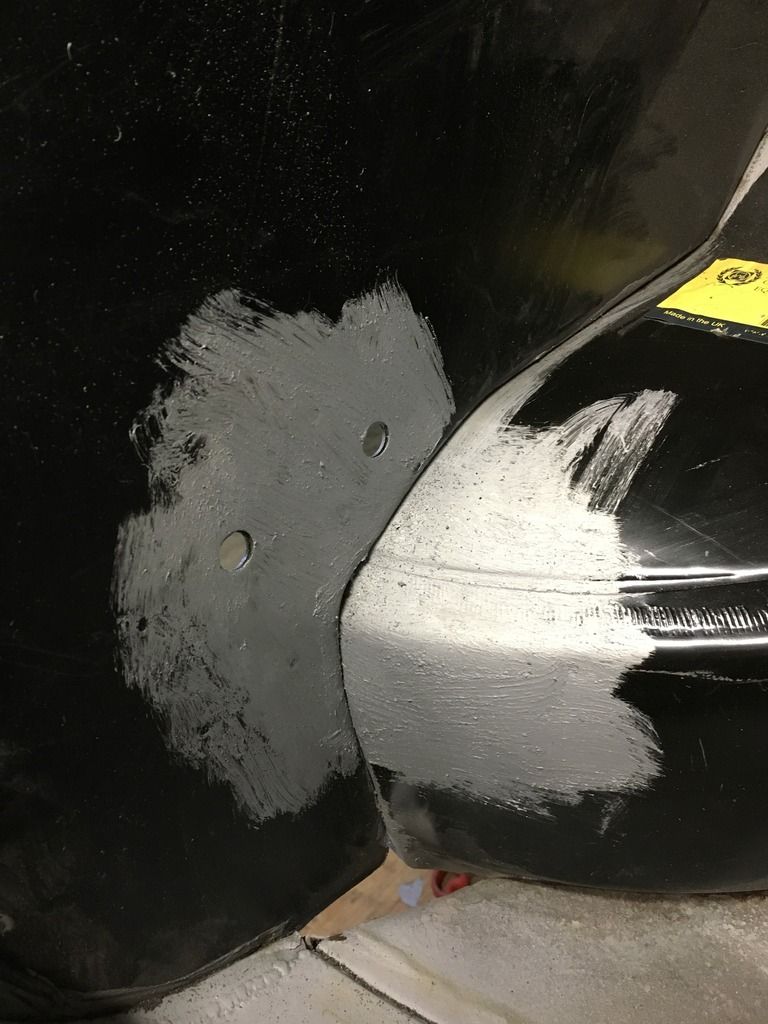
The left side boot to arch bracket.
Even though its hidden behind a fuel tank, I ground down the welds to make it look neat.
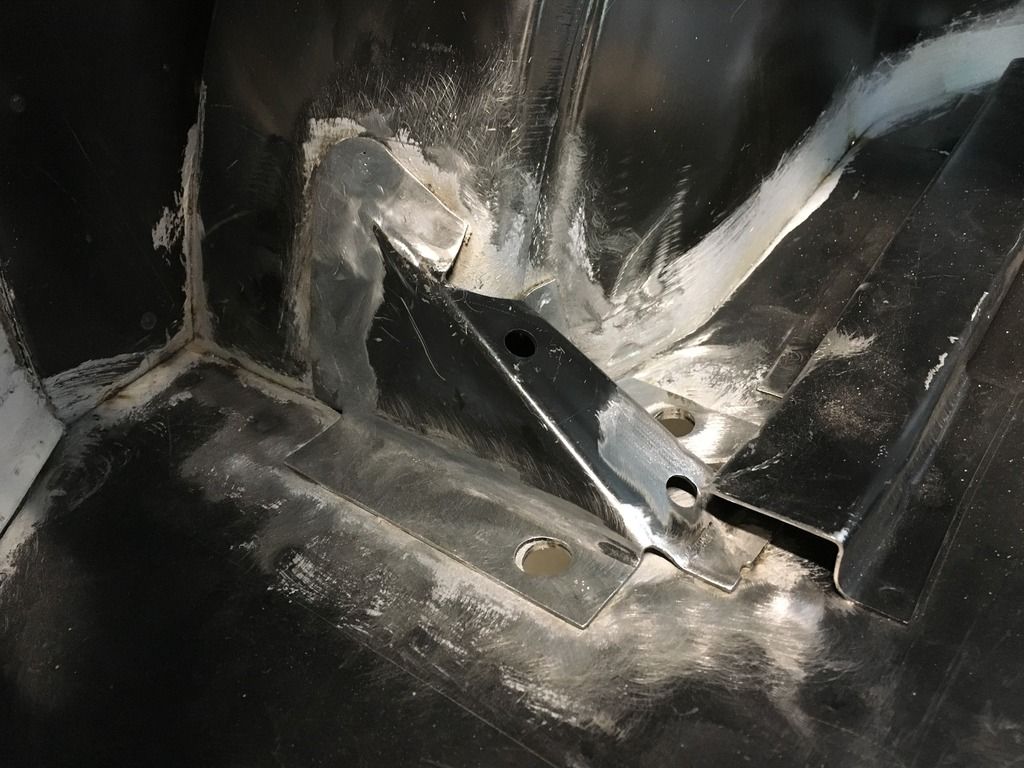
And sprayed some etch primer on to protect the bare metal.
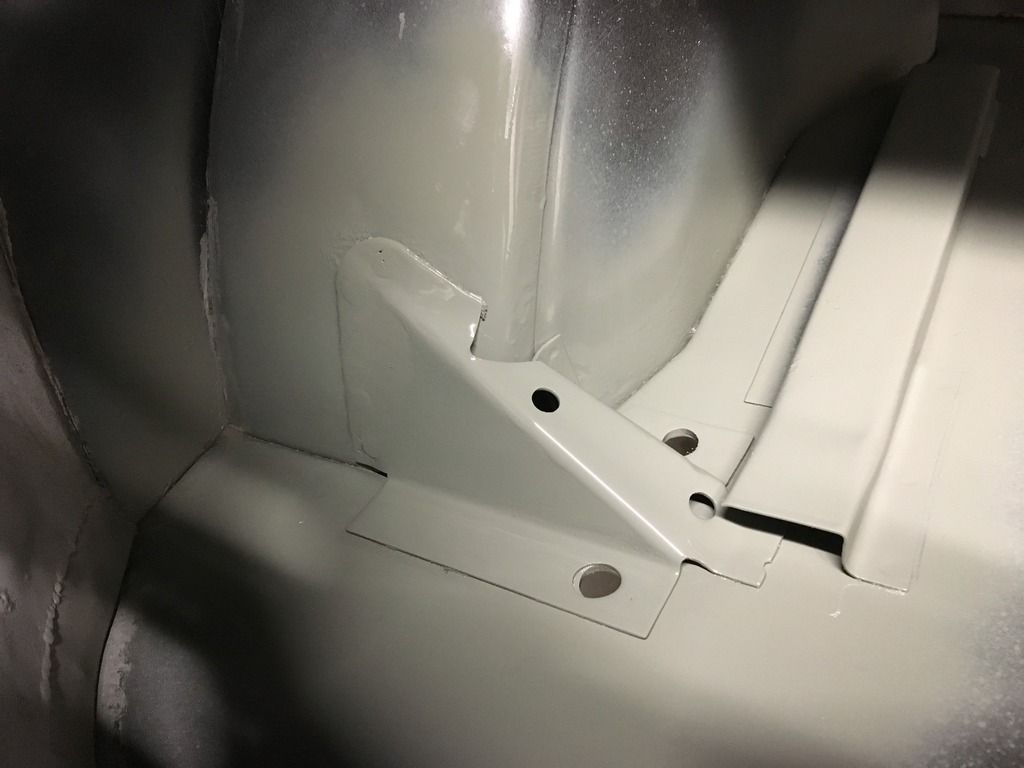
While I was painting, I put some on the quarter panel seams where it was spot welded
Relocated the extra bracing in the boot from the left side to the right side.

Heres the right side arch that will be chopped out.

And the right side quater panel.

Drilled out the spot welds here

Cut along the lip on the quarter panel

Removed the arch


A little bit of hidden rust on the rear bulkhead to arch flange. Easily removed with a paint stripping disc.
Offered up the new arch.


Fits very well all clamped up.
So it gets marked up where it meets the boot floor and the rear bulkhead, then paint stripper disc used to remove the paint where they are going to be welded and zinc weld thru primer applied.


And left to dry overnight.
So while that was drying i had a look at tidying up some previous plug welds.
The left side boot to arch bracket.

Even though its hidden behind a fuel tank, I ground down the welds to make it look neat.

And sprayed some etch primer on to protect the bare metal.

While I was painting, I put some on the quarter panel seams where it was spot welded


#139
Chappers
-
- Noobies
-
- 129 posts
Mini Mad
- Location: Columbus, IN
Posted 10 March 2018 - 03:34 AM
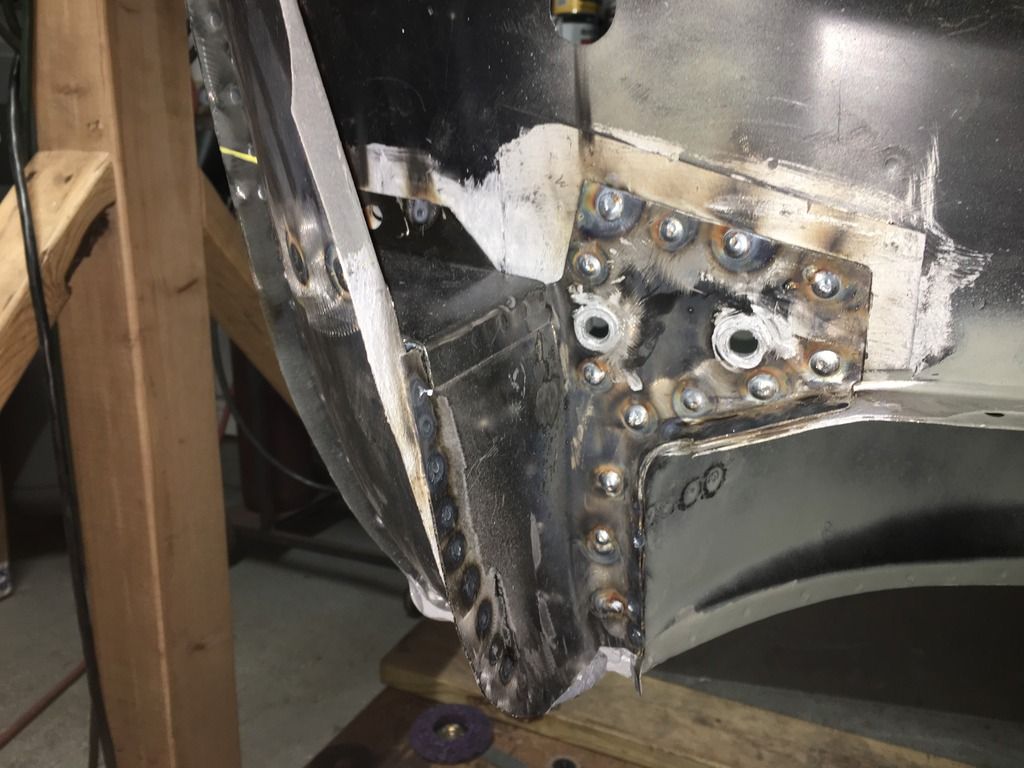
Yesterday I got the right hand arch welded on.
Heres the harbor freight spot welder ready to go. Its been great so far.
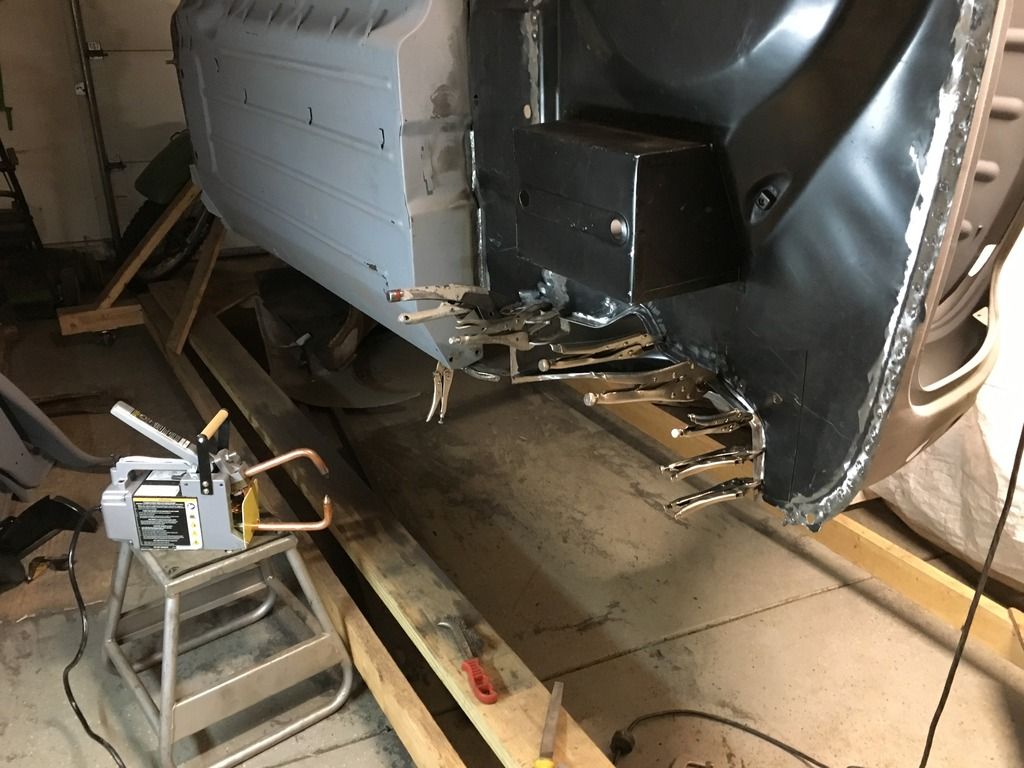
All welded, very quick and easy, just make sure the surfaces are very clean to make a good contact.
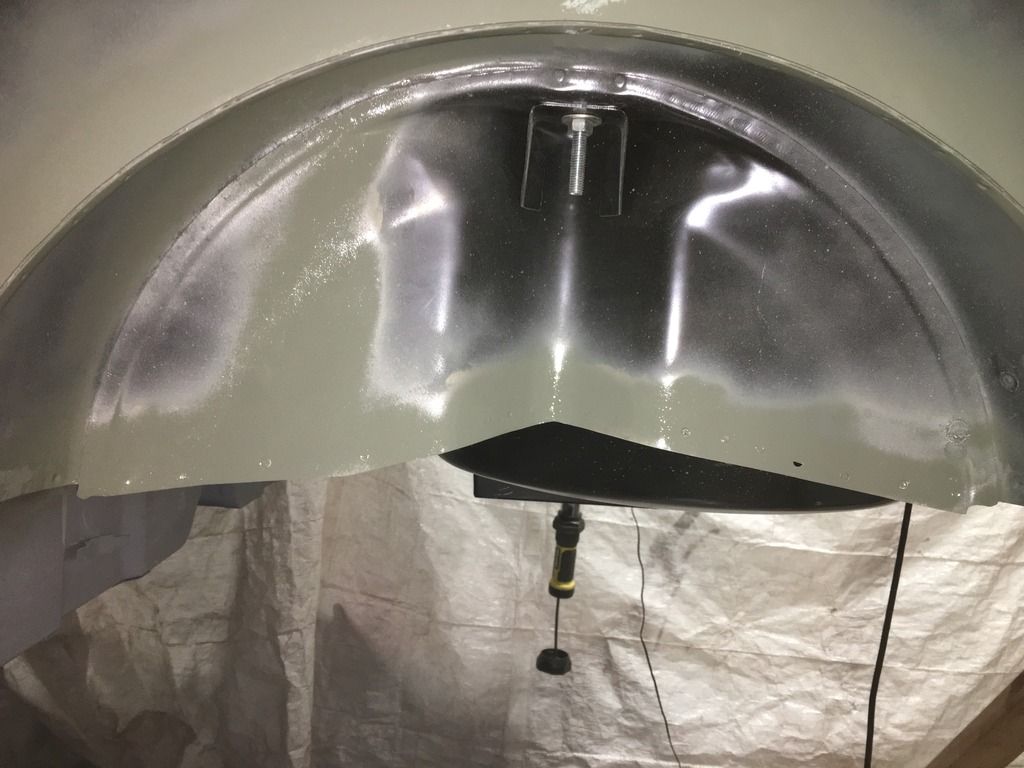
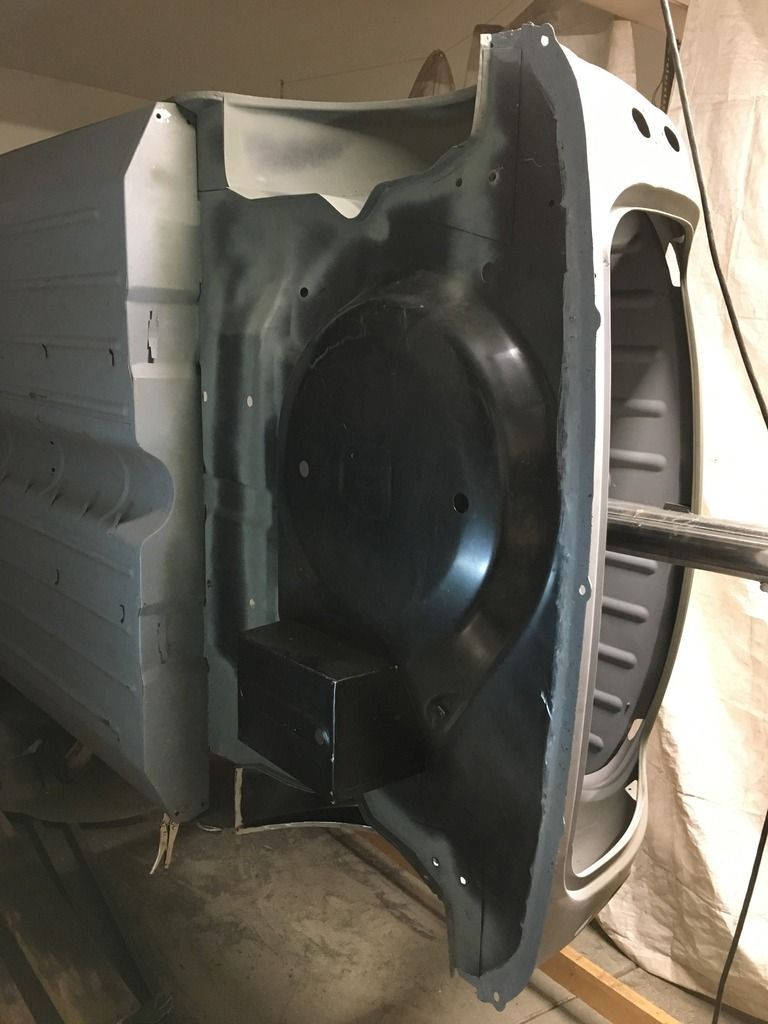
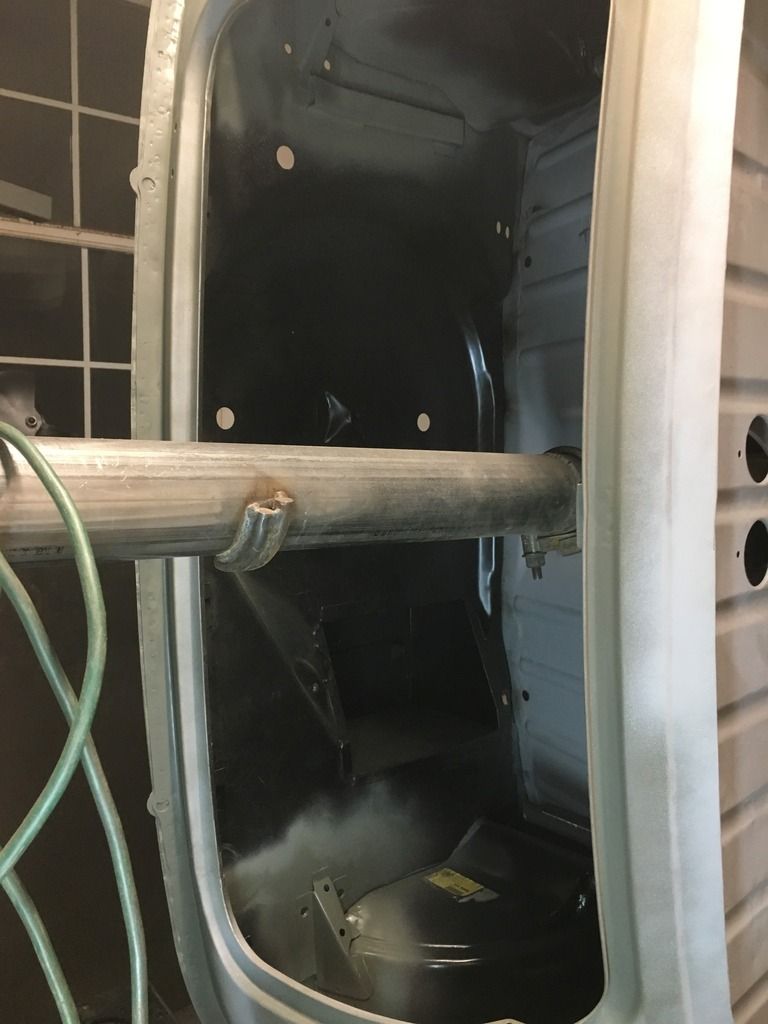
Heres the boot with both arches in.
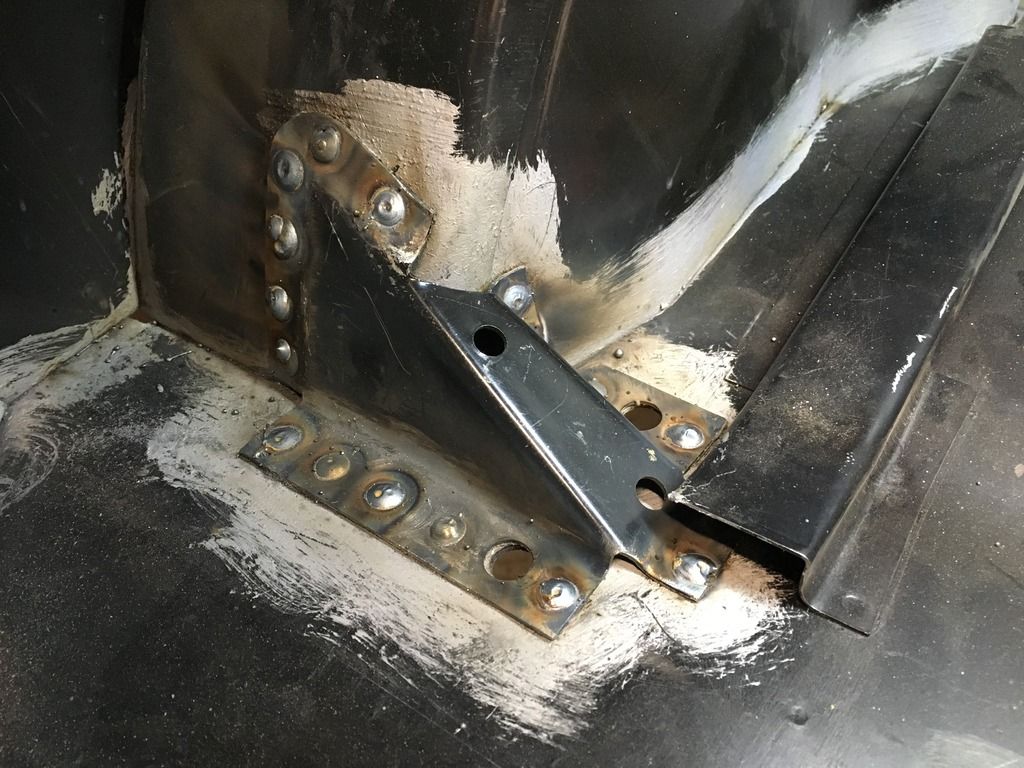
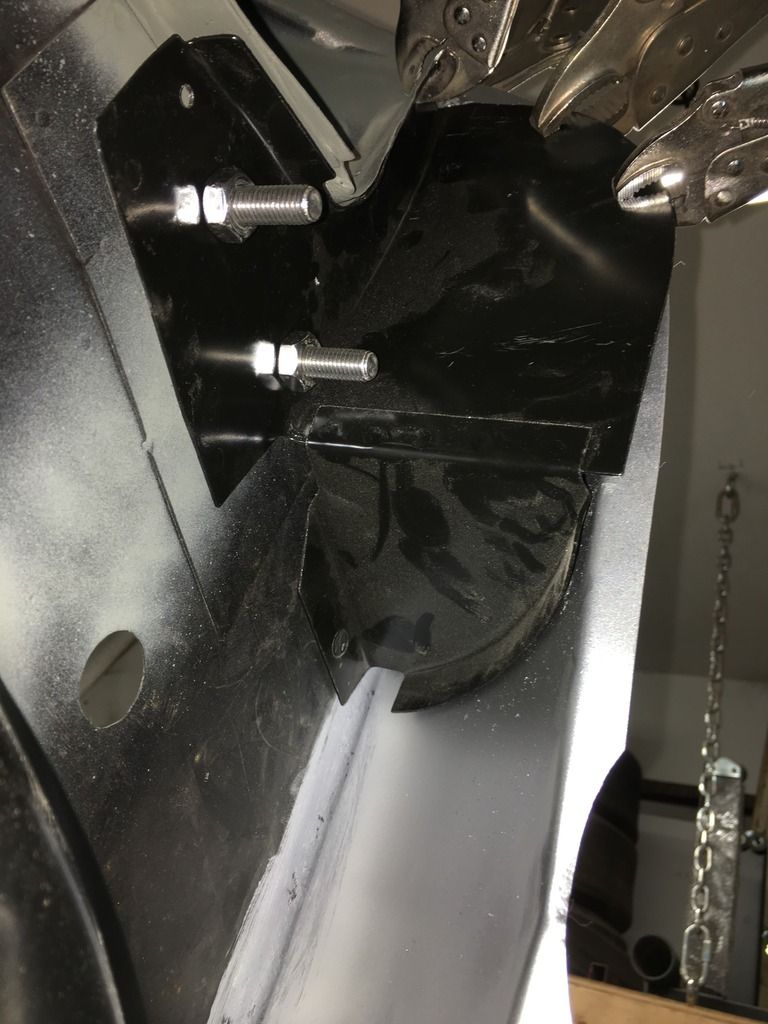
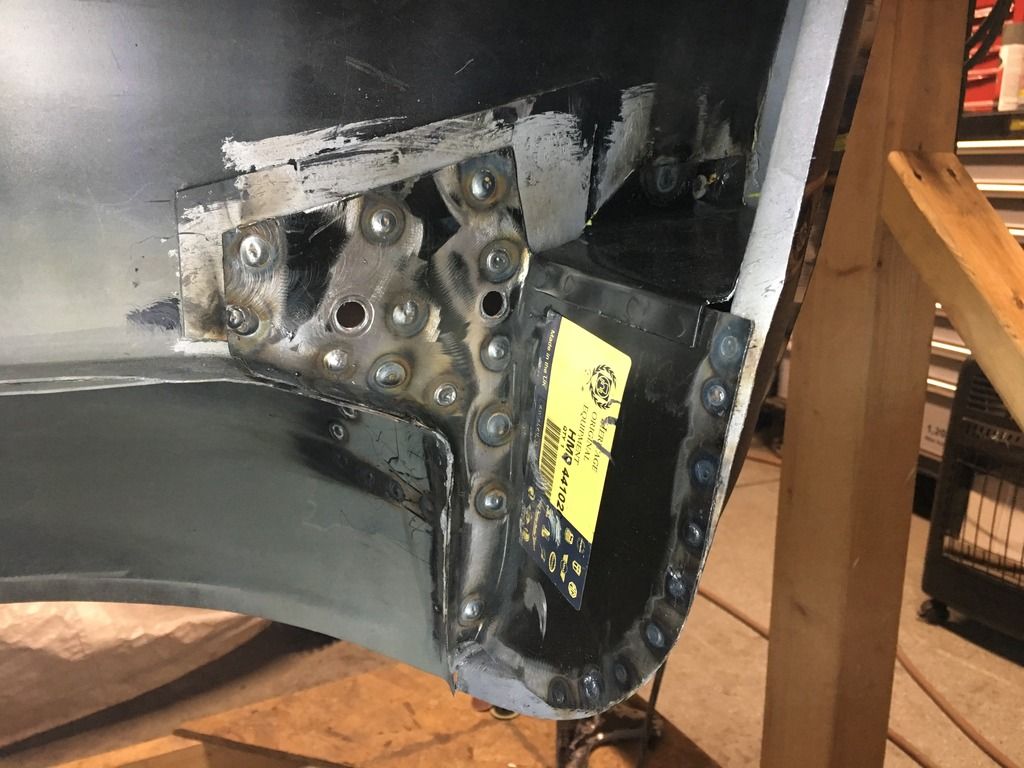
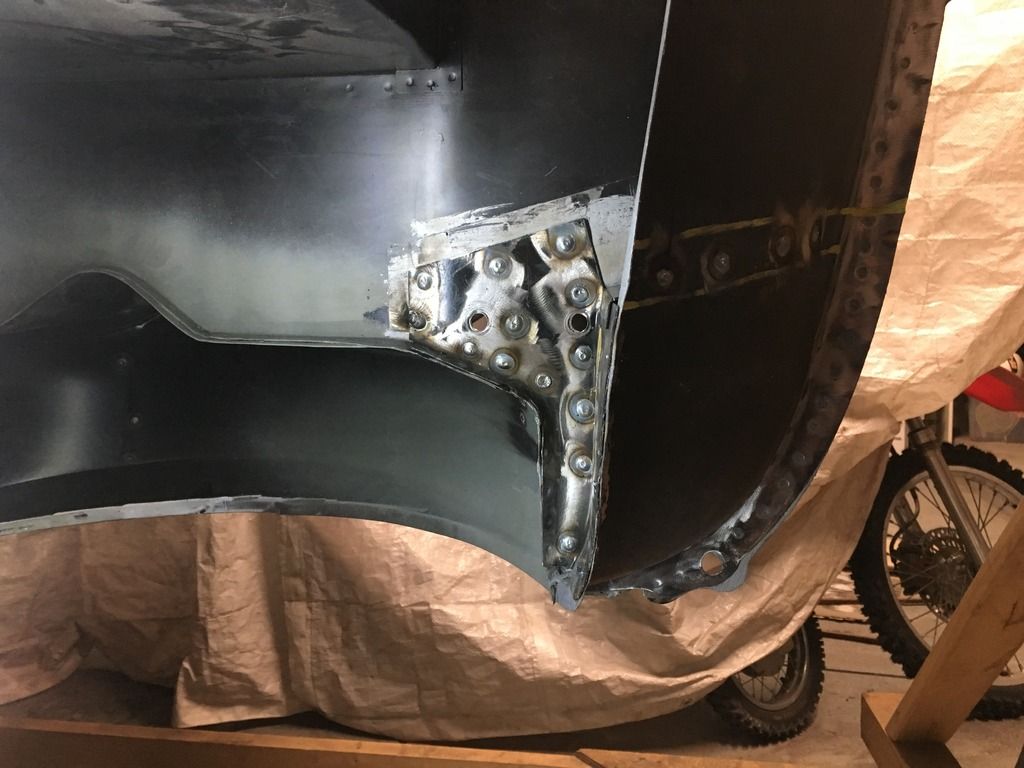
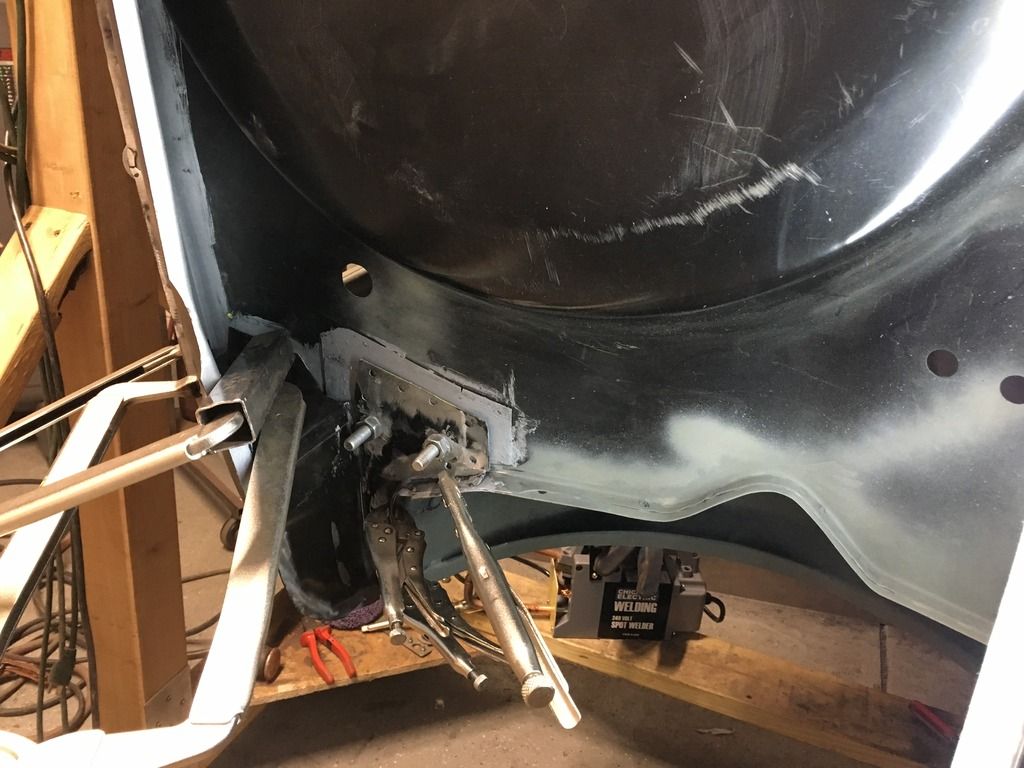
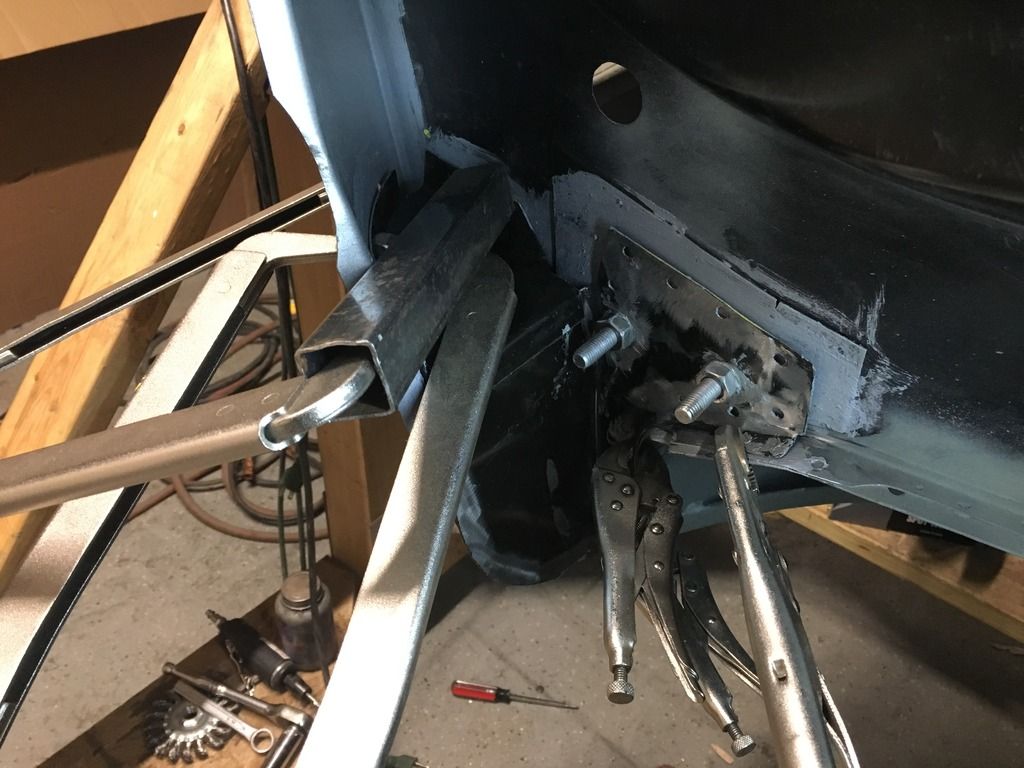
Then I welded in the bracket on the right hand side.
Same as before, bolt it in, mark up where its going to sit.
Lighten it because it will be a race car...
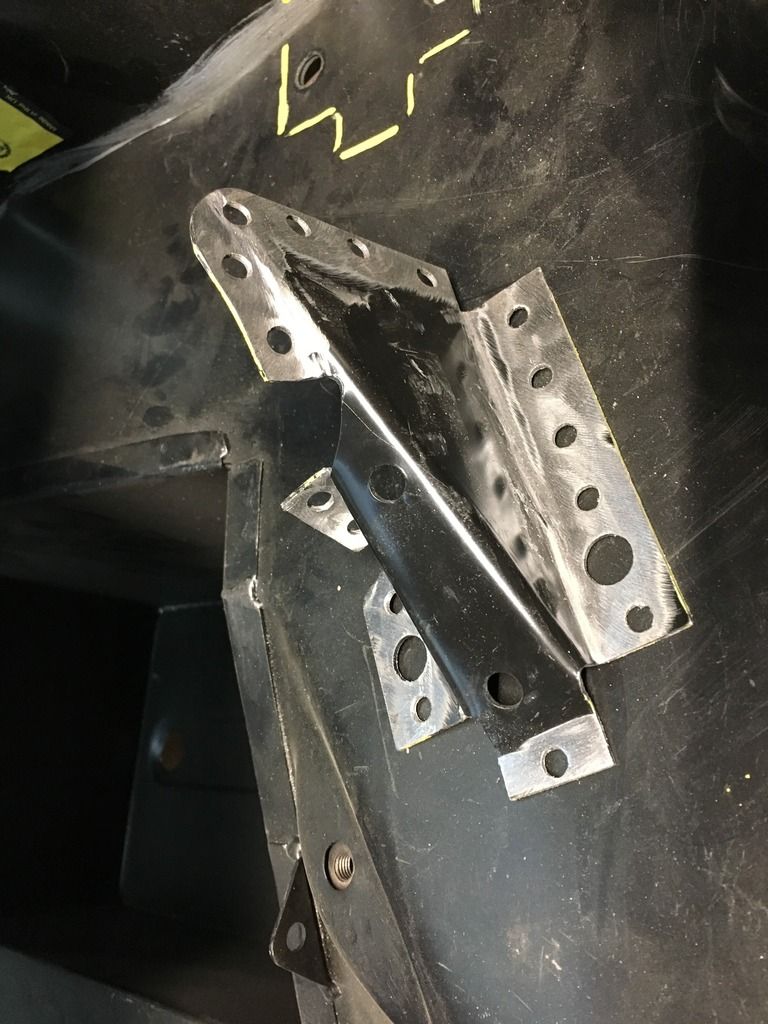
Clean the E coat off
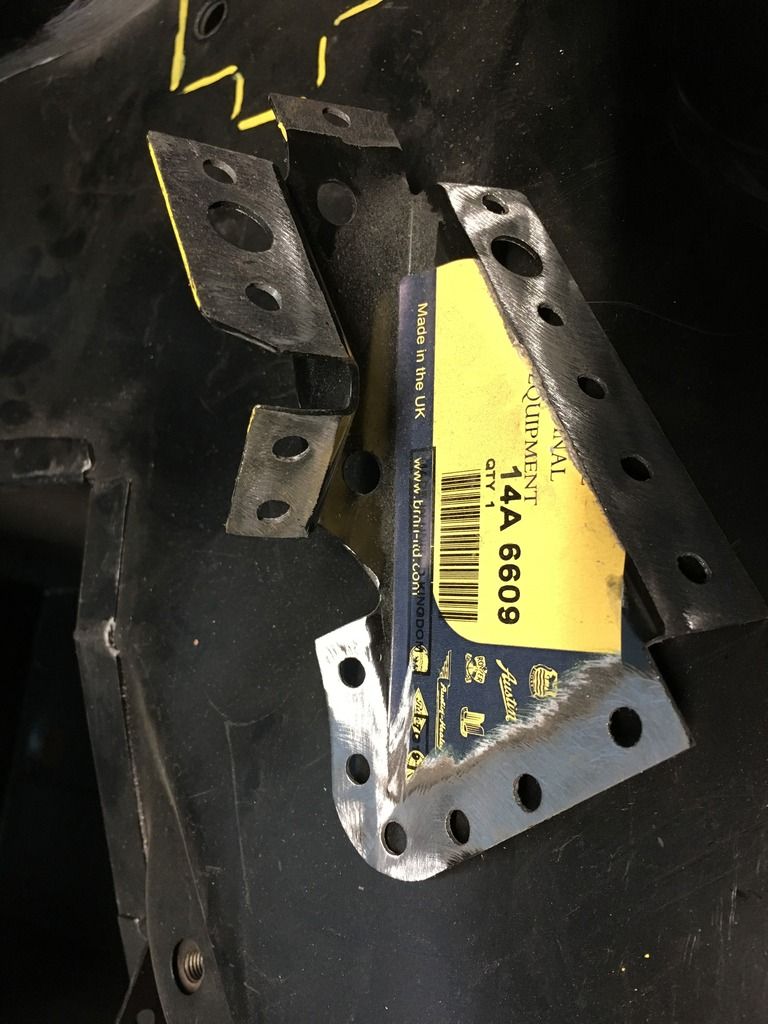
Paint the surfaces with zinc primer
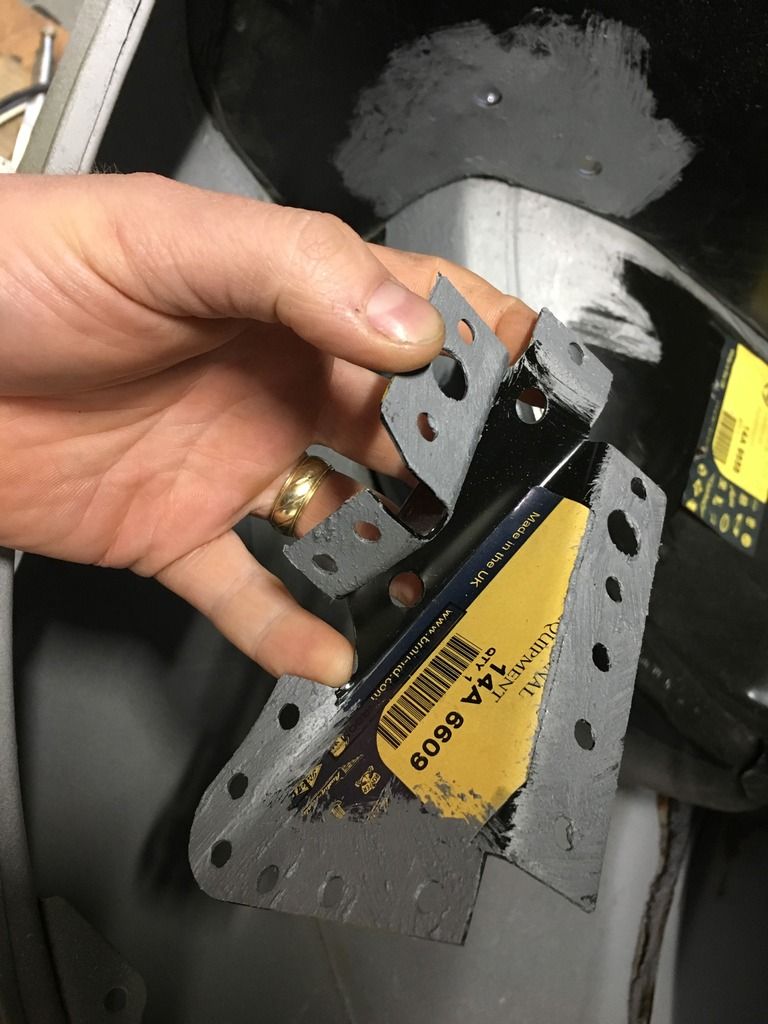
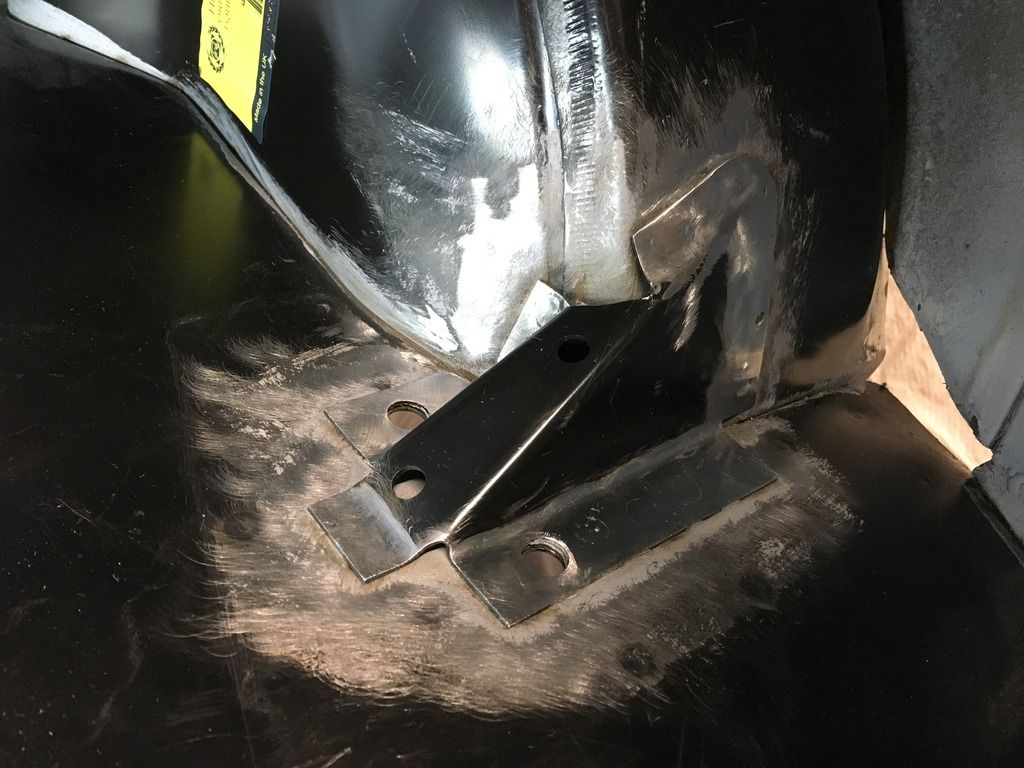
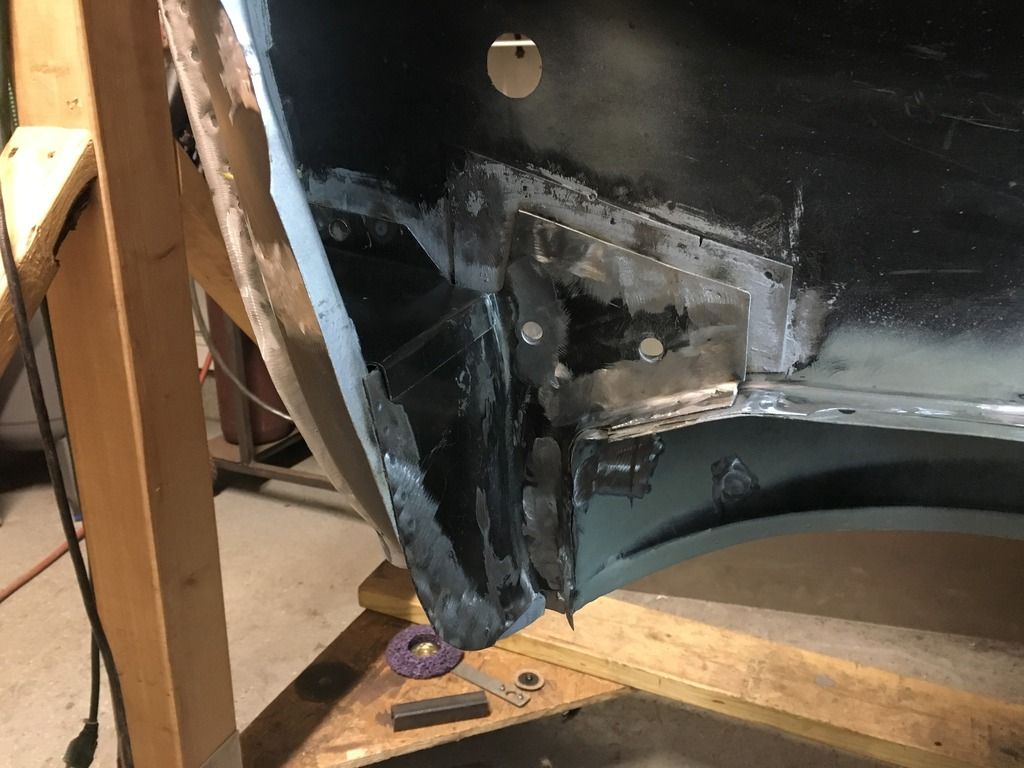
Weld it in.
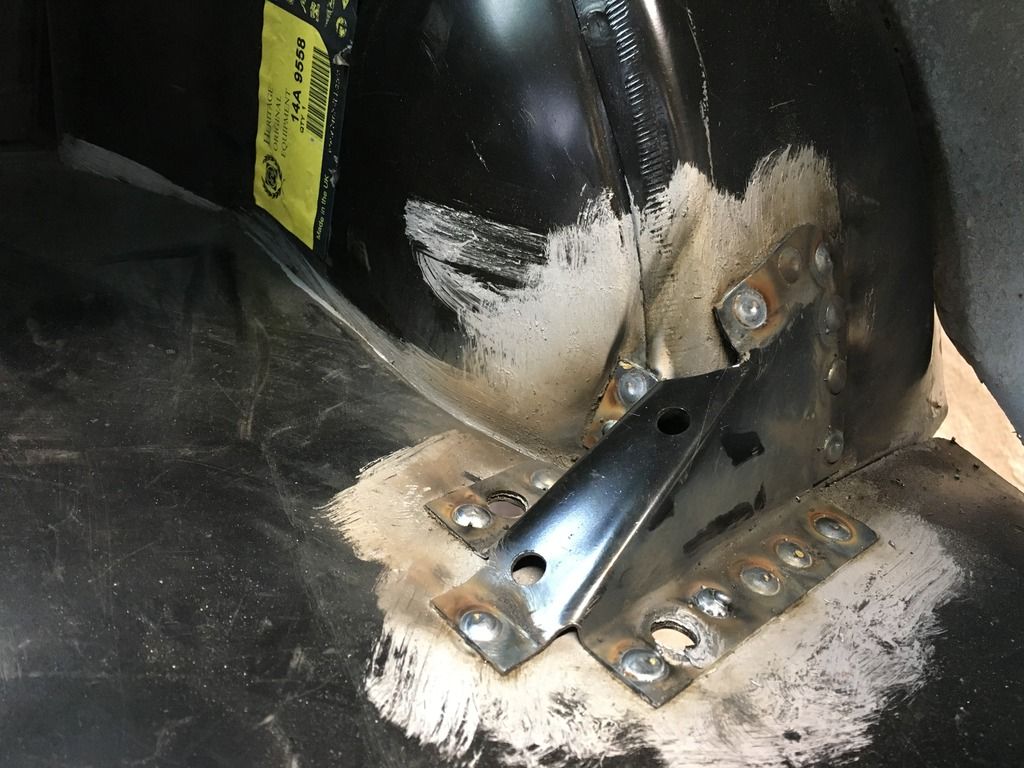
Dress the welds
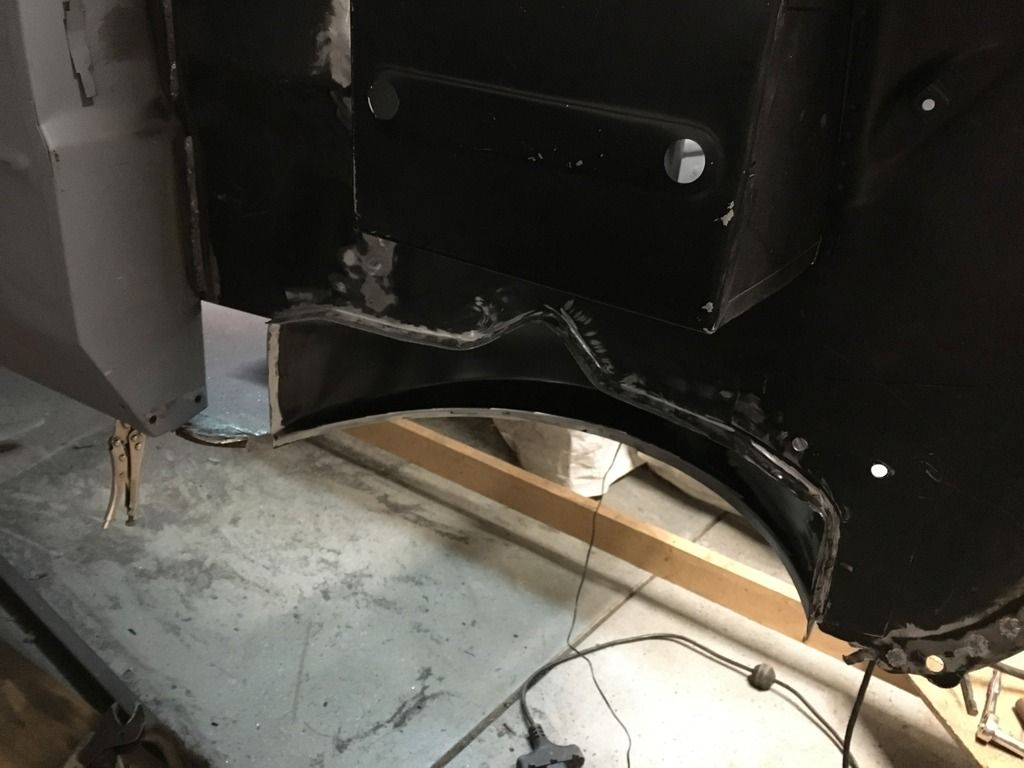
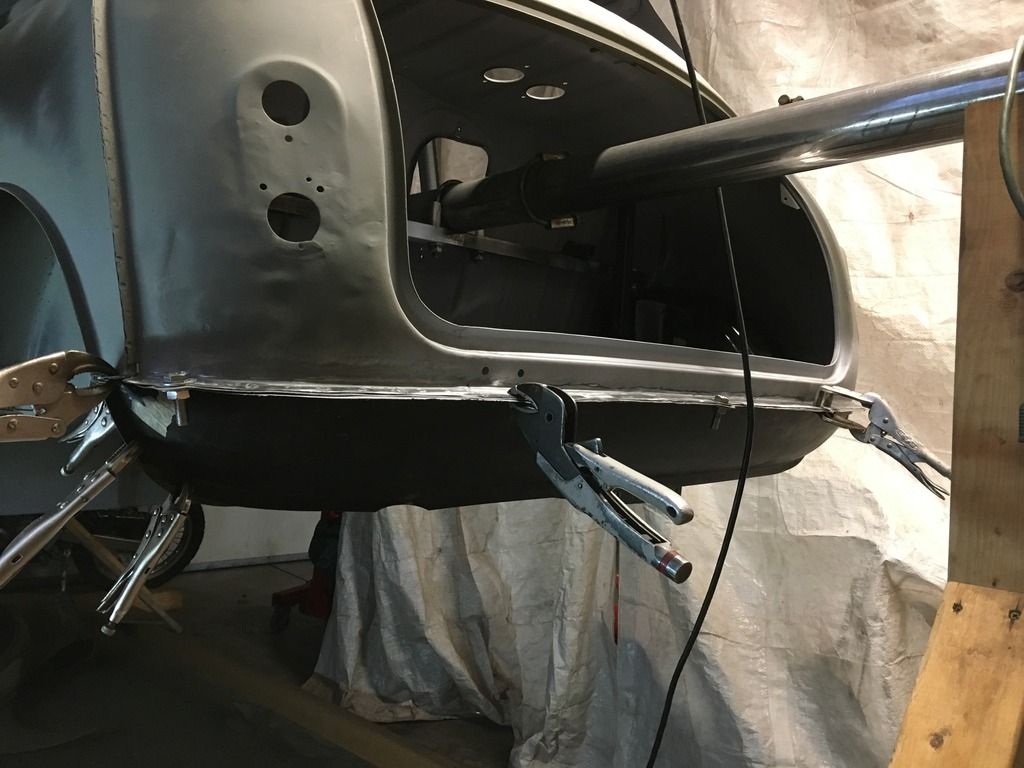
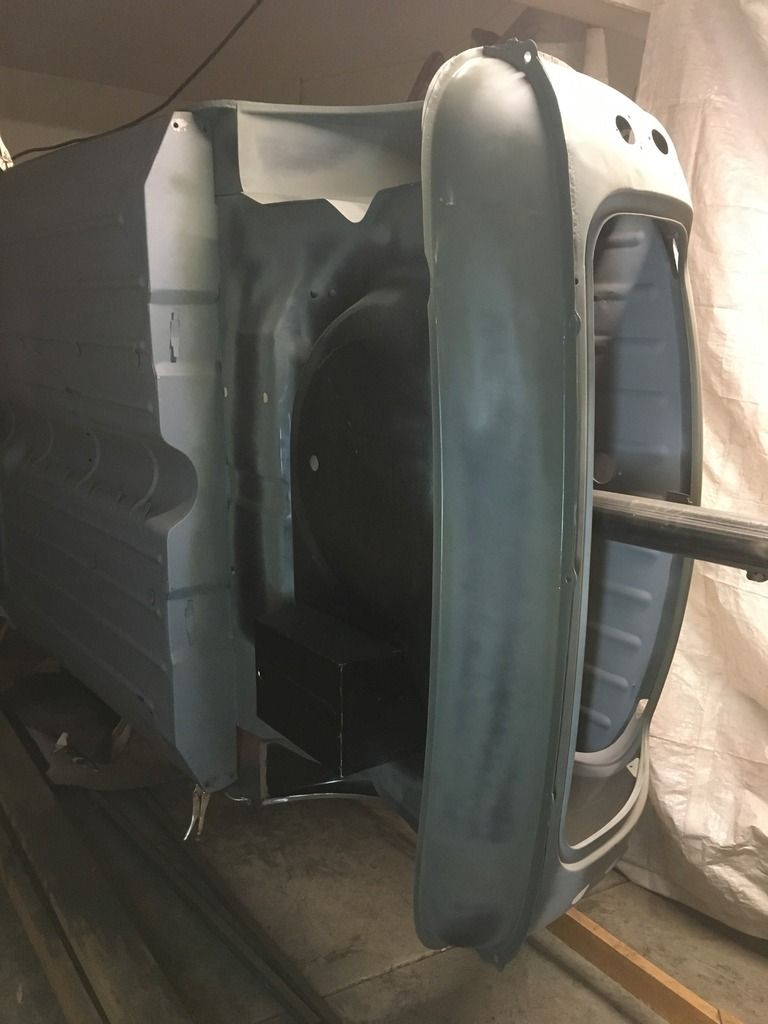
Then I wanted to get the rear valance on and the closing panels.
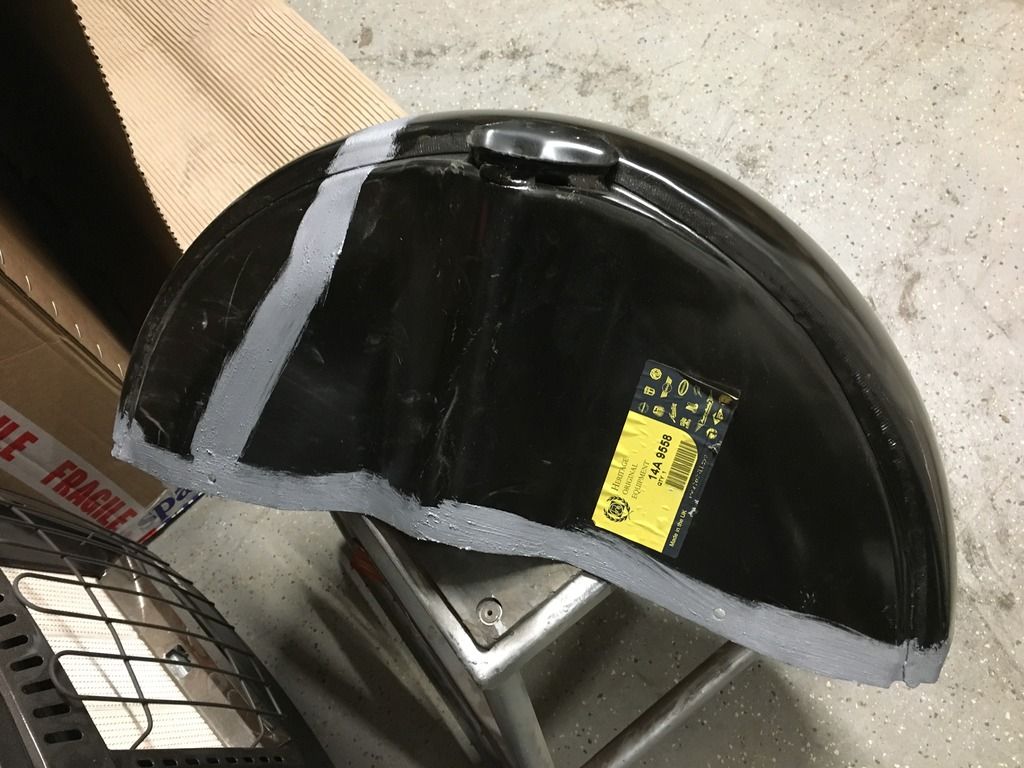
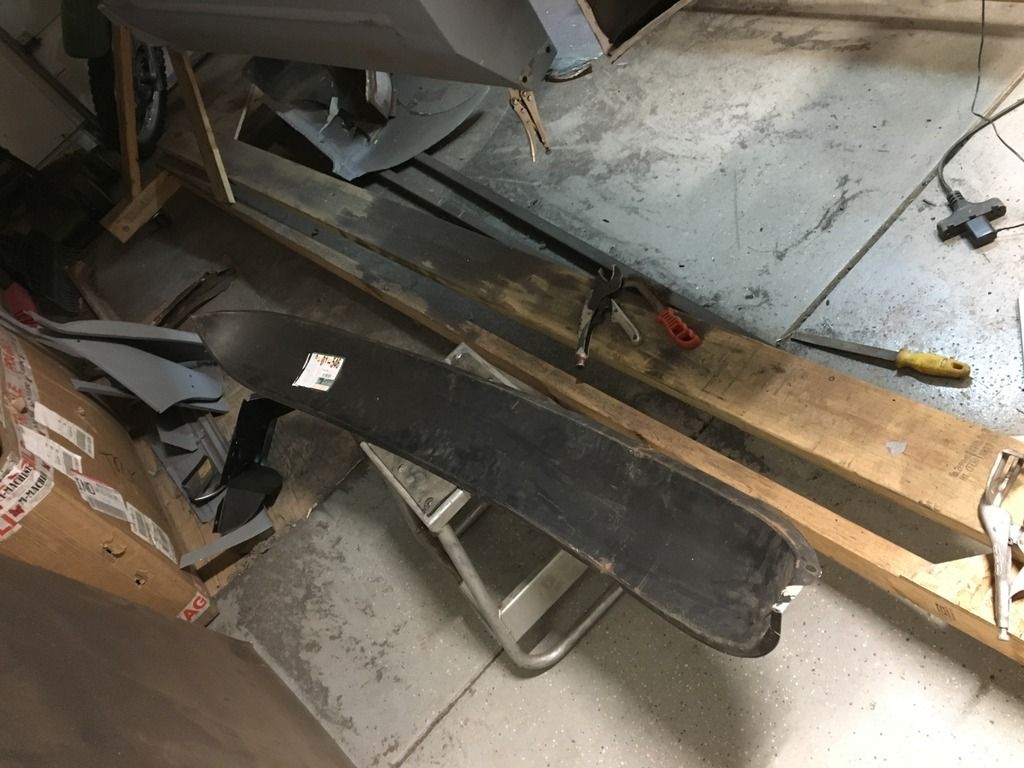
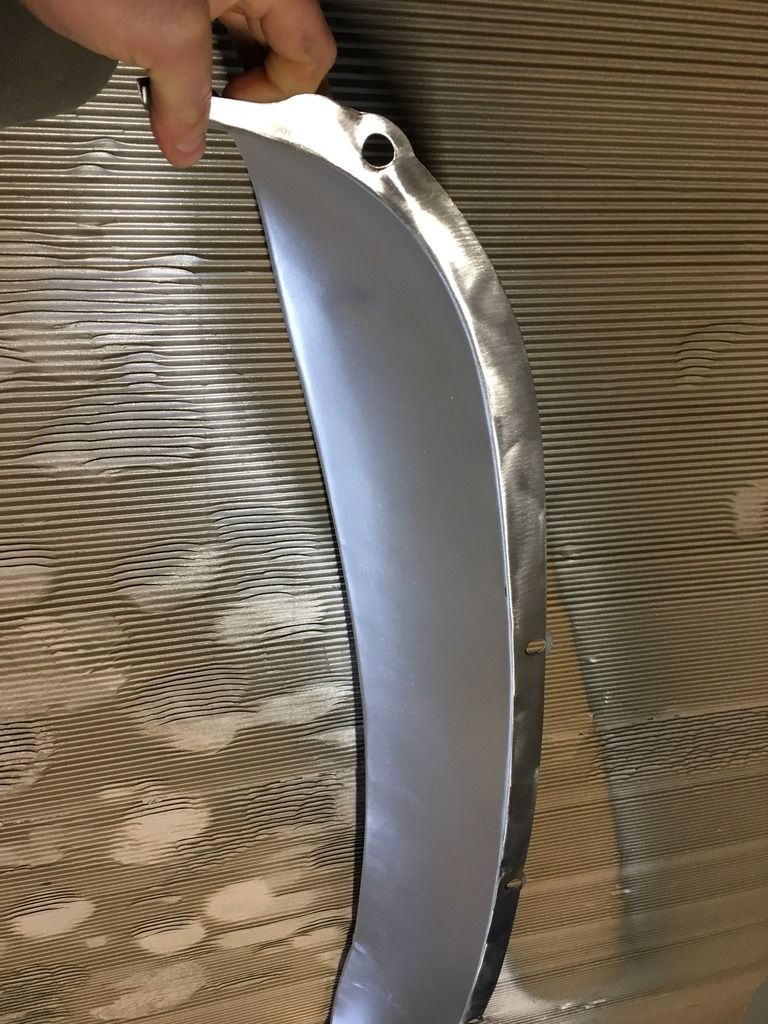
I was given a new valance by a friend and its not a heritage panel but a Hadrian one. The black coating on it was very thin and a little surface corrosion, so needed to come off.
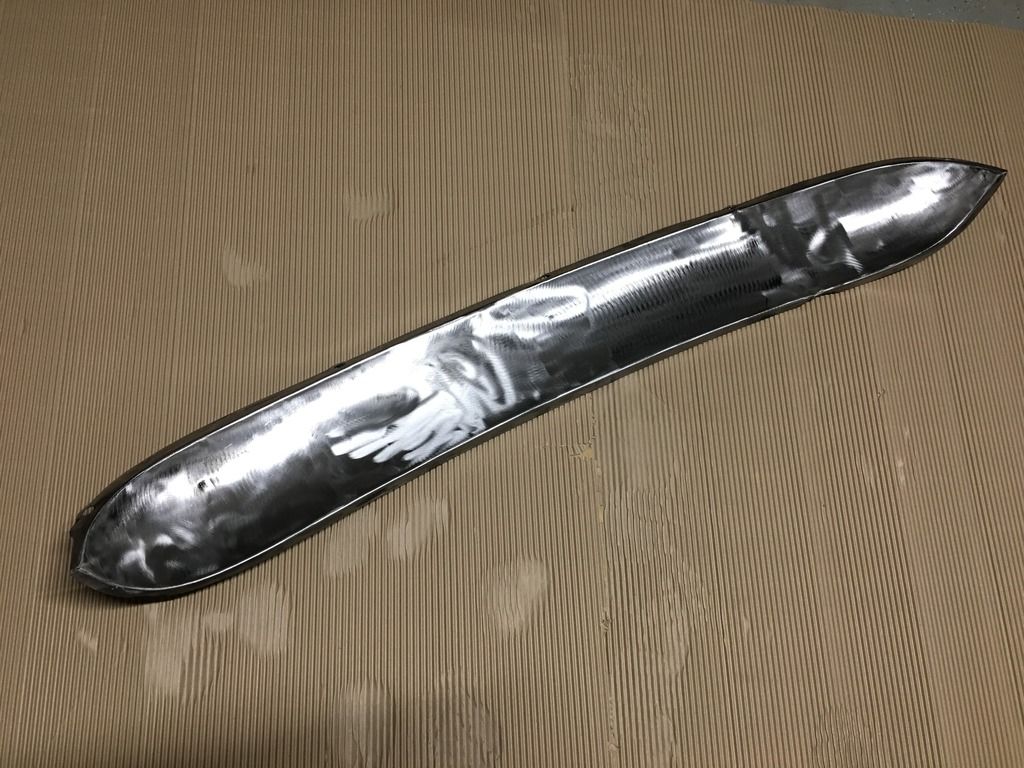
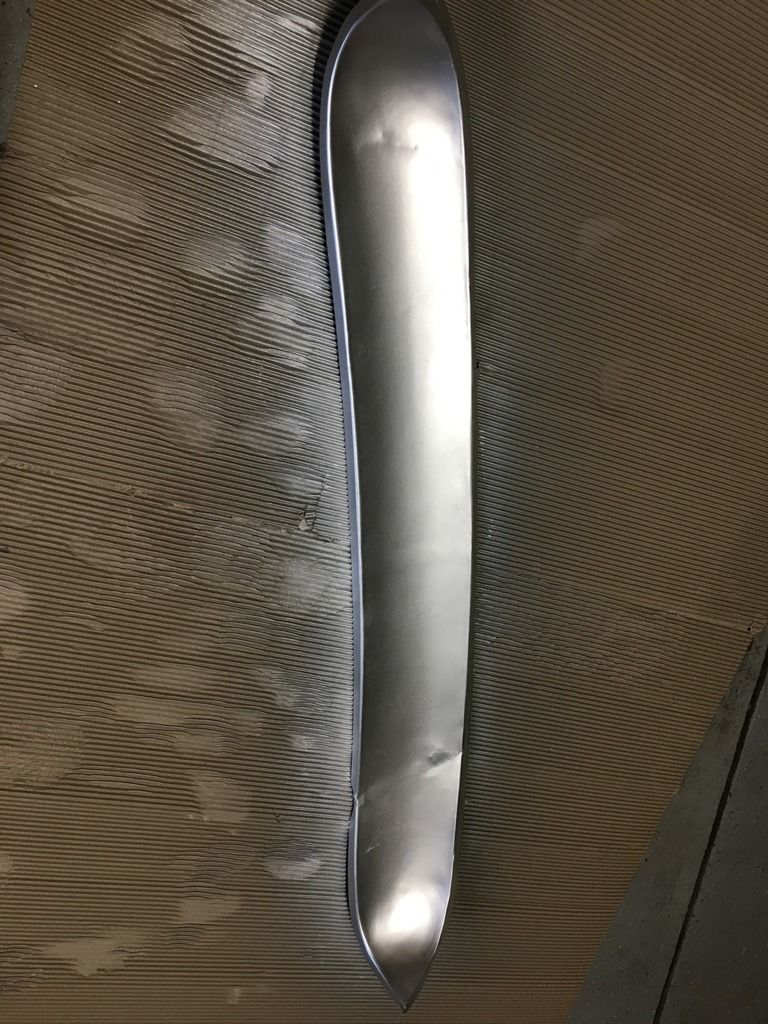
A couple of coats of etch primer.
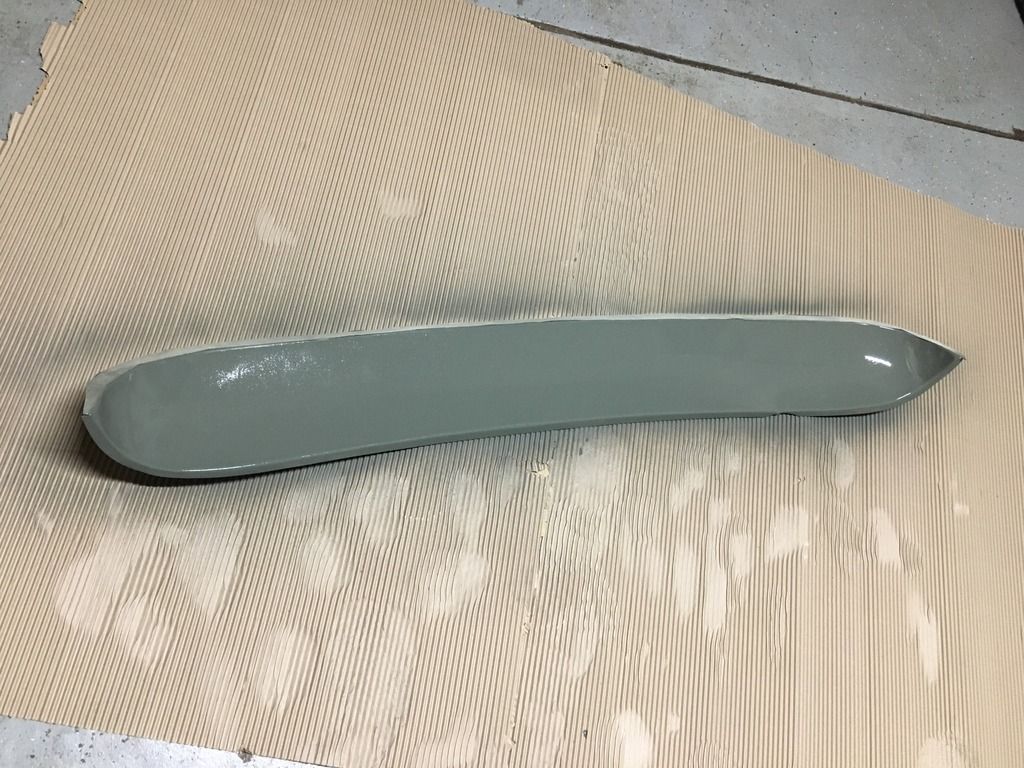
Then a coat of paint, silver as thats all I had, Haha. Its going to get painted over. I wanted to get some top coat inside the closing panels.
Masked off the seam where it will be painted with zimc and welded on.
Then a coat of zinc primer on the boot floor where the valance is going.
Heres the harbor freight spot welder ready to go. Its been great so far.

All welded, very quick and easy, just make sure the surfaces are very clean to make a good contact.

Heres the boot with both arches in.

Then I welded in the bracket on the right hand side.
Same as before, bolt it in, mark up where its going to sit.

Lighten it because it will be a race car...

Clean the E coat off

Paint the surfaces with zinc primer


Weld it in.

Dress the welds

Then I wanted to get the rear valance on and the closing panels.
I was given a new valance by a friend and its not a heritage panel but a Hadrian one. The black coating on it was very thin and a little surface corrosion, so needed to come off.


A couple of coats of etch primer.

Then a coat of paint, silver as thats all I had, Haha. Its going to get painted over. I wanted to get some top coat inside the closing panels.

Masked off the seam where it will be painted with zimc and welded on.

Then a coat of zinc primer on the boot floor where the valance is going.

#140
Chappers
-
- Noobies
-
- 129 posts
Mini Mad
- Location: Columbus, IN
Posted 10 March 2018 - 03:56 AM
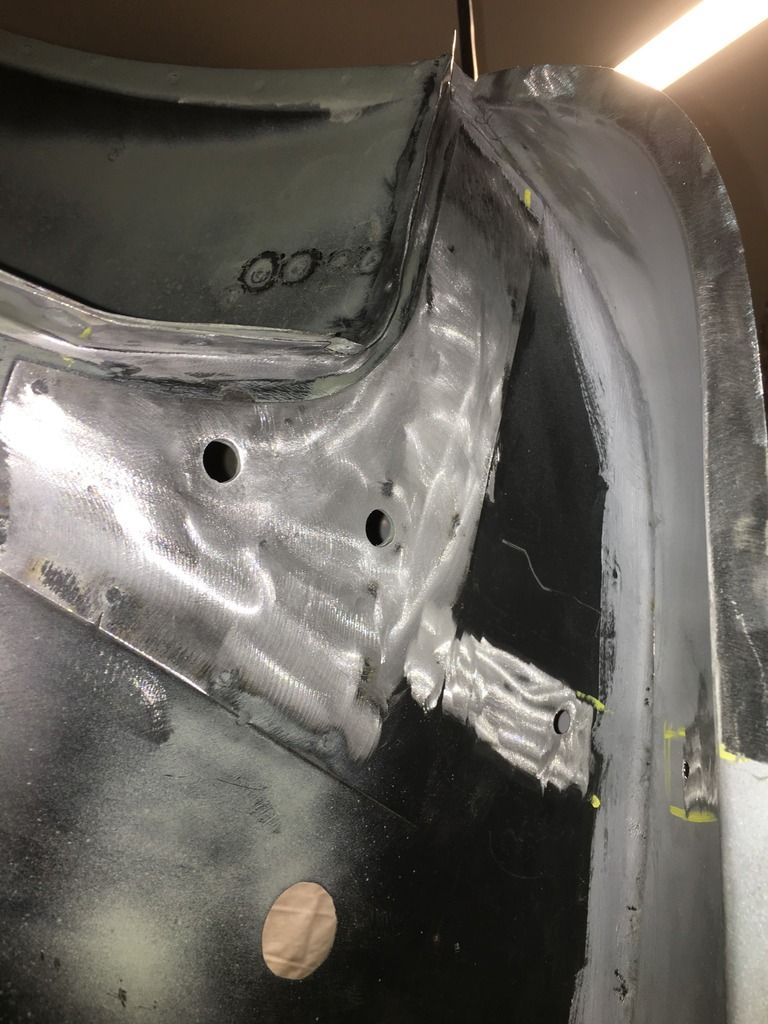
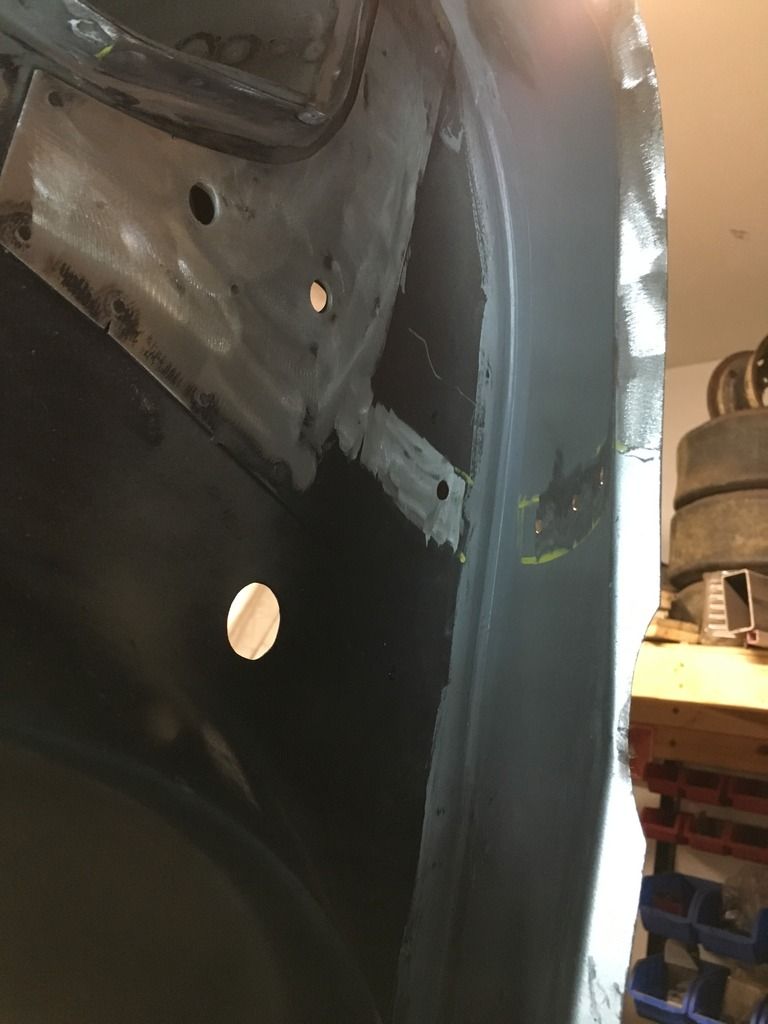
Tonight I finished work a little earlier, everyone was out when I got home, so I could get in the garage and so quite a bit.
Id already removed the extra plate on the balance closing panels by drilling out the spot welds.
So I could bolt them both on to the boot floor.
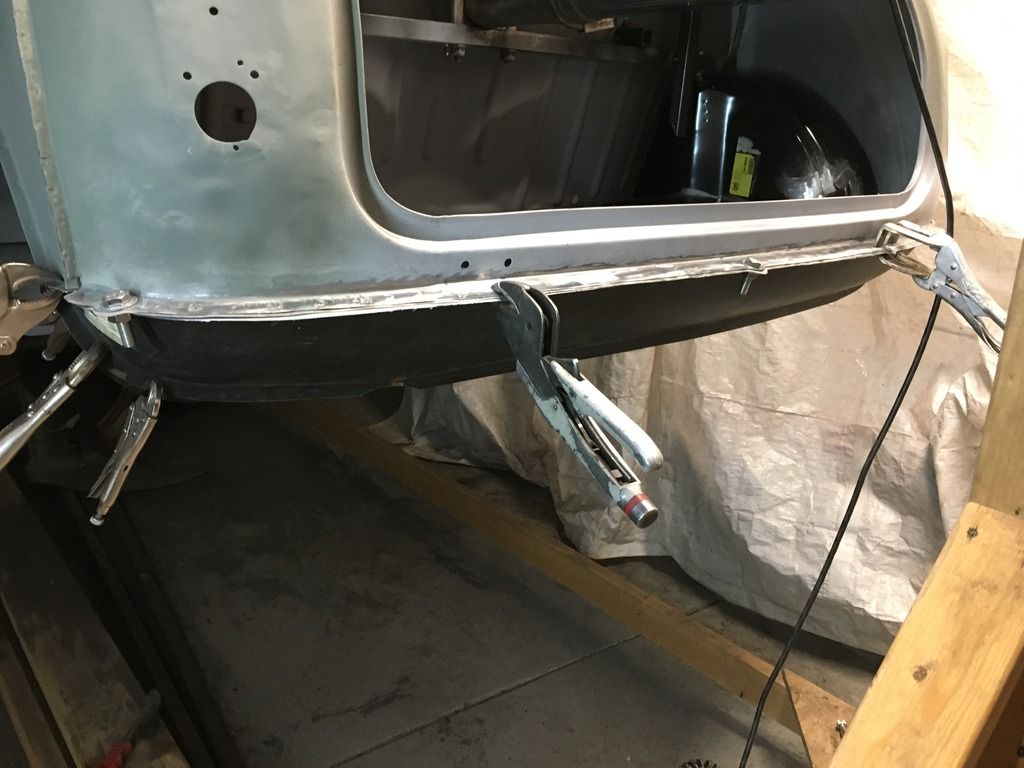
Then I bolted the valance on using the 3 bumper bracket holes and clamped it up.
It ended up fitting quite alright with a bit of fiddling here and there.
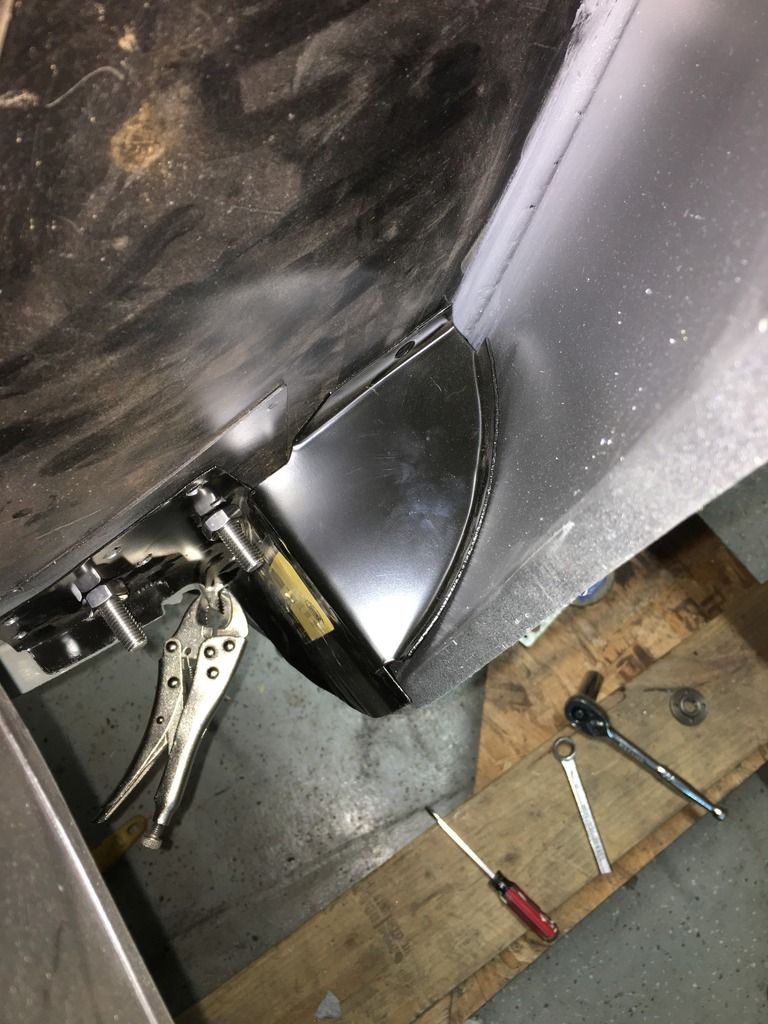
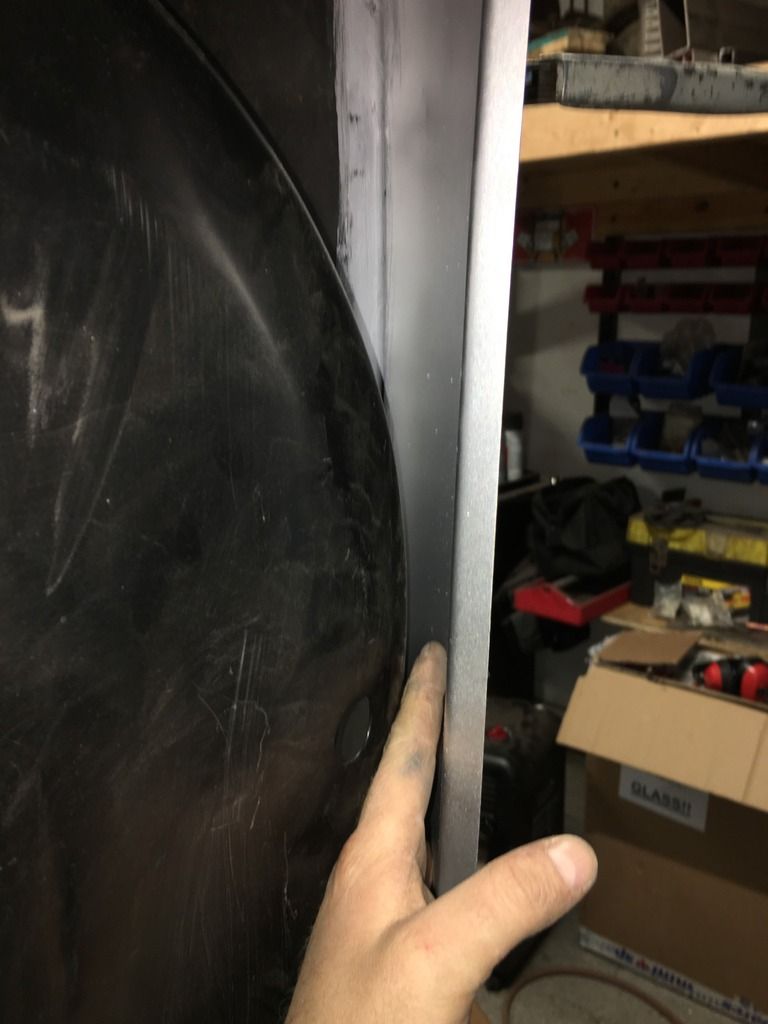
I wanted to make sure the ends line up nicely with the back panel and the quarter panels.
And heres why I prepainted the inside of the panel, lack of access.
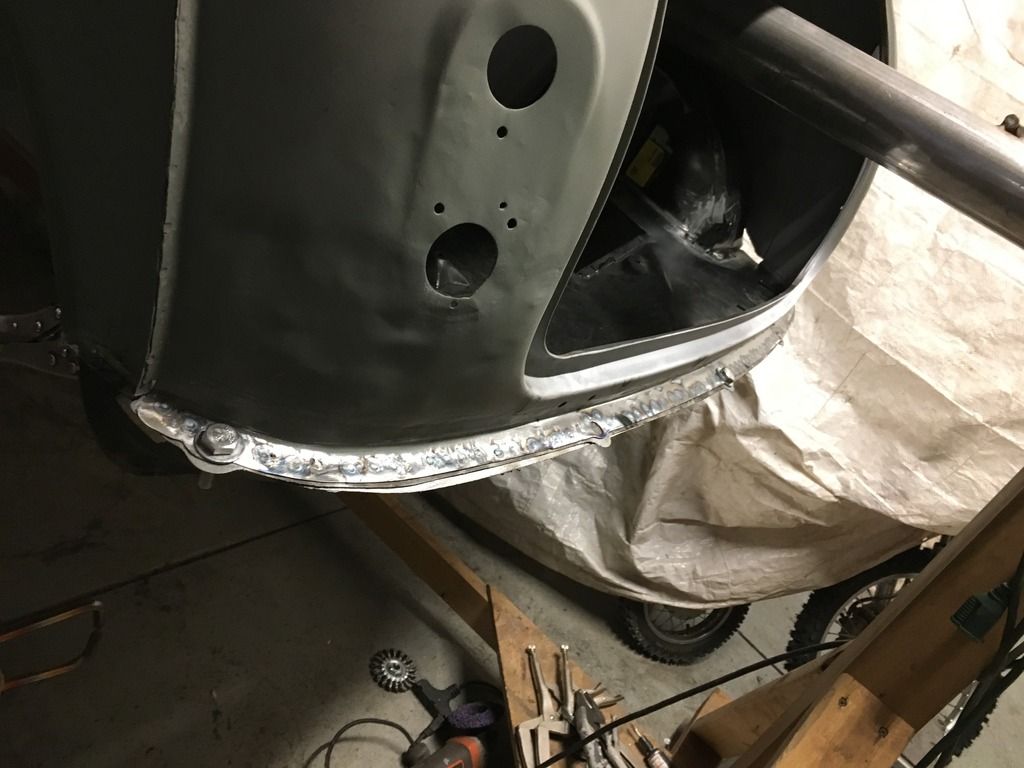
And then the fun bit - about a million spot welds. My right forearm and hand were like jelly after doing this.
Then I could draw around the closing panels.
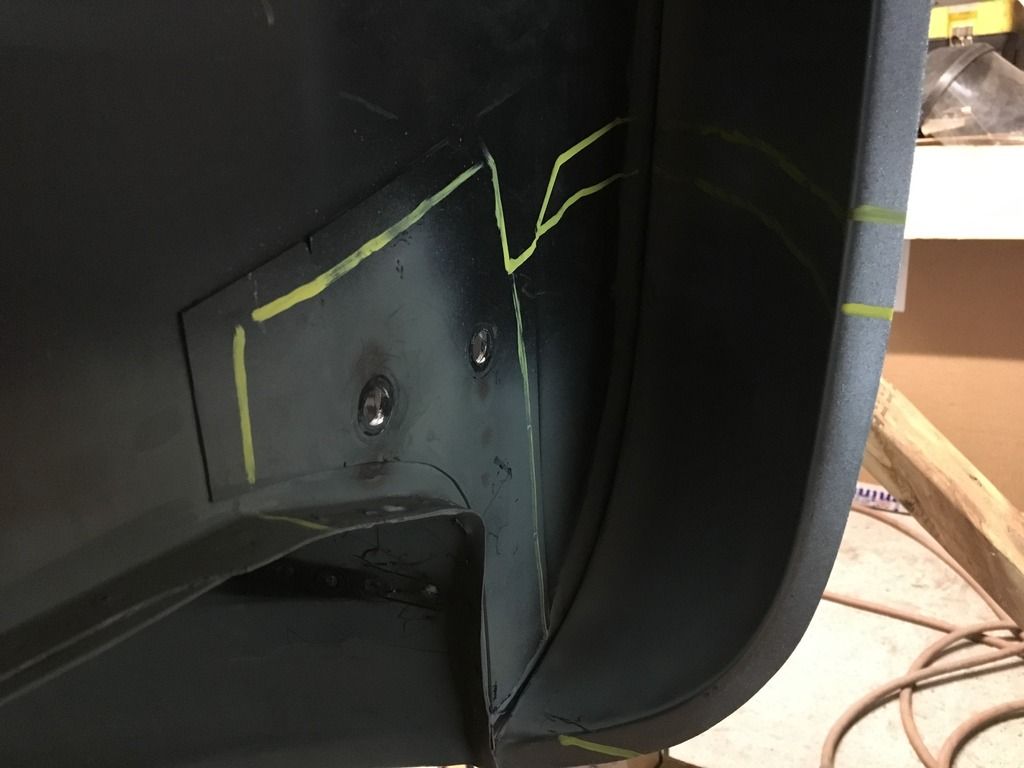
Just the contact areas cleaned to bare metal.

Then zinc primed
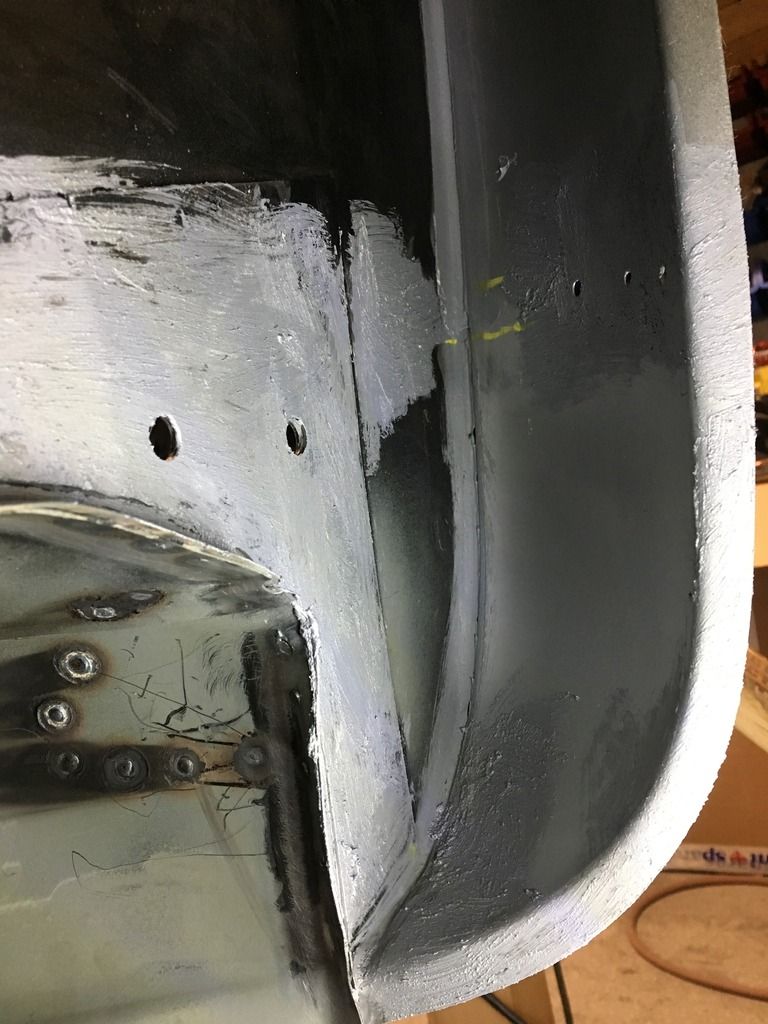
Then I seam sealed at the back of the valance to boot joint. It was hard to get in with the tube/gun where the spare wheel well is, so I used a long flat blade screw driver as an applicator.
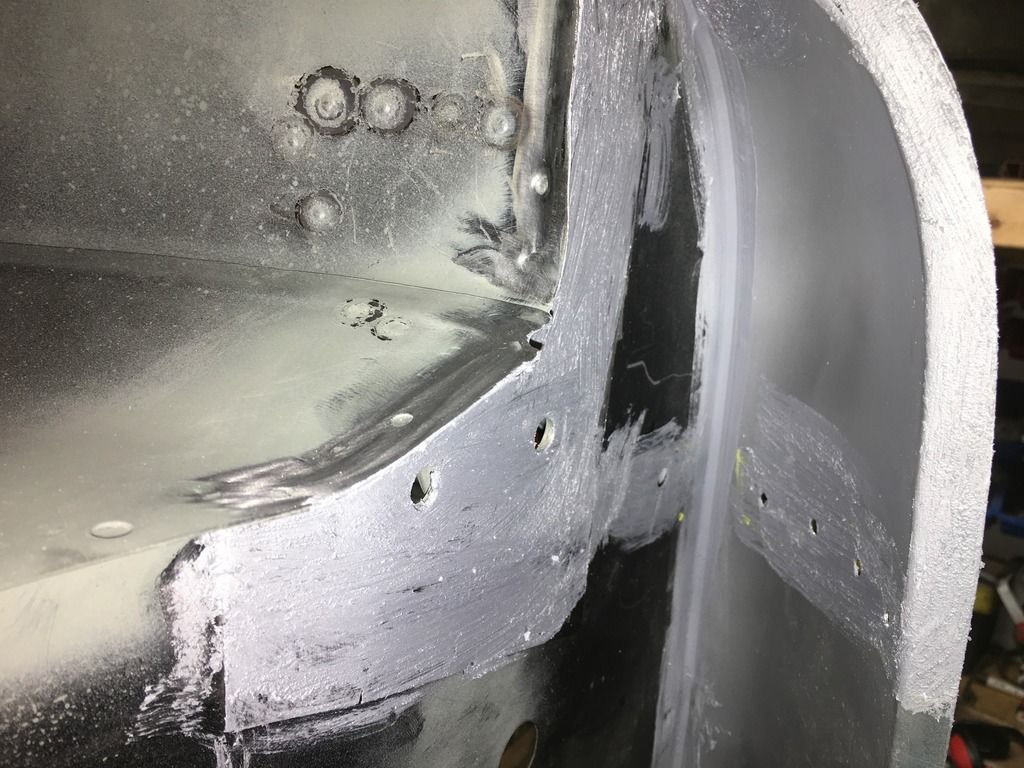
Heres the way I like to clean back to bare metal and not damage the metal. These little surface conditioning discs for the die grinder.
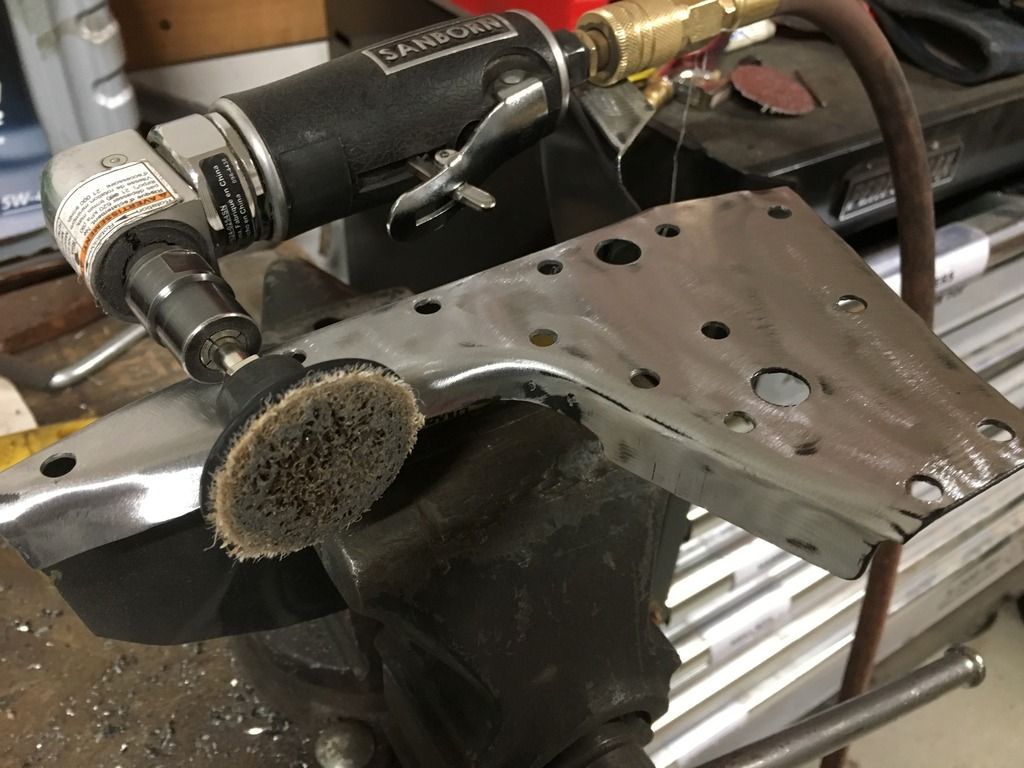
Zinc primed the closing panels
Thats it for tonight.
Id already removed the extra plate on the balance closing panels by drilling out the spot welds.

So I could bolt them both on to the boot floor.


Then I bolted the valance on using the 3 bumper bracket holes and clamped it up.

It ended up fitting quite alright with a bit of fiddling here and there.


I wanted to make sure the ends line up nicely with the back panel and the quarter panels.


And heres why I prepainted the inside of the panel, lack of access.

And then the fun bit - about a million spot welds. My right forearm and hand were like jelly after doing this.

Then I could draw around the closing panels.

Just the contact areas cleaned to bare metal.


Then zinc primed

Then I seam sealed at the back of the valance to boot joint. It was hard to get in with the tube/gun where the spare wheel well is, so I used a long flat blade screw driver as an applicator.

Heres the way I like to clean back to bare metal and not damage the metal. These little surface conditioning discs for the die grinder.

Zinc primed the closing panels

Thats it for tonight.
Edited by Chappers, 10 March 2018 - 04:04 AM.
#141
Chappers
-
- Noobies
-
- 129 posts
Mini Mad
- Location: Columbus, IN
Posted 12 March 2018 - 04:54 PM
Damn, thought I had got away with cheap shipping from mini spares.
Last time someone caught the discrepancy between the online price I paid and the actual overseas cost from DHL before they charged my card.
This time everything went through and I was charged last week with the online shipping price.
Then it went quiet and I didnt hear anything until an e-mail this morning to say they made a mistake and I needed to pay the shipping shortfall.
I just called them and paid it, £100. I thought about protesting but I dont have much choice, its going to be that price whoever I go with.
Again, its my fault I moved so far away. I just factor that into the cost of this restoration l, and I think the cars worth will be greater at the end of all this anyway.
I did a bit at the weekend, so will update the build thread with photos tonight.
#142
Chappers
-
- Noobies
-
- 129 posts
Mini Mad
- Location: Columbus, IN
Posted 12 March 2018 - 04:56 PM
Double post
Edited by Chappers, 12 March 2018 - 05:09 PM.

#144
Chappers
-
- Noobies
-
- 129 posts
Mini Mad
- Location: Columbus, IN
Posted 13 March 2018 - 02:14 AM
Thanks fiestaharry! Im loving your work, keeping an eye on your updates to give me ideas how to tackle my next panels!
#145
Chappers
-
- Noobies
-
- 129 posts
Mini Mad
- Location: Columbus, IN
Posted 13 March 2018 - 02:33 AM
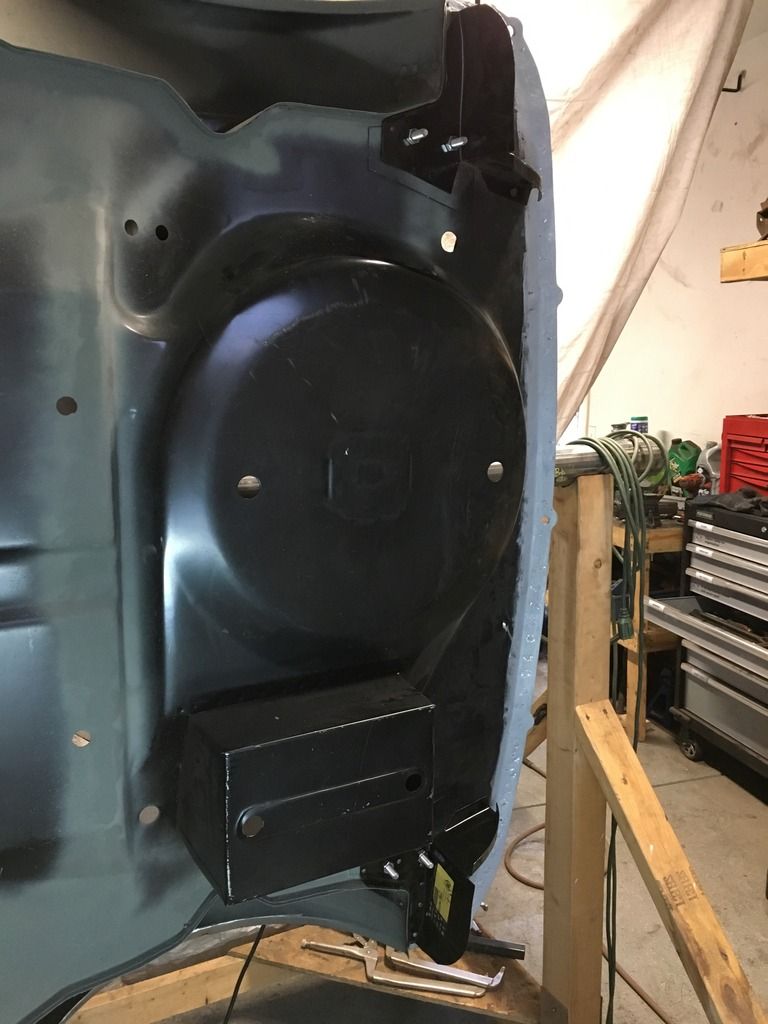
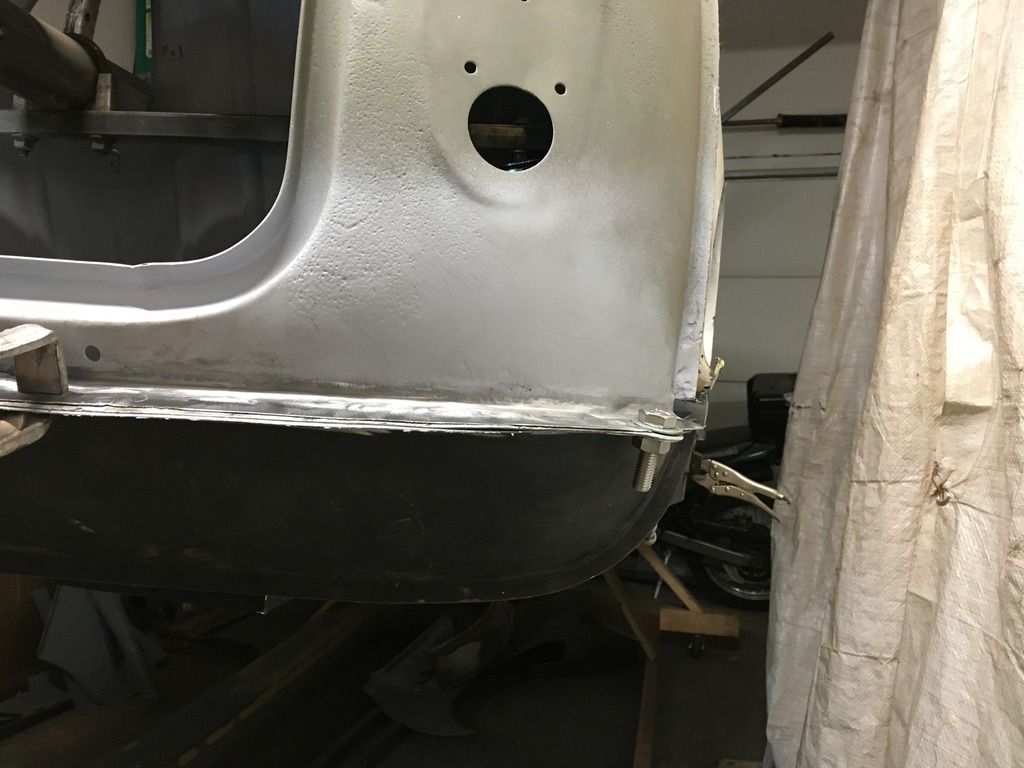
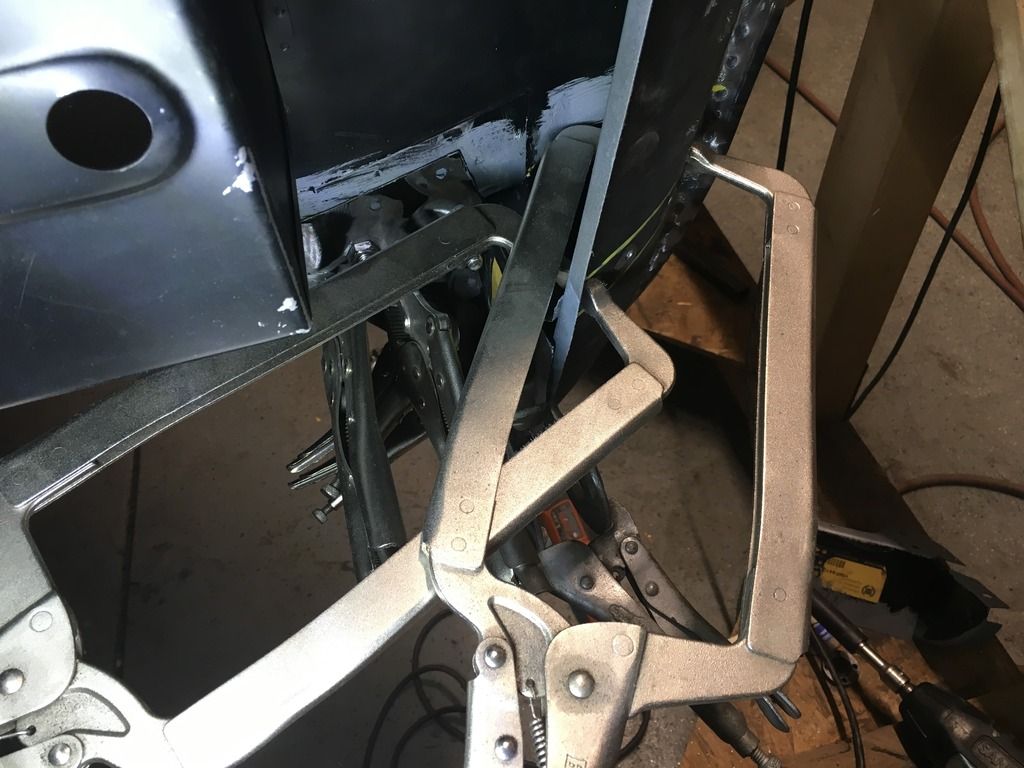
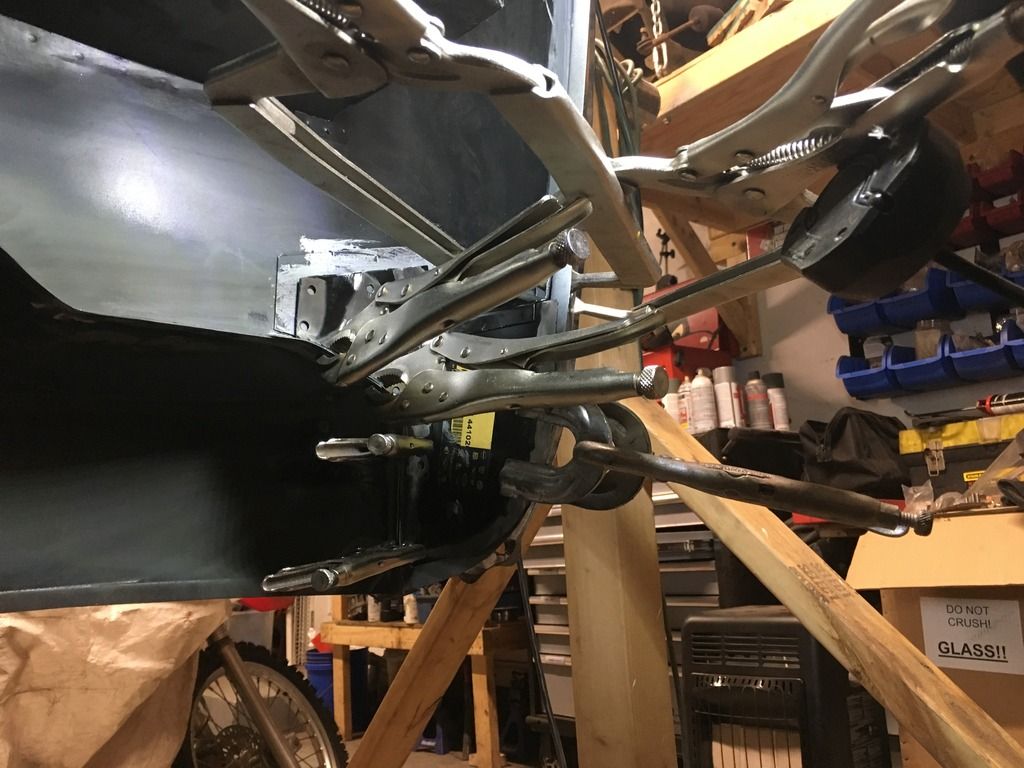
Got the valance closing panels welded in tonight.
Holy clamp overload Batman!
Plug welded and spot welded on
A couple plug welds on the valance.
And a couple in the boot floor.
That was the one side, then onto the other side. Luckily I can just flip the car over.
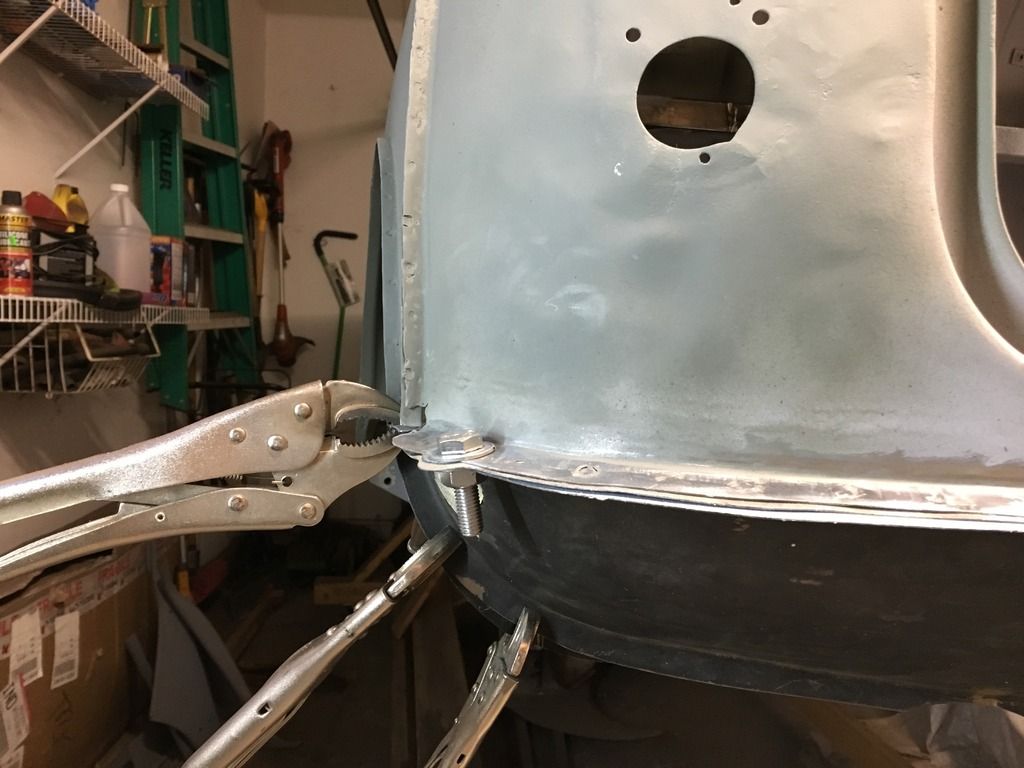
Clamped up
Plug welded and spot welded.
Welds ground down.
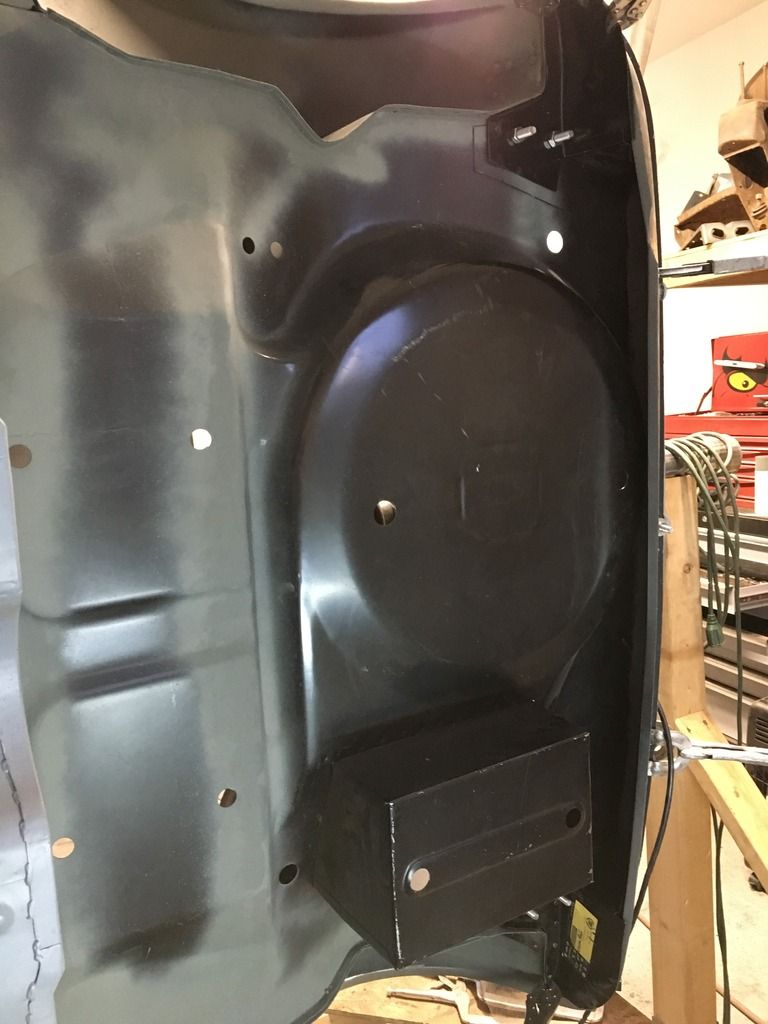
Threw some etch primer on both sides
And the valance.
Inside the boot.
And on the brackets

DHL tracking says the Mini Spares inner wings will arrive Wednesday.
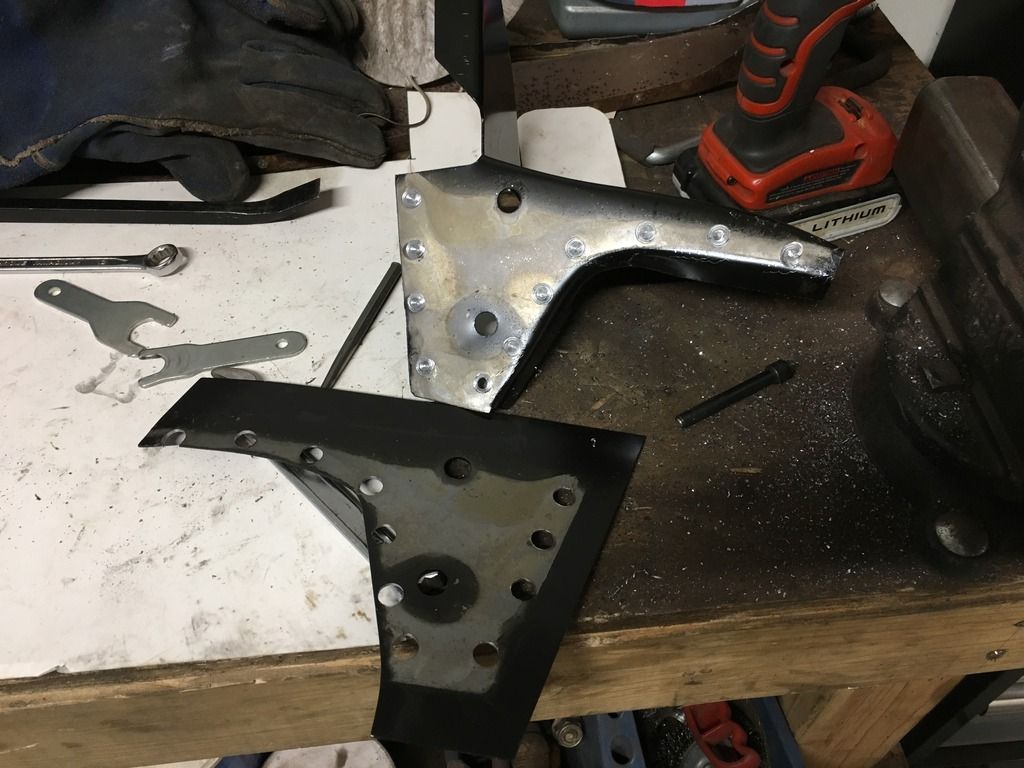
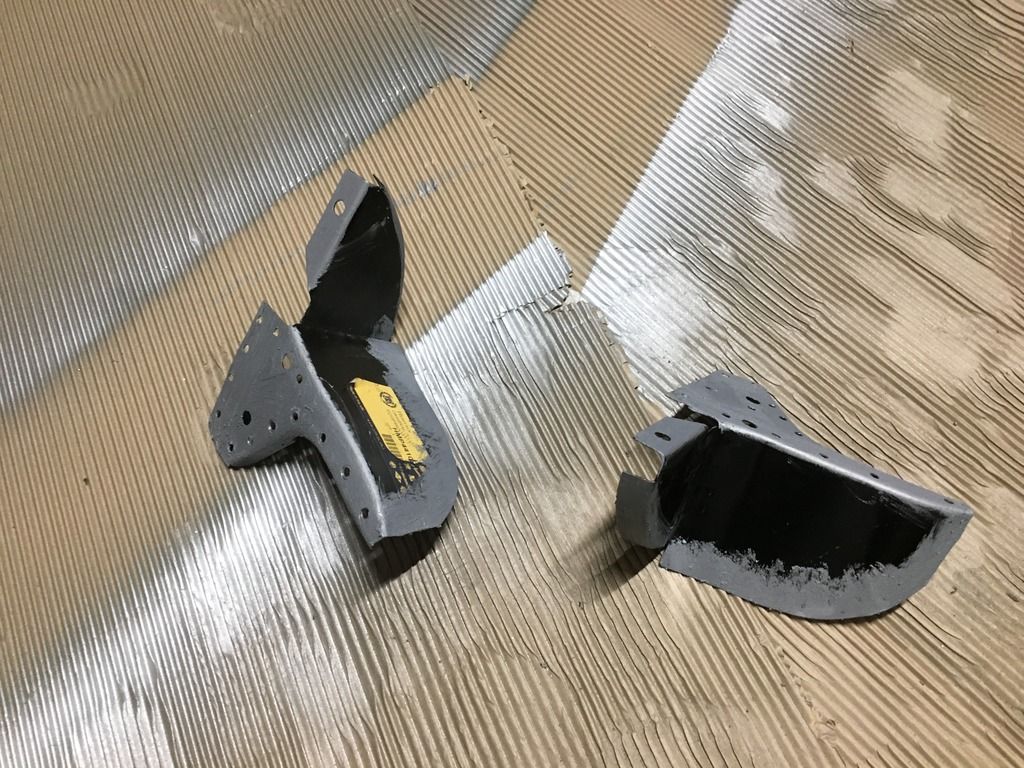
So in the meantime Im going to turn my attention to refurbishing a few of the small panels that I removed almost at the very beginning of this build. As Ive been putting them off....
Holy clamp overload Batman!


Plug welded and spot welded on

A couple plug welds on the valance.

And a couple in the boot floor.

That was the one side, then onto the other side. Luckily I can just flip the car over.

Clamped up


Plug welded and spot welded.

Welds ground down.

Threw some etch primer on both sides


And the valance.

Inside the boot.

And on the brackets


DHL tracking says the Mini Spares inner wings will arrive Wednesday.
So in the meantime Im going to turn my attention to refurbishing a few of the small panels that I removed almost at the very beginning of this build. As Ive been putting them off....
#146
jchomme
-
- Noobies
-
- 99 posts
Stage One Kit Fitted
- Location: Georgia
Posted 13 March 2018 - 06:44 PM
Wow, great progress. When I accomplish a task, I am proud of myself, until I see what you've been getting done.
I wish I went full floor, because Ive had to do some fabricating of brackets and such and it takes forever!
#147
minimans
-
- Members
-
- 411 posts
Speeding Along Now
- Location: Bay Area San Fransico
Posted 13 March 2018 - 09:12 PM
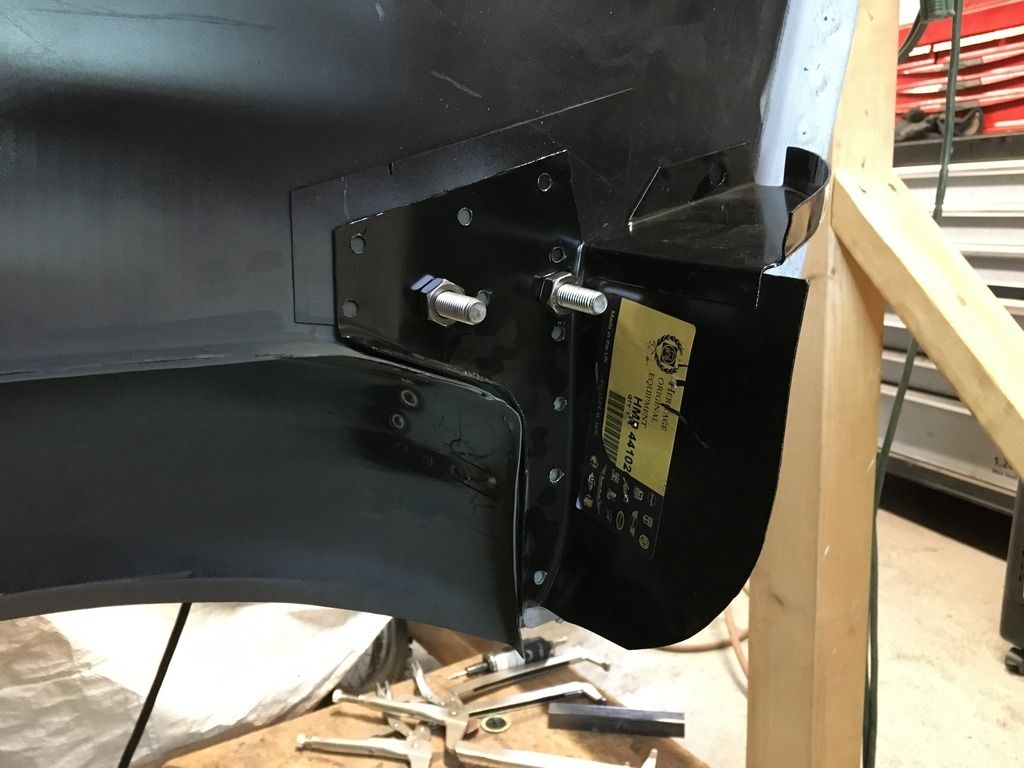
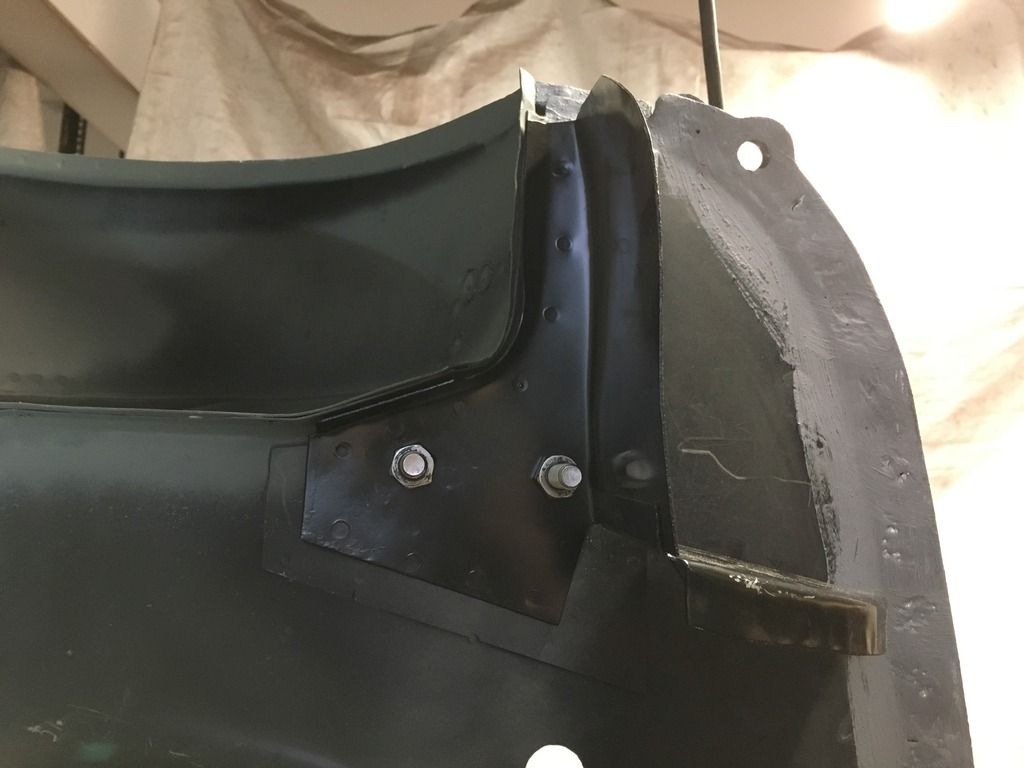
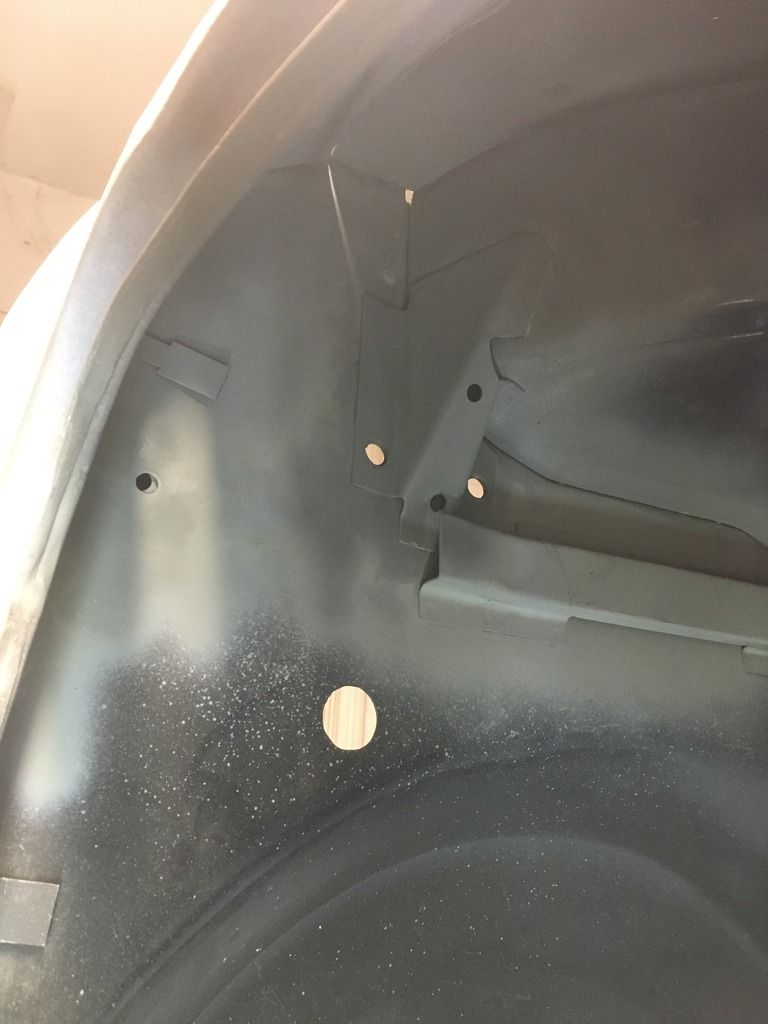
I hate to say this but arn't they the wrong closing panels for a 60? On the early cars there is no return actually closing off the valence?
 IMG_1579(2).JPG 79.22K
1 downloads
IMG_1579(2).JPG 79.22K
1 downloads
#148
Kaj
-

- Noobies
-
- 129 posts
Mini Mad
- Location: Kilmarnock
Posted 14 March 2018 - 05:26 PM
Fantastic build diary. Can't believe you're bringing this old timer back from the grave.
Great fabrication skills. It will live on for many years when it's done.
I've used Heritage panels on my Mini and they are worth the extra cost everytime. I would keep as much of the ecoat as possible because it provides good rust protection.
Great fabrication skills. It will live on for many years when it's done.
I've used Heritage panels on my Mini and they are worth the extra cost everytime. I would keep as much of the ecoat as possible because it provides good rust protection.
Edited by Kaj, 14 March 2018 - 05:27 PM.
#149
Chappers
-
- Noobies
-
- 129 posts
Mini Mad
- Location: Columbus, IN
Posted 15 March 2018 - 07:10 PM
Has anyone converted mk3 rear opening windows to mk1 style piano hinge?
I found a pair of mk3 windows locally, when I say locally they are 500 miles away in Canada, near Niagara Falls. And as I havent been there yet, I convinced the wife we should take a trip up there and collect the windows while were at it.
Ive seen mk1 windows on eBay UK, but they are £200 and I dont want to chance shipping.
I can buy stainless steel piano hinge from McMaster Carr.
Does anyone have a good detailed picture of the mk1 window hinges?
#150
minimans
-
- Members
-
- 411 posts
Speeding Along Now
- Location: Bay Area San Fransico
Posted 15 March 2018 - 07:18 PM
I'll get some pictures for you tonight. I may have a pair of windows here. I think trying to modify MKIII will be a real pain in the arse!


4 user(s) are reading this topic
0 members, 4 guests, 0 anonymous users


