Mig or Tig welder
Welding mask and gauntlets
Grinder with a metal grinding disc and a softpad with 36 grit discs
Eye protection
Panel hammer
Flat dolly
Welding grips
Tin snips
Air hacksaw and /or cutoff saw
Air file/power file
Large cross head screwdriver
Drill
Spot weld cutter drill bit
Sharp panel chisel
Thick gloves
I used a non genuine door skin, as I had one lying around, but it's really not worth it.
It took alot more effort to fit than a genuine one would, so I'd suggest you help yourself
by buying a genuine skin!
Firstly, place your door facing up on a flat stable surface, ideally a trestle at a suitable
working height, but I guess you could do it on the floor if you didn't have a trestle.
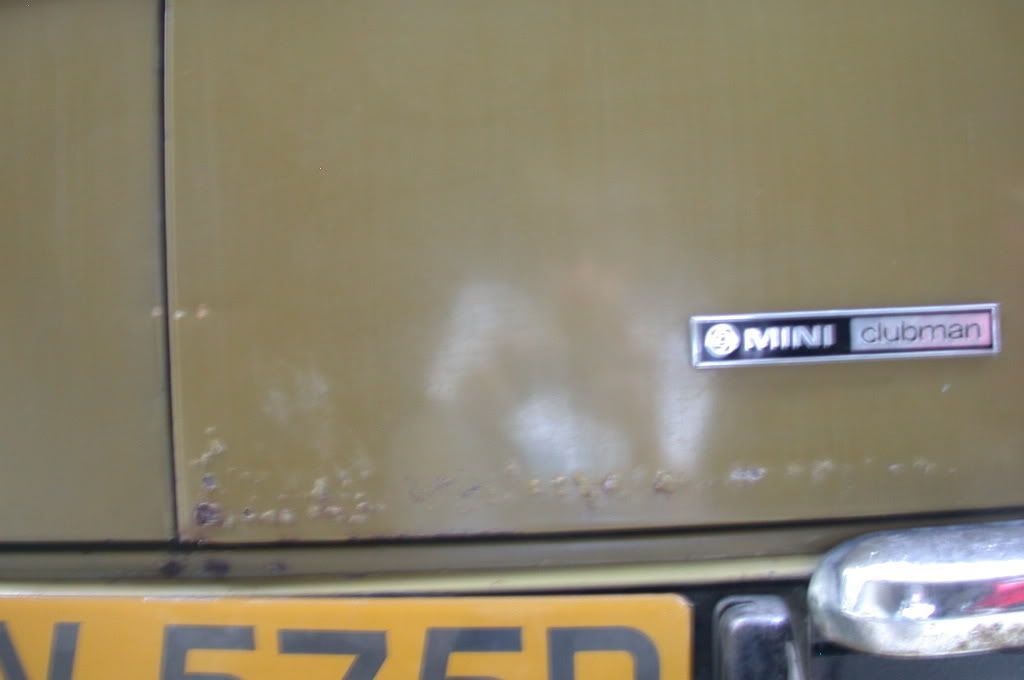
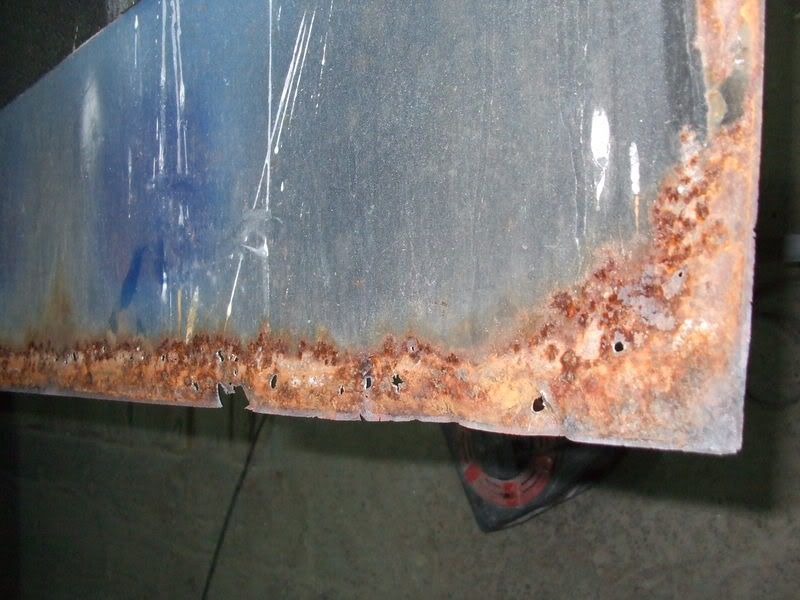
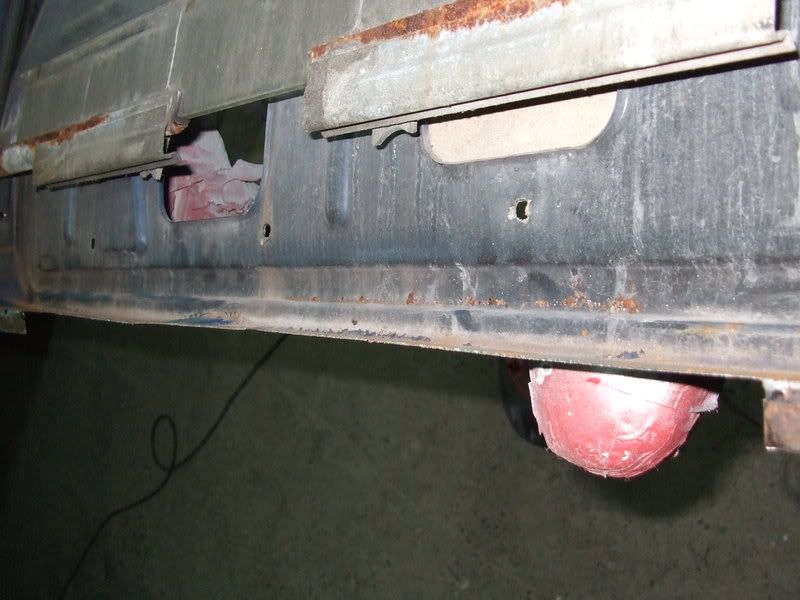
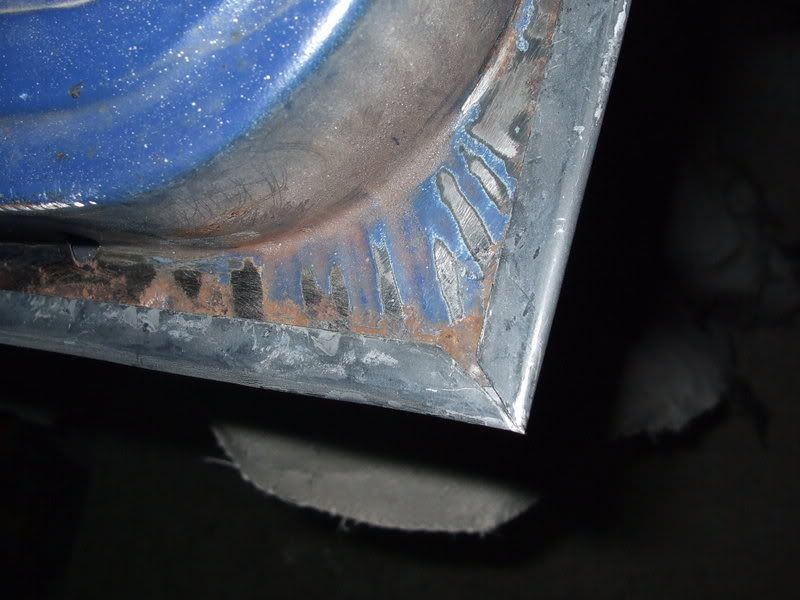
I initially thought this door was ok, but I could tell there was filler in it, so I ground it
all out and was met with rust holes all along the bottom of the skin. This is the place
where they usually tend to go.
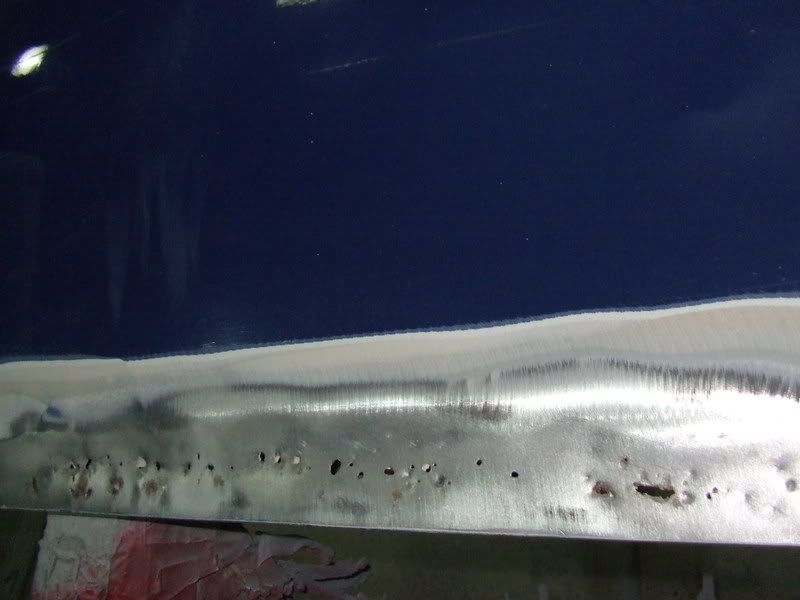
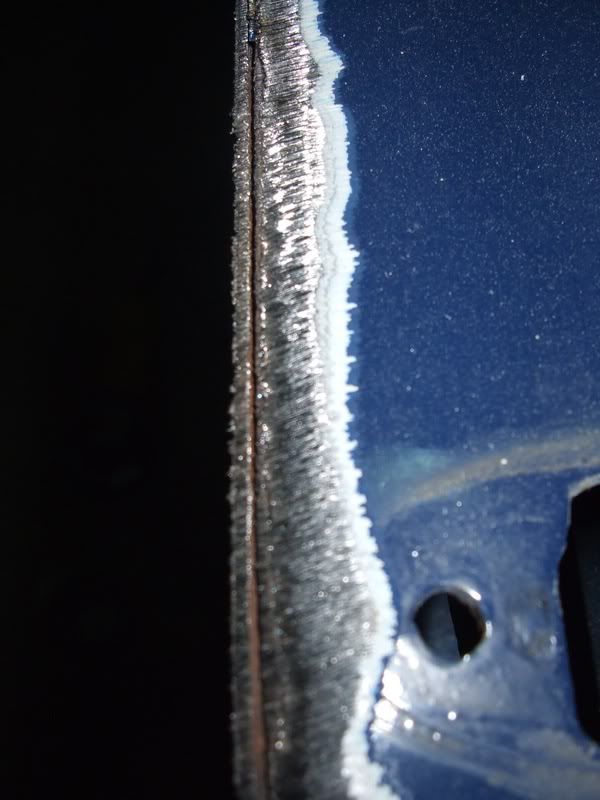
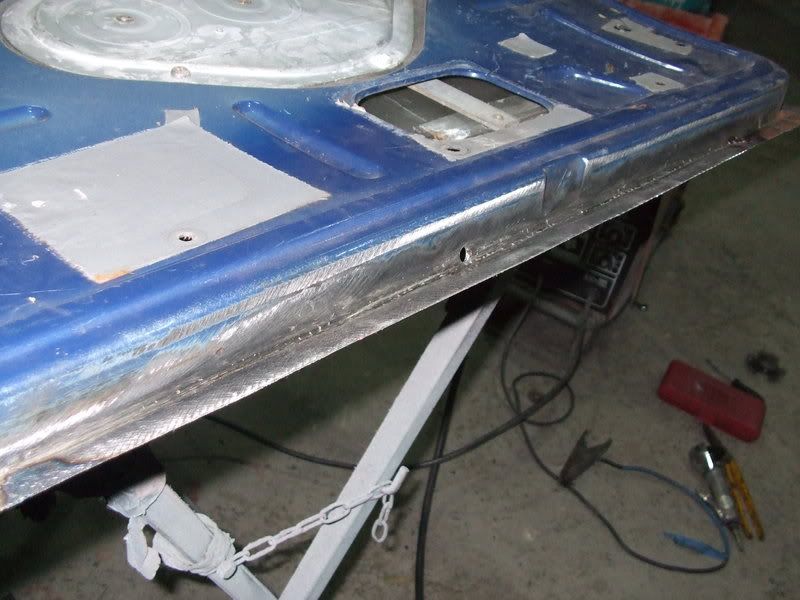
Using a grinder with a metal grinding disc,(NEVER grind with a cutting disc they can
shatter and cause serious injury!) start grinding away the edges of the skin, at an
angle like this -
This ensures that you don't end up grinding through the inner frame.
Remove enough material from around the edges of the door skin until it looks like this, -
until you start seeing the skin coming away from the frame. Grind any further and you'll
start grinding into the inner frame, which isn't a good idea!
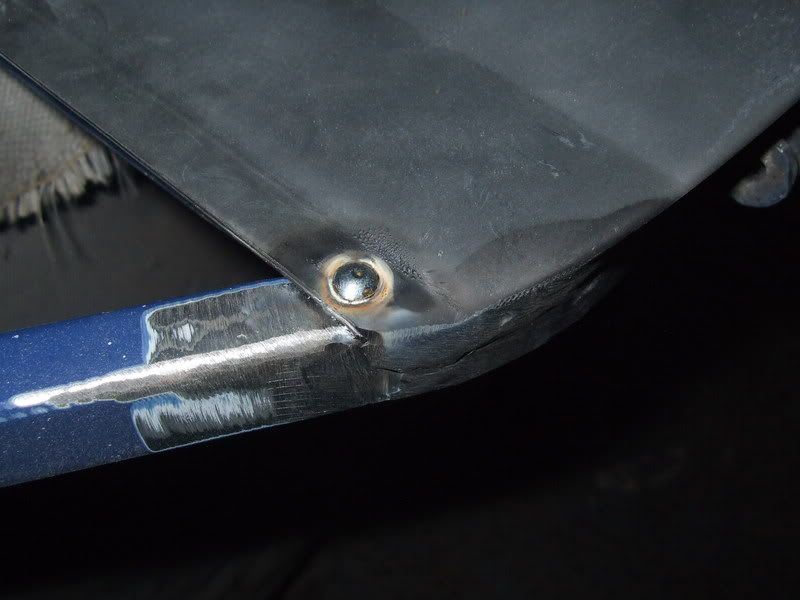
If the skin is original, there should be a spot weld at the two very top corners on the outside
of the skin. Drill these out with a spot weld cutter or if you don't have one of these, just
grind them out. If there are any areas that the grinder has missed or that you can't get to,
cut them with a sharp panel chisel. On original skins, the might be a couple of spot welds
on the face of the skin, a two a couple of inches up from the bottom, and one either side
about half way up. Again, just remove these with a chisel or spot weld drill. The Skin should now be ready
to come off.
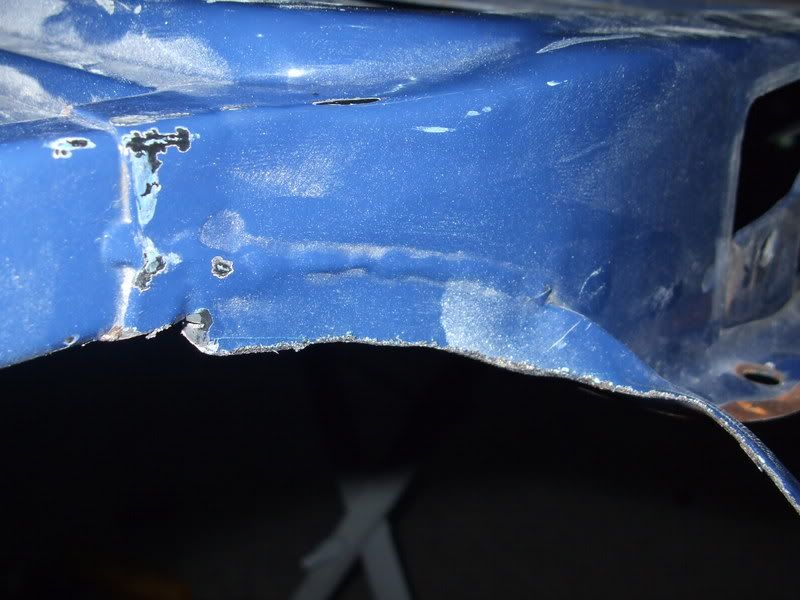
This picture illustrates how badly rusted a skin can get inside before it starts to show on
the outside.
With the skin removed from the door, and ensuring the glass is removed or secure in it's channel, turn
the door over, and remove the inner section of the doors skin, that is bent over the frame.
There will be a few tack welds holding it on, just remove these with a chisel. There will
also be a weld that runs along the top sides of the door skin, like this - I just carefully grind them away.
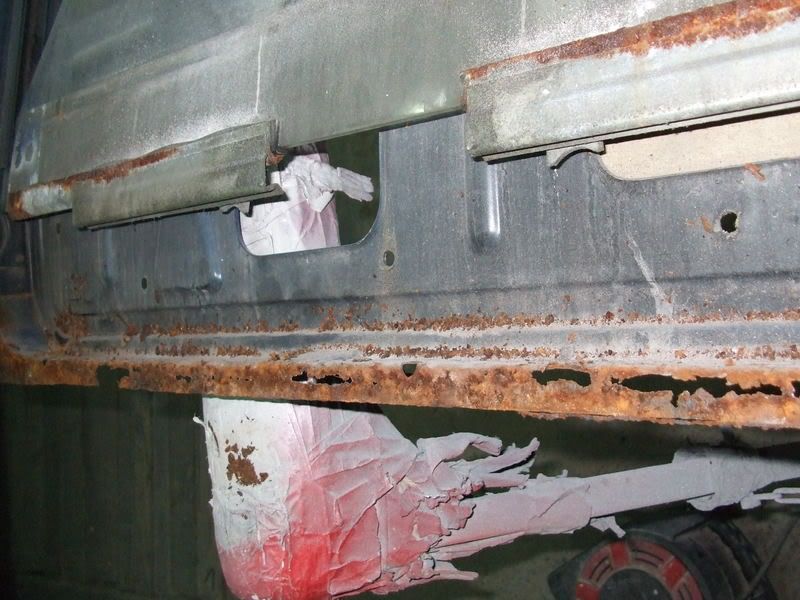
Hopefully your frame will be ok, but in reality they hardly ever are! it's worth checking this
to make sure it's cost effective to repair, it's sometimes easier top source another door
if the frame is too badly corroded. My frame was quite rusty along the bottom edge, so I cut it
out and welded in new metal.
Make sure any repairs carried out to the outer edges of the door frame are completely flush
and flat, or the skin will not fit right, and will look bad!
Take this opportunity to clean up any surface rust on the door frame, and apply zinc primer.
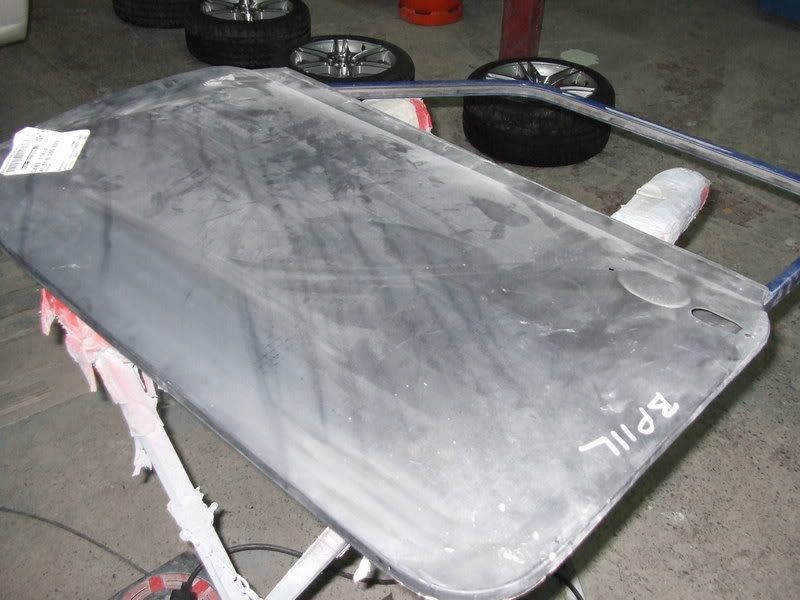
Now it's time to offer up the new door skin. Apply a sound deadening mat to the inside of the
skin, and put the skin on the door, checking for fit. If all is ok, flip the door over onto cardboard or
carpet or anything else suitable, to save causing any damage to the skin.
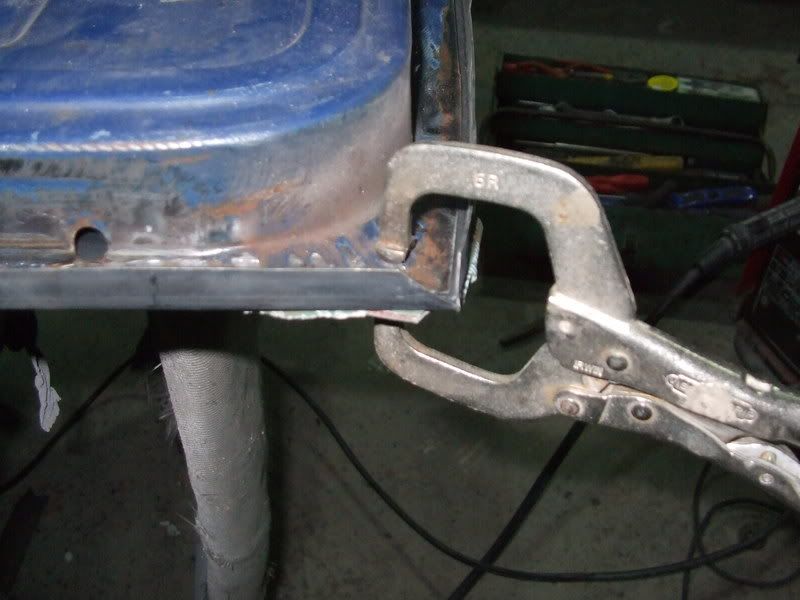
With the skin in the correct position, clamp the two top corners with vice grips or welding grips,
using cardboard on the face of the skin, to save marking it. Also clamp the two bottom corners
with grips, using cardboard on the face again, but don't clamp it very tightly, the idea is just to
stop the skin from wobbling about, so tighten it just until it grips. If it's too tight it'll dent the skin.
With the door stable, hold a dolly flat against the face of the door, the idea being not to push up
on the skin, or let it bang up and down, but just to support it. If you push it too hard you'll end
up denting the skin. Holding the dolly in position, start tapping the edge of the skin over with a
panel hammer. You want to start by folding it over very slightly all along, never fold it all at once
in one place, or you'll warp the skin. Fold it over about a third of it's travel at a time, evenly all
the way around, constantly checking it's still positioned correctly.
When all the edges are turned over, refit the hinges and fit it to the car, to check it's position is looking ok, and all gaps are even.
it's easier to make adjustments at this stage, before you weld it up!
If all is ok, and with the door still hung on the car, tack weld the skin on at the folded edge, in the same places that the old skin was welded. This saves the skin moving whilst you're removing the door from the car. Remove the door, and drill the top corners of the skin where the spot welds were, and plug weld it to the frame.
Dress the welds with an air file/power file or a grinder with a softpad, and apply a skim of filler
to any unsightly areas. if you're doing this for the first time it's very likely the face of the skin will
be slightly rippled. if it's not, then it's better than my first time!
 If there are any, skim them over,
 and sand it down until it feels flat. Rub down the skin and any areas to be primed with 180 grade sandpaper,
and etch prime any bare metal areas. Prime all the repaired areas, and BINGO!

After it's primed and prepped, I'll apply a bead of seam sealer around the inner edge of the skin, to save
moisture ingress, causing rust. Also after paint it'll receive a good coat of waxoyl on the inside to stop me
having to do it again in the near future!
Pete.
Edited by panelbeaterpeter, 11 April 2010 - 10:43 AM.