Looks good! where did you purchase it?

Headlining Fitting Instructions
Started by
wouter
, Jan 21 2008 12:15 PM
36 replies to this topic
#31

panelbeaterpeter
-

- Members
-

- 5,606 posts
Crazy About Mini's
- Location: Scotland
- Local Club: n/a
Posted 26 August 2008 - 04:45 PM
#32
Southy
-

- Members
-
- 1,579 posts
Camshaft & Stage Two Head
- Local Club: Oldham and Distrcit Mini Club
Posted 03 January 2009 - 11:10 AM
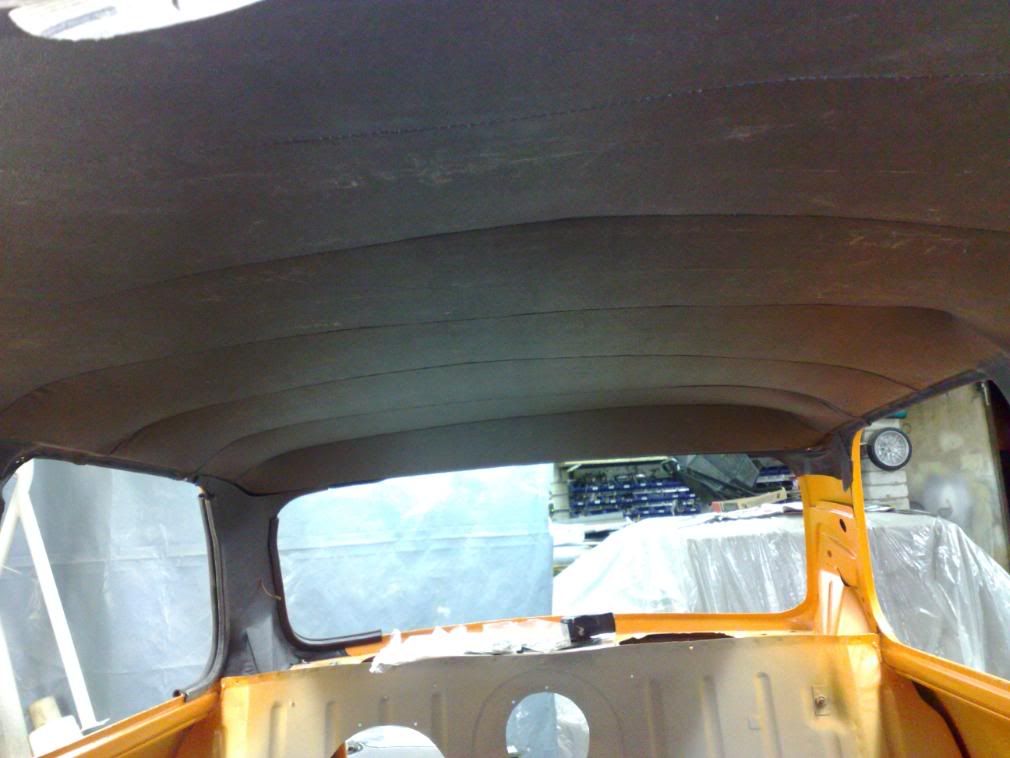
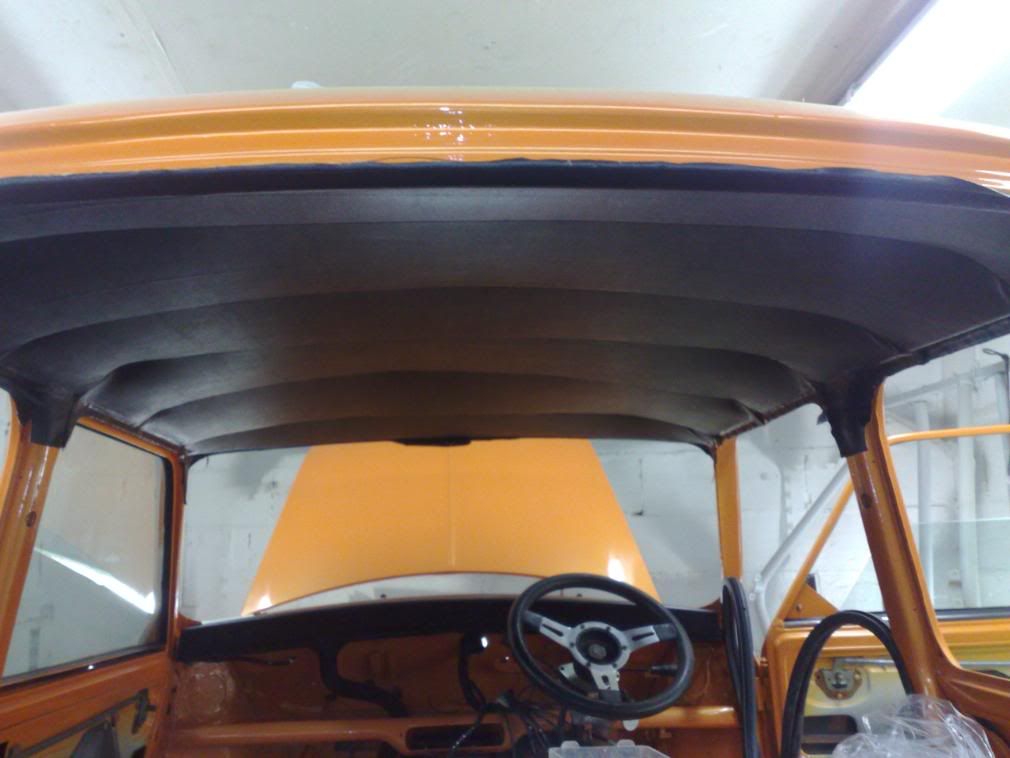
Thought i wouild add some pics to this of when i fitted my headliner earlier on this year.
#33
scrippo
-

- TMF+ Member
-
- 535 posts
Super Mini Mad
- Location: Bromley
Posted 13 January 2009 - 06:20 PM
All these headliners look great. Hope mine looks as good!
Gonna print off the guide as I'm sure it will come in handy!
Gonna print off the guide as I'm sure it will come in handy!
#34
mike.
-

- Members
-
- 6,176 posts
Crazy About Mini's
Posted 06 December 2009 - 01:17 AM
Just a quick question to add. What have people done about holes for sunvisor screws?
Don't want to fit mine and then start poking holes all over it looking for the screw positions and can't see how well marking it before pulling it tight would work very accurately because they could be miles out once its pulled tight...
Don't want to fit mine and then start poking holes all over it looking for the screw positions and can't see how well marking it before pulling it tight would work very accurately because they could be miles out once its pulled tight...
#35
Ethel
-

- TMF Team
-
- 26,643 posts
..is NOT a girl!
- Local Club: none
Posted 04 April 2010 - 09:29 AM
Make a template to line up with the window frame.
Just a quick question to add. What have people done about holes for sunvisor screws?
Don't want to fit mine and then start poking holes all over it looking for the screw positions and can't see how well marking it before pulling it tight would work very accurately because they could be miles out once its pulled tight...
#36
panelbeaterpeter
-
- Members
-
- 5,606 posts
Crazy About Mini's
- Location: Scotland
- Local Club: n/a
Posted 05 April 2010 - 08:53 PM
I just guessed when I did mine, held the sun visors up, and the rough area was obvious. I poked about with a thin metal pick to find them, once you've found one hole, you're sorted for the rest.
#37
minimuk
-

- Members
-
- 1,947 posts
Camshaft & Stage Two Head
- Location: Midlands
Posted 13 March 2011 - 09:24 AM
Right the way to fit a headlining is as follows, (and your lucky im doing this I typed it out once and my internet died and lost it all).
Insert the bars into the slots which are sown into the headlining, the correct order from the front is:-
Red
White
White
Black
Blue
Yellow
The way to tell which is the front and back of the headlining cloth is that the back has a small panel section where as the front has a larger one.
Then centre the bars in the headlining and using a sharp Stanley knife blade cut the slot open from the end till about an inch/inch and a half after the clip. Repeat this for all of the bars.
Originally when the Mini’s were fitted with headlining they had horrible padding attached to the roof where the bars go, I recommend keeping these as they make the bar sit tight upwards and stops the bar from rolling around. If you don’t have these anymore use some foam about 1-2cm thick and cut the strip about 5cm wide and about 10cm in length and using spray adhesive attach these to line up with the holes for the bars across the roof as it will make your life easier later on.
Then get someone to help you place it inside your car the correct way round large panel to the front, small to the rear, and pop the clips into the holes in the roof rail.
Once the headlining is in the car, roll the bars upright so they sit against the foam on the roof, then go to the back of the car and pull the headlining tight in the middle and then hold in place using a quick clamp which you can get from places like B&Q (you will need 6 of these). Then do the same for the right and left hand corner of the rear screen area, but pull backwards and out from the centre slightly and clamp these in place.
Then head to the front of the car and pull the middle of the headlining tight again and clamp it down. Use the same method as you did for the back for the left and right corners of the screen pull out and away from the centre, this helps pull the cloth tight across the roof.
The starting at the drivers door spray the adhesive to the inside and outside lip and get your helper to pull the cloth tight whilst you press the cloth down to make it adhere to the surface. Whilst your helper is still holding the cloth tight knock on the door seal as this will not only help the cloth stay taught but it will help shape to the lip. Work on a section of about 3-4 inches at a time so you don’t get slack parts in between where you’re pulling.
When you reach a door post or a pillar cut the headliner to shape around them, I tend to use a Stanley knife blade on its own as it’s much easier to control than a full knife, and once again knock on the seals too hold them in place.
Slowly work your way around the car doing around both door frames and both rear quarters, making sure you pull the cloth tight all the time. If you should get to a spot where you can’t seem to get the wrinkles out of the headliner use a heat gun to warm up the material slightly and pull tight and glue in place and knock on the seal, as the material cools the cloth will shrink and pull taught. Once all the door frames and read quarters are glued walk away for the day.
When you come back the following day start by pulling the door seal off and cut the excess material off just shy of where the seal finishes, do the exact same for the rear quarters and then replace the seal back on.
Make your way around to the back of the car and undo the clamps, spray the glue on the inside lip and on the outside one where the window seal will sit, pull the cloth tight in the middle and press the cloth onto the inner edge of the window then replace the clamp in the middle.
At the corners do the same as when you first dry fitted the liner, pull backwards and slightly away from the centre of the roof to keep the tension there, and hold in place with a clamp.
Now do the exact same procedure at the front of the car and then walk away for a couple of hours for the glue to harden, when you return remove the clamps and using your Stanley blade again cut the excess material just shy of the lips where the window seals will sit.
Then sit back and admire your new taught headliner
It has been a while sinds you wrote this method, thank for the instructions need to put a liner in next week and this is what I was looking for.
Cheers
Edited by minimuk, 13 March 2011 - 09:58 AM.


1 user(s) are reading this topic
0 members, 1 guests, 0 anonymous users


