My Speaker Pod Build
#31

Posted 09 September 2008 - 04:24 PM
Hadn't thought about the vibrations actually...I was hoping maybe a rubber washer would suffice. Can't test fit them yet and find out how secure I can mount them as that's a dash out job and I need to drive to Slark on Friday.
#32

Posted 09 September 2008 - 08:21 PM
#33

Posted 09 September 2008 - 09:25 PM
#34

Posted 10 September 2008 - 12:52 PM
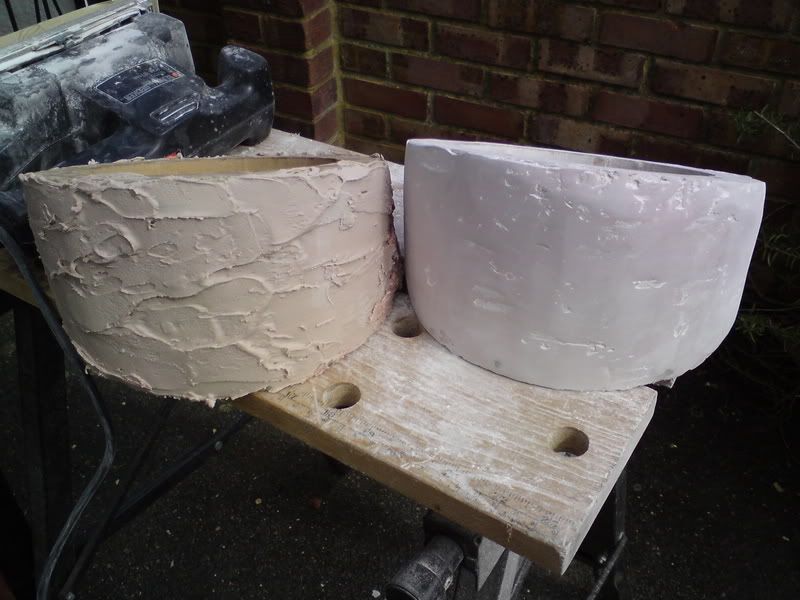
Pod on the right roughly sanded down
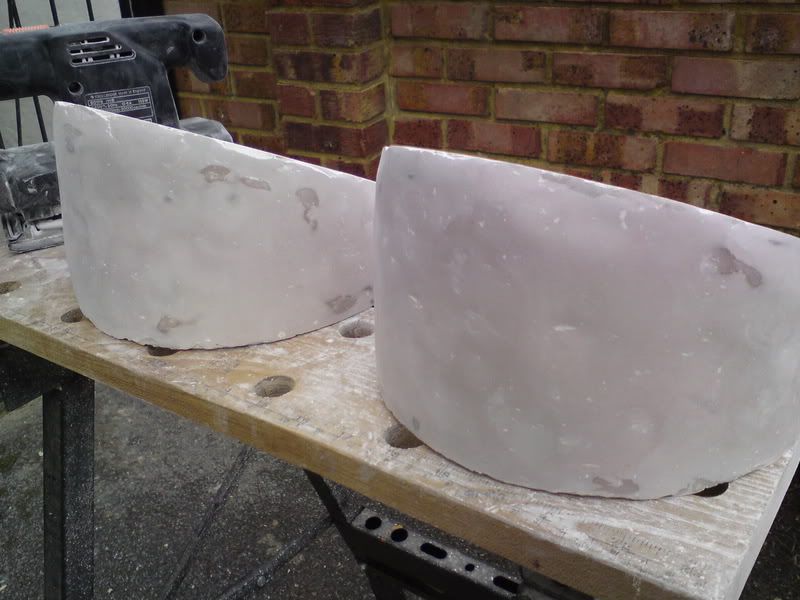
Both pods sanded finely. Should be good now for primer and paint.
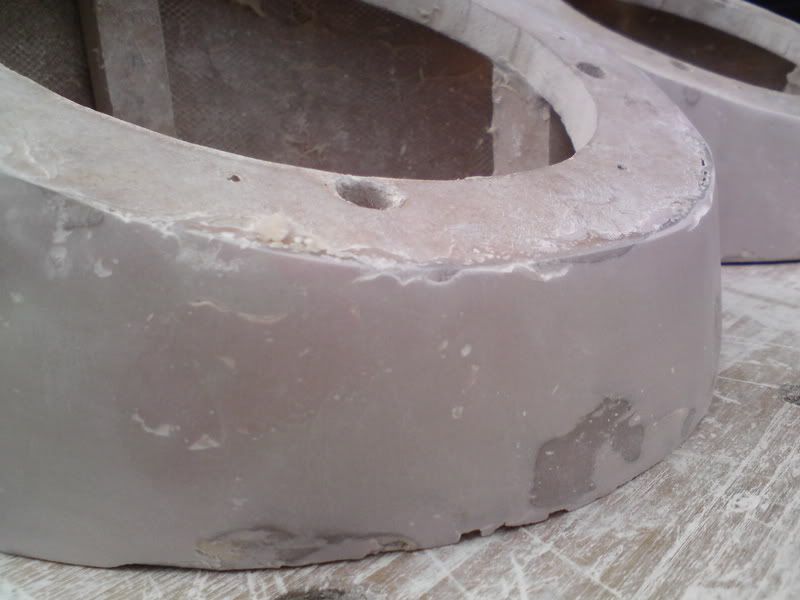
This was about as good as I could get it. Thank god for having a "proper" sander in the garage! The edges are slightly rough but this shouldn't matter too much as they'll be out of sight once fitted.
Edited by Ouster, 15 September 2008 - 08:22 PM.
#35

Posted 10 September 2008 - 01:48 PM
#36

Posted 10 September 2008 - 02:52 PM
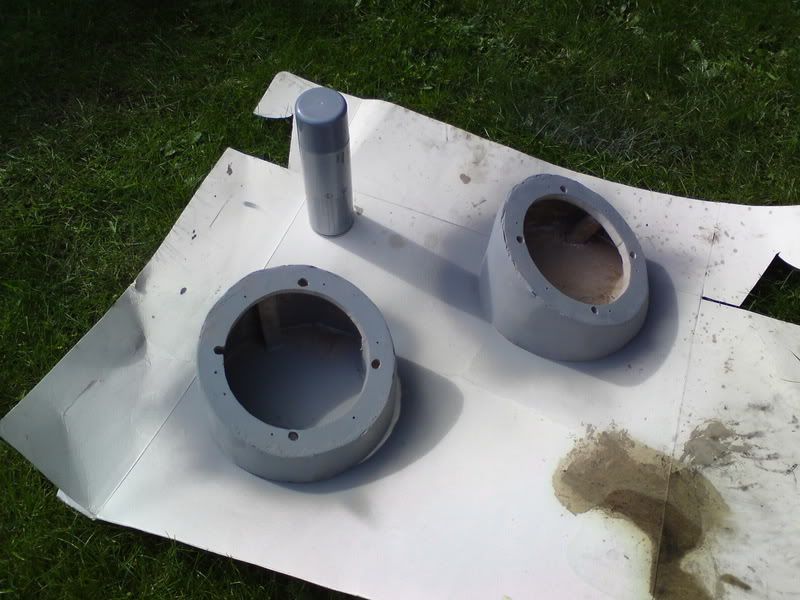
Two coats of primer.
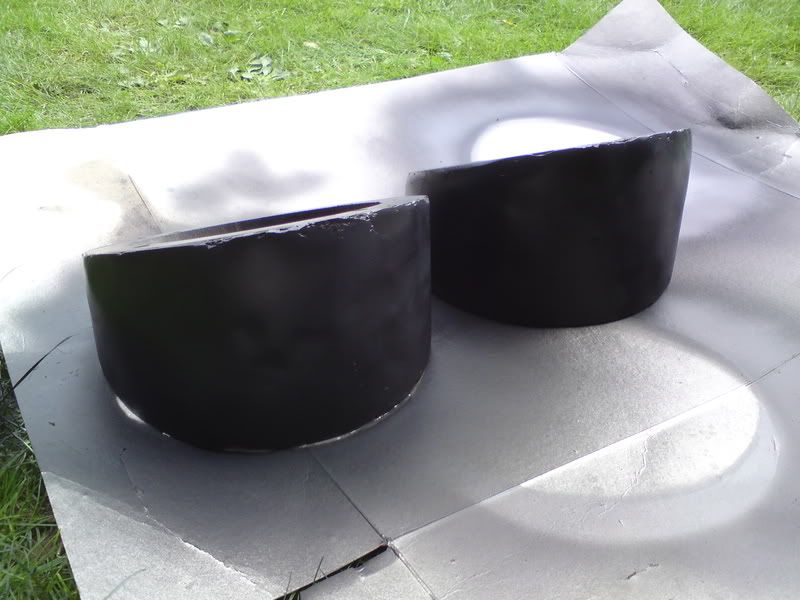
Followed with two coats of satin black.
Reasonably happy with the finish, spent ageeees sanding this morning (still have numb hands and deaf ears) and thought it would be good enough. On close inspection there's a few pits but nobody expect me is going to be poking their heads in the footwells to get a good look! Might run some silicon sealant around the inside and leave it to cure (apparently it can eat the speaker cone) before installing the speakers in the car next week.
Edited by Ouster, 15 September 2008 - 08:24 PM.
#37

Posted 10 September 2008 - 06:56 PM
looking good man, although on the screen here the black looks like it could do with a coat or two more...
#38

Posted 10 September 2008 - 07:17 PM
I was browsing on Talk Audio and apparently when it's going off (I guess this applies more to sub enclosures) the chemicals and stuff can perish the speaker. May have been the cone or the basket, can't remember.
#39

Posted 10 September 2008 - 07:23 PM
#40

Posted 15 September 2008 - 08:38 PM
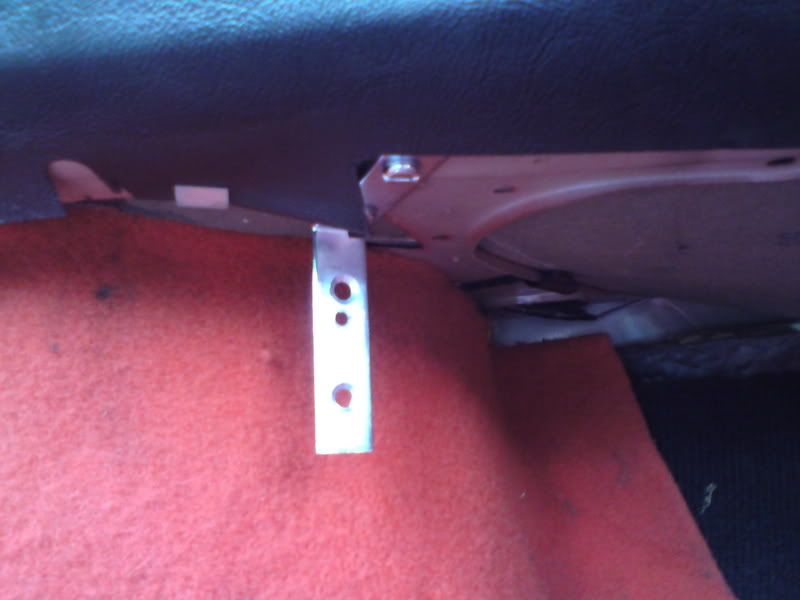
Here's how I've mounted the pods to the dash rail.
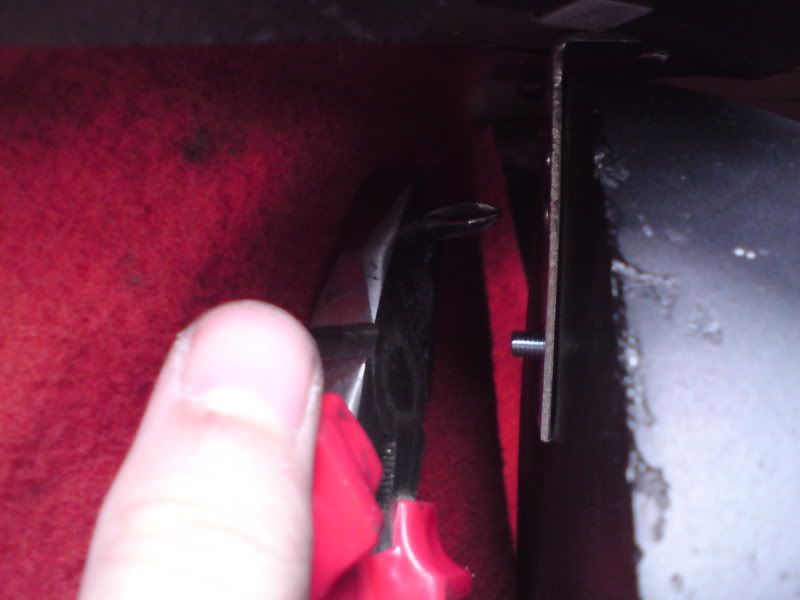
And here's the huge problem I had when screwing the pods in! This was the only way to do it, and I had to resort to turning a phillips head with a pair of pliers to do up the last screw. It was impossible to screw the pod to the bracket and then the bracket to the dash rail due to not being able to screw it tightly enough with the pod in the way, so this way just about did me instead.
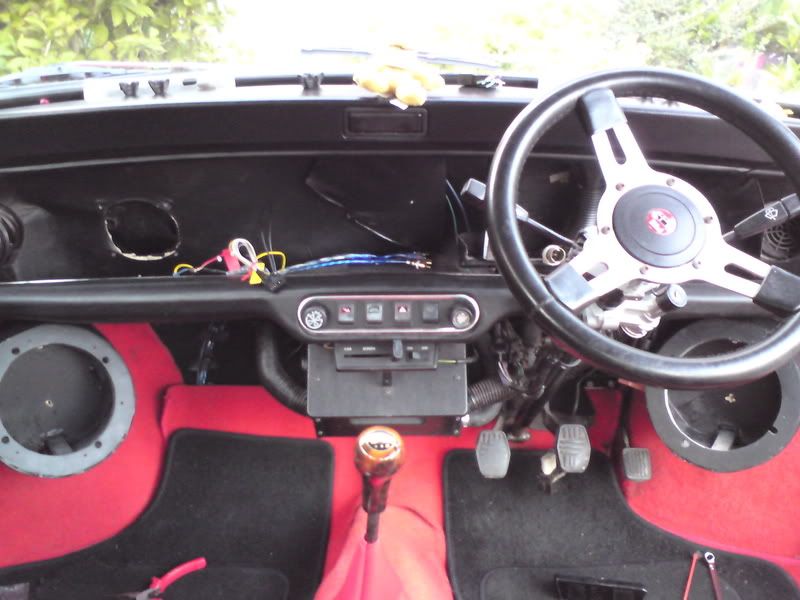
Finally fitted and bolted to the car! In the middle of wiring everything up so hopefully by tomorrow the amp should be up and running powering the speakers.
Job's a good 'un
#41

Posted 15 September 2008 - 09:06 PM
#42

Posted 15 September 2008 - 09:29 PM
x
#43

Posted 15 September 2008 - 09:35 PM
Not too heavy, not too light, should sound a huge lot better than those custom consoles monstrosities.
#44

Posted 16 September 2008 - 06:12 AM
looking good there, looked like a real pain to fasten though....
#45

Posted 16 September 2008 - 06:23 PM
Here's the final picture of the pods, with the speakers in this time and the dash re-affixed. Got it all wired up and working today, so I'm very happy! The pods sound great, good bass response with no rattles or "booming".
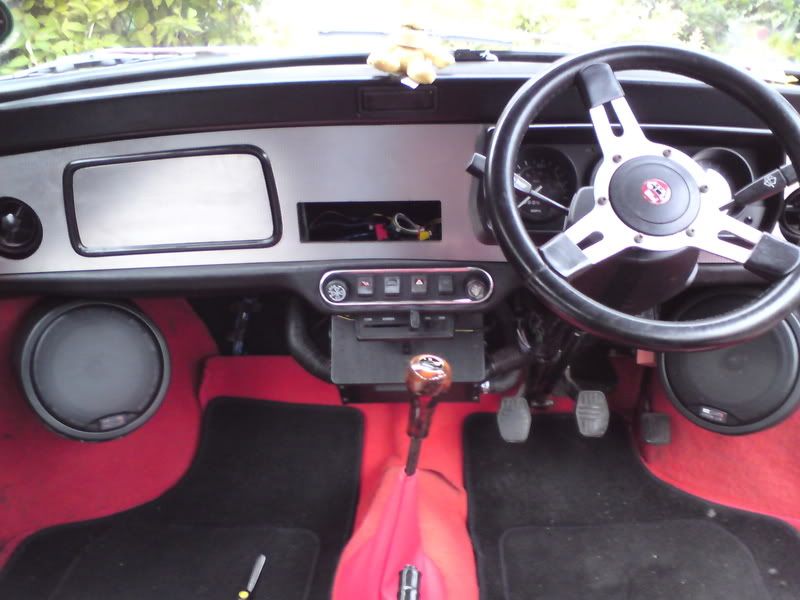
Consider my work here done!
1 user(s) are reading this topic
0 members, 1 guests, 0 anonymous users


