Jump to content


Photo
- - - - -

My First Ever Re-build A 1963 Mk1 Cooper


  • Please log in to reply
515 replies to this topic

#31 Mini Basher

Mini Basher

    Speeding Along Now

  • TMF+ Member
  • PipPipPipPipPip
  • 424 posts
  • Location: Forest of Dean
  • Local Club: Mini Foresters

Posted 25 July 2009 - 10:37 PM

Hi everyone thanks for your encouraging comments, sorry I havn't updated recently but for some reason I couldn't log onto the forum, (big thanks to Jammy for sorting it for me)
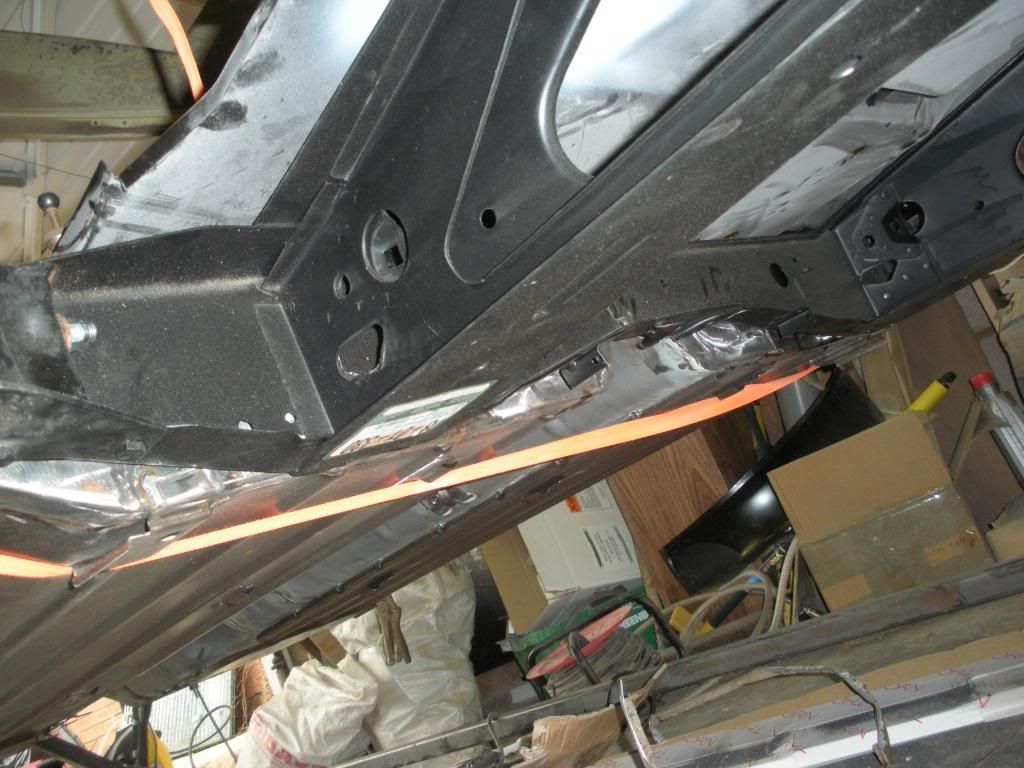
Right back to the important issue at hand the rebuild of my little 1963 Cooper, lots of restless nights recently over the floor, I wasn't really happy with the way the new floor panels had gone in and I seemed to be chasing the metal worm up the tunnel, I'm spending a lot of time and money on the rebuild and I didn't want to end up with a car that was all patches so i made one of the most important decisions so far about the rebuild, I called Mini Machine and ordered a brand new MK1 complete floor, To my amazement they told me that they would be able to deliver it within four days, that included making it from scratch and delivering it to me in Gloucestershire, I was impressed and even moreso when at 8am on Thursday morning four days after ordering, my floor turned up. The quality of the wokmanship was brilliant, it had the sills fitted and even has the pipe and cable clips fitted to the underside, I would willingly recommend them to anyone thinking of going down the same route as me.
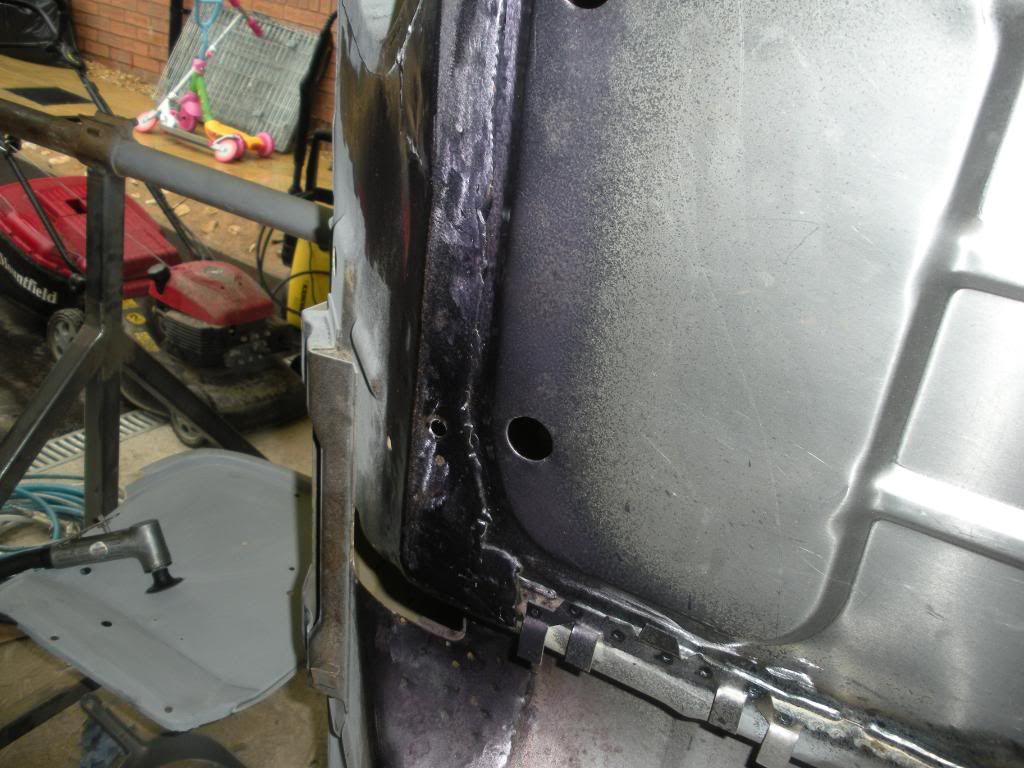
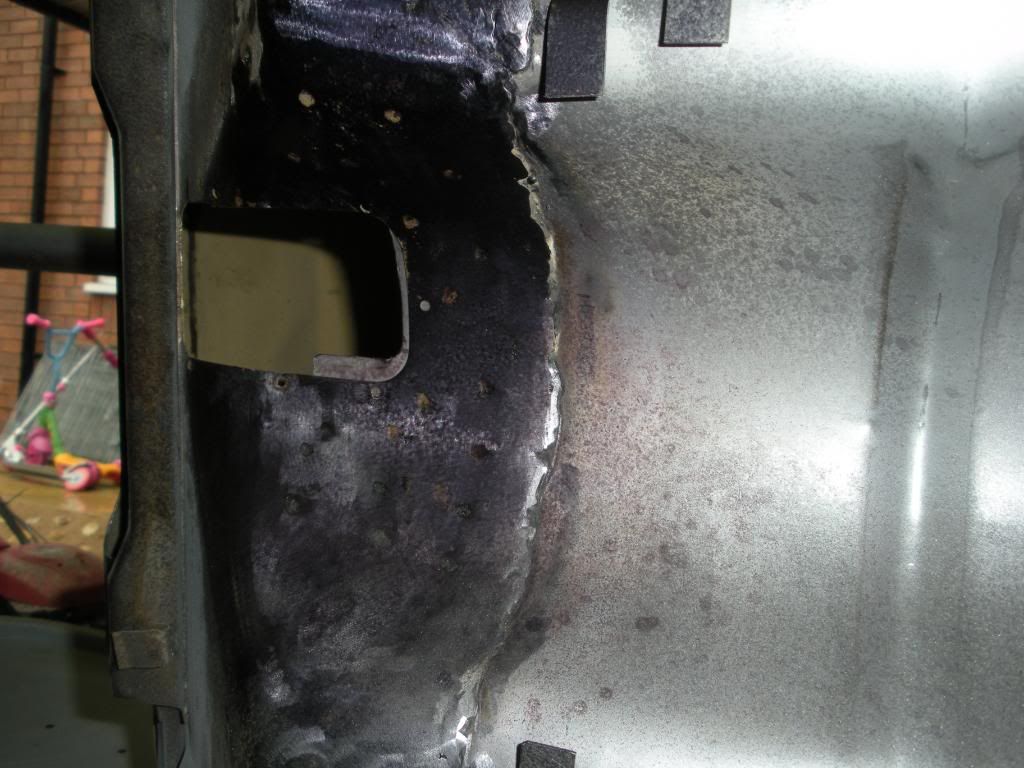
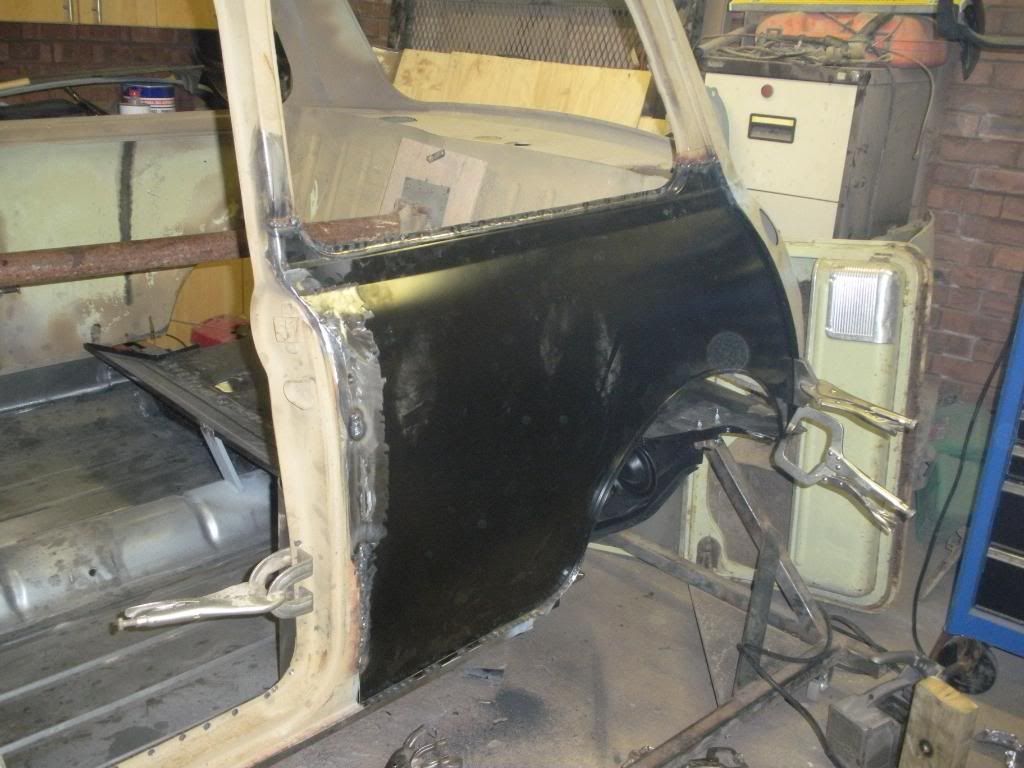
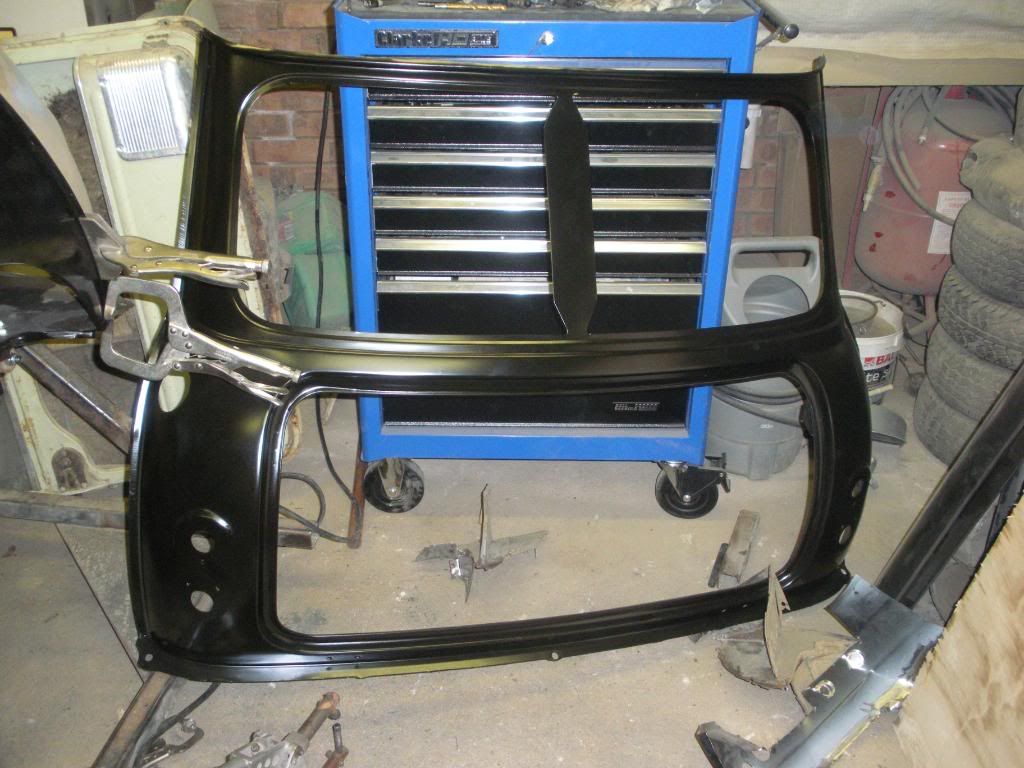
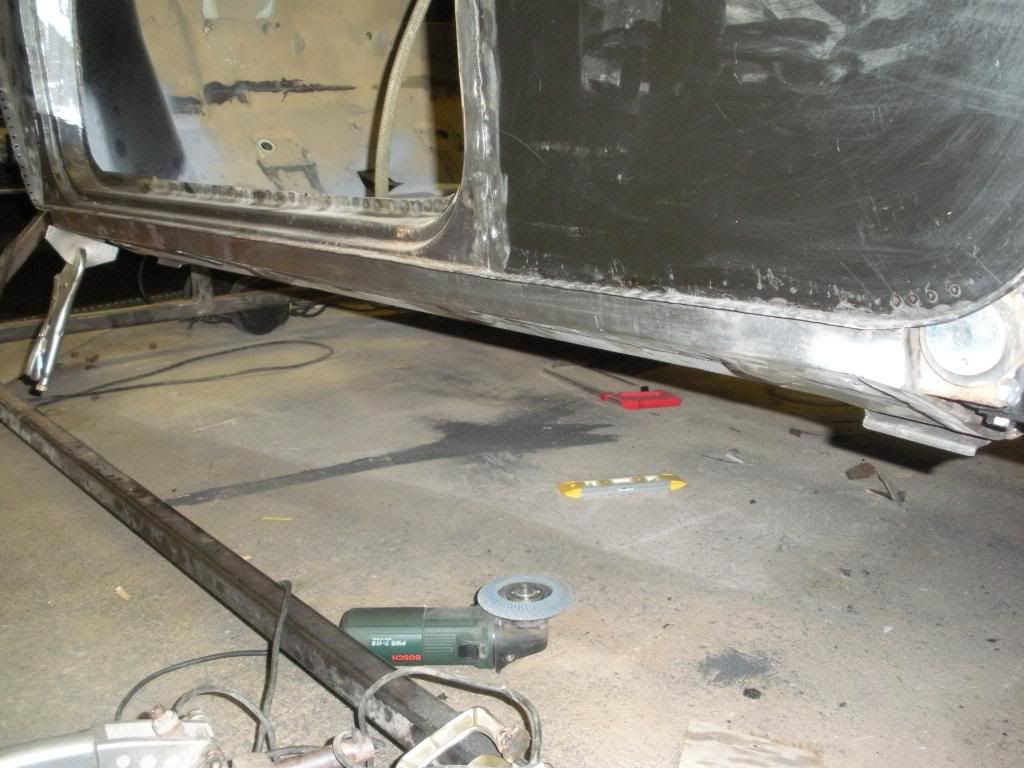
Right so back to the project, after I ordered the floor I had the horrible job of removing the floor panels that I had welded in and also to remove the tunnel, two days of cutting and grinding later I was left with a shell with no floor and no boot pan.
Before I finished for the night last night I used some Dintrinol cavity wax on the internal sill sections as once the new floor is fiited I'm going to have no access to this area, I also sprayed the internal section of the floor crossmember with another Dintrinol product to stop the worm dead in it's tracks.
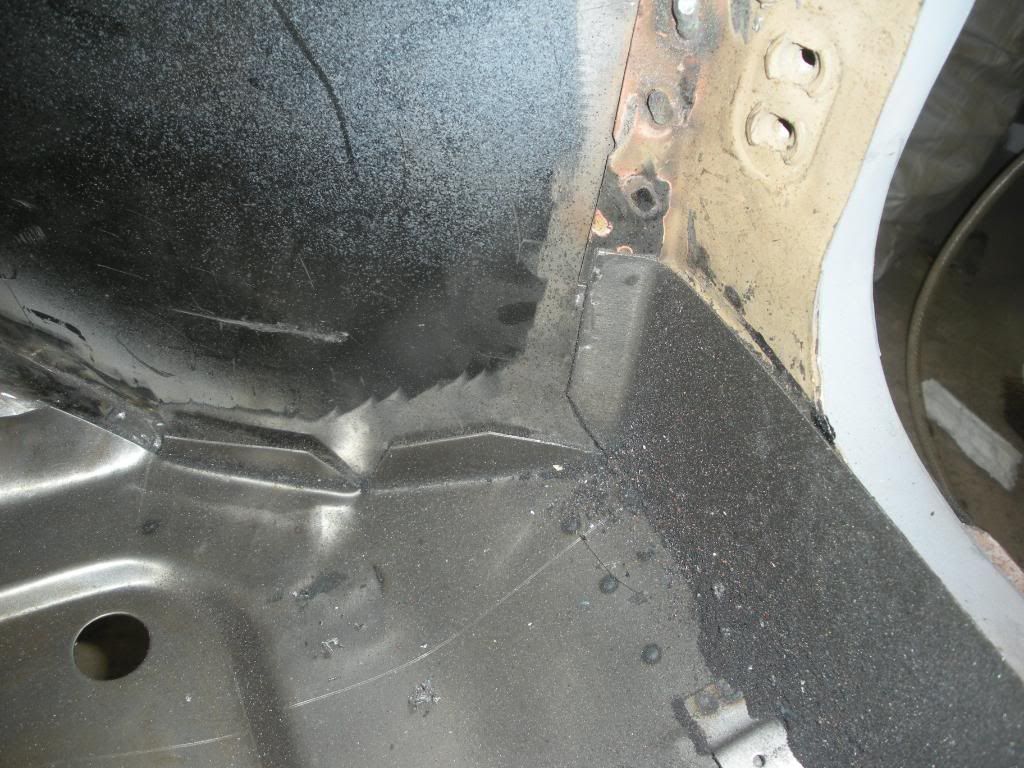
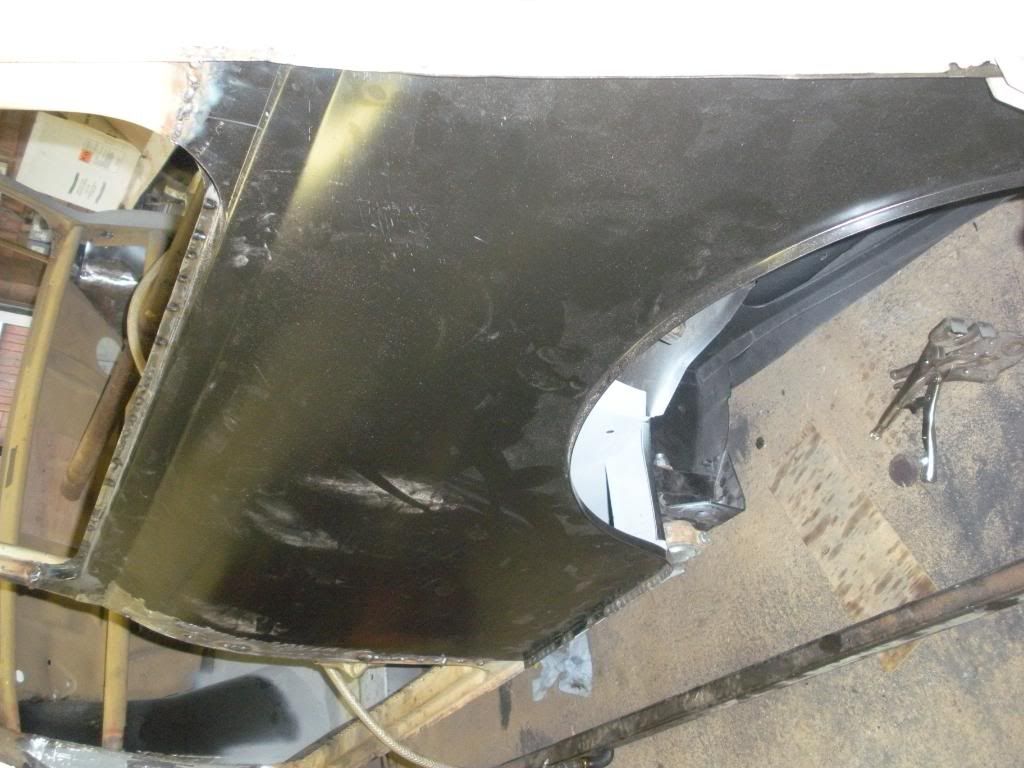
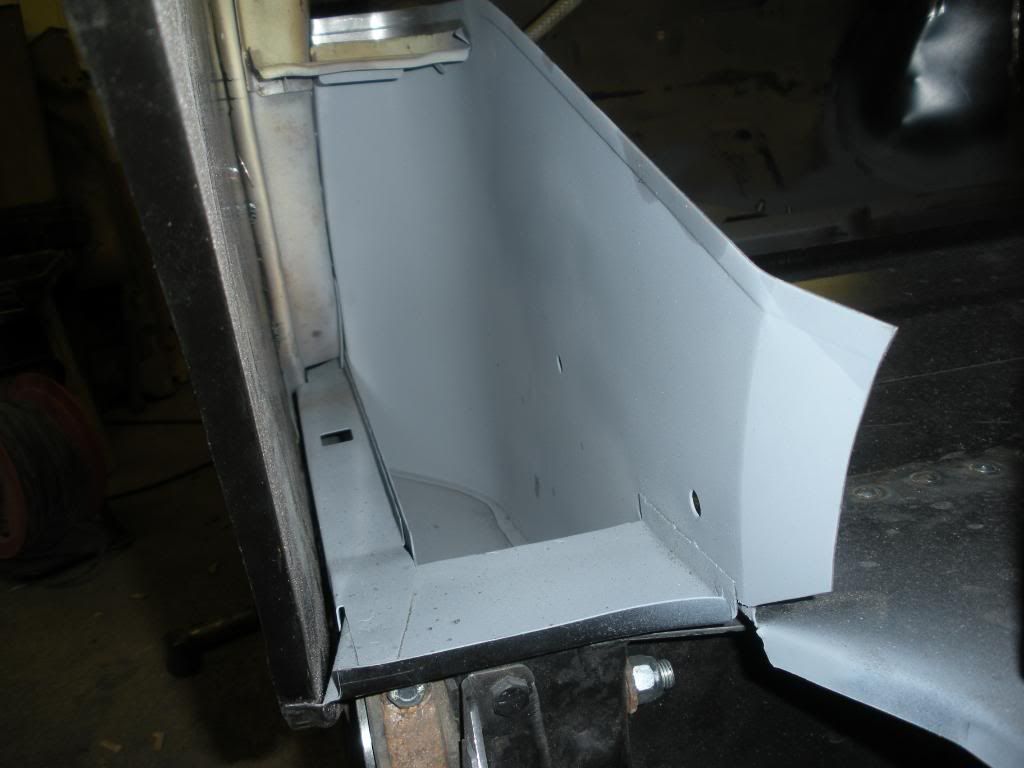
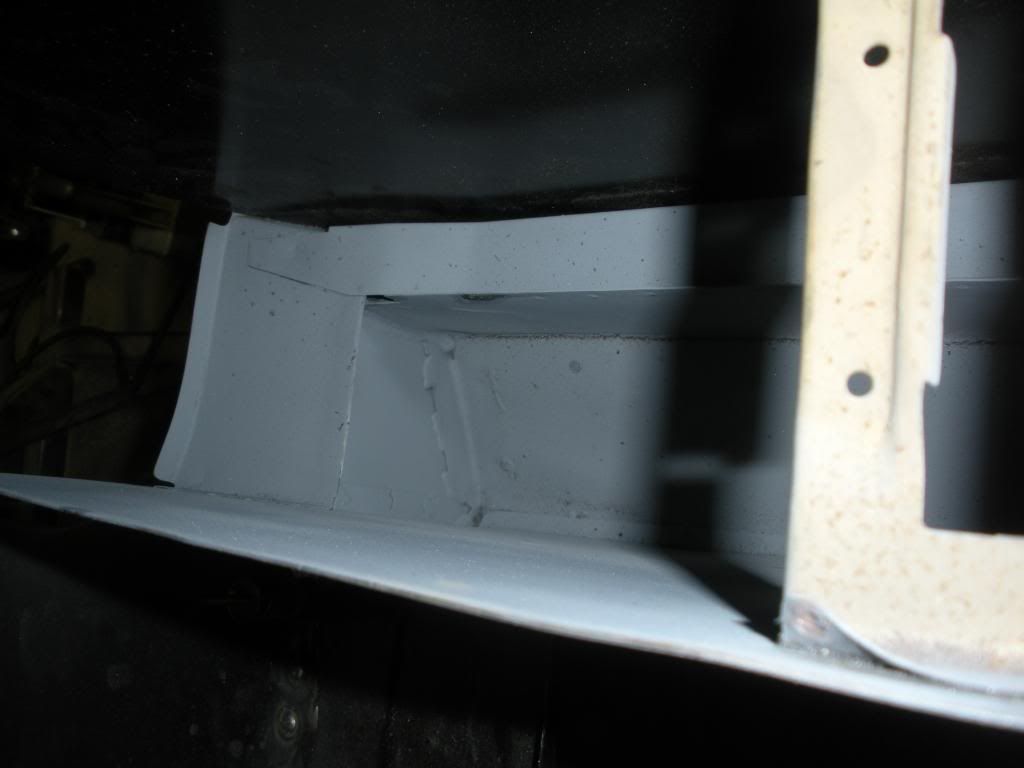
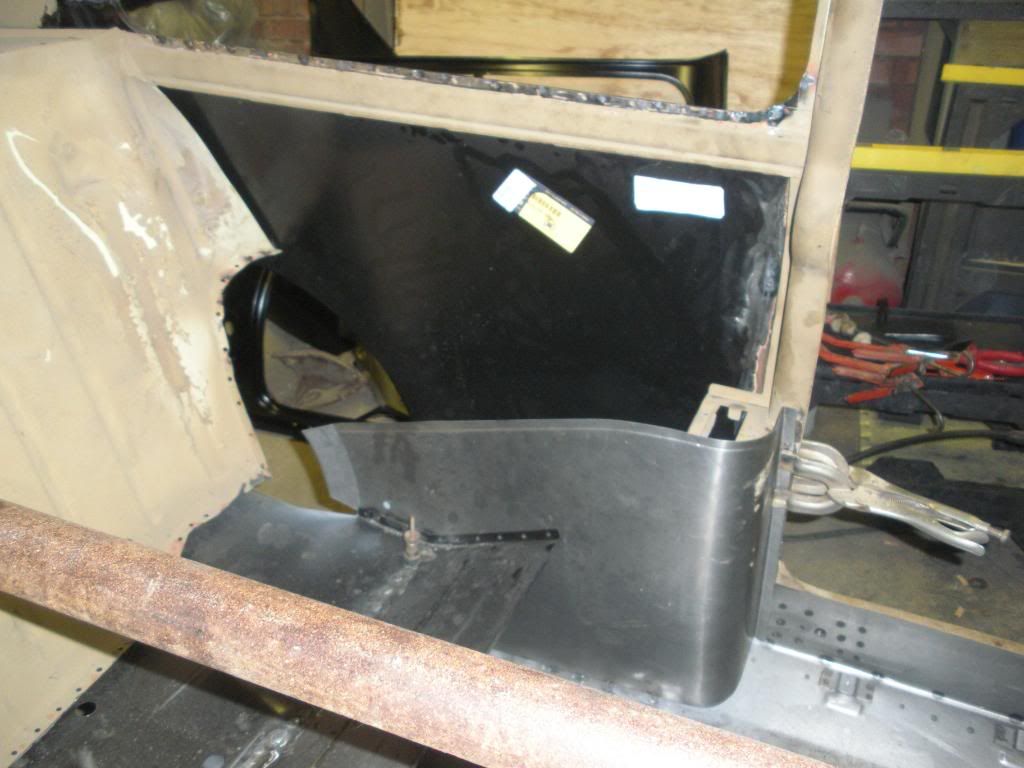
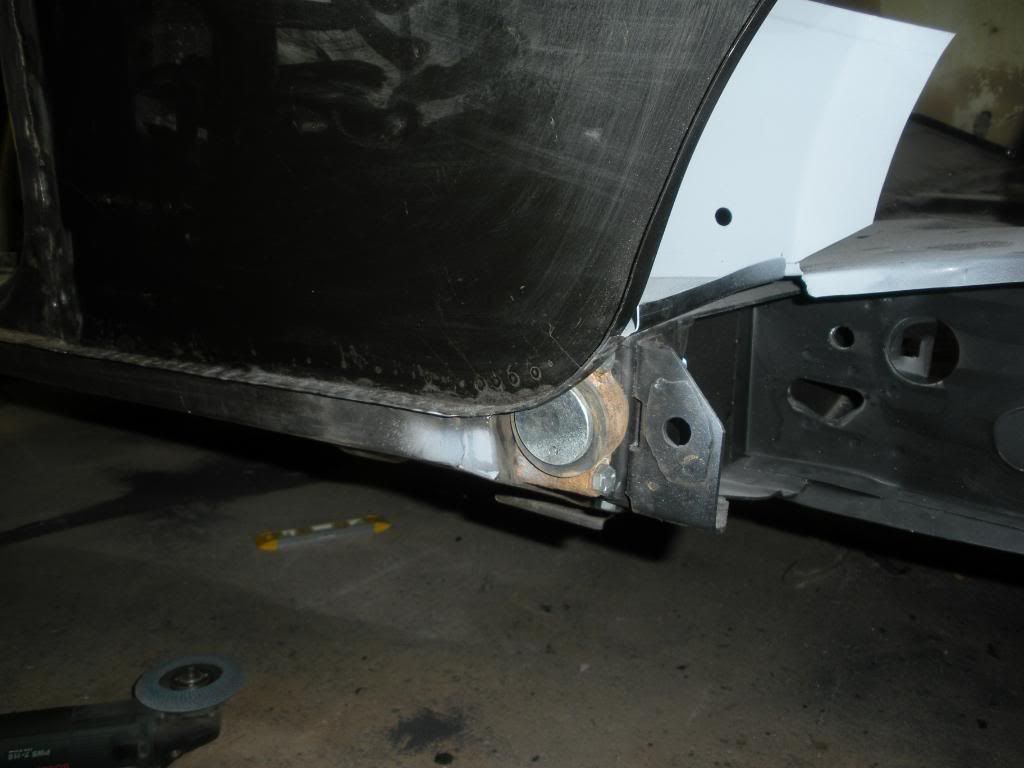
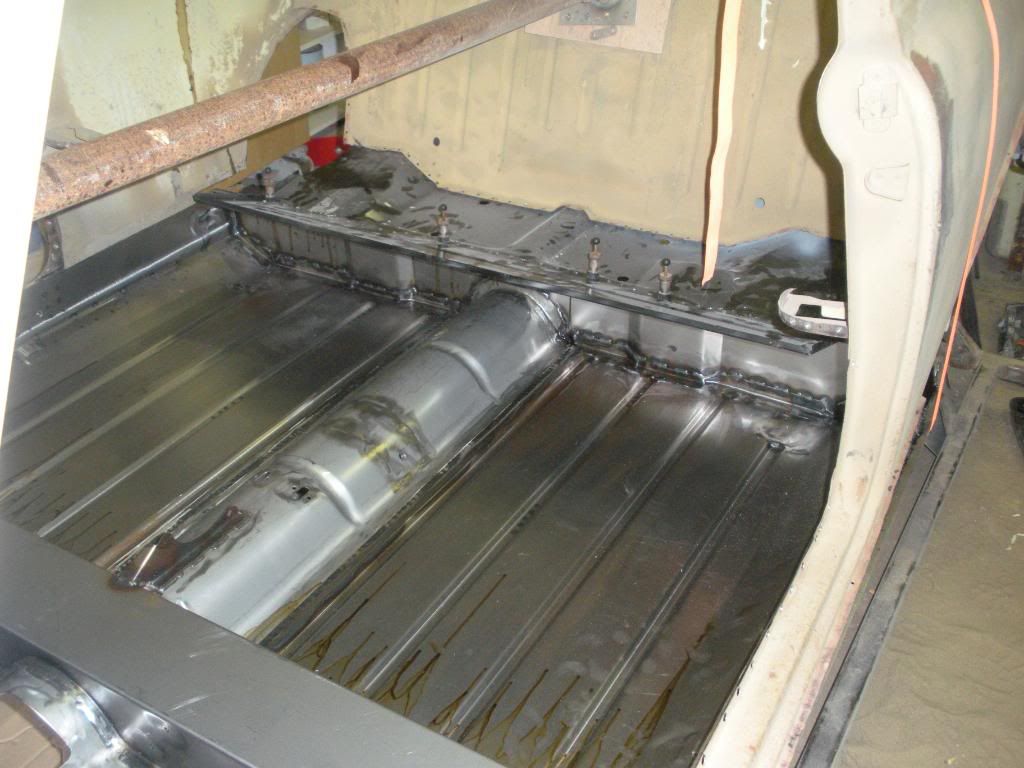
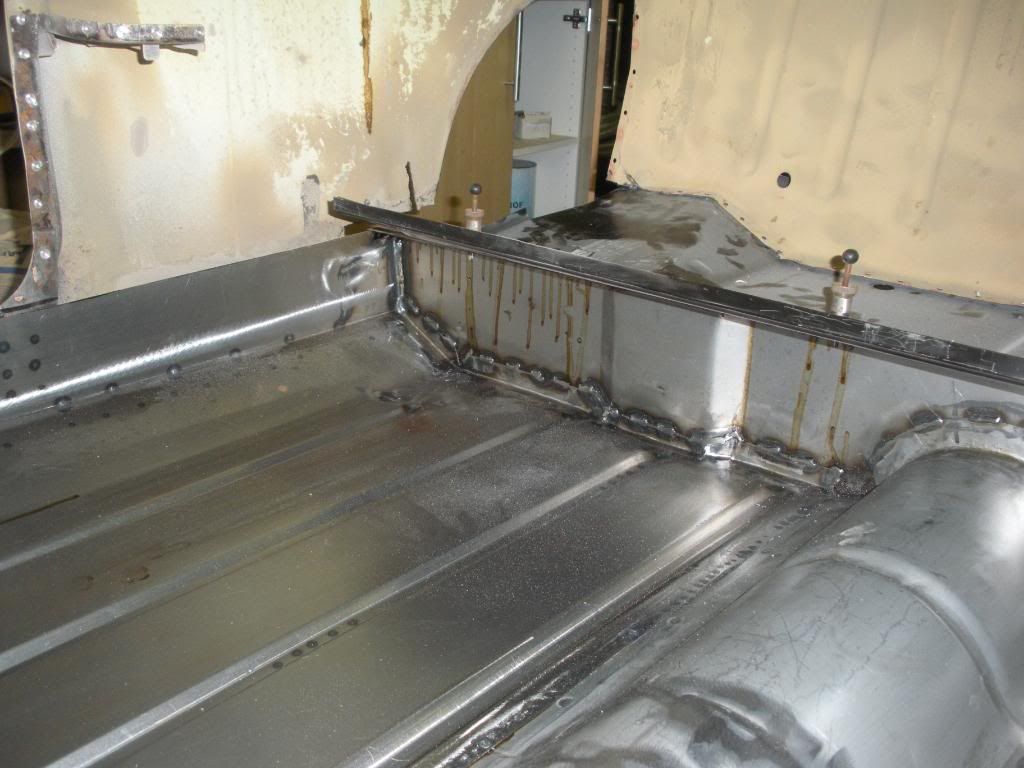
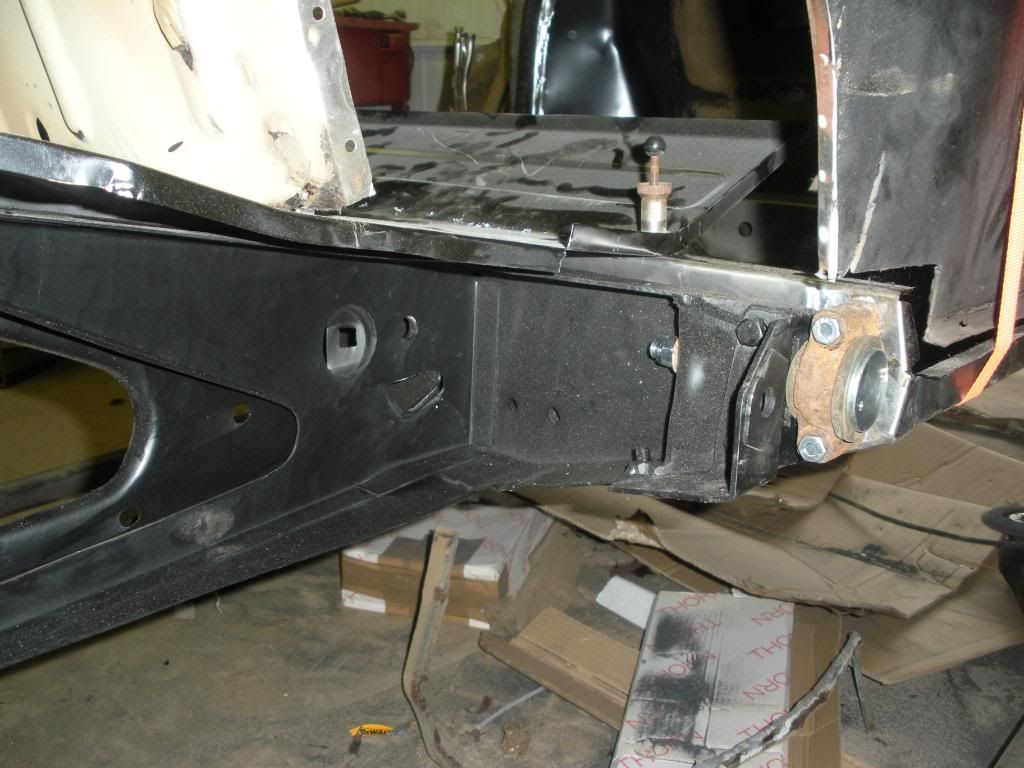
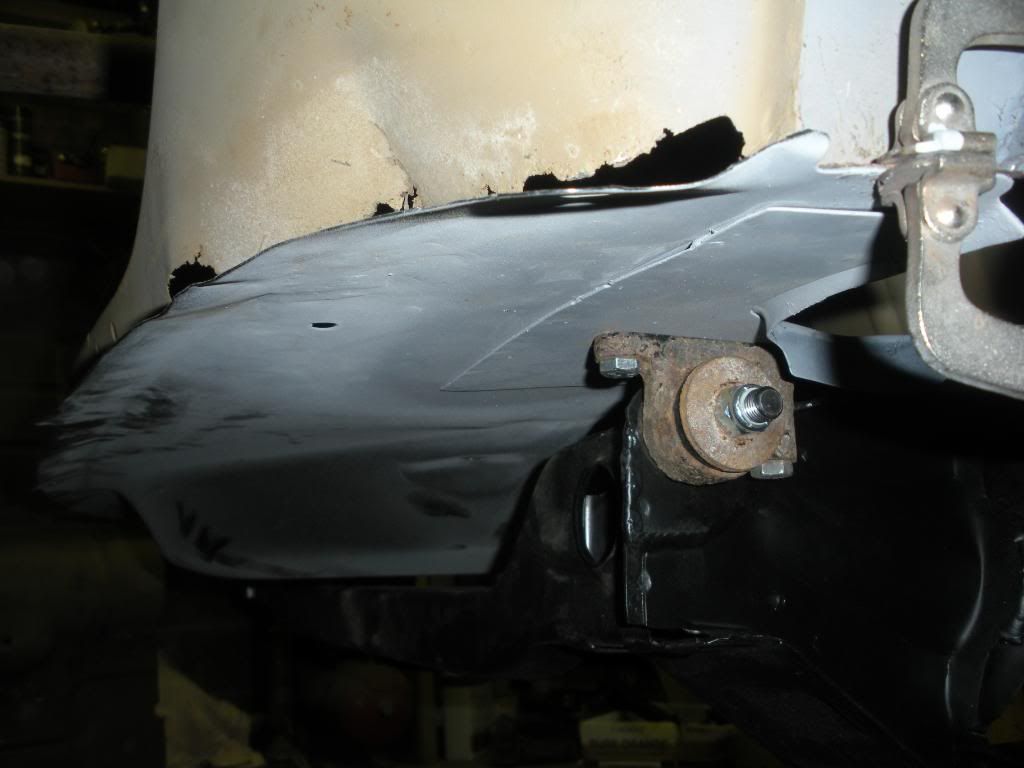
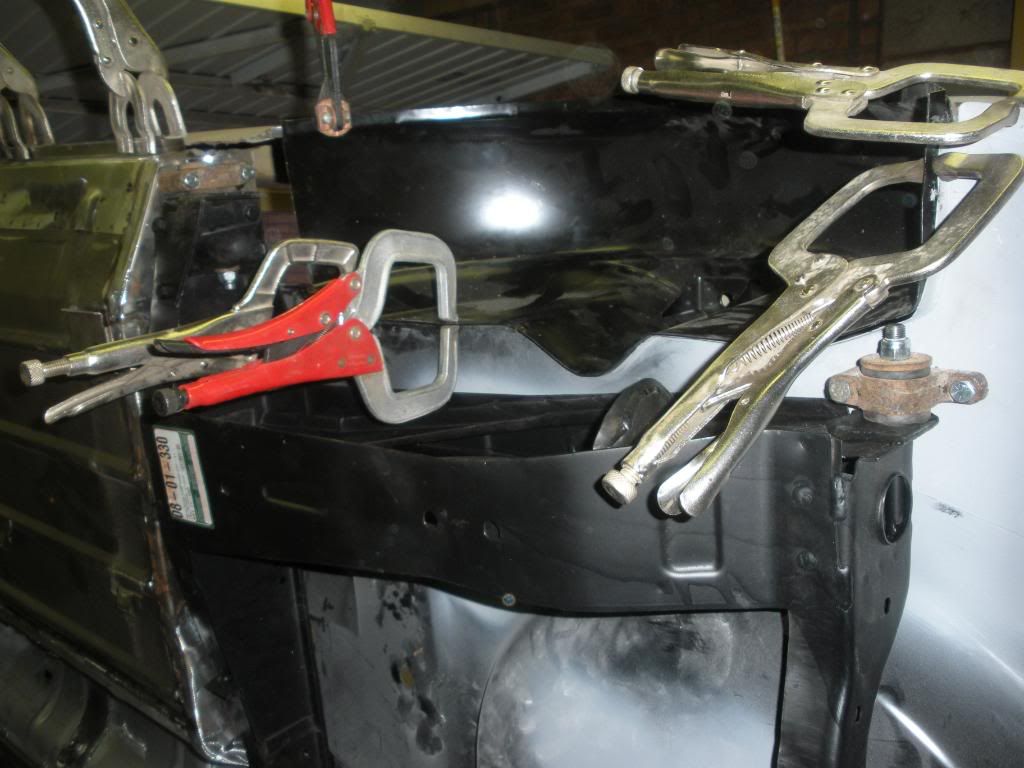
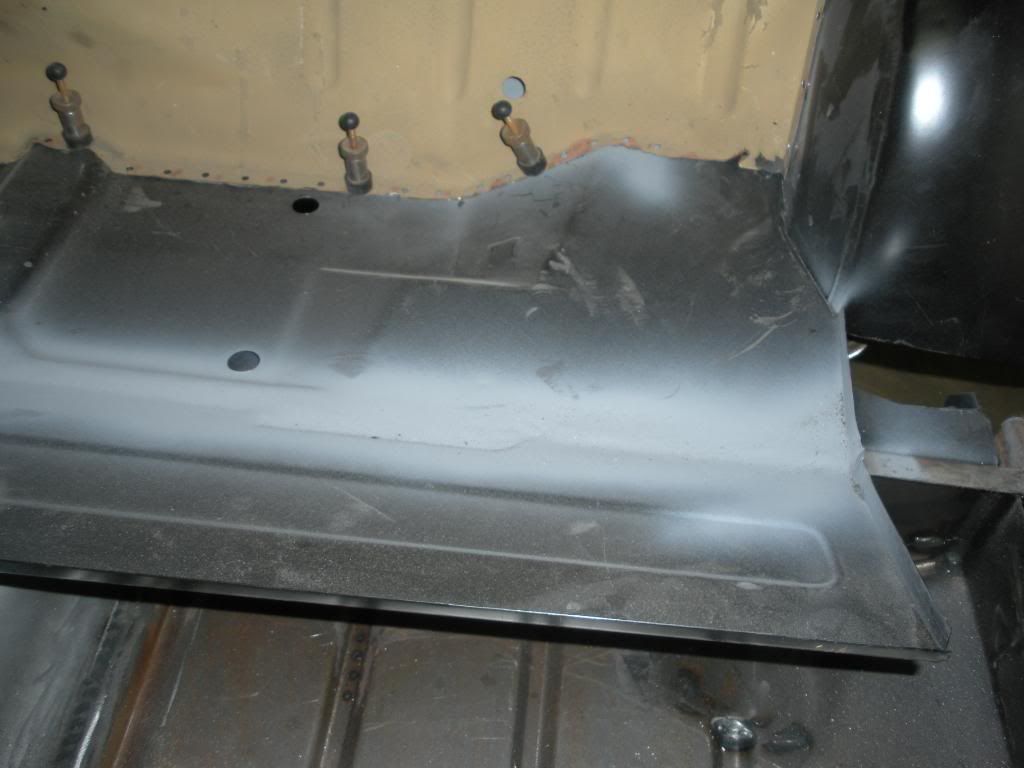
So up bright and early this morning and shot of and picked up a good mate of mine who's a dab hand with cars and loves Mini's (I think he's had about five or six of them) he's now progressed to the American Muscle Cars. We spent about four hours getting the floor into the right position and clamped it all firmly in place, Ian's a bloody good engineer and everything got measured to the millimetre so I think the car will be straighter than when it came out of the factory, after the front floor was clamped in place we slid in the boot pan, then we fitted the subframe to the heel board mounts and then to the boot floor,took loads more measurements and then clamped everything into place.
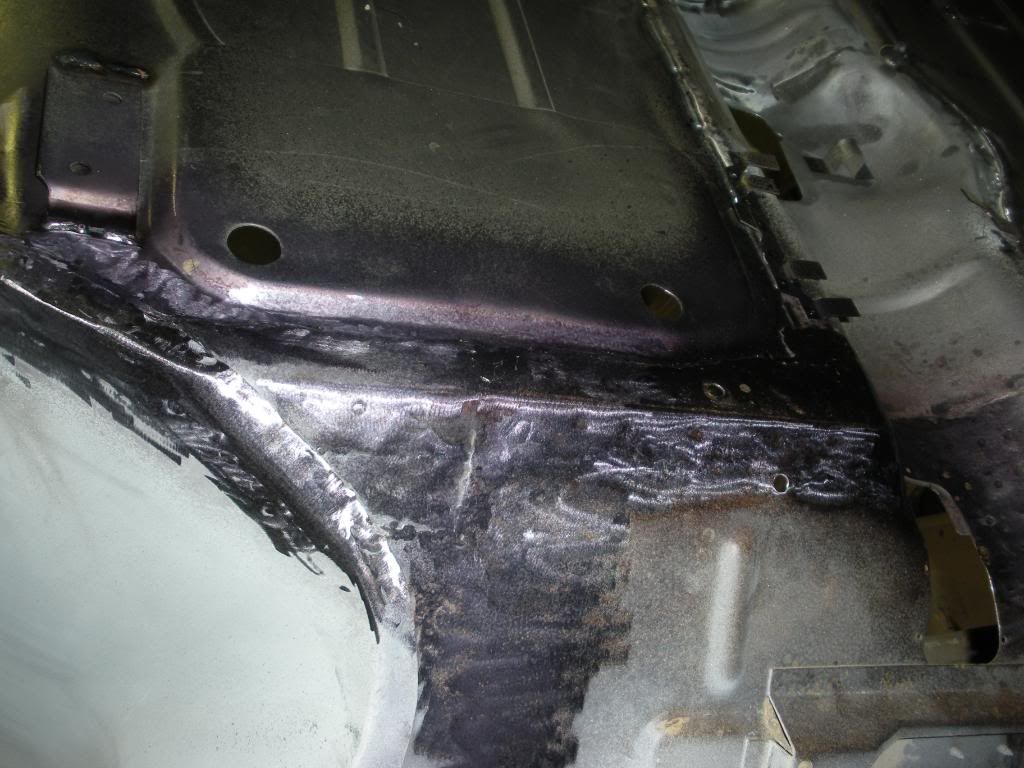
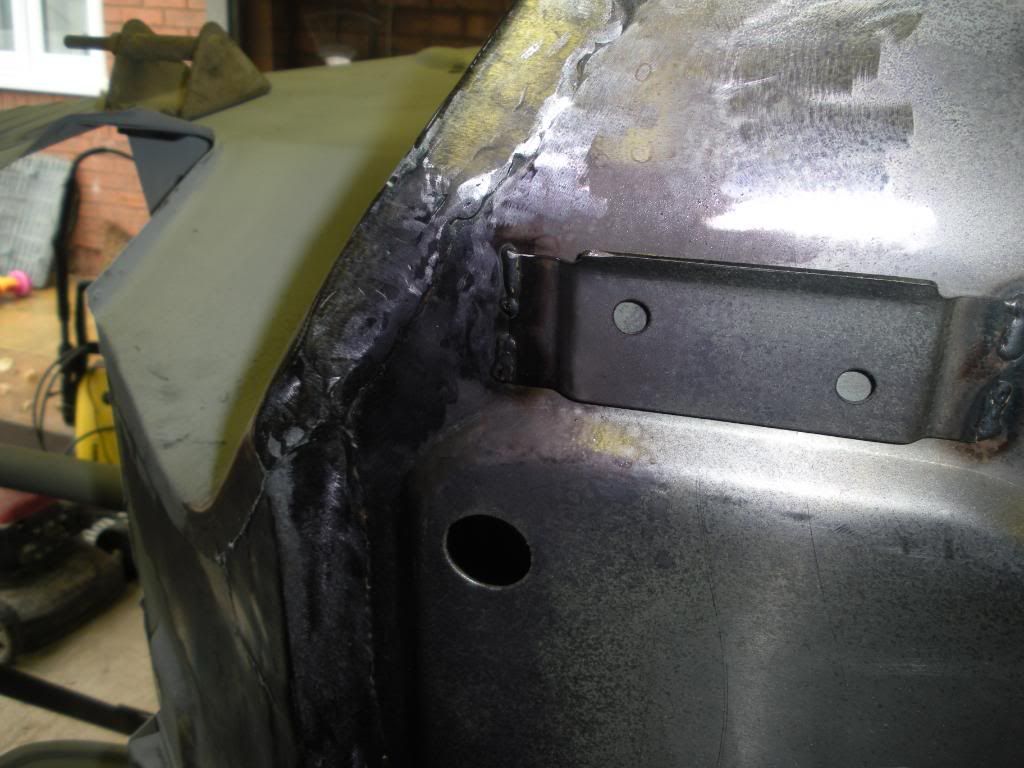
Once we had double checked all the measurements for the tenth time we then used some aviation skin pins to fix the boot floor to the top of the heel board, I'll let the photo's tell the rest of the story

Posted Image

Posted Image

Posted Image

Posted Image

Posted Image

Posted Image

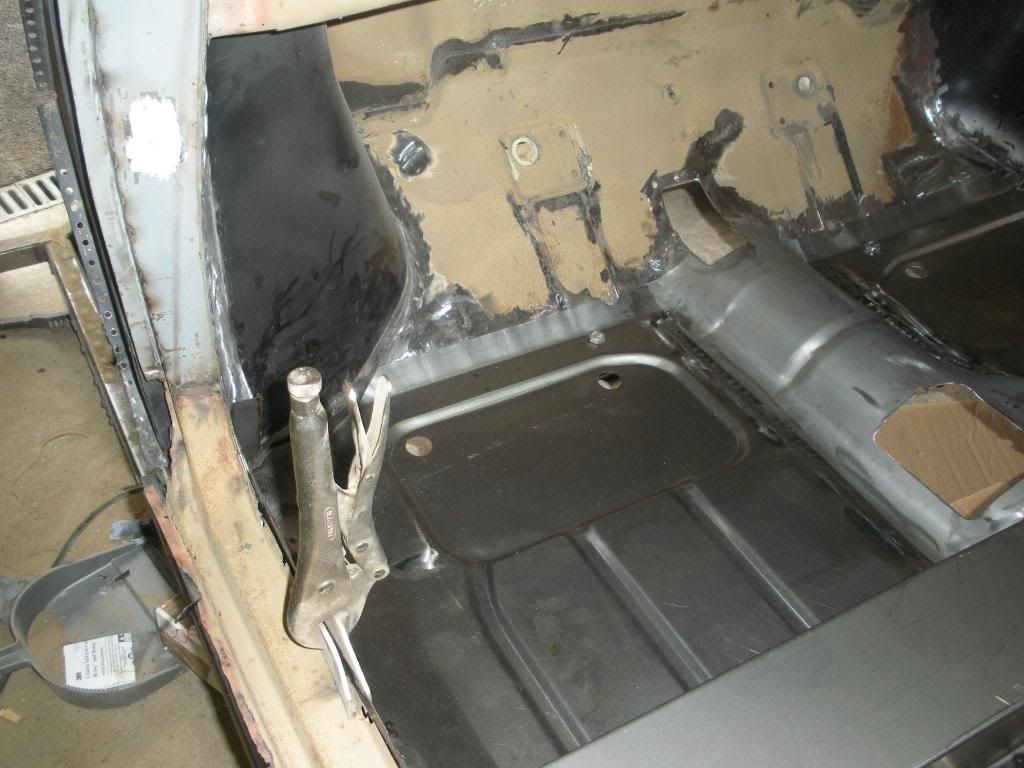
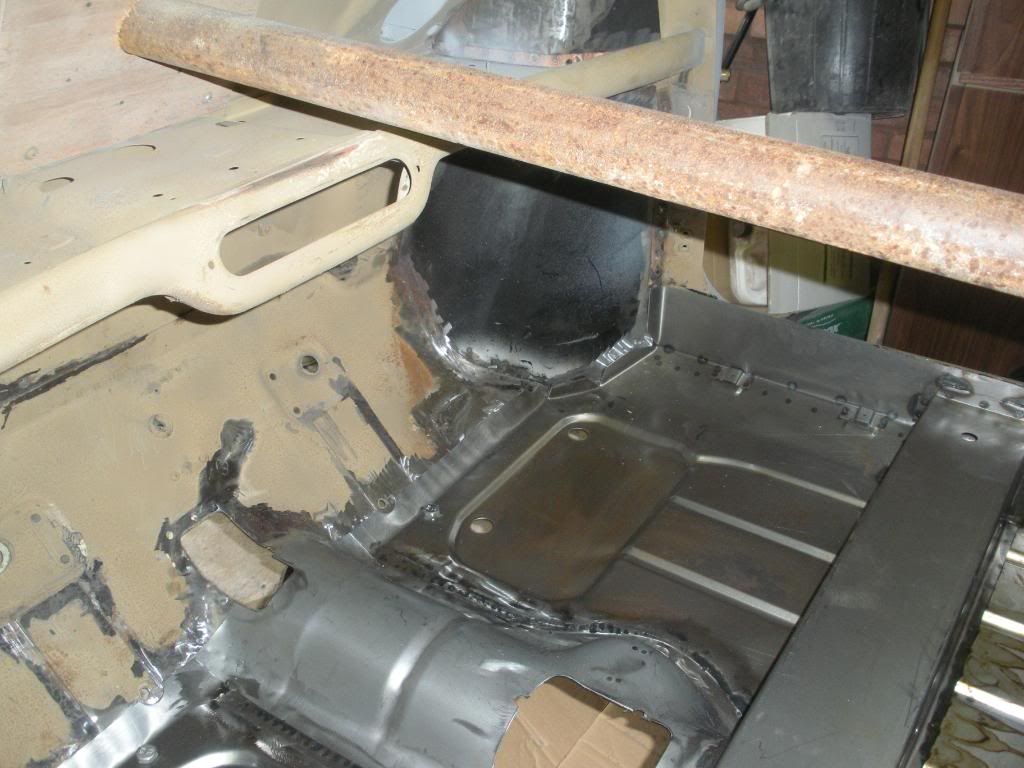
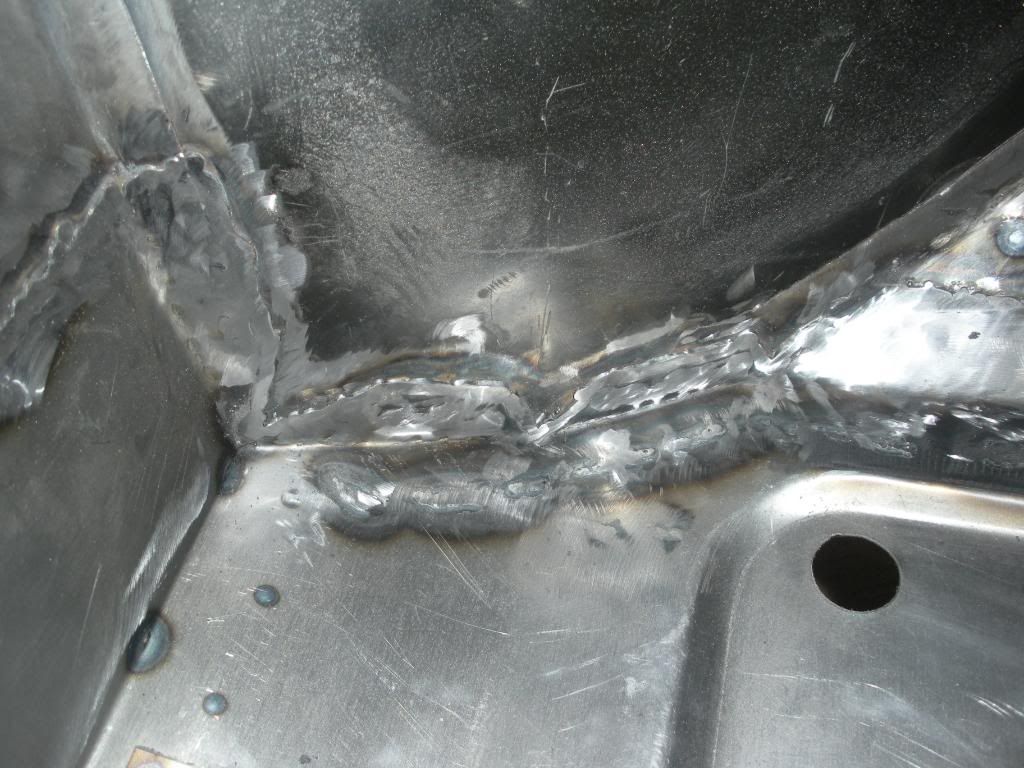
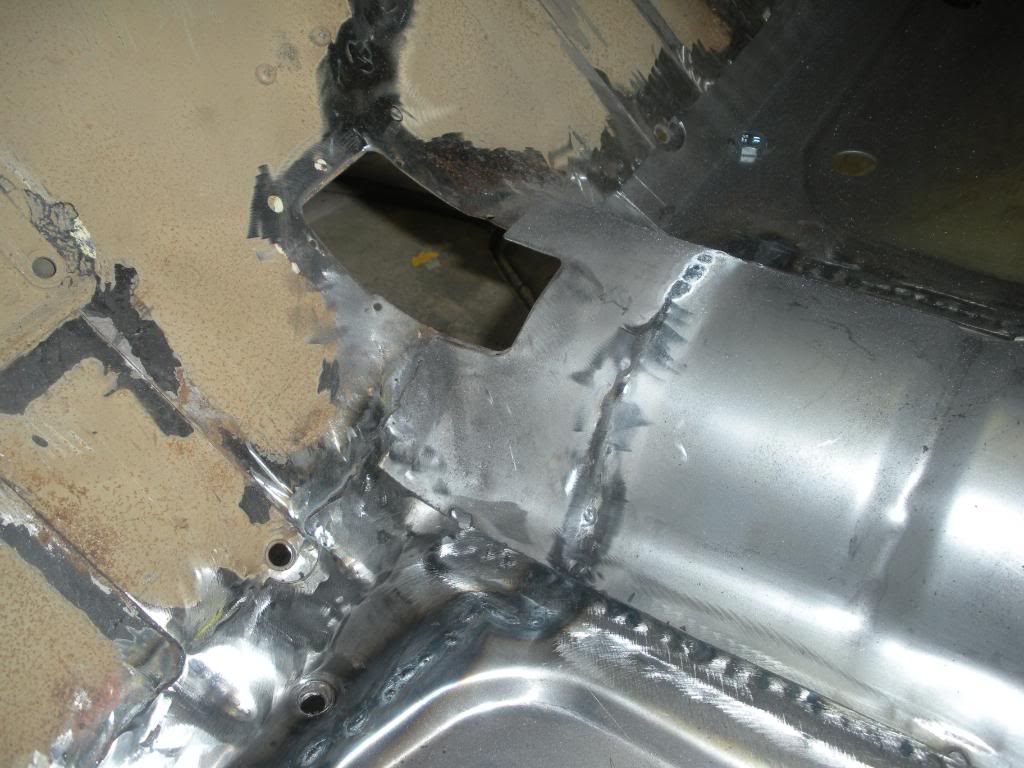
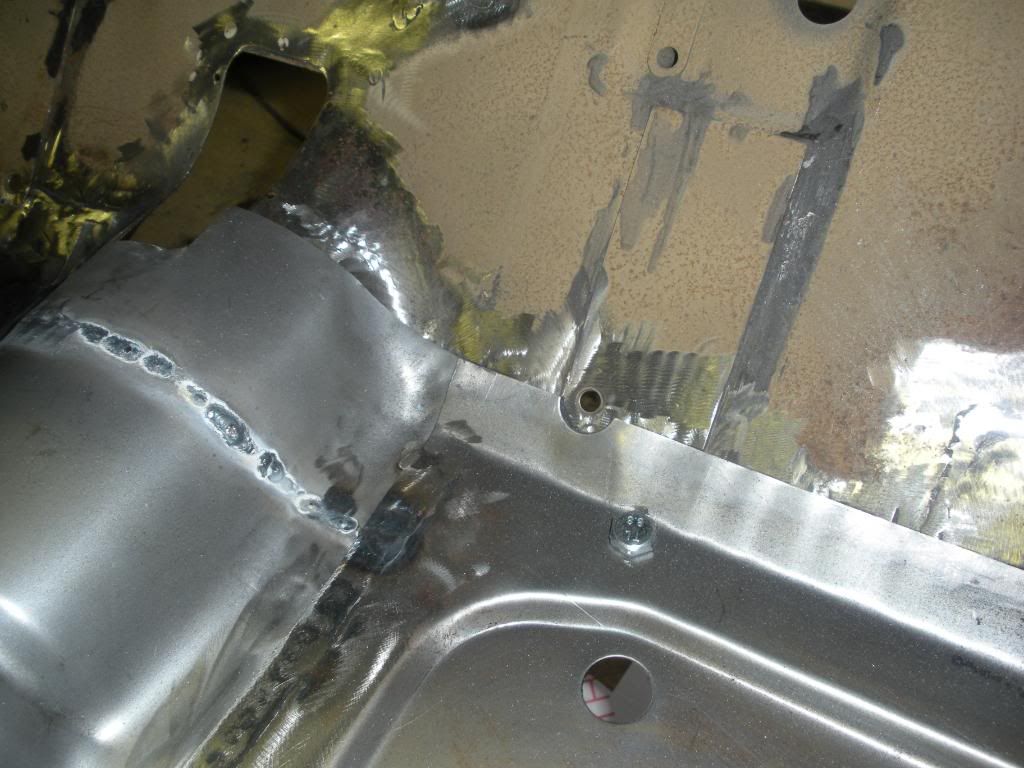
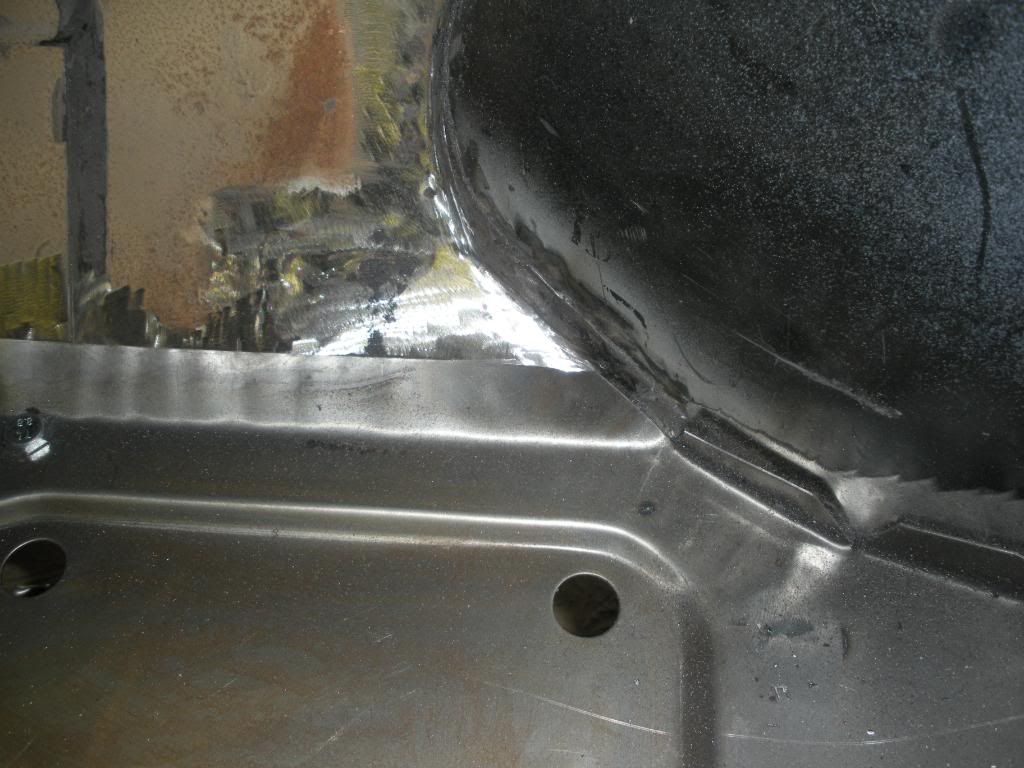
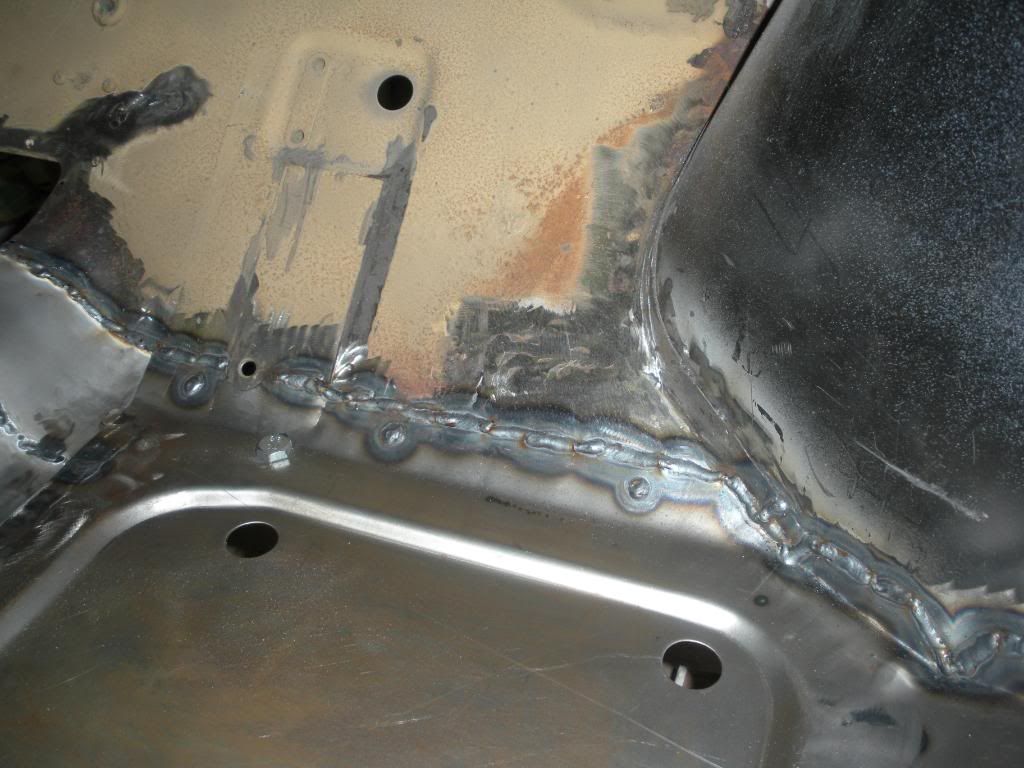
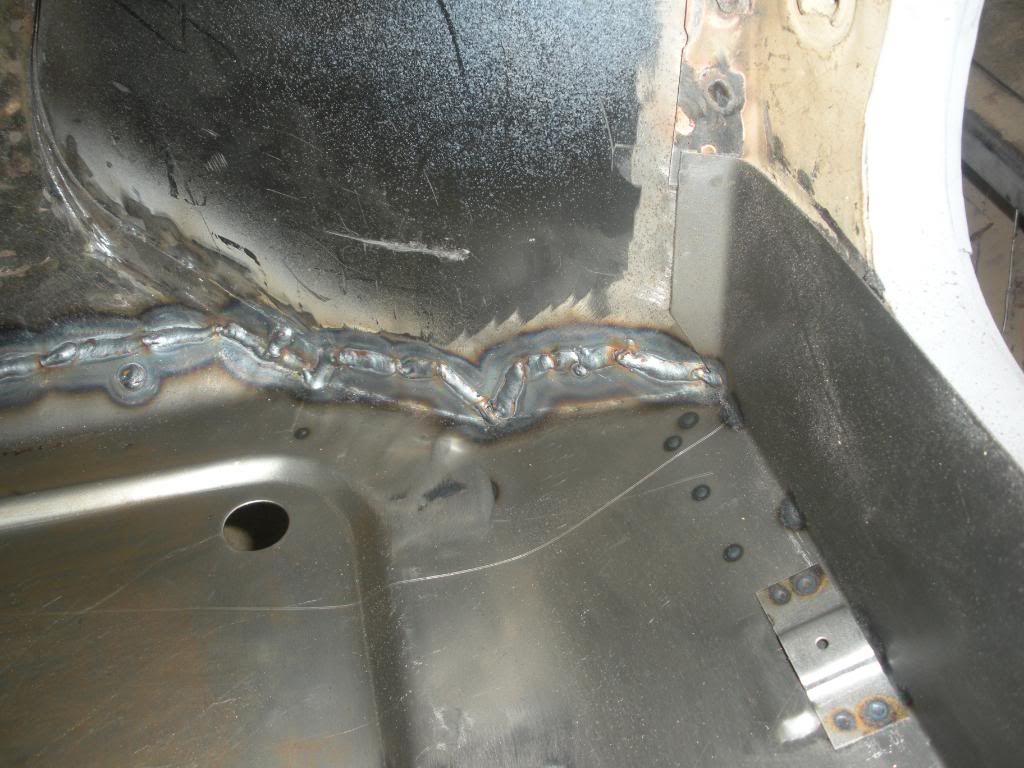
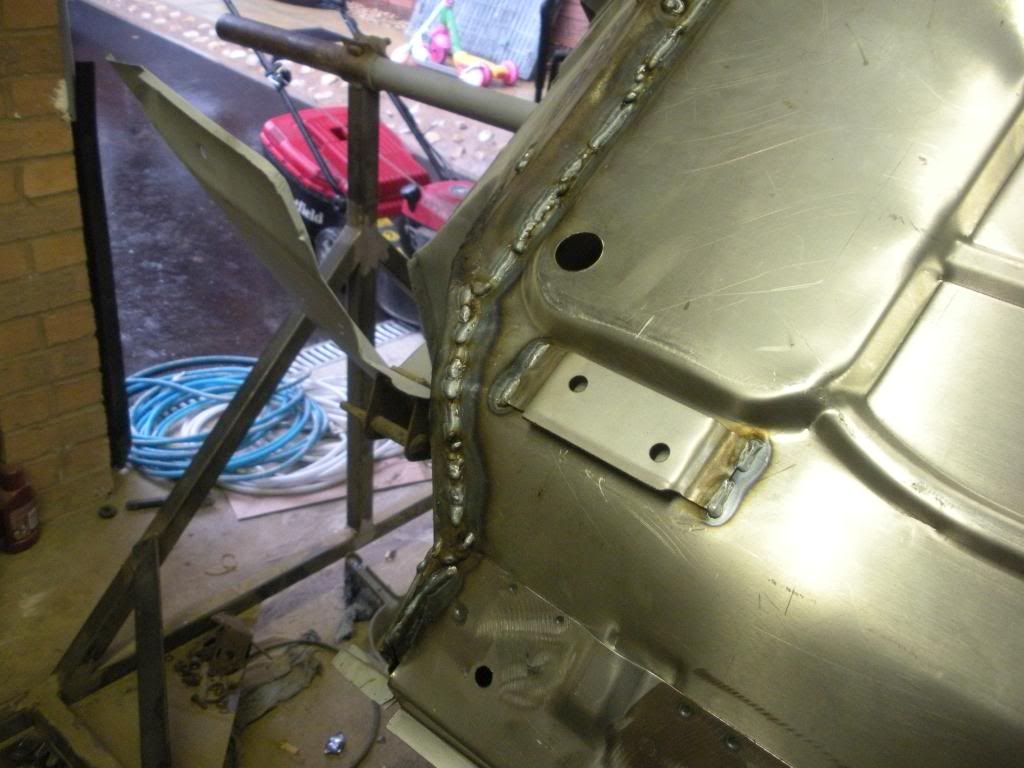
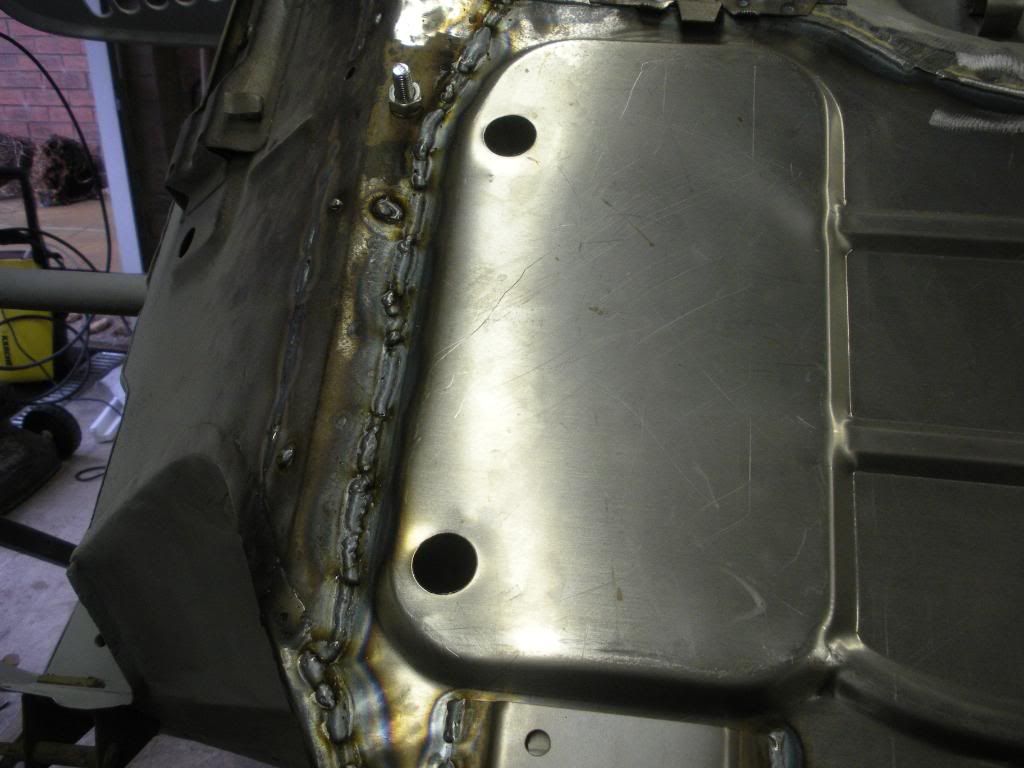
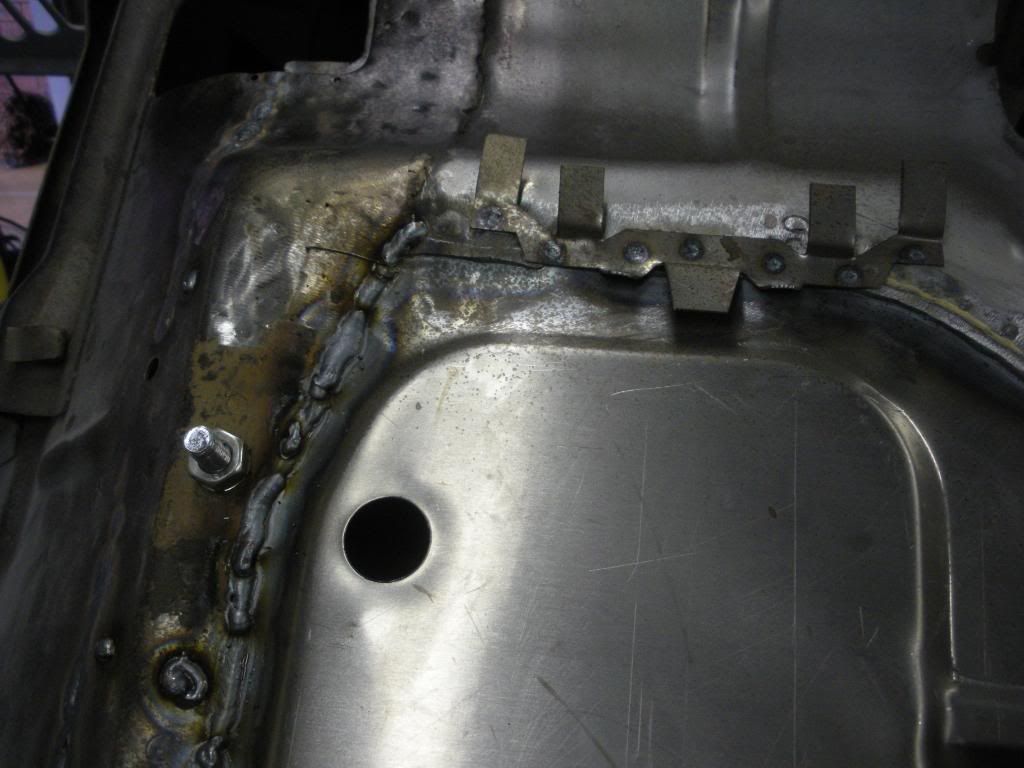
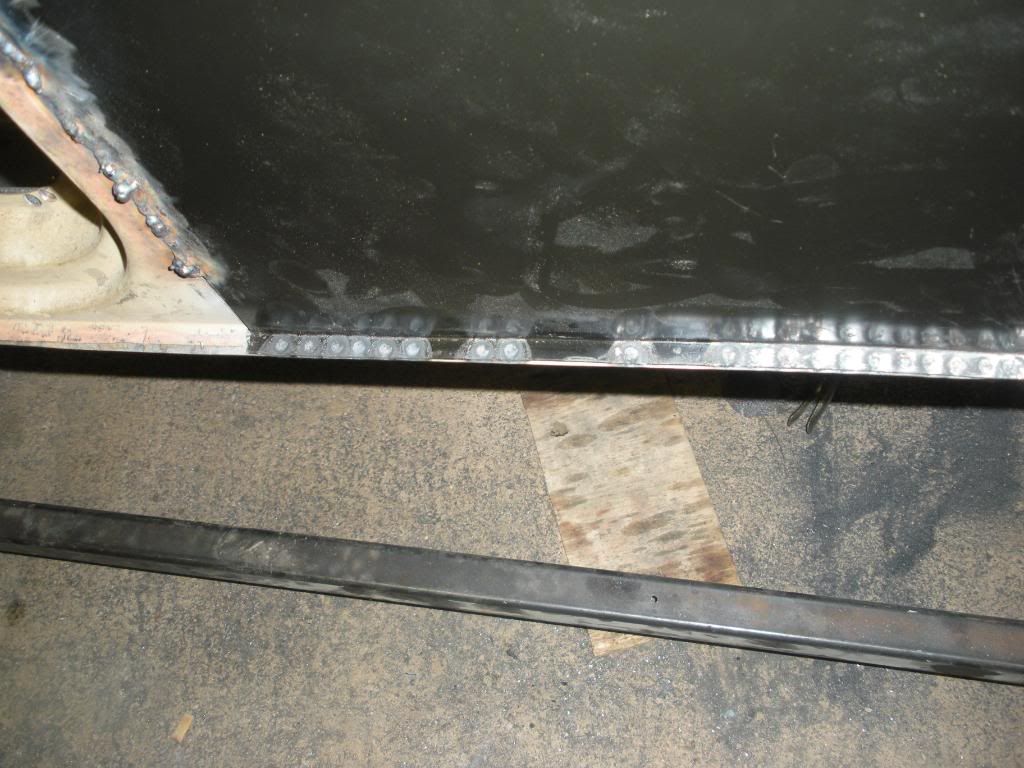
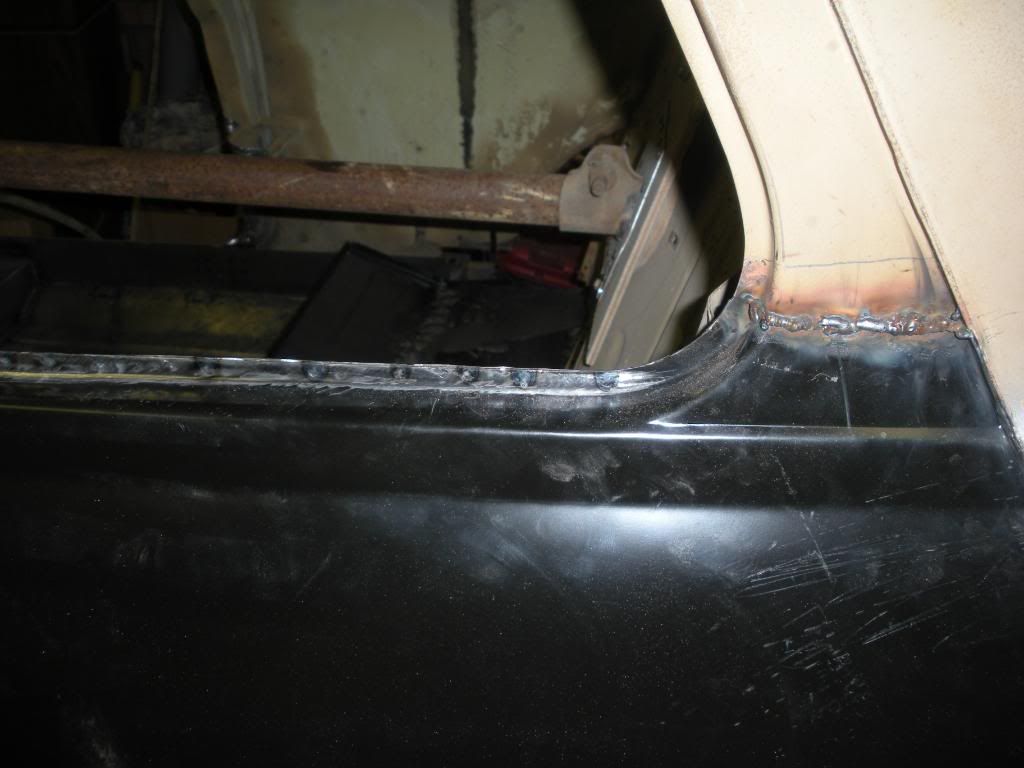
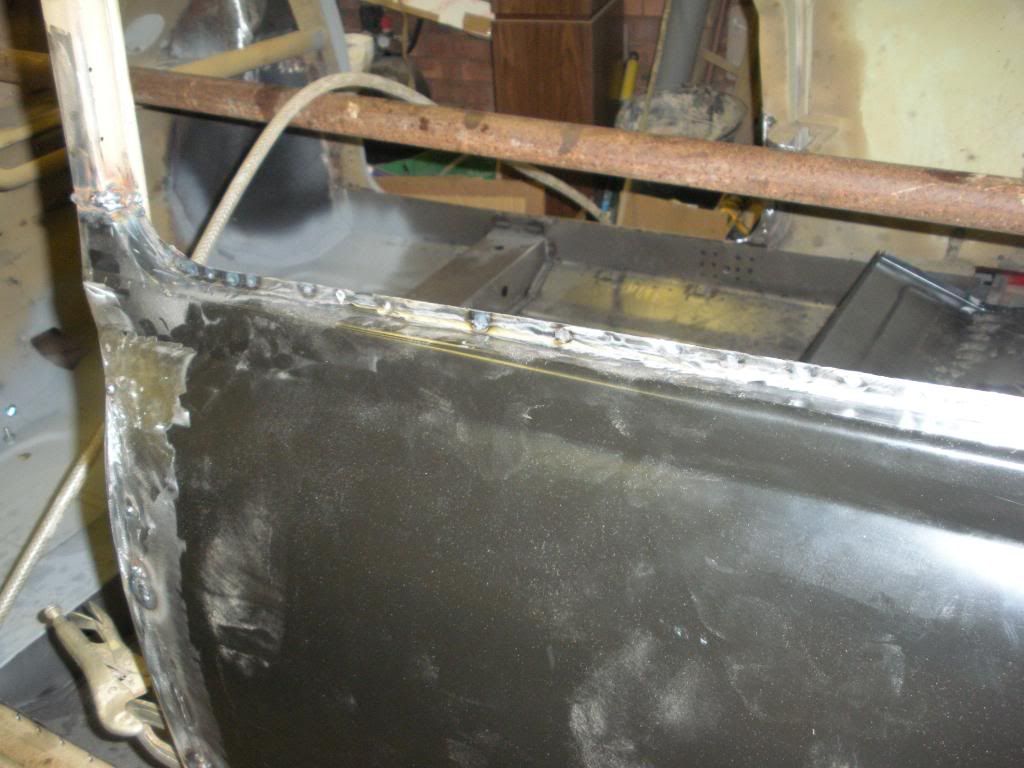
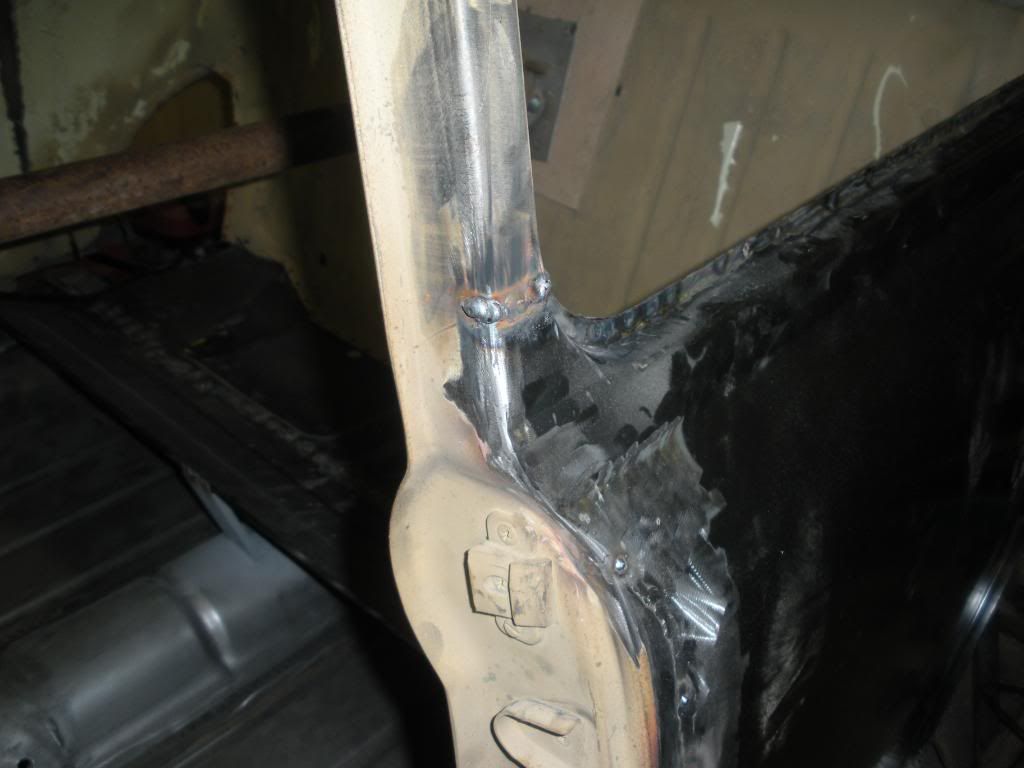
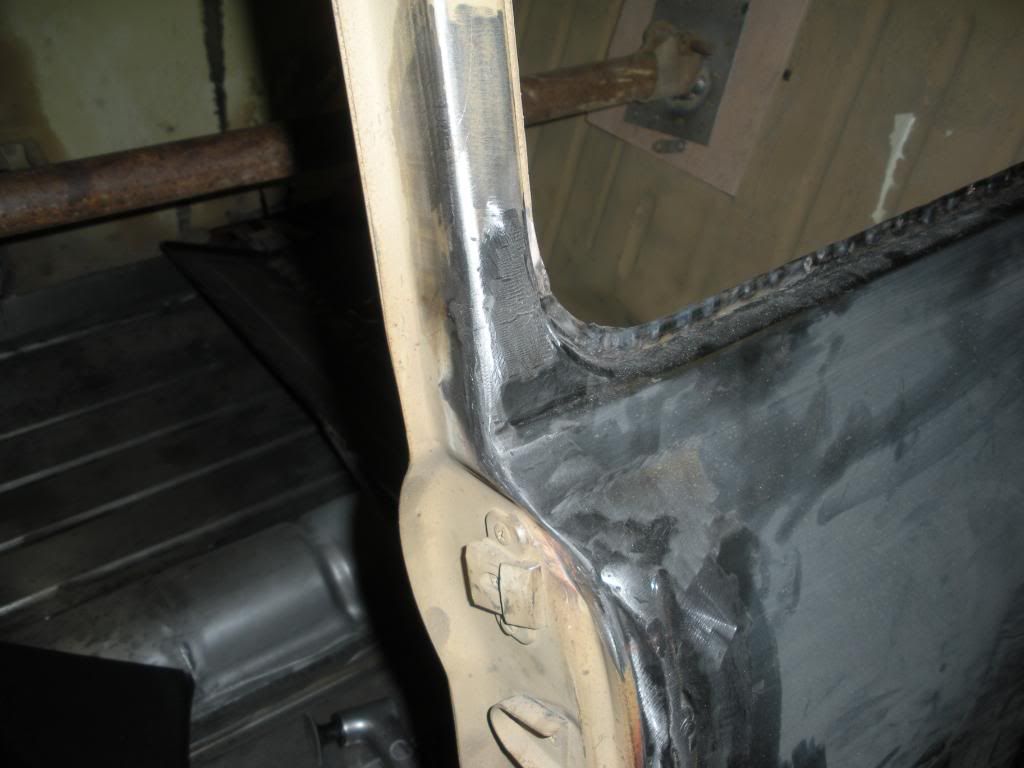
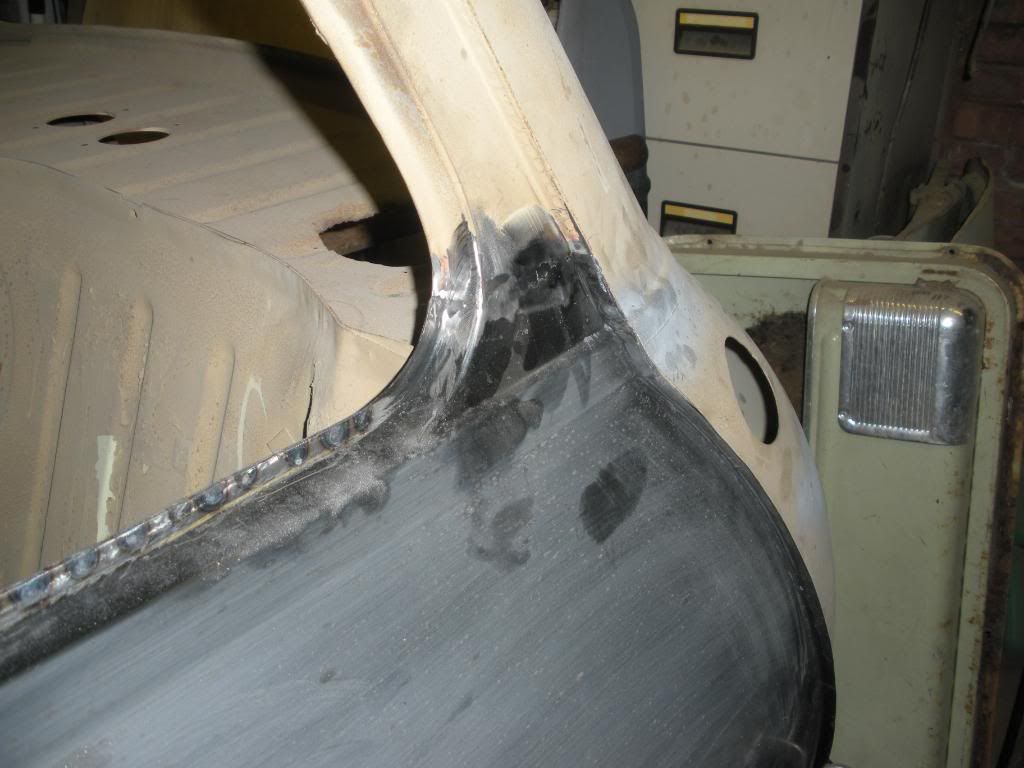
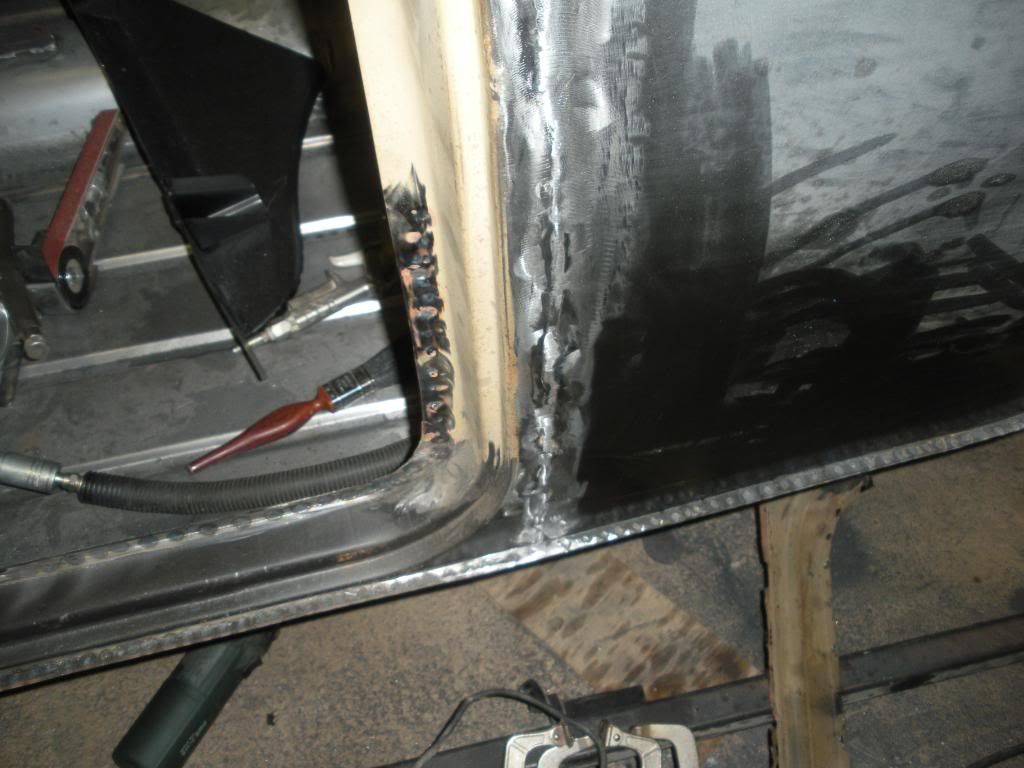
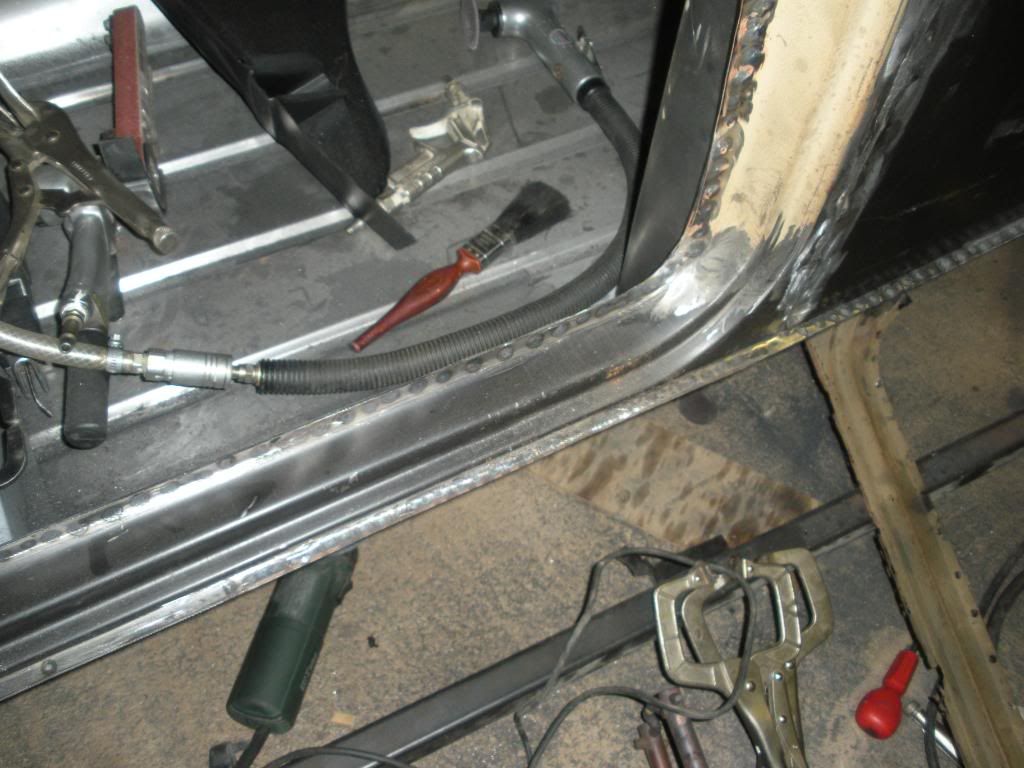
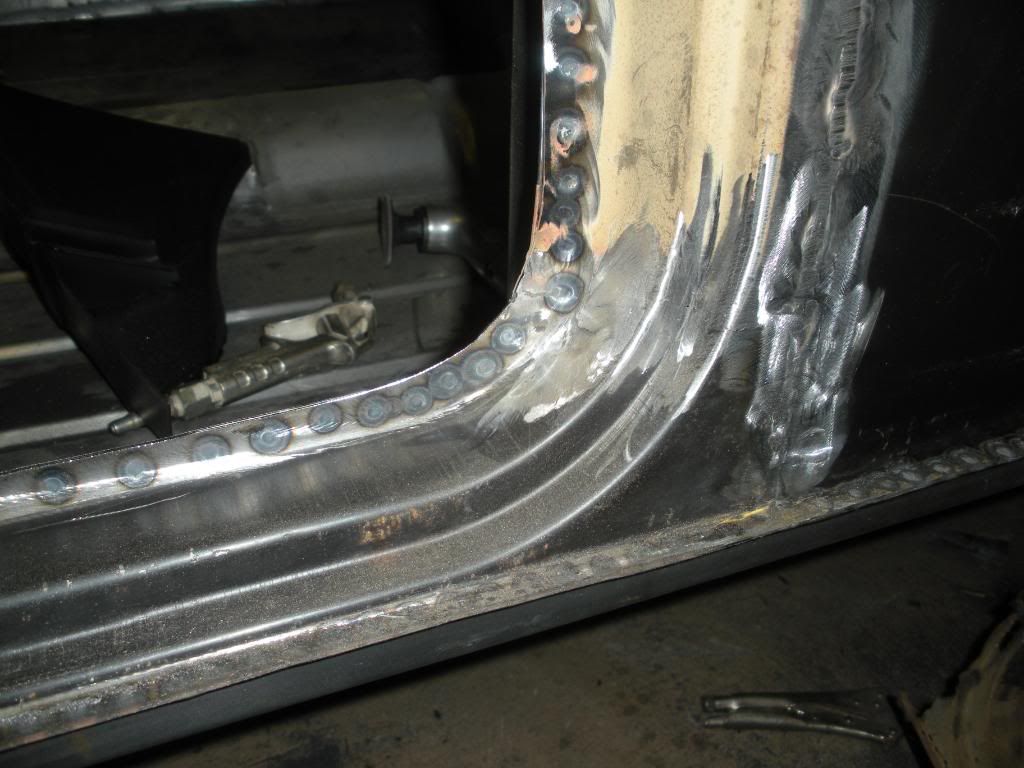
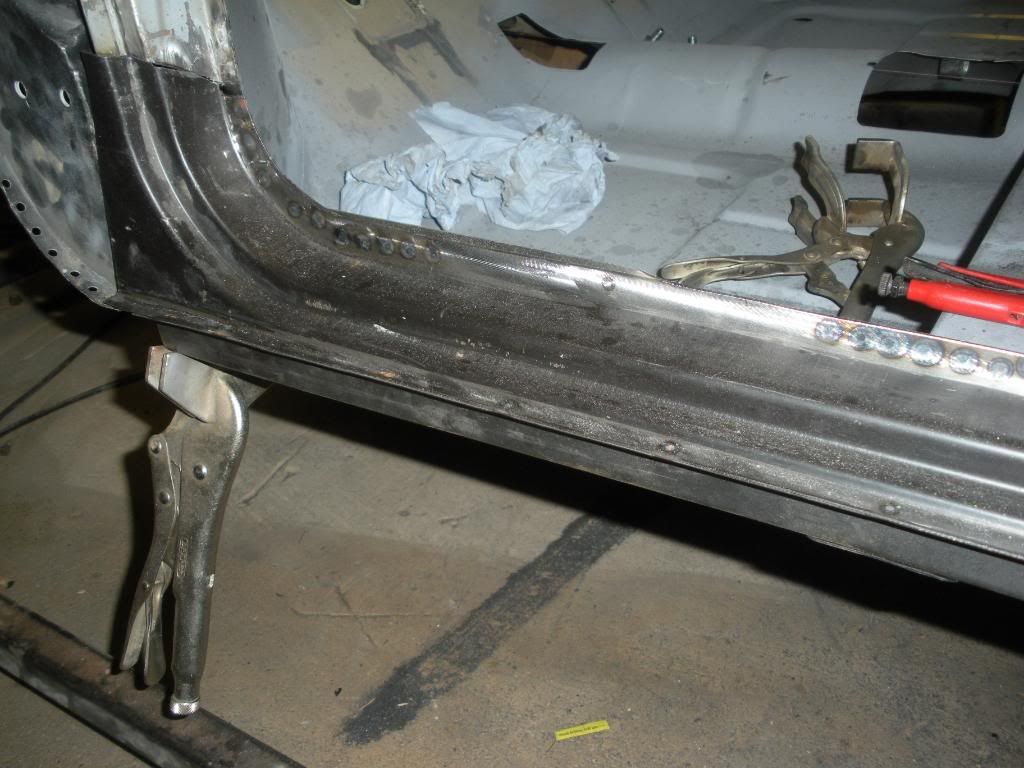
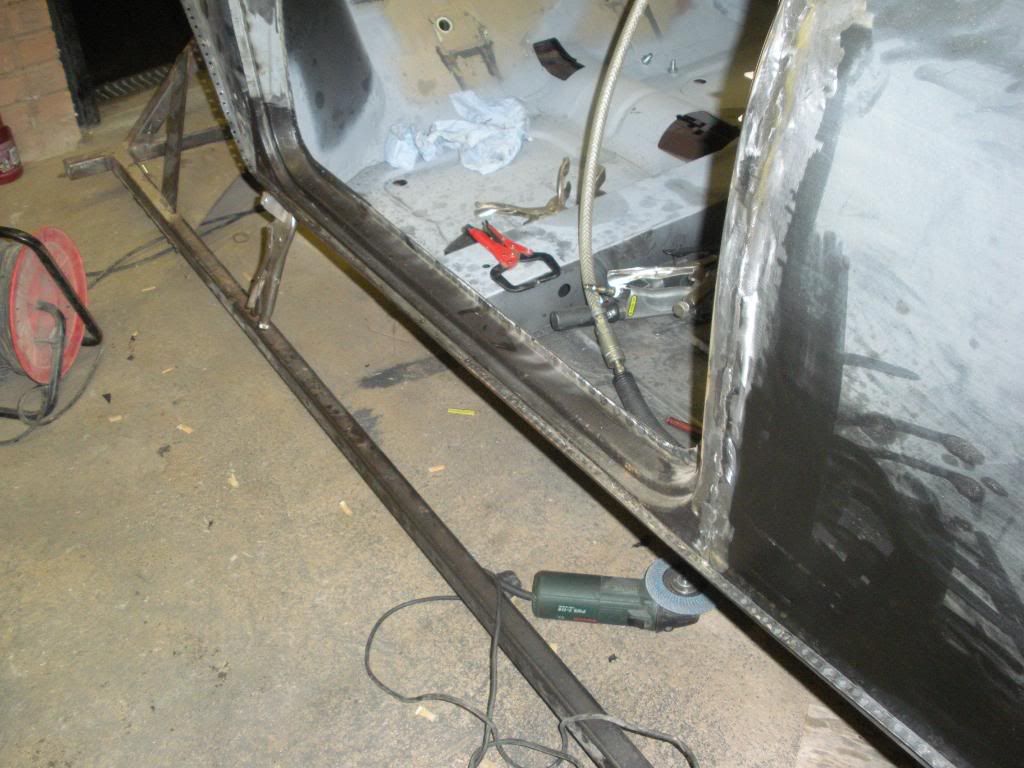
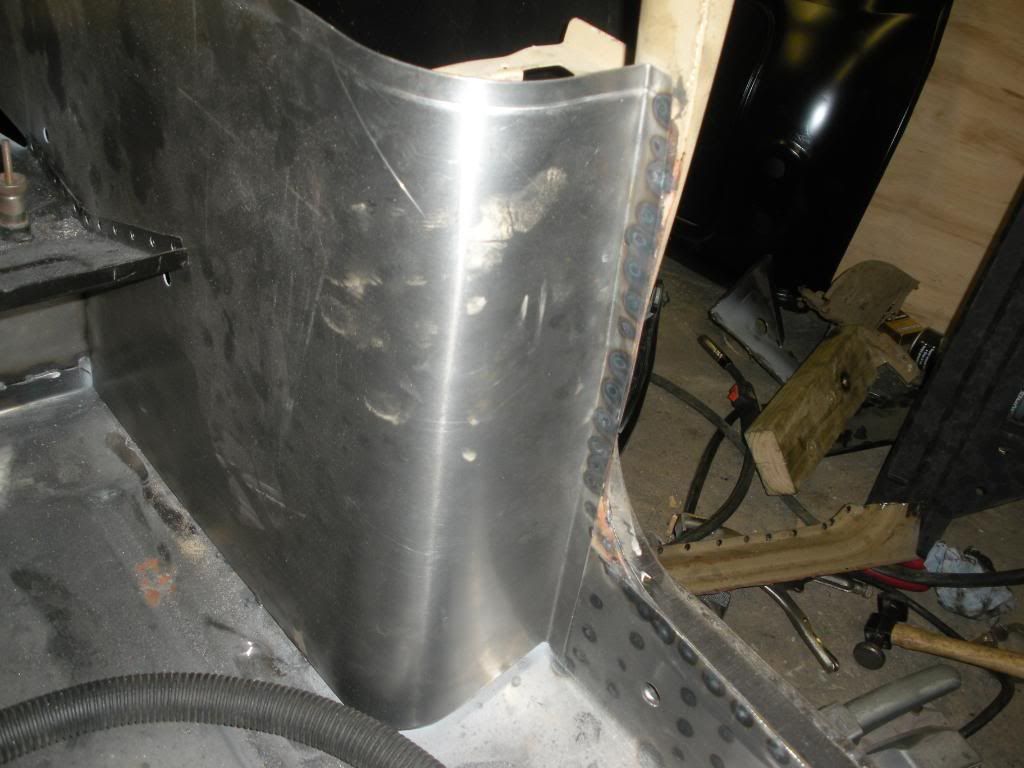
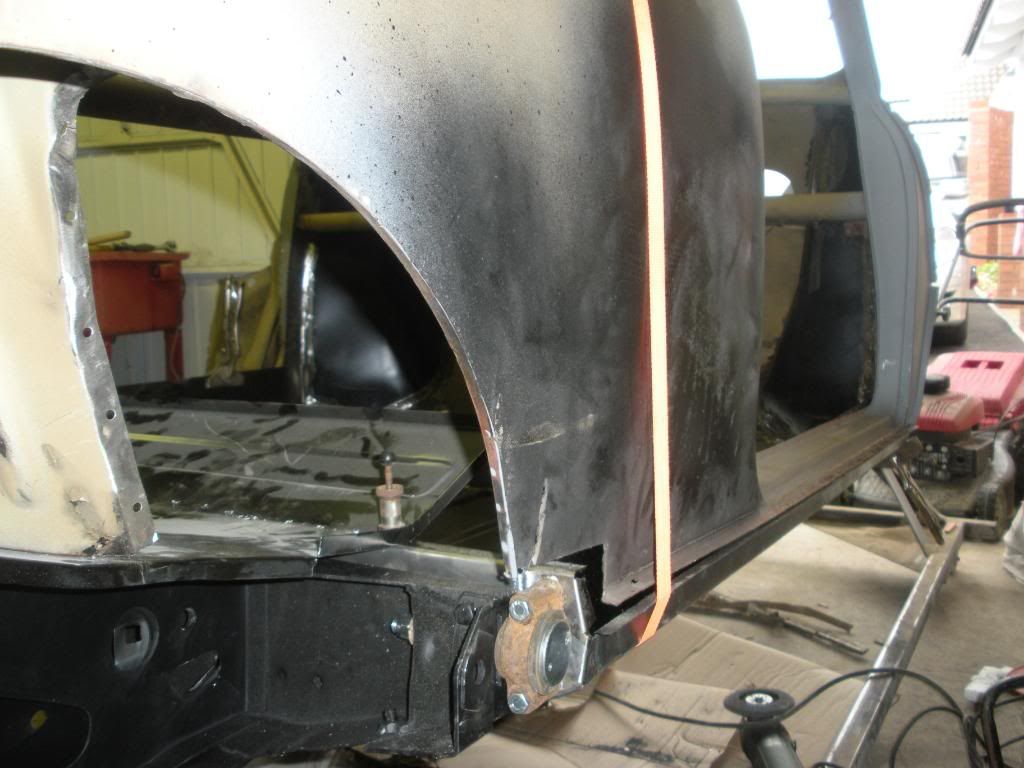
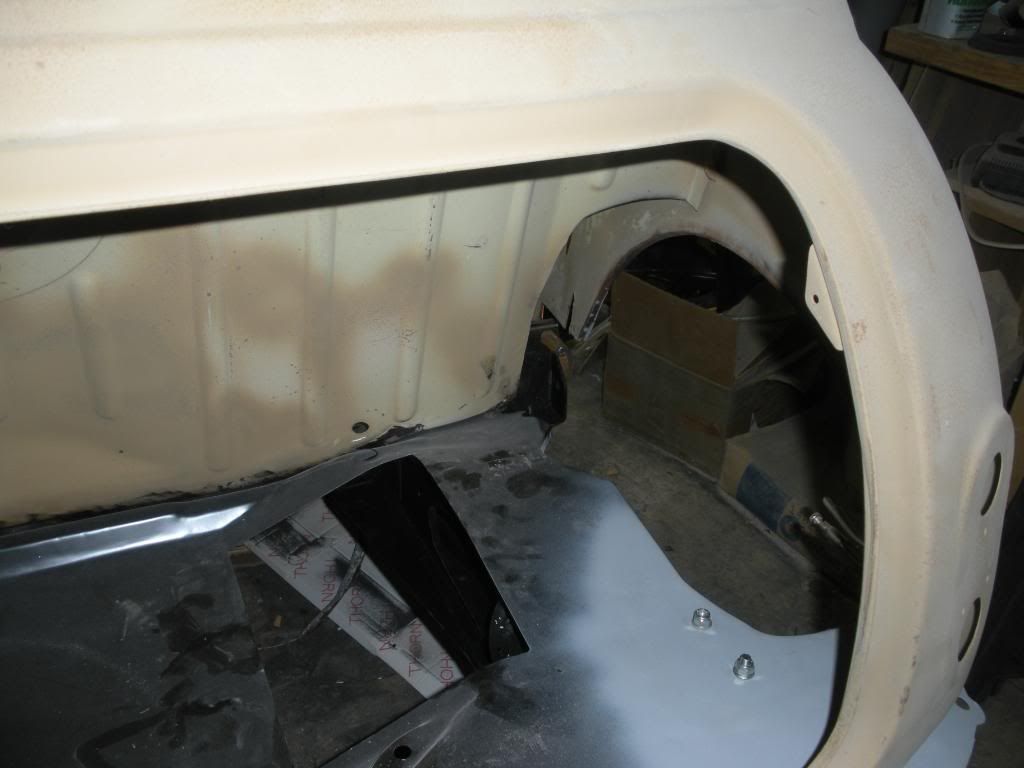
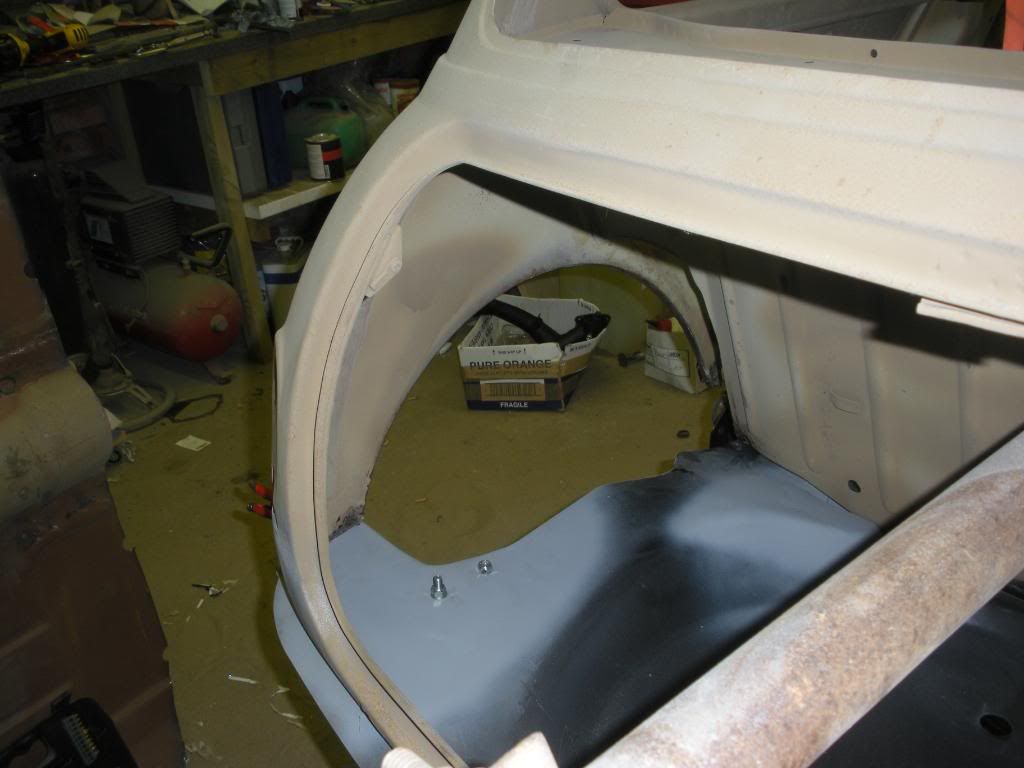
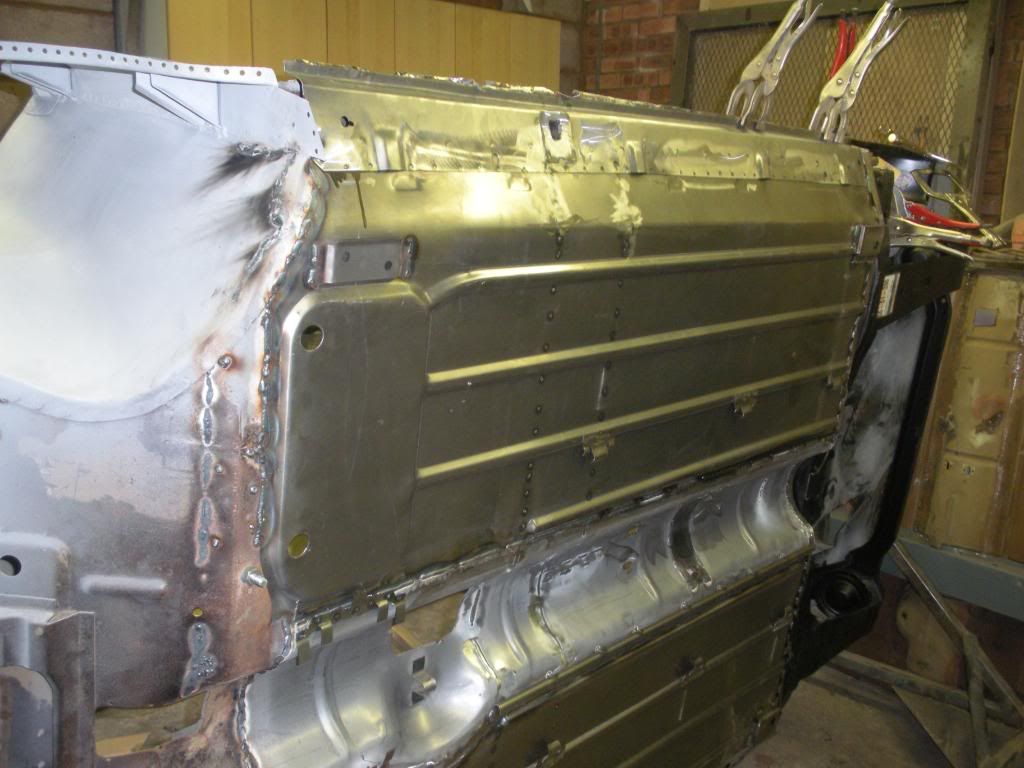
After all the panels were skin pinned together out came the welder and the fun begins, lots of spot weld and lots of grinding, seat panel to heel board first, then seam welded the front floor panel to the toe board on top and underneath, got to clean these welds up tomorrow as it was getting a bit late to start grinding, specially as the grinders been going non stop for the last few days removing the old floor. I have also dry fitted the new wheel arches everything fits fine

Posted Image

Posted Image

Posted Image

Posted Image

Posted Image

Posted Image

Posted Image

Posted Image

Posted Image

Posted Image

Hope youv'e all enjoyed the update as much as I've enjoyed doing the work today, it really feels as though I'm getting somewhere now

Edited by Mini Basher, 24 October 2009 - 07:47 AM.


#32 Mini Basher

Mini Basher

    Speeding Along Now

  • TMF+ Member
  • PipPipPipPipPip
  • 424 posts
  • Location: Forest of Dean
  • Local Club: Mini Foresters

Posted 26 July 2009 - 09:28 PM

Hi everyone, last update for this week as I've got to work away again, got up this morning and ground down all the welds on the front nearside floor pan.

Posted Image

Posted Image

Posted Image

Posted Image

These are the pictures from the underside

Posted Image

Posted Image

Posted Image

Posted Image

The purple stuff on the panels is a Dintronal rust convertining product, better overkill now than the worm setting in again in a few years

Clamped the other side in place with skin pins and then spot welded into position, then I seam welded the inside floor pan to the toe board, flipped the car over on the carosel and seam welded the underside of the toe board to the floor pan. I ran out of time to grind down the welds on this side so thats a job for next weekend.

Posted Image

Posted Image

Posted Image

Posted Image

Posted Image

Posted Image

Posted Image

Posted Image

Posted Image

Hoping to get back from work late Thursday night so might be able to do some more Friday, keep watching for more updates on progress

Edited by Mini Basher, 24 October 2009 - 07:50 AM.


#33 mighty mini jack

mighty mini jack

    Mighty Before a Pint

  • Members
  • PipPipPipPipPipPipPipPipPipPip
  • 5,095 posts

Posted 26 July 2009 - 09:32 PM

Lovely work fella, nice welds too!

#34 rick.spi

rick.spi

    Camshaft & Stage Two Head

  • Members
  • PipPipPipPipPipPipPipPip
  • 1,686 posts
  • Local Club: "WOT NO BRAKES"

Posted 26 July 2009 - 09:40 PM

wow, top quality resto by the looks of it :ermm:

and £250 :o bargain

my tip of the day is that on the front shock mounts put loadsa silicone sealant under them before you bolt them on for the final time as they rust like mad under those mounts :lol:.

#35 gregh55

gregh55

    Camshaft & Stage Two Head

  • Banned
  • PipPipPipPipPipPipPipPip
  • 1,706 posts
  • Local Club: naaa

Posted 26 July 2009 - 09:55 PM

ive just got a 1962 and i think it needs more work IMO lol

but youve done a great job :ermm:

#36 Mini Basher

Mini Basher

    Speeding Along Now

  • TMF+ Member
  • PipPipPipPipPip
  • 424 posts
  • Location: Forest of Dean
  • Local Club: Mini Foresters

Posted 26 July 2009 - 10:36 PM

Lovely work fella, nice welds too!

thanks mighty mini jack, its taken a lot of practice and a lot of time but it was worth it in the end as I want to do as much of the restoration myself and also I'll know what has been done, I dont want to be told by someone that something was done and then a couple of years down the line find out it wasn't and it comes back to bite me, thanks for your comments

Andy

Edited by Mini Basher, 24 October 2009 - 07:52 AM.


#37 Mini Basher

Mini Basher

    Speeding Along Now

  • TMF+ Member
  • PipPipPipPipPip
  • 424 posts
  • Location: Forest of Dean
  • Local Club: Mini Foresters

Posted 26 July 2009 - 10:41 PM

wow, top quality resto by the looks of it :ermm:

and £250 :o bargain

my tip of the day is that on the front shock mounts put loadsa silicone sealant under them before you bolt them on for the final time as they rust like mad under those mounts :lol:.

Hi Rick thanks for looking, its a good tip that I had already been thinking of, not sure about silicone though as it has a tendancy to start corrosion if you use the wrong type as some have accetic acid in them but I do understand what your saying, also in relation to the shock mounts no brownie points as no-one has noticed that they are upside down!!!!!!!

#38 Mini Basher

Mini Basher

    Speeding Along Now

  • TMF+ Member
  • PipPipPipPipPip
  • 424 posts
  • Location: Forest of Dean
  • Local Club: Mini Foresters

Posted 26 July 2009 - 10:47 PM

ive just got a 1962 and i think it needs more work IMO lol

but youve done a great job :ermm:

Hi Greg, thanks for looking, yours can't be any worse than mine, so far I've replaced both front inner wings, complete floor panel, boot floor, scuttle panel and front A post stiffeners, still to go are both rear quarter panels, rear panel to bottom of window, both door steps, the roof panel, front panel and both front wings. I reacon by the time I'm finished I will have changed about 80-85% of all the panels.

Good luck with your resto job and I'll keep my eye open for your thread

Andy

#39 defmini

defmini

    On The Road

  • Noobies
  • PipPip
  • 43 posts

Posted 05 August 2009 - 07:29 PM

Great job so far just cut the floor out of my Mk1 and hoping to find some time in the next couple of weeks to get the new ones welded in >_<

#40 Mini Basher

Mini Basher

    Speeding Along Now

  • TMF+ Member
  • PipPipPipPipPip
  • 424 posts
  • Location: Forest of Dean
  • Local Club: Mini Foresters

Posted 05 August 2009 - 09:53 PM

Great job so far just cut the floor out of my Mk1 and hoping to find some time in the next couple of weeks to get the new ones welded in >_<

Hello Defmini
Thanks for looking, this thread seems to be going a bit slowly, good luck with your floor though, just make sure everything is square before you weld the new one in, especially if you've taken the whole floor out or you'll be driving down the road like a crab, good luck again and i'll watch out for you thread

Andy

Edited by Mini Basher, 24 October 2009 - 07:59 AM.


#41 knightal7

knightal7

    Passed Test

  • Noobies
  • PipPip
  • 26 posts

Posted 06 August 2009 - 11:10 AM

Nice job thats quite an extensive build you are doing there and a lot of pennies spent on new panels i should imagine i will be watching your progress. on this one. Welll done

#42 Mini Basher

Mini Basher

    Speeding Along Now

  • TMF+ Member
  • PipPipPipPipPip
  • 424 posts
  • Location: Forest of Dean
  • Local Club: Mini Foresters

Posted 13 August 2009 - 11:58 PM

Well sorry it's been a while since my last update, work comes first, Got to finance this project somehow!!!!!!
There's been some progress since I last posted, unfortunatley misplaced the camera so I'm missing some snaps of the work I've done.
Been on a bit of a spending spree and bought some much needed bits for the body,
n/s & o/s rear quarter panels
n/s & o/s inner wheel arches
n/s & o/s wheel arch closing panels
n/s & o/s sill stiffeners
Ive cut out and replaced the n/s rear quarter panel, fitted the n/s companion bin, wheel arch closing panel and sill stiffener

Posted Image

Posted Image
Spot welded quarter panel to sill
Posted Image

Posted Image

Posted Image

Posted Image

Posted Image

Posted Image

Posted Image

Posted Image

Just got to finish tidying up the welds on the n/s and fit the new door step then I can start on the other side, I've taken a couple of quick shots of the o/s rear quarter as I'll probably forget before I cut it out, I'll also take shots of the various stages as I replace the other quarter and step

Inside shot of o/s rear quarter
Posted Image

Posted Image

Posted Image

Once all these panels are done I,m going to fit this

Posted Image

I was in London this week so popped into Moss and picked it up as the bottom of my rear panel is non existant, I'm going to cut the old back panel on the swage just below the rear window and use the lower half of the new panel to replace the rot, that'll just leave the battery box rear valance and closers and the inner wheel arches to fit and that will be the rear end finished ready for prepping for paint, just the front to get finished then.

Hope you are all enjoying watching the progress and I will be updating again soon

#43 Mini Basher

Mini Basher

    Speeding Along Now

  • TMF+ Member
  • PipPipPipPipPip
  • 424 posts
  • Location: Forest of Dean
  • Local Club: Mini Foresters

Posted 14 August 2009 - 10:53 PM

Hi everyone, just a quick update today as I didn't get as much done as hoped due to paperwork and phone calls.
Started of by grng back the rest of the welds on the rear quarter

Posted Image

Posted Image

Posted Image

Next job was to cut out the old doorstep and let in the new panel, this was an aftermarket panel and needed a fair bit of jigging around to get a good fit. Once I got the fit OK I then clamped the panel into position and spot welded the lower lip to the sill section and the top lip to the inner sill, next stage was to seam weld the panel to the rear quarter panel and to the door frame, then more grinding

Posted Image

Posted Image

Posted Image

Posted Image

Posted Image

Posted Image

I also spot welded the companion bin to the door post

Posted Image

Plans for tomorrow are to finish welding in the door step and grind back, then cut out the o/s rear quarter panel ready for fitting of the new panel hopefully on Sunday followed by the door step, then I can start on the rear panel.

Thanks for looking, I'll be updating again soon

#44 Mini Basher

Mini Basher

    Speeding Along Now

  • TMF+ Member
  • PipPipPipPipPip
  • 424 posts
  • Location: Forest of Dean
  • Local Club: Mini Foresters

Posted 15 August 2009 - 07:37 PM

Unfortunately no updates today as I had to swap my grinder and welder for a hoover and duster as her indoors decided that today she wanted to Spring Clean????, I think her body clock might be up the chute!!, but I didn't want to tell her that, With any luck should be back on track tomorrow

#45 miniQ

miniQ

    Speeding Along Now

  • Members
  • PipPipPipPipPip
  • 497 posts
  • Location: Manchester

Posted 16 August 2009 - 08:28 PM

nice welding work :lol: i just want to ask what your going to put on the underside of the shell to protect it?


0 user(s) are reading this topic

0 members, 0 guests, 0 anonymous users