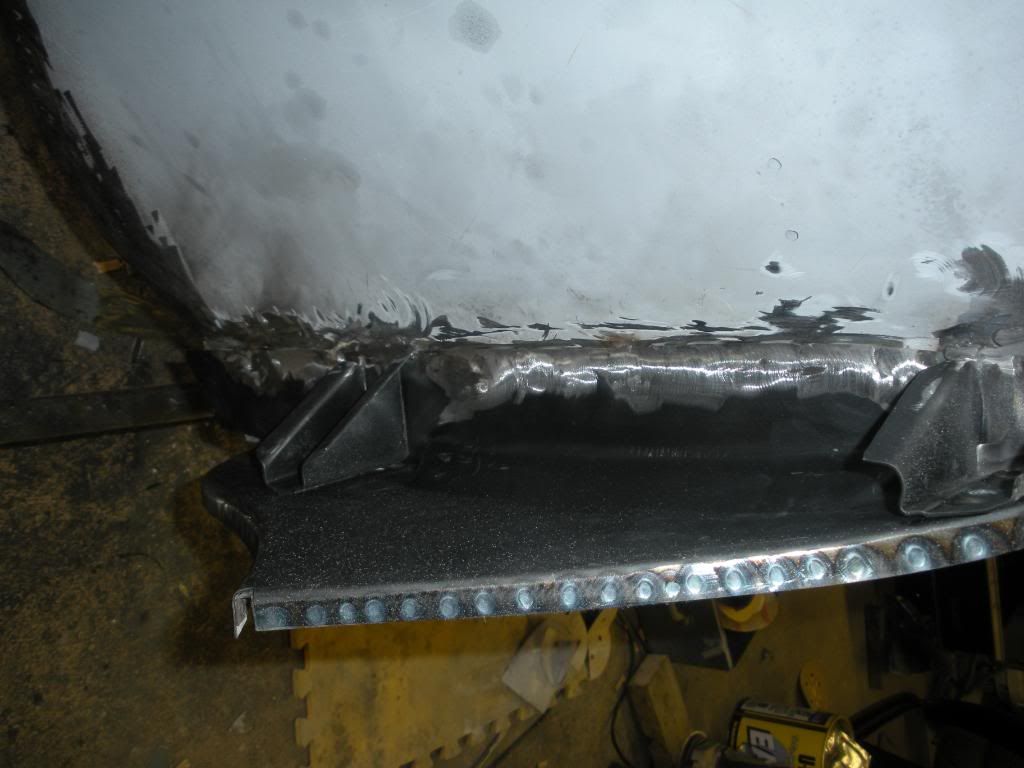
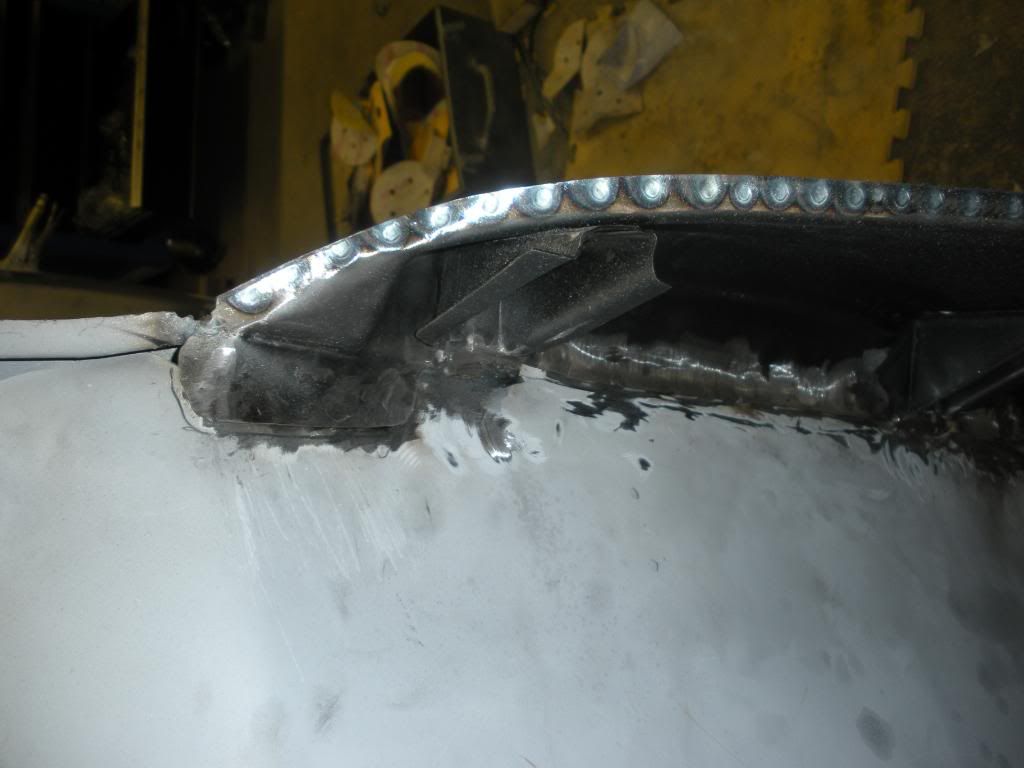
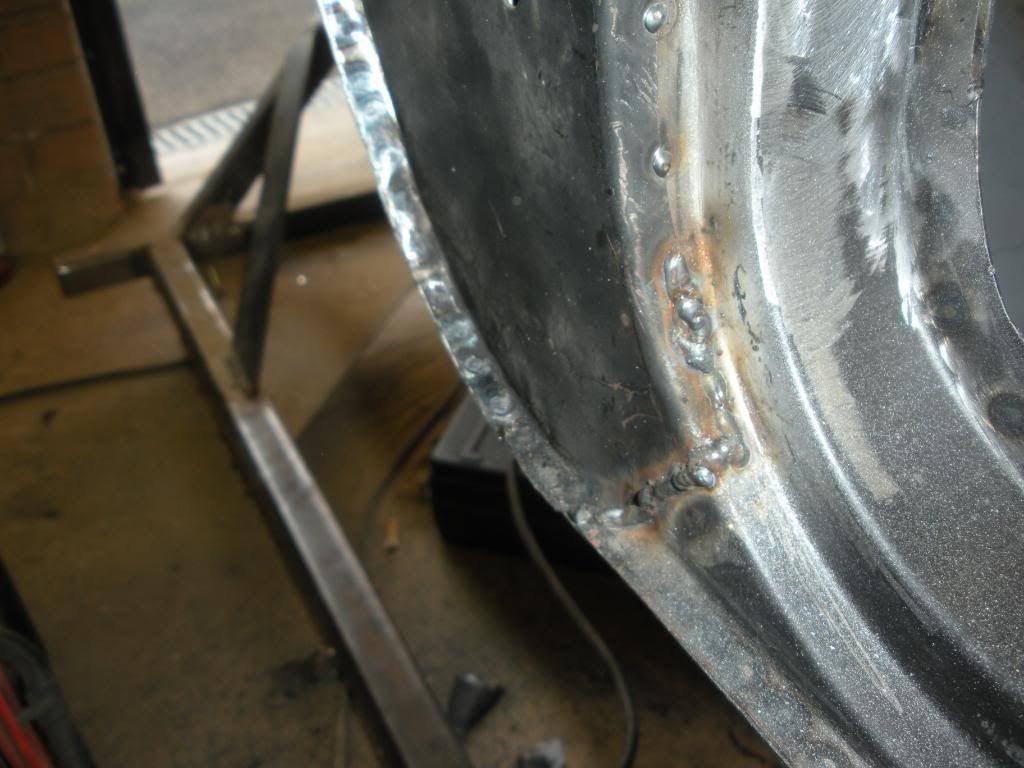
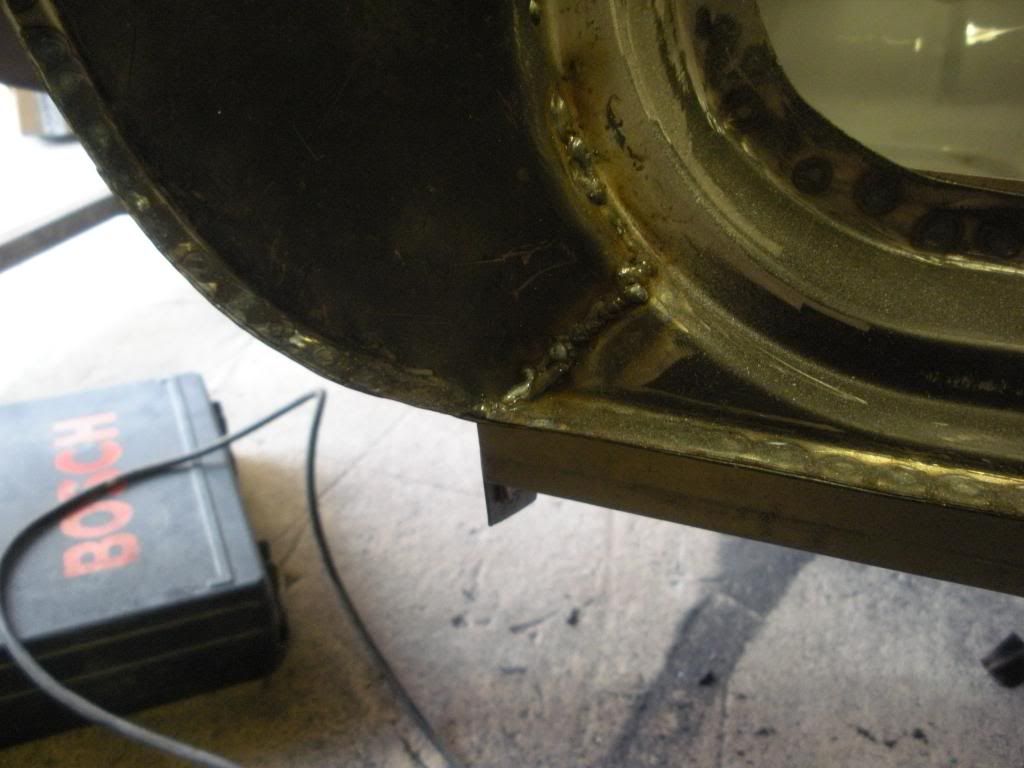
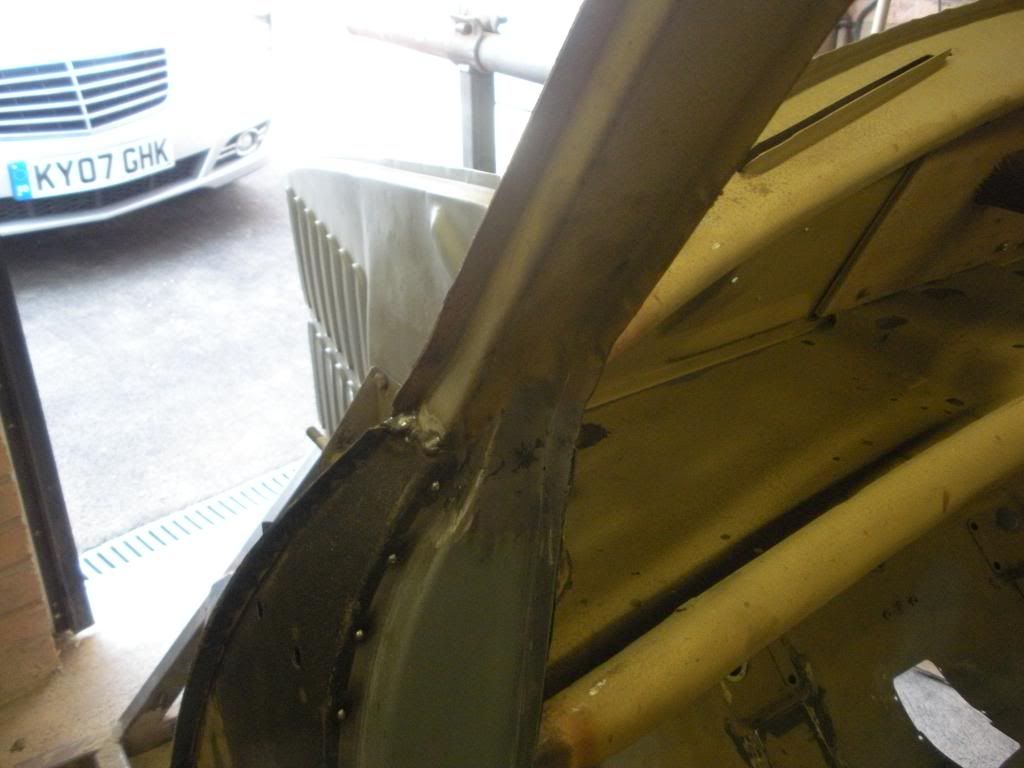
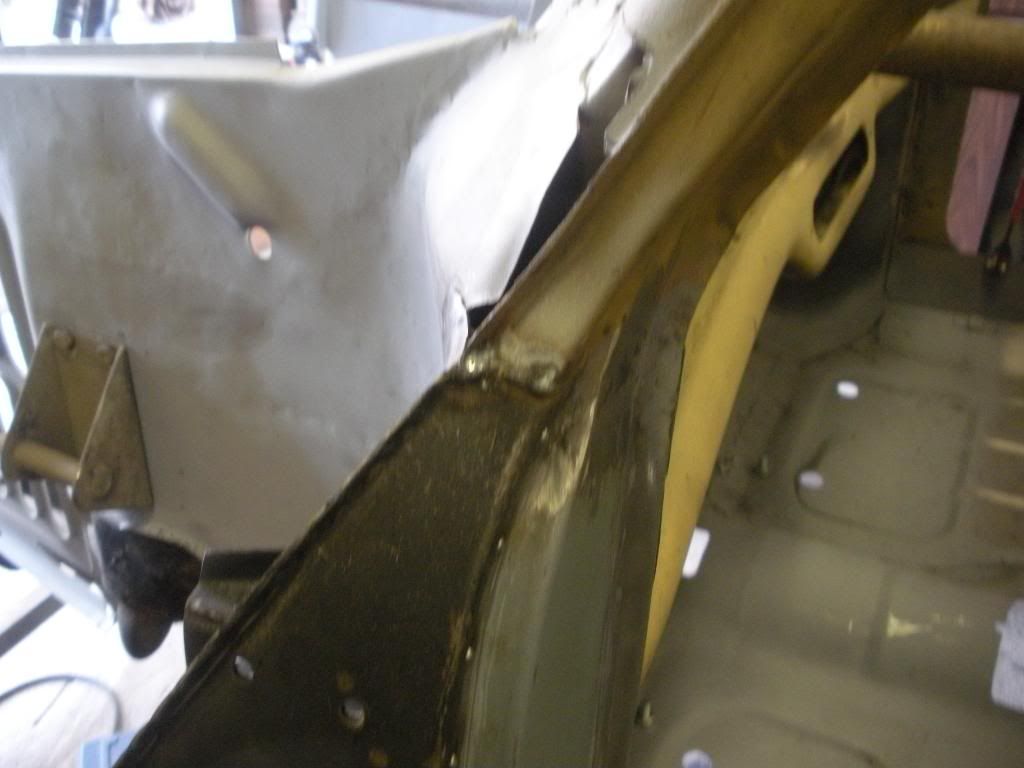
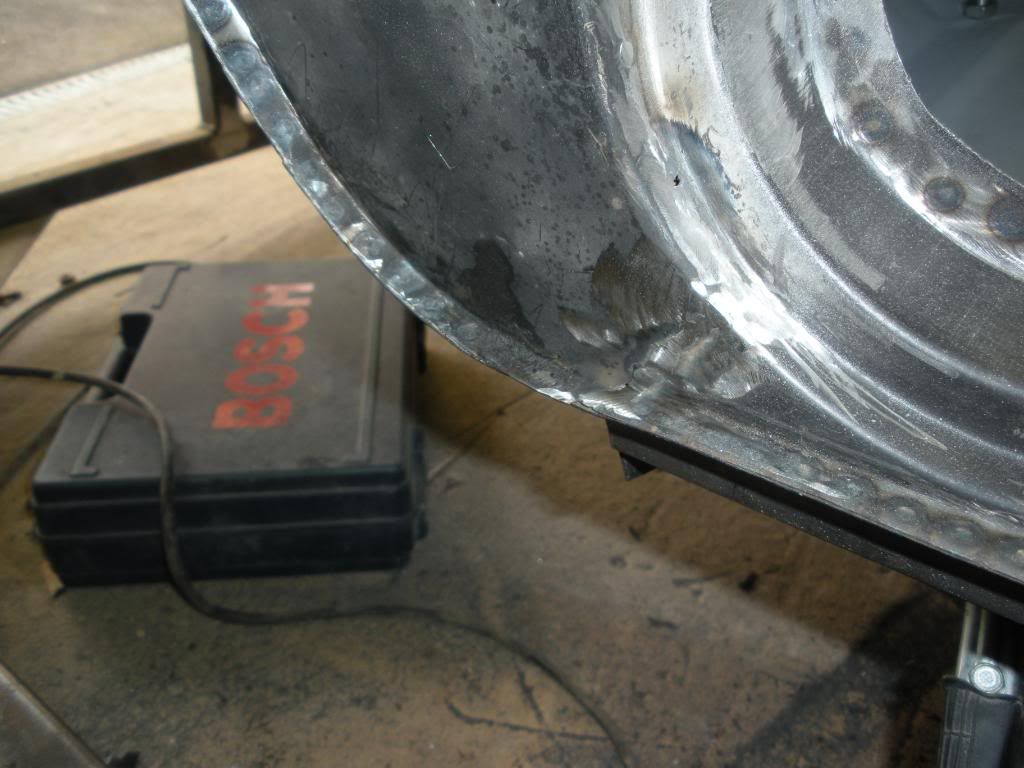
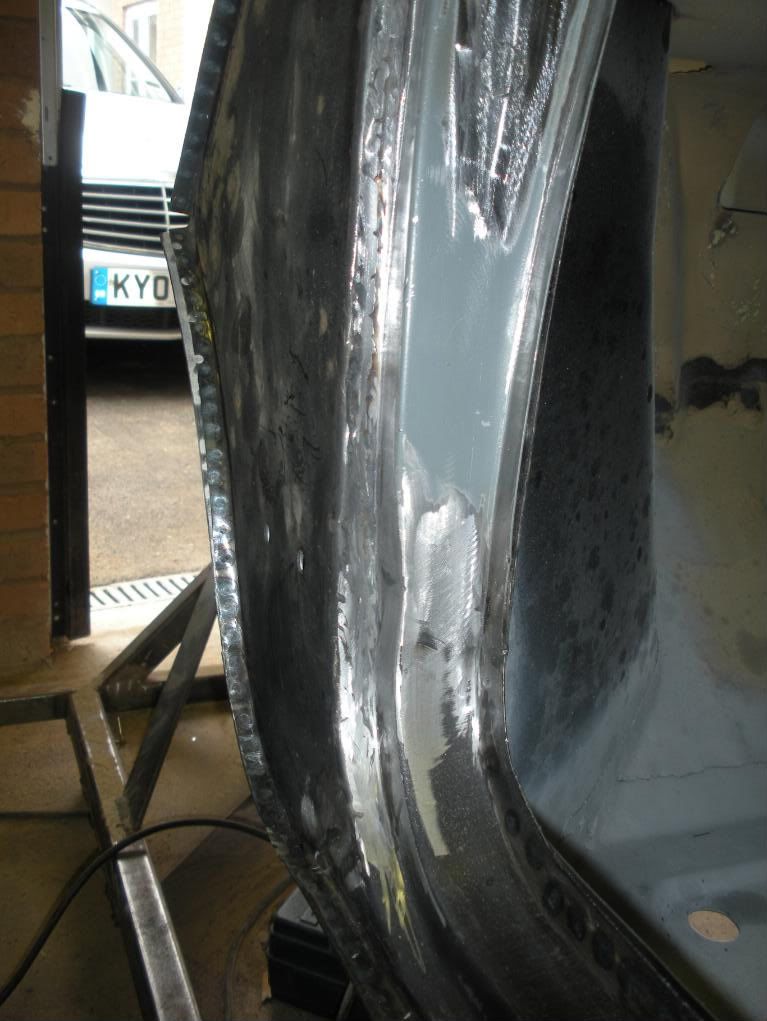
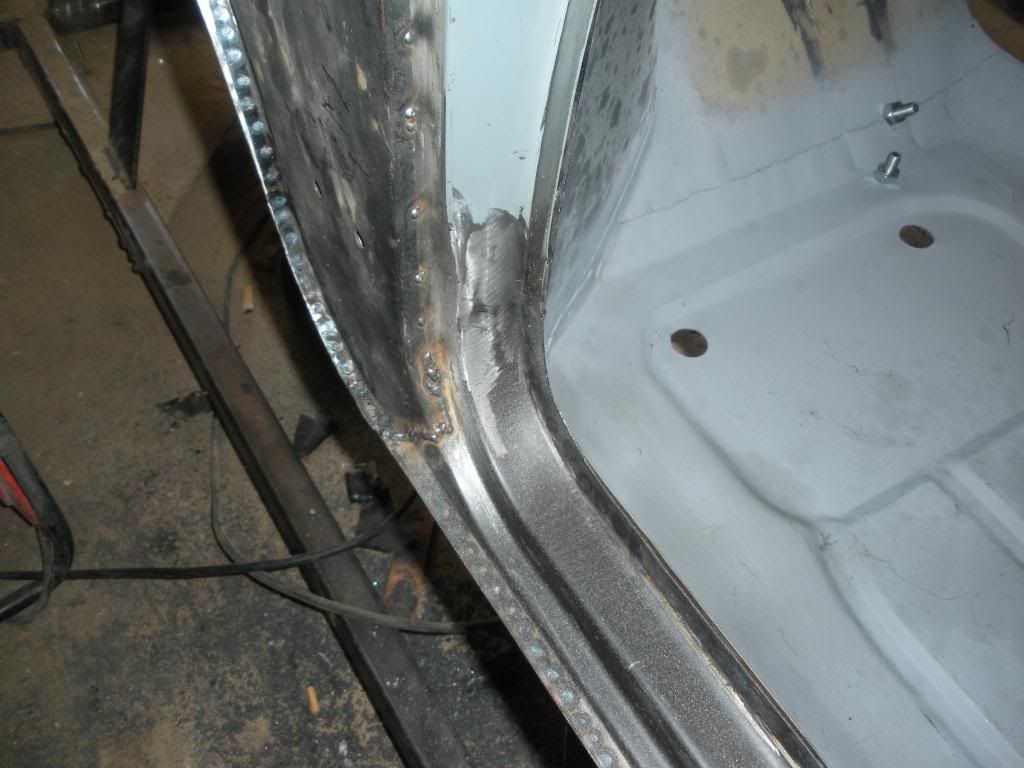
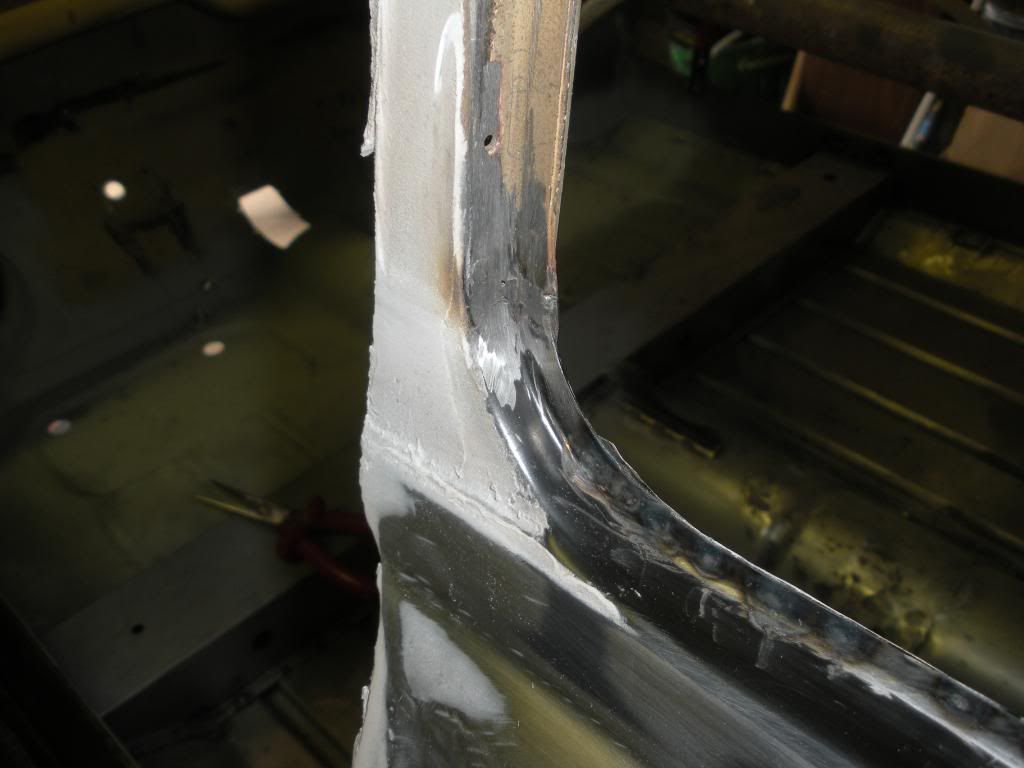
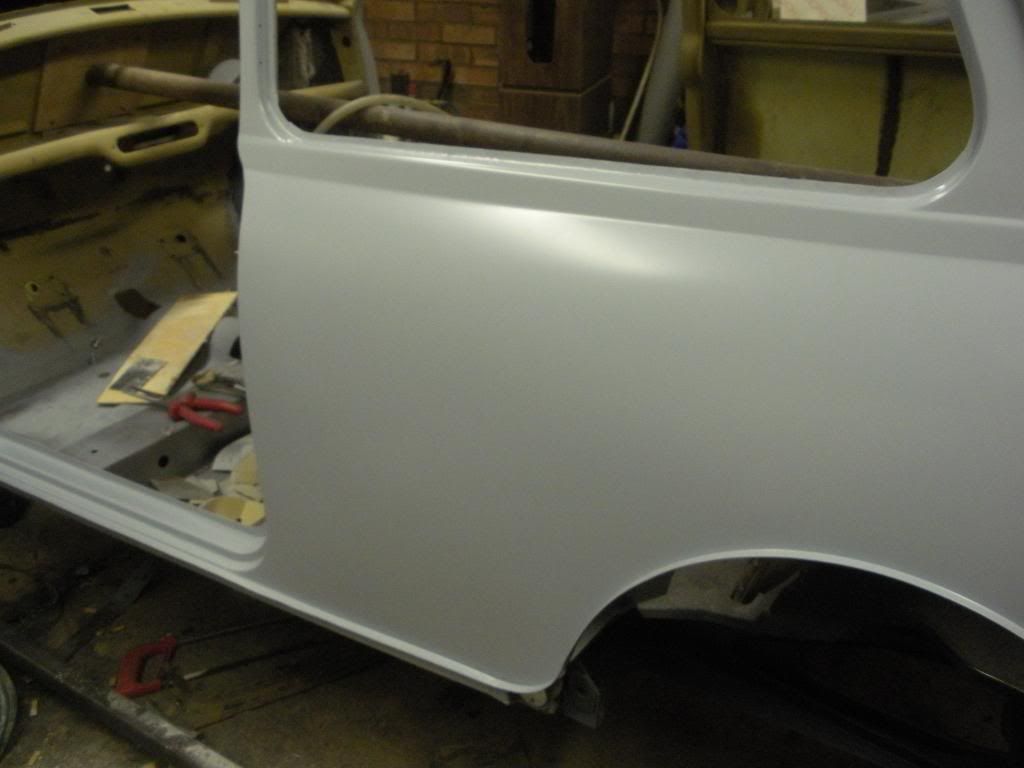
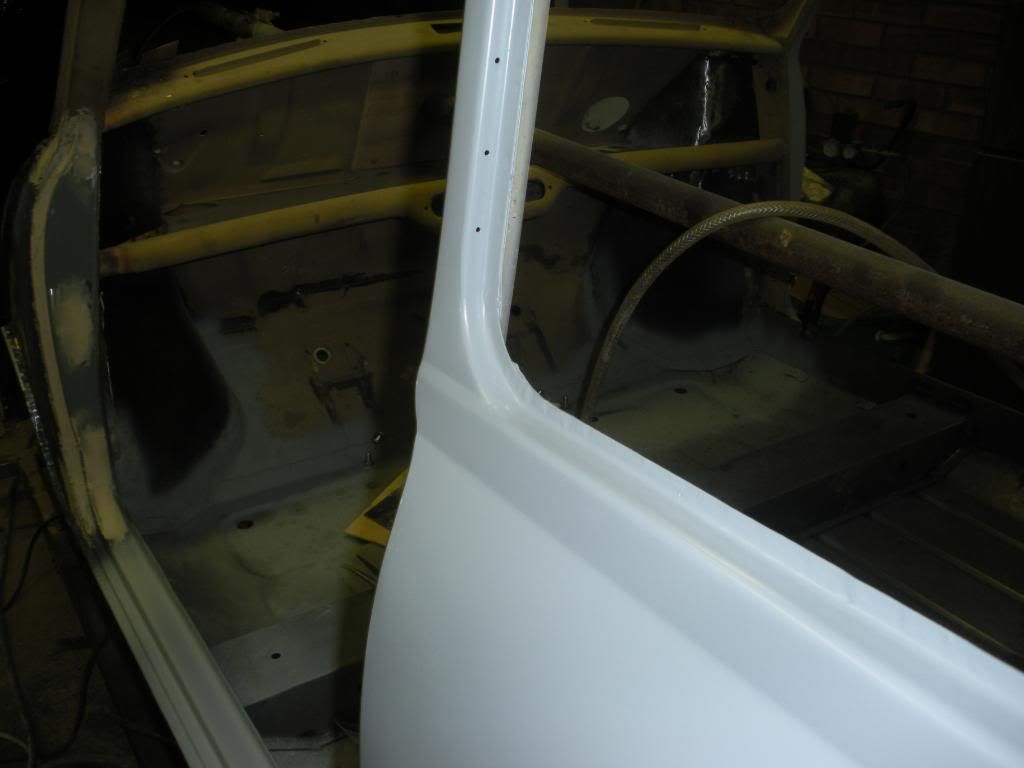
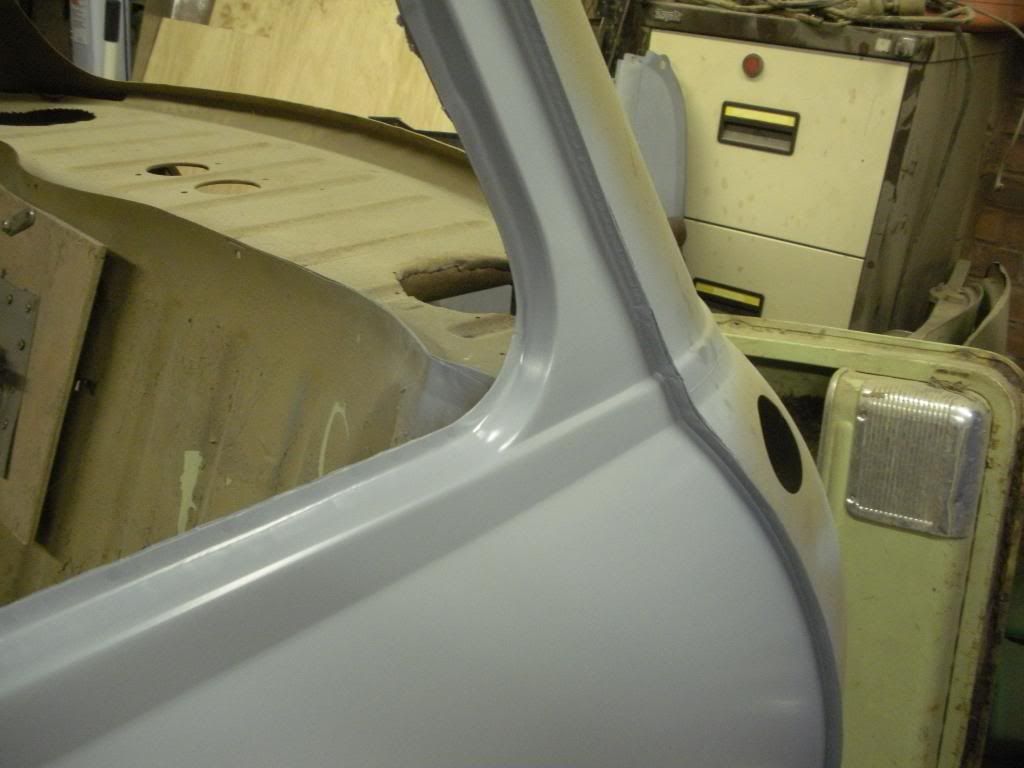
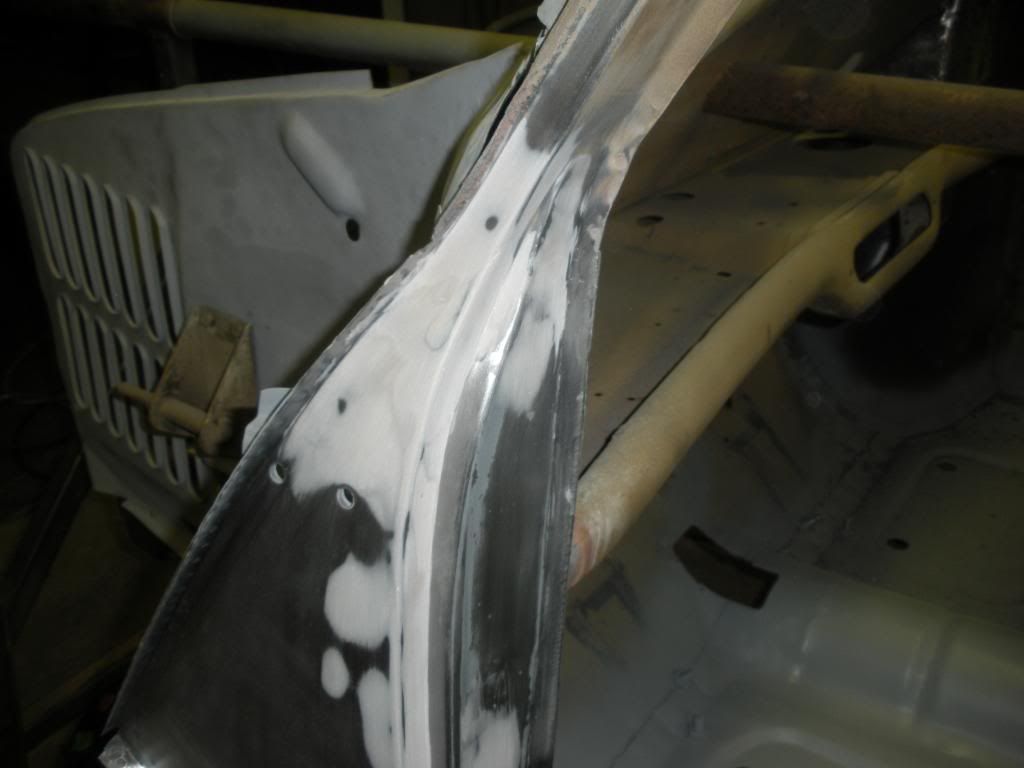
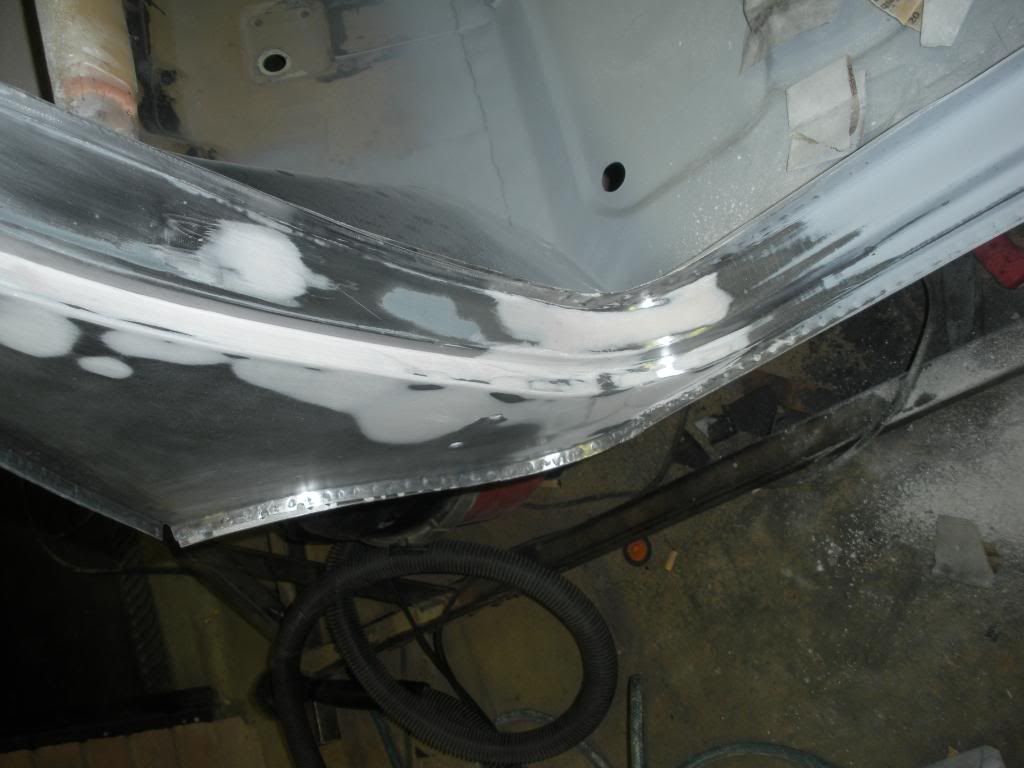
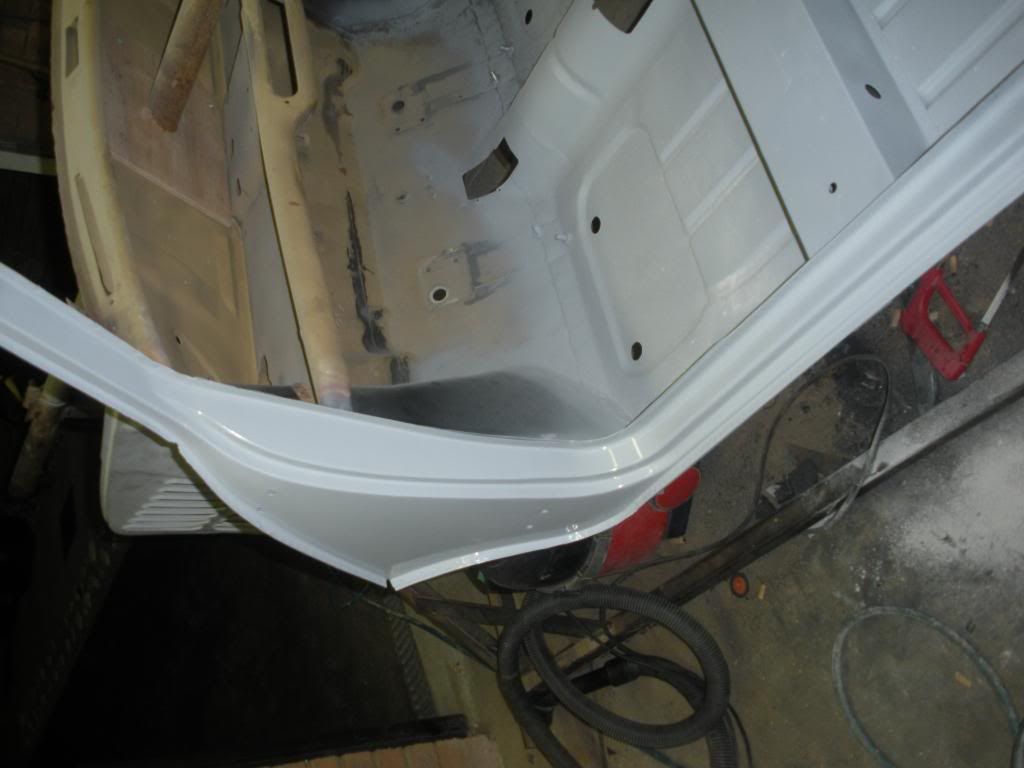
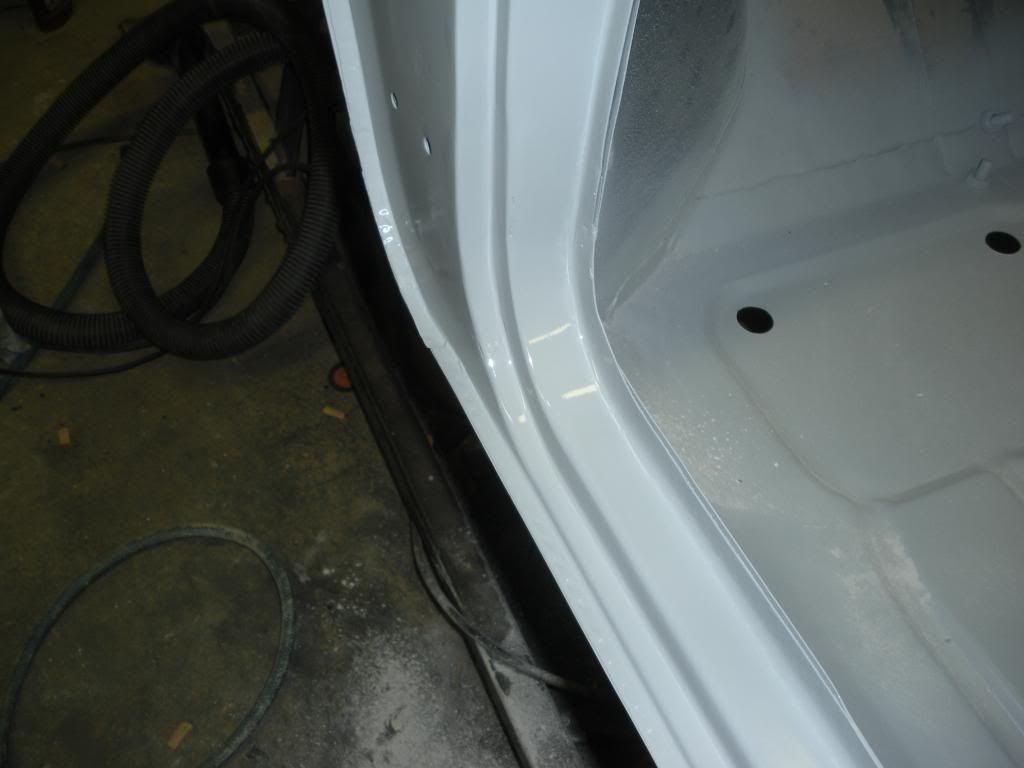
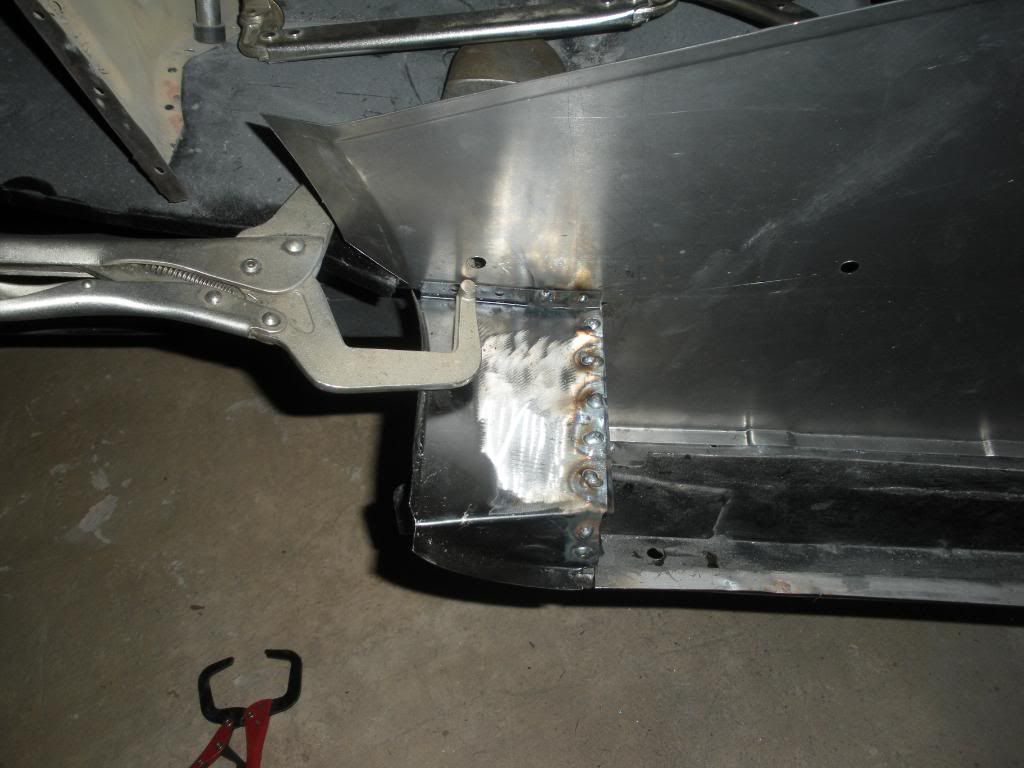
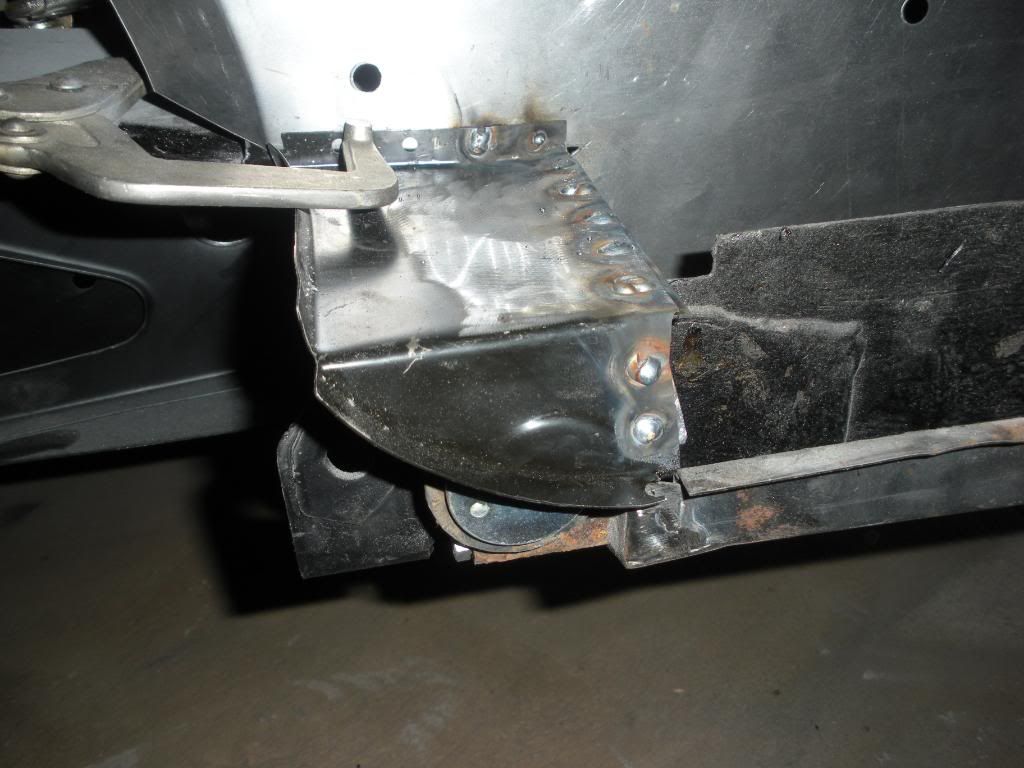
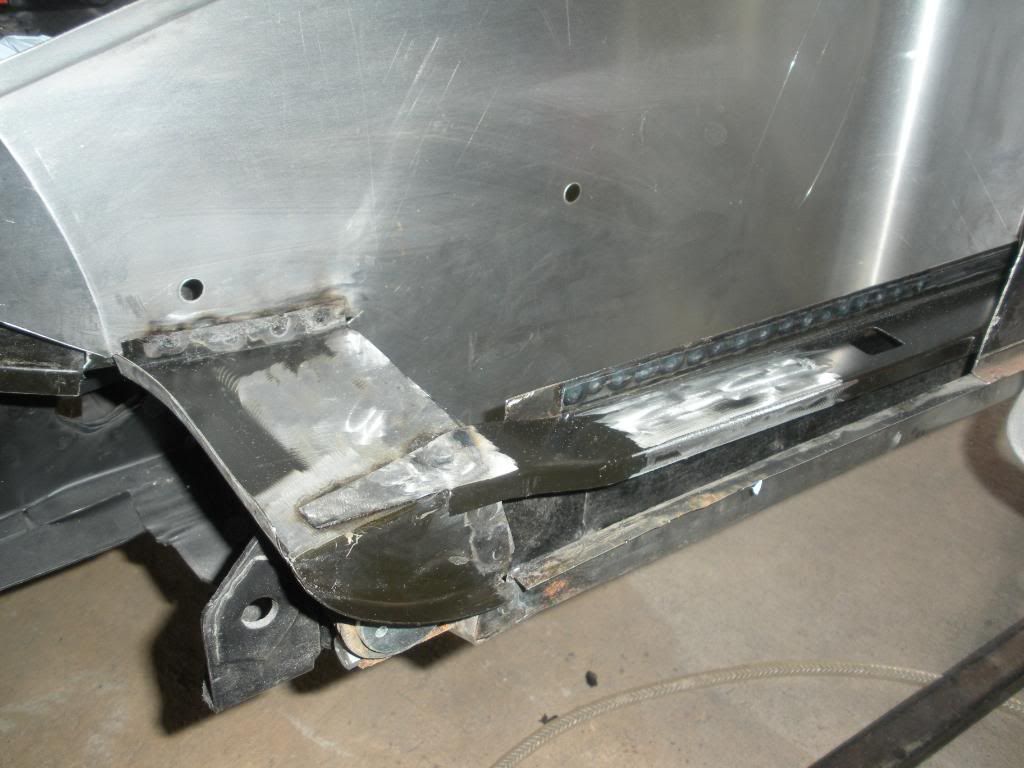
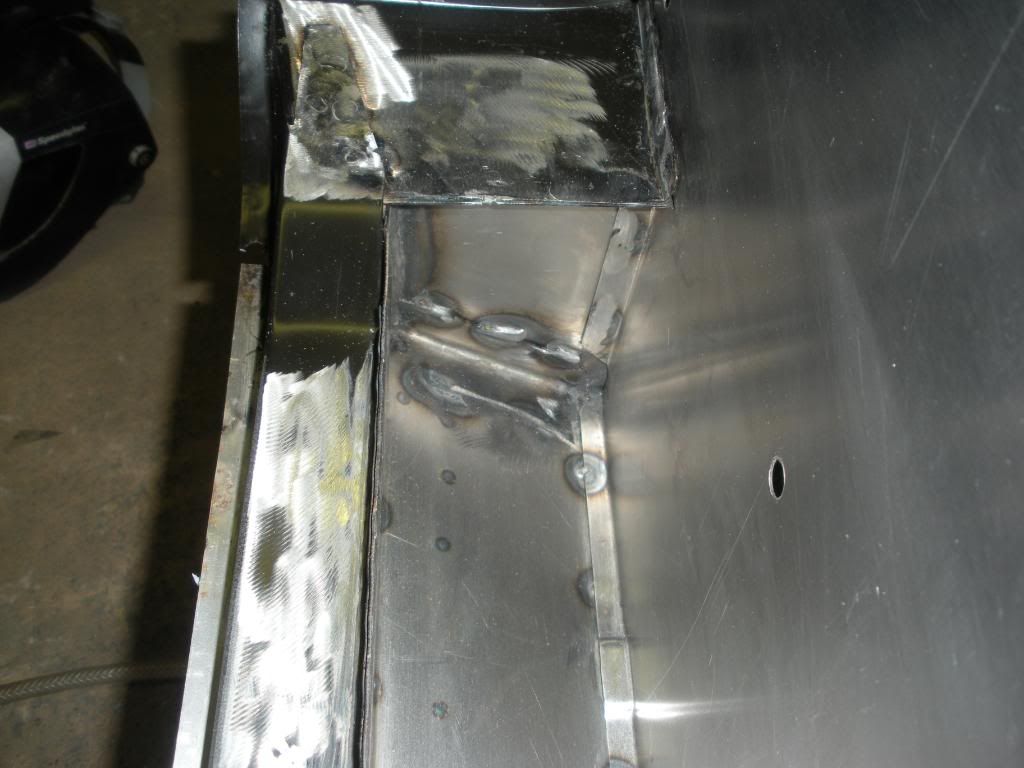
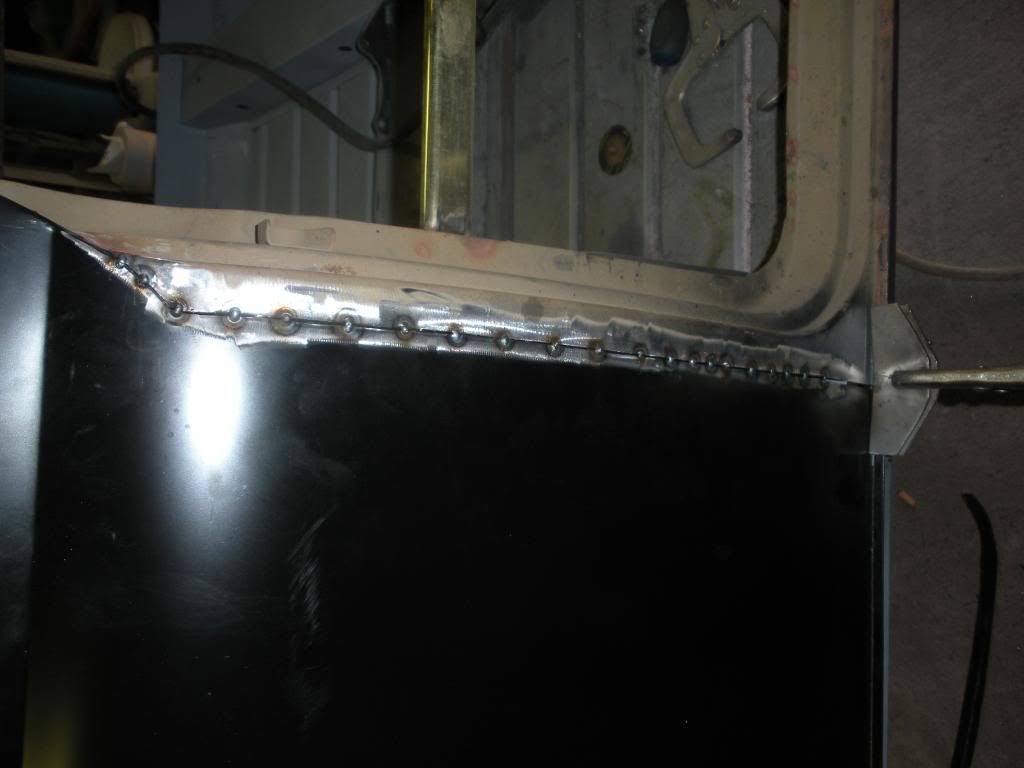
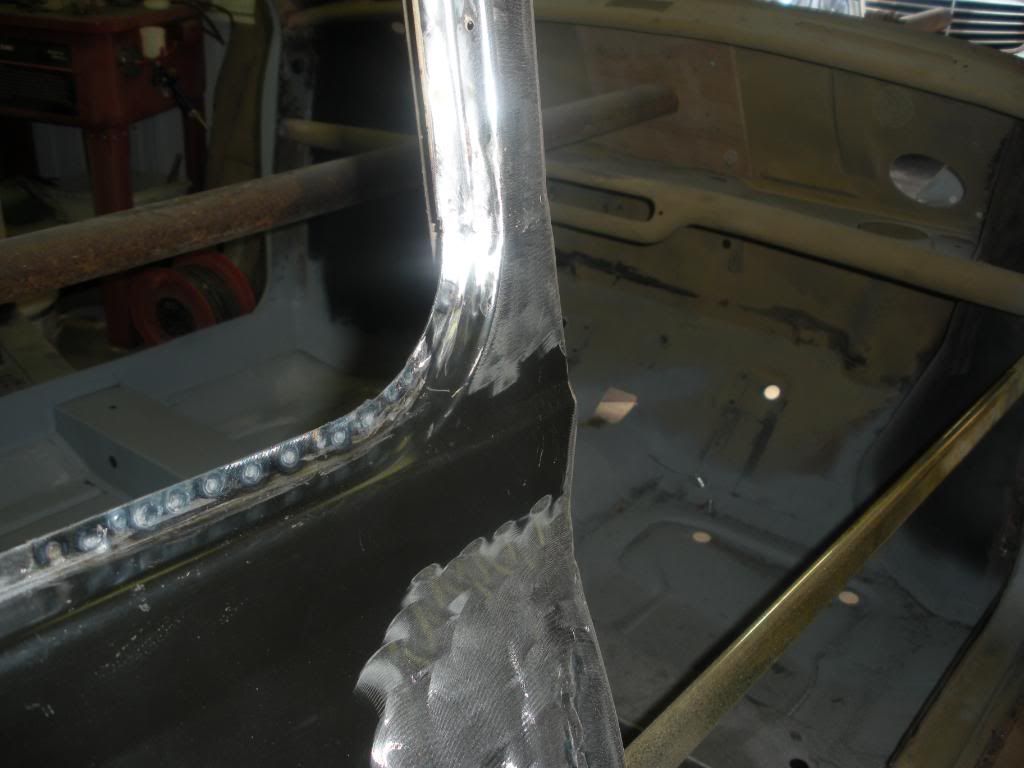
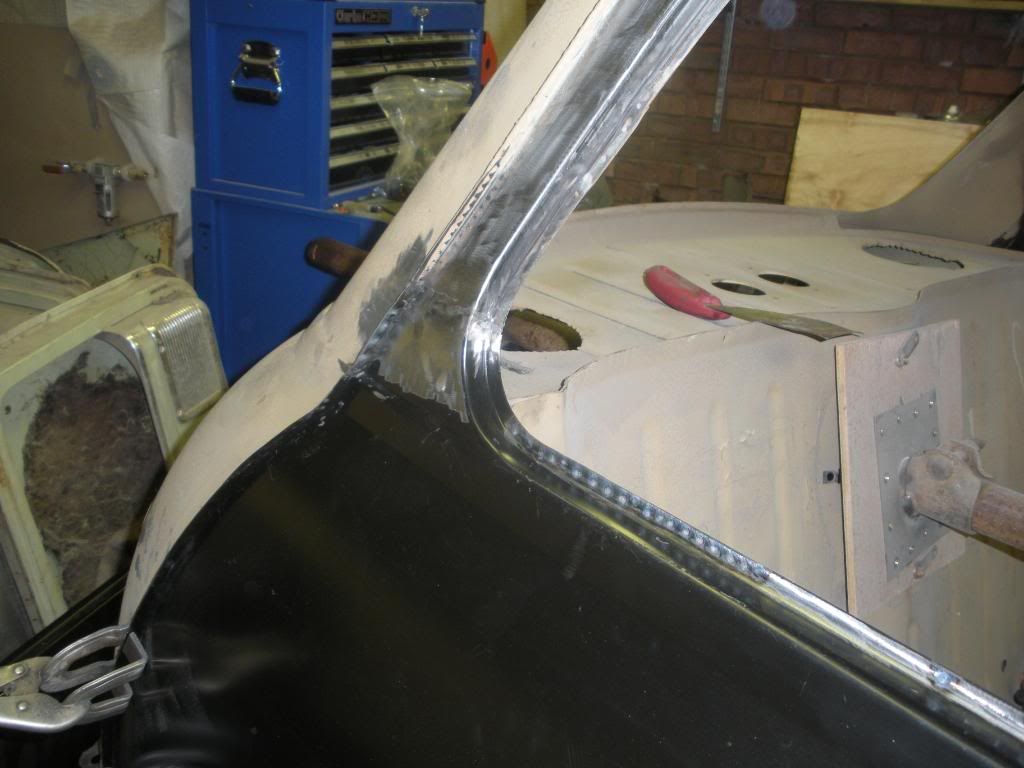
Jump to content


Photo
- - - - -

My First Ever Re-build A 1963 Mk1 Cooper


  • Please log in to reply
515 replies to this topic

#46 Mini Basher

Mini Basher

    Speeding Along Now

  • TMF+ Member
  • PipPipPipPipPip
  • 424 posts
  • Location: Forest of Dean
  • Local Club: Mini Foresters

Posted 16 August 2009 - 11:25 PM

nice welding work :D 
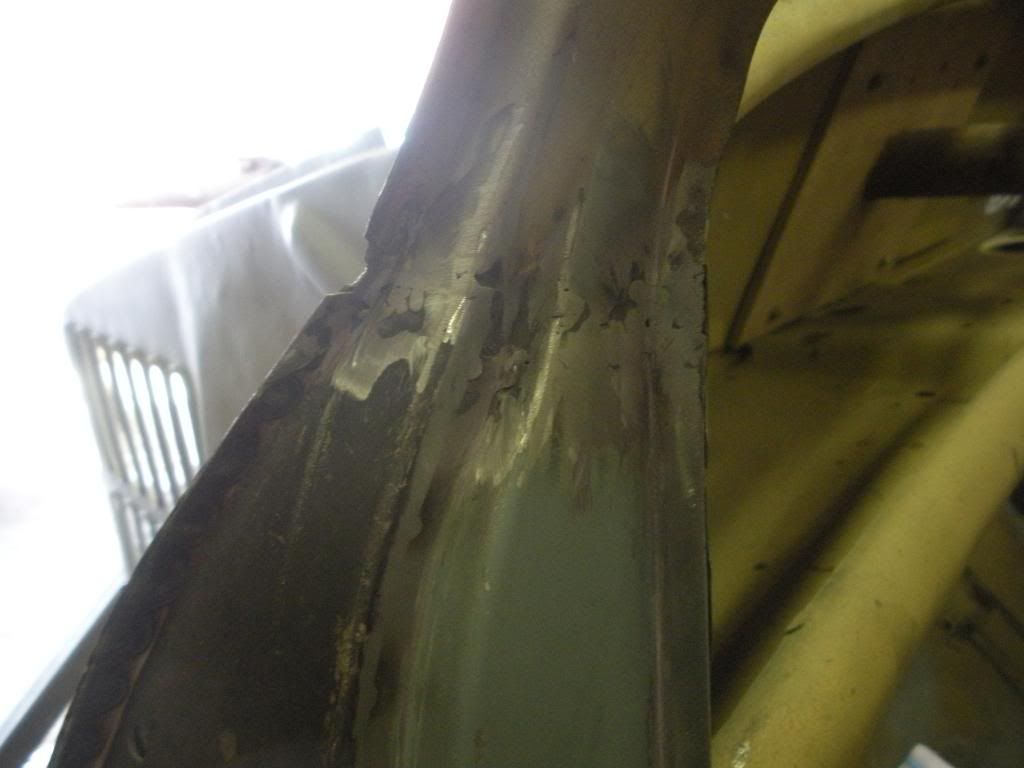
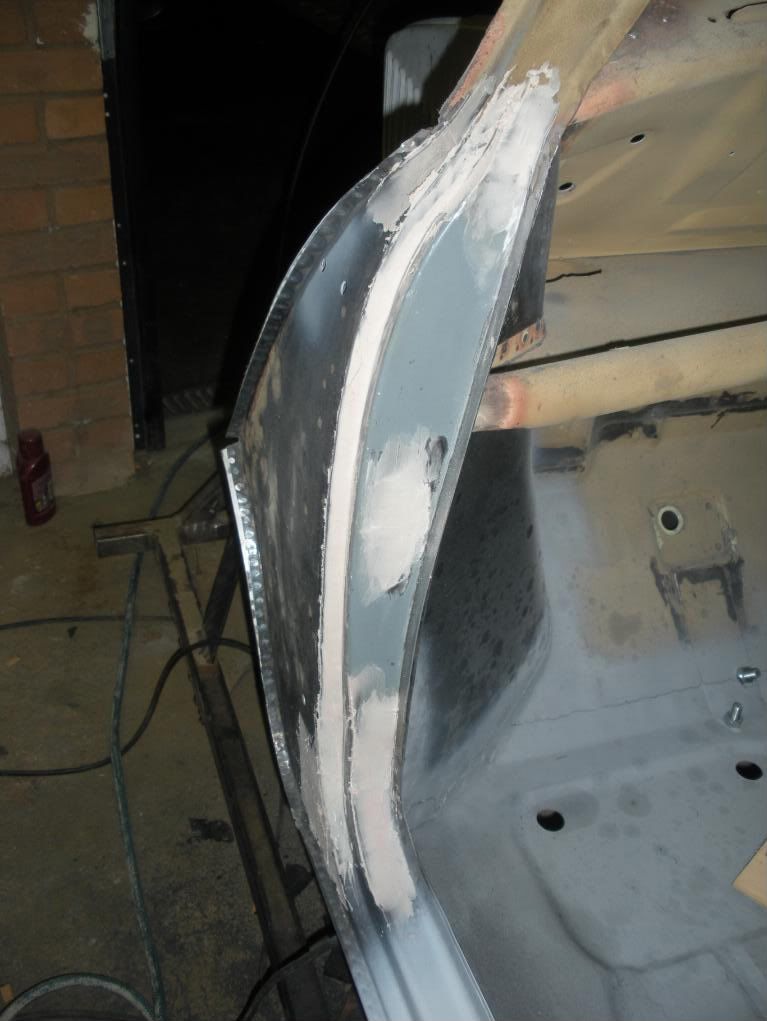
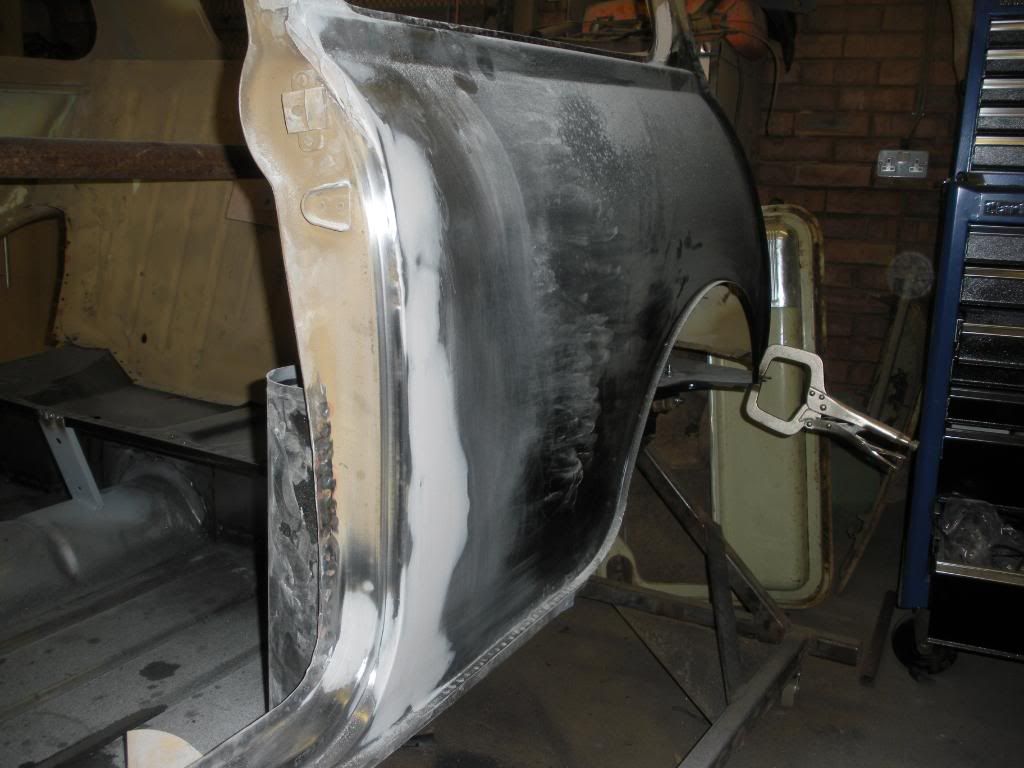
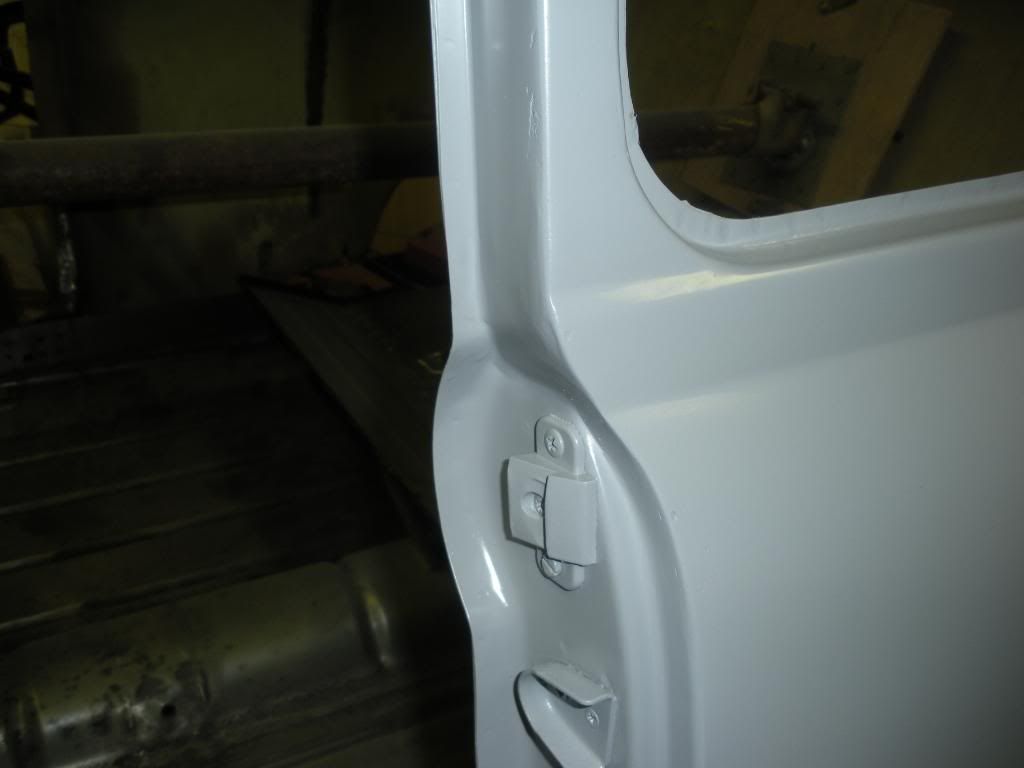
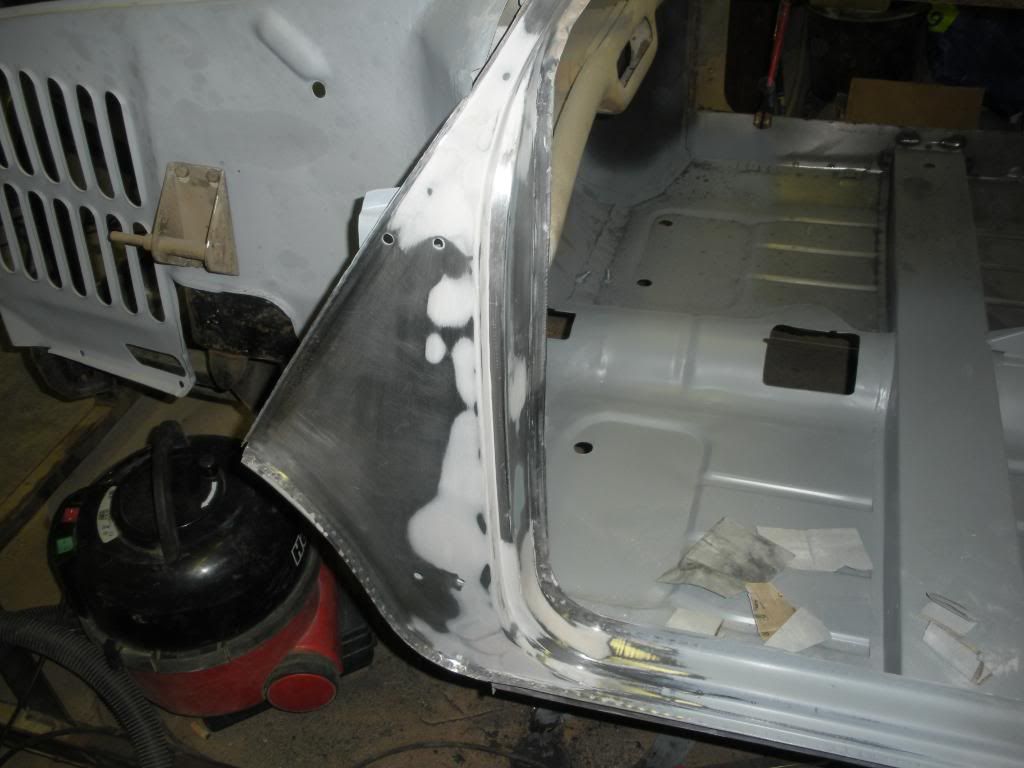
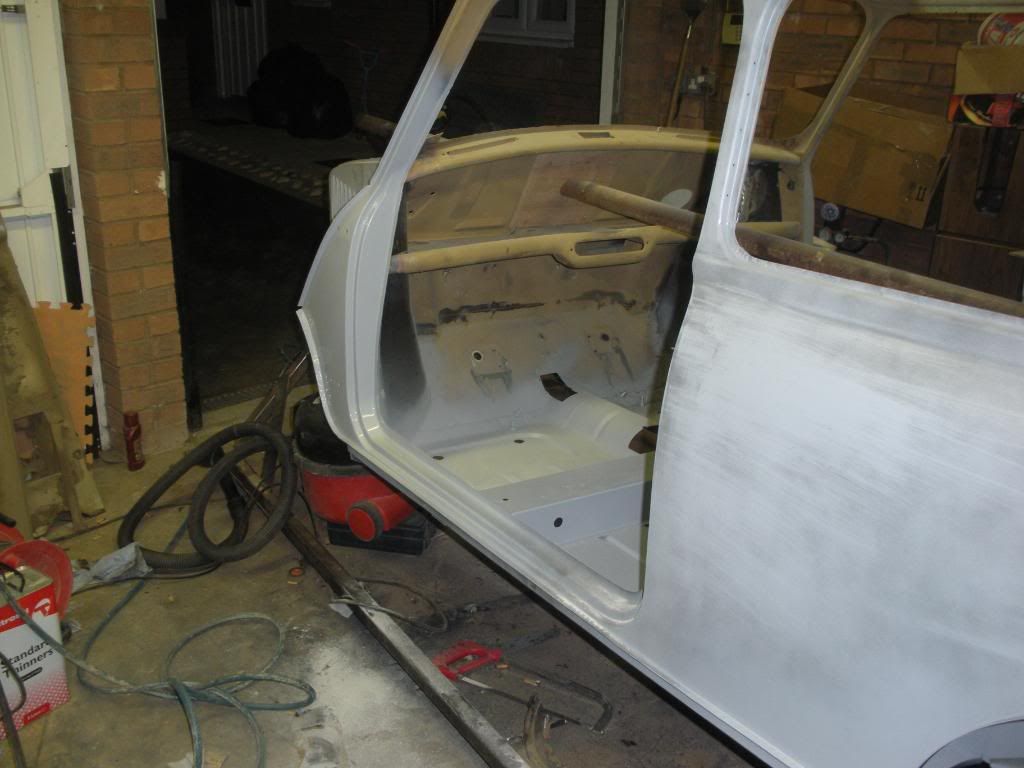
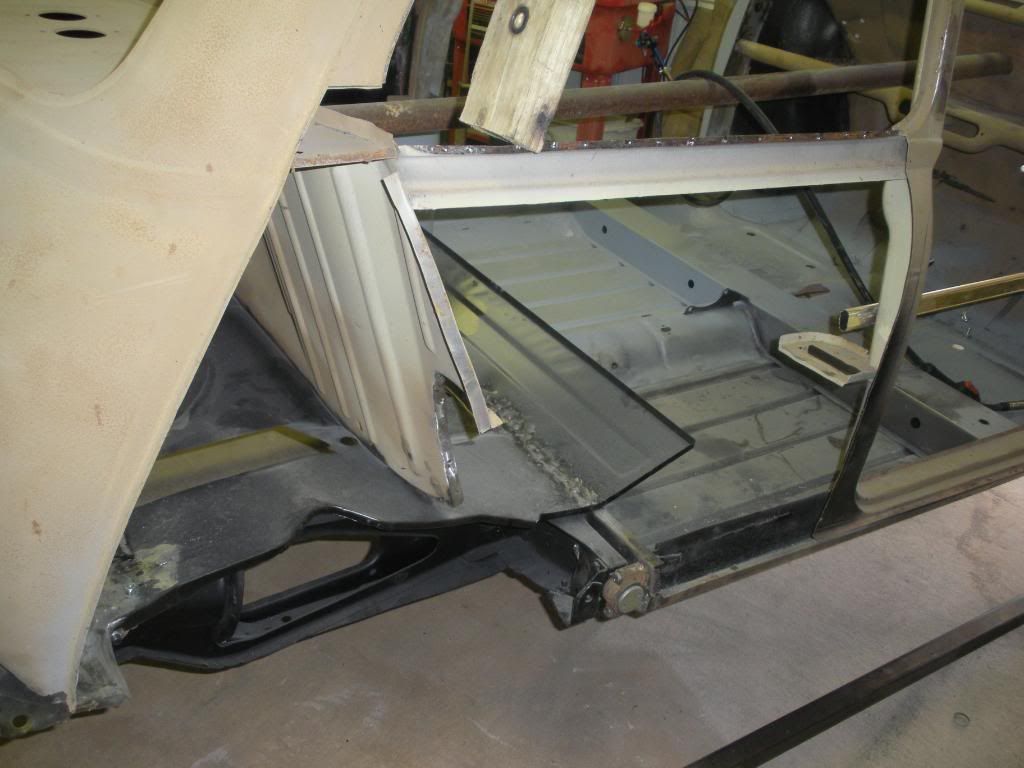
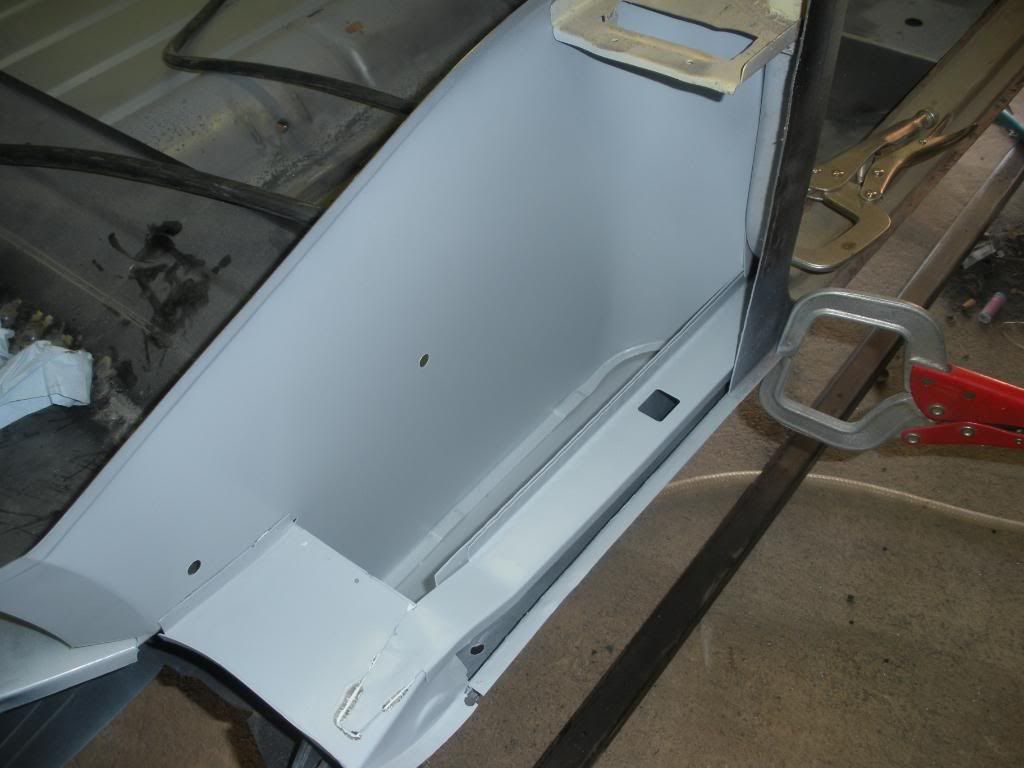
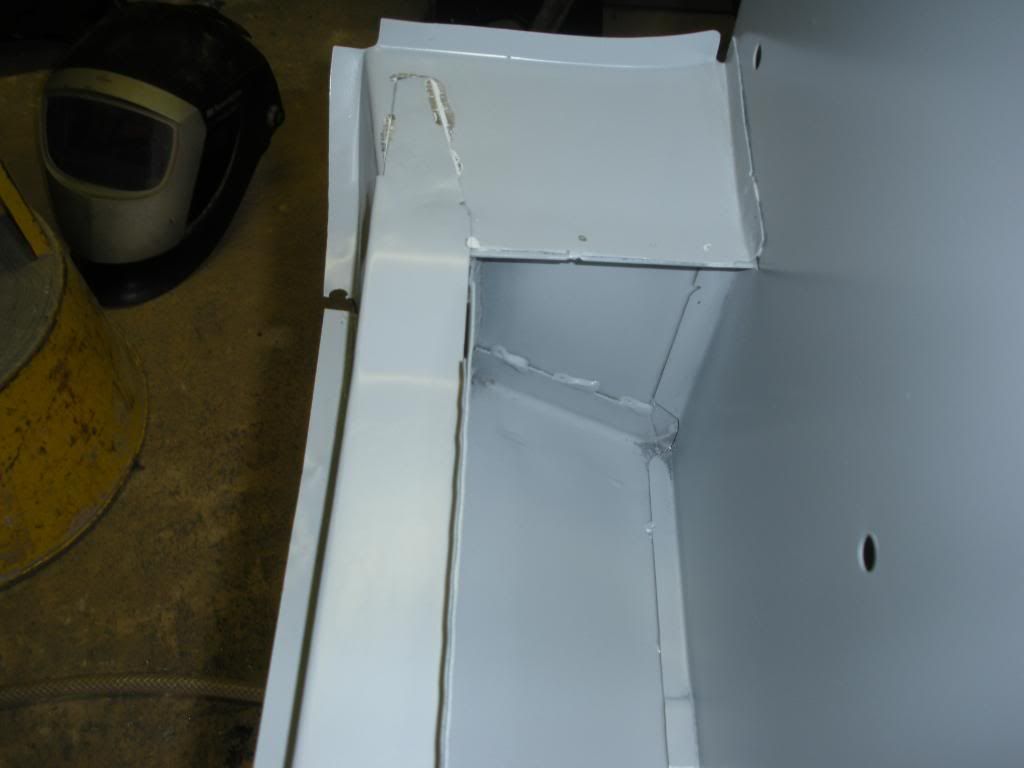
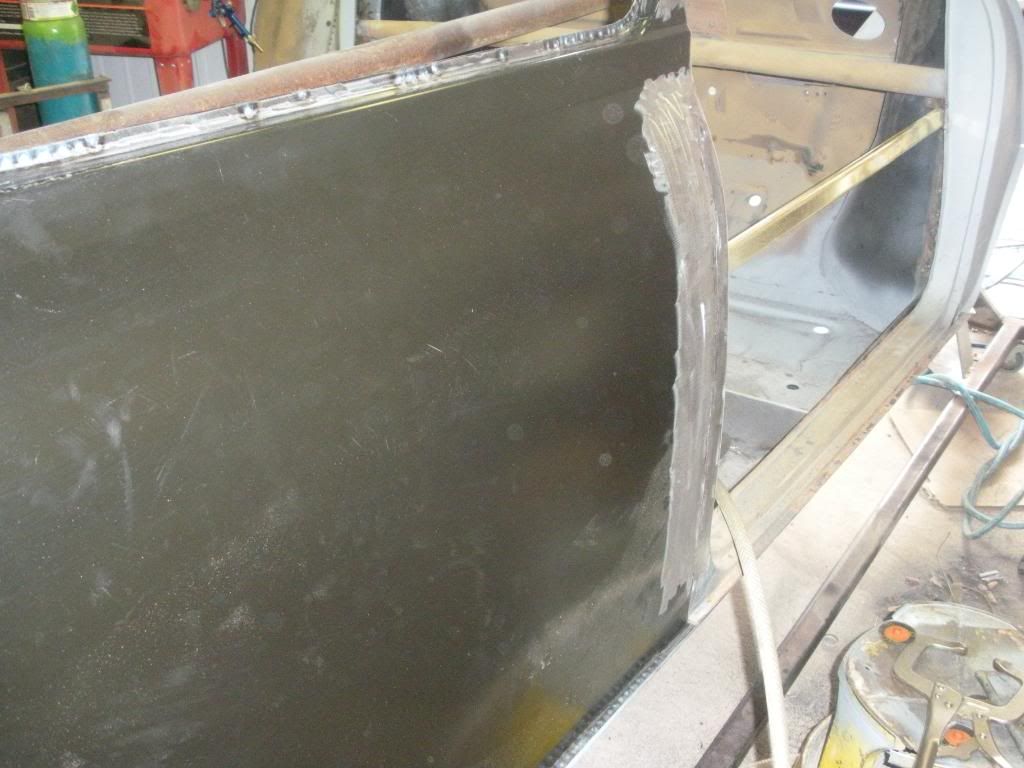
i just want to ask what your going to put on the underside of the shell to protect it?


Hi MiniQ, Once I have all the fabrication finished on the underside I'm going to give the whole underside of the car a coat of Eastwoods Epoxy Primer (the stuff sticks like s**t to a blanket), then its getting a coat of Schutz stonechip, two coats of 2K primer and then two coats of top coat, before the stonechip goes on I'm going to apply seam sealer to all of the seams.

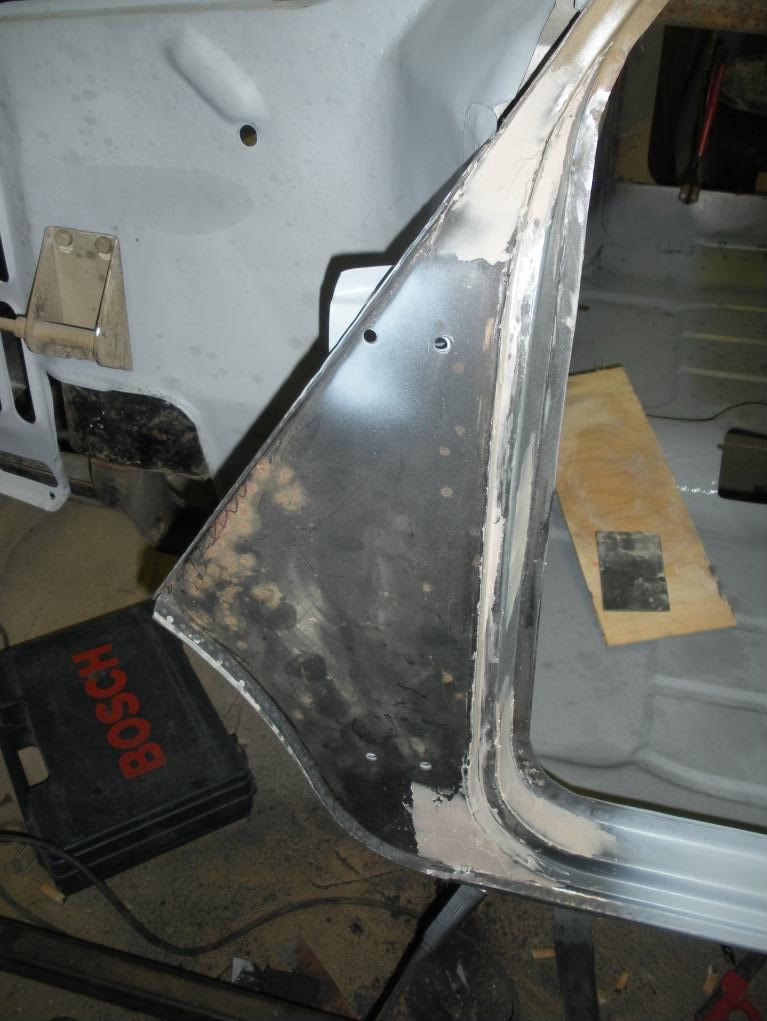
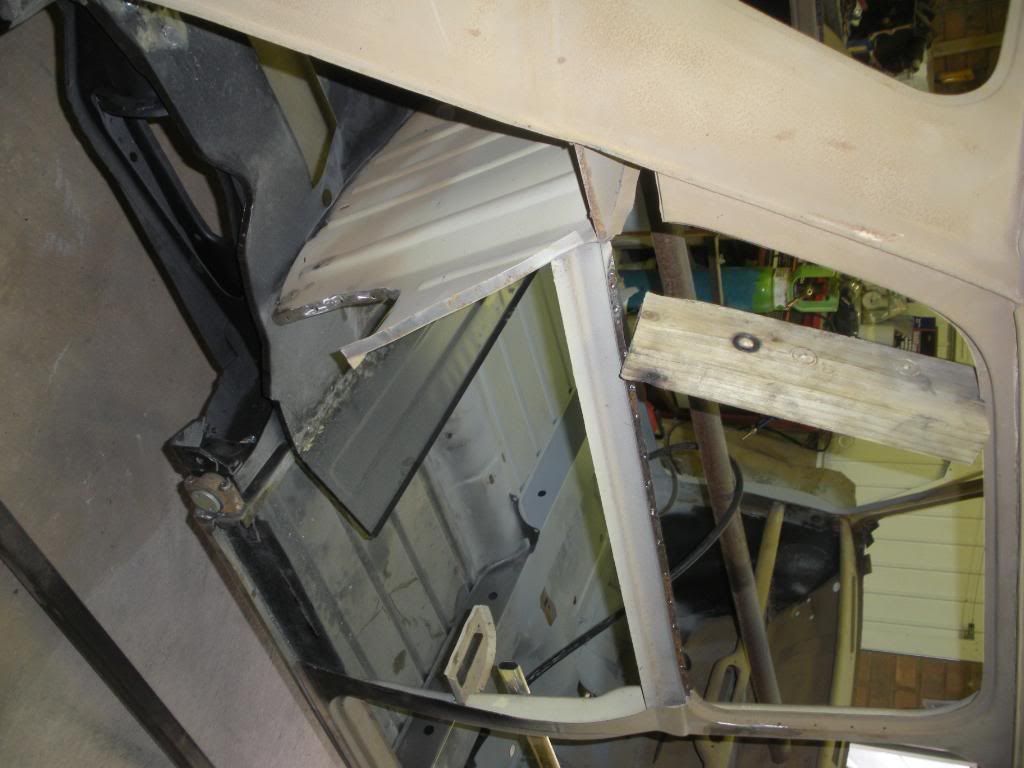
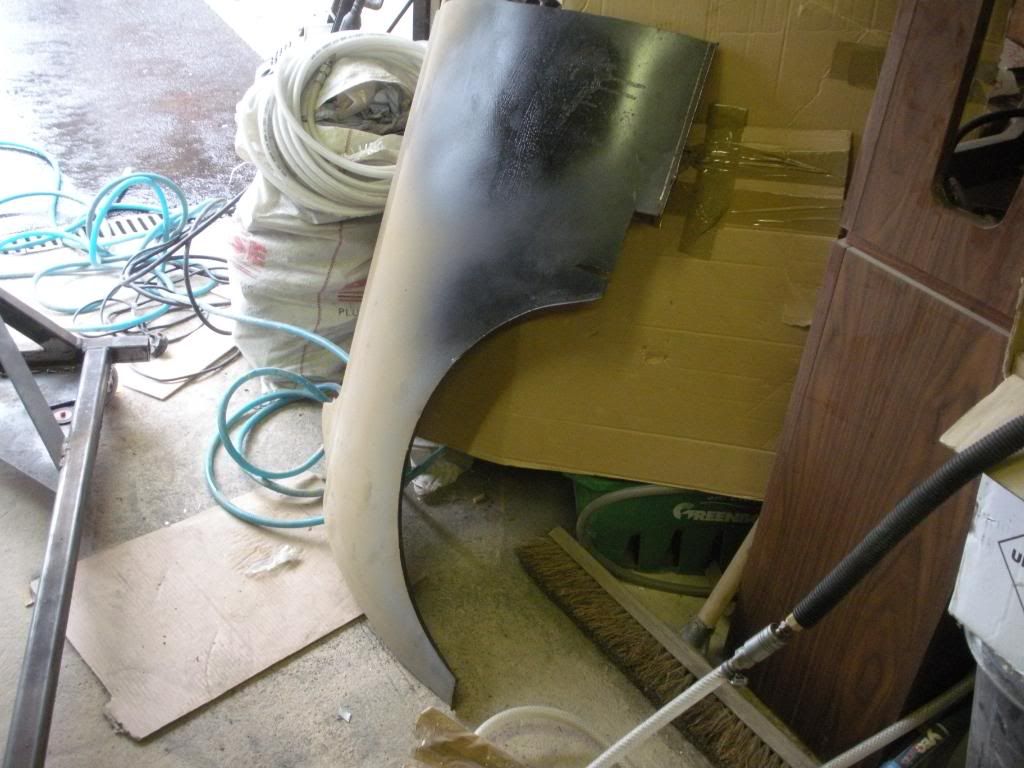
Thanks for looking, I will be updateing again tomorrow as I managed to get a fair bit done today

Andy

#47 gregh55

gregh55

    Camshaft & Stage Two Head

  • Banned
  • PipPipPipPipPipPipPipPip
  • 1,706 posts
  • Local Club: naaa

Posted 17 August 2009 - 01:02 AM

ive just got a 1962 and i think it needs more work IMO lol

but youve done a great job :-

Hi Greg, thanks for looking, yours can't be any worse than mine, so far I've replaced both front inner wings, complete floor panel, boot floor, scuttle panel and front A post stiffeners, still to go are both rear quarter panels, rear panel to bottom of window, both door steps, the roof panel, front panel and both front wings. I reacon by the time I'm finished I will have changed about 80-85% of all the panels.

Good luck with your resto job and I'll keep my eye open for your thread

Andy


:lol: jeebus lol you win then :thumbsup: where abouts you from in Gloucester? close to hereford?

coming along now then, any ideas on colours etc yet?

yeah ill have to get some pics of mine, this week maybe if i go . . :D


greg

Edited by gregh55, 17 August 2009 - 01:03 AM.


#48 Mini Basher

Mini Basher

    Speeding Along Now

  • TMF+ Member
  • PipPipPipPipPip
  • 424 posts
  • Location: Forest of Dean
  • Local Club: Mini Foresters

Posted 17 August 2009 - 02:22 AM

ive just got a 1962 and i think it needs more work IMO lol

but youve done a great job :-

Hi Greg, thanks for looking, yours can't be any worse than mine, so far I've replaced both front inner wings, complete floor panel, boot floor, scuttle panel and front A post stiffeners, still to go are both rear quarter panels, rear panel to bottom of window, both door steps, the roof panel, front panel and both front wings. I reacon by the time I'm finished I will have changed about 80-85% of all the panels.

Good luck with your resto job and I'll keep my eye open for your thread

Andy


:lol: jeebus lol you win then :thumbsup: where abouts you from in Gloucester? close to hereford?

coming along now then, any ideas on colours etc yet?

Hi Greg
I live in the Forest of Dean, just outside Cinderford, colourwise I'm going for British Racing Green and a Cream roof.
Thanks for looking and I'll keep an eye open for your project

Andy

yeah ill have to get some pics of mine, this week maybe if i go . . :D


greg


#49 Mini Basher

Mini Basher

    Speeding Along Now

  • TMF+ Member
  • PipPipPipPipPip
  • 424 posts
  • Location: Forest of Dean
  • Local Club: Mini Foresters

Posted 17 August 2009 - 10:21 PM

Hi Everyone, well I've burned the duster and hidden the hoover!!!!
Had some good progress today, lots of pictures for those of you that are watching this build, I dropped a bit of a bo-bo earlier in the build due to my inexperience and had to remove my inner A panel as when the new floor went in the bottom of the panel was 10mm lower than the top of the sill, so a quick trip to Mini Mail in Kilcot (luckily just a few miles up the road) new panel in hand and back to the garage. It took me nearly two hours to remove the first panel without damaging the inner wing (good tip for any newbies out there, if your not sure exactly where a panel goes don't guess either just tack it or wait until you have adjacent panels to line up to)

Got the new inner A panel fitted

Posted Image

Posted Image

Once I had the Inner A panel in place and welded I fitted the outer A panel which also needed to be cut at the bottom so that I could join it to the new step and weld in placeand also at the top

Posted Image

Posted Image

Posted Image

Posted Image

I then tacked the side of the panel to the door reveal, dressed the panel and then seam welded in place

Posted Image

Once the panel was fitted I then had the enjoyable task of grinding down all of the welds

Posted Image

Posted Image

Posted Image

Posted Image

Posted Image

Next I had a bite to eat, and then I started the filling

#50 Mini Basher

Mini Basher

    Speeding Along Now

  • TMF+ Member
  • PipPipPipPipPip
  • 424 posts
  • Location: Forest of Dean
  • Local Club: Mini Foresters

Posted 17 August 2009 - 10:23 PM

Posted Image

Posted Image

Posted Image

Posted Image

Posted Image

Once the filler had set I started hand sanding it all, did the B post, rear post and the seam weld on the new rear quarter first, once that was all sanded back I then applied a coat of Eastwoods etch primer just to protect the bare metal, The panels still need to be dusted over with a darker paint and blocked back flat but I will do that when the whole car is ready for painting

Posted Image

Posted Image

Posted Image

Posted Image

Posted Image

Posted Image

Posted Image

Unfortunatly there will be no progress tomorrow as I have to go to London for the day for work, but I will be back at it on Wednesday and hopefully give you another update then, hope you've enjoyed the update sorry about the large amount of pictures

#51 Down&Out

Down&Out

    The King Of Retro Cool

  • Traders
  • PipPipPipPipPipPipPipPipPip
  • 4,833 posts
  • Location: -

Posted 17 August 2009 - 10:45 PM

Man, you put many on this forum to shame. Me included :).

Great work, good luck in finishing this :dontgetit:.

#52 Mini Basher

Mini Basher

    Speeding Along Now

  • TMF+ Member
  • PipPipPipPipPip
  • 424 posts
  • Location: Forest of Dean
  • Local Club: Mini Foresters

Posted 17 August 2009 - 11:21 PM

Man, you put many on this forum to shame. Me included :).

Great work, good luck in finishing this :dontgetit:.


Thanks for the kind comment, I feel like I'm starting to get somewhere now all the panels are going on but I've still got along way to go, I'll be happy when all the bodywork is finished and I can get some paint on the old girl, thats when all the fun bits start to happen, dont put yourself down, I'm sure your project will be just as good as mine when it's completed, its all about doing it yourself and knowing its done right and how you want it, good luck withyour build

Andy

#53 gregh55

gregh55

    Camshaft & Stage Two Head

  • Banned
  • PipPipPipPipPipPipPipPip
  • 1,706 posts
  • Local Club: naaa

Posted 17 August 2009 - 11:58 PM

looking good andy :dontgetit: want to swap shells? lmao

speek soon

greg

#54 Mini Basher

Mini Basher

    Speeding Along Now

  • TMF+ Member
  • PipPipPipPipPip
  • 424 posts
  • Location: Forest of Dean
  • Local Club: Mini Foresters

Posted 18 August 2009 - 12:00 AM

looking good andy :dontgetit: want to swap shells? lmao

speek soon

greg


Not a hope in hell mate, I'd rather give you my Missus


Only joking,

Cheers mate

Andy

#55 gregh55

gregh55

    Camshaft & Stage Two Head

  • Banned
  • PipPipPipPipPipPipPipPip
  • 1,706 posts
  • Local Club: naaa

Posted 18 August 2009 - 12:08 AM

lol ill give you my shell and a bag of salt and vinegar crisps? walkers of course? lol

but no jokes now the mini is looking amazing :dontgetit:

#56 Mini Basher

Mini Basher

    Speeding Along Now

  • TMF+ Member
  • PipPipPipPipPip
  • 424 posts
  • Location: Forest of Dean
  • Local Club: Mini Foresters

Posted 18 August 2009 - 10:22 PM

Hi everyone, just a quick update tonight as I got back from London earlier than expected I managed to get in the garage for a few hours. I sanded down the filler on the A post joints top and bottom and the reveal on the A panel

Posted Image

Posted Image

Posted Image

I then got the spray gun out and applied some etch primer to the panels and filler just to protect it, it'll still need guide coating and blocking down but I'll do that when all the car is ready

Posted Image

Posted Image

Posted Image

Posted Image

Posted Image

Hope you all enjoyed the update, more to come soon.

#57 Mini Basher

Mini Basher

    Speeding Along Now

  • TMF+ Member
  • PipPipPipPipPip
  • 424 posts
  • Location: Forest of Dean
  • Local Club: Mini Foresters

Posted 18 August 2009 - 10:23 PM

lol ill give you my shell and a bag of salt and vinegar crisps? walkers of course? lol

but no jokes now the mini is looking amazing :w00t:


Thanks for the comments Greg, I'm sure yours will look just as good when it's done just keep at it mate

Andy

#58 Mini Basher

Mini Basher

    Speeding Along Now

  • TMF+ Member
  • PipPipPipPipPip
  • 424 posts
  • Location: Forest of Dean
  • Local Club: Mini Foresters

Posted 27 August 2009 - 11:15 PM

Hello everyone, bit longer than anticipated getting this update done, made some progress on the project though, not as much as I'd hoped for, but it's getting there !!!!

I got happy with the grinder and did this

Posted Image

Posted Image

And was left with this worm riddled and dented panel

Posted Image

Its only fair that I should now do this

Posted Image

Posted Image

Fitted new wheel arch closure panel and companion bin

Posted Image

Then fitted the sill stiffener

Posted Image

Posted Image

Next step to etch prime all the new bits to give them some added protection

Posted Image

Posted Image

Posted Image

The next step was to trim the new rear quarter panel to size and tack in place

Posted Image

Posted Image

I then seam welded between the tacks, working from alternate ends so as to keep panel distortion to a minimum

Posted Image

Posted Image

Posted Image

I then seam welded in the rear top section of the panel

Posted Image

I then spot welded the bottom of the panel to the lip of the sill and the top of the panel to the window bracing bar, tommorow I will be replacing the door step and preparing the rear end for it's removal and replacement

Keep watching for the next installment

#59 gregh55

gregh55

    Camshaft & Stage Two Head

  • Banned
  • PipPipPipPipPipPipPipPip
  • 1,706 posts
  • Local Club: naaa

Posted 27 August 2009 - 11:23 PM

yet again matey. . . looking good :proud:

#60 Mini Basher

Mini Basher

    Speeding Along Now

  • TMF+ Member
  • PipPipPipPipPip
  • 424 posts
  • Location: Forest of Dean
  • Local Club: Mini Foresters

Posted 27 August 2009 - 11:54 PM

yet again matey. . . looking good :proud:

Cheers Greg, hows yours coming along ???????


0 user(s) are reading this topic

0 members, 0 guests, 0 anonymous users