Looks great mate. Your doing an excellent job. Great to see such an early example being put back on the road. Is it going back to standard/cooper spec?


My First Ever Re-build A 1963 Mk1 Cooper
Started by
Mini Basher
, Jan 18 2009 12:35 AM
515 replies to this topic
#61

Mini-Mad-Craig
-

- Members
-

- 9,298 posts
Crazy About Metro's
- Location: Travelling in a fried out Kombi
Posted 28 August 2009 - 12:00 AM
#62
Mini Basher
-
- TMF+ Member
-
- 424 posts
Speeding Along Now
- Location: Forest of Dean
- Local Club: Mini Foresters
Posted 28 August 2009 - 12:10 AM
Hi Craig, the outside is going to be as standard as I can keep it, colours going to be a bit different, British racing Green with a fine gold flake and an old english white roof, the engine is a 998 cooper engine which is going of shortly to be rebored, crank re-ground balanced and lightened, head is going to be skimmed, new valve guides, hardened valve seats to run unleaded, I'm going to rebuild the gearbox and putting in straight cut gears and straight cut drop gears, not sure about the interior yet though, got a few idea's but nothing that's really screaming out to meLooks great mate. Your doing an excellent job. Great to see such an early example being put back on the road. Is it going back to standard/cooper spec?
Cheers for looking
Andy
#63
Mini Basher
-
- TMF+ Member
-
- 424 posts
Speeding Along Now
- Location: Forest of Dean
- Local Club: Mini Foresters
Posted 28 August 2009 - 07:11 PM
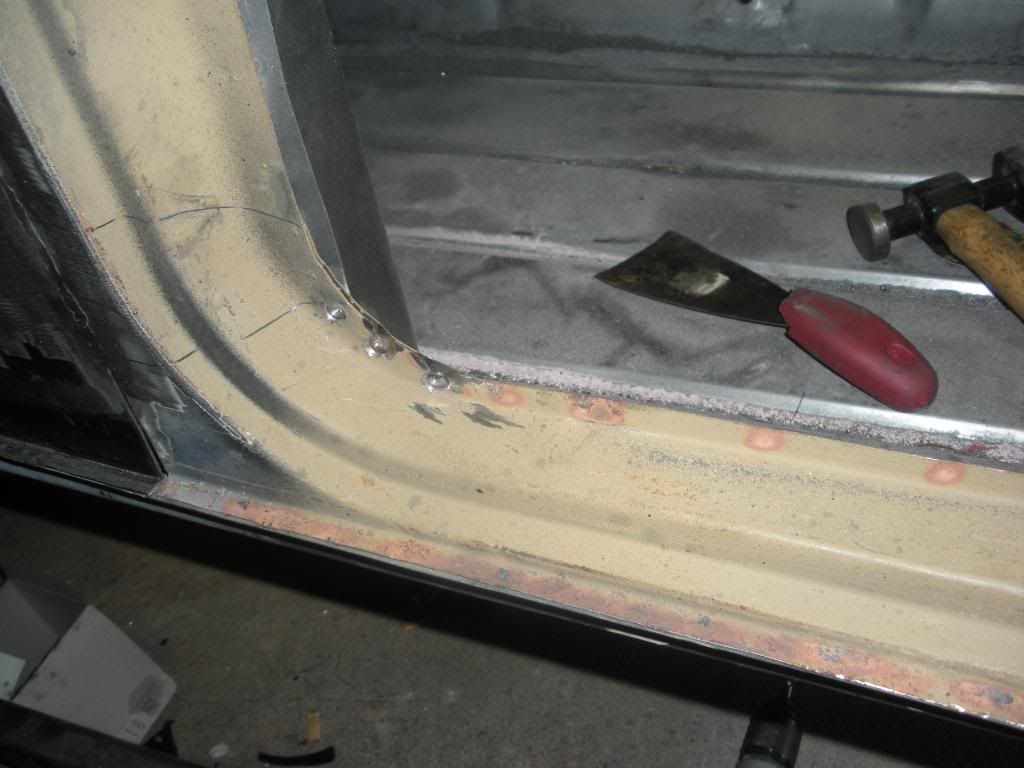
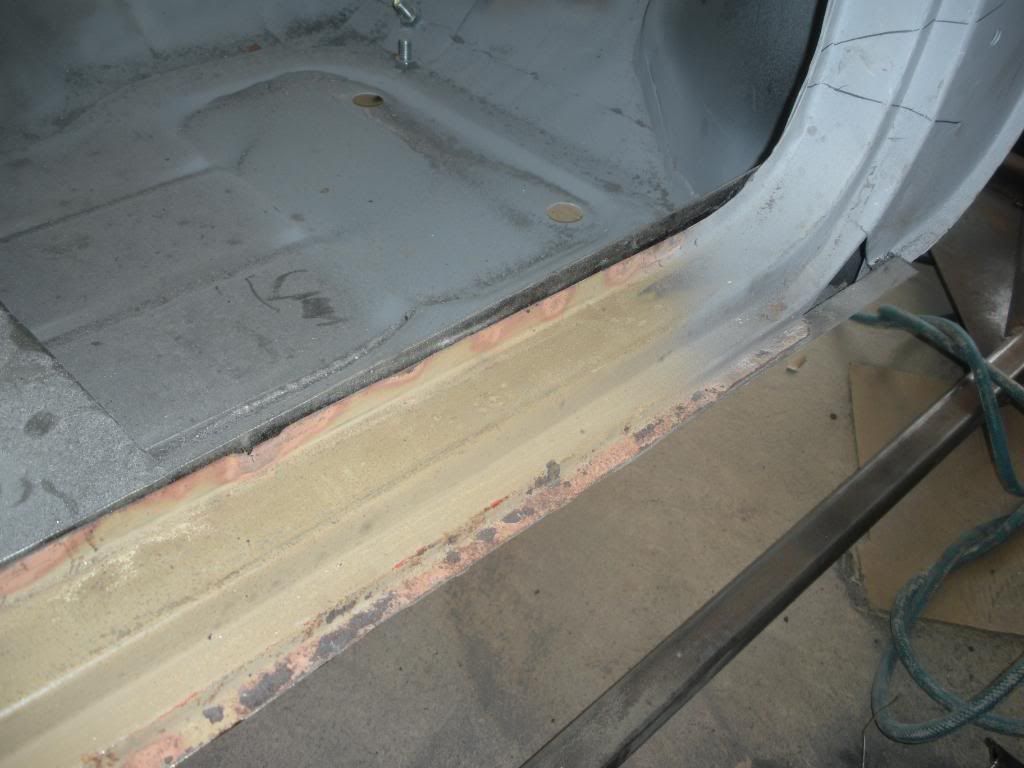
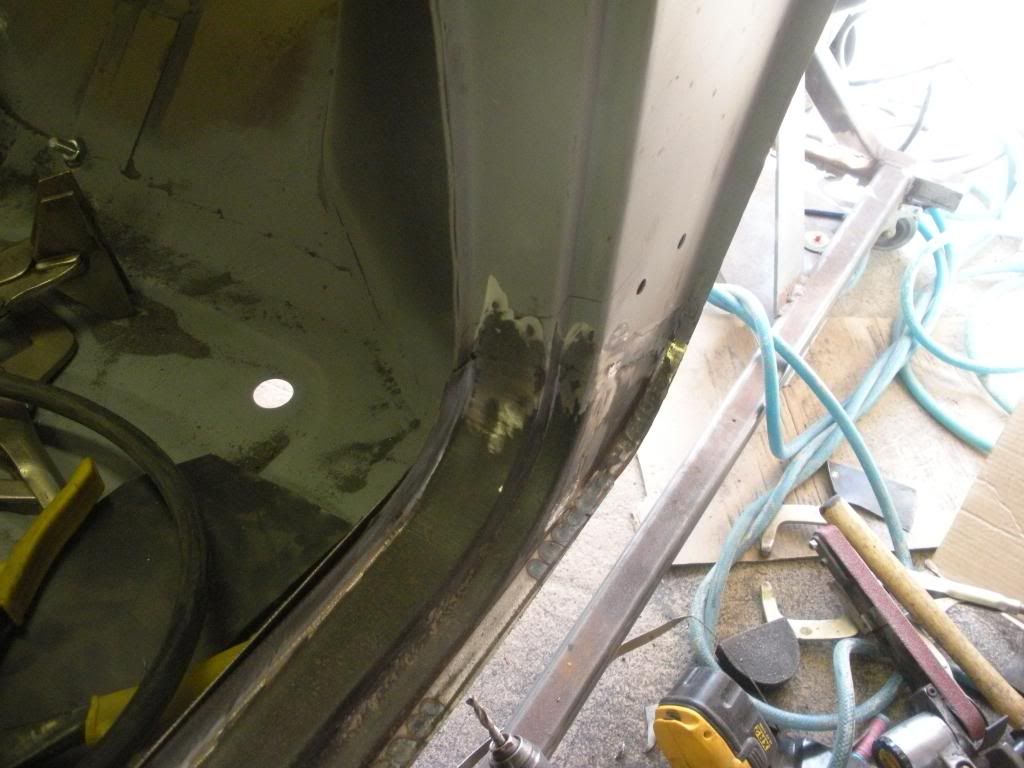
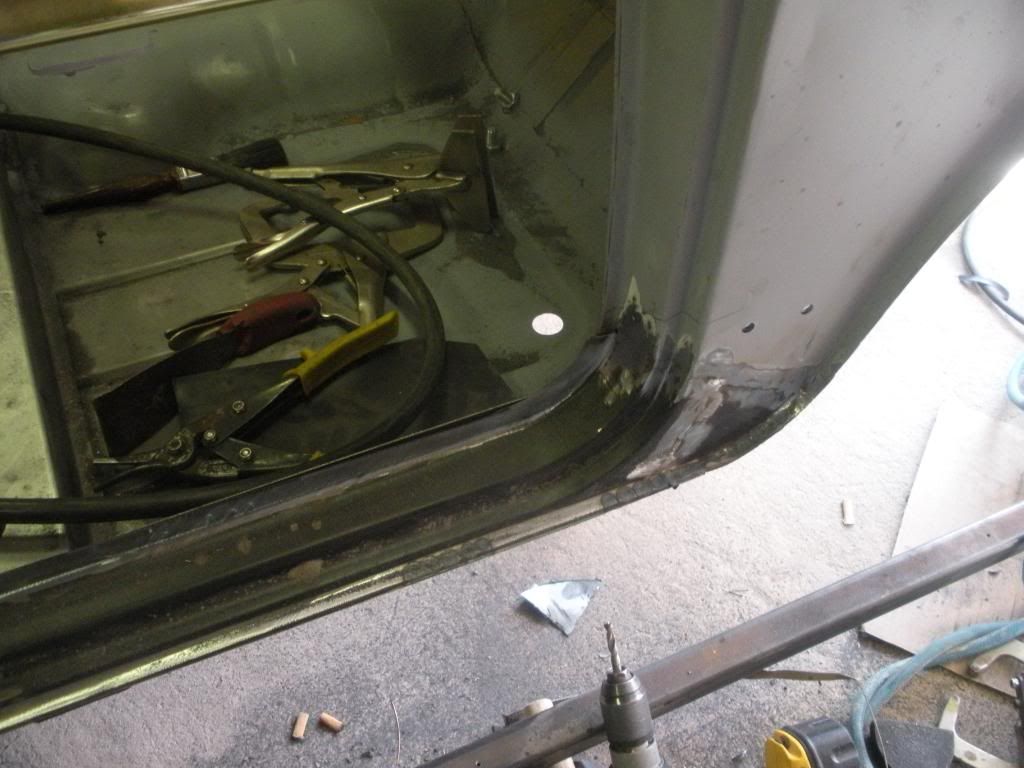
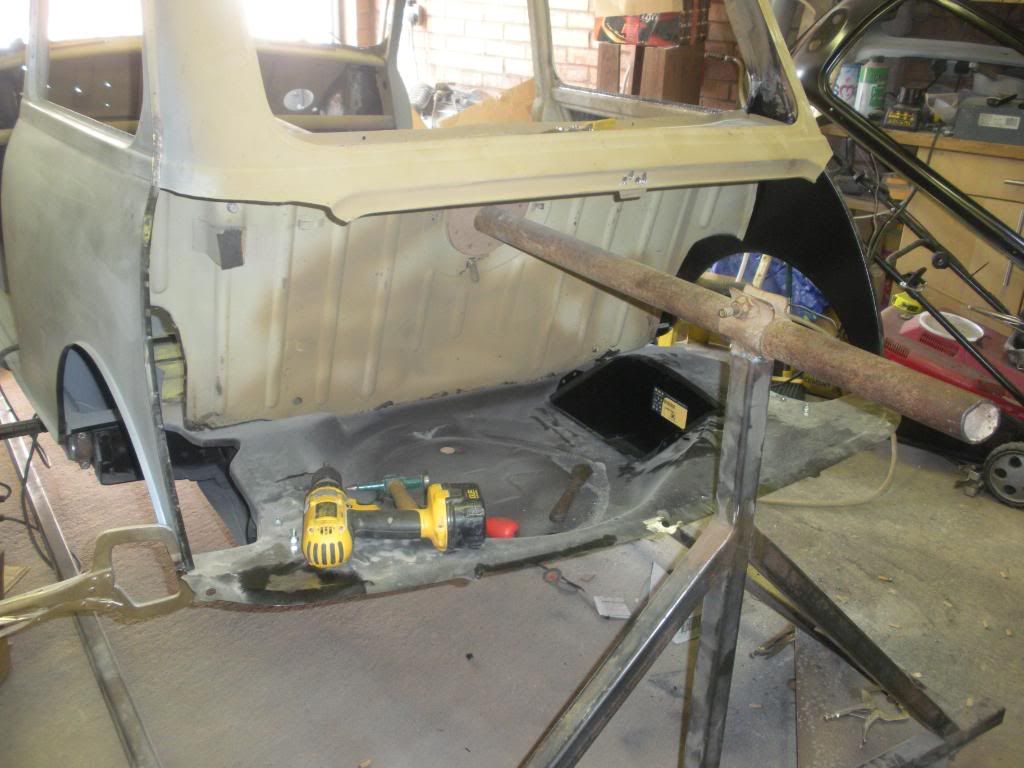
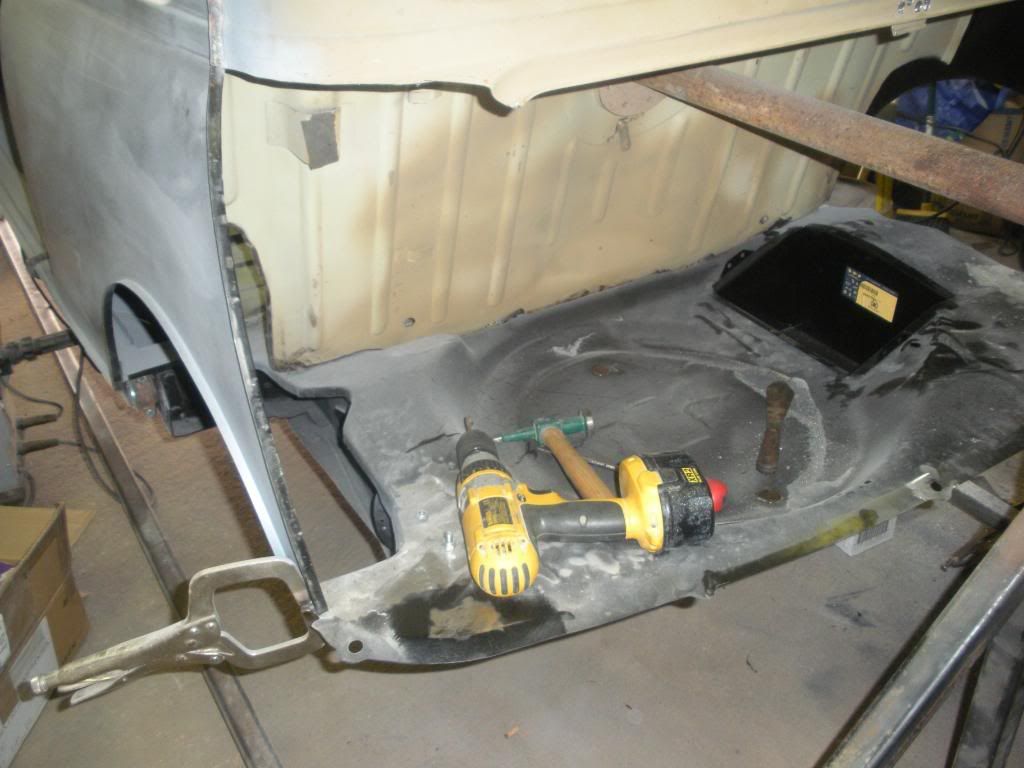
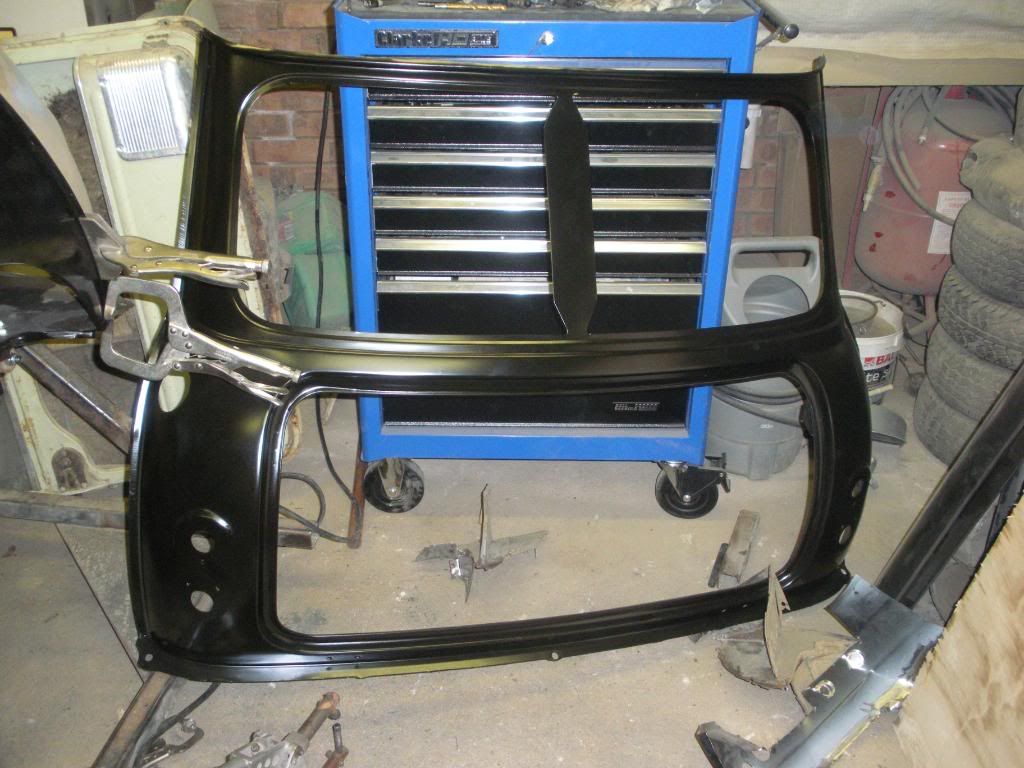
Just a quick update today not many pictures as I wanted to crack on haha, well all I got done today was to fit the door step, I hate pattern parts, After I cut out the old door step I offered up the new panel to find it was about 1/4" to long so I had to cut it in the middle, but its all fitted now and started filling ready for etch primer.
Big day tommorow, off with the old rear end lower panel and on with the new
Stay tuned
Andy
Big day tommorow, off with the old rear end lower panel and on with the new
Stay tuned
Andy
#64
Mini Basher
-
- TMF+ Member
-
- 424 posts
Speeding Along Now
- Location: Forest of Dean
- Local Club: Mini Foresters
Posted 29 August 2009 - 10:27 PM
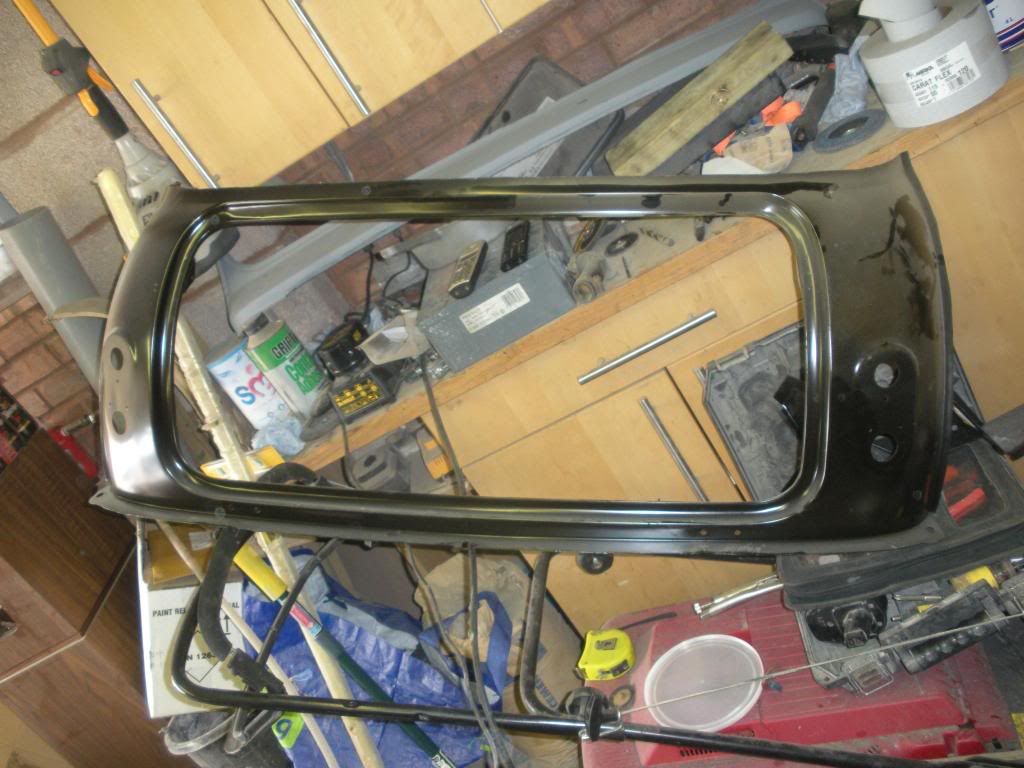
Had a cracking day in the garage, first thing on the list to do was change the breaker in the fuse board as the one in there kept tripping when I used the spot welder, when that was done I got the grinder out and did this
Before
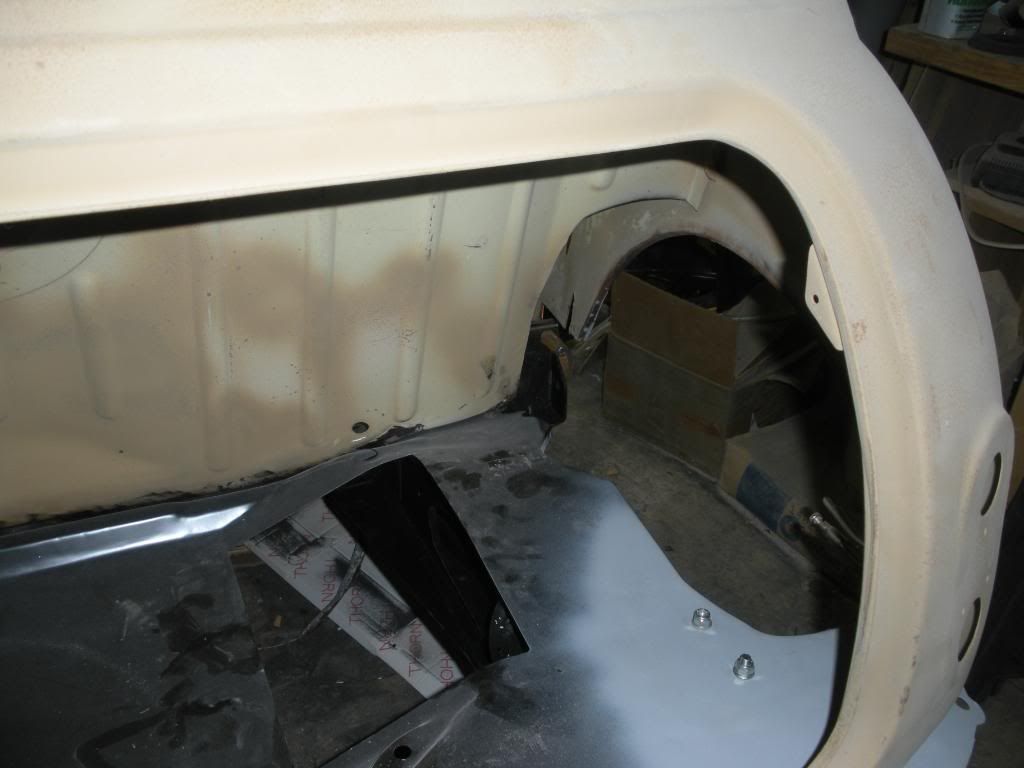
After
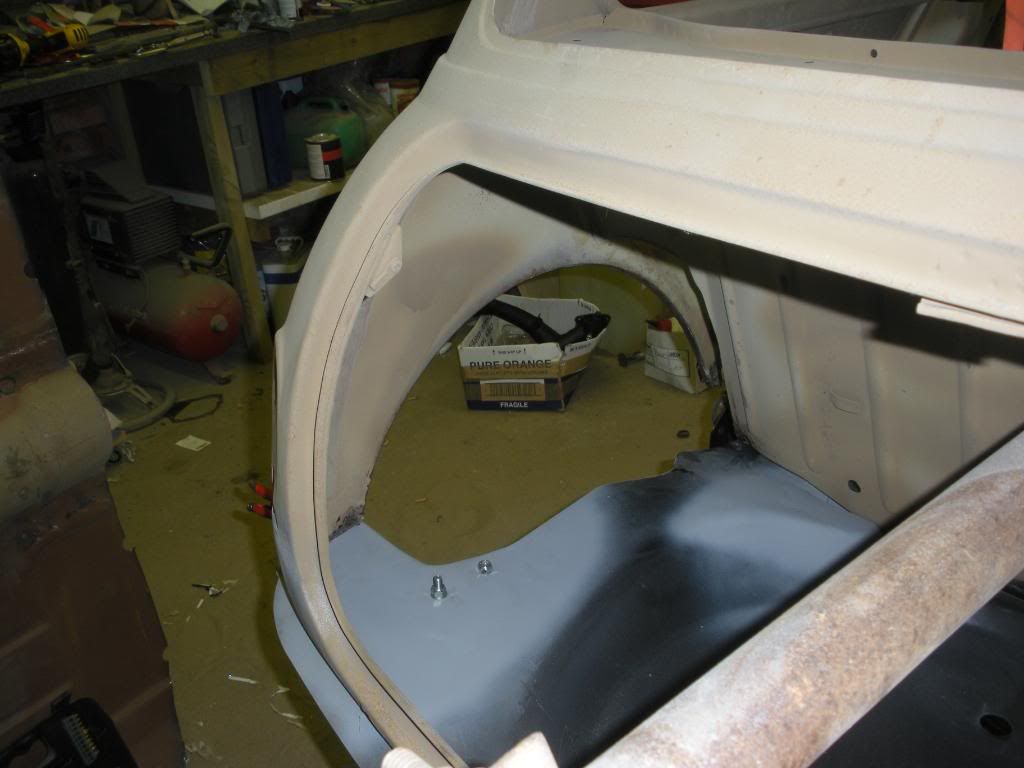
Then I got my new rear panel
and modified it to look like this
Next thing on the list was to lift the whole car into the air so I could remove the pole from the spit to get the new panel in place, I got some tie down ratchet straps and wrapped them round the ceiling joists and lifted the car up, slid the pole out, put the new panel in place and then put the pole back through the spit.
I then bolted the bottom of the rear panel to the boot floor so I knew the bottom was lined up correctly, clamped up the seams and then marked the remaining top half of the rear panel for final trimming.
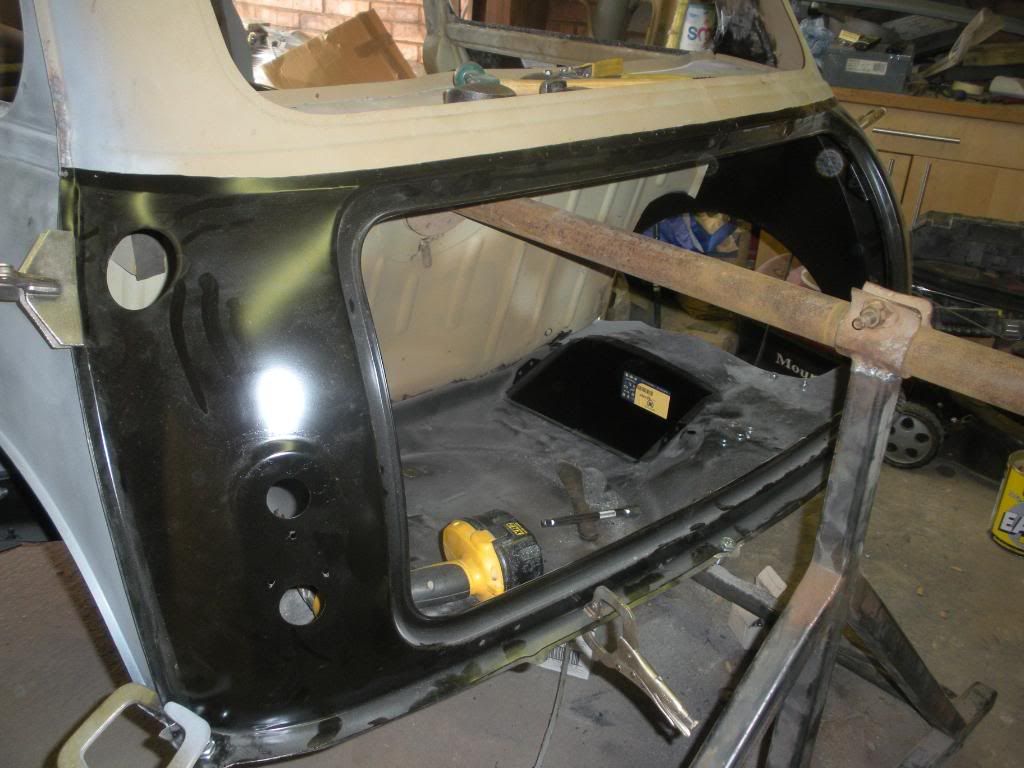
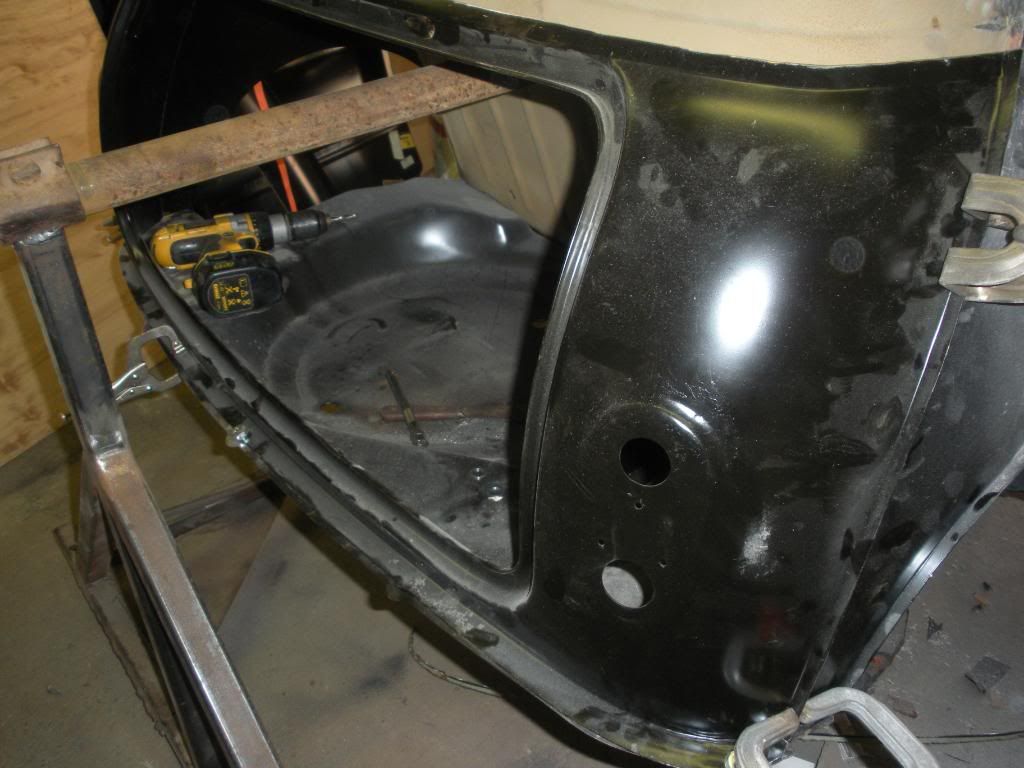

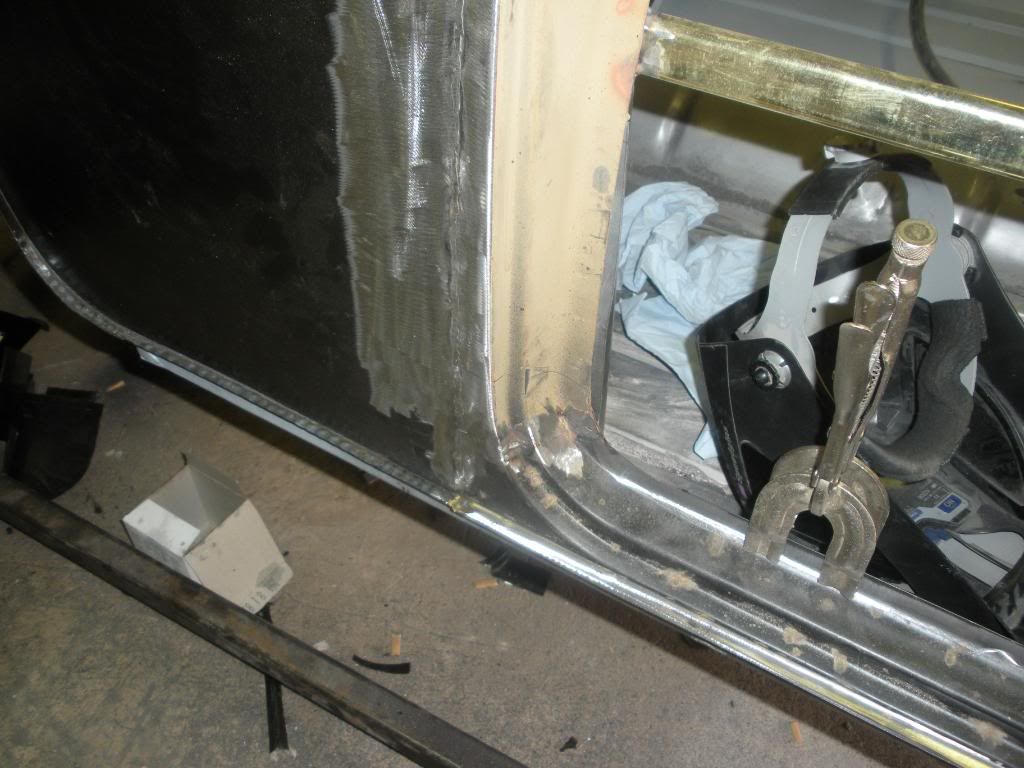
Next I unclamped and unbolted the new panel and then trimmed back the panel, then re-installed the new panel, I used some seam clamps that I got from Moss to make sure that the faces of the panels were flush and then started to tack the panel into place starting from each end and working towards the middle


Once I was happy with the fit of the panel I then started to seam weld between the tacks working from either end alternately and in the middle so as not to overheat and distort the panels, I carried on like this until the complete seam was welded
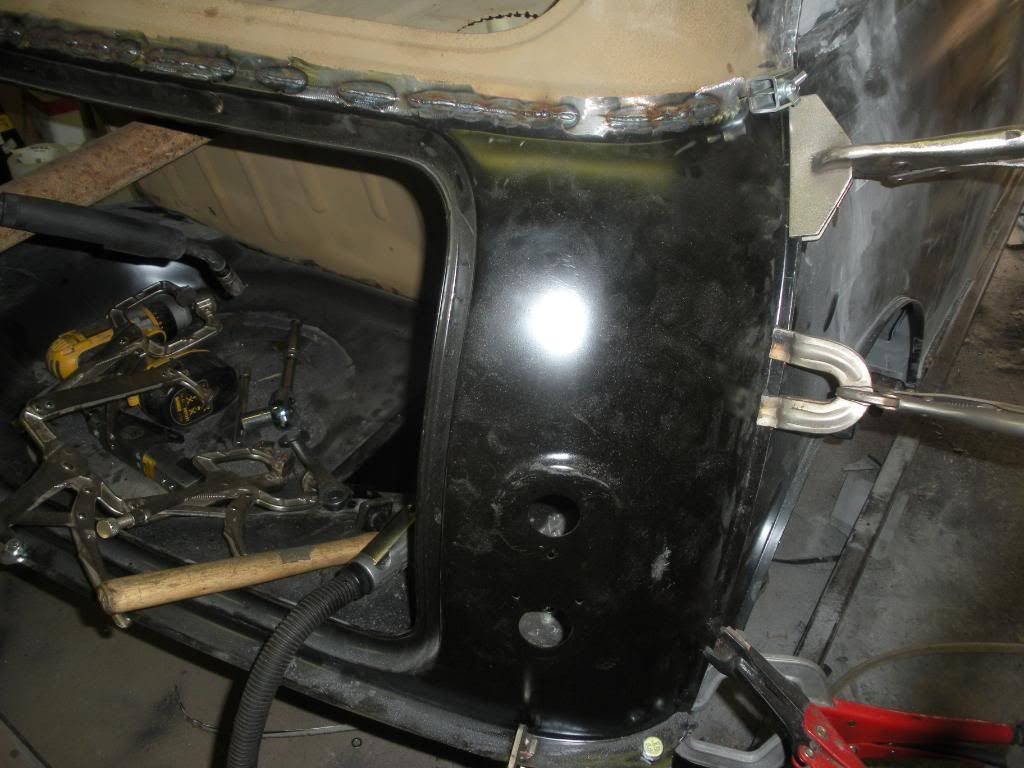
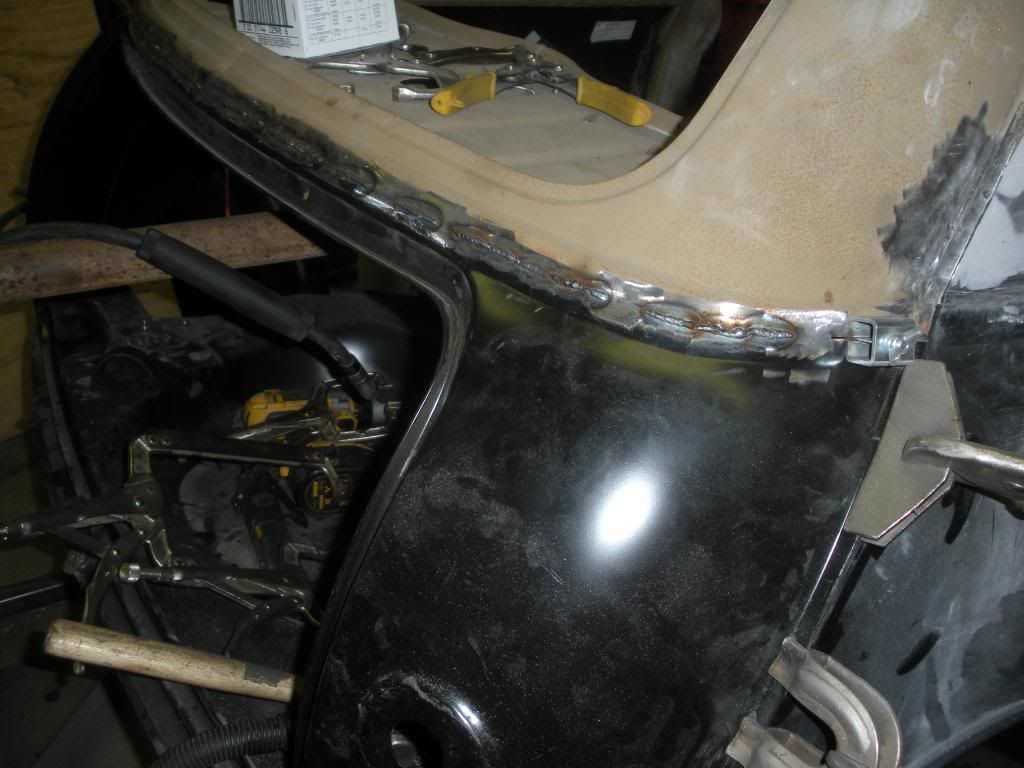
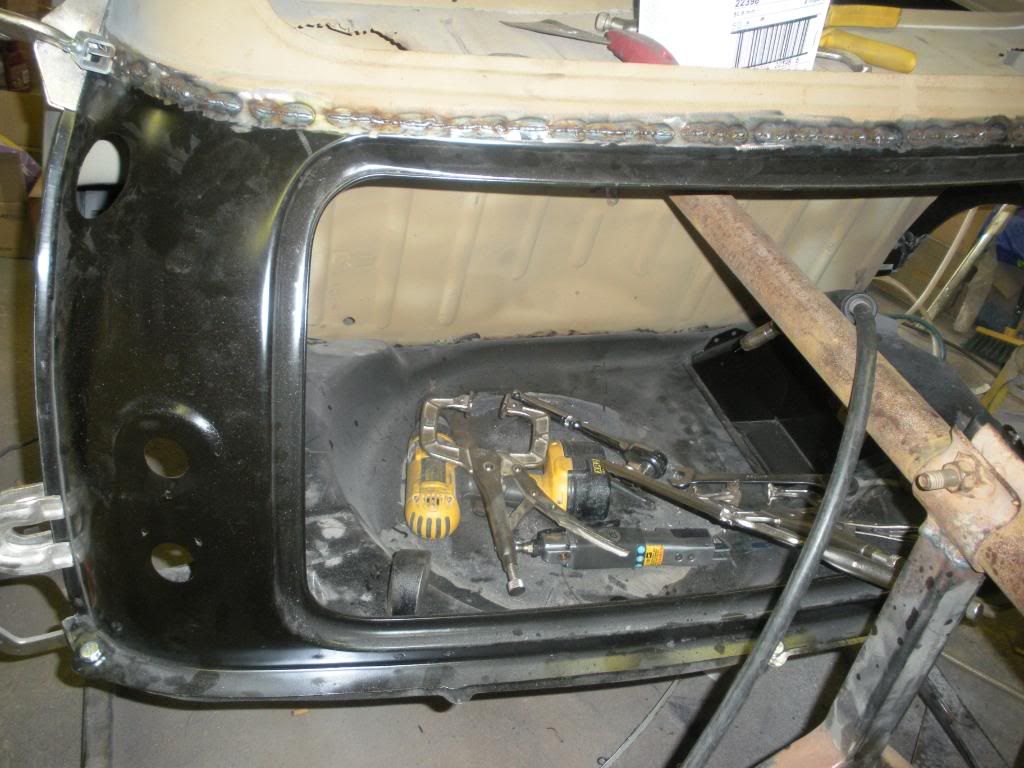
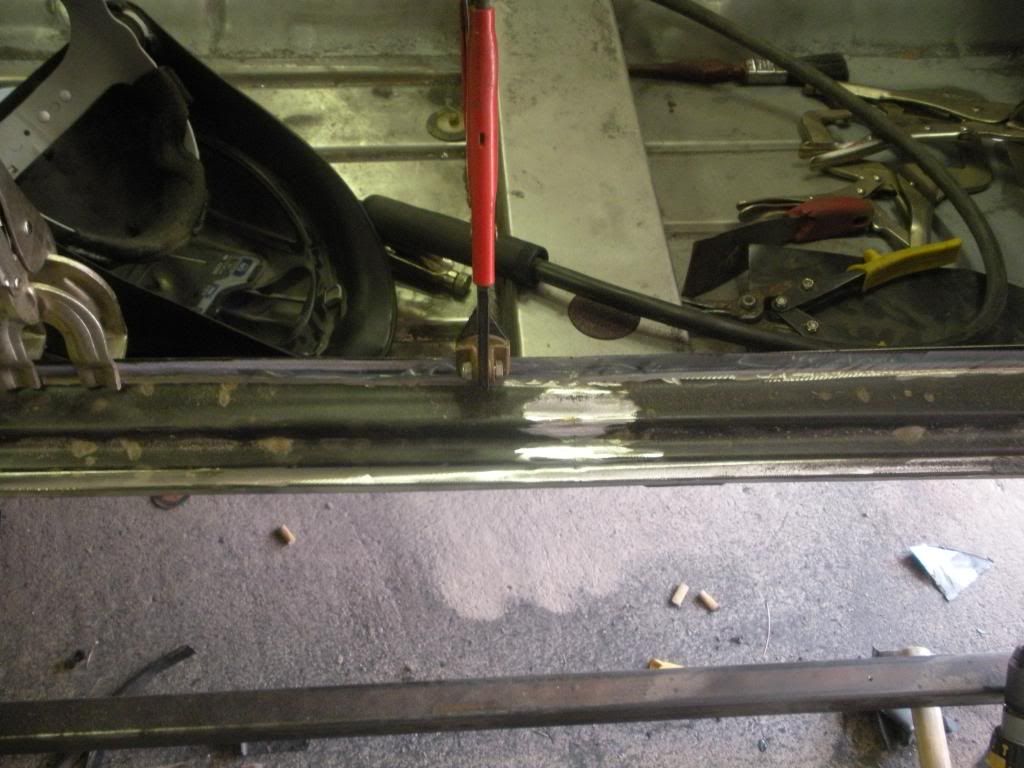
So first job tomorrow is to grind back all the welds and then spot weld the seams and bottom lip, then I can fit the floor stiffeners and valance, wheel arches and subframe mounting brackets and that will be the rear end finished save prepping ready for spraying, yeeeees I'm actually starting to get somwhere.
Thanks for looking and stay tuned for further updates
Before
After
Then I got my new rear panel
and modified it to look like this
Next thing on the list was to lift the whole car into the air so I could remove the pole from the spit to get the new panel in place, I got some tie down ratchet straps and wrapped them round the ceiling joists and lifted the car up, slid the pole out, put the new panel in place and then put the pole back through the spit.
I then bolted the bottom of the rear panel to the boot floor so I knew the bottom was lined up correctly, clamped up the seams and then marked the remaining top half of the rear panel for final trimming.
Next I unclamped and unbolted the new panel and then trimmed back the panel, then re-installed the new panel, I used some seam clamps that I got from Moss to make sure that the faces of the panels were flush and then started to tack the panel into place starting from each end and working towards the middle
Once I was happy with the fit of the panel I then started to seam weld between the tacks working from either end alternately and in the middle so as not to overheat and distort the panels, I carried on like this until the complete seam was welded
So first job tomorrow is to grind back all the welds and then spot weld the seams and bottom lip, then I can fit the floor stiffeners and valance, wheel arches and subframe mounting brackets and that will be the rear end finished save prepping ready for spraying, yeeeees I'm actually starting to get somwhere.
Thanks for looking and stay tuned for further updates
#65
freaker
-

- Members
-
- 1,378 posts
One Carb Or Two?
- Location: zeebrugge
- Local Club: mini fun club belguim
Posted 30 August 2009 - 06:06 AM
can i say one thing
wooow
what a nice job of bringing it back to its former glory...
can i ask how do those seam clamps work exactly ?
freaker
wooow
what a nice job of bringing it back to its former glory...
can i ask how do those seam clamps work exactly ?
freaker
#66
Mini_Woo
-

- Members
-
- 273 posts
Mini Mad
- Local Club: Crewes Missiles
Posted 30 August 2009 - 07:29 AM
WOW just read through this! i only wish i could take my mini of the road and replace all the old rusty panel!
well done and good luck with the rest of work
well done and good luck with the rest of work
#67
CobraV8
-

- Members
-
- 991 posts
One Carb Or Two?
Posted 30 August 2009 - 07:35 AM
Just out of interest - is there a Mk1 window conversion - to take it from Mk3 size and shape back to Mk1, and what about the front door openings and side windows which were smaller on mk1, can you get replacement panels for these?
I take it you can not buy a heritage Mk1 shell?
I take it you can not buy a heritage Mk1 shell?
#68
stevede
-

- Members
-
- 1,164 posts
As seen on TV
- Local Club: None
Posted 30 August 2009 - 07:50 AM
Hi
Just read through this and the work you have done is great. I agree with you about the fit of the genuine panels, worth every penny over the pattern ones in my opinion.
I see you have a proper gas bottle now compared to the disposable one in the early pictures. - It's amazing where the gas goes! I'm on my second bottle and haven't replaced as many panels as you have.
Looking forward to when you get it in paint. I have a little way to go yet before that and unfortunatley have to work outside so I am at the mercy of the weather.
I'm interested about the top arm bearings and the method you used. I see you have a bearing puller but how did you manage with the first side? I don't want to have to buy a tool that I may only use once. (Managed to borrow a reamer for when I do the rears)
Keep up the good work
Regards Steve
#69
Mini Basher
-
- TMF+ Member
-
- 424 posts
Speeding Along Now
- Location: Forest of Dean
- Local Club: Mini Foresters
Posted 30 August 2009 - 08:50 AM
Just out of interest - is there a Mk1 window conversion - to take it from Mk3 size and shape back to Mk1, and what about the front door openings and side windows which were smaller on mk1, can you get replacement panels for these?
I take it you can not buy a heritage Mk1 shell?
Hi Cobra
A far as I'm aware there is no Mk1 conversion window available for a Mk3 but it might be worth giving someone like M Machine a ring to see if they have something, some of the mini specialist suppliers do occasionaly have old panels floating about also, other than that keep an eye on e-bay as genuine MK1 rear panels do come up occasionaly but they are expensive, your going to have the same problem with the side panels and no heritage dont do a MK1 shell
Thanks for looking
Andy
#70
CobraV8
-
- Members
-
- 991 posts
One Carb Or Two?
Posted 30 August 2009 - 09:23 AM
Cool - I wouldnt go to the extent to do that - just wondered.
Great following your project - certainly a lot of dedication to get that all done. It will be great to see it all done and you enjoying it.
Great following your project - certainly a lot of dedication to get that all done. It will be great to see it all done and you enjoying it.
#71
04davina
-
- Noobies
-
- 81 posts
Stage One Kit Fitted
- Local Club: colchester mini club
Posted 30 August 2009 - 09:52 AM
looking brilliant mate how long do you think it will take you till completion
#72
Mini Basher
-
- TMF+ Member
-
- 424 posts
Speeding Along Now
- Location: Forest of Dean
- Local Club: Mini Foresters
Posted 30 August 2009 - 11:03 AM
Hi
Just read through this and the work you have done is great. I agree with you about the fit of the genuine panels, worth every penny over the pattern ones in my opinion.
I see you have a proper gas bottle now compared to the disposable one in the early pictures. - It's amazing where the gas goes! I'm on my second bottle and haven't replaced as many panels as you have.
Looking forward to when you get it in paint. I have a little way to go yet before that and unfortunatley have to work outside so I am at the mercy of the weather.
I'm interested about the top arm bearings and the method you used. I see you have a bearing puller but how did you manage with the first side? I don't want to have to buy a tool that I may only use once. (Managed to borrow a reamer for when I do the rears)
Keep up the good work
Regards Steve
Hi Steve
I'm also on my second bottle of gas now suprising how quick it goes once you get going on the welding, In regards to the top arm bearings you need to break out the needle's from the carrier, I did this with a screwdriver and hammer. Once you have removed them degrease the bearing carrier as best as possible and then find a washer that is a reasonable fit, slightly loose rather than tight and then weld it inside the bearing carrier, you only need three or four spots, (this also helps in the fact that when you weld the washer in place it applies heat to the bearing and also helps to collapse the bearing case when the weld cools) Once this is welded in get a long drift and from the other side of the arm drift out the bearing case, repeat the same process for the other end, hey presto top arms ready for refurbishment
Hope this helps, if you need any more info give me a shout.
I'd already ordered my bearing puller when I was told how to remove the bearings so I'll be using it when I rebuild the gearbox
Andy
#73
Mini Basher
-
- TMF+ Member
-
- 424 posts
Speeding Along Now
- Location: Forest of Dean
- Local Club: Mini Foresters
Posted 30 August 2009 - 11:06 AM
Hi 04Davinalooking brilliant mate how long do you think it will take you till completion
Thanks for looking, I don't really have a schedule but I would like to get the body work and spraying done within the next three months, and hopefully get the car complete for May of next year as I'm getting married and want to arrive at the church in it
Andy
#74
Mini Basher
-
- TMF+ Member
-
- 424 posts
Speeding Along Now
- Location: Forest of Dean
- Local Club: Mini Foresters
Posted 30 August 2009 - 11:47 AM
can i say one thing
wooow
what a nice job of bringing it back to its former glory...
can i ask how do those seam clamps work exactly ?
freaker
Hi Freaker
Basically its a piece of 1" box section with a slot cut in one face, then there is a flat piece of metal which fits through the slot attached to a countersunk bolt with a wing nut on it. The piece of plate has a hole through it which a bar goes through, it's probably easier for me to take a photo and upload later so you can see how it works
Andy
#75
Mini Basher
-
- TMF+ Member
-
- 424 posts
Speeding Along Now
- Location: Forest of Dean
- Local Club: Mini Foresters
Posted 30 August 2009 - 11:48 AM
WOW just read through this! i only wish i could take my mini of the road and replace all the old rusty panel!
well done and good luck with the rest of work
Hi Mini Woo
Thanks for the comments, keep watching for more updates
Andy


0 user(s) are reading this topic
0 members, 0 guests, 0 anonymous users


