1985 City Slicker
#16
Posted 17 June 2010 - 01:56 PM
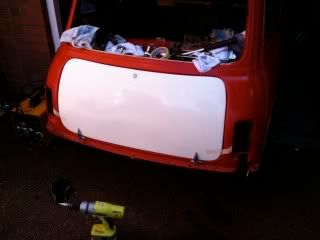
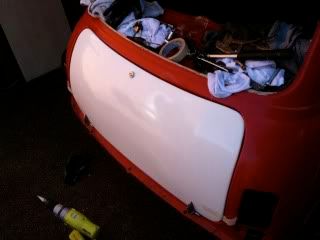
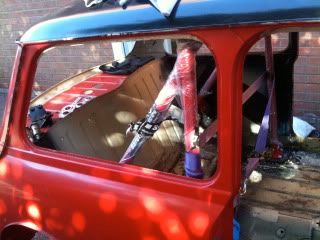
Was gonna go with 4 pins in each corner for a completely removeable bootlid, but decided that was far too much hassle when compared with how often the boot will be used
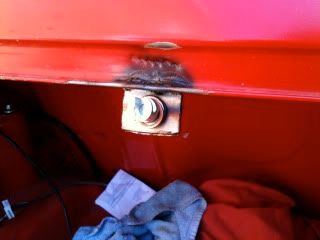
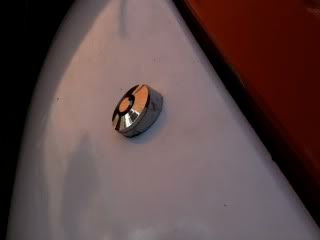
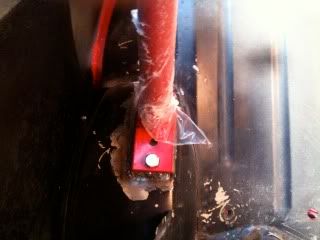
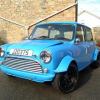
So used some new hinges and one lockable bonnet pin in the centre which is clean and simple
Had to cut a piece of chamfered PVC piping to allow the barrel lock to line up with the pin, but i think it looks ok
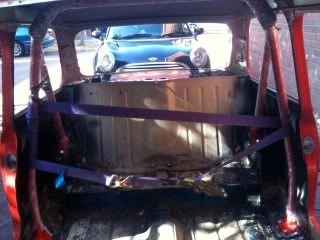
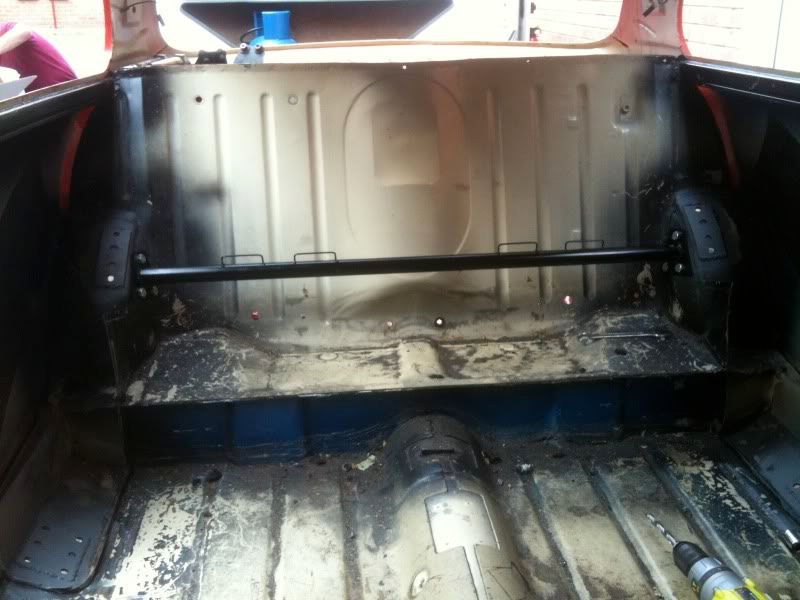
Next job is to find a rollcage and buy one of those harness bars in the traders section
#17
Posted 18 June 2010 - 03:01 PM
#18
Posted 02 July 2010 - 09:53 PM
managed to get the front subby detached from the shell and made up a support for the shell to sit on once the back one is off too
Painted the subby and the few components that were being reused
Got my order of parts in so started assembling
Put new ball joints on the hubs
Got my coil springs and hilos from minitastic so got the rest of the subframe builts up
Next step is to find a roll cage
#19
Posted 02 July 2010 - 09:58 PM
#20
Posted 04 July 2010 - 09:21 PM
Anyway, more progress, made up all my captive brackets for the aluminium dash, and got them welded to the dash rails
These are the top ones, the bottom ones are longer
and welded to the dash
Also got the rear subframe off so its now just the shell on its trolley. Rear subby came off in about 15 minutes, can't believe how easy it was, i was expecting snapped rusty bolts and all sorts!
#21
Posted 10 July 2010 - 06:45 PM
after missing my rollcage being delivered yesterday i decided to go and pick it up from the depot
trying to origami it into my polo was all kinds of fun, however finally got it home
cut the seat base and companion bins out of the back to make way for it, welded the plates in and got it all bolted in. nice and snug (yes i know the bolts on the arches are the wrong way around, just whacked em in quickly)
just waiting to hear back about a harness bar from JonBetts now
#22
Posted 03 August 2010 - 05:14 PM
Looks good and fits very well
The next step is to roll the whole shell on it's side, scrape all the underseal and ******* off of the bottom, and then re-stonechip it neatly
#23
Posted 03 August 2010 - 09:09 PM
Some very nice parts you have there aswell. Look forward to seeing more progress on the shell.
#24
Posted 22 August 2010 - 04:17 PM
All the parts for the rear subby arrived last week so i assembled it all today
95% of it is brand new, with only the radius arms and hubs being painted and reused, original subby was beyond repair
Got the minitastic coils in there with the hilo's, negative camber and tracking brackets and brand new backplates and drums along with the poly bushes
Also made up a little tool to tighten the pins on the front mounts, which now has a nut welded to it so i can get a torque wrench on it
#25
Posted 23 August 2010 - 09:13 PM
Forgive me for being a complete idiot, but what are those gold brackets?
Looking good mate!
#26
Posted 24 August 2010 - 09:47 PM
Forgive me for being a complete idiot, but what are those gold brackets?
Looking good mate!
Negative camber and tracking brackets
Helps correct the rear end geometry
#27
Posted 24 August 2010 - 10:13 PM
#28
Posted 24 August 2010 - 10:55 PM
Forgive me for being a complete idiot, but what are those gold brackets?
Looking good mate!
Negative camber and tracking brackets
Helps correct the rear end geometry
Thanks very much mate!
#29
Posted 24 August 2010 - 11:04 PM
are they minisport caliper ??
#30
Posted 25 August 2010 - 08:11 PM
hey mate looking good.
are they minisport caliper ??
Yeah they are mate
0 user(s) are reading this topic
0 members, 0 guests, 0 anonymous users