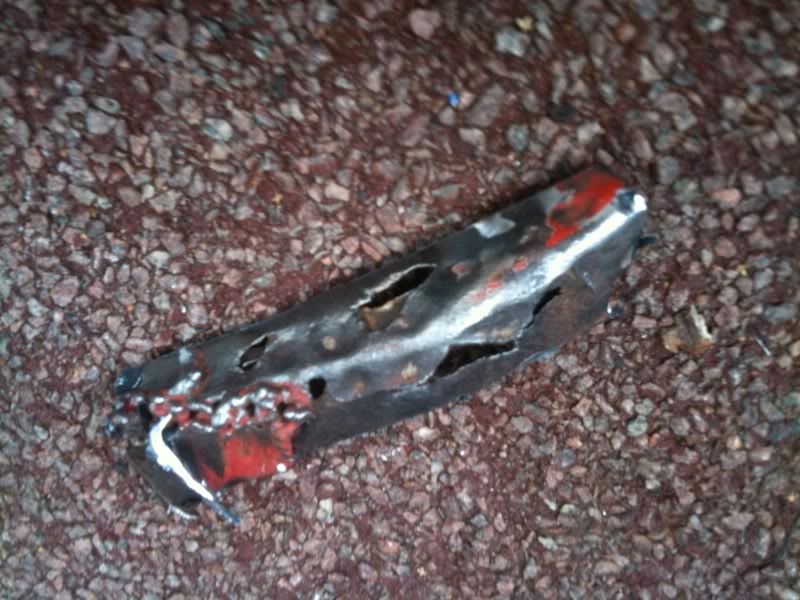
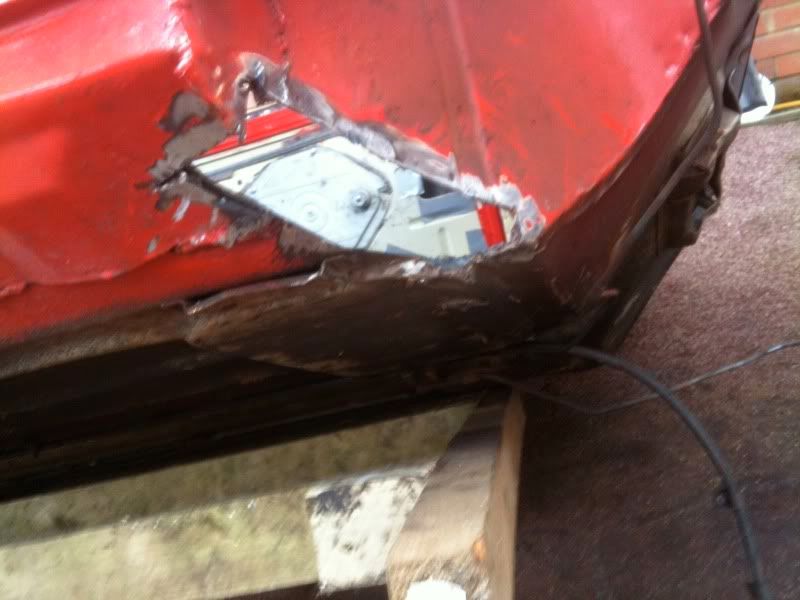
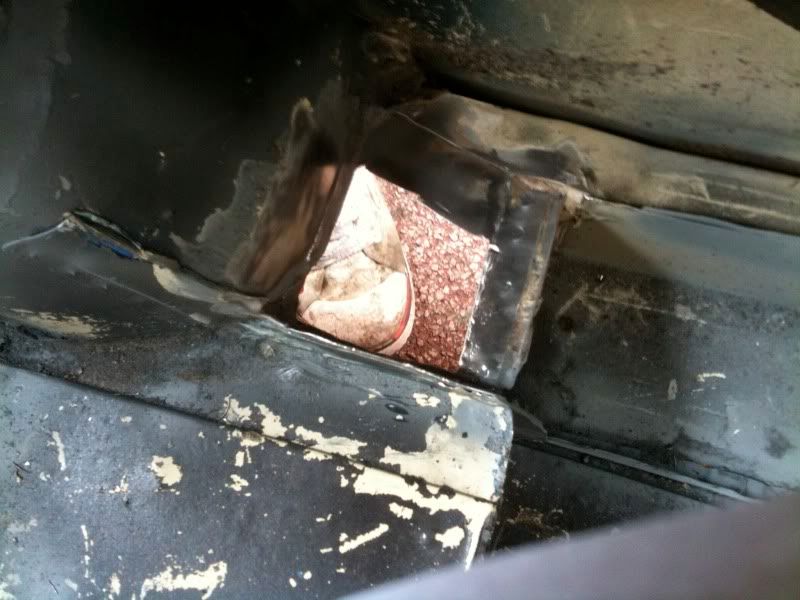
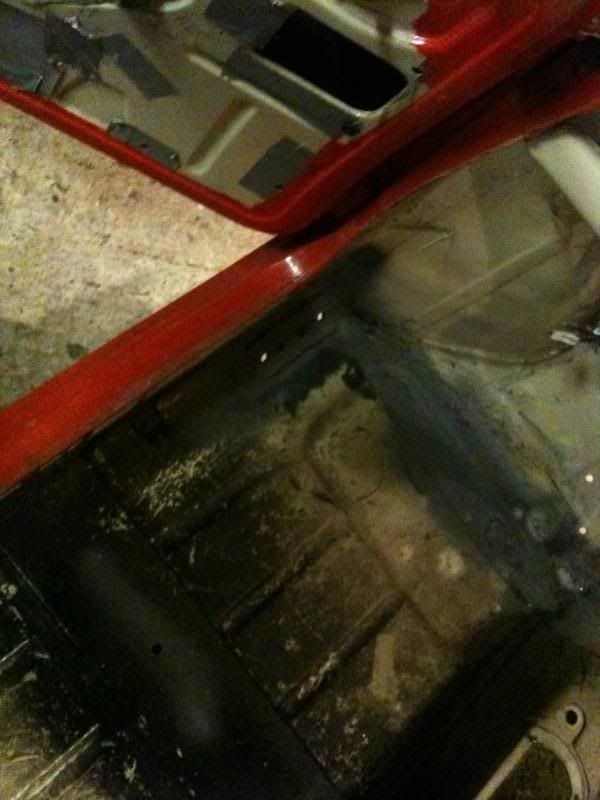
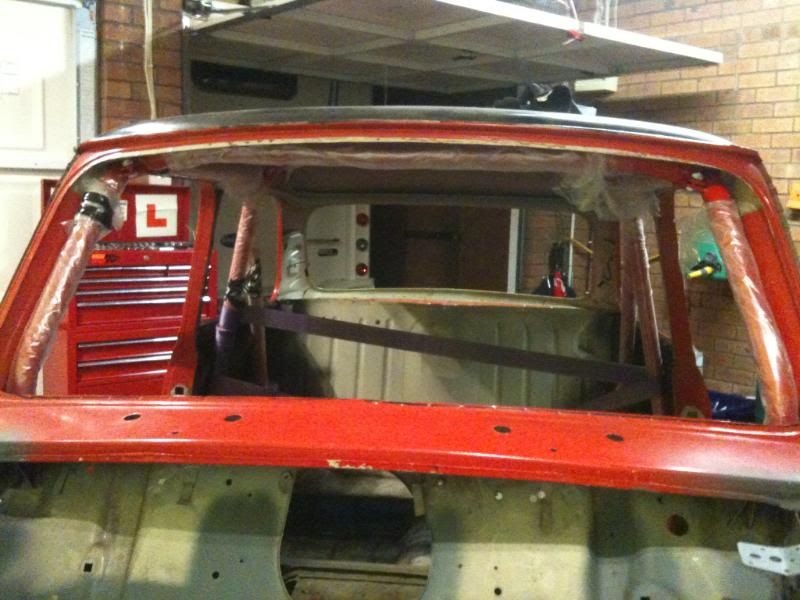
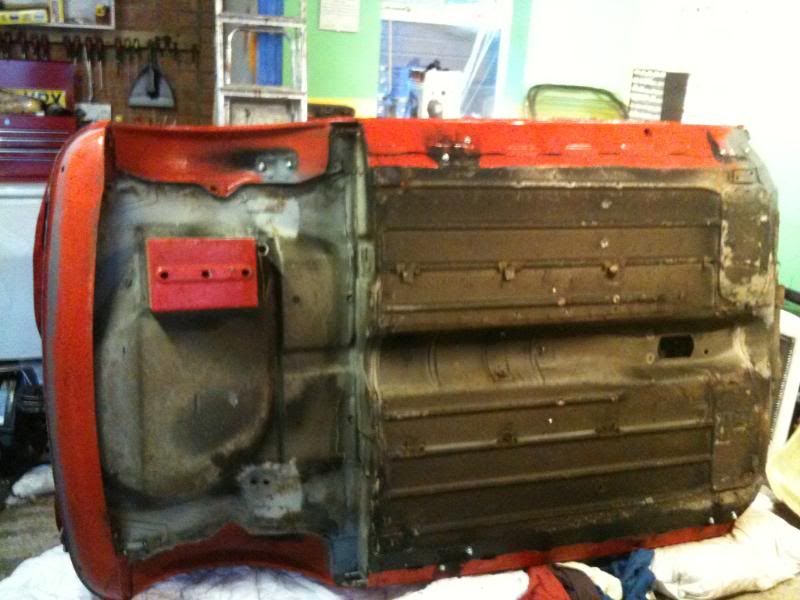
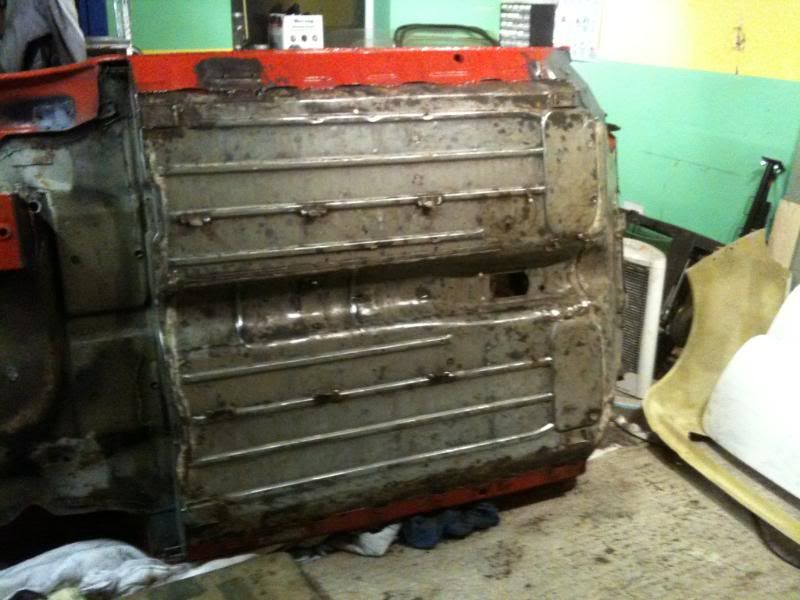
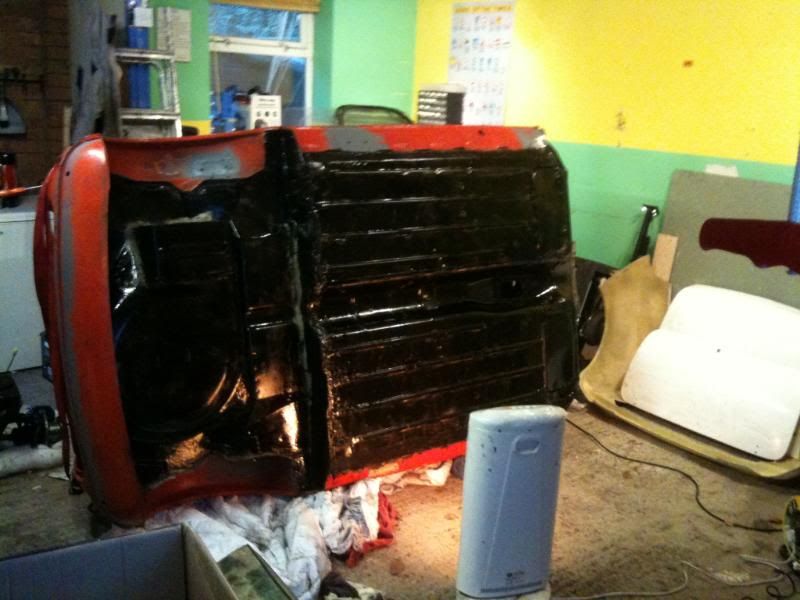
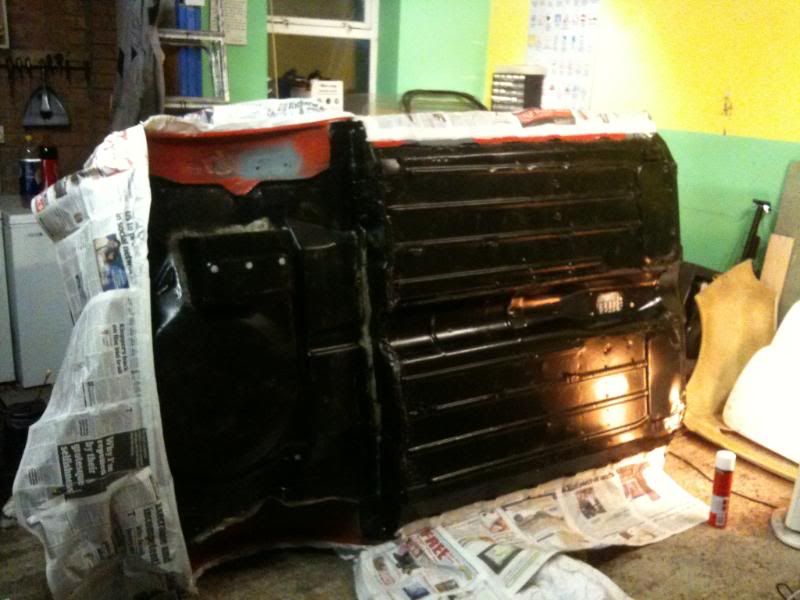
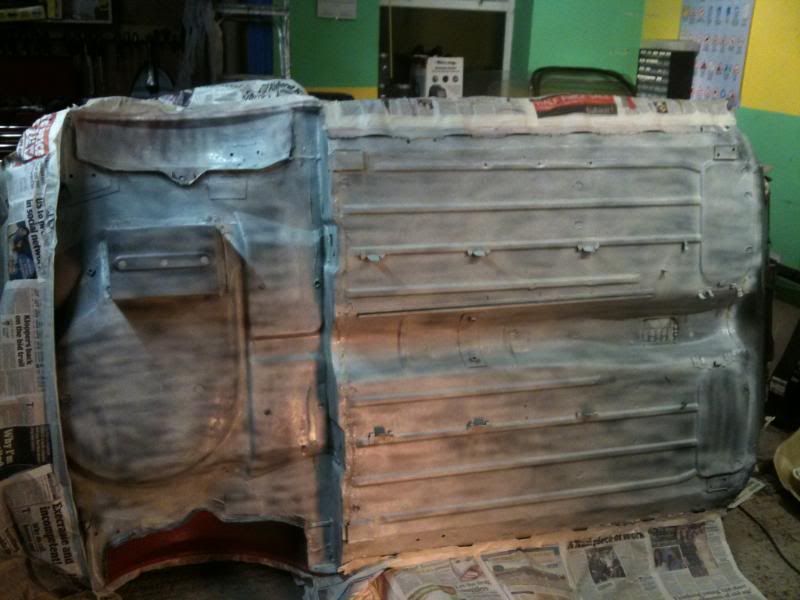
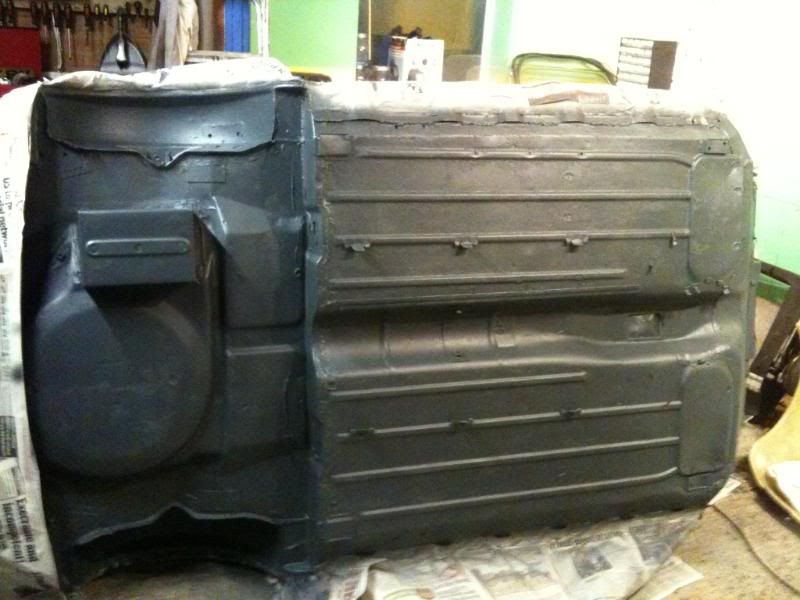
previous owner had welded it before, but hadn't fully seam welded it so water got in and rusted it again
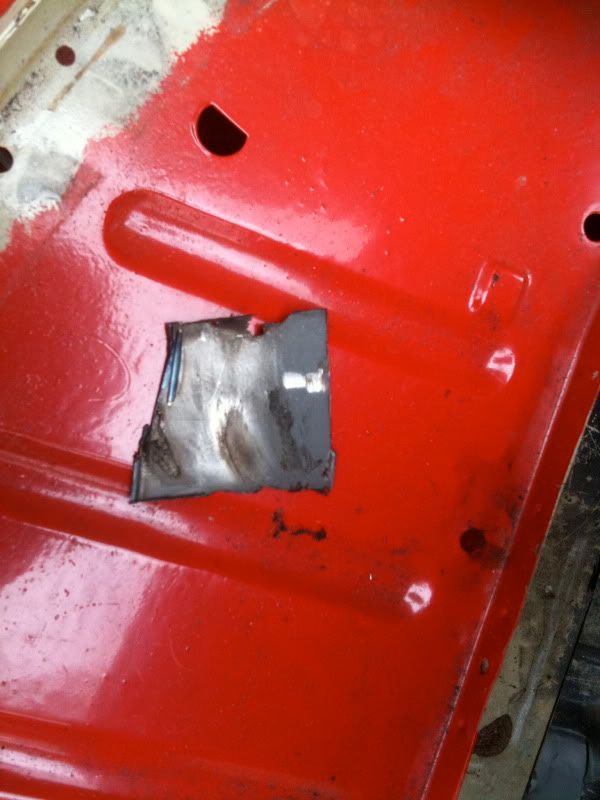
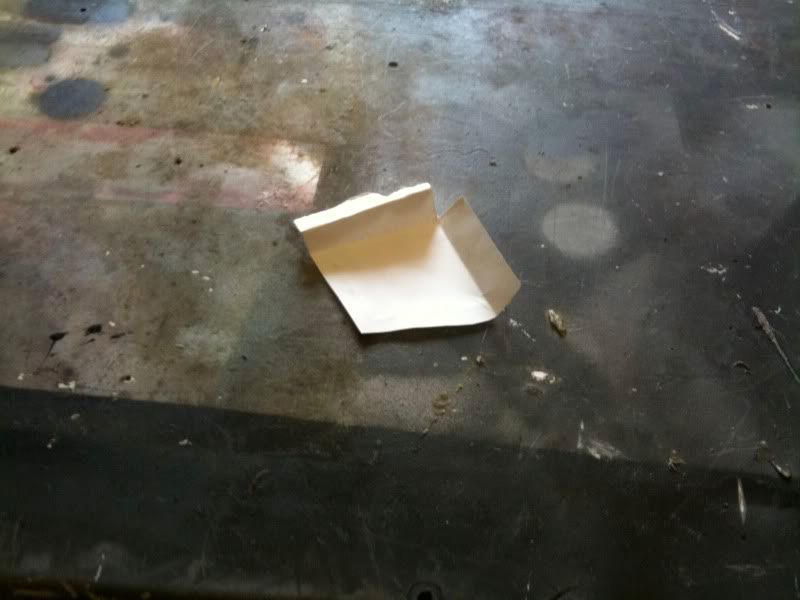
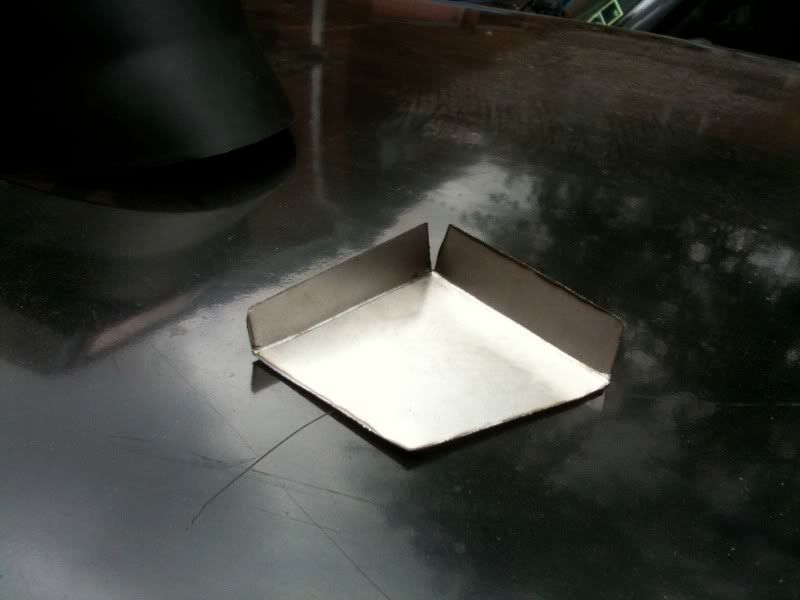
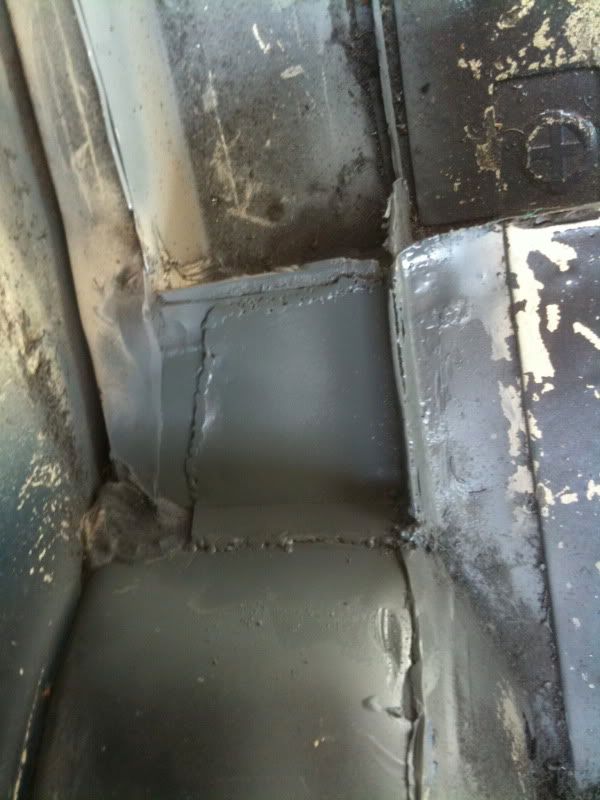
Cut out the old 'metal' and made a card template then cut the steel out and welded it in:


One Carb Or Two?

Posted 28 August 2010 - 02:52 PM
One Carb Or Two?
Posted 29 August 2010 - 07:29 PM
One Carb Or Two?
Posted 28 December 2010 - 12:49 AM

Mini Mad

Posted 29 December 2010 - 08:51 PM
One Carb Or Two?
Posted 29 December 2010 - 08:58 PM
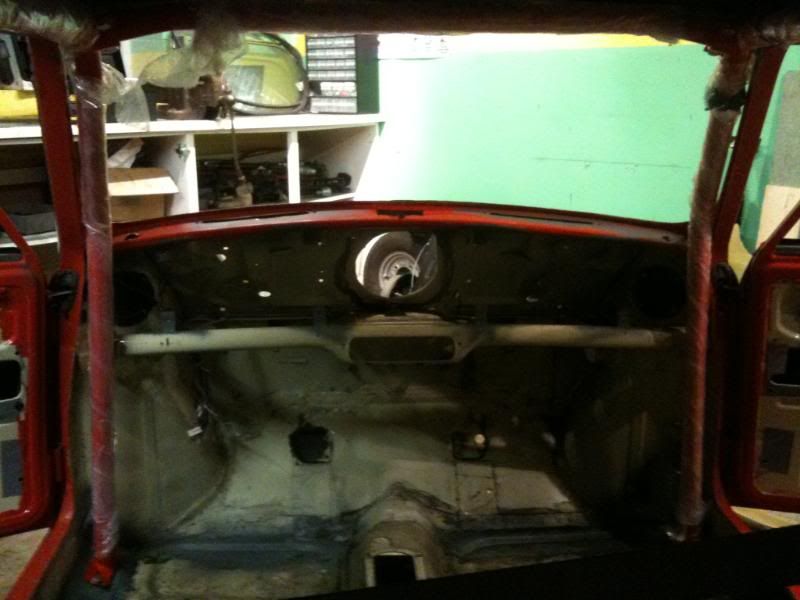
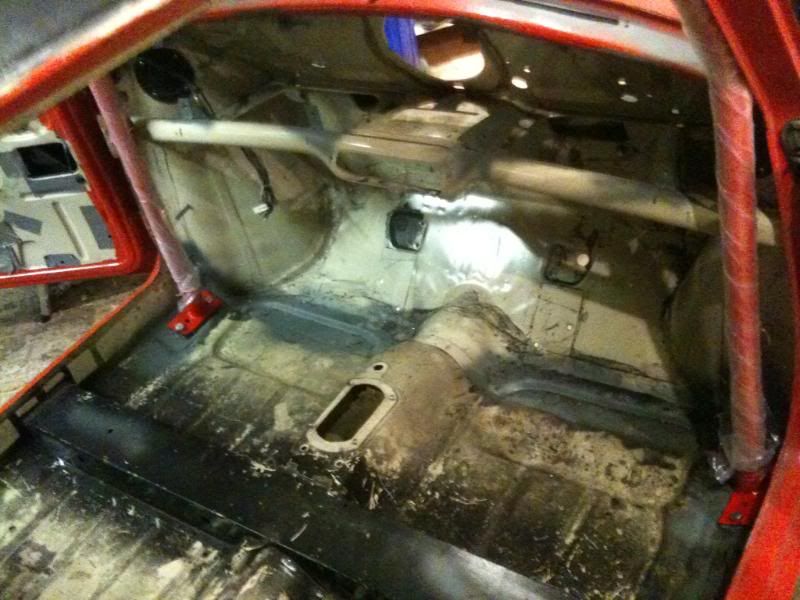
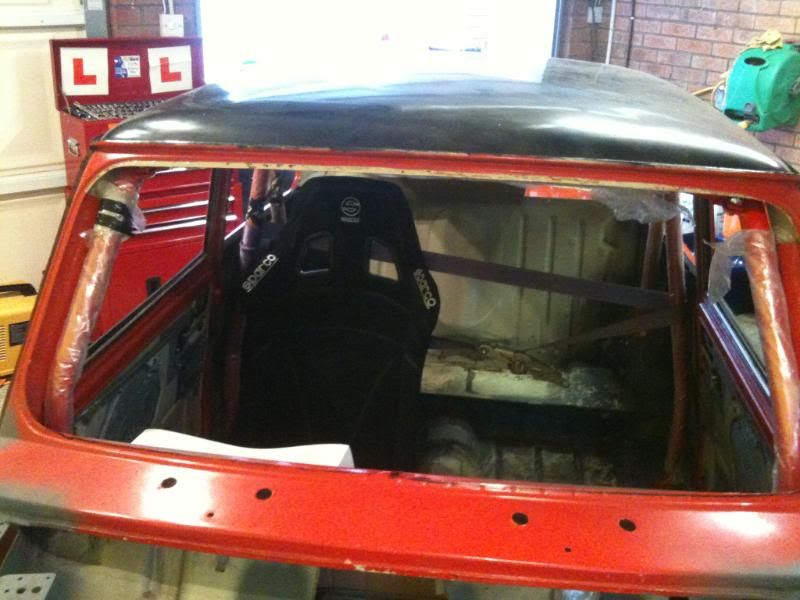
Just read through this, looks a good project!
Looks like the shell is pretty decent!?
Matt
One Carb Or Two?
Posted 31 December 2010 - 01:52 PM

One Carb Or Two?

Posted 31 December 2010 - 02:37 PM

One Carb Or Two?
Posted 03 January 2011 - 05:06 PM
Up Into Fourth

Posted 03 January 2011 - 06:27 PM
nice one, was that on the VAT free day?One Carb Or Two?
Posted 03 January 2011 - 10:34 PM
Up Into Fourth
Posted 03 January 2011 - 10:41 PM
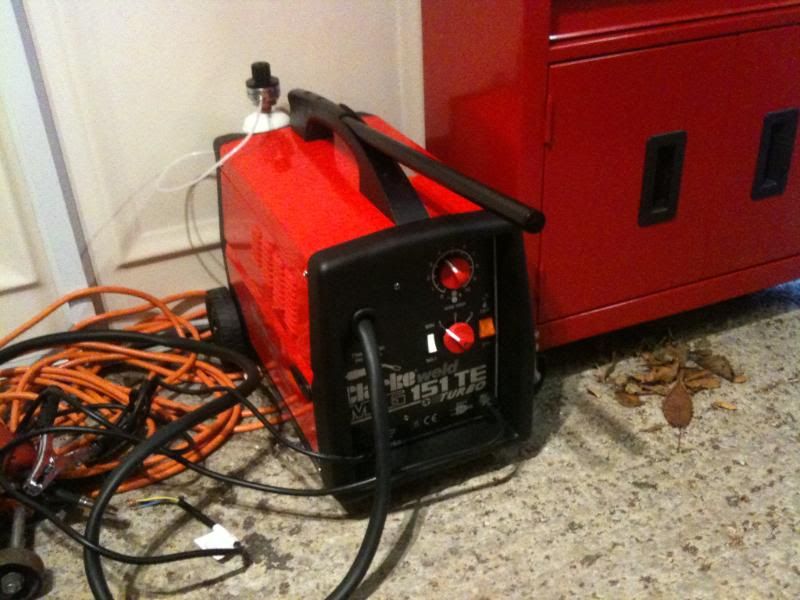
30 amp plug?Wasn't VAT free, but he let me have it for 17.5% VAT instead of 20% saved about £7-8 lol
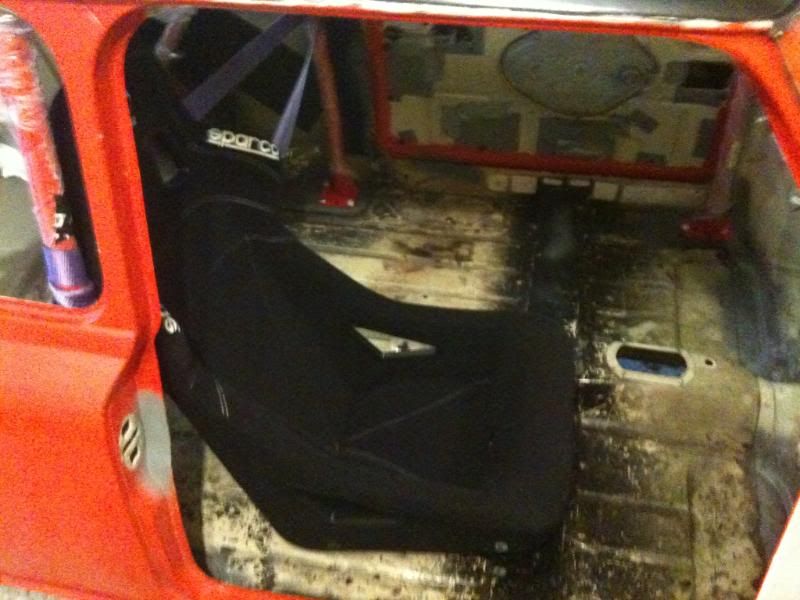
Havent tried it yet as waiting for a suitable plug, which i'll get tomorrow, then i'll be welding up the little unused screw holes in the floor
will let you know
One Carb Or Two?
Posted 03 January 2011 - 11:11 PM
One Carb Or Two?
Posted 04 January 2011 - 04:01 PM

One Carb Or Two?
Posted 05 January 2011 - 04:50 PM
One Carb Or Two?
Posted 06 January 2011 - 05:12 PM


0 members, 1 guests, 0 anonymous users


