1985 City Slicker
#46
Posted 08 January 2011 - 04:47 PM
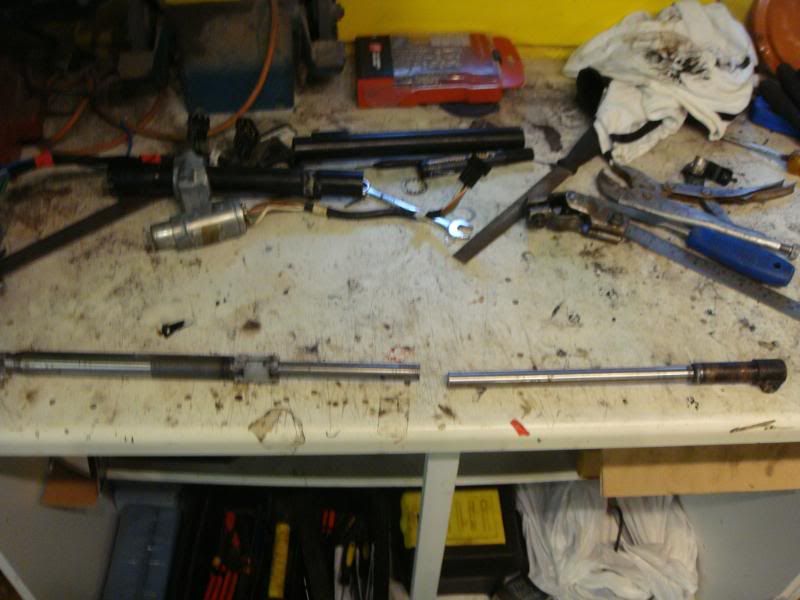
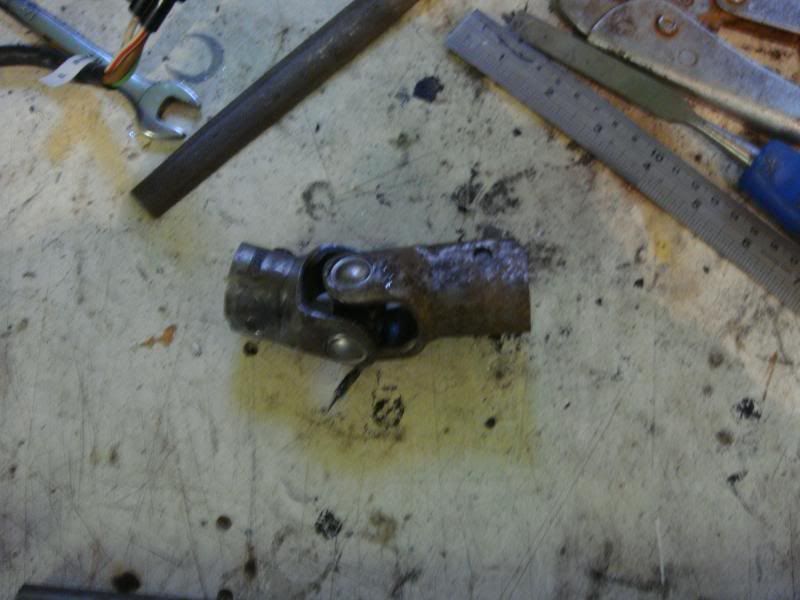
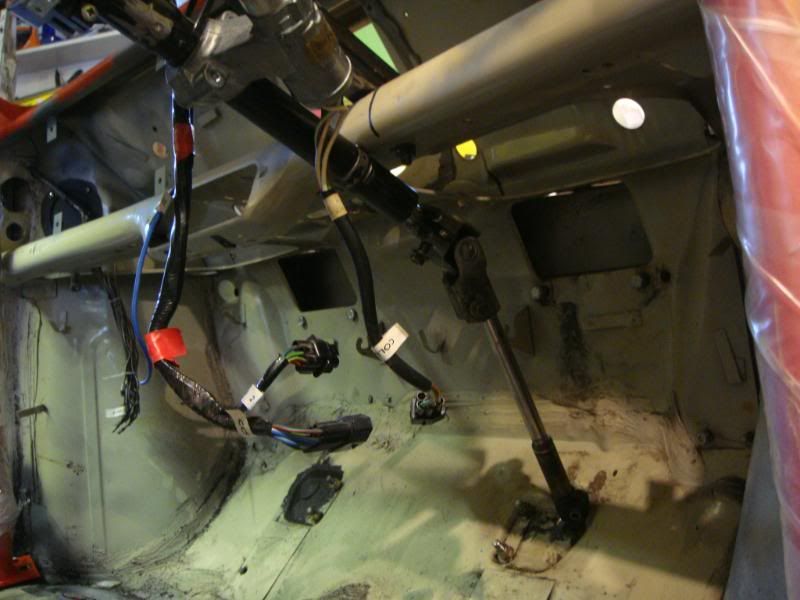
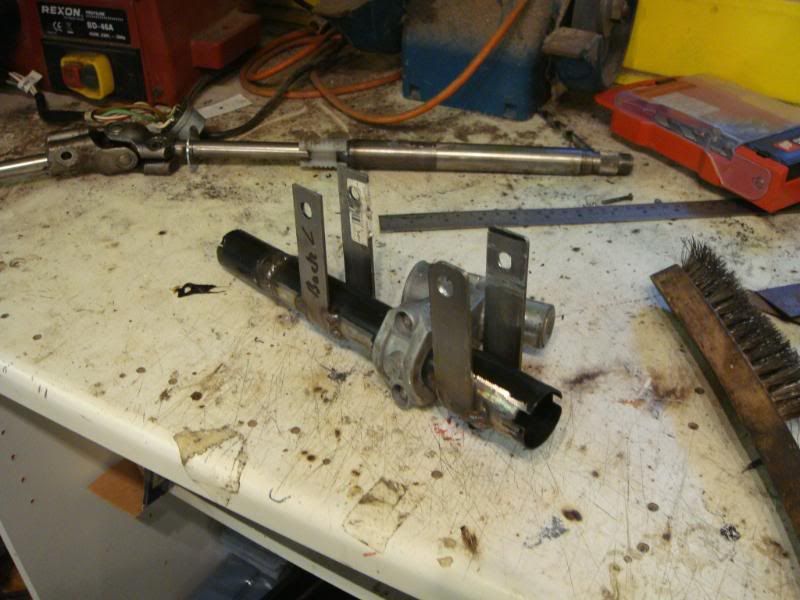
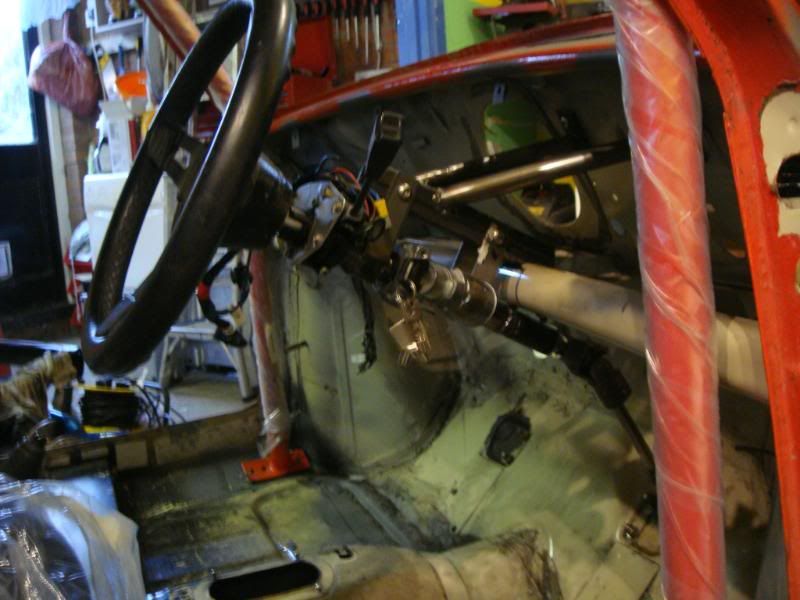
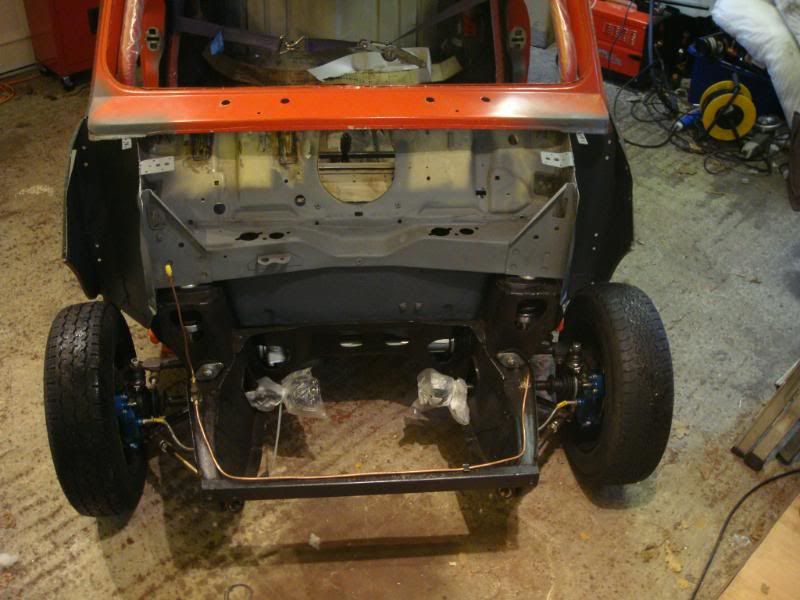
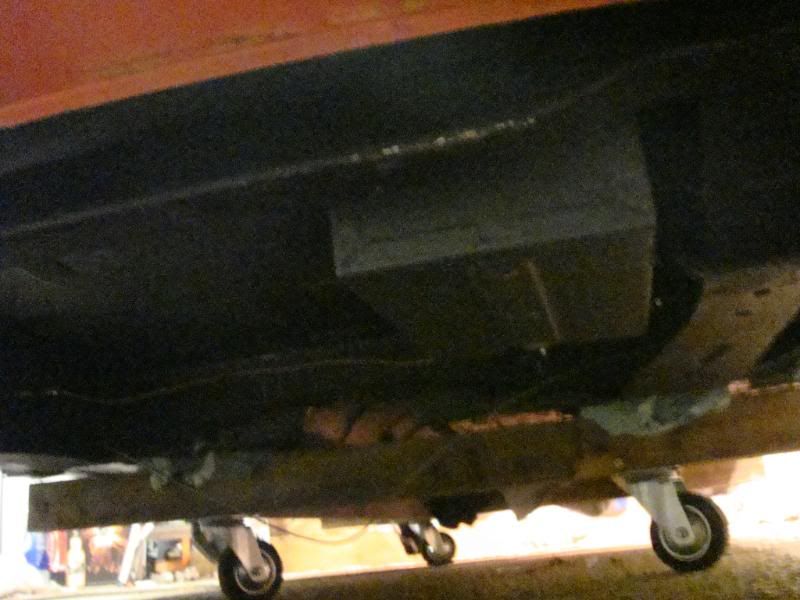
Can't put the front subby on as ive lost the you bolts for the steering rack, so need to order some more.
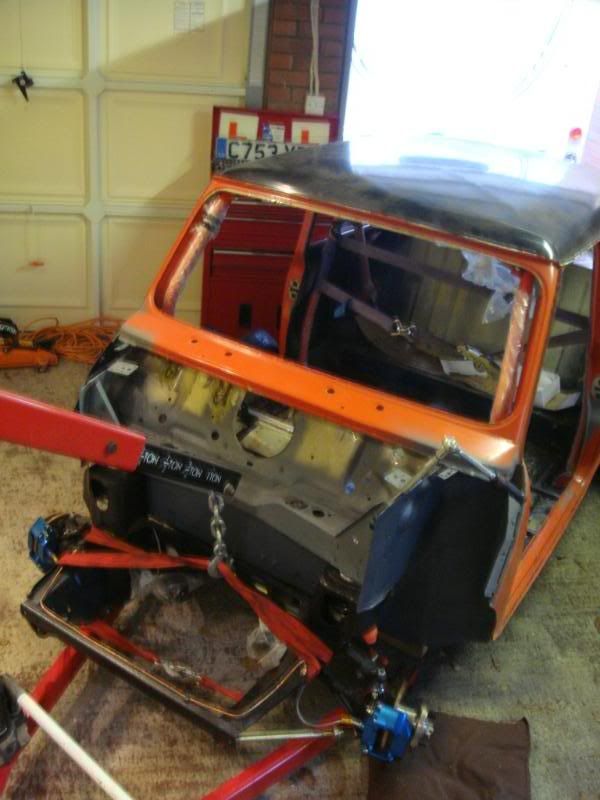
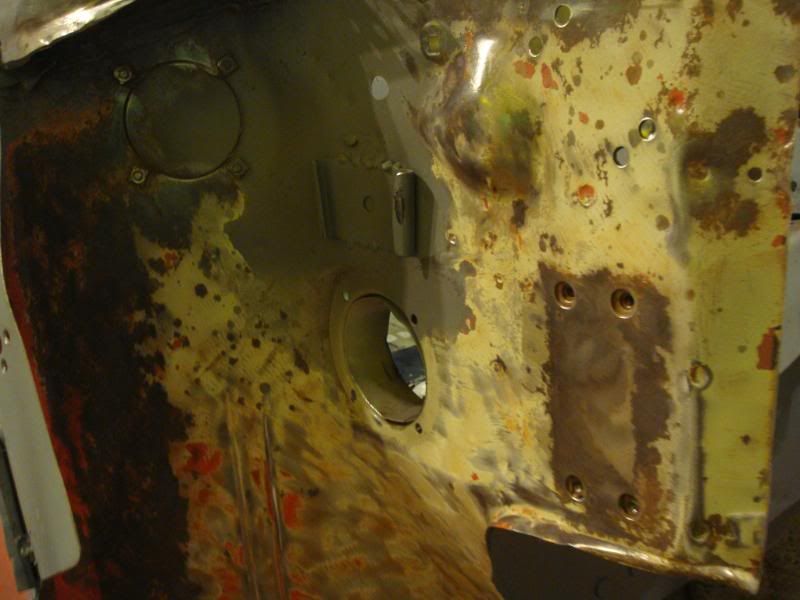
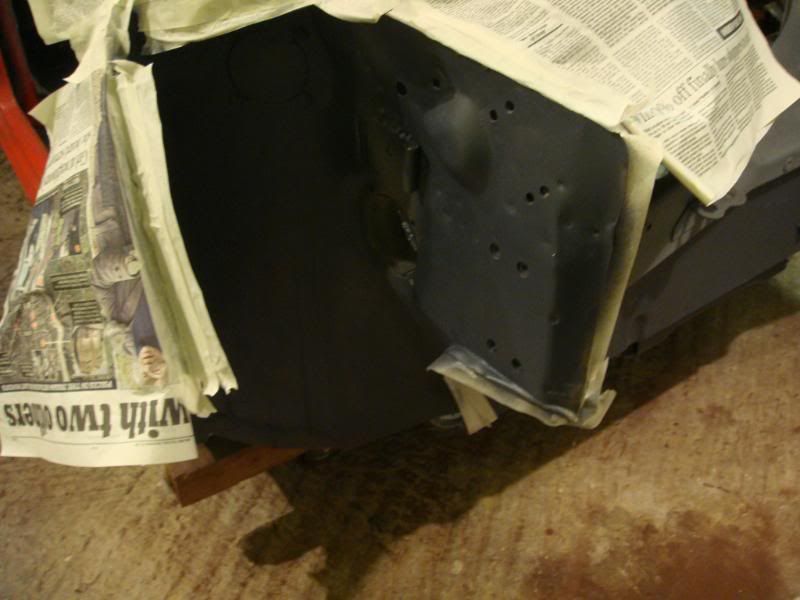
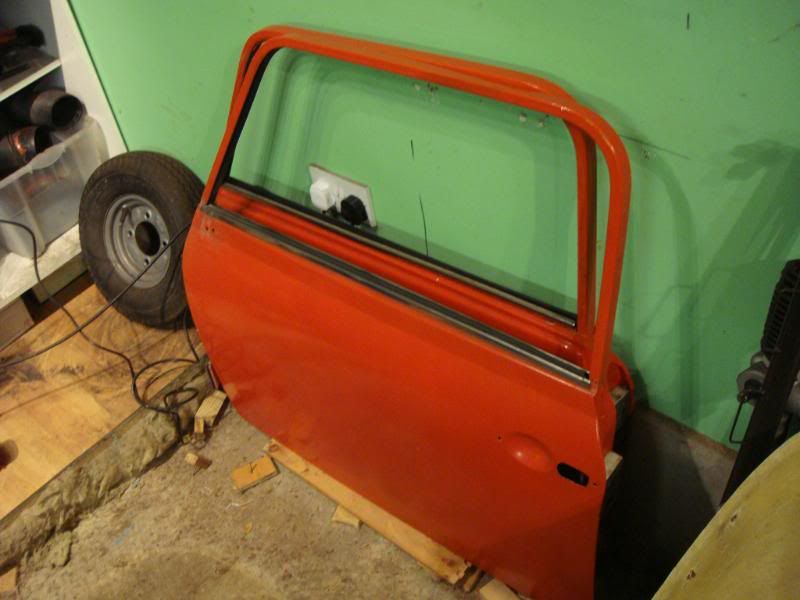
Stripped the flitch panel and remainder of inner wings, and stonechipped them, as well as removed the doors
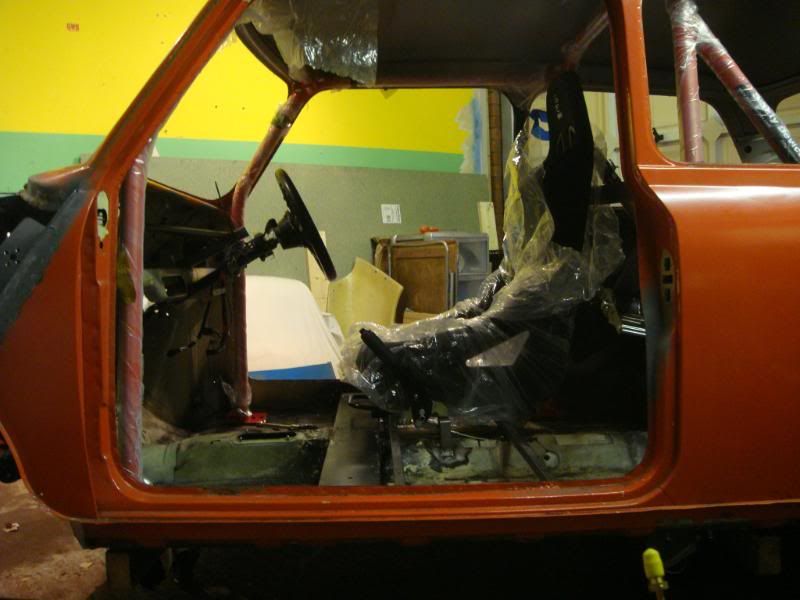
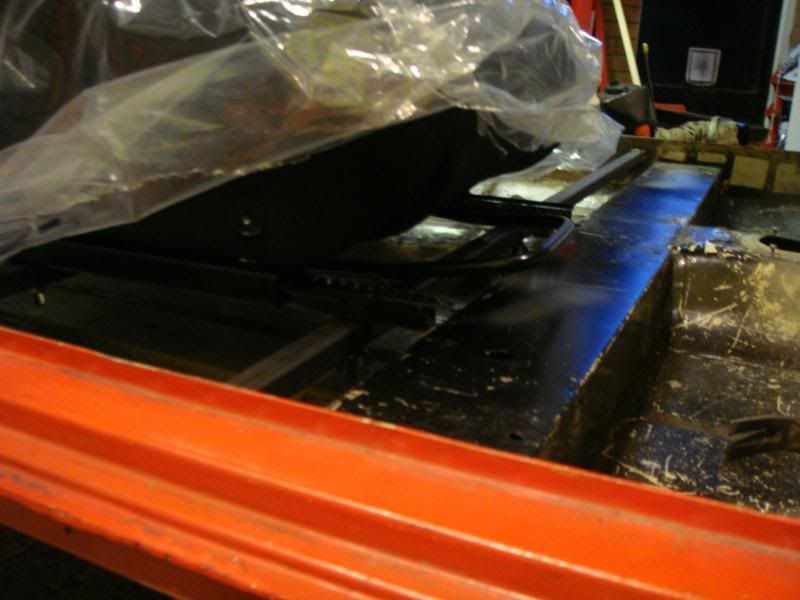
Then today i made a start on making my seat mounts.
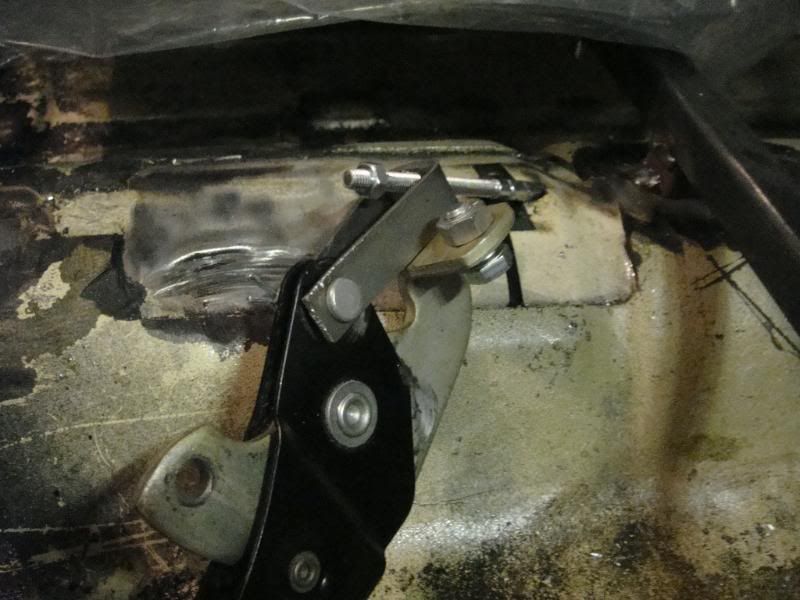
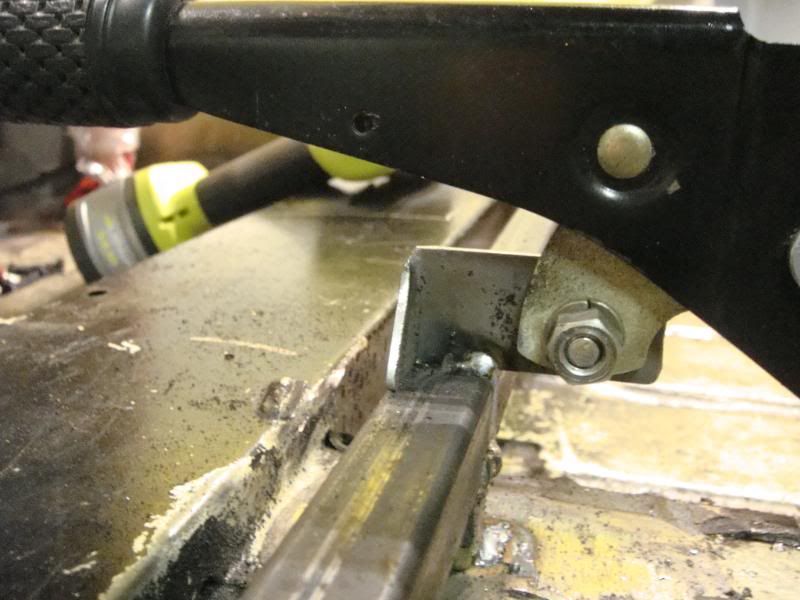
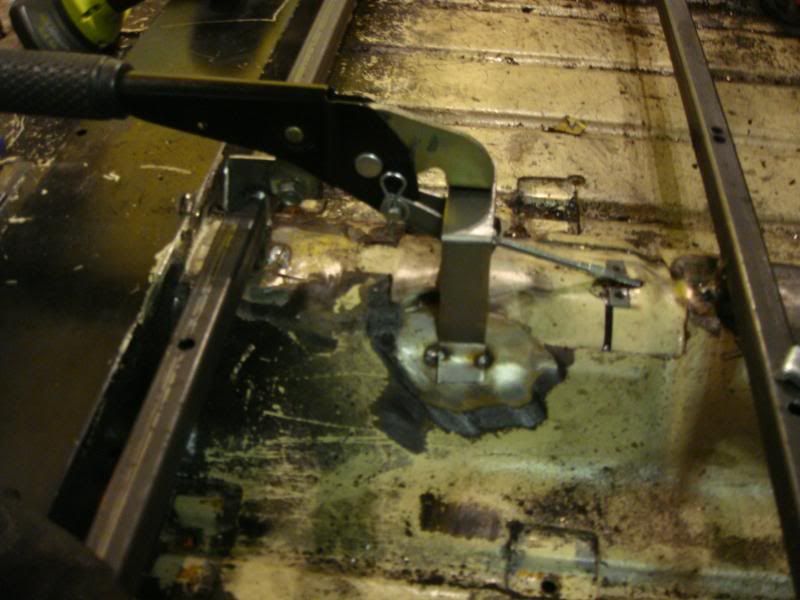
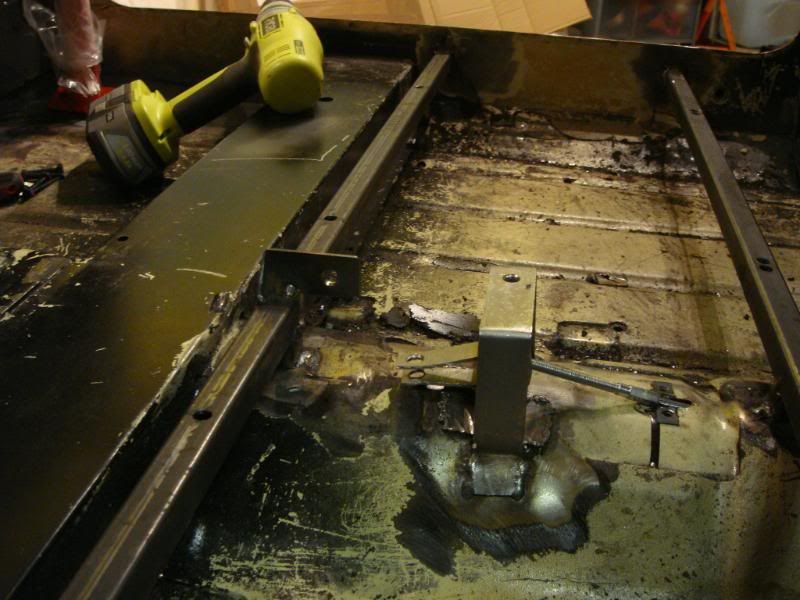
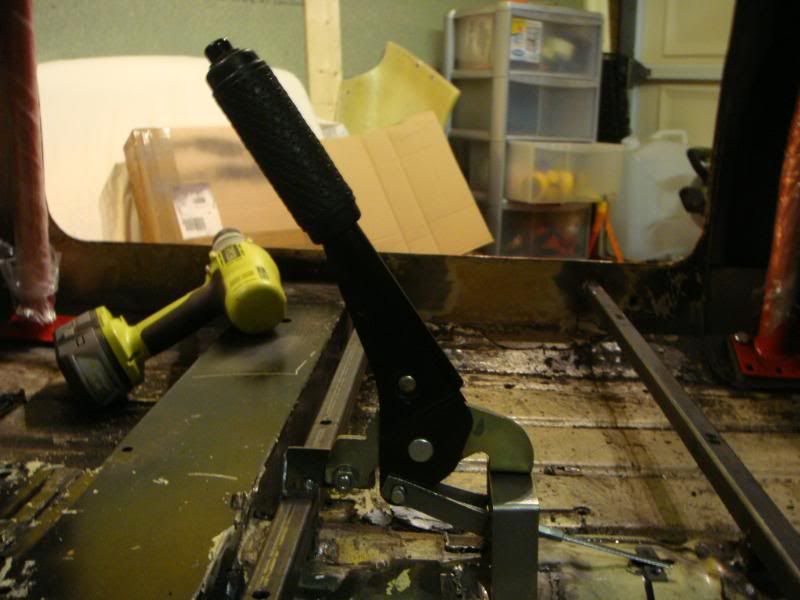
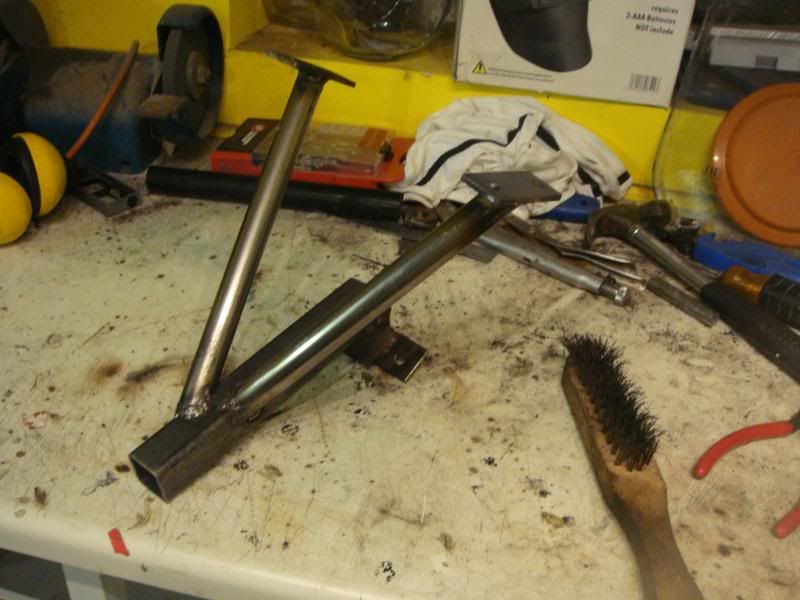
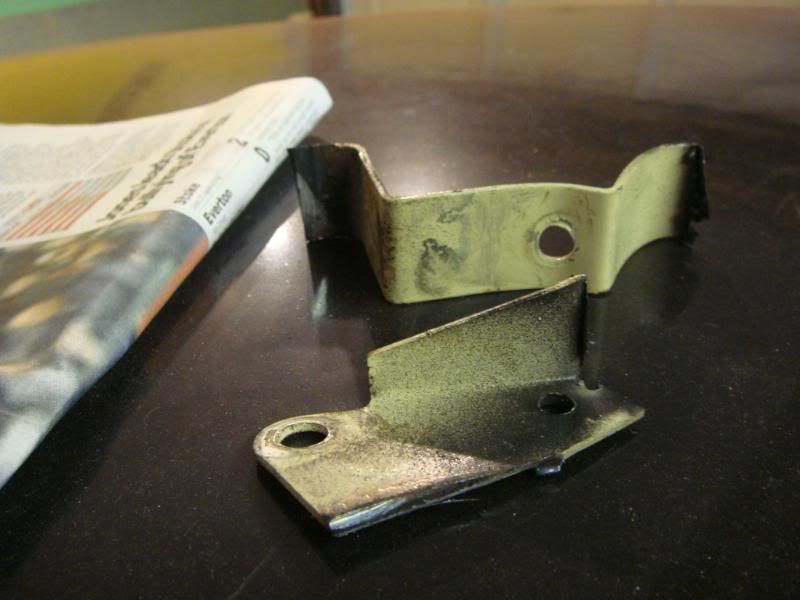
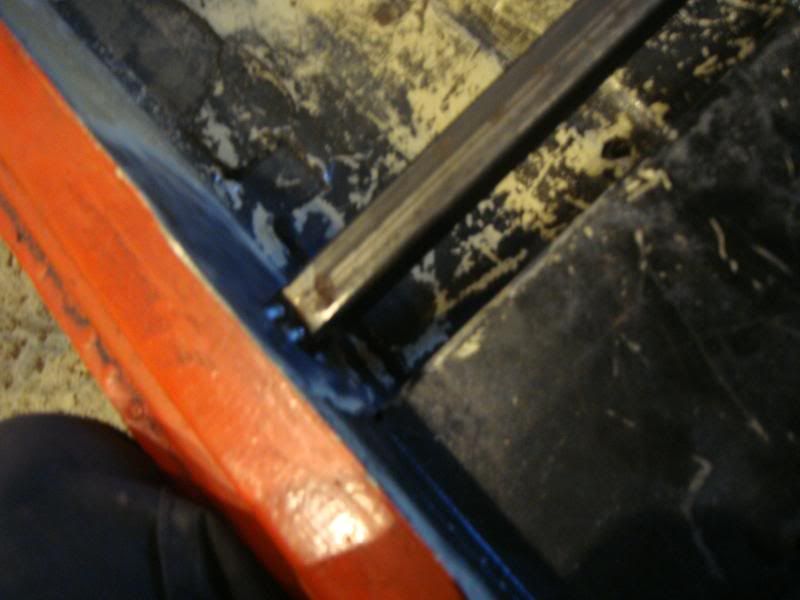
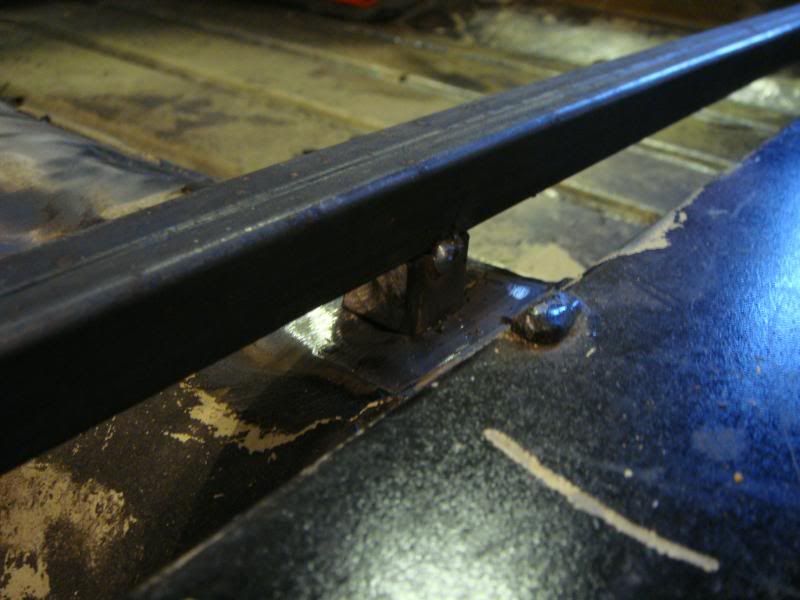
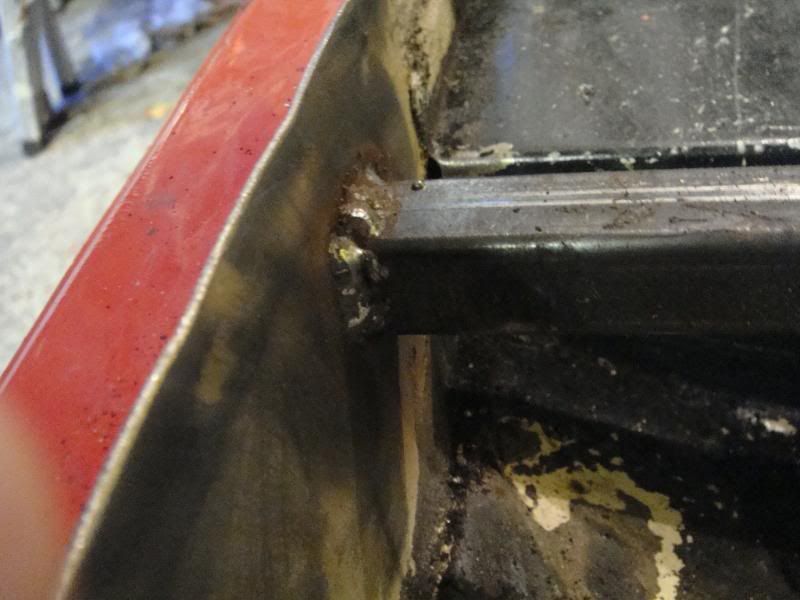
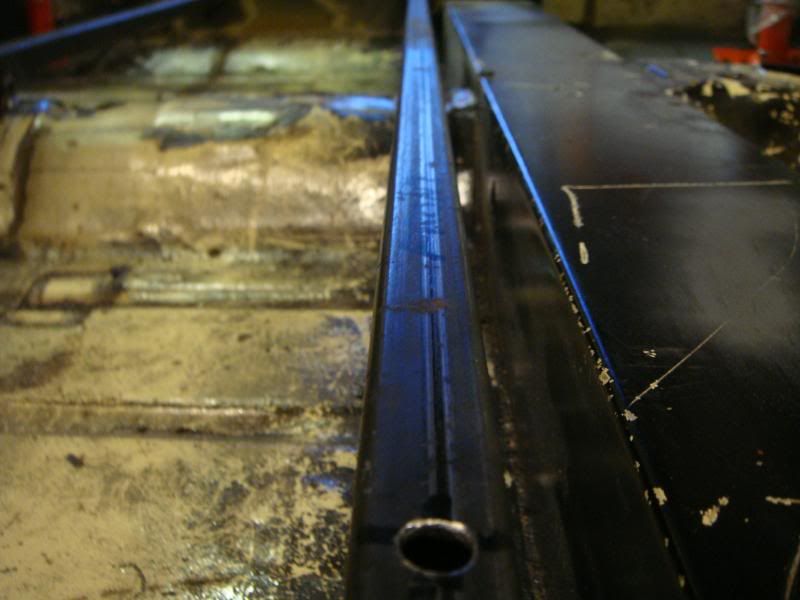
Started off by removing the original handbrake brackets then cut the first bit of tubing to length and tacked it in
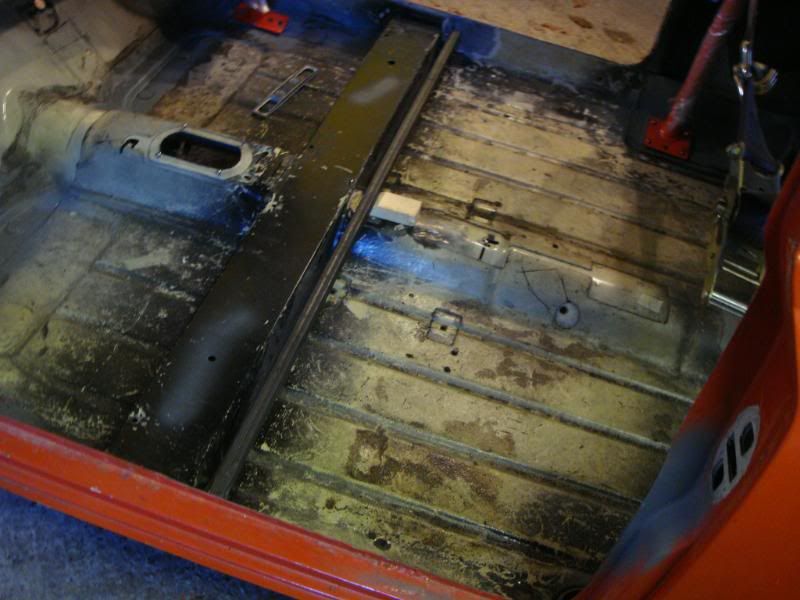
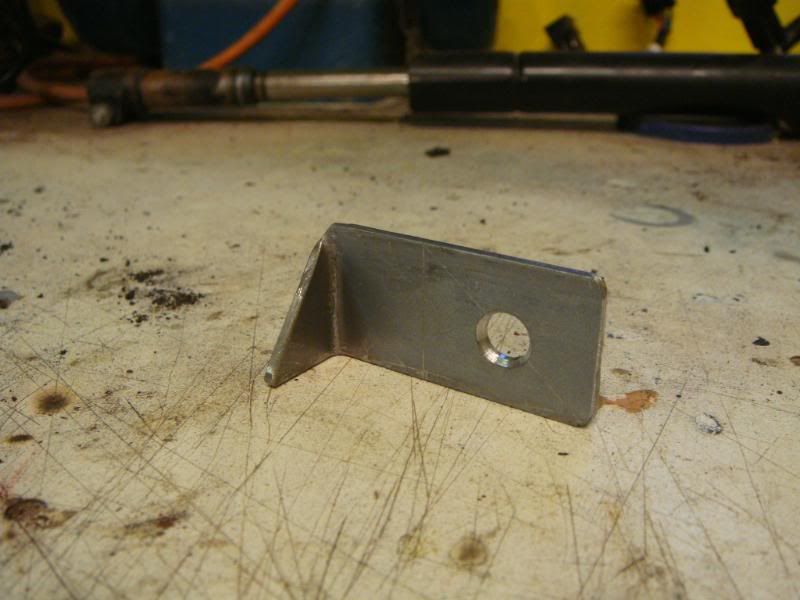
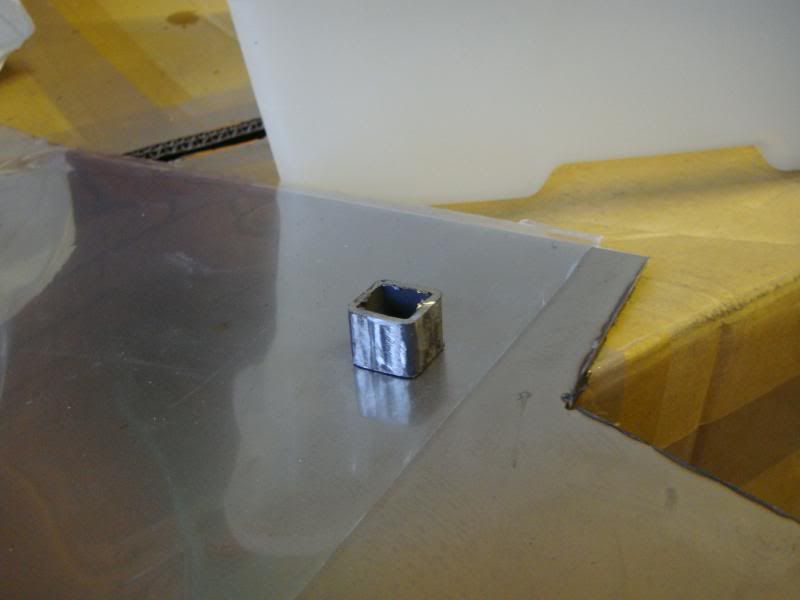
Needed to make a little support for the middle as there was a gap
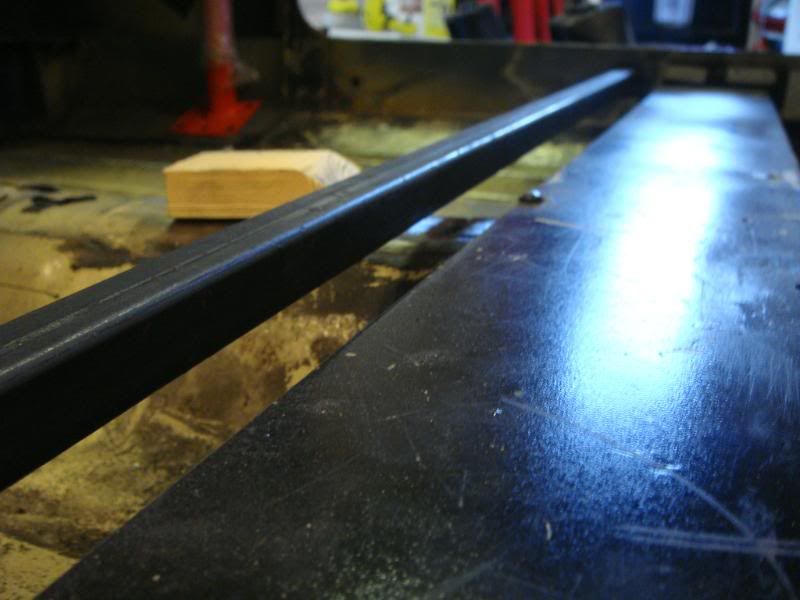
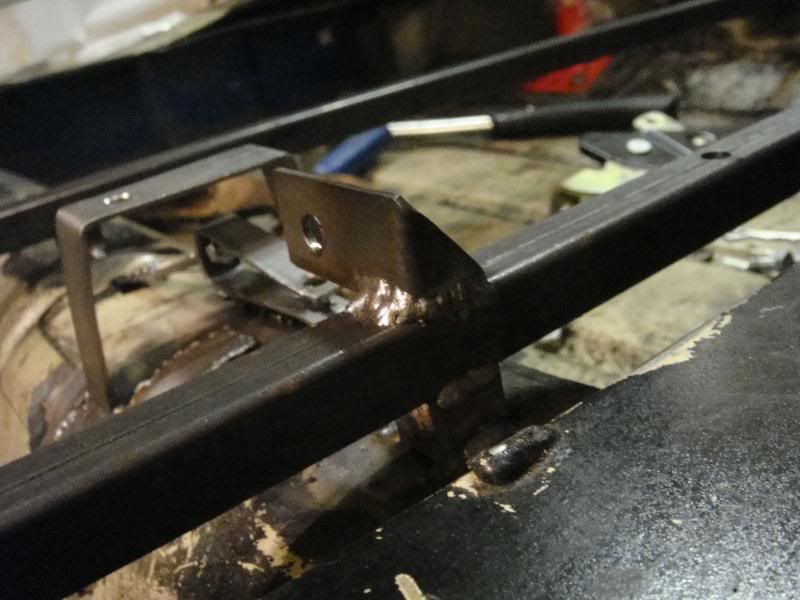
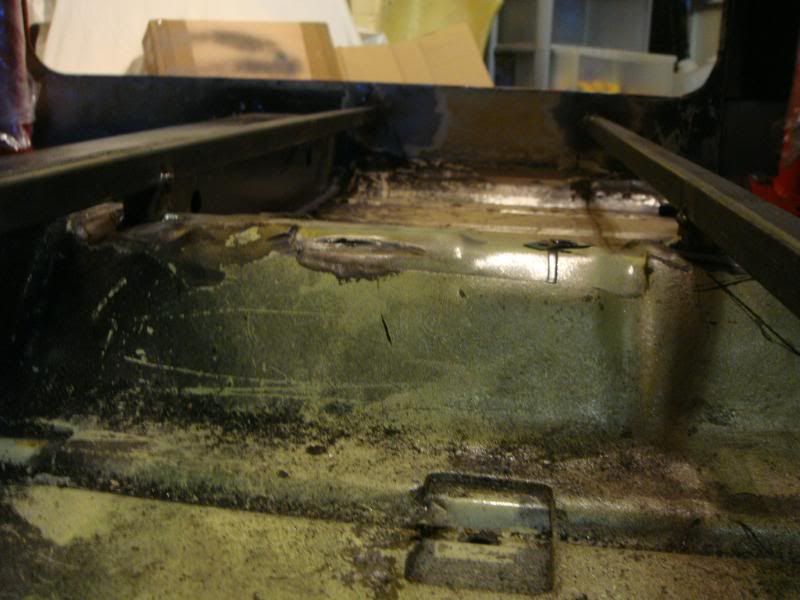
Cut the second bit of tubing and tacked that in, with a support in the middle again
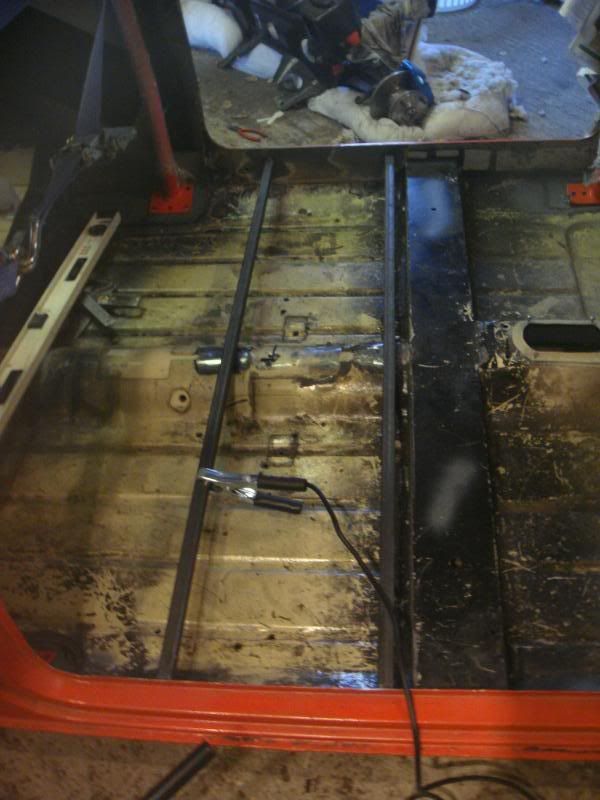
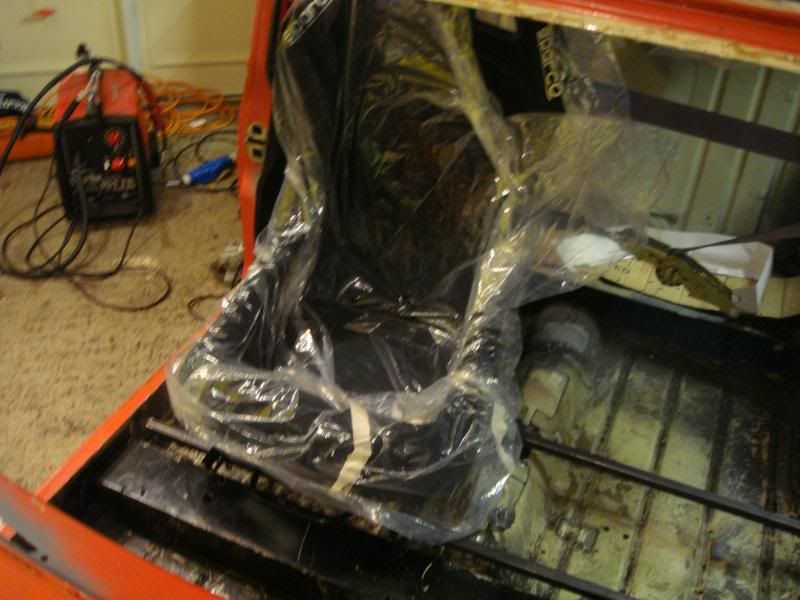
Then fully welded each end and the supports, and then drilled the holes for the driver seat
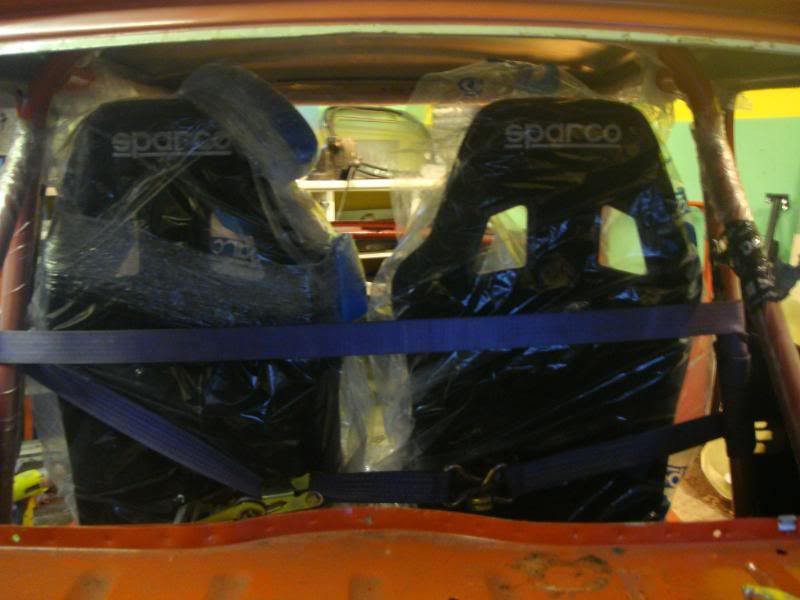
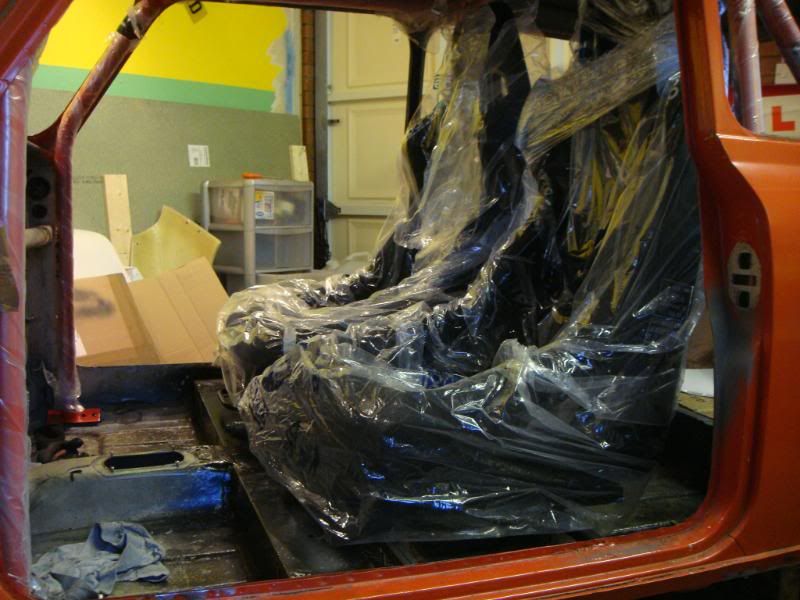
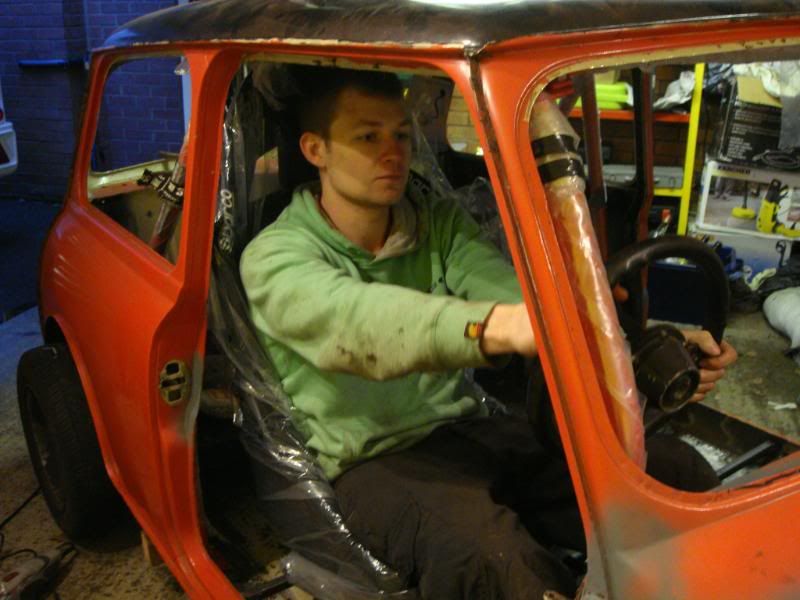
Bolted her in and couldn't resist a little test run
Tomorrow i'll bolt the passenger seat in, and make some new mounts for the handbrake
#47
Posted 09 January 2011 - 05:53 PM
Had to make up some new mounts for the handbrake as i cut the old ones off, and they wouldn't of worked anyway.
First i had to make a new clevis, as i lost the original one, crude but it does the job
Front mount made and tacked to the seat tubes
Rear mount made and tacked to the tunnel
Fully welded up and testing the handbrake
#48
Posted 14 January 2011 - 03:35 PM
The last 3 days ive been making up the new column support. It would seem a shame to spend all that time making my seat fit perfectly for me, and then having the standard bus driver mini steering, so i decided to lower the wheel, and get it at a more horizontal angle.
I managed to make a whole new column out of all the existing parts from the standard column.
Firstly, using some box section, i made up the main mount that attaches to the original bolt holes in the lower dash rail, and then bolted through the bulkhead with reinforcement plates welded to the outer bulkhead:
Then i cut down the original outer column to the appropriate length, then took the lower bush housing off the rest of the column and welded it back onto the new shortened column:
Put the new steering rack in:
Then cut the inner shaft to size
Bought a universal joint out of rover 623 and attached it to the inner shaft and mocked up the whole assembly
Welded on a washer as a backstop, to prevent the column moving in and out
Welded on the brackets to attach the column to the support:
Bolted it all together
#49
Posted 15 January 2011 - 06:27 PM
#50
Posted 17 January 2011 - 11:26 PM
Matt
#51
Posted 20 January 2011 - 03:22 PM
First of all attached the front subby, and took the wooden trolley out from under the car, so she's back on all 4 wheels
Put the front end back on and made some final adjustments and cut out the headlight holes
Welded up the unused wiper holes in the scuttle, they'll need filling and smoothing before paint, but luckily our bodyguy is doing all the prep work!
Finally painted the few bits that were in bare metal to stop them rusting away, and also zinc primed every bare metal spot on the car
So she is officially ready to be painted, my dad is going to get hold of the guy as he used to work with him, and hopefully arrange a collection date in the near future!
#52
Posted 12 February 2011 - 04:34 PM
On another note, i have begun to gather parts for the engine.
I've got a HIF44 Turbo carb and rebuild kit on it's way to me
A metro turbo plenum with dumpvalve take off
and a fuel pump blanking plate
So no prizes for guessing what route im going with the engine
Now on the look out for a renault 5 T2 turbo, and i'll be going with the mirage manifolds
Just need to find a suitable base for it all, im thinking of going with a MED F.I.S 1293 built engine as with it being a higher output engine, i'd rather have the professionals build it in a clean workshop, rather than whack it together in a dark dirty garage, even if it does cost a bit more
Not going to put up a spec right now, as it will have to wait until ive sourced some of the other bits, but for now lets just say it will be turbocharged
#53
Posted 01 March 2011 - 11:50 PM
T2 turbo hybrid, just been rebuilt and with 15psi actuator, not bad for £150
also a few of the other bits are here as well
#54
Posted 31 March 2011 - 07:18 PM
Back home for easter in a week or so, so hopefully can get an engine sorted to bolt all these lovely bits onto
#55
Posted 31 March 2011 - 08:47 PM
#56
Posted 01 April 2011 - 11:12 AM
looking good, is that a mirage manifold?
Yes it is mate, lovely bit of kit!
#57
Posted 01 April 2011 - 02:27 PM
#58
Posted 02 April 2011 - 05:56 PM
#59
Posted 03 April 2011 - 09:32 PM
That is very nice indeed, what sort of power are you expecting?
Errm well looking at similar engine builds out there, anything between 120-140bhp. It should be a very driveable engine though, with a nice spread of torque and deliverable power
Should make a nice little weekend warrior
#60
Posted 04 April 2011 - 10:04 PM
ollie
Edited by oliver122, 04 April 2011 - 10:18 PM.
0 user(s) are reading this topic
0 members, 0 guests, 0 anonymous users