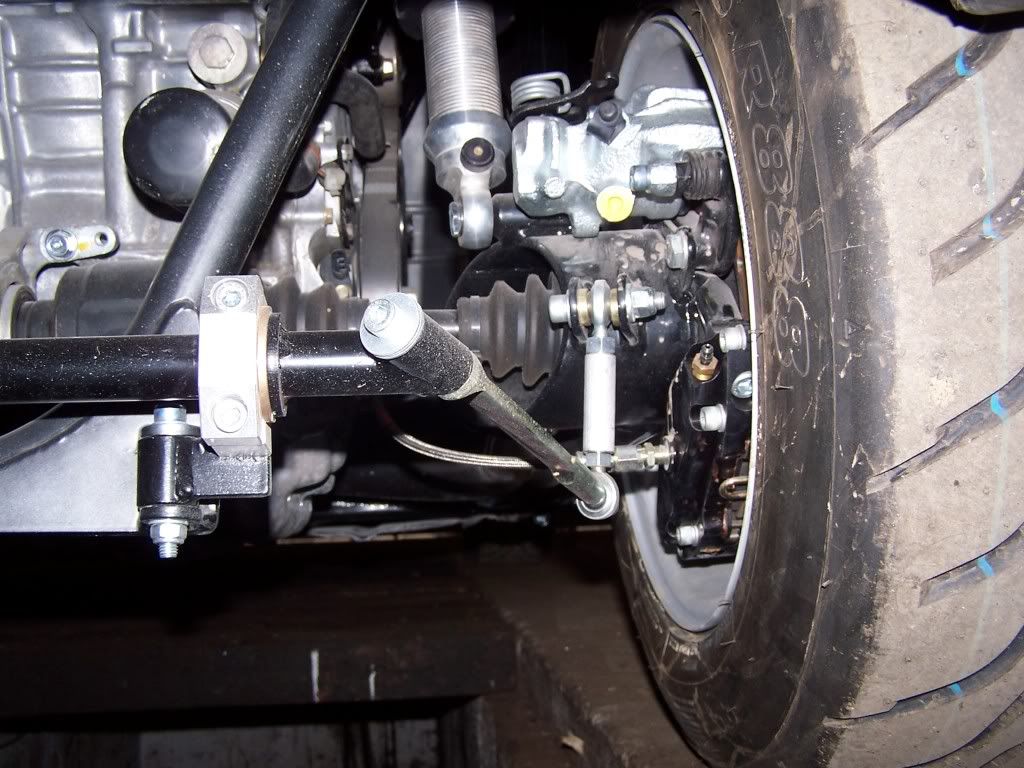
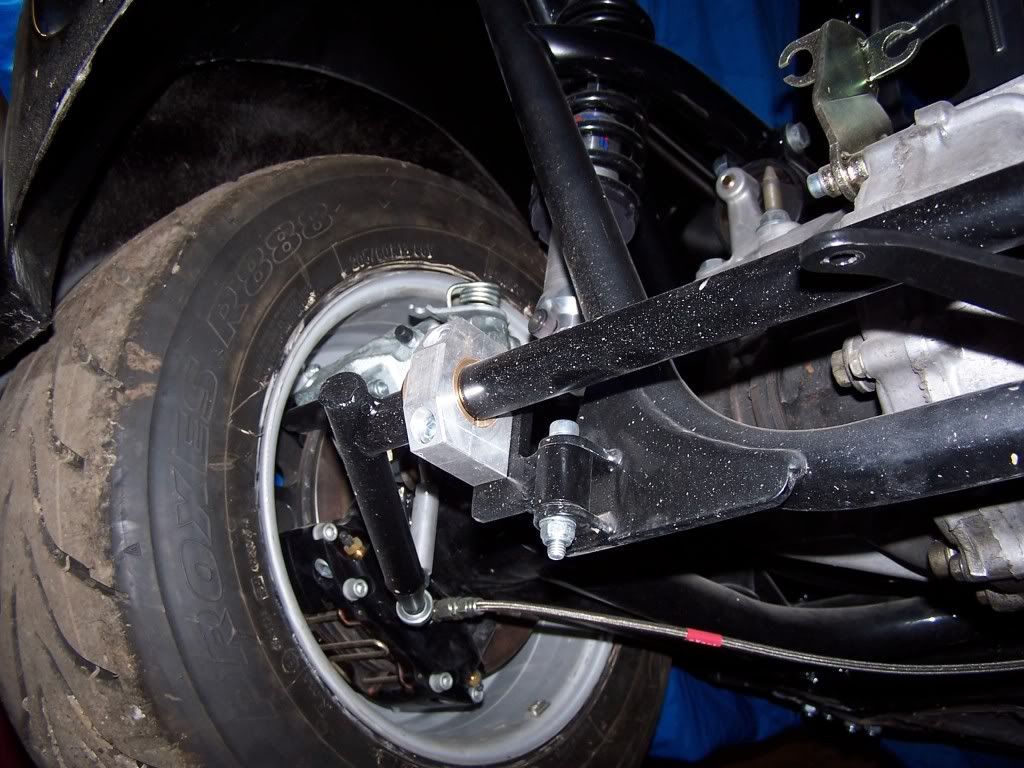
here are a couple of snaps from the early days when I first got mine they show how my setup is, you need to have the lugs in place on the hubs to do it this way:
Edited by cptkirk, 09 July 2010 - 12:16 PM.


Camshaft & Stage Two Head

Posted 09 July 2010 - 10:38 AM
Edited by cptkirk, 09 July 2010 - 12:16 PM.
Camshaft & Stage Two Head
Posted 09 July 2010 - 12:36 PM
Passed Test
Posted 09 July 2010 - 03:51 PM
Camshaft & Stage Two Head
Posted 12 July 2010 - 07:35 AM
Speeding Along Now

Posted 15 July 2010 - 02:43 PM
Passed Test
Posted 04 September 2010 - 08:04 AM
Passed Test
Posted 17 December 2010 - 10:43 AM

Starting My Mini Up

Posted 04 September 2012 - 10:45 AM
Passed Test
Posted 30 January 2013 - 12:25 PM
Camshaft & Stage Two Head
Posted 30 January 2013 - 12:33 PM
Passed Test
Posted 31 January 2013 - 02:18 AM
Camshaft & Stage Two Head
Posted 01 February 2013 - 01:36 PM
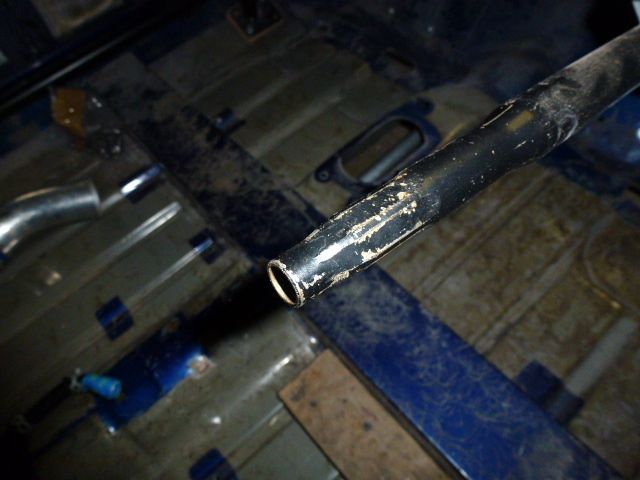
Thanks cptkirk. I've searched and realised there are plenty to choose from. Ok so the only thing to consider is to get the correct diameter piece and weld that in place. Am I correct to assume you would have to cut the steering column down to circular section?
What if a more permanent steering wheel is desired instead of a quick release system? Could the hex section of the column be utilised? I am considering both options.
Passed Test
Posted 02 March 2013 - 04:21 PM
Theoretically no you wouldnt have to cut back to circular section, you could machine a corner on the weld on part supplied with the quick release to be an interference fit with the smallest width of the inside of the hex and then weld the two together.
Same as above really but weld a plate that you can fit a steering wheel too or a semi permanent clamp to the hex. Word of advice, before going down this route, consider your seat height and having a door in the way and whether you could get in and out with a fixed steering wheel in place - I cant......
Good luck & let us know how it all came out.
PS got any recent pictures of the build???
Edited by thien_is_cool, 02 March 2013 - 04:22 PM.
Speeding Along Now

Posted 02 March 2013 - 08:54 PM
Passed Test
Posted 03 March 2013 - 02:19 AM


0 members, 0 guests, 0 anonymous users


