Jump to content


Photo
- - - - -

92 Mini City


  • Please log in to reply
285 replies to this topic

#31 Marco1972

Marco1972

    One Carb Or Two?

  • Members
  • PipPipPipPipPipPipPip
  • 822 posts
  • Location: Birmingham

Posted 02 October 2013 - 06:54 PM

Not much happening at the moment thanks to the not so great british weather

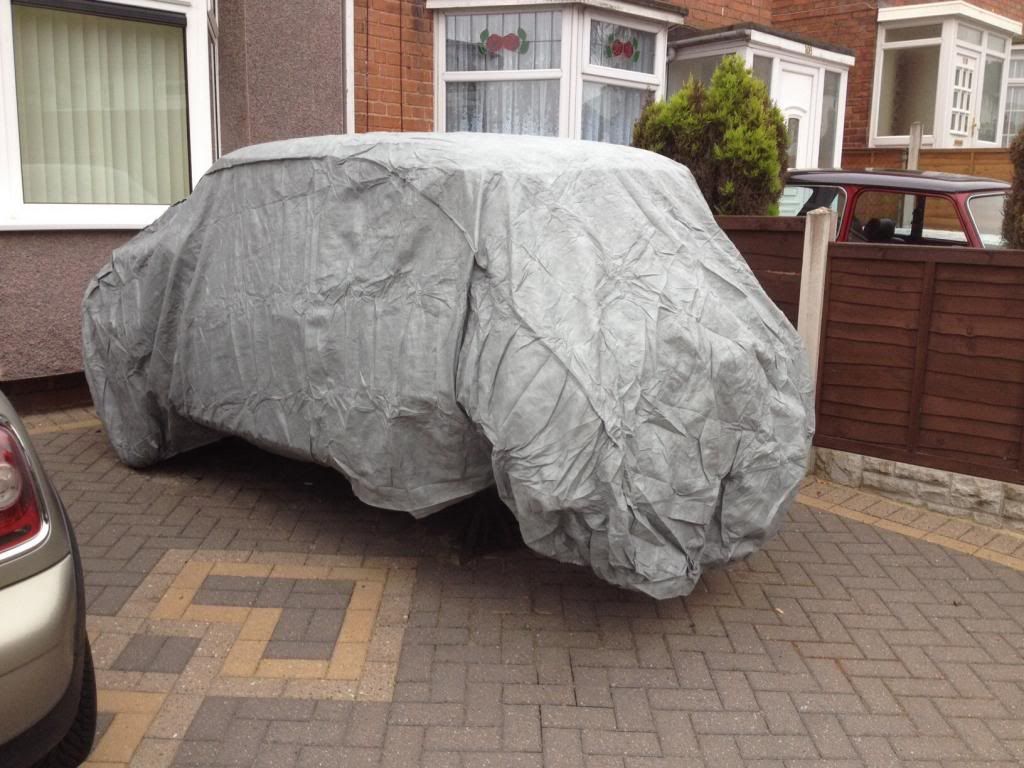
Got fed up with moisture getting into my repairs and traces of rust reforming

So I've brought this.....
image_zpsba596013.jpg


Waterproof and breathable with external seams should do the job -:)

Edited by Marco1972, 21 October 2014 - 08:44 AM.


#32 Marco1972

Marco1972

    One Carb Or Two?

  • Members
  • PipPipPipPipPipPipPip
  • 822 posts
  • Location: Birmingham

Posted 04 October 2013 - 06:56 PM

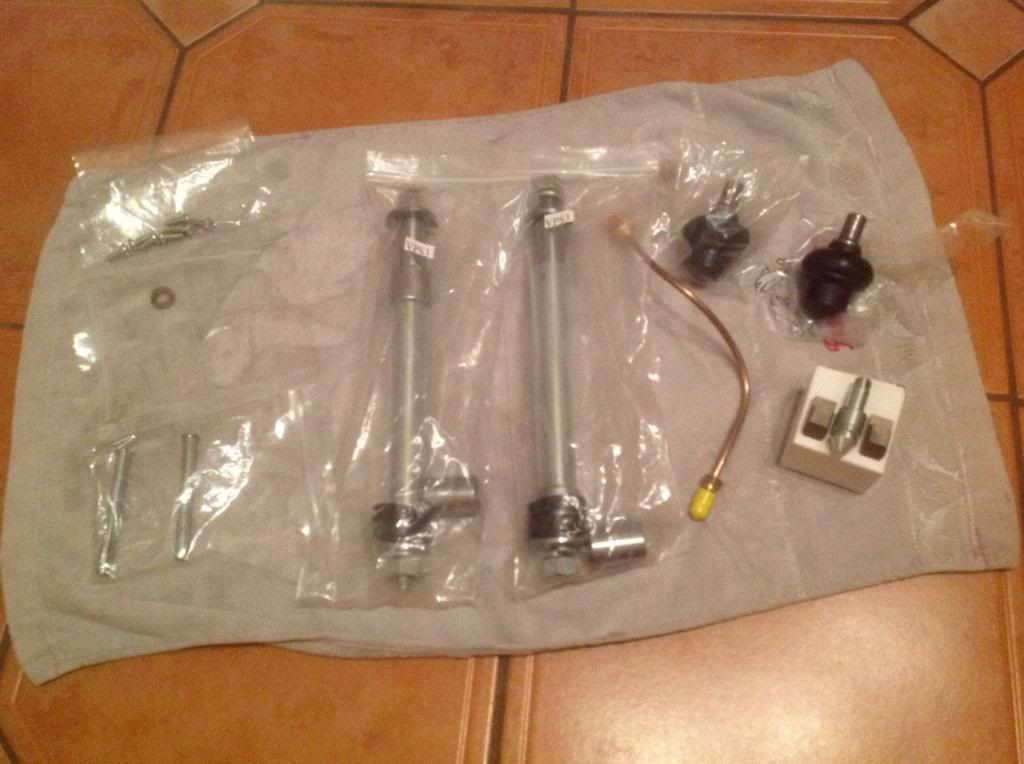
Went to mini spares after work today and after being relieved of more of my hard earned cash I came away with this little lot

image_zps1e11b9af.jpg


I've decided to replace both of the radius arm shafts and bearings better to do it now instead of later so both arms are off to the machine shop tomorrow

Hoping to get the rear companion bin fitted this weekend then all I have to do is put some top coat paint on the inner sill and fit the outer sill ( sounds easy ) followed by stone chip and more body colour top coat.

Fingers crossed it stays dry..-:)

Edited by Marco1972, 21 October 2014 - 08:46 AM.


#33 Grilled

Grilled

    Stage One Kit Fitted

  • Noobies
  • PipPipPip
  • 52 posts
  • Location: Leighton Buzzard

Posted 05 October 2013 - 12:48 AM

Not much happening at the moment thanks to the not so great british weather

Got fed up with moisture getting into my repairs and traces of rust reforming

So I've brought this.....attachicon.gifimage.jpg

Waterproof and breathable with external seams should do the job -:)


This is definitely what I need!


#34 Marco1972

Marco1972

    One Carb Or Two?

  • Members
  • PipPipPipPipPipPipPip
  • 822 posts
  • Location: Birmingham

Posted 19 October 2013 - 05:16 PM

Just a quick update

Rear companion bin is now fitted ( forgot to take a pic ) next time folks ! And the radius arms have had the new repair kits fitted , I also test fitted the rear subframe it went in with a bit of persuasion so that's a relief as I had to piss about with the heel board last week as it was slightly off so I had to rework it which really peed me off as I'd trial fitted the rear subbie before I welded it the first time :-( I guess it's all character building !!! Anyway ....
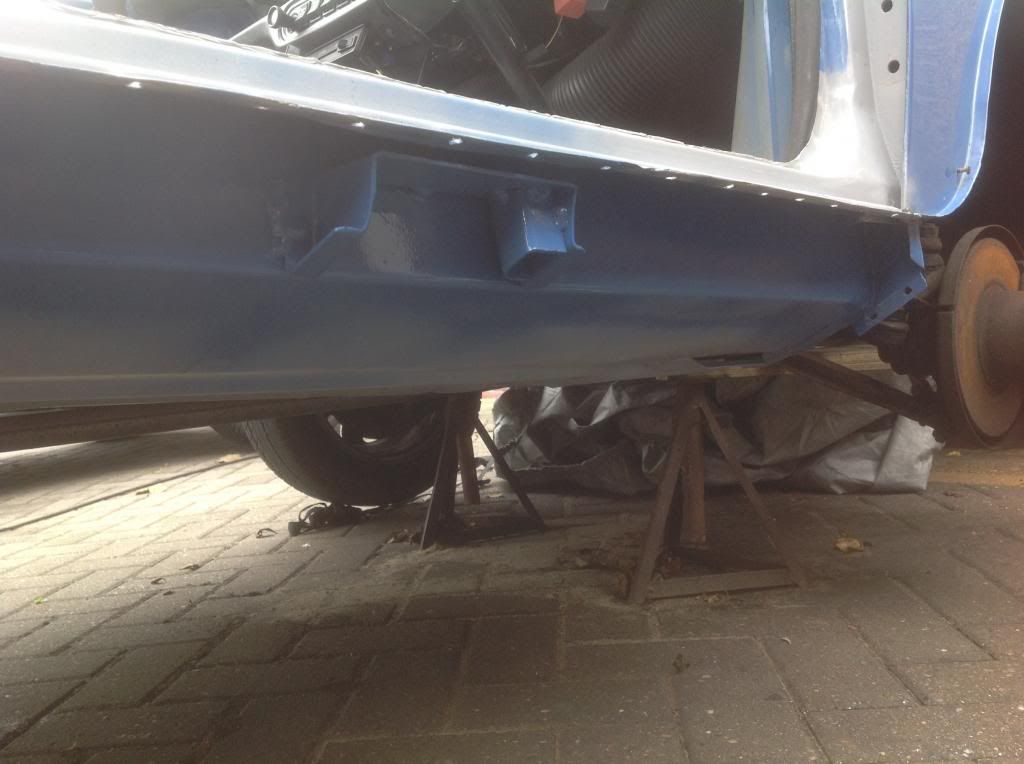
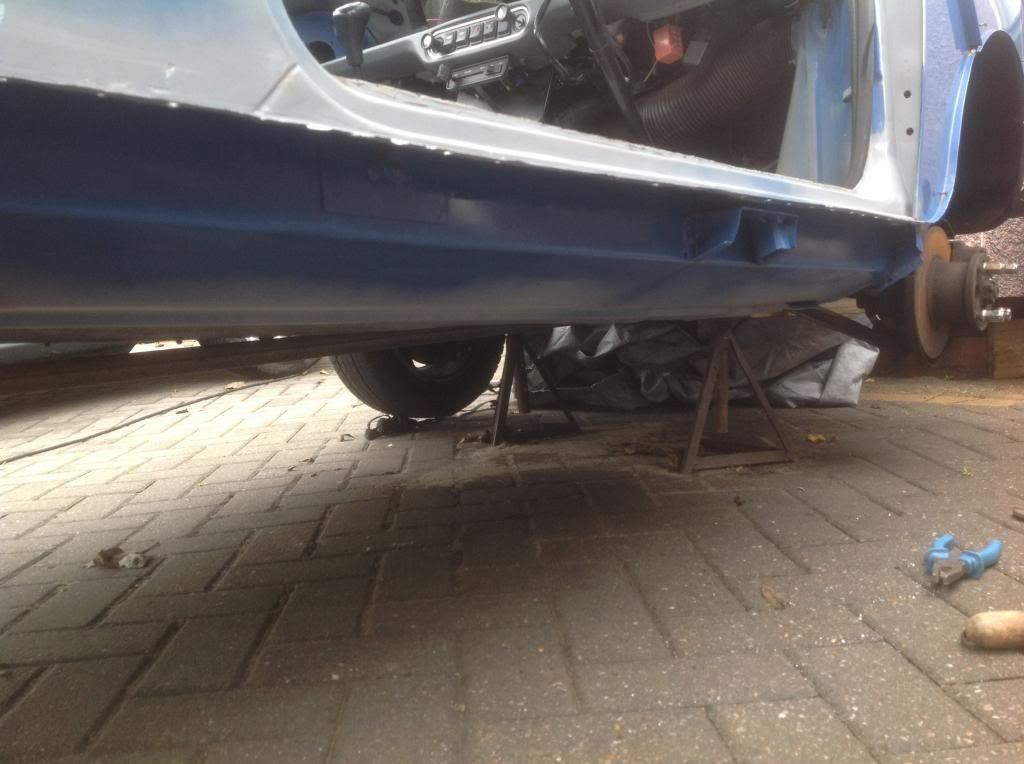
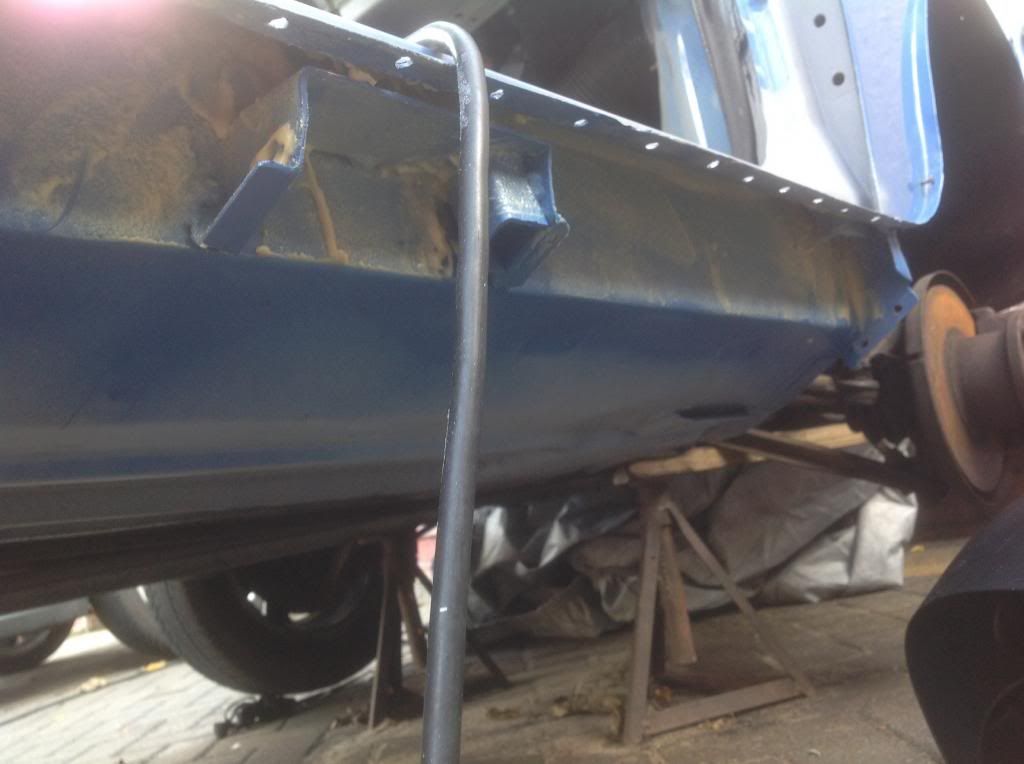
I've given the inner sill area several coats of primer and top coat and finished with some wax oil

image_zpsbb83c1b8.jpg
image_zpsa08b3bc3.jpg
image_zps4fbb2042.jpg
image_zps81bb1159.jpg

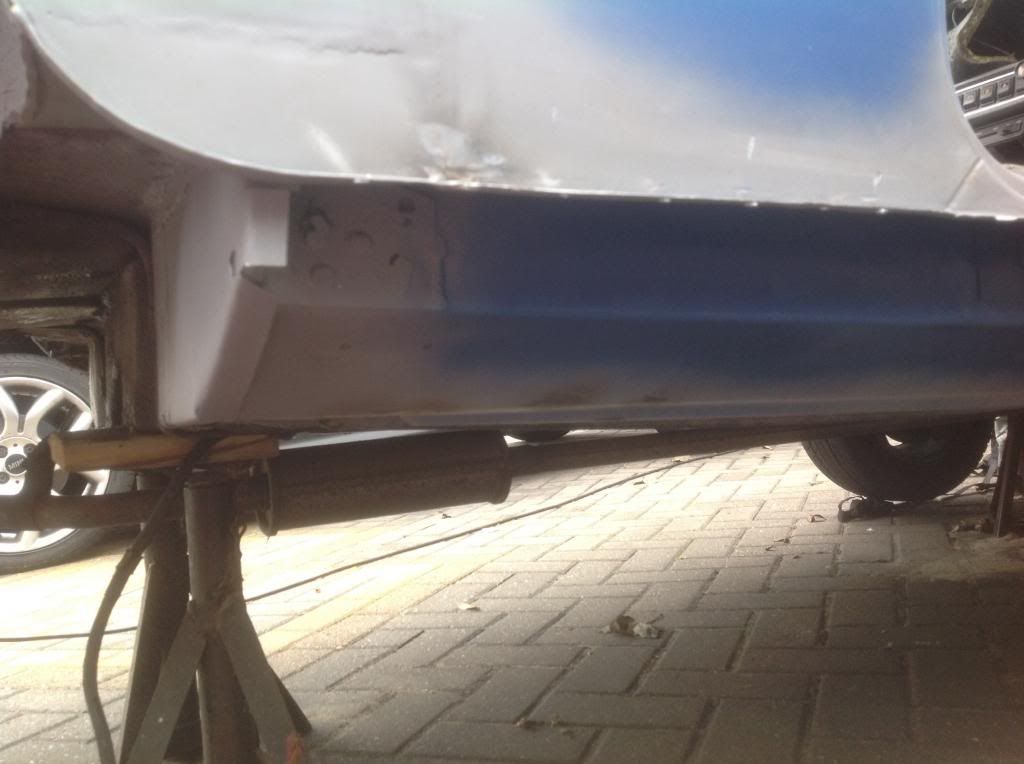
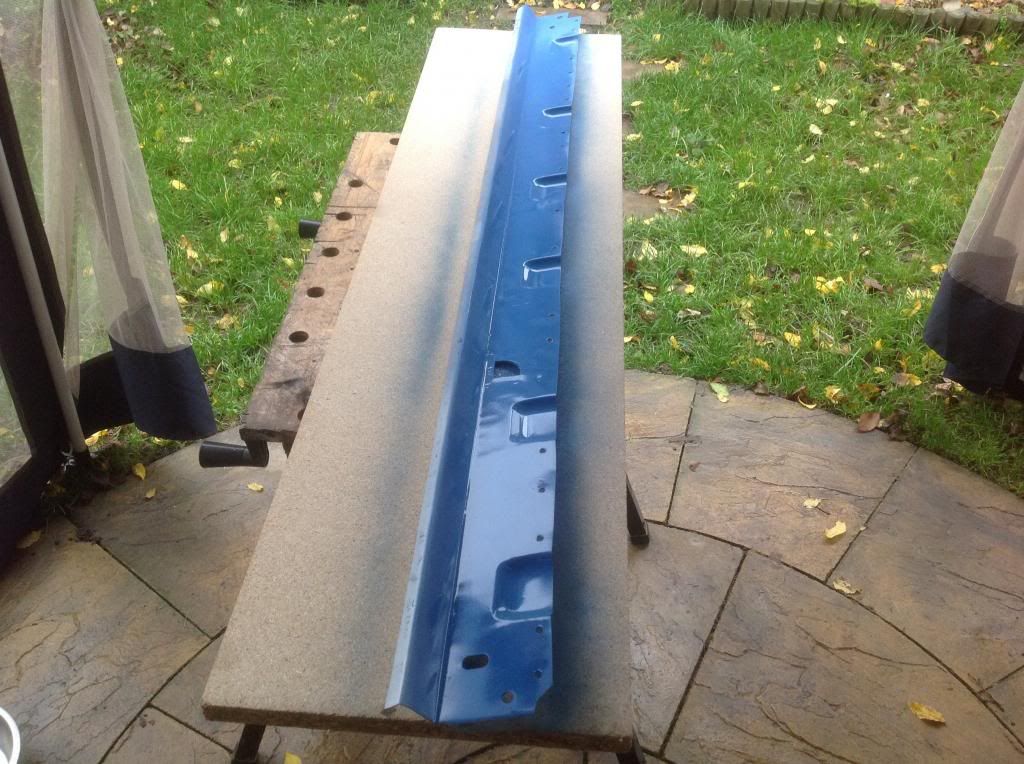
I've also given the new outer sill the same paint treatment
image_zps7d964aa4.jpg

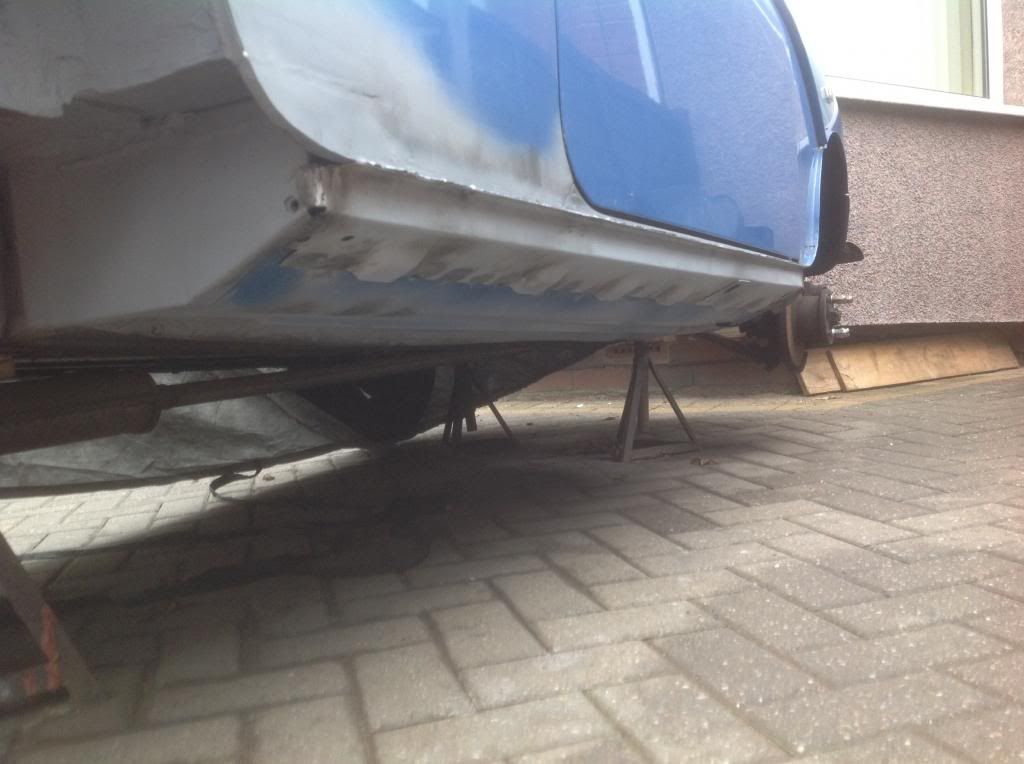
Hopefully this will keep the rust away for a few years :-) well after drilling lots of holes I started to fit the outer sill .......then it p####d down so that's it for today it's crap working out on the drive especially this time of year wish I had a garage !!!!

Learnt a bit of a lesson today I thought it was a good idea when I wax oiled the inner sill but the heat from welding caused it to melt so I ended up with nice little puddles of wax on the drive :-( Well I can spray some more in after it's finished looking on the bright side it's probably ran between the gaps so will help with rust protection :-)

Try to finish the sill off tomorrow if it stays dry that's all folks......

Edited by Marco1972, 23 October 2014 - 07:28 AM.


#35 hughJ

hughJ

    Soldiering Along

  • Members
  • PipPipPipPipPipPipPip
  • 727 posts
  • Location: Highlands, Scotland

Posted 19 October 2013 - 06:43 PM

A huge amount of work ahead. Some days will be good. Some days will be bad. But keep at it and you'll have a nice wee car. A garage is great. I don't think I'd tackle it on a drive. But I'm fortunate. Good work Marco.


Hugh


#36 Marco1972

Marco1972

    One Carb Or Two?

  • Members
  • PipPipPipPipPipPipPip
  • 822 posts
  • Location: Birmingham

Posted 19 October 2013 - 08:26 PM

Thanks for your comments Hugh

Think I'm having more of the bad days lately but if it turns out half as tidy as yours then I'll be happy.

Bit of a roller coaster ride owning and restoring these minis think I'm currently at the bottom of a long drop hopefully it's up from here :-)

#37 Marco1972

Marco1972

    One Carb Or Two?

  • Members
  • PipPipPipPipPipPipPip
  • 822 posts
  • Location: Birmingham

Posted 20 October 2013 - 04:12 PM

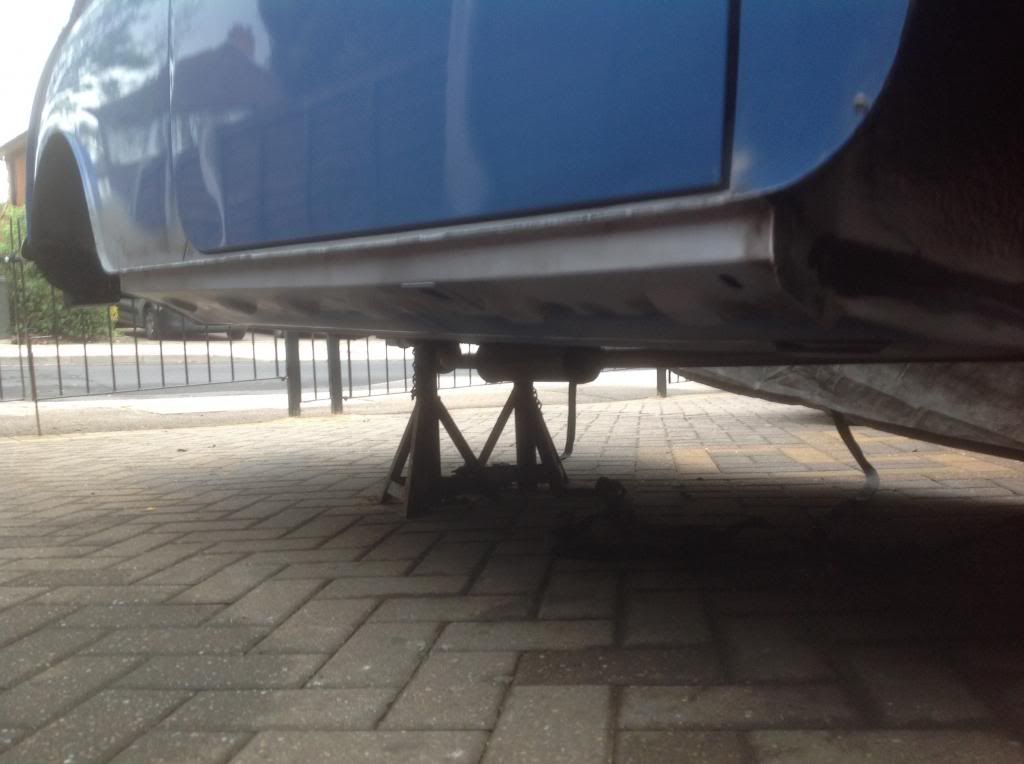
:-). At last I've finally managed to get the outer sill on :-)

image_zps014ce573.jpg
image_zps1527fdf2.jpg

Feels like a bit of a milestone Has been reached Just got to apply some more primer,stone chip then top coat.

Oh ye almost forgot I've still got to fit the small closing panel that goes by the heel board then that's one side finished :-)

And I will never never wax oil anything before I weld again !!!!!

Edited by Marco1972, 21 October 2014 - 08:53 AM.


#38 alex-95

alex-95

    I am THE CLAMP MAKER

  • TMF+ Member
  • PipPipPipPipPipPipPipPipPipPip
  • 6,017 posts
  • Location: l

Posted 20 October 2013 - 04:12 PM

Excellent work :thumbsup:


#39 Marco1972

Marco1972

    One Carb Or Two?

  • Members
  • PipPipPipPipPipPipPip
  • 822 posts
  • Location: Birmingham

Posted 27 October 2013 - 02:52 PM

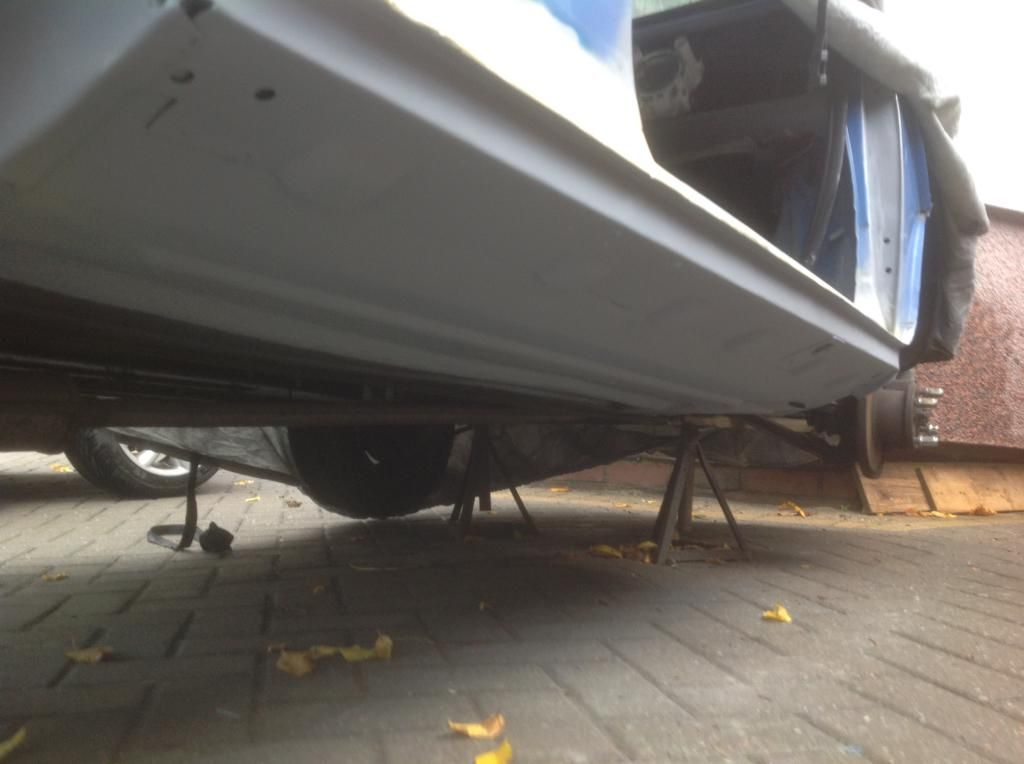
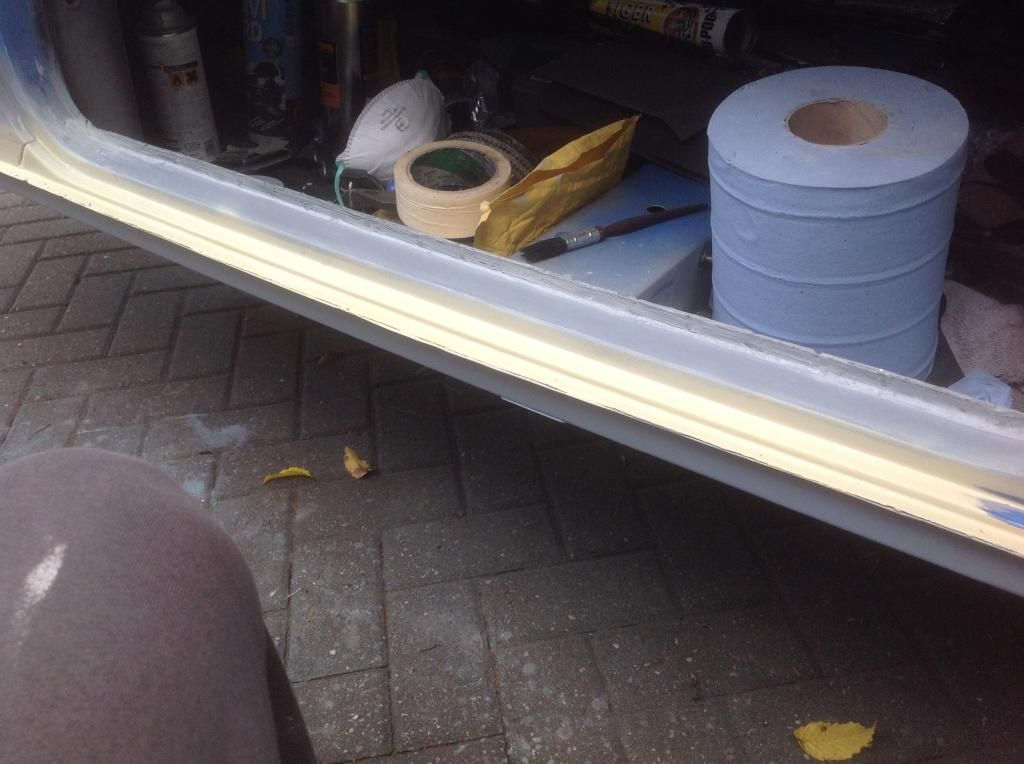
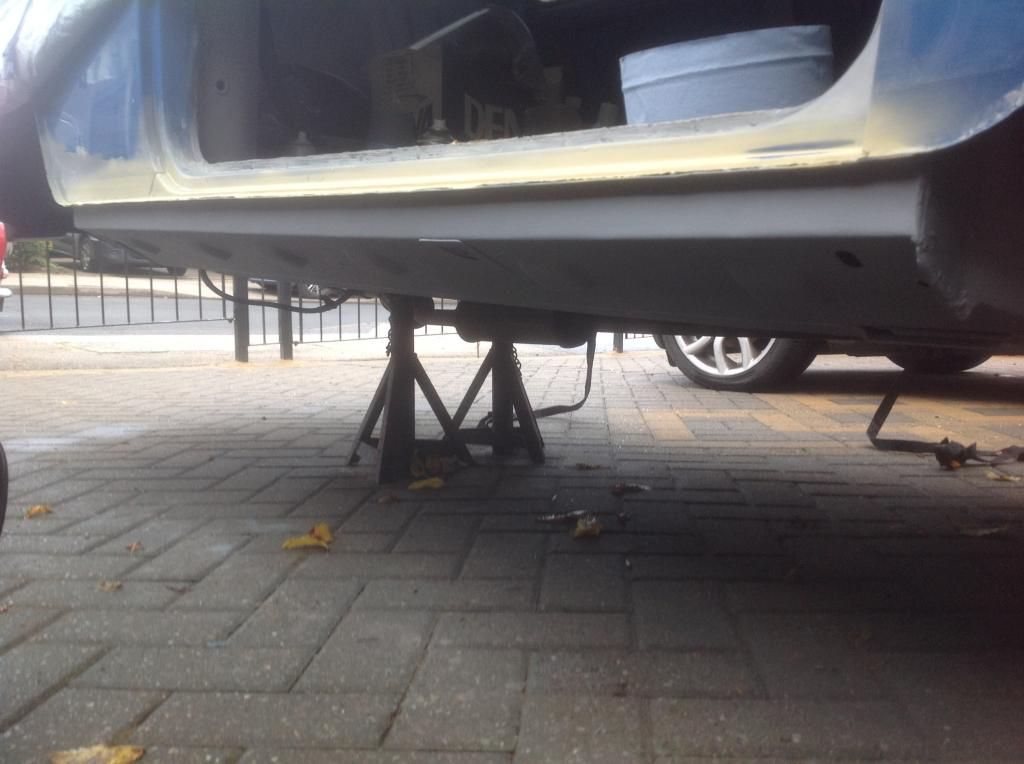
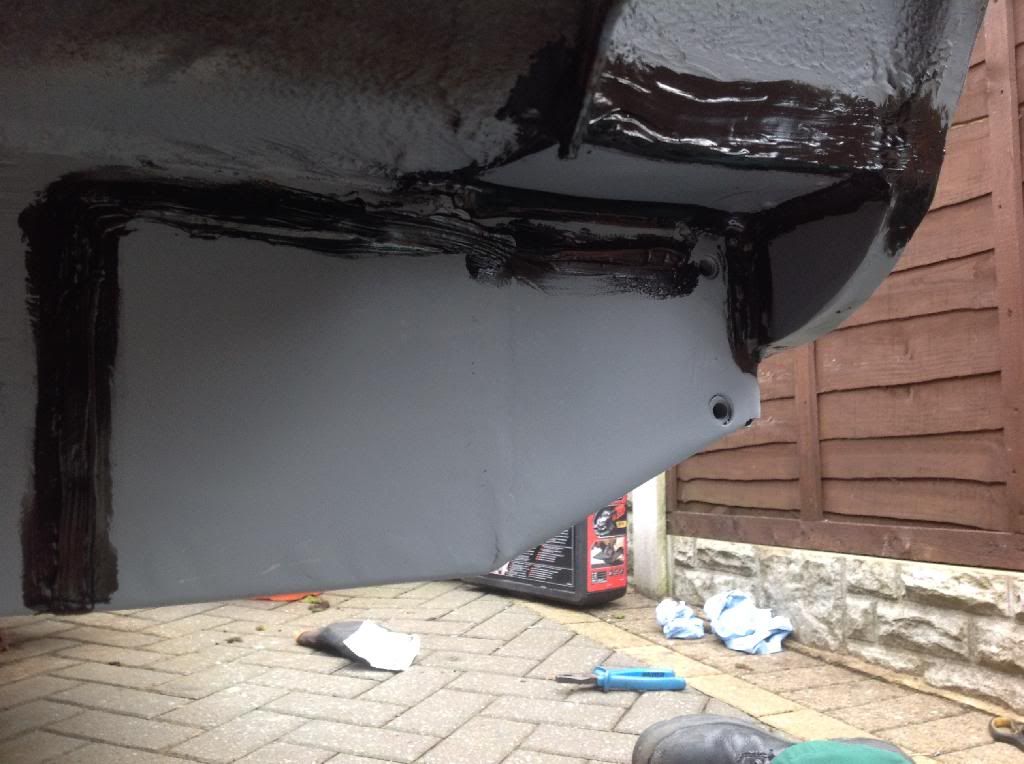
Not much of an update due to the weather but I have managed to get a couple of coats of gravi guard stone chip on the sill and floor

I've also started building up the paint on the doorstep after grinding the plug welds flush I used etch primer then normal primer and have just started to build up with high build primer .
I still need to put a skim of filler over the rear quarter repair and a bit on the door step

16494E69-D10D-44E9-89DB-491DD7F3647F_zps
82803522-75B7-4F4C-AA92-D9CD3A31A5A5_zps
80F81D9B-0E8F-4104-8033-5C7AB4D5A523_zps

Slow going

Mark.

Edited by Marco1972, 21 October 2014 - 08:52 PM.


#40 Marco1972

Marco1972

    One Carb Or Two?

  • Members
  • PipPipPipPipPipPipPip
  • 822 posts
  • Location: Birmingham

Posted 24 November 2013 - 04:35 PM
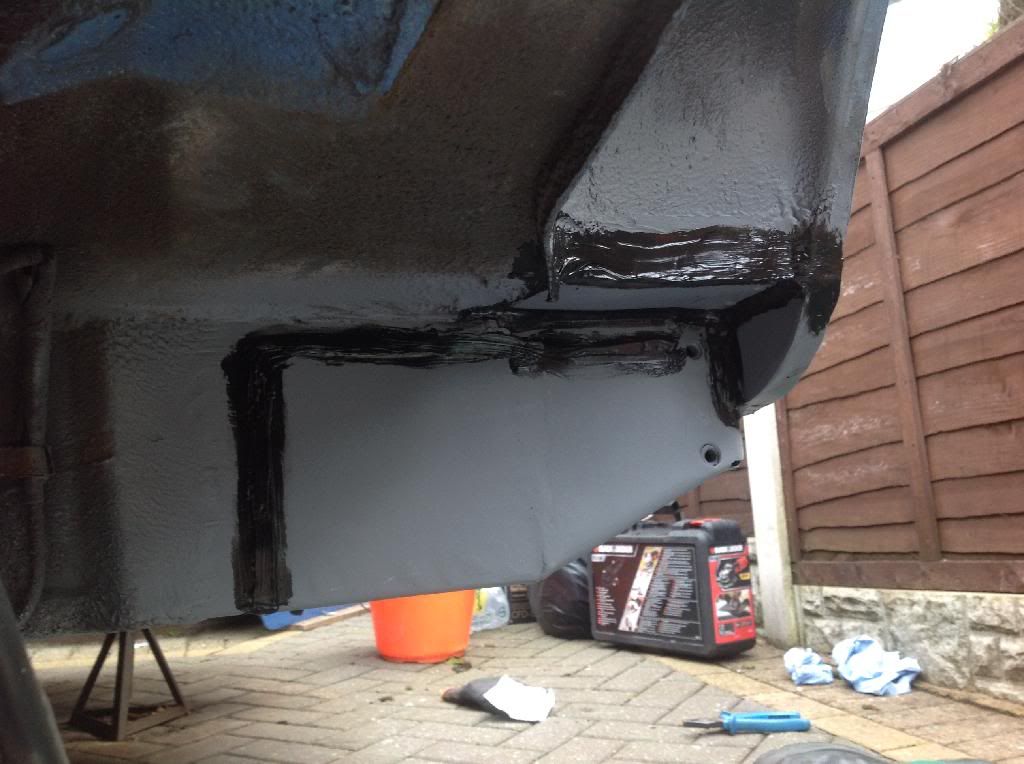
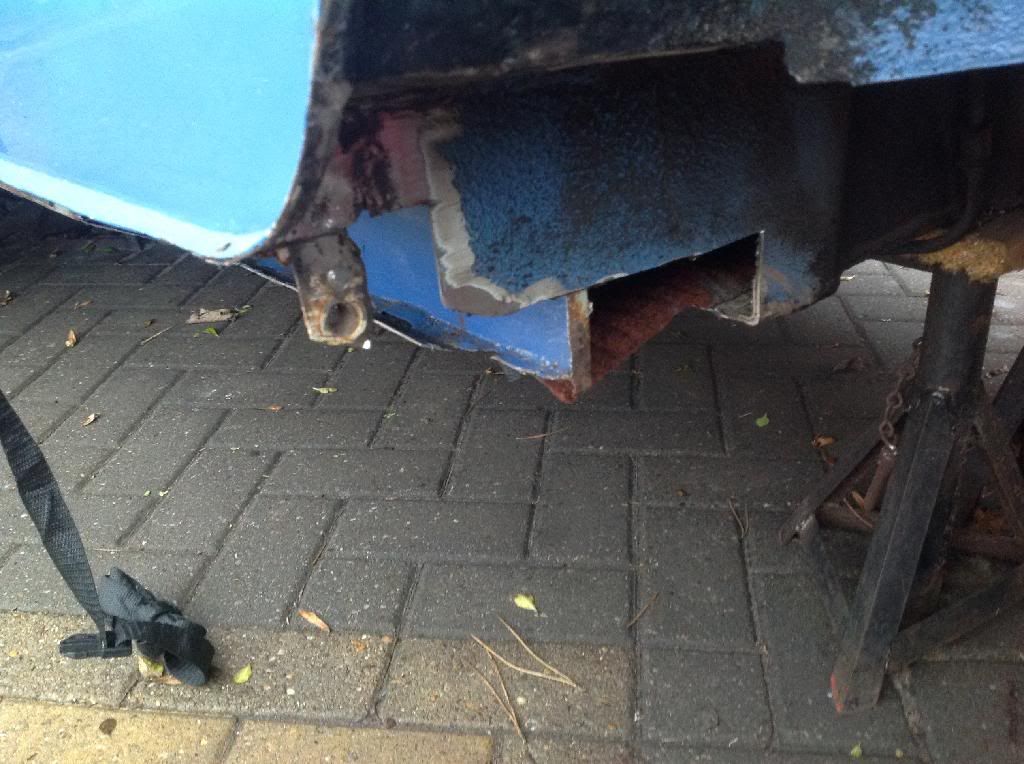
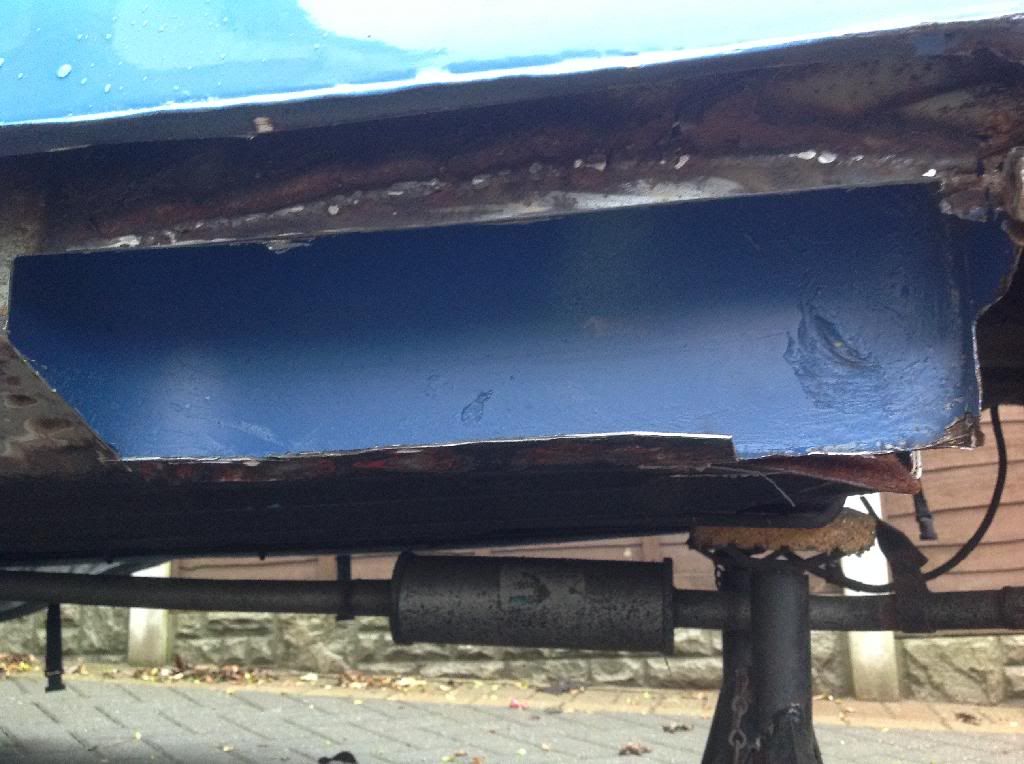
Finally managed to get out and do a bit today as it's been weeks since I last worked on the car and I've had it a year this month !! So much for a quick tidy up job :-)

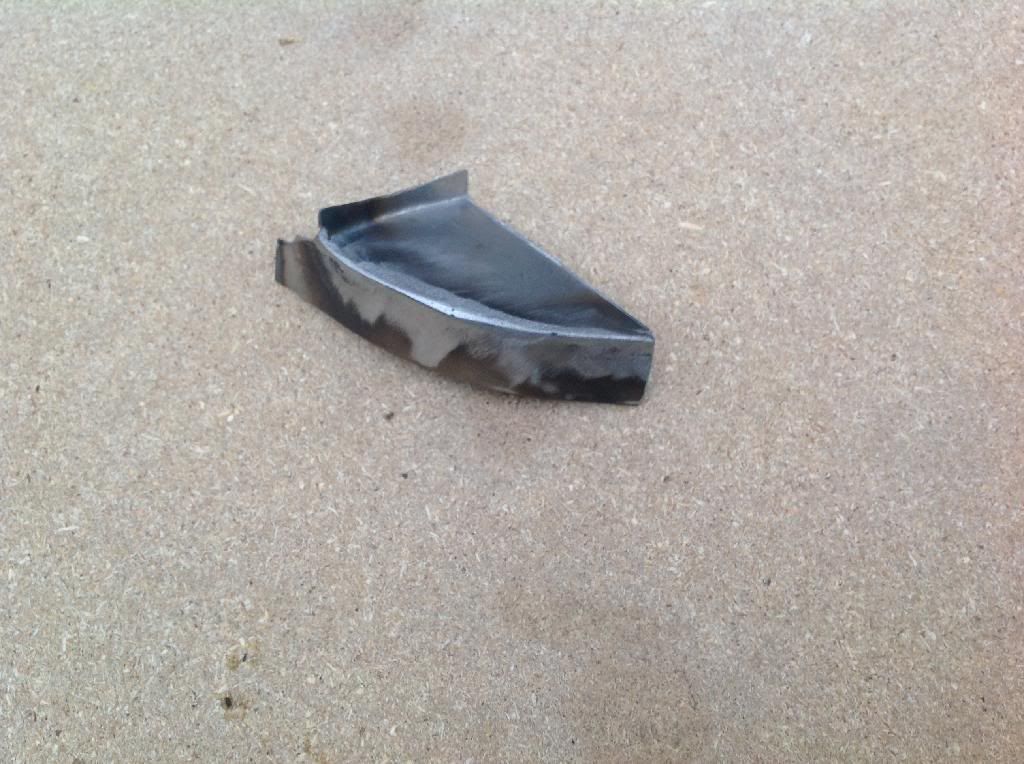
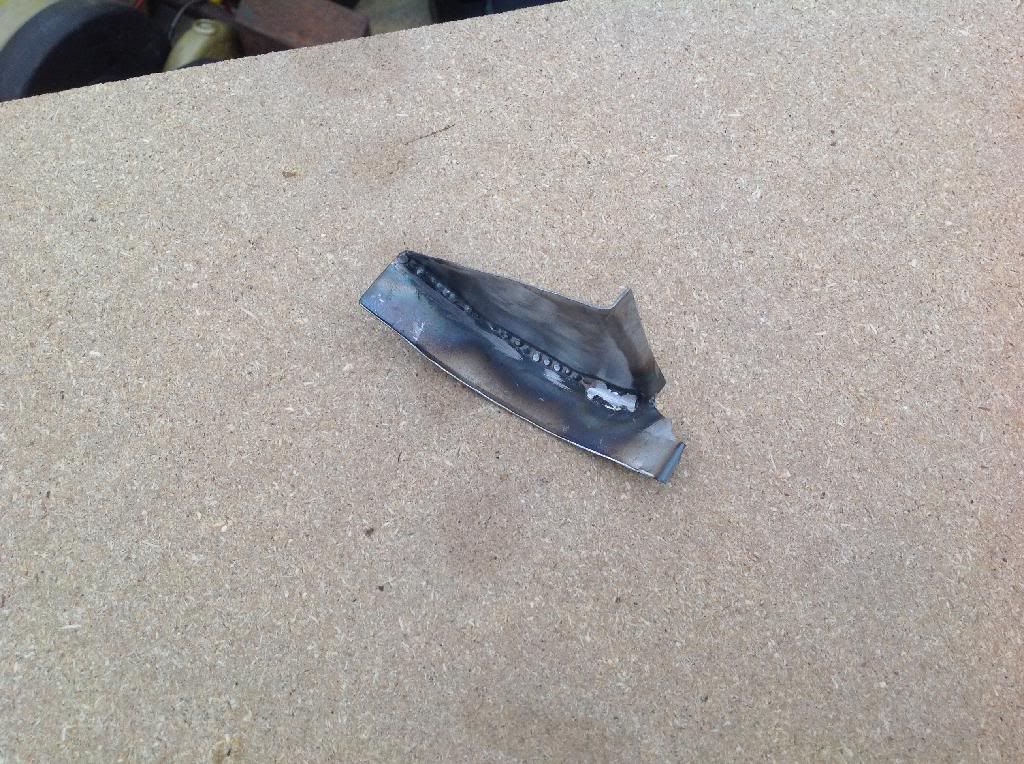
Any way i was going to buy the closure panel but I thought sod it so I fabricated this little fella

272EF751-DAFF-426C-9E85-5EFBAA1B8ED2_zps

C4A8AF49-D07F-4D06-A3D4-DC7D3BF55BA0_zps

Welded in place
876A732B-EAA8-4738-BA00-A92D8363B4A2_zps

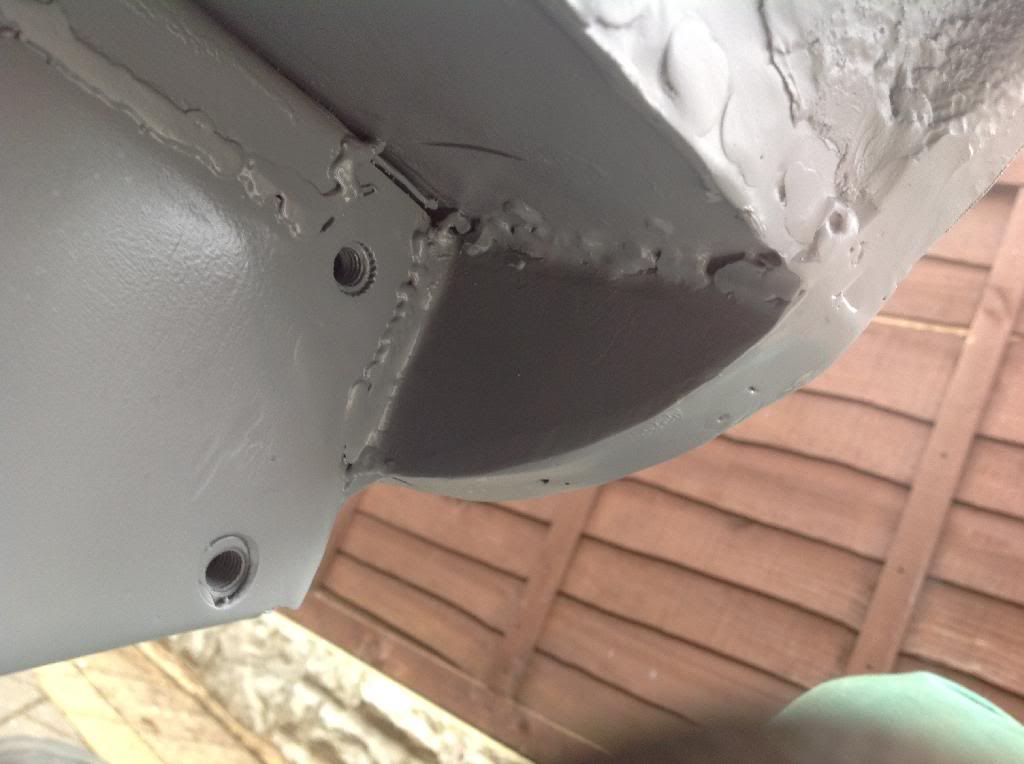
I ground down the welds with my carbide burr due to limited space and filled in a couple of pin holes after this pic
Then it got a coat of Etch primer and then when that was dry I sealed the welds with Tiger seal
1F85D41C-8BE2-4E27-B539-65073C0A9C82_zps
1487E2F2-545C-4CE0-8882-9BDF9E7BB53B_zps

Just got to give it another coat of primer then stone chip to finish

That's it till next weekend

Edited by Marco1972, 21 October 2014 - 08:53 PM.


#41 steven

steven

    One Carb Or Two?

  • Banned from Buying/Selling
  • PipPipPipPipPipPipPip
  • 1,195 posts
  • Location: Uk

Posted 24 November 2013 - 04:38 PM

Lovely work !

#42 Marco1972

Marco1972

    One Carb Or Two?

  • Members
  • PipPipPipPipPipPipPip
  • 822 posts
  • Location: Birmingham

Posted 30 November 2013 - 05:05 PM
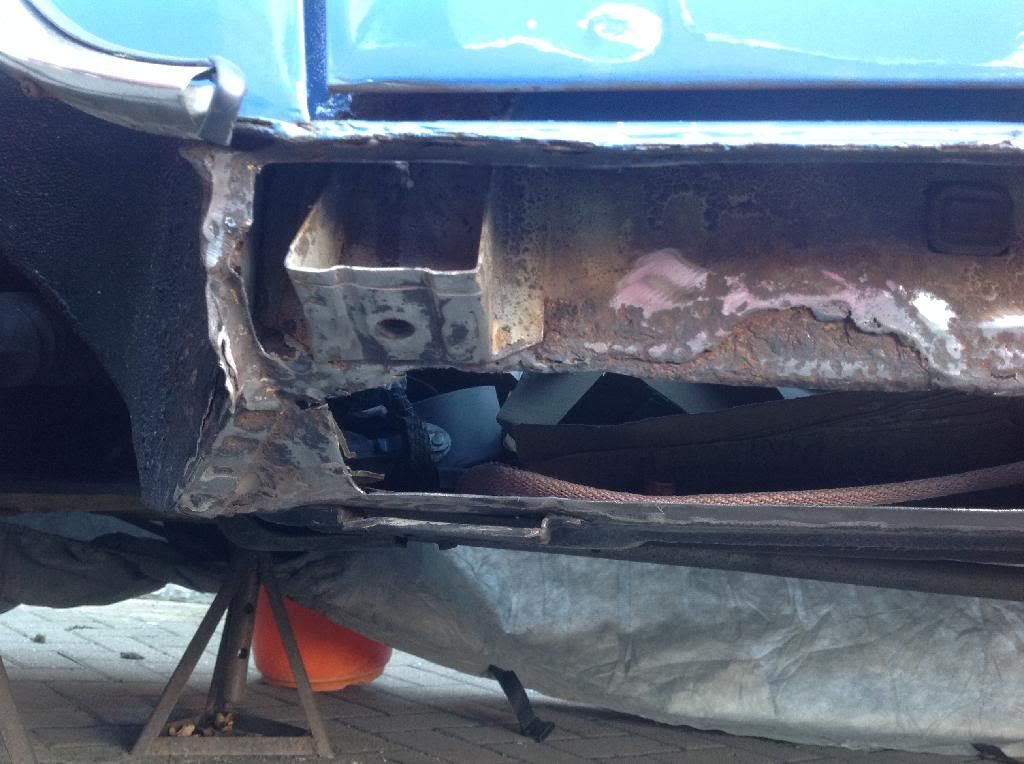
Small update

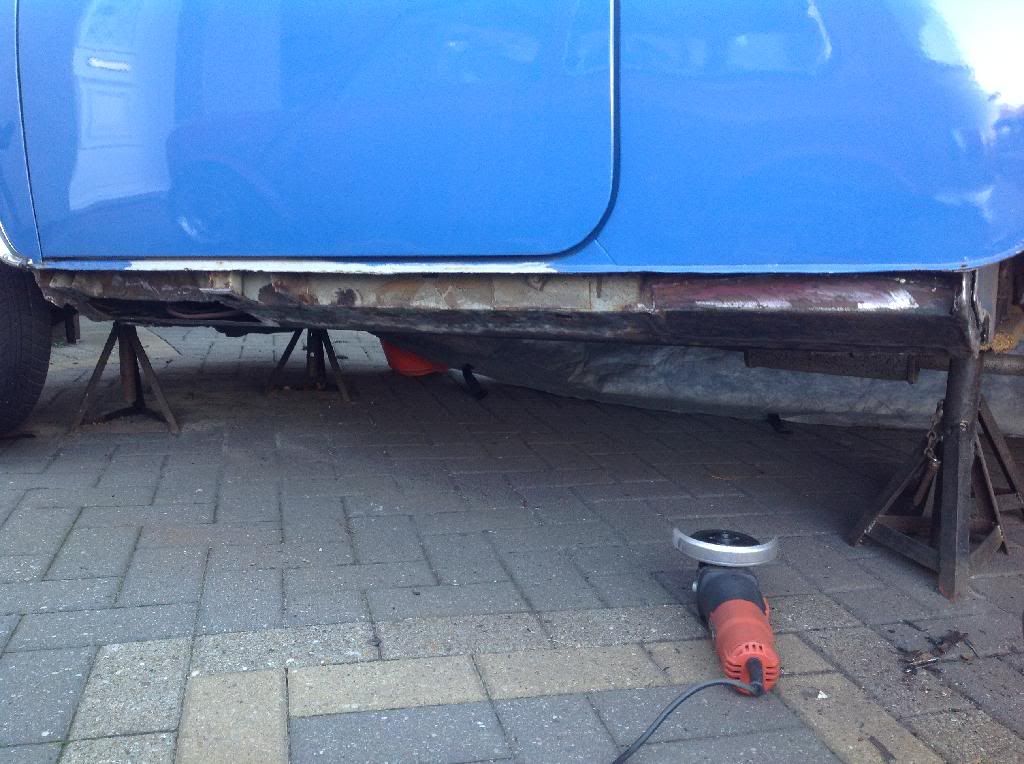
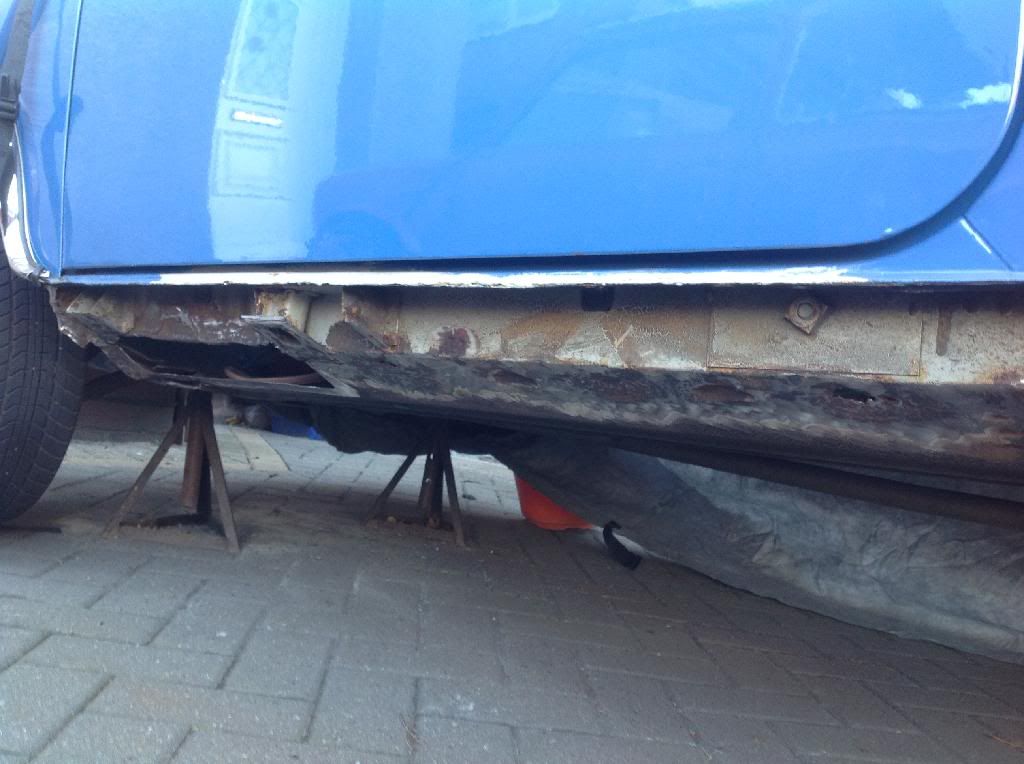
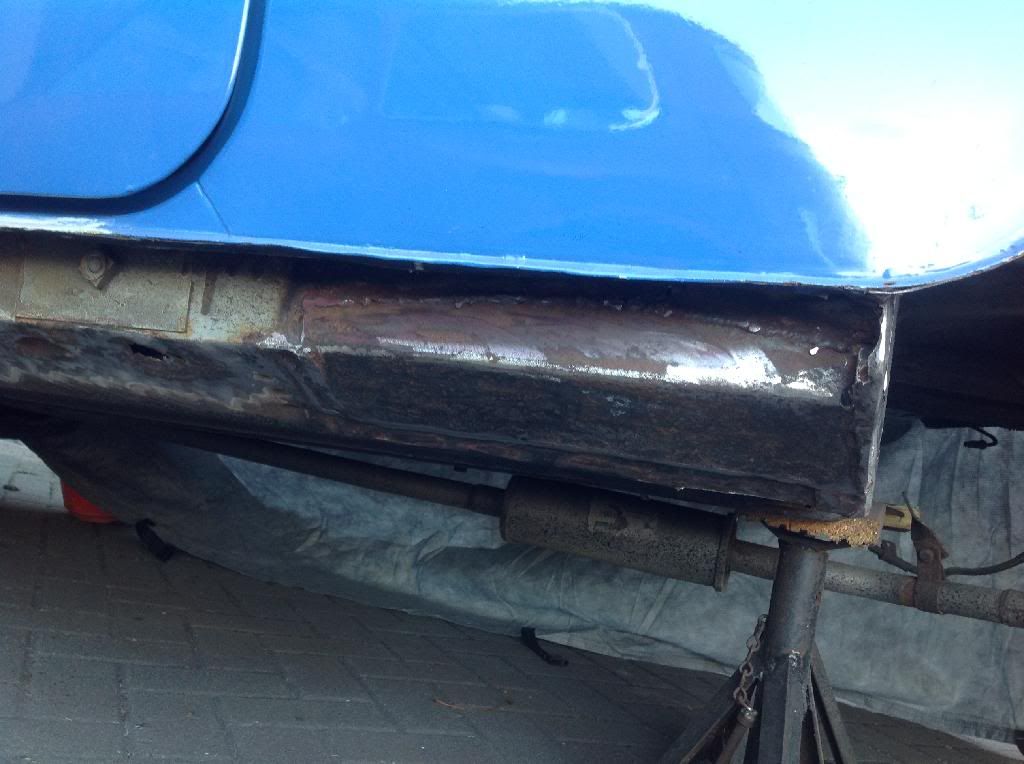
Removed the passenger side outer sill today thankfully it's not as bad as the drivers side was
It had only been patched at the front and back 90% was the original sill.

4841ECB3-37F3-4359-B594-0638FF42BB2F_zps

8722F315-4ACF-40D6-B054-45FC0C6567C1_zps

It's had this crap repair done in the past just left in bare steel !!
9DF5F168-8B2D-4F48-A951-F453C990C3A1_zps

9C5F347C-F9D5-4578-88B5-DD60135C5217_zps

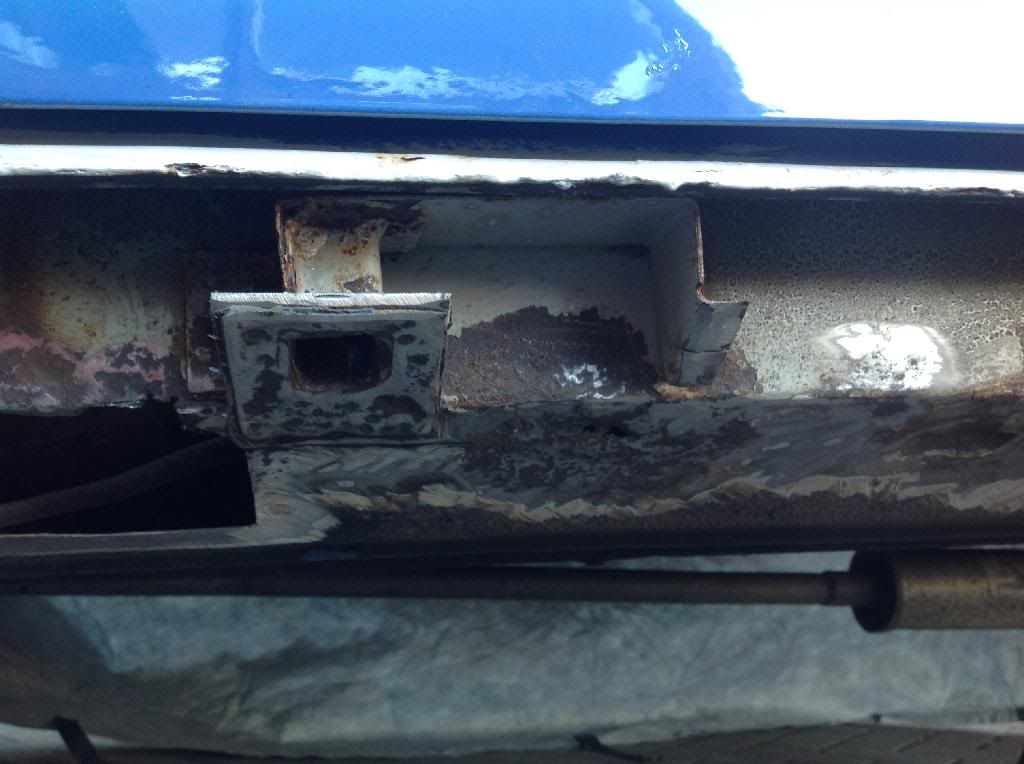
Jacking points really good so that's a keeper. :-)
Still got the original slinging point try to keep that too.

F182BEB7-E30B-408C-B92D-BD7A8E56370C_zps

D4CDE10A-6F4F-4016-B7A1-9C4FEA796723_zps

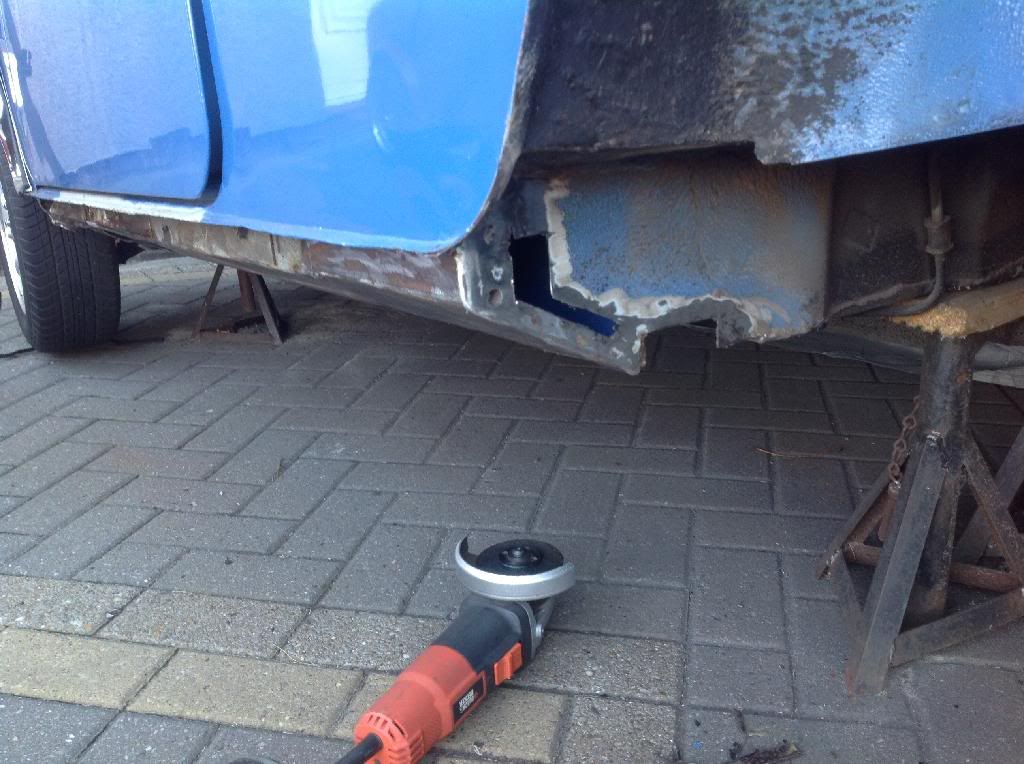
Heel board isn't too bad the other side was a lot worse I've removed the rear floor sling bracket the floor was shot above it and there rust traps

C465CAC5-860C-4B75-AF65-EB80CA1922C5_zps

Started chopping out the rot in the front and rear floors I'm quite happy as it's no where near as bad as the drivers side was so it shouldn't take me 12 months to sort this out lol :-) still got a bit more to chop out then it's out with the welder.
811730AF-3381-4C5B-AAB3-95F3227CD5E7_zps

Thinking about replacing the door step on this side as it's a bit crusty think I will go for heritage as the cheaper ones are a poor fit

That's it for now. :-)

#43 Marco1972

Marco1972

    One Carb Or Two?

  • Members
  • PipPipPipPipPipPipPip
  • 822 posts
  • Location: Birmingham

Posted 10 December 2013 - 05:59 PM
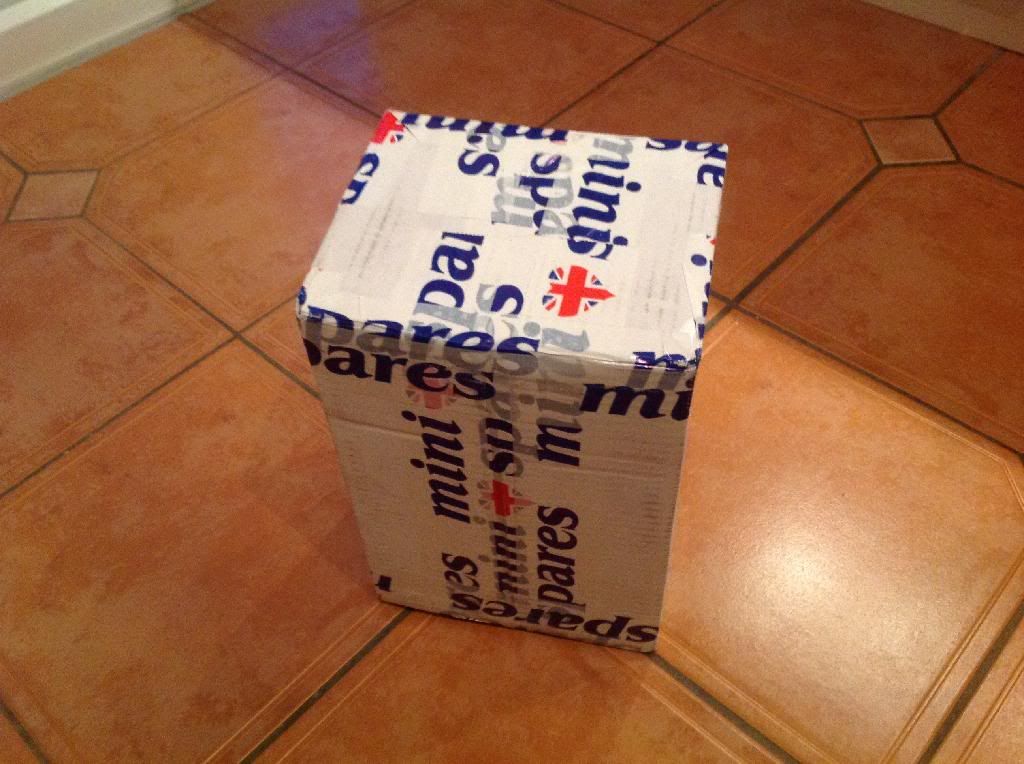
Haven't been able to get out and get my hands dirty lately on the mini thanks to my daily drive playing up but that's another story :-(

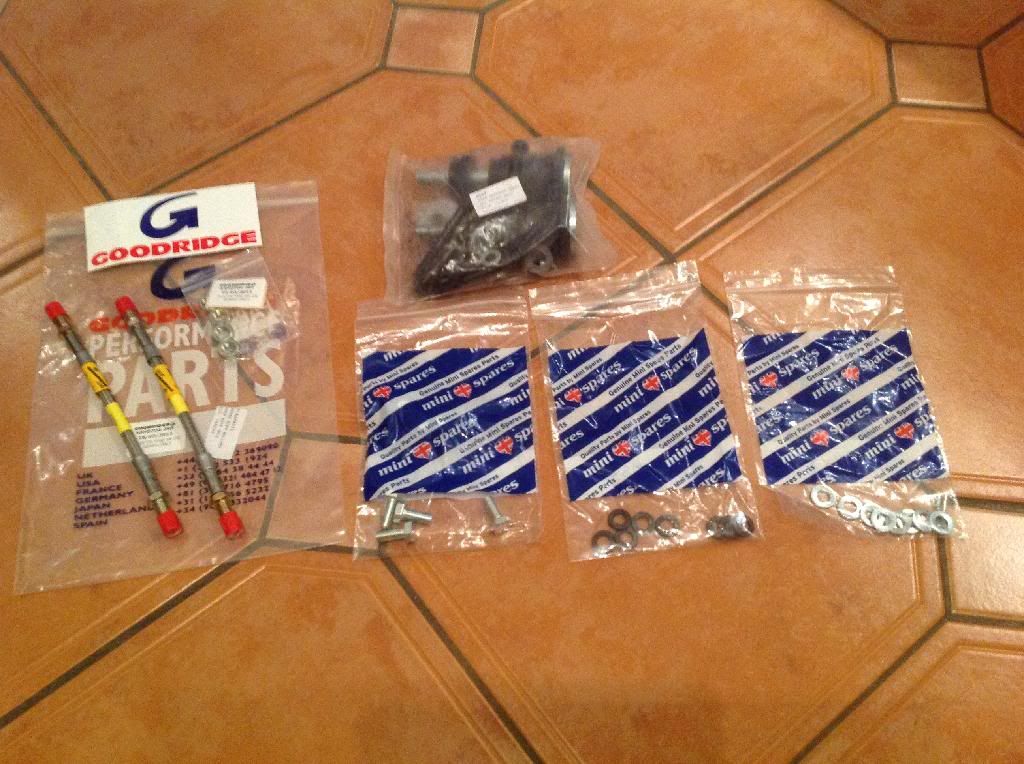
Anyway returned home from work today to a nice little box from mini spares .

5870E56D-75EE-4FF0-B41E-FACB0DCD61F2_zps

With these goodies inside .

F4BC0052-60C9-4512-B5D8-889F5EC3B3FB_zps

Set or rear braided hoses, rear subframe bolt and bush kit, bolts and washers for refitting the radius arms.

Just a new set of rear shocks to get and that's the rear subbie and running gear sorted. :-)

Hoping to carry on with the cutting and welding this weekend fingers crossed it stays dry

Mark.

#44 Marco1972

Marco1972

    One Carb Or Two?

  • Members
  • PipPipPipPipPipPipPip
  • 822 posts
  • Location: Birmingham

Posted 15 December 2013 - 02:41 PM
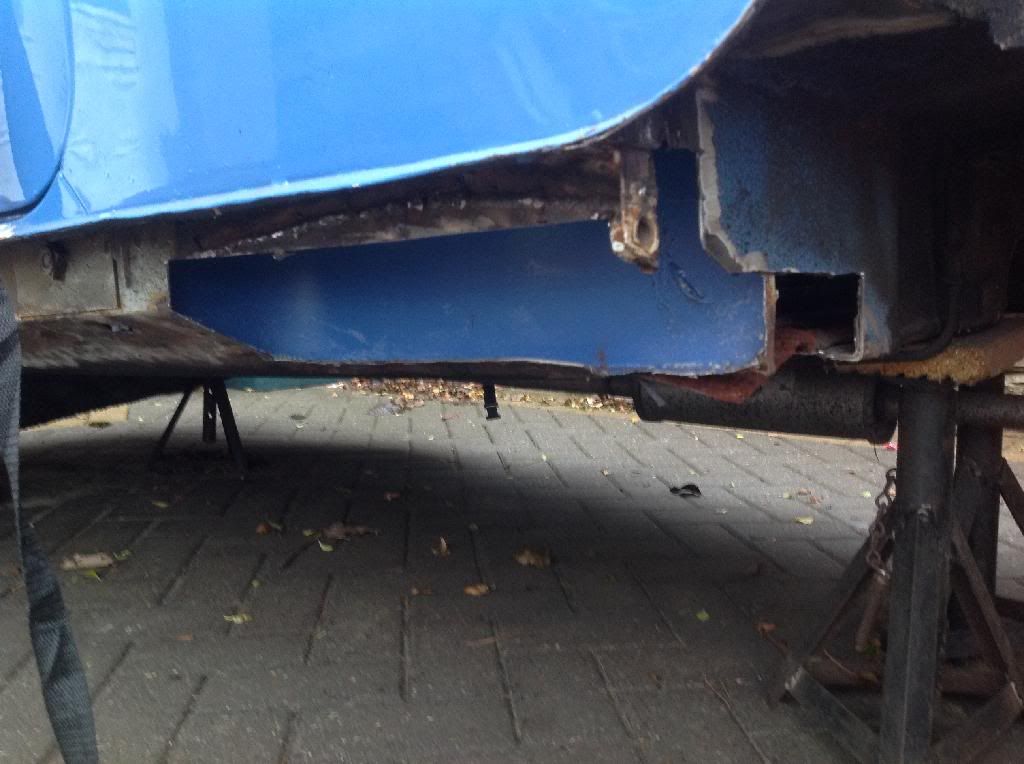
Haven't done a fraction of what I had planned for this weekend thanks to the bleeding weather.

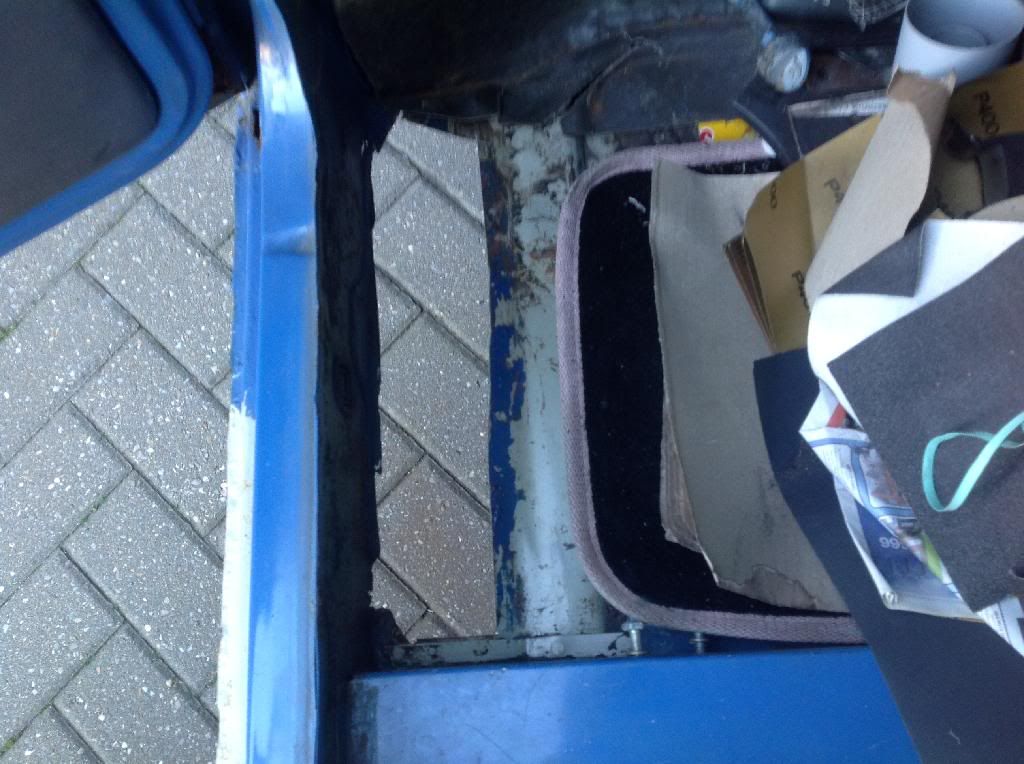
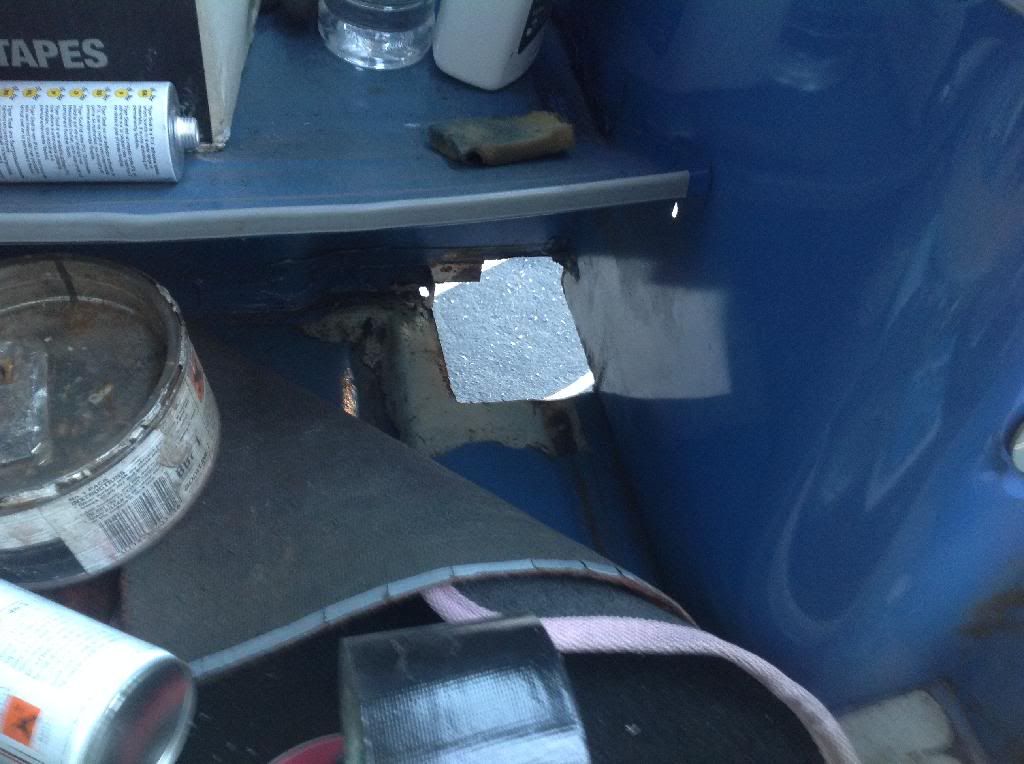
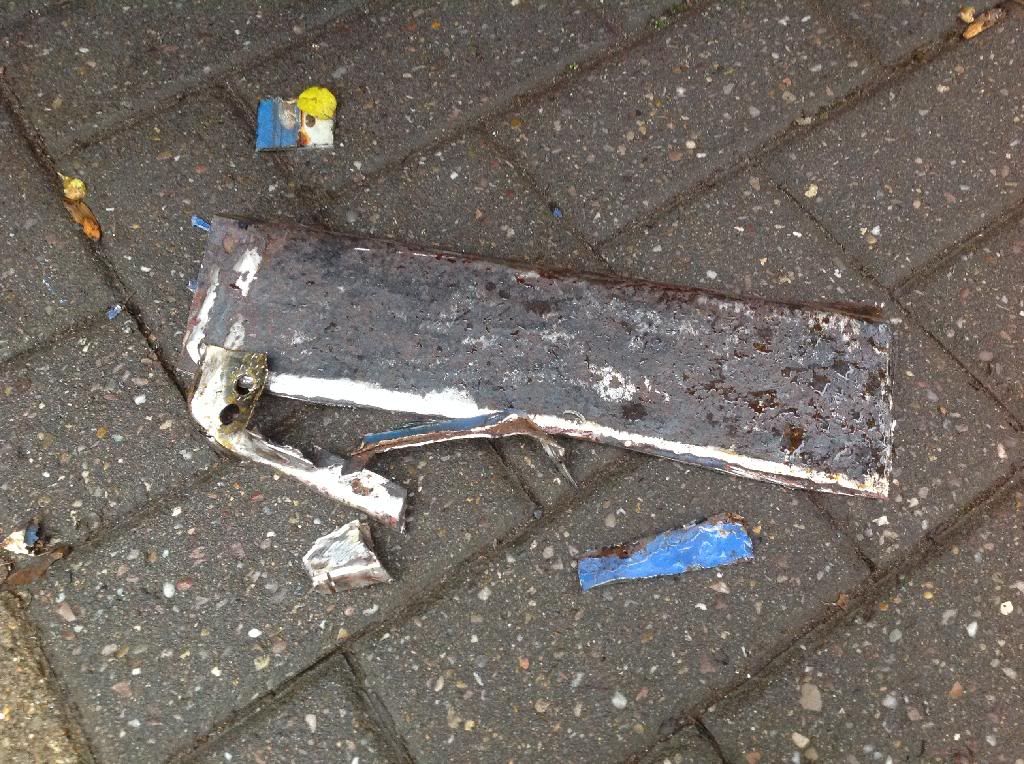
Just managed to cut out the old bodge repair and do some work around the heel board area
Nice crusty bits chopped out.
2E8C93A8-B2B4-4B3B-A5B6-36A4B4406A9C_zps
168D69B7-3D94-46C7-993B-EDE60658DC9B_zps
6F6B1CD8-9A14-4F4D-A764-9D92B3F3A2E0_zps
24368460-987E-409F-990E-E7F610917D5C_zps

I'm not going to remove the companion bin on this side it's in very good condition think I will just fab up some inner sill repair panels and replace the crusty parts leaving as much of the sound original body in place ( that's the plan anyway) I have a new heel-board repair panel just need to trim it to fit I plan to use the sub frame bolt bracket you can see in the pic to help align the new heel board panel it looks a bit crusty but it's actually pretty sound this should avoid me having alignment issues when I replace the subframe.
Still a long way to go can't see me being able to do much more this year unless I get some dry days

Mark.

#45 flatline

flatline

    Mini Mad

  • Members
  • PipPipPipPip
  • 247 posts
  • Location: Lytham St Annes

Posted 15 December 2013 - 06:05 PM

Looking good:)


0 user(s) are reading this topic

0 members, 0 guests, 0 anonymous users